
Left 4 Dead 2 Guide DLC The Passing
Campaign: Streets & Alleyway
2A, 2B, 2C, and 2D: Alleyway of Anguish
2A
Position your teammates so they’re covering the alley below you to the left and the right. Also look down if you’re scanning for Common Infected, and look up and around at the rooftops, as well as the truck to your left, so you aren’t assaulted by Special Infected.
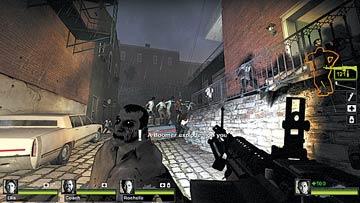
When there’s only a few foes, have your scout drop down and maneuver right, around to the main, lower-level street. Close in on your scout, with all of you keeping relatively close together (but not standing so you’re all struck by a Charger), and quickly study the walkway platforms and decks above. You’ll be heading there later.
2B
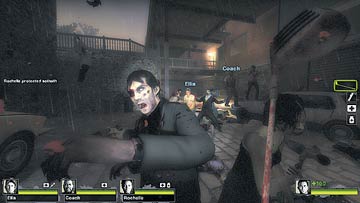
Move around from Location 2A, into the cobblestone street, and venture forward, toward the very long, narrow road covered by decking and dotted with parked vehicles. As ever, be aware of the possibility of car alarms attracting a Horde.
If all four of you are armed with primary weapons, with two facing forward and the others checking the sides, above, and behind for more cunning enemy attacks, you can navigate this alley and head into the main covered thoroughfare with minimal problems, even if you’re swarmed.
2D
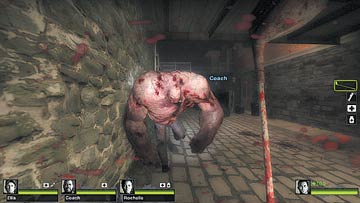
Move along the alleyway, using the vehicles as cover, and being on a constant guard for the possible attack from a Tank or Charger. If the Special Infected combine the attack with the stormy weather, it can be extremely tricky to fight back if you’re too spread out.
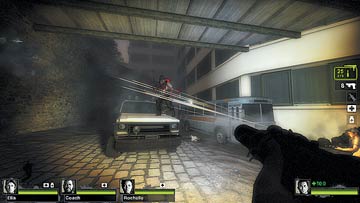
Sometimes, it is better to simply sprint along this road to the opposite end (Location 2D) and the 180-degree left turn to the sloping, higher ground.
If a Tank does appear, you can either back up to Location 2B, which offers a wider area to circle-strafe and more walls to hide behind, or you can split up with two Survivors dashing past the Tank, and all team members raking the foe with crossfire. This is a good time for projectile offense and health boosting items, too!
Tip
Finally managed to cull the Hordes, and a Tank? You might want to dash back to a Foot Locker at Area 1, stock up, and then continue.
2E and 2F: Upper Ambush Alley
2E
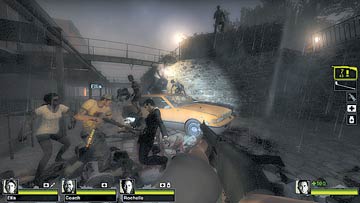
You’ll have seen the streaming Hordes dropping down from above. This type of ambush continues as you climb up a sloping cobblestone road to a second alley adjacent to a stone wall with a hedge atop it.
To your left is a tenement block of apartments. Your team is at a disadvantage, as you’re attacked from above as you edge along this road, so it’s a good idea to move quickly to the far end of this cul-de-sac and search for either of the deck bridges into the tenement building itself. The lamp by the front door allows you to spot the second of the two bridges.
2F
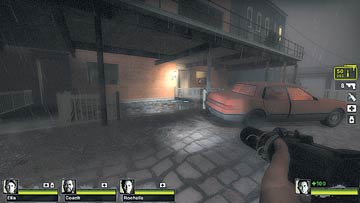
During this time, remember the parked cars still may be alarmed, and attacks are both numerous and shower down on you from above.
This is particularly problematic with Special Infected such as the Smoker, whose tongue can drag a foe away from the main pack, so be vigilant and note that foes can attack or drop down from the decks on your left, too. A much better defensive position is inside the tenement apartments, so head in there as a group as quickly as you can.
2G and 2H: Tenement Blockade
2G
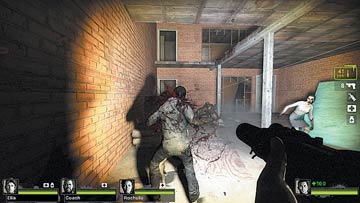
There are two exits from the cul-de-sac; both lead to two adjacent, multifloor apartments. Both are accessed via a separate deck bridge. The left apartment is half-finished, with piles of rubble (and corpses) littering the ground. Give the door a shove as if you were opening it to enter the building.
The right-side apartment is open, with a half-broken door leading to a living room with a Secondary Item on a shelf, inside. Both of the lower levels lead out to a shared stairwell up to the top floor.
This lower floor is a respite from the combat you just waded through; if your team is in jeopardy, rush into the left apartment, slamming the door behind you, and tag any chasing foes through the nearby window.
2H
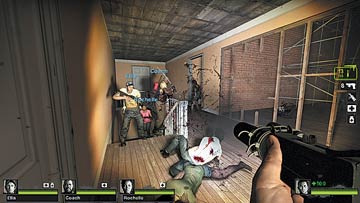
Upstairs, both apartments are unfinished, but the one on the right has an additional mezzanine level that may contain a few more items. But the main cache of Primary Weapons is located close to a hole in the ground, inside the left apartment.
The hole drops you back down to the lower level. There are a couple of smaller bathrooms (watch for Special Infected ambushes), and other doors that are firmly closed, leading to a choice of only two exits. You can rest and regroup for a moment, before peering out of either of the two exit doors.
The paved deck may contain the Infected, so plug away at any stragglers, using the cover the buildings afford.