
Left 4 Dead 2 Guide Walkthrough Hard Rain
Town Escape
A Second Vigil for Virgil: Town Escape Overview
Break out of the new Safe Room and scale the backyard fence before crossing the waterlogged streets (the last perfect time to use Adrenaline). Immediately light up the roof sign. From this point, you simply need to survive a relentless onslaught of enemy attacks, which includes periodic storm squalls, ferocious clawing by Common and Special Infected, and two Tank attacks.
Finding a good, defensive position (ideally inside the eatery) can make all the difference. Splitting your team up is just asking to be taken out back and pummelled. Assuming you survive, hobble onto the deck of Virgil’s boat as soon as it is spotted.
+ Pick a teammate to go on point and reach the sign’s on switch on the roof as quickly as possible, and then follow and back that person up.
+ You should have left enough items and equipment to finish a prolonged fight with two separate Tank attacks.
+ Did you hear Virgil arriving? Then there’s no point in waiting in the milltown any more; flee to the boat as soon as you can.
- Anywhere other than the interior of the Burger Tank eatery can be considered extremely dangerous. The eatery interior is merely frightening.
- There’s a tendency for Special Infected to pull you off the roof, across the water, and devour you in a dark corner that’s difficult to reach. Stay close together to survive.
- Tank s, Common, and Special Infected all attacking at once spells doom for your crew. Instead, preoccupy the Common folk by lobbing a Pipe Bomb or Bile Bomb.
Back Lawn Massacre (Redux)
Stop! The following fight is incredibly tense, dangerous, and takes place in a particularly compact area, so you must equip yourselves with the finest weapons and equipment for such a situation. First, your Primary Weapon should be designed for close-range takedowns; an Autoshotgun is an excellent idea.
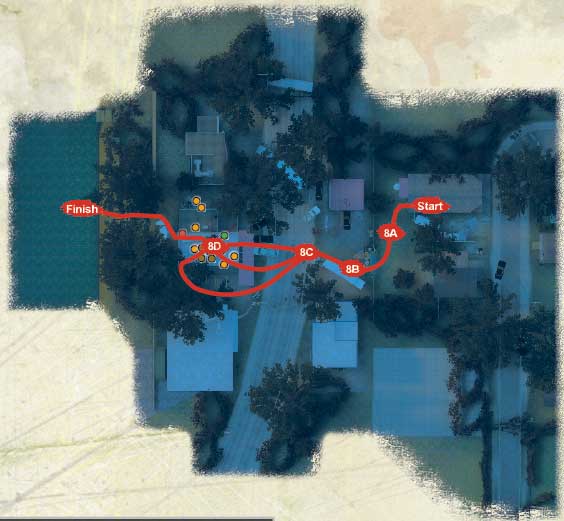
Start
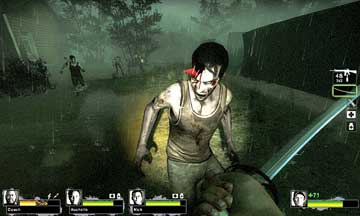
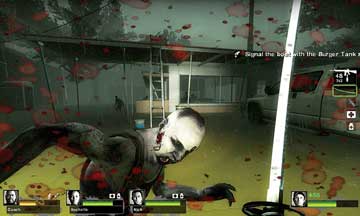
Second, Melee Weapons are favored over Pistols, as a Katana (picture 1) or other hand-wielded zombie killer can cut swathes through the masses—another mandatory task. Third, Adrenaline now isn’t as important as Pain Pills. While you’re fighting and waiting for Virgil to show up, you need the extra energy once you’ve situated yourselves inside Burger Tank.
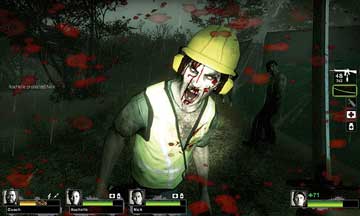
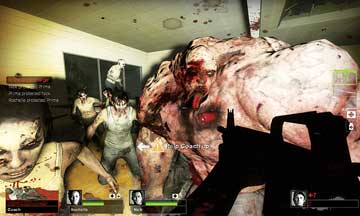
With all that planning out of the way, and with a fully healed team (each with an additional First Aid Kit to use), step out of the Safe Room, cross the garden with your lead teammate cutting through the foes (picture 2) and others providing supporting fire, and then clamber over the gap in the fence.
8A
Fracas on First Street
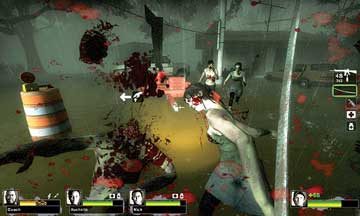
Be sure all of your team is over the fence at the same time and have one or two of your squad take the lead, sloshing through water as little as possible. Use the boxes by the container truck as stepping stones, pausing only for a few moments to strike down foes that are swarming (picture 1).
8B
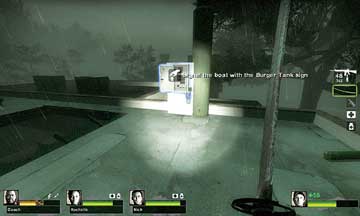
The lead Survivor’s plan is to get onto the Burger Tank roof, and that should be accomplished by wading across First Street and ascending the ladder (picture 2) propped up against the front of the eatery. Can’t get there? Then pile in through the front door, stepping on cars so you’re not gnawed to death in the water, or move around to the left of the building and use the side entrance.
8C
The latter two routes involve you scaling the red ladder in the back-left corner of the premises, behind the counter.
Atrocities Under The Sign of the Tank
Let the bludgeoning begin! Of paramount importance is switching on the sign, so have two of your team scale the roof, flick the switch (picture 1), and then rejoin the teammates so you can fight the Infected together.
8D
Although splitting up into two pairs may seem like a cunning plan, the sheer number of foes and the tendency for Special Infected to really pile on the pressure mean a closer-knit attack strategy is preferable.
First, however, you need to know where additional supplies are located. There are all the items you (should have) left on the dining tables and counter, along with a First Aid Station at the back-right of the eatery, near the rear exit.
Access points are numerous: the rear exit, windows on two sides, two doorways on one side (picture 2), and a hole in the roof. Both your team and the Infected use these entrances, which makes this place very difficult to secure for more than a few seconds at a time.
Up Top and Exposed
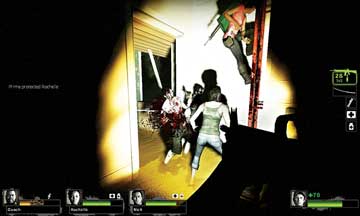
Perhaps you’re intending on digging in on the roof (picture 3)? While usually a reasonable plan, this isn’t quite as safe as remaining inside the building, although you need to weigh the water slowing you down with your exposed position up here.
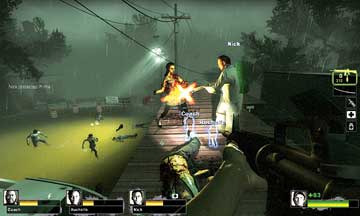
The advantages of being on the roof are that you can see most of the Common Infected coming and they take longer to arrive because they must climb to reach you. The disadvantages: you are a sitting duck for Special Infected, and if a Jockey or Charger wrenches you off the roof, you’re much harder to save and put your rescuers in much more danger.
You’re also exposed to any squalls, which impede your capabilities compared to hiding out below. You can also try positioning explosive objects (like Propane Tanks) to waylay foes, but the action is just too hectic for this to be effective.
Counter Intelligence
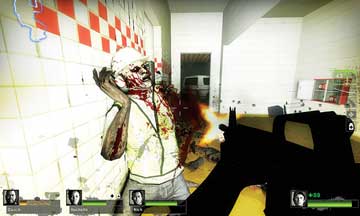
A better (but not foolproof) plan is to congregate downstairs inside the Burger Tank eatery. You’re close to each other (for healing or help) and close to Health items and extra weaponry. And the Infected are fighting in an enclosed area, which means that many Special Infected (the Jockey and Charger, for example) are much less effective because they can’t easily reach you.
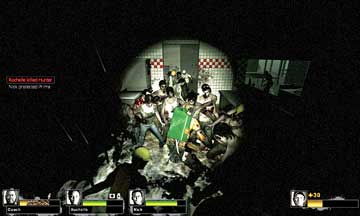
But choosing a location inside is key. Behind the counter is usually the best bet, as you can cover all exits. Position someone at the interior entrance, where they are able to check the rear exit and windows (picture 4) for foes. Have someone facing the side exit next to the red ladder, bracing for intruders.
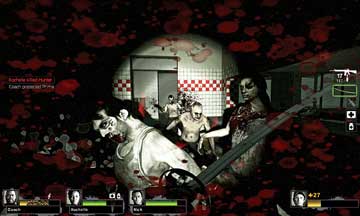
The other two can mill about behind the counter, close enough to grab some items, but protected by (and able to fire through) the counter pass-through and able to back up either guard if the situation dictates it.
This is also a good position to defend from as you have two ways to escape if the situation becomes too crazy (picture 5!). You can move and escape outside into the dining area, out the side entrance, or better yet, up the red ladder to the roof, so you can attack from above and drop in quickly to reassert your Burger Tank dominance! Mainly though, you’ll be using a mixture of close-assault firearms and Melee Weapons (picture 6) to strike down attackers.
Burger Tanks
By far the biggest problem you’ll face are Tanks (picture 7), and there are likely to be two to takedown before the boat arrives. However, you can make a few tweaks to your defensive posture to increase the chances of all of your team surviving.
First, it isn’t wise to waste Pipe Bombs, Molotovs, or Bile Bomb when the Horde of Common Infected are attacking. The “counter intelligence” location described earlier allows you to slay dozens with Melee Weapons, without taking too much damage.
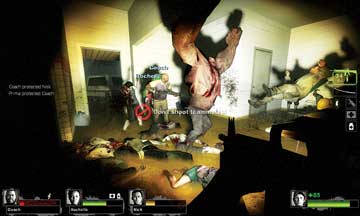
However, when you hear or see a Tank, one predetermined teammate should lob a Pipe Bomb or Bile Bomb away from the action, so the Common Infected disappear, which allows you to freely move about the building and conquer the Tank with a focussed attack.
If this means a well-aimed Molotov, or dashing around the dining tables coaxing the Tank while the others let rip, then do it! This is certainly better than running out of projectile weapons early, and having to face a Tank with a swarm of other Infected—a doomed scenario (picture 8).
With competence, a team that sticks together and knows the exits of the Burger Tank building can prevail. After the second Tank appears, listen for Virgil’s boat horn, or watch for visual cues, and then head out toward the river the moment the Lagniappe appears.
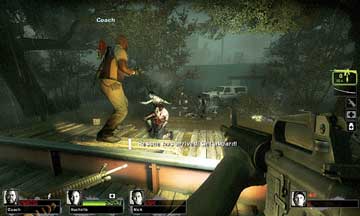
There’s still a chance that a Charger or Jockey can steer you into the river, so be on your guard and leap on deck (picture 9). Flee this horrific place and head for a more populated area. That’s sure to be safer, right?