
Left 4 Dead 2 Guide Walkthrough The Parish
Attack at the Military Evac
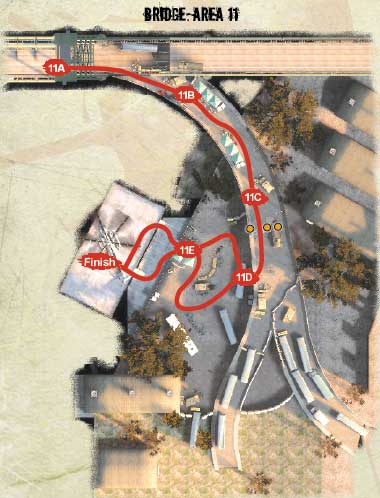
No Time for Quarantine
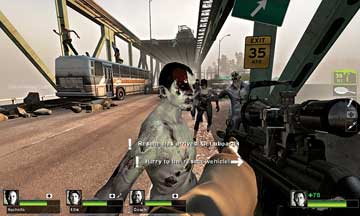
It’s a good time for one of your team to break open the Pipe Bombs, so all the Common Infected are otherwise occupied while you descend from the sloping bridge section, get off the bus roof, and sprint toward the off-ramp on your right.
11A
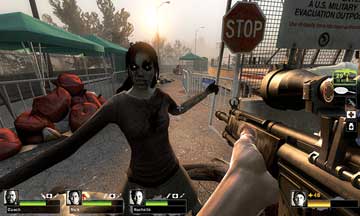
Continuing on the bridge leads to a dead end (and usually death), so quickly maneuver through the military quarantine checkpoint, which has Infected milling about. Keep your team together throughout this section, so you’re not waylaid by a troublesome Smoker (for example) at the end of the bridge.
Pass the checkpoint easily and quickly grab any items you might need: Adrenaline and a projectile to throw would be best.
11B
Something Wicked This Way Comes...
Be sure all of your team are close together and not spread out along this road as you head past a military truck with a Heavy Machine Gun turret on it. This turret is a bit of a red herring; there’s no need to use it because it can’t be turned around to face the gigantic pink mass of sinew that appears atop the overpass road (picture 1).
11C
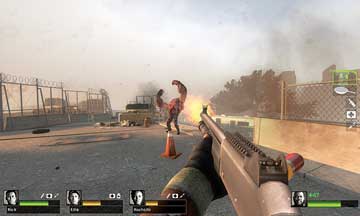
You have another Tank to defeat. Long-range and mass firing is advisable, as you don’t want to drop down and have the Tank follow you, as there are far more Common Infected below. Use a Molotov if you wish, and once the Tank is slain, retrieve any additional supplies before moving to the right edge and peering over (picture 2).
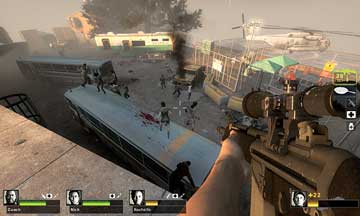
Drop down and land on the first bus, as it offers some height protection. If you fall down here, use the ladder to reach the off-ramp above (if you need to rescue a straggler, for example).
The Longest Yard
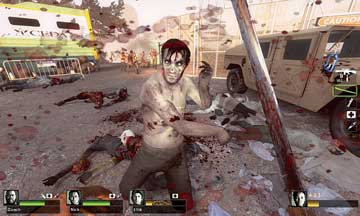
11D
You must now make a determined effort to slaughter your way through this naval yard, as a Horde continuously rampages through here. You should expect multiple Special Infected to add to your problems. Your entire team should drop down to the ground (picture 1) and decide on a route to take to the military evacuation gate (picture 2).
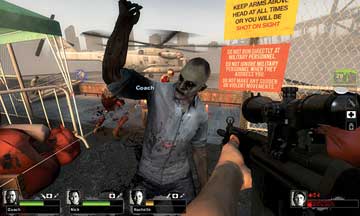
11E
Bunch together so you can repel any attacks and don’t waste time slowing down to pick up items. You want to reach Location 11E as quickly as possible.
This is the last—and best—time to use projectile attacks to remove the Common Infected threat so you can all reach the gate easily. Jab some Adrenaline to quicken the time it takes to get there, too.
Get to Da Chopper (Again)!
Expect another Tank to appear as you near the gate. Sometimes it is better to ignore this foe, but if he’s managed to pummel a friend into submission, you’ll need to launch a rescue attempt.
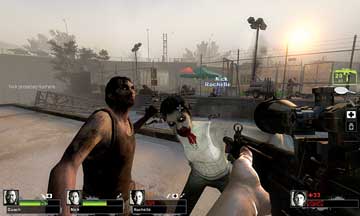
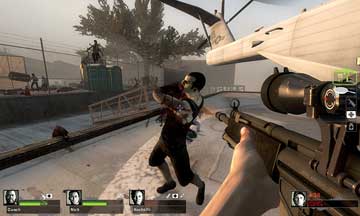
(Unless you want to leave your pal to die!) Use the buses and CEDA trailer as cover and coax the Tank to you while your teammates blast it with everything they have. When the Tank is down, the lead Survivor should take up position on the helipad (picture 1), providing supporting fire for the slowpokes among your squad. Quickly move up either of the bridges connecting the helipad and head for the rear hatch of the helicopter (picture 2).
Whoever reaches the chopper first should stand to the side of the entrance and provide covering fire as the rest of the team attempt to board. Then flee to freedom!