
Left 4 Dead 2 Guide DLC The Passing
Campaign: The Sewers
7A and 7B: Getting Your Feet Wet
7A
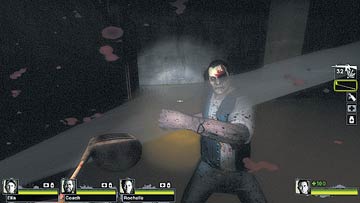
Before you’re swarmed in the darkness, it’s a good idea to have raked all visible foes from the stairwell in Area 6 before dropping down into the sewer water, which slows you down considerably.
Your Melee Weapons come into play now, and you should arm yourself with a Golf Club,Baseball Bat, Katana, or other implement when not facing down Special Infected. For the moment, it is usually wise for one of your team to lob a projectile (such as a Pipe Bomb) if the masses are converging.
If there’s only a few enemies, opt for melee strikes instead, but keep moving toward the light of a stone walkway ahead and above you. Trudge right, up the orange ladder to this walkway. If a Tank appears, spread out and attack from all sides.
7B
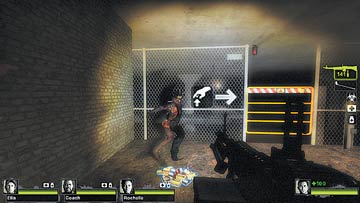
Here, you’re greeted by three narrow tunnels. Any of them can be accessed. Agree on which ones you’re using so you’re not split up. The furthest one leads to a square-shaped stone platform with a sluice gate.
Don’t open the gate yet! Instead, wait for all foes to be slain and any nearby items to be collected. You’re about to announce your presence to the Horde, and there’s no going back once you open the gate and drop down into the large effluent chamber ahead of you. For this reason, be sure to check the narrow tunnels you just negotiated, so the last teammate in isn’t caught by an ambush and dragged out of your reach.
7C and 7D: Precarious Predicaments
7C
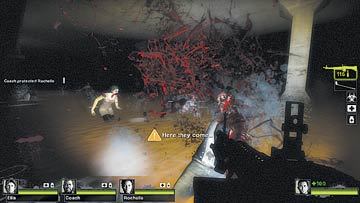
A warning siren attracts all Infected as soon as the gate opens. Although you could stand on the platform and use the ammunition pile to augment your inventory, there’s no let-up to the undead onslaught. Instead, drop down as soon as you can.
It is preferable to quickly check the items everyone is carrying; if someone has a Bile or a Pipe Bomb, have them throw it immediately. Everyone else should sprint (or use Adrenaline if you can) to the ladder marked by the “!” and climb up to the relative safety of the metal walkway.
Don’t leave anyone behind and keep moving! If you’ve got teammates armed with an M60 or a Combat Shotgun that can decimate the Horde, place them front and center..
7D
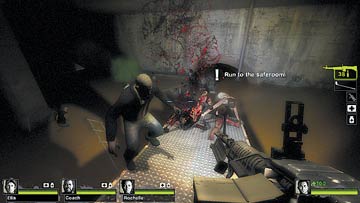
The central, mesh platform shaped like an 8 features a second gate, which leads to a long section of metal walkway and a drop into the fetid waters below. Stay on the walkway as long as you can so the Infected can’t reach you, and be sure you aren’t followed by Special Infected sneaking up behind you. Lob another projectile, or drop down from the broken end of the walkway when there’s a lull in the violence.
7E, 7F, and Finish: Stone Tunnel Trouble
7E
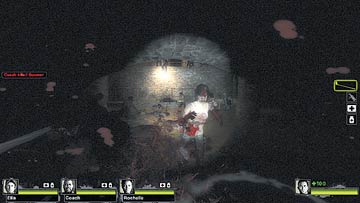
7F
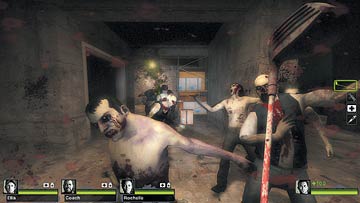
Now is the time to throw caution to the wind and flee! There’s little point staying around in the large, black chamber. Instead, fight your way into the tunnels using a competent battle formation. Stick one teammate at the front, armed with a Melee Weapon to hack the flurry of incoming foes.
Keep this teammate to one side, so the rest have easier firing opportunities to tag the foes he doesn’t hit, and have one teammate check behind for more enemies as you push your way along the tunnel toward the light.
FINISH
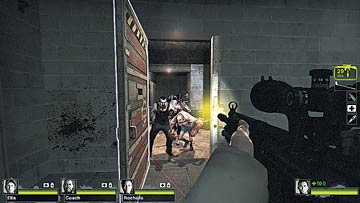
The Infected continuously push you to the point of despair, but don’t give up. Lay down any remaining projectiles that can help your cause and hack and blast your way to the next orange ladder, then climb it to a platform overlooking the tunnel entrance.
Whoever is first should train their weapon at foes still in the water to covering the coming teammates so no one is left behind. Watch for Special Infected (especially the Charger) as you rush up the stairs, around the corner, and sidestep to the second of the two connecting passages around the concrete wall and shelves if there’s enemies blocking you.
Charge into the Safe Room, where you can finish off any remaining foes or close the door, and access the generator by the bridge itself. You’ve made it to the Port!
Stop! Before you close that Safe Room door, make a quick inspection of the previous few chambers, looking for any Fuel Cans you can find. If one (or more) of your team is carrying a Fuel Can when the door is closed, you can carry it through into the third part of this adventure and use it to refuel the generator!