
Left 4 Dead 2 Guide Walkthrough Dark Carnival
Fairground Entrance
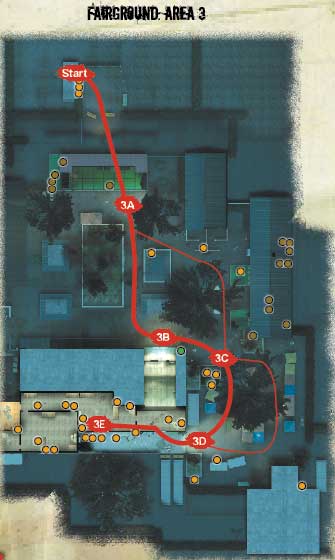
None of the Fun of the Fair: Fairground Overview
The Whispering Oaks Amusement Park features all the fun of yesteryear with the added fun of the ever-present zombie apocalypse.
Three carnival games feature fabulous prizes (OK, a gnome), which can be yours if you can convince your team to halt the incessant hordes for long enough.
Cross through the pathways between the barker huts, cut through a warehouse (Area 3), and enter Kiddieland, now definitely an adults-only place to visit.
You need to head to an alleyway, then up onto the roof, and down the slide (Area 4) before you’re overwhelmed. The tension increases still further at the carousel (Area 5), which needs to be activated before you can flee to the Safe Room inside the entrance to the Tunnel of Love.
+ The Peanut Gallery is optional, and with enough points, you receive a gnome that must be carried to the escape helicopter in Area 10.
+ You have better visibility and copious weapons to pick up. Also, thrown weapons (such as the Pipe Bomb) are effective here.
+ The carousel does not need to be switched off; you can slice your way to the Safe Room if you’re all fast enough.
- The Infected have multiple corners (and rooftops) where they can hide and ambush you, so be ever-vigilant as you progress.
- Special Infected at Kiddieland can cause problems as they use the elevated train tracks to drop down on you!
- Approach the carousel with extreme care, as the drop from the carpeted balcony is too far and you can’t return to the balcony.
Too Dark Park
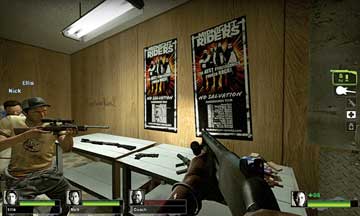
Start
Coach lets out an excited squeal; the Midnight Riders were playing this venue, and Coach has all of their albums, even the new stuff that ain’t that good! Perhaps their fabled pyrotechnics might help you later on in this outing?
For now, exit the Safe Room and step out to check out the massive illuminated sign you saw when you scaled the ravine.
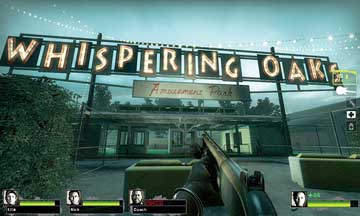
Move through the entrance huts, taking care to check the fenced alleys to the left and right for Infected, and the huts’ interiors for items.
You can step out into the area to the right, but you’re fenced in ahead, which forces you to the left, past Lil’ Peanut and toward the huts and restrooms.
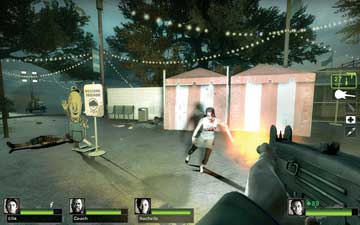
3A
Going Nuts
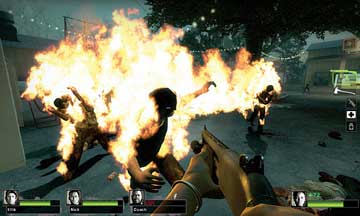
Pass a carnival hut and a generator, optionally checking both restrooms for items and a few additional Infected (ideally while two of your team stand guard), and then survey the scenery.
If you haven’t killed enough Infected, use a Belt Item (such as the Molotov) as there are plenty more to scavenge. During this time, you may encounter the Dark Carnival’s Uncommon Infected: the Clown.
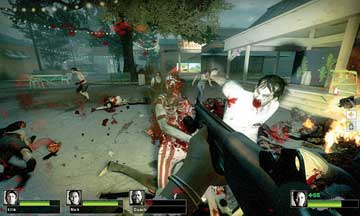
Make your mayhem methodical as you check the interior pizza kitchens along the left side of the courtyard. There are items and weapons to find and swap inside and out on the picnic tables here.
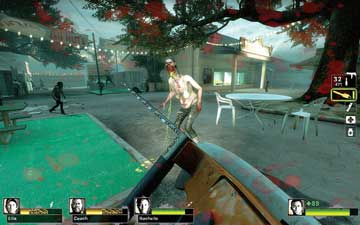
Then cut a swathe toward the first interactive carnival game: the Peanut Gallery. Choose to play the game if you wish, but be sure your entire team isn’t transfixed by mechanical moustachioed characters: You may be attacked from the mesh fence or around the corner (3C).
3B
Infected Hunt at the Huts
3C
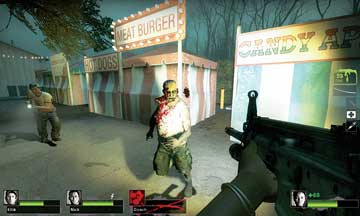
Head around the corner of the Peanut Gallery, grabbing any items and weapons on the picnic tables, and then make a sortie around the dotted barker huts in this section of the fairgrounds.
3D
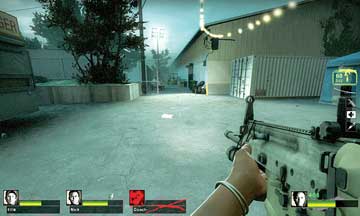
Although you can sprint quickly from Location 3C to 3D, there may be an item or two in a dead end close to the huts. This is a key location for a Special Infected ambush, though, so watch your sides and rear.
Warehouse Reconnoiter
3E
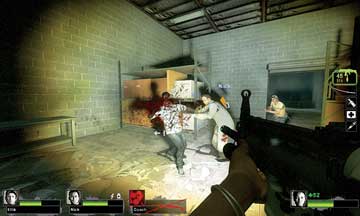
Move into the alleyway illuminated by generator-rigged lighting and move into the warehouse, checking the side rooms for items and working your way through the main storage area toward the exit at the opposite end.
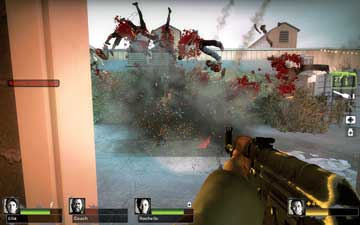
As you reach the open air again, treat any mass of Infected to a Pipe Bomb to quicken your pace as you reach the entrance to Kiddieland.