
Skylanders Trap Team Signature Series Strategy Guide Walkthrough
Adventure Pack: Sunscraper Spire
Quest Preparation
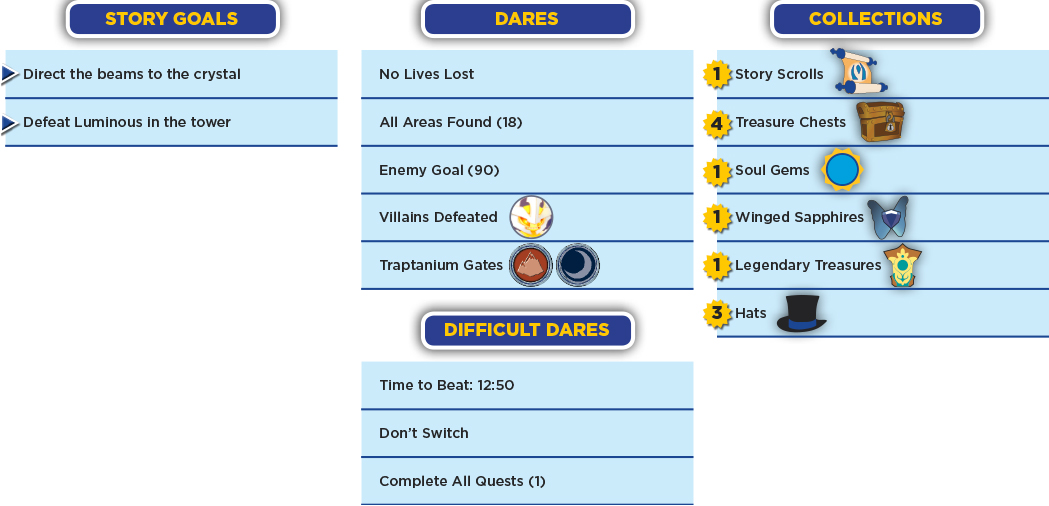
The only quest in Sunscraper Spire is for the same villain captured at the end of the level: Luminous. You need a second trip to Sunscraper Spire to complete the Difficult Dares
Viewing Platform
After Mags finishes speaking and you gain control of your Skylander, use the nearby Super Bounce Pad to travel to First Quarter Island.
 First Quarter Island & Hidden Path
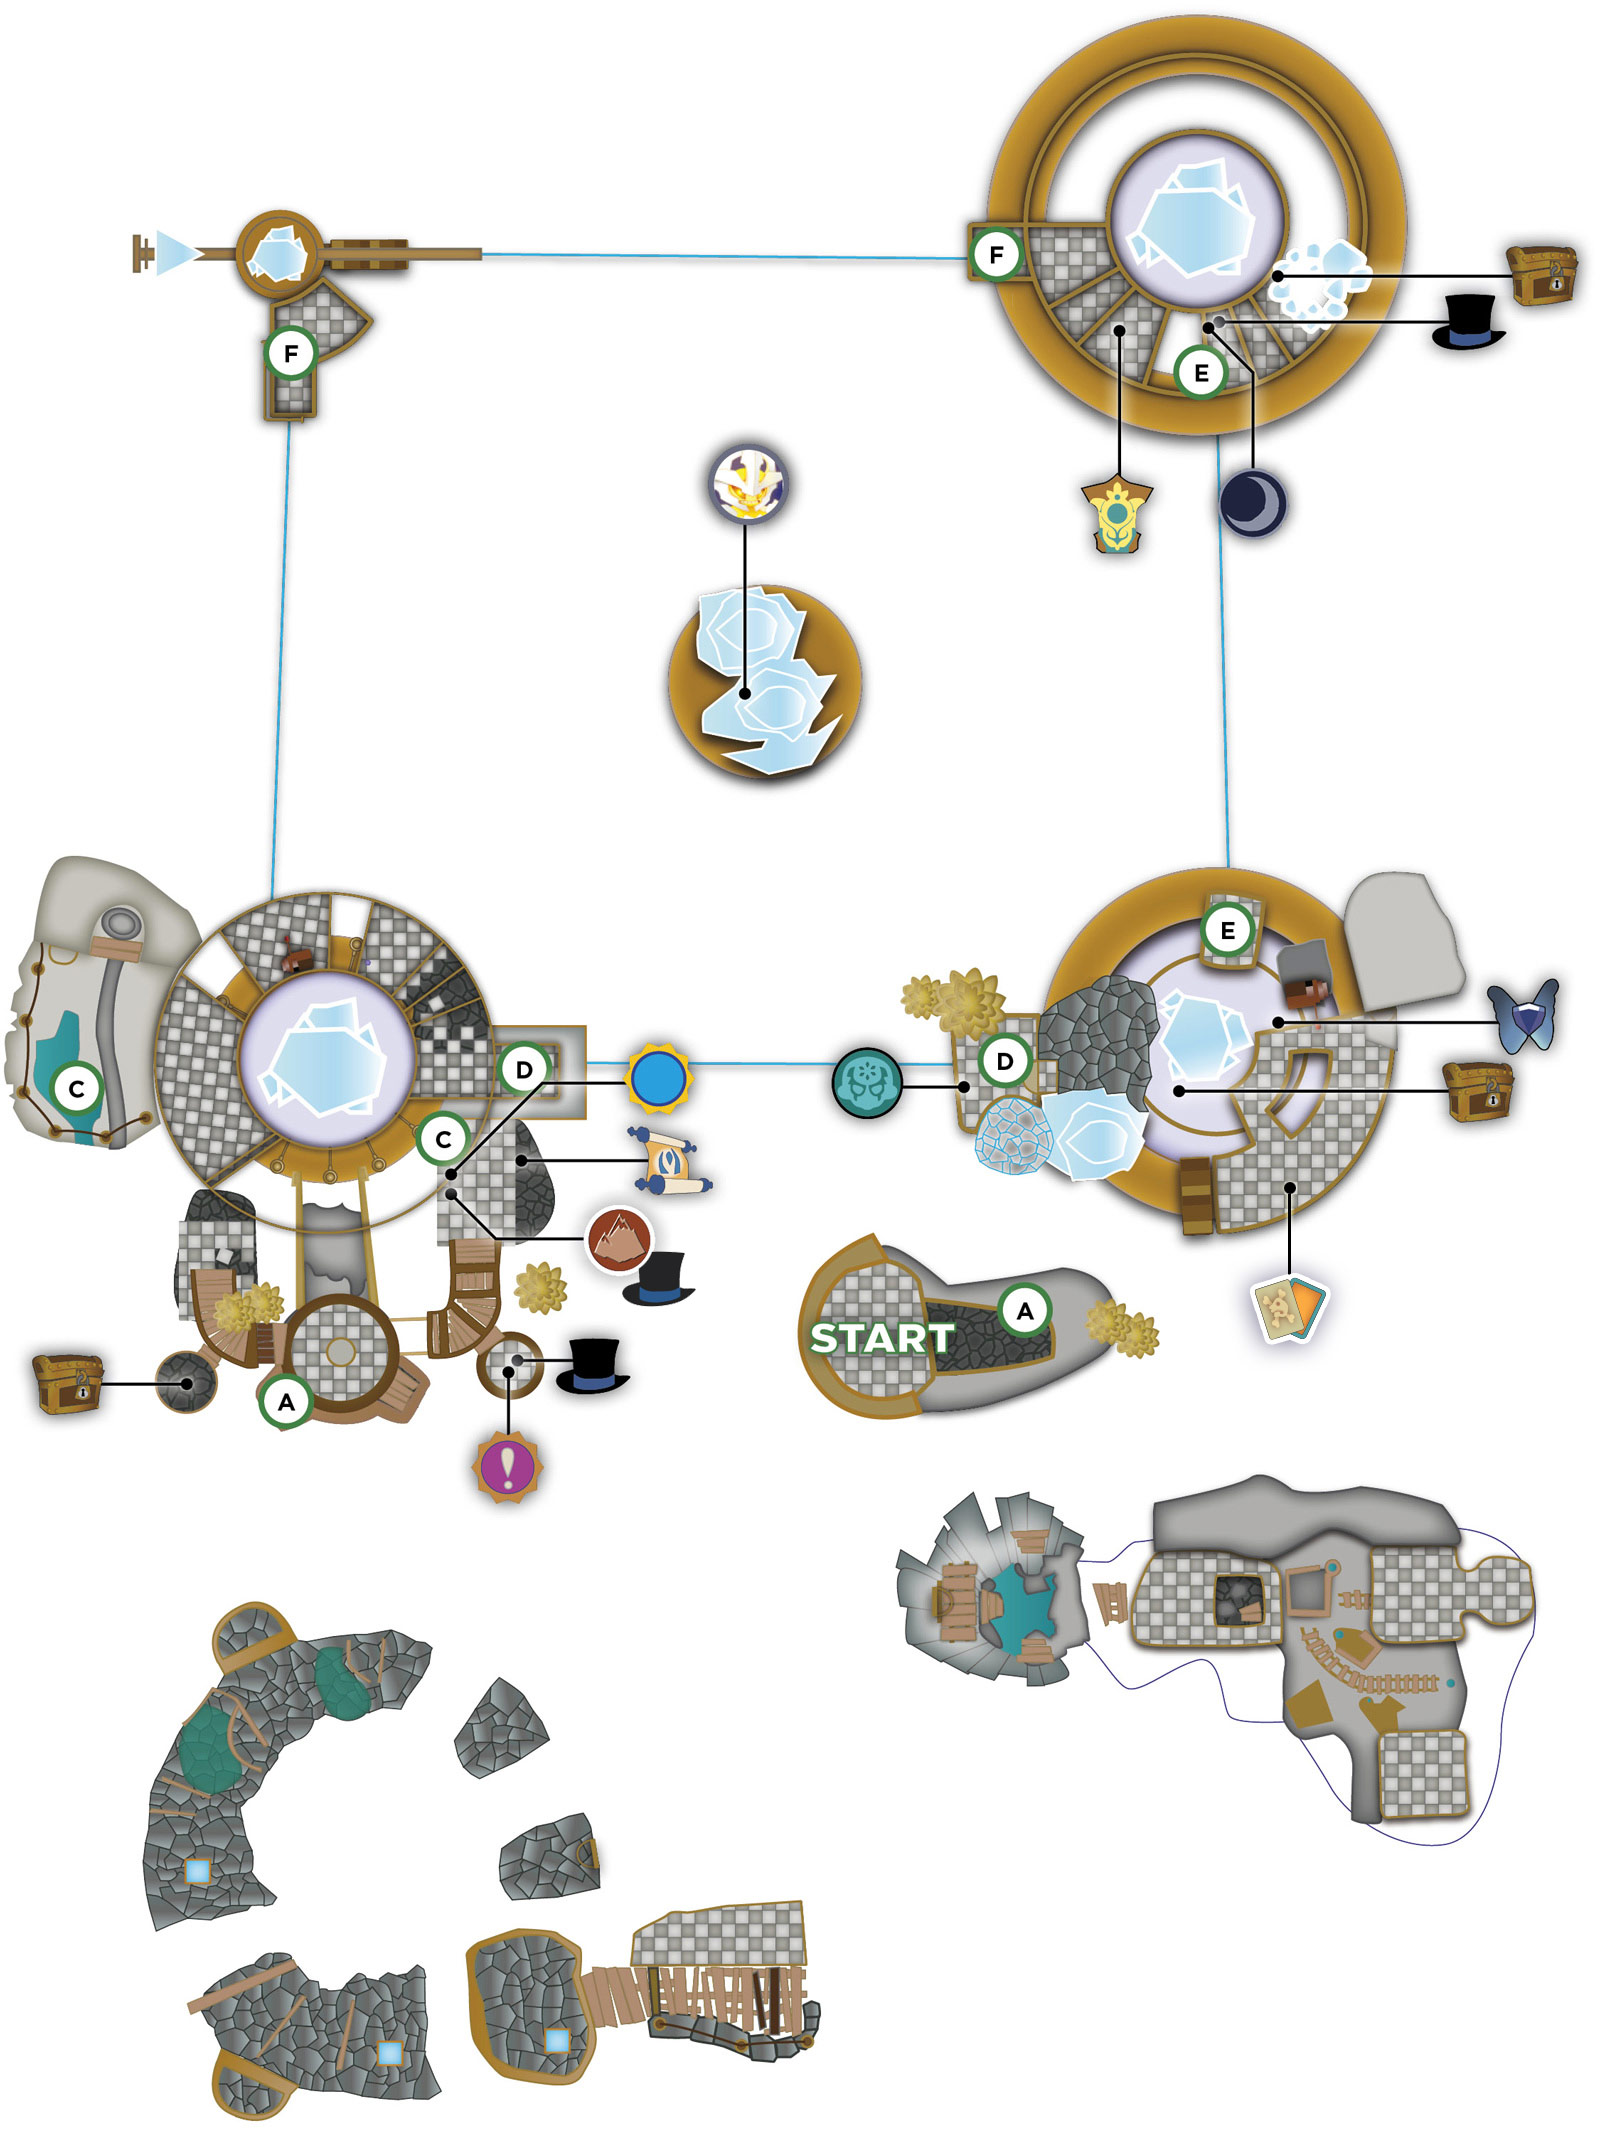
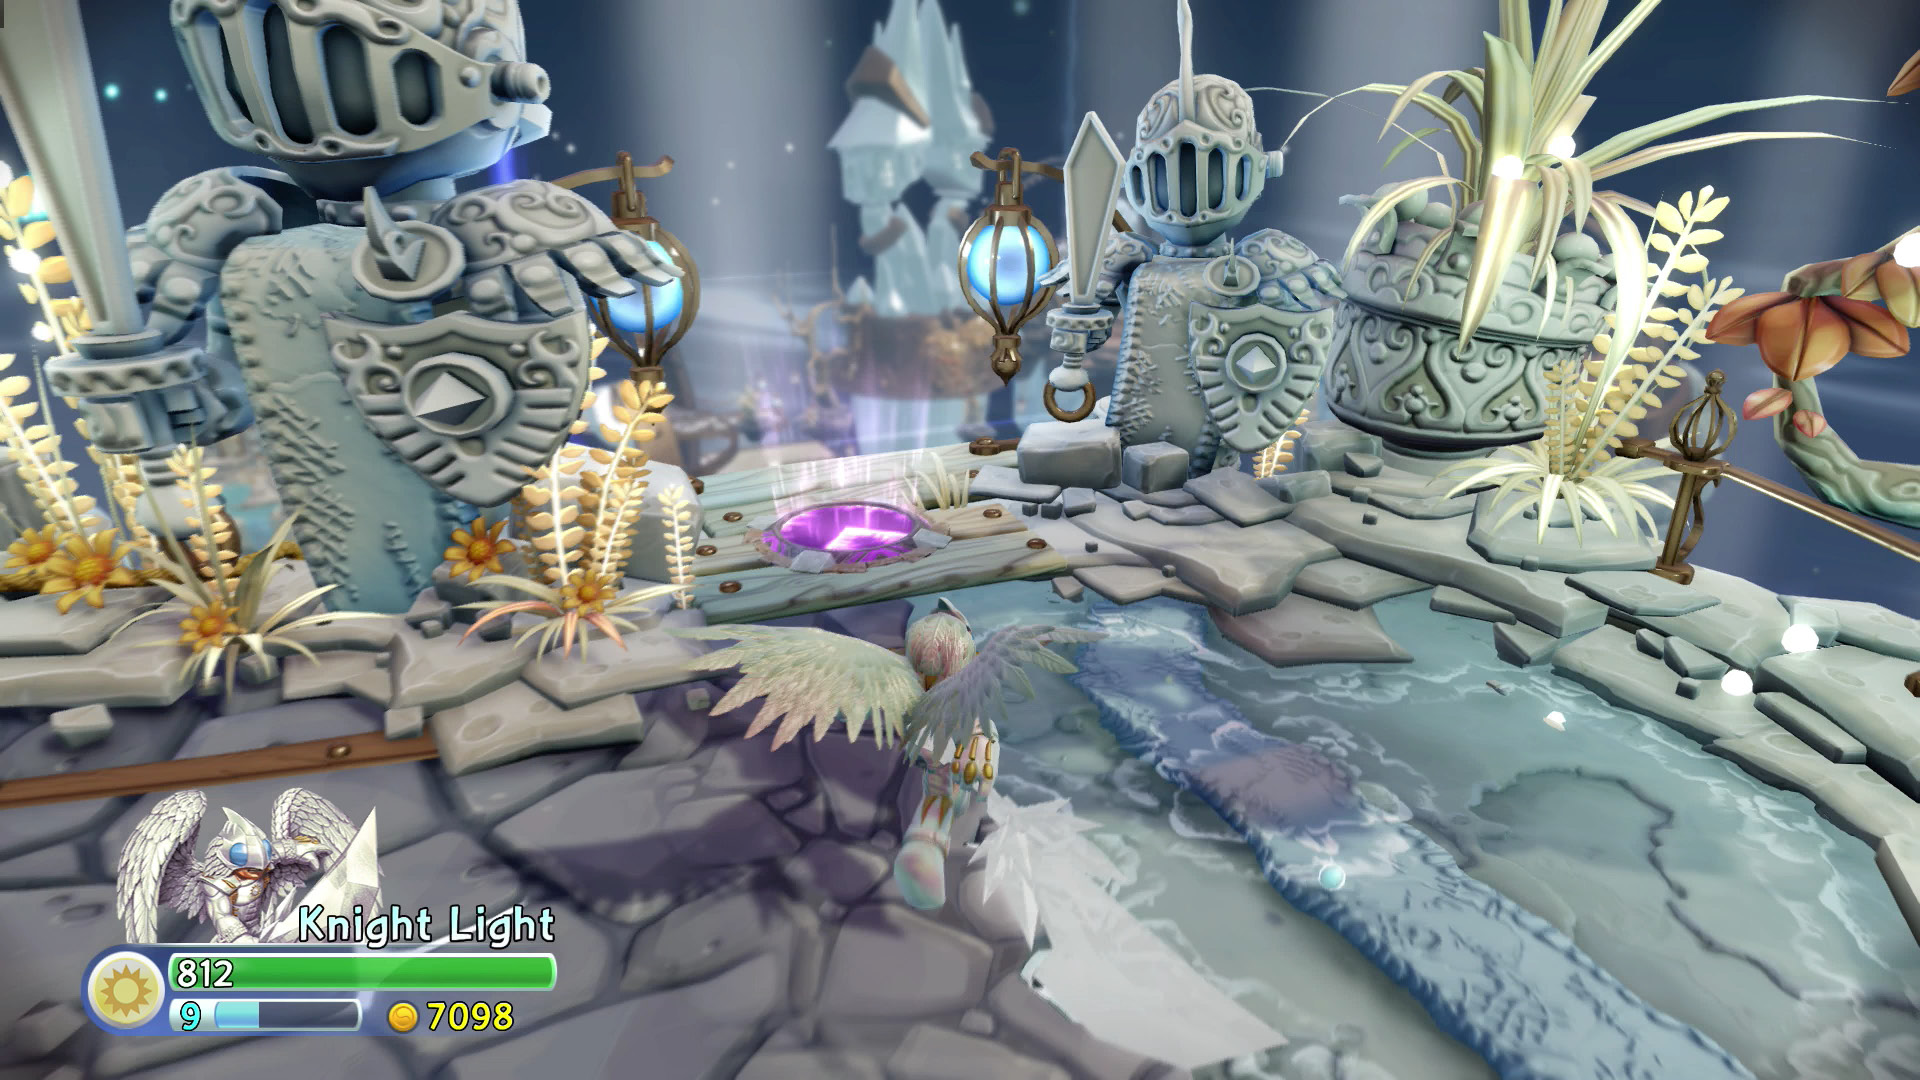
The Super Bounce Pad leaves your Skylander in a safe platform overlooking a pit with a Battle Gate at one end, guarded by blue Chompies. Defeat the Chompies and go through the lowered Battle Gate. Avoid the spear traps and look for a platform off the left side of the path. Destroy the Traptanium Crystal to reveal a Treasure Chest.
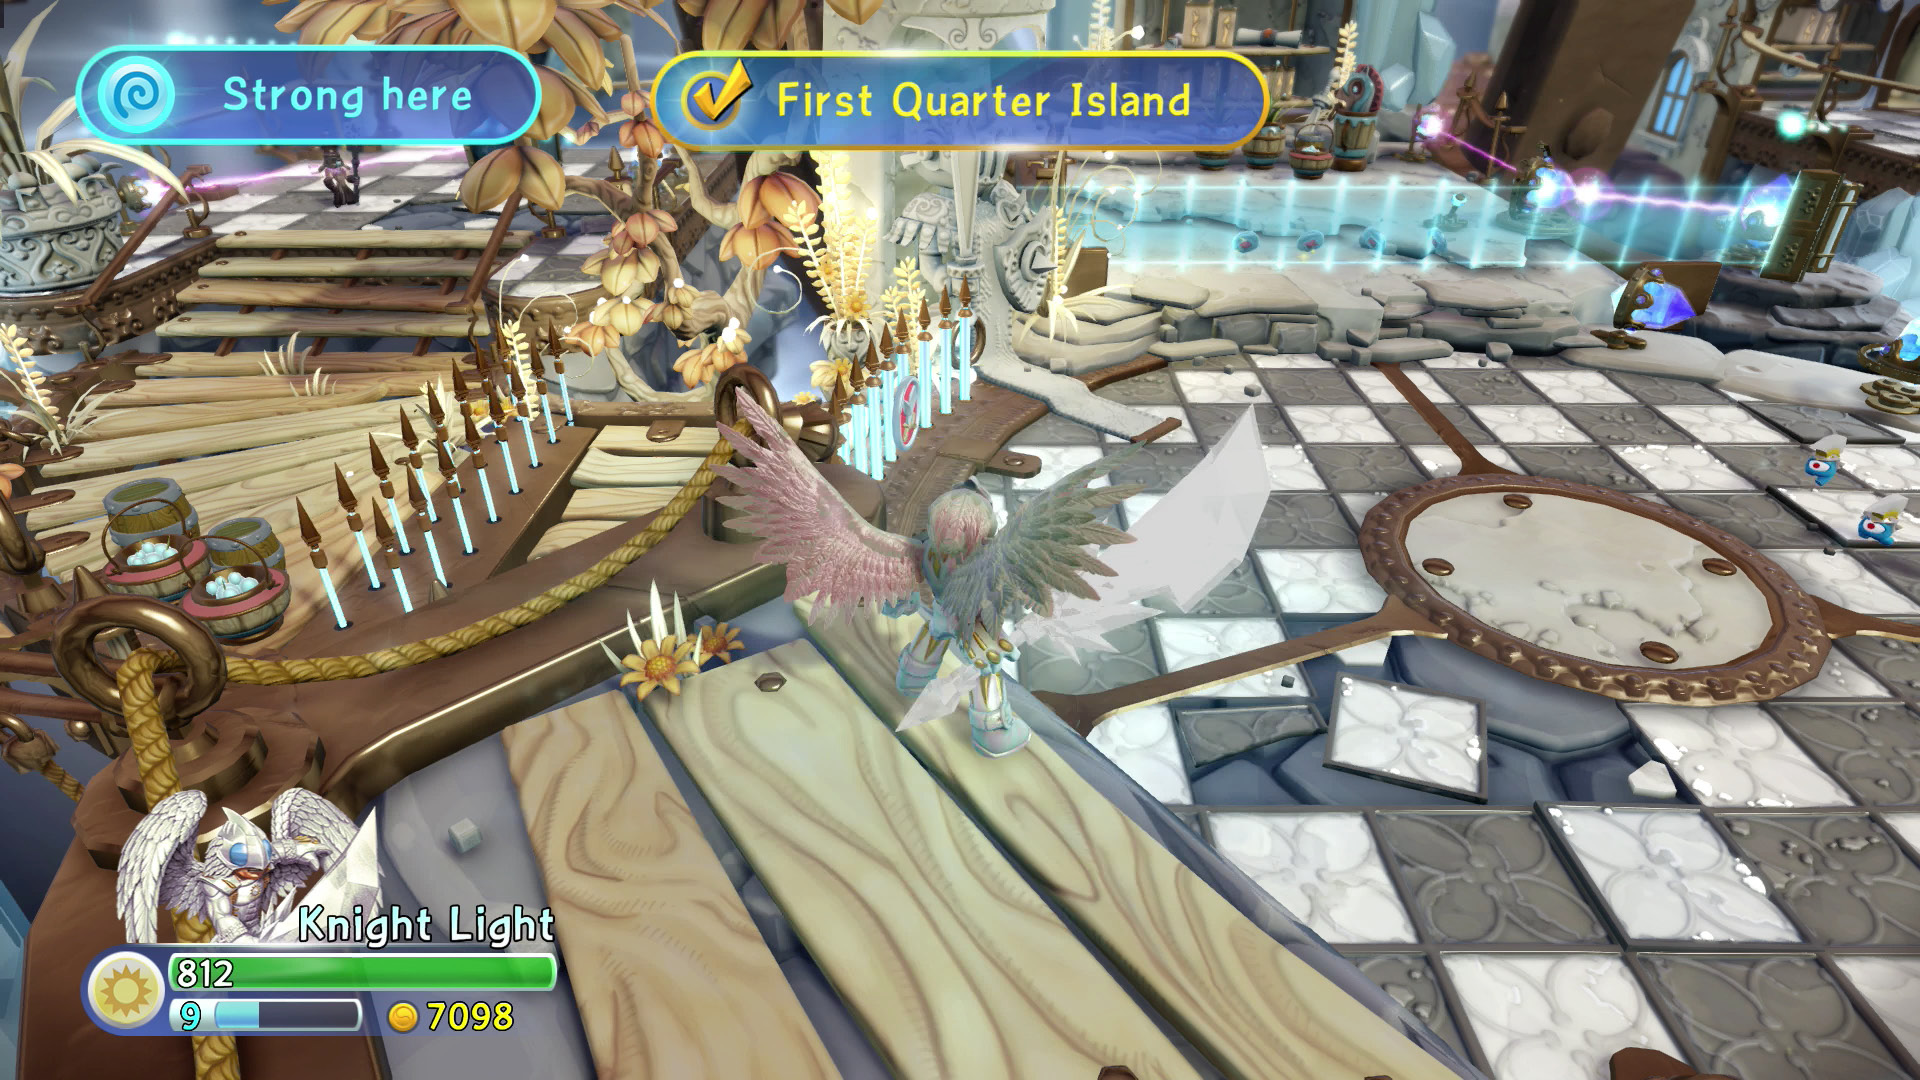
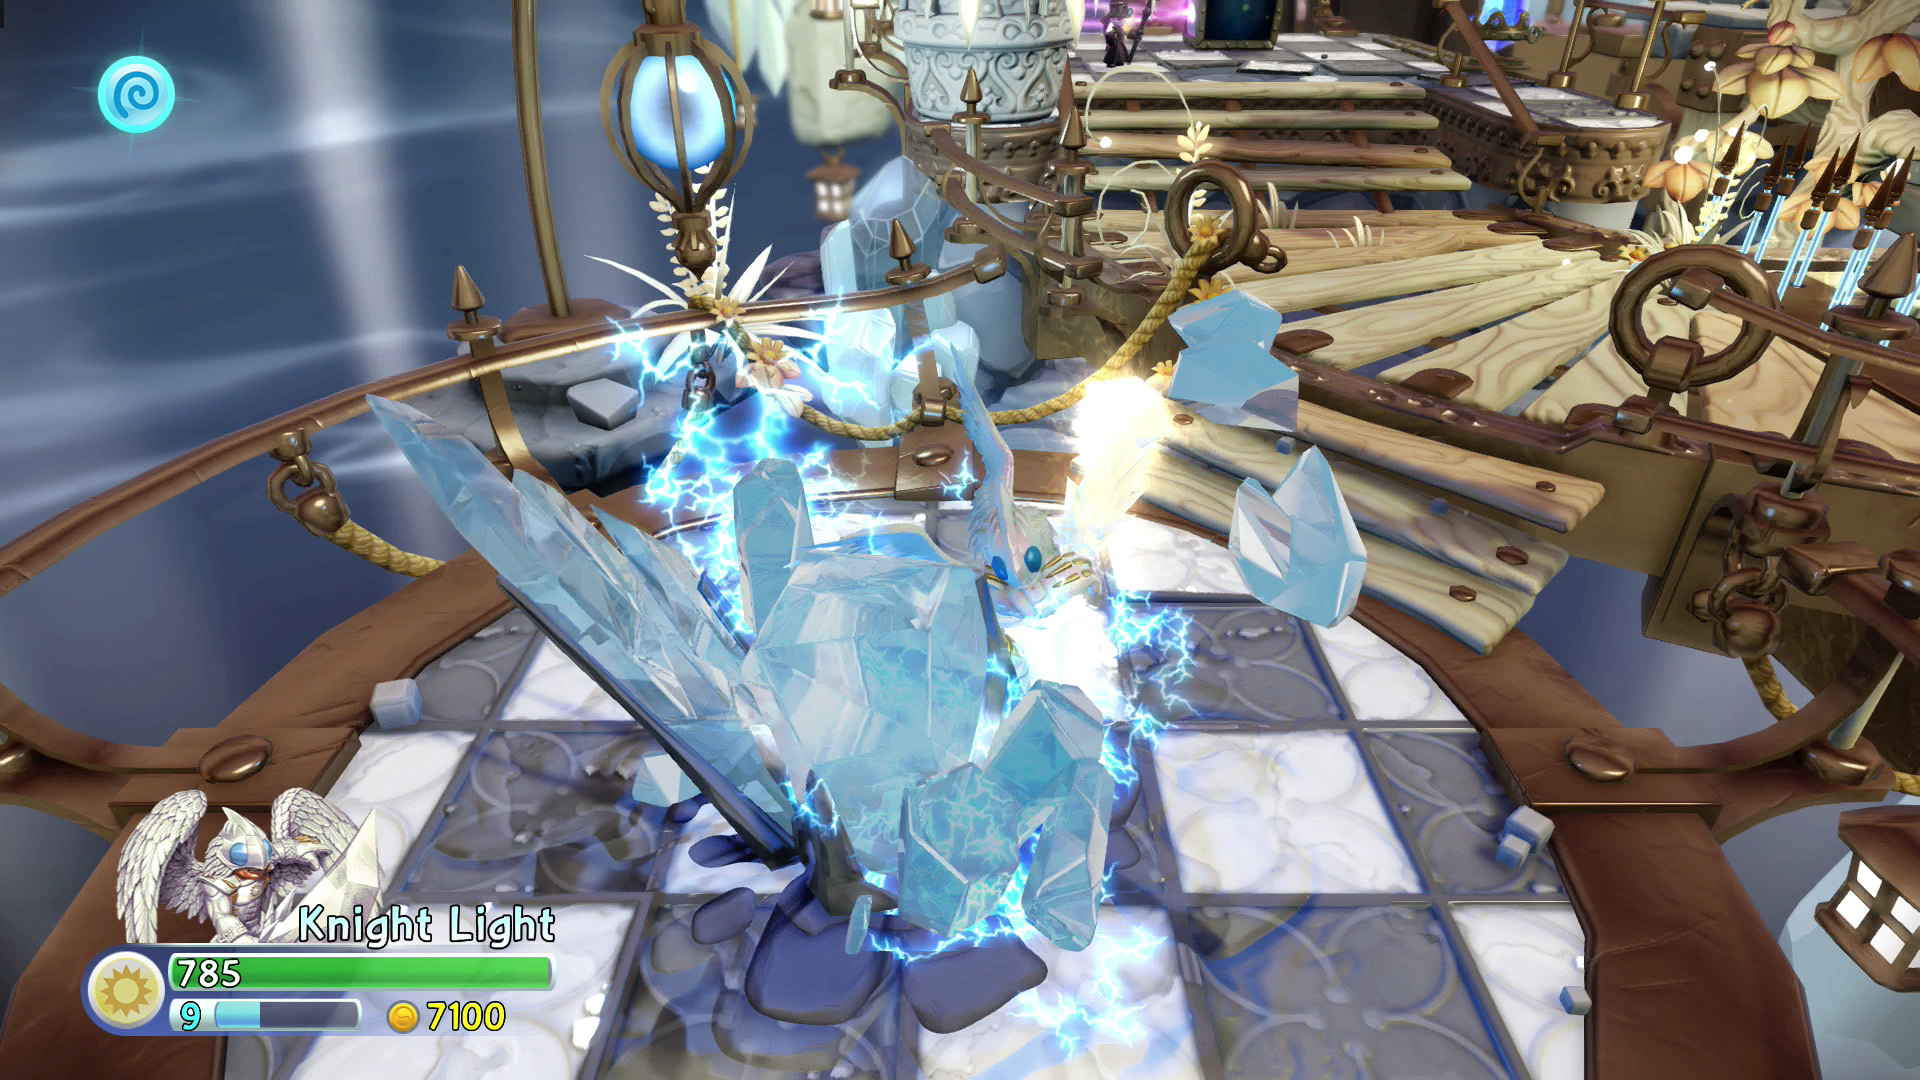
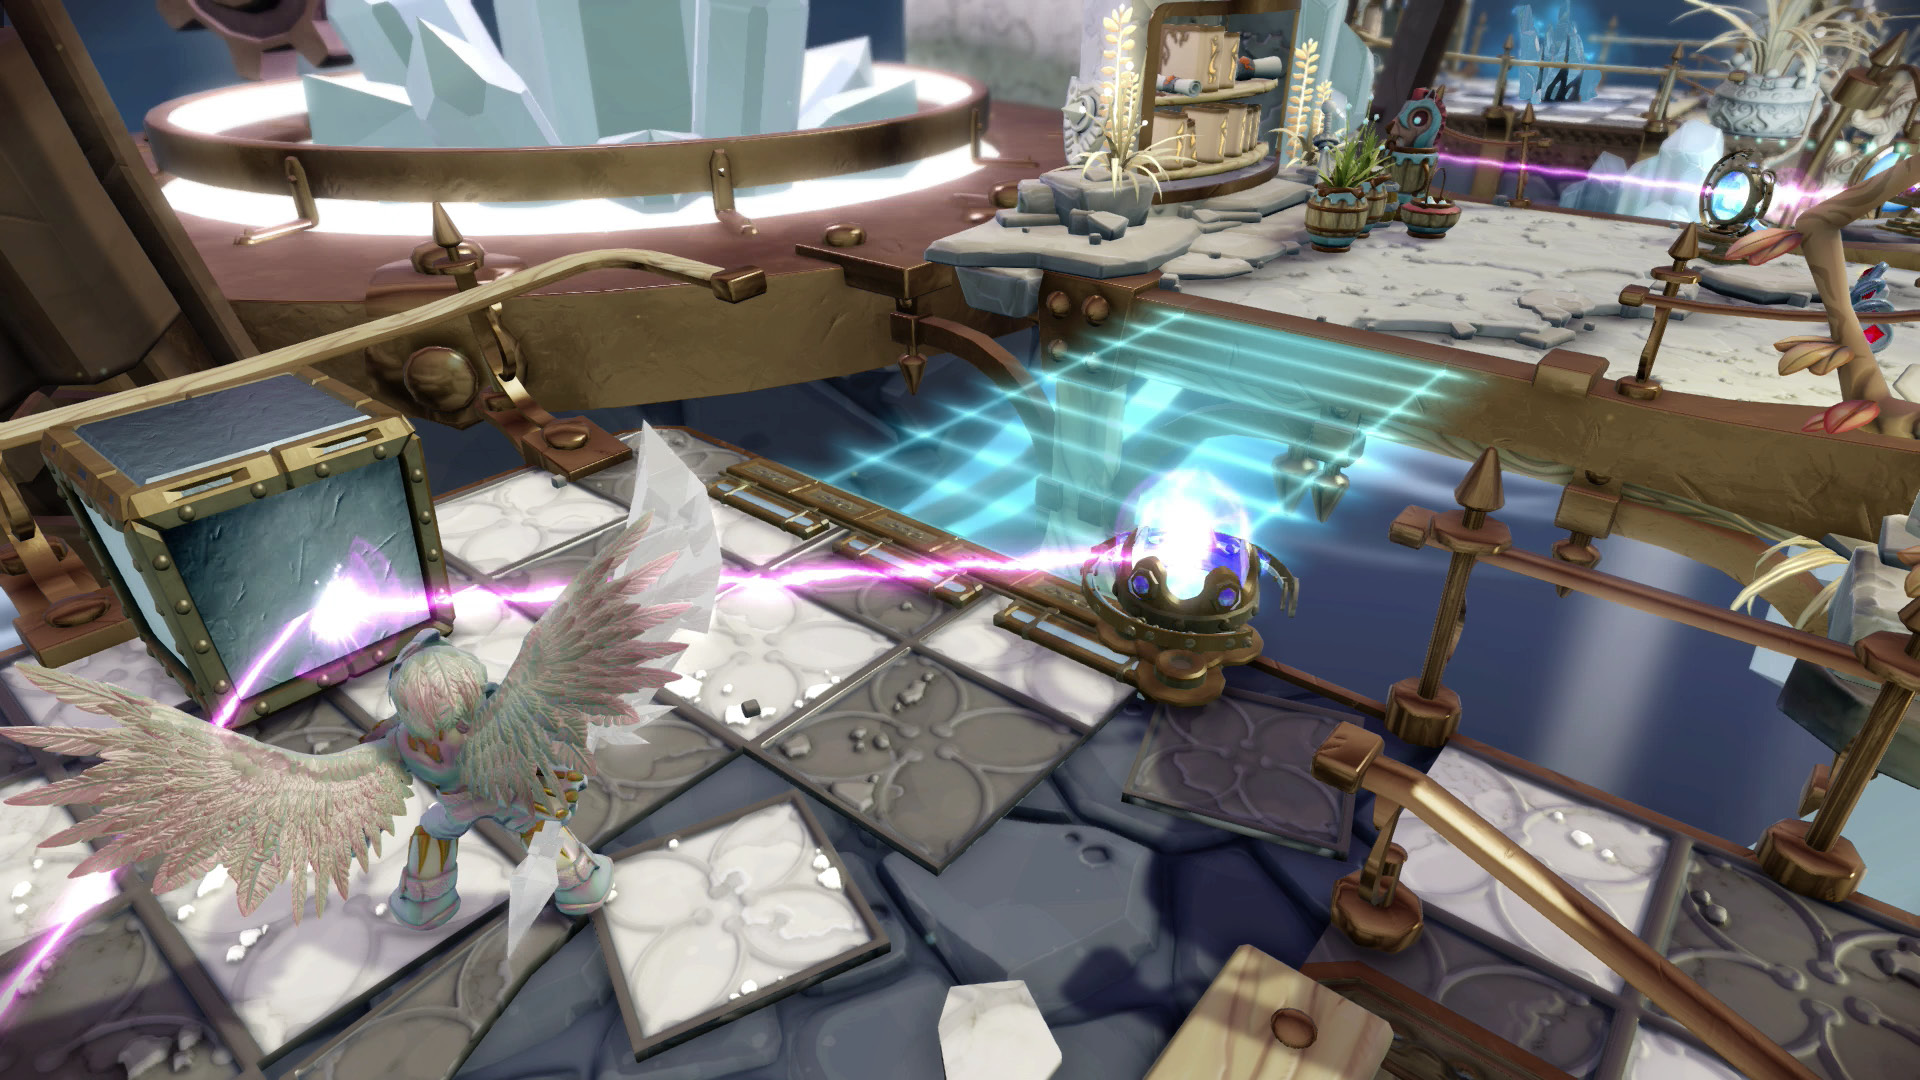
Speak with Mags who points out a reflecting block. Push the block to guide the light beam into the crystal and create a light bridge. Cross the bridge and use the switch to lower the barrier and create another light bridge.
Defeat the Chompies and Cyclops Spinners and cross the new bridge. Avoid the spear traps that pop up from the ground and step to the right when you see Buzz standing on a platform. He has the Villain Quest for Luminous.
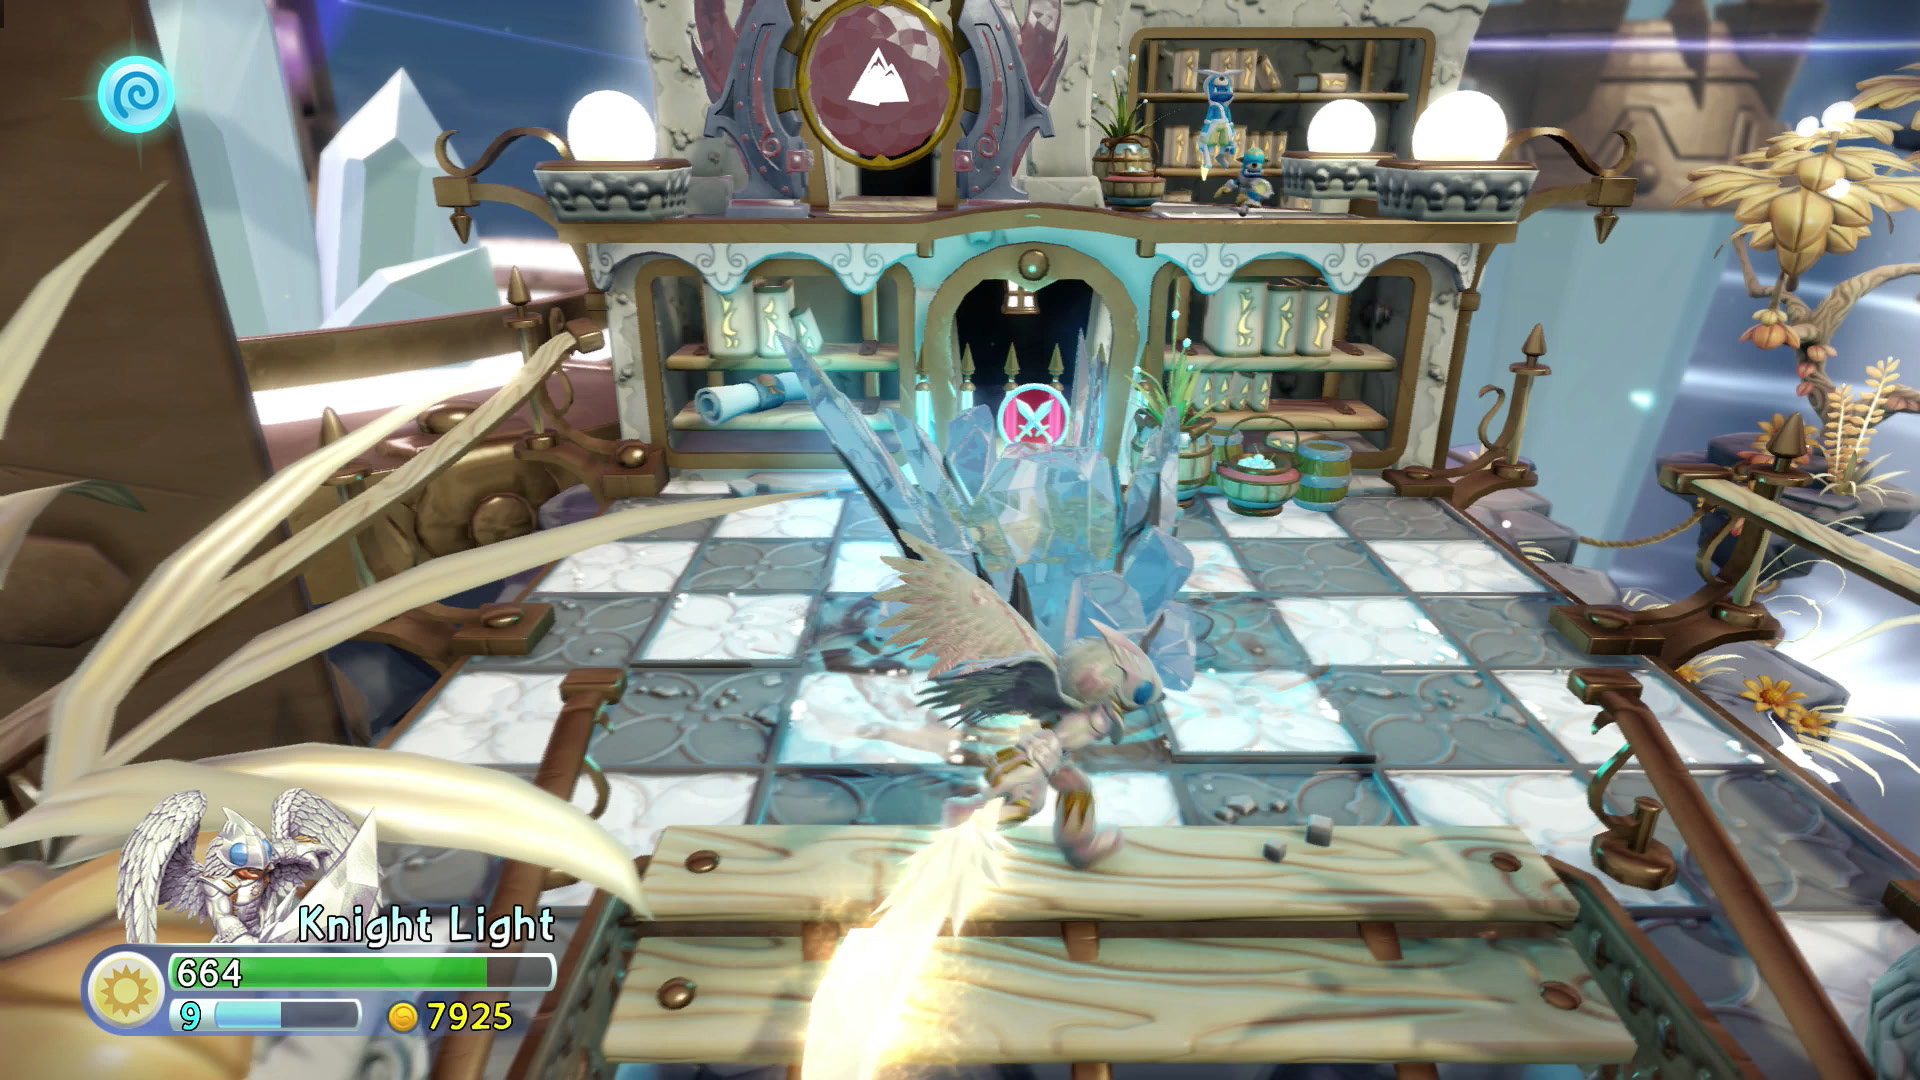
Continue past Buzz’s platform and avoid the spear traps. The walkway ends at an ambush by Cyclopes on a platform with a Battle Gate and Traptanium Crystal. Don’t go into the door behind the Battle Gate (it leads to the Crystal Underpass) until after you explore the area and find the way up to the Earth Gate.
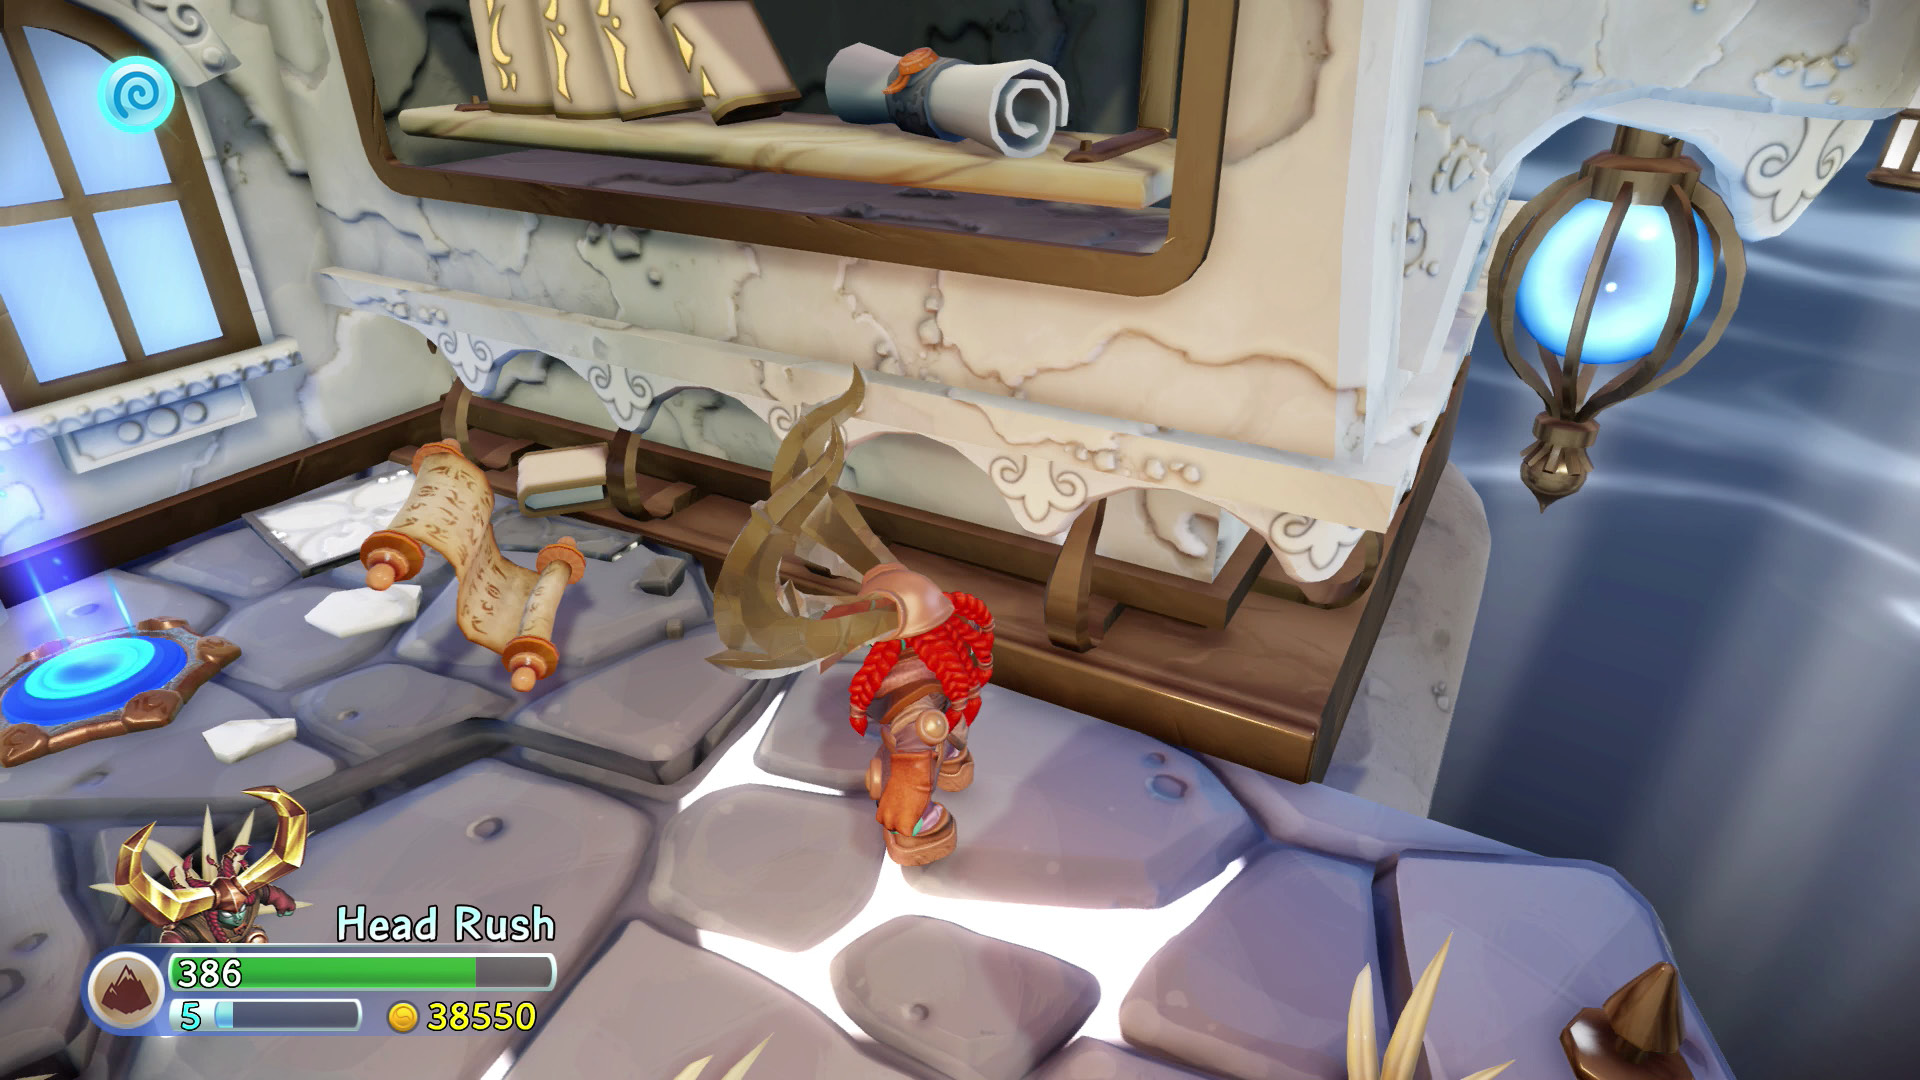
Drop off the right side of the checkered platform to reach the Hidden Path. Grab the Story Scroll and use the Bounce Pad to get up to the ledge above with the Earth Gate.
Crystal Underpass
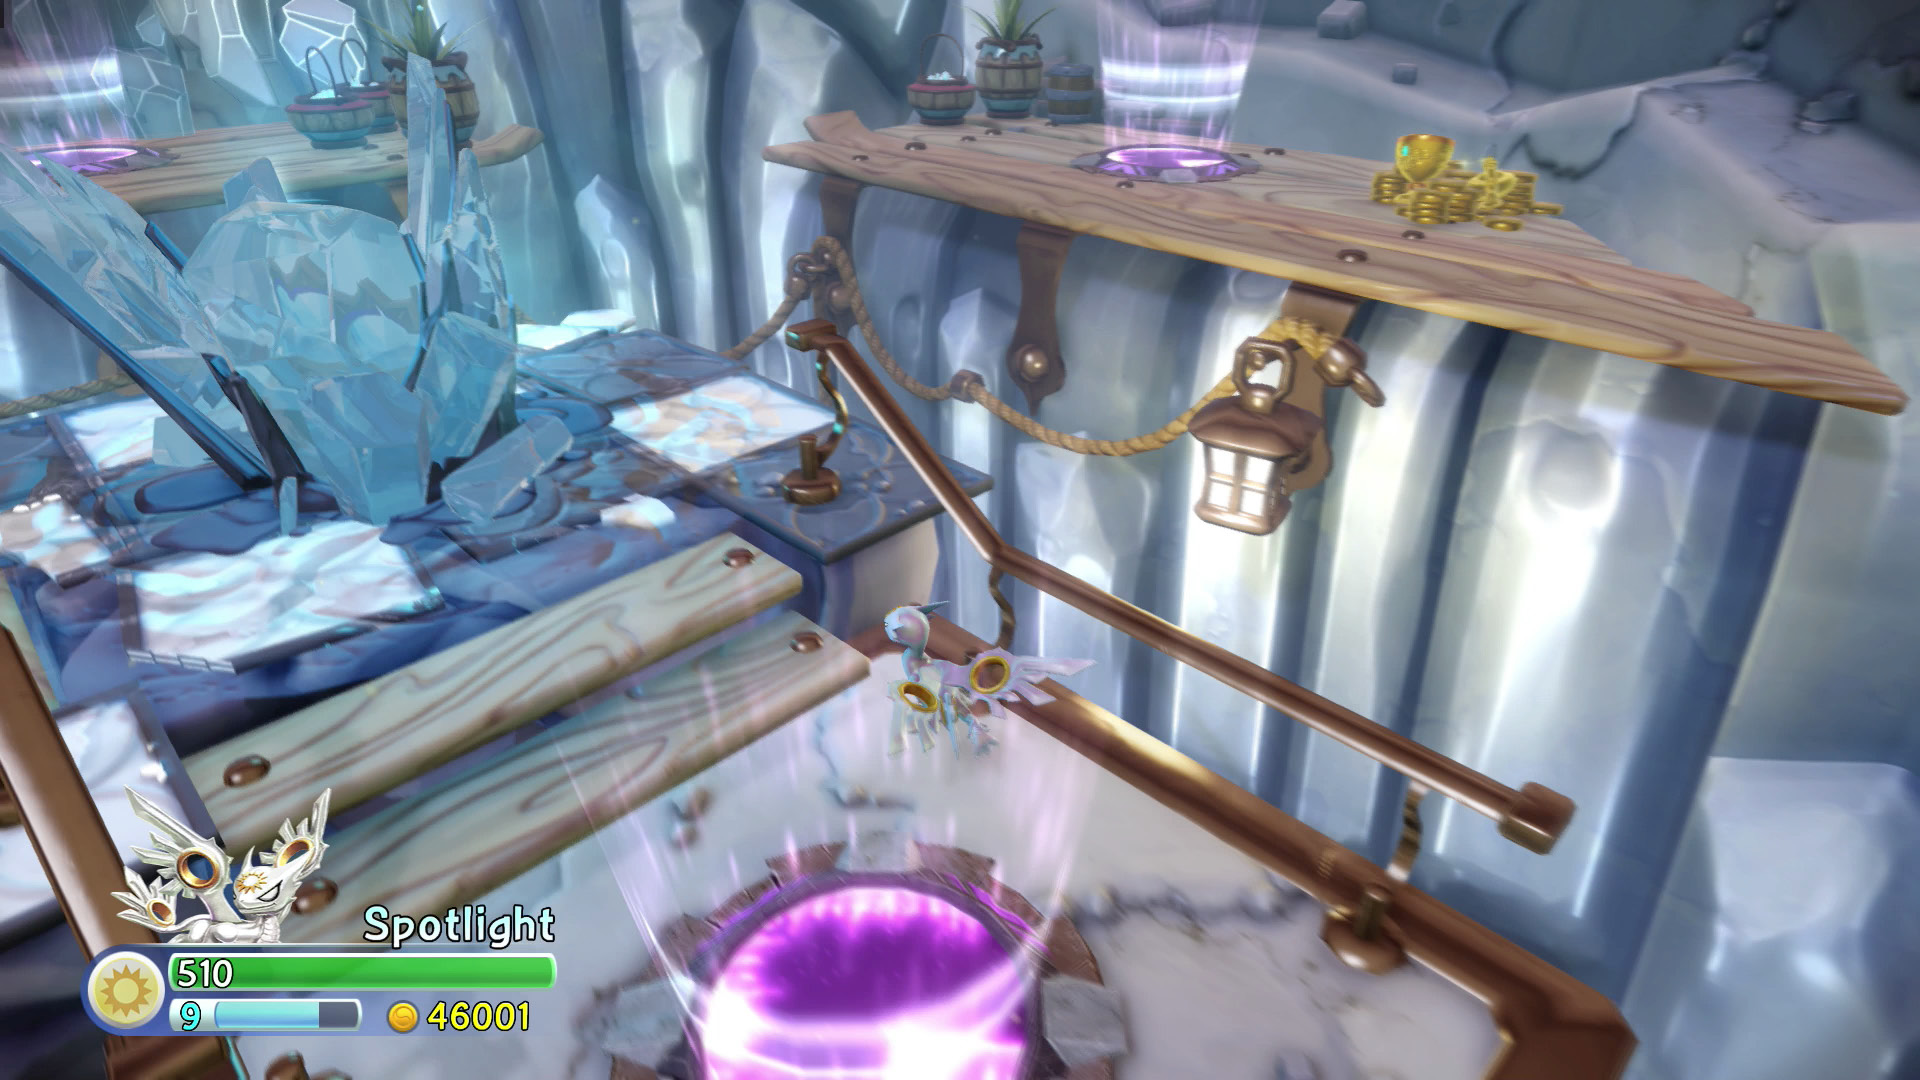
The Super Bounce Pads on either side of the entrance send your Skylander to the room’s exit, but you don’t want to do that, yet. Jump from platform to platform (avoiding the Super Bounce Pads) to reach the Traptanium Crystal. Destroy the Traptanium Crystal to reveal Knight Light’s Soul Gem (Brilliant Blade). Jump on any of the Super Bounce Pads to land near the plank that leads to the First Beam Control Floor.
 First Beam Control Floor
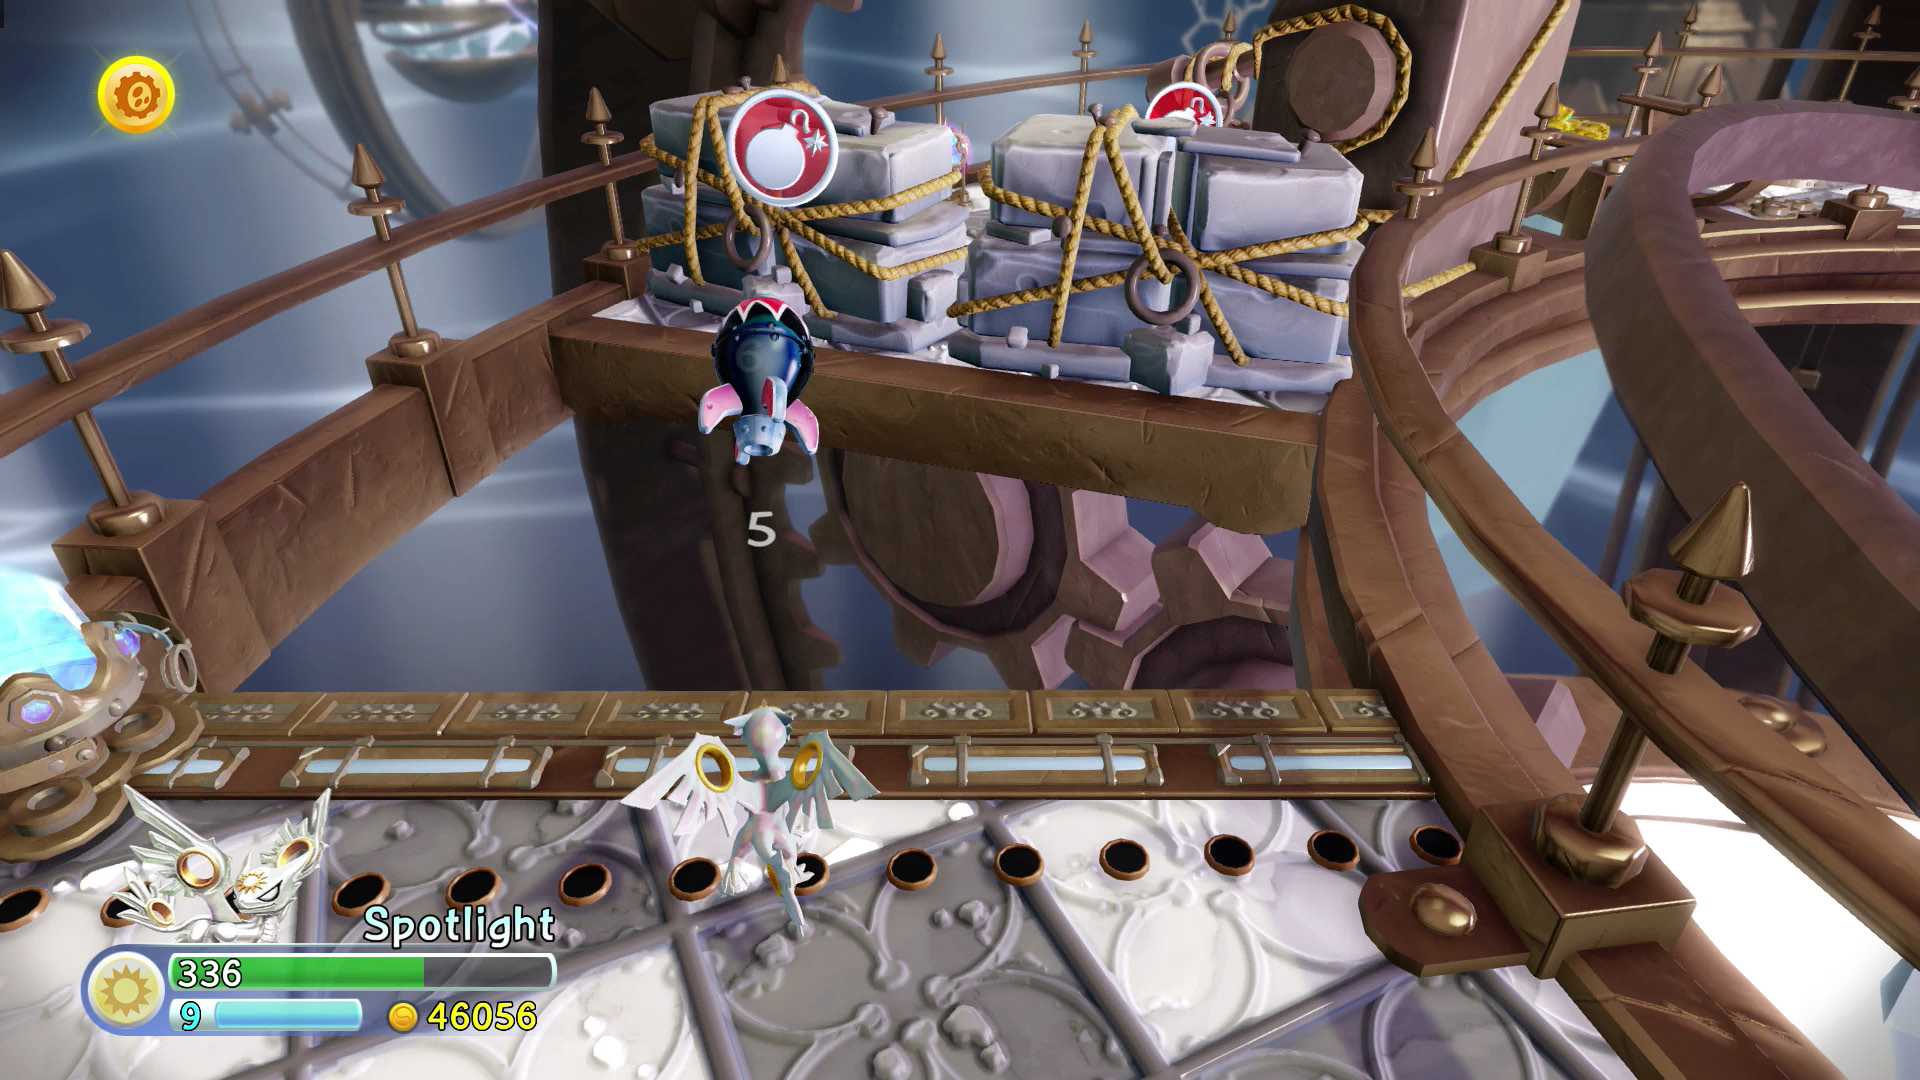
Defeat the Cyclopes and Chompies to drop the Battle Gate. Grab the Bomb from the ledge to clear the debris and create a light bridge. Grab another Bomb and destroy the stone hanging from the First Beam Control. Cross the new light bridge, avoid the spear traps, and use the Super Bounce Pad to reach Second Quarter Island.
Second Quarter Island
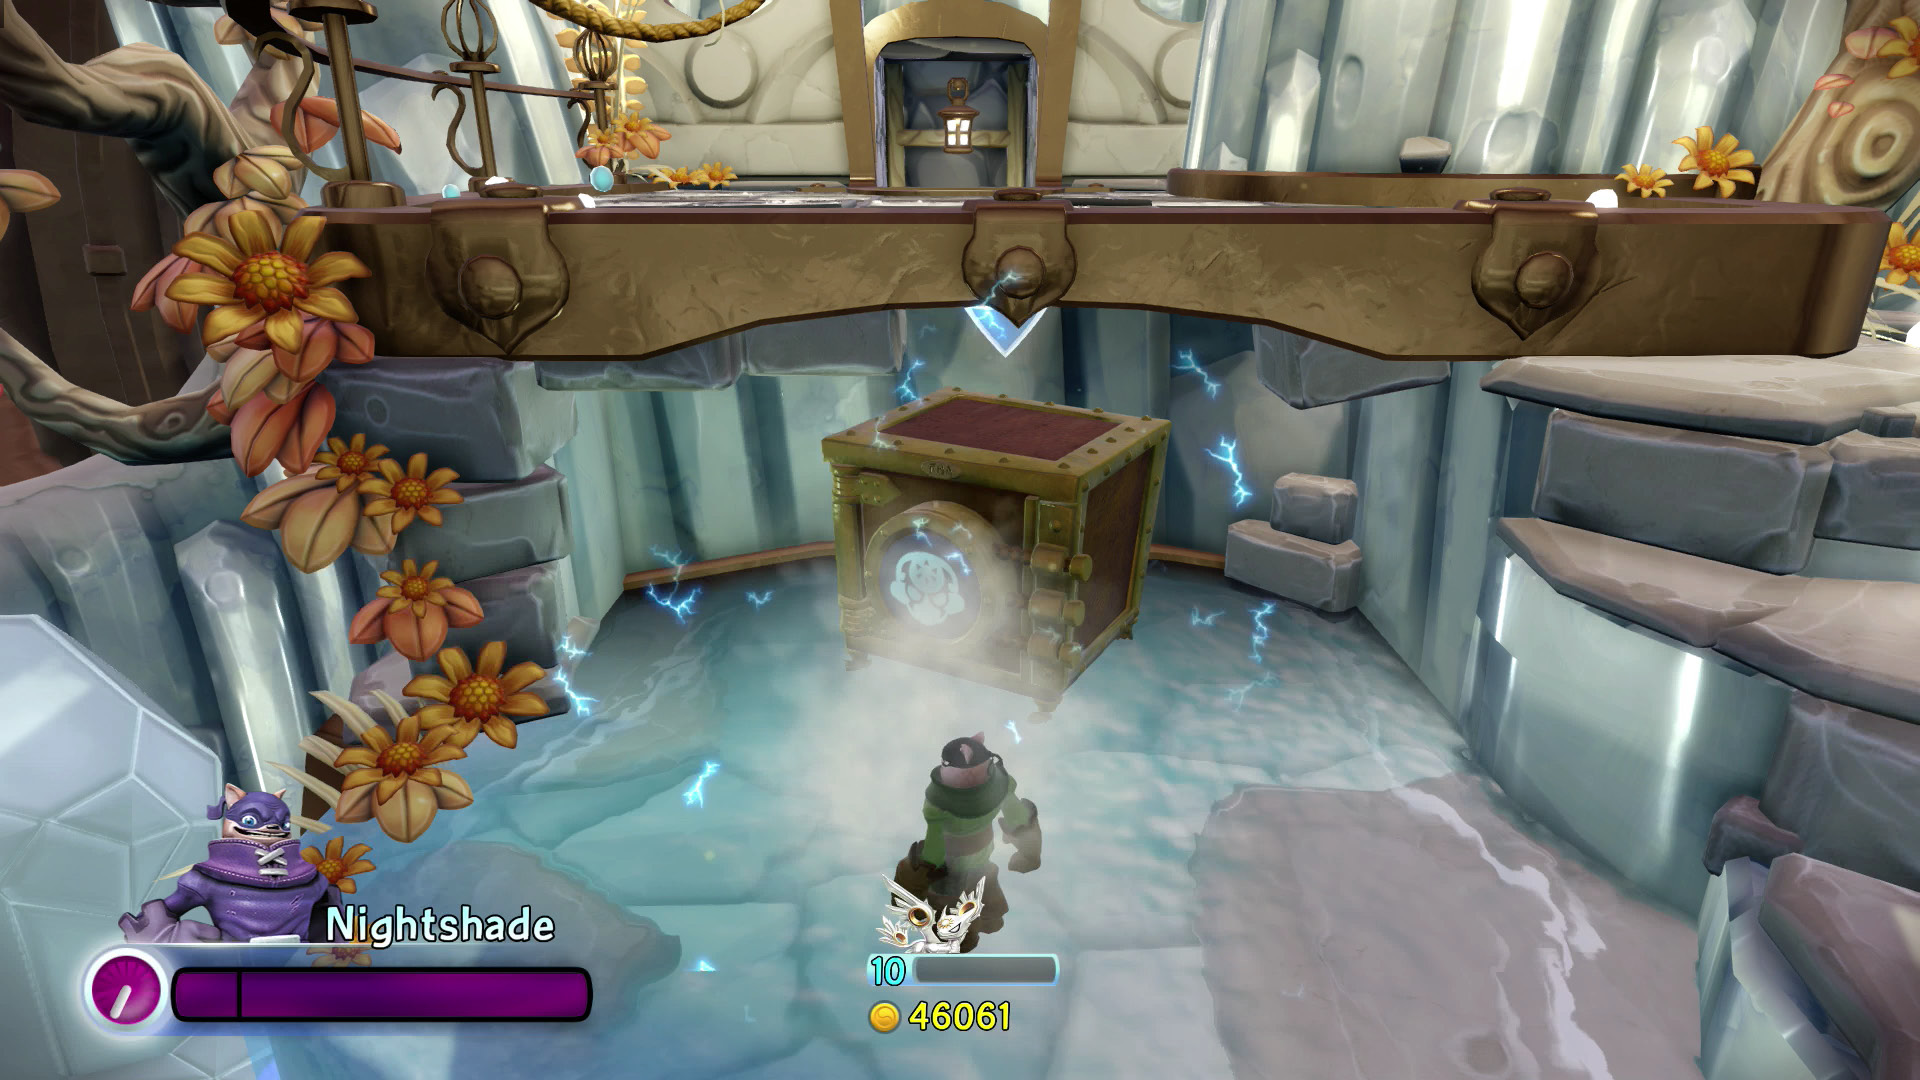
Ignore the doorway and turn around. Walk over the edge to discover a Villain Stash. Use the steps to return to where your Skylander landed and go through the doorway, which leads to the Under-Island Maintenance Area.
Under-Island Maintenance Area & Secret Platform
Look for a Troll Radio near the beam powering the light bridge. If you interrupt the beam while crossing the bridge, the bridge vanishes, sending your Skylander down to a soggy lower level. Since there’s a Winged Sapphire in the maintenance area’s lower level, falling down here is a good thing. Defeat the Chompies and follow the tracks around to the Sapphire. Use one of the sets of steps to return to the higher area. Defeat all of the enemies in the area to lower the Battle Gate. Buzz waits behind the gate to challenge you to a game of Skystones Smash.
Use the switch on the middle platform once to create a bridge that leads to a Treasure Chest on the Secret Platform. Return to the switch in the middle and turn the beam one more time to create a light bridge.
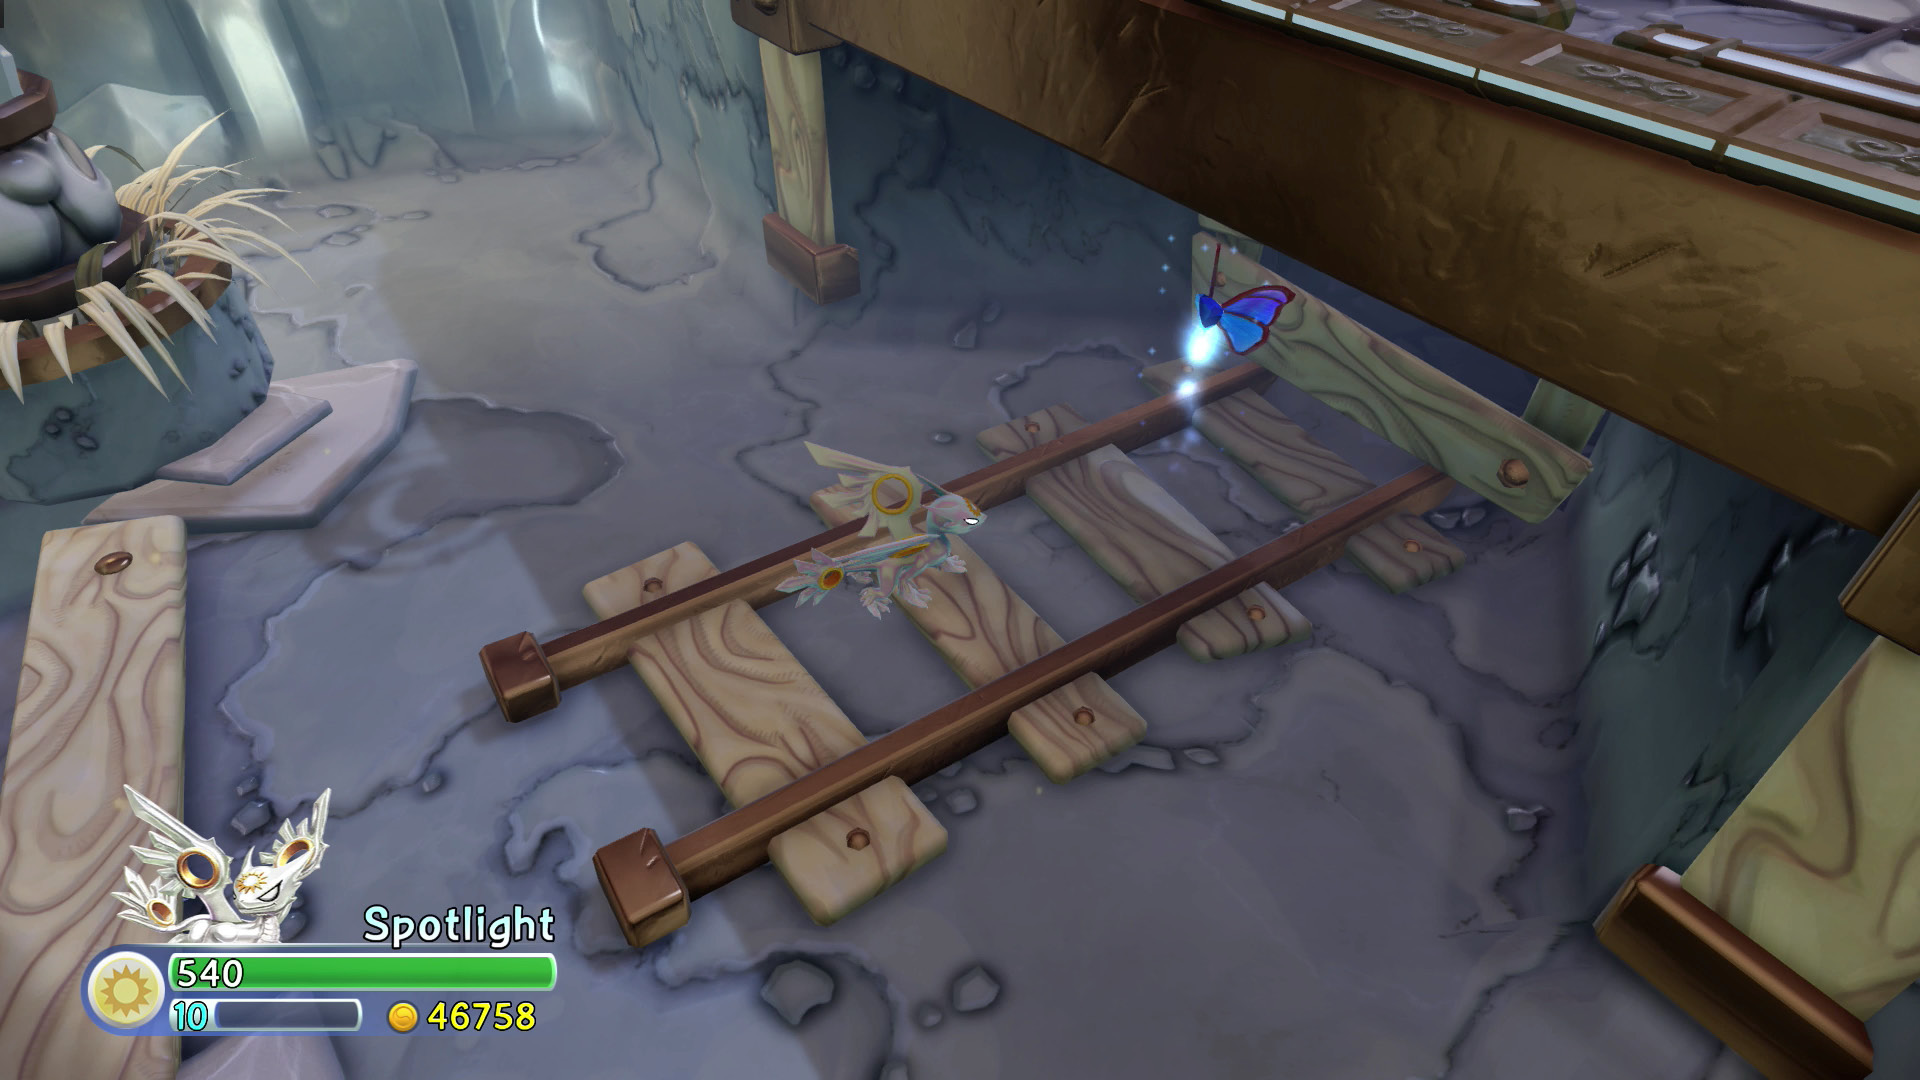
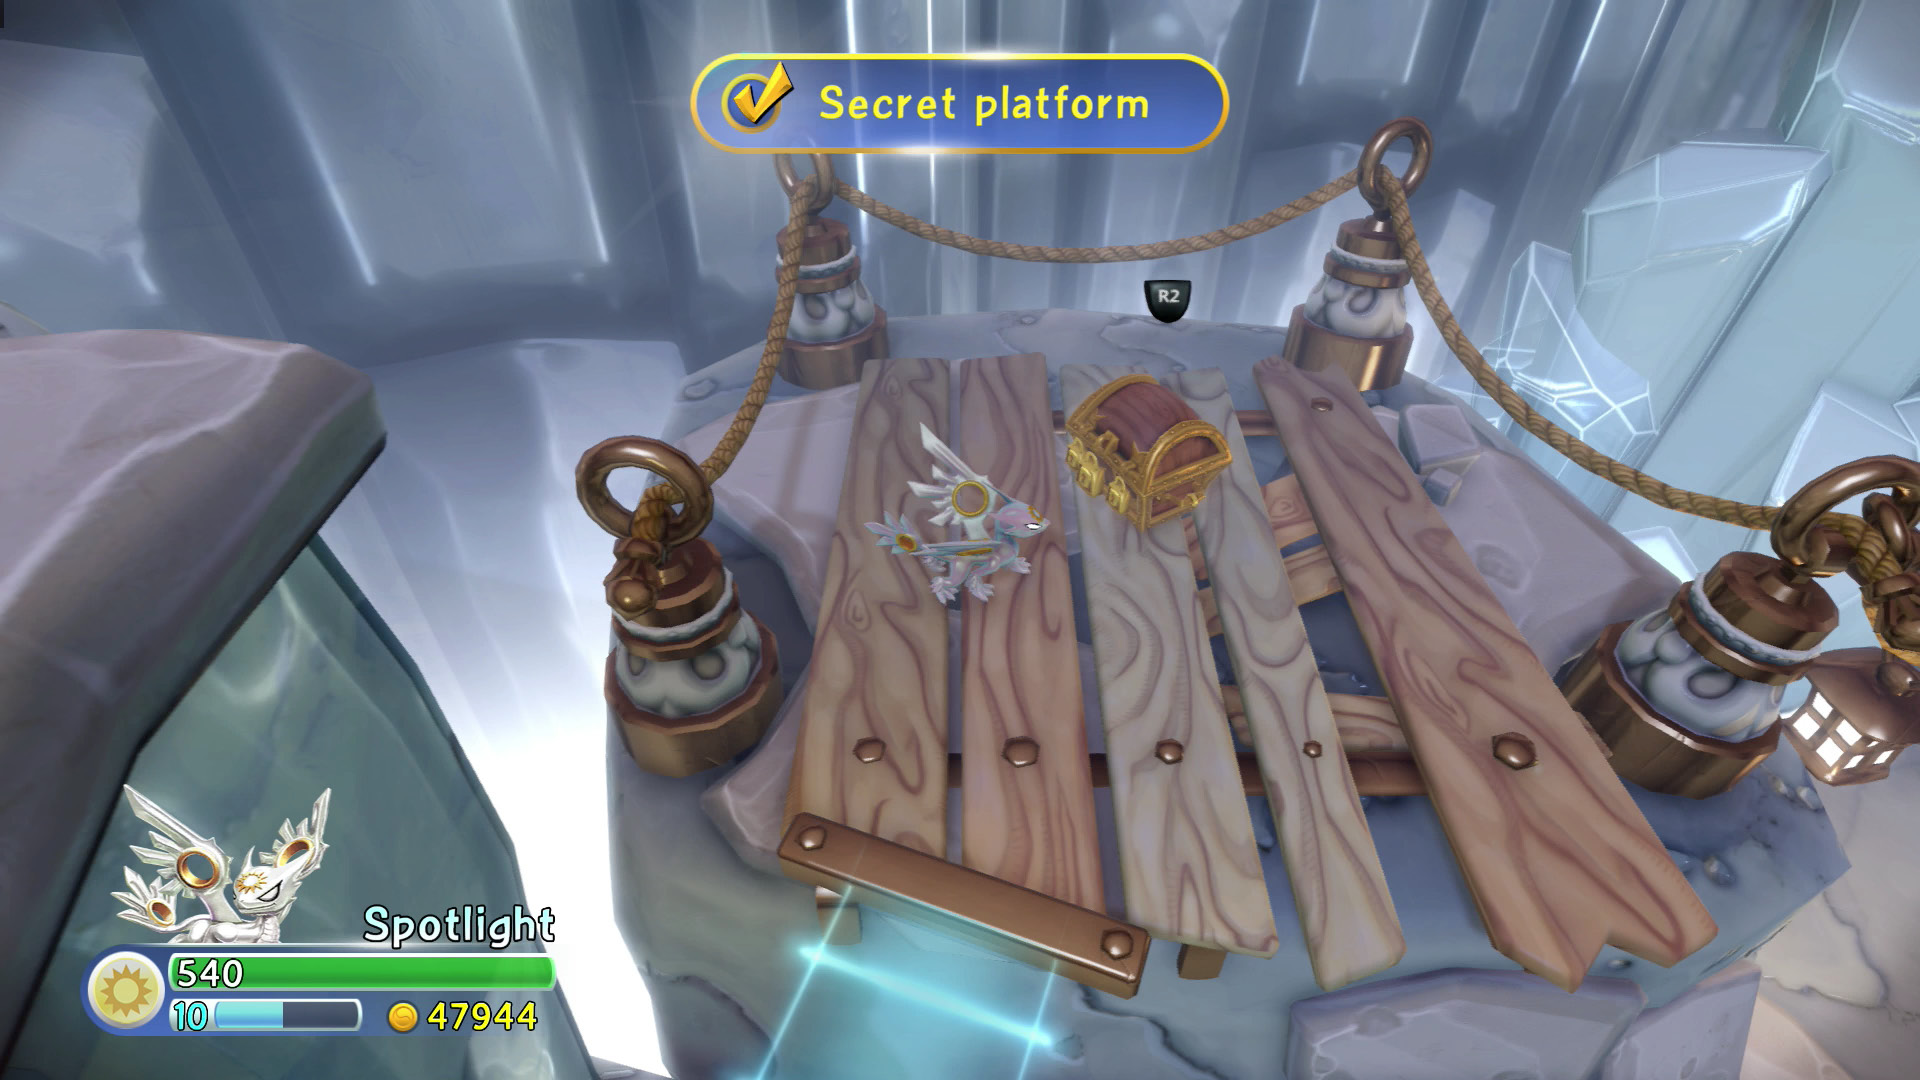
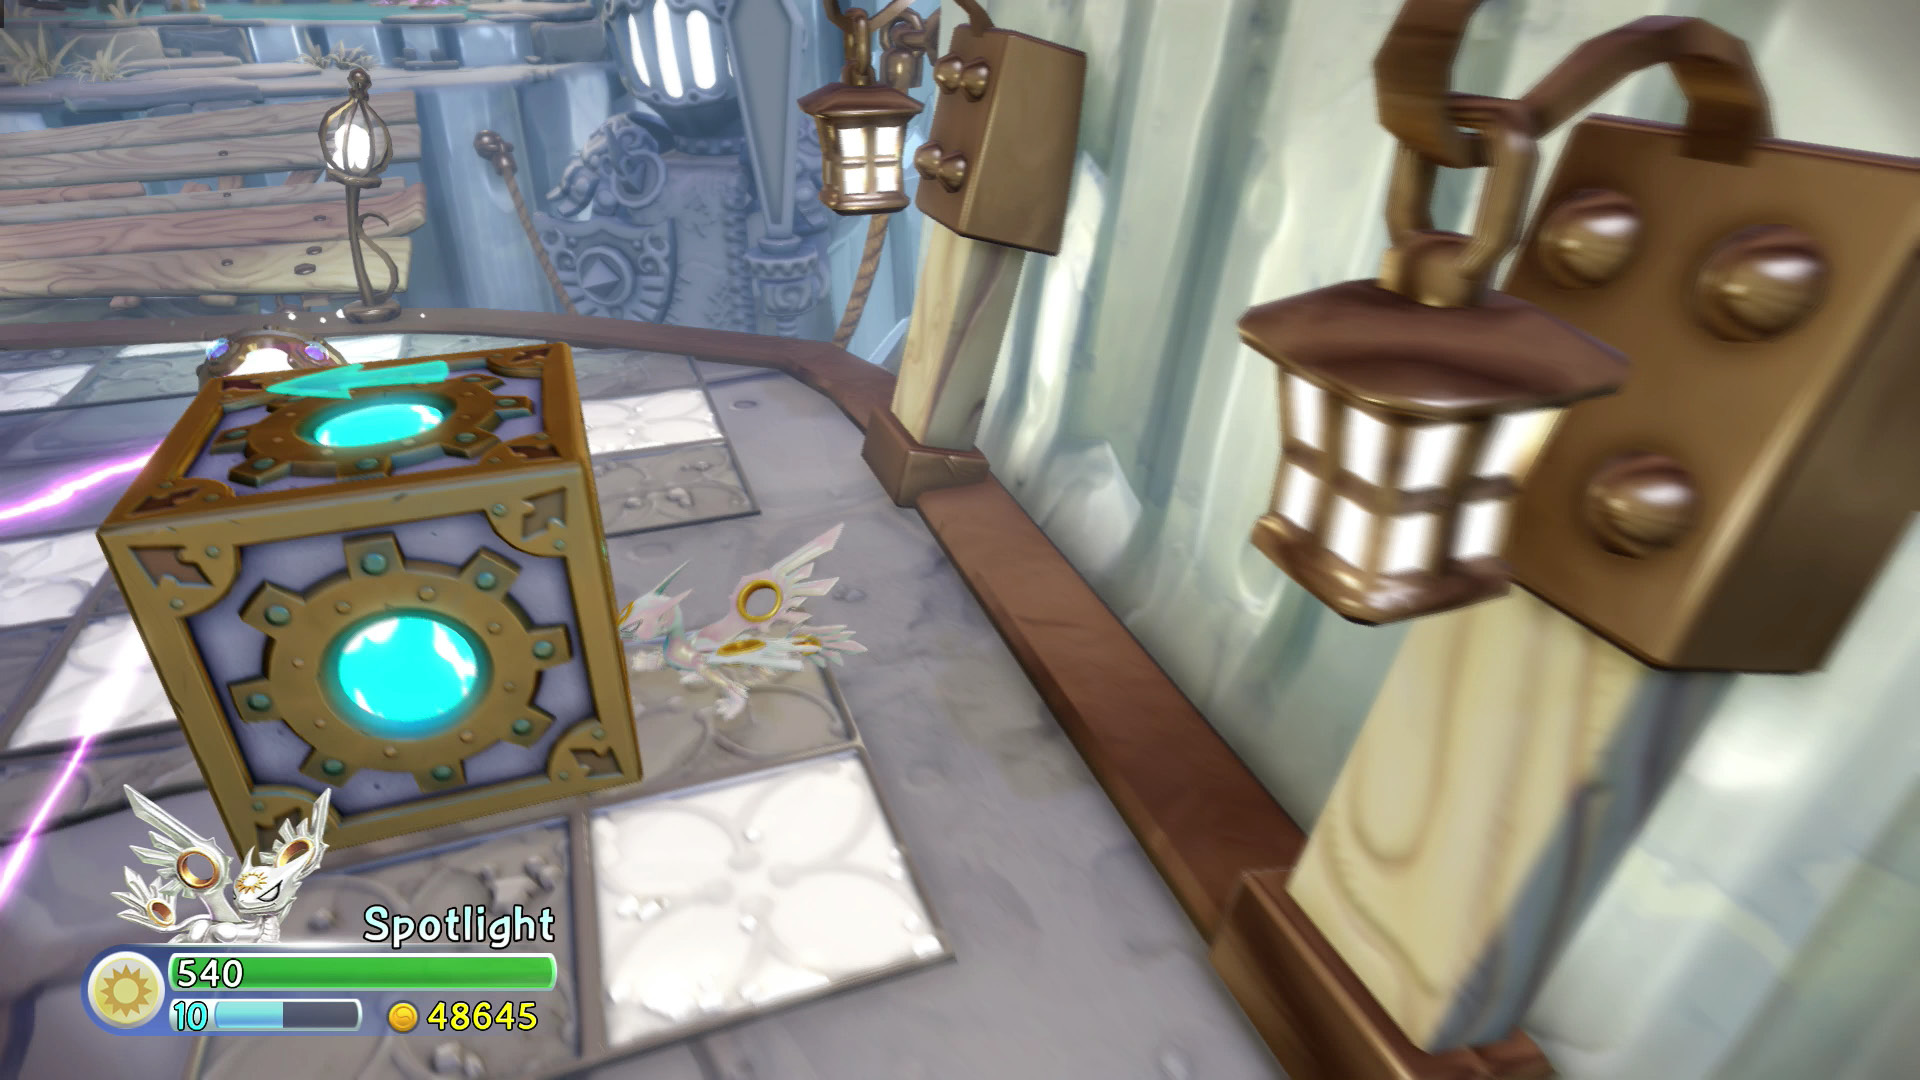
Cross the bridge and look for the nearby sliding blocks. Push the block closest to the beam to interrupt it to remove the barrier keeping you from the valuables in the hole. Run and jump over the wooden bridge beyond the beam emitter. Use the Super Bounce Pad in the water to reach a door with a Lock Puzzle. Go right, up, and left to smash the pottery. Go down, right, up, left, right, down, right, up, left, down, right, down, left, up, and right to collect the coin and solve the puzzle.
 Second Beam Control Floor
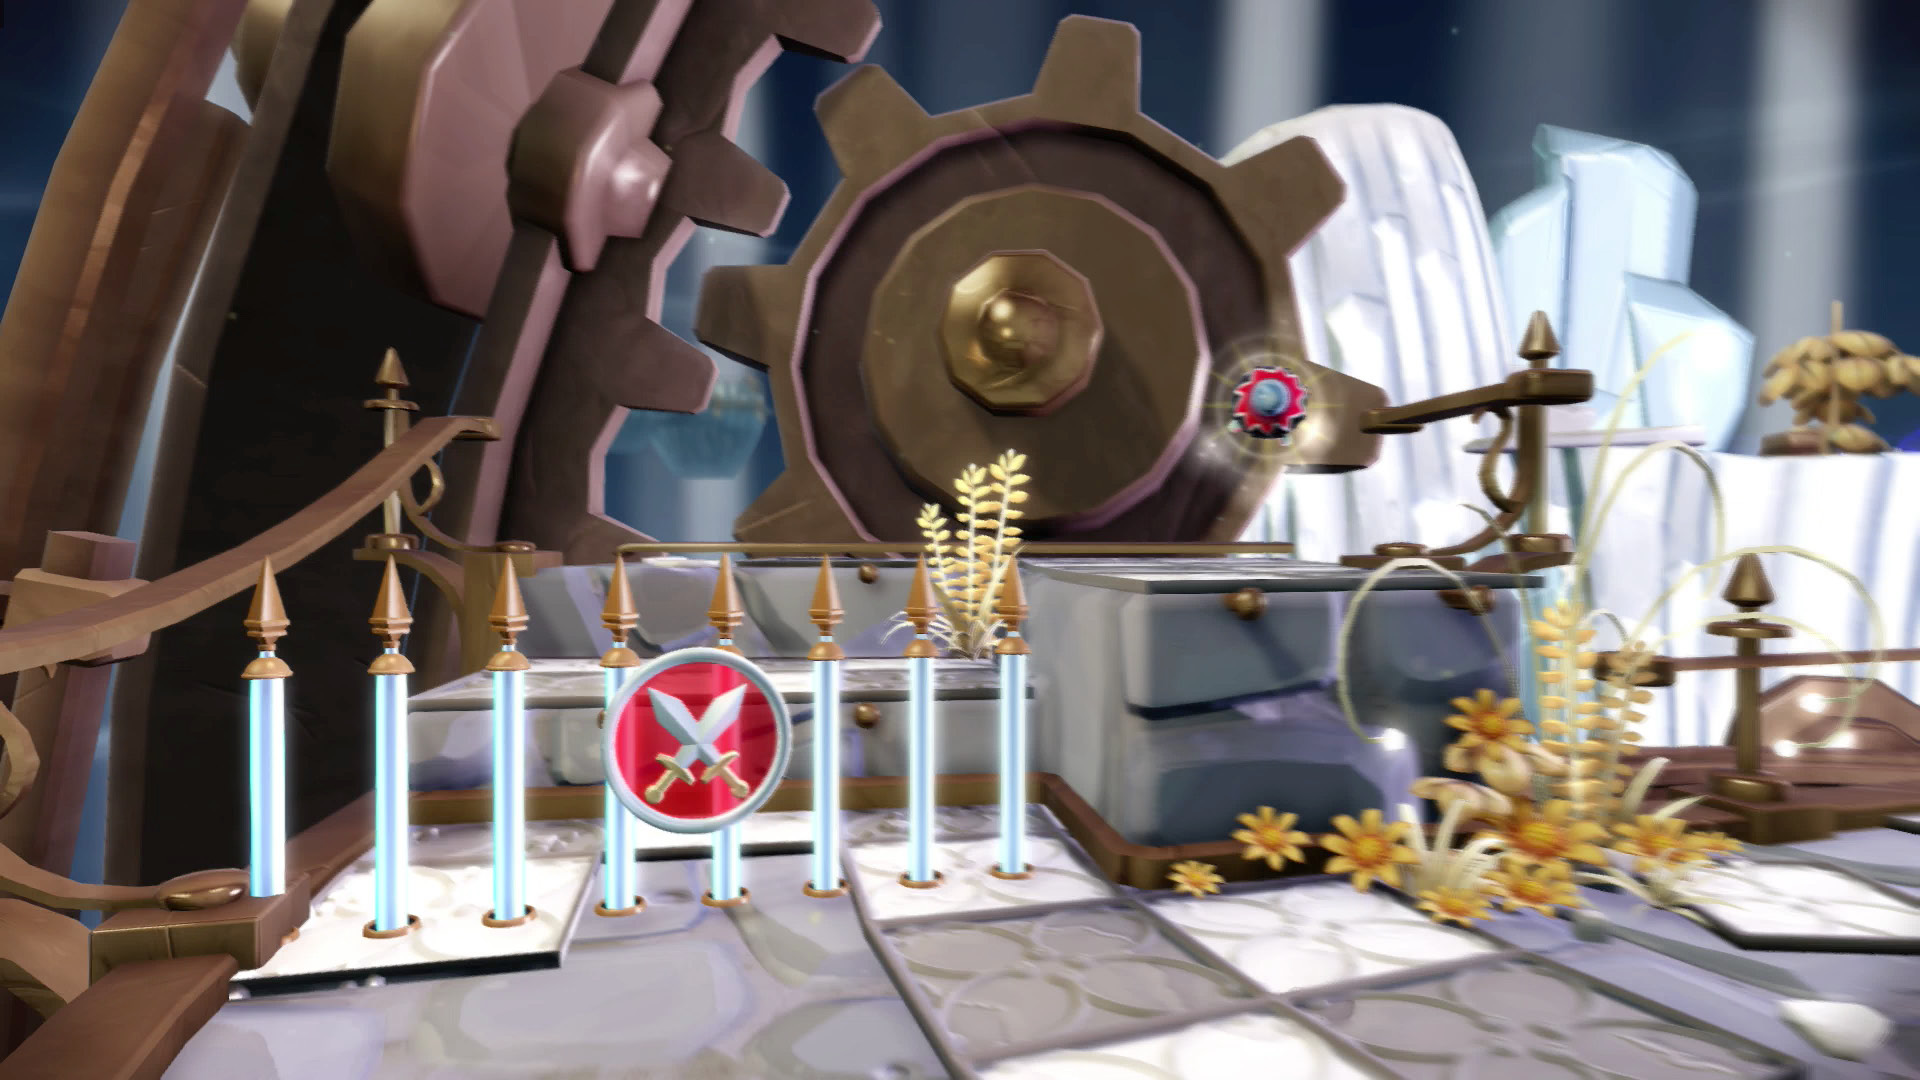
Take down the Cyclopes and Chompies to remove the Battle Gate and gain access to a Bomb. Use the Bomb to free the second energy pillar, then use the Super Bounce Pad for a quick trip followed by a big fall.
 Oubliette & Crystal Corridors
Try to collect the floating coins while falling down into the Oubliette. The fall ends abruptly in the Crystal Corridors near a large group of Chompies behind an energy barrier. Defeat the Cyclopes to remove the Battle Gate.
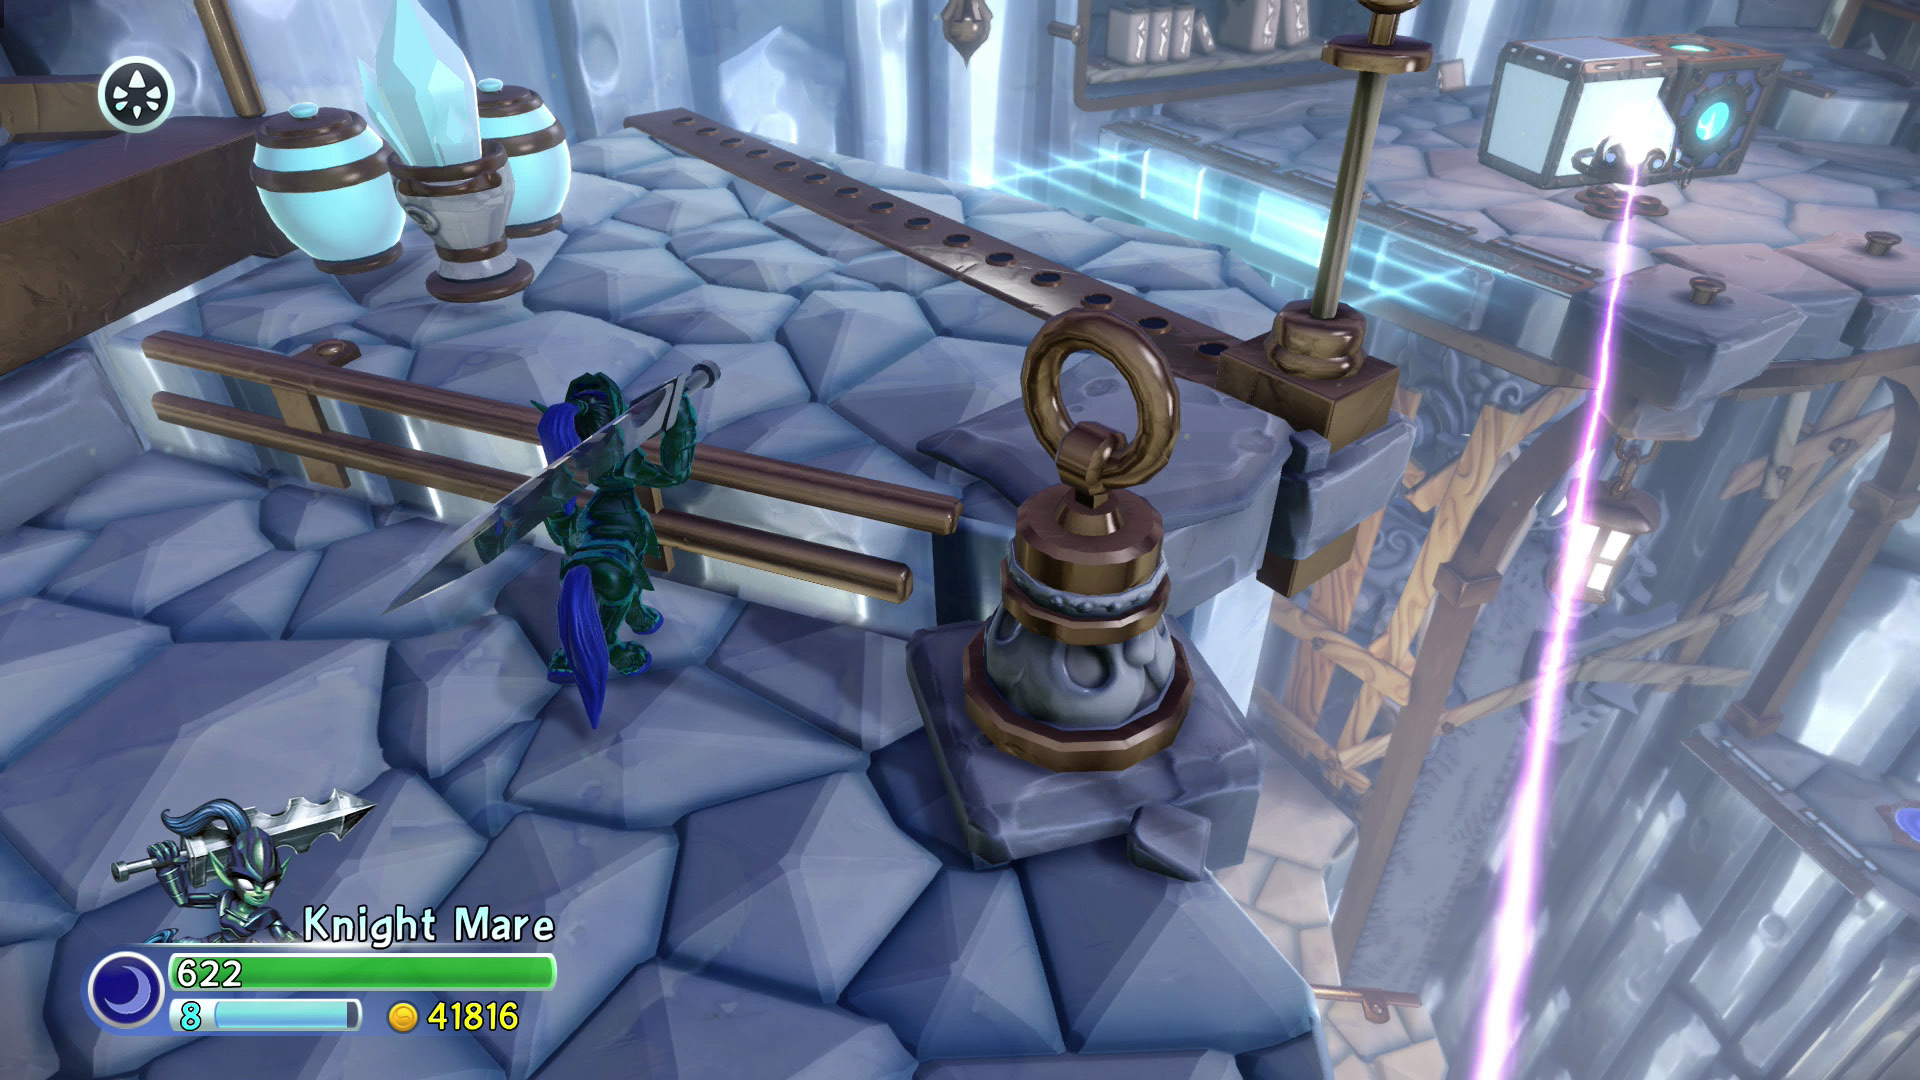
Push the reflecting block to change the direction of the energy beam and create a light bridge. Changing the path of the light also removes the energy barrier that kept the Dark Gate out of reach.
After a visit to the Dark Gate, use the second switch near the reflective block to create light bridge. Carefully cross the bridge and take out the Chompies and Cyclopes on the other side to open a Battle Gate and a light bridge.
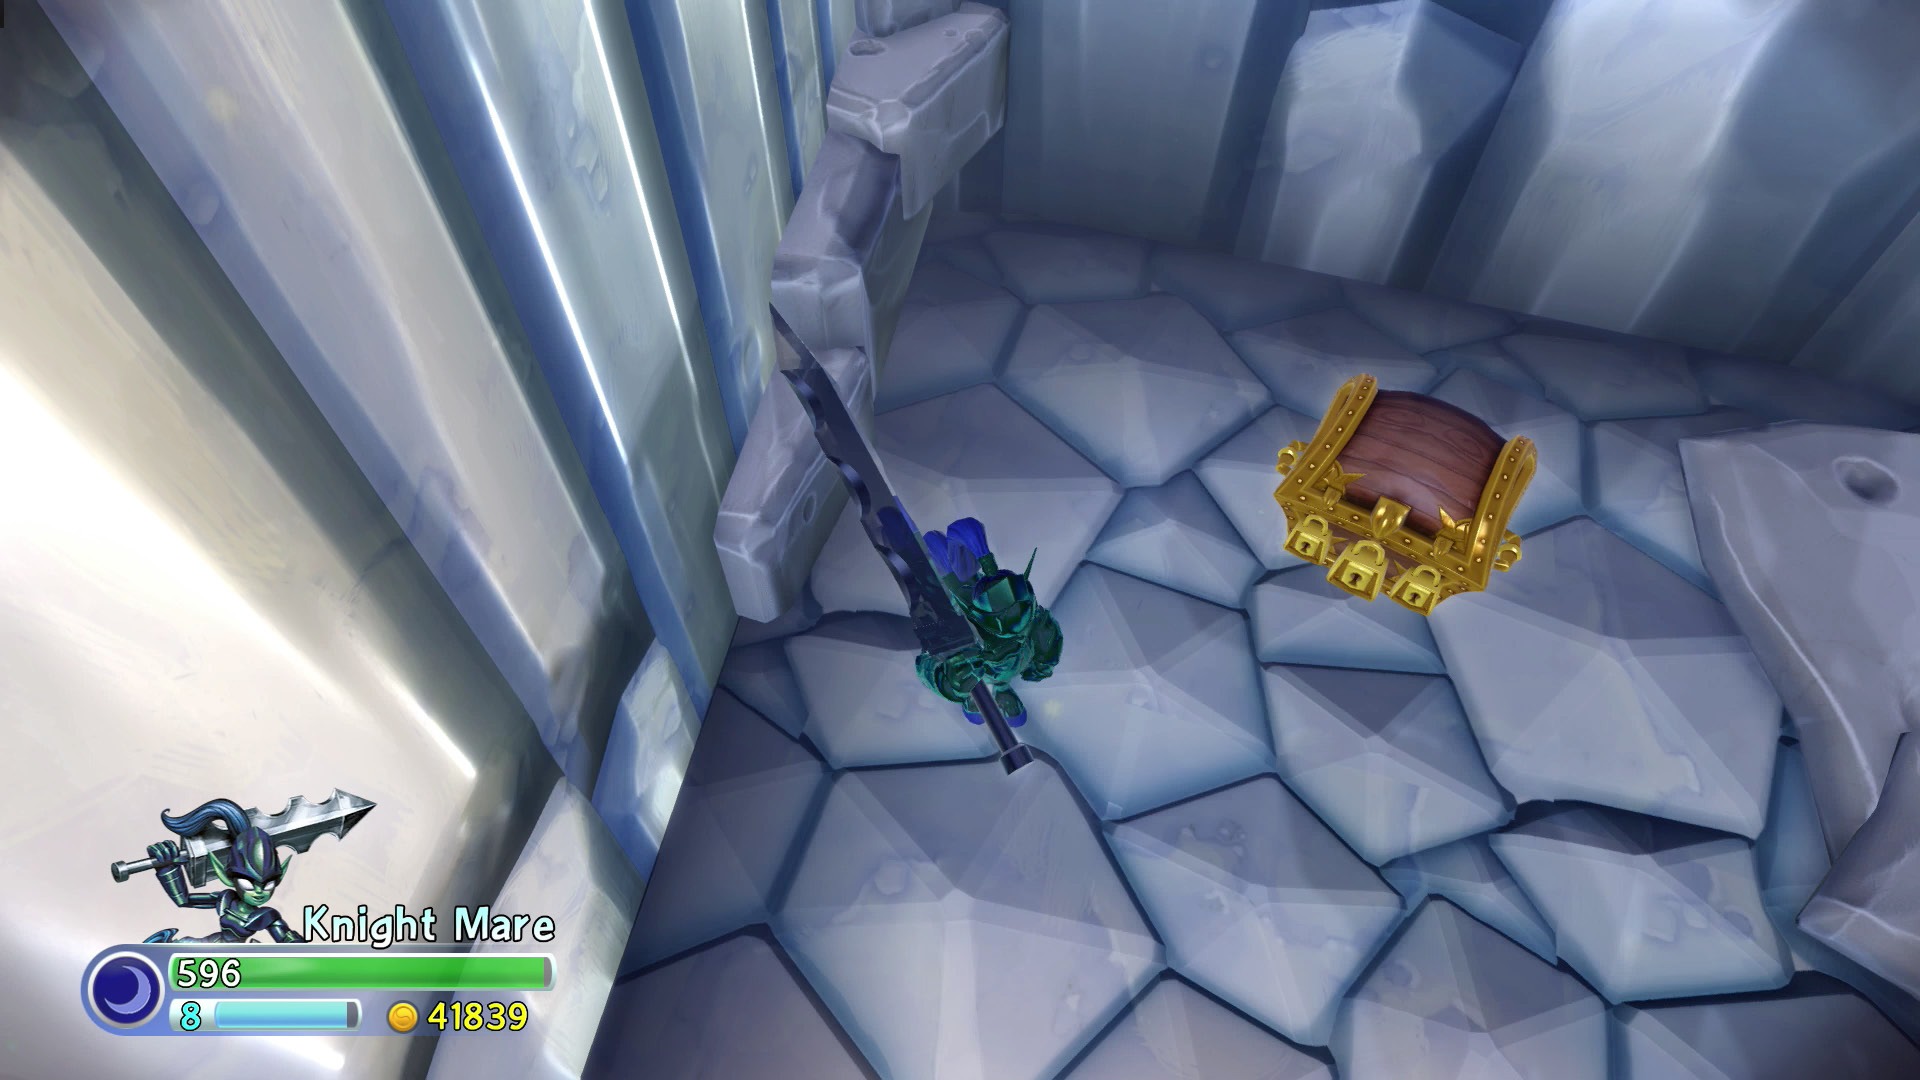
Cross the bridge and move the reflective block to change the beam’s path. Turn around and jump down the span covered by the light bridge before you moved the reflective block. Open the Treasure Chest and use the Bounce Pad to go back up to the higher level. Cross two more light bridges and go into the doorway, which leads to Crystal Chasm.
Crystal Chasm
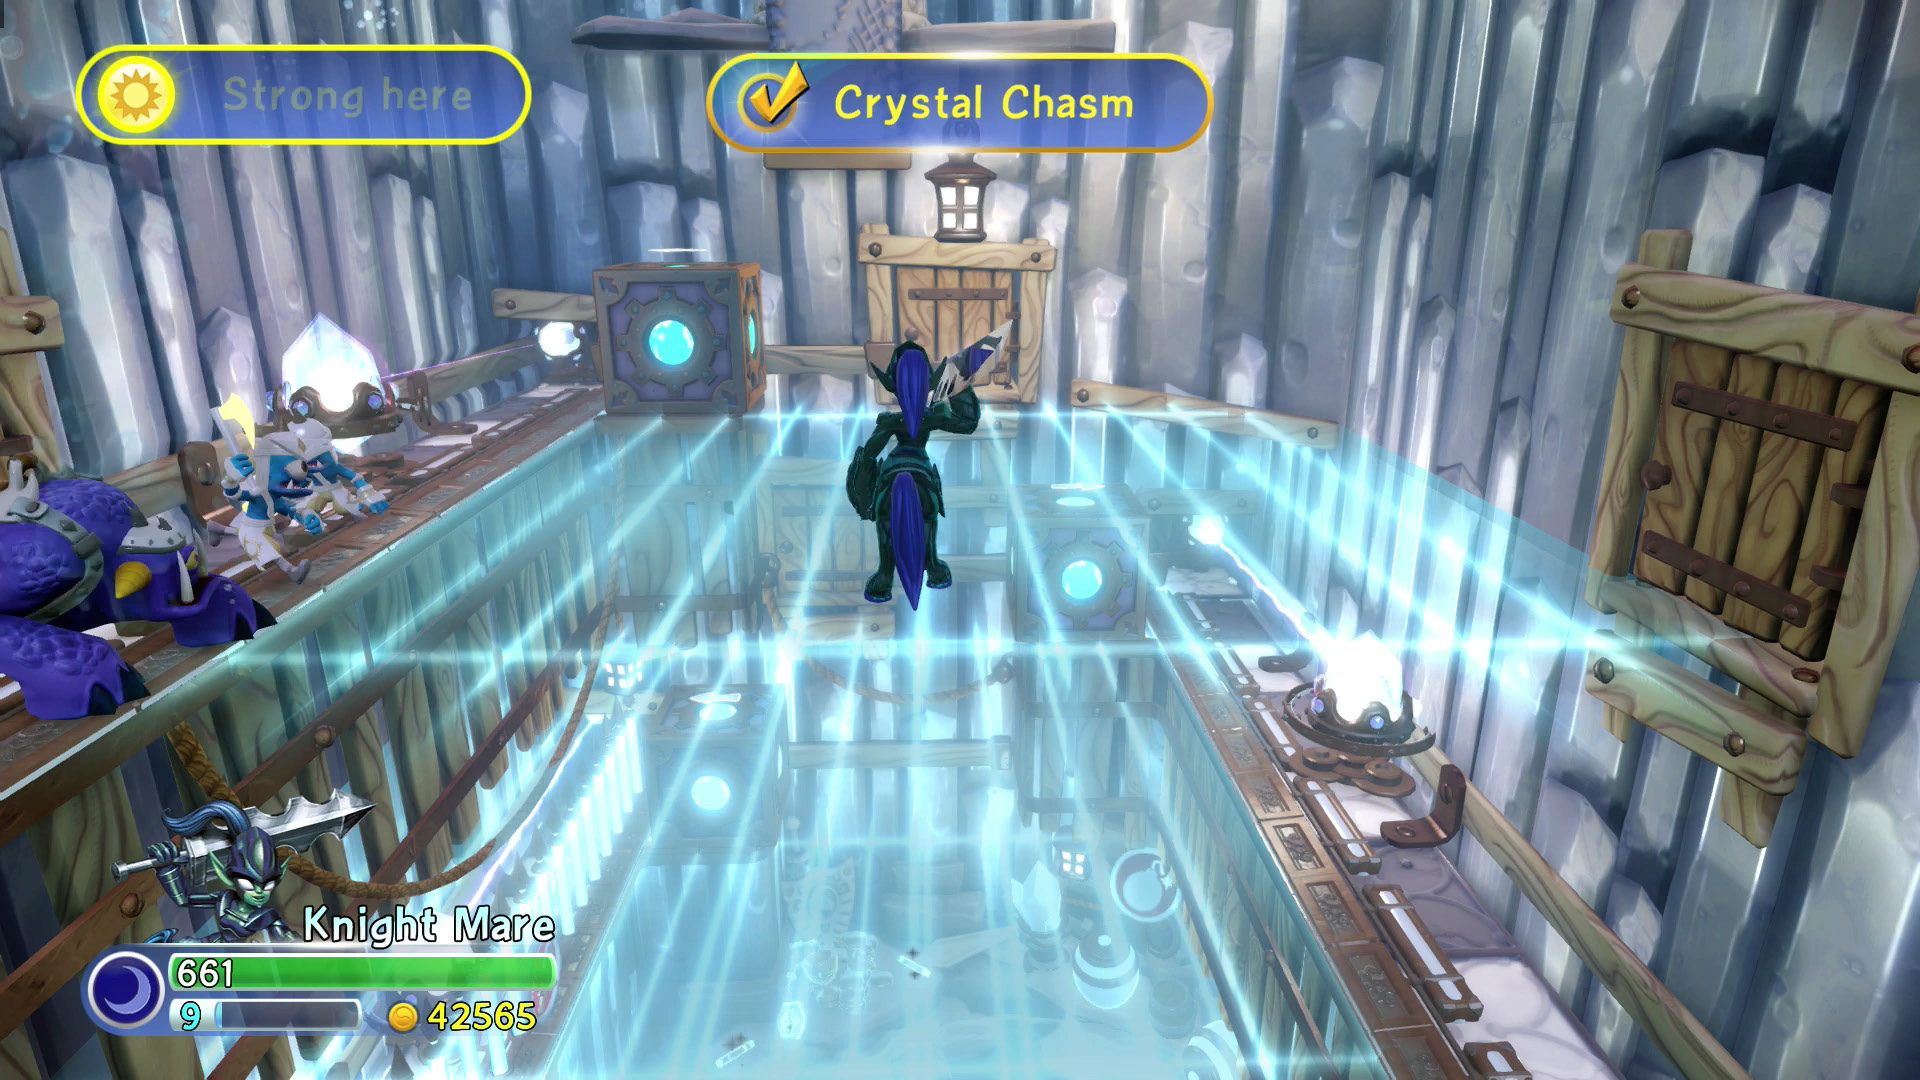
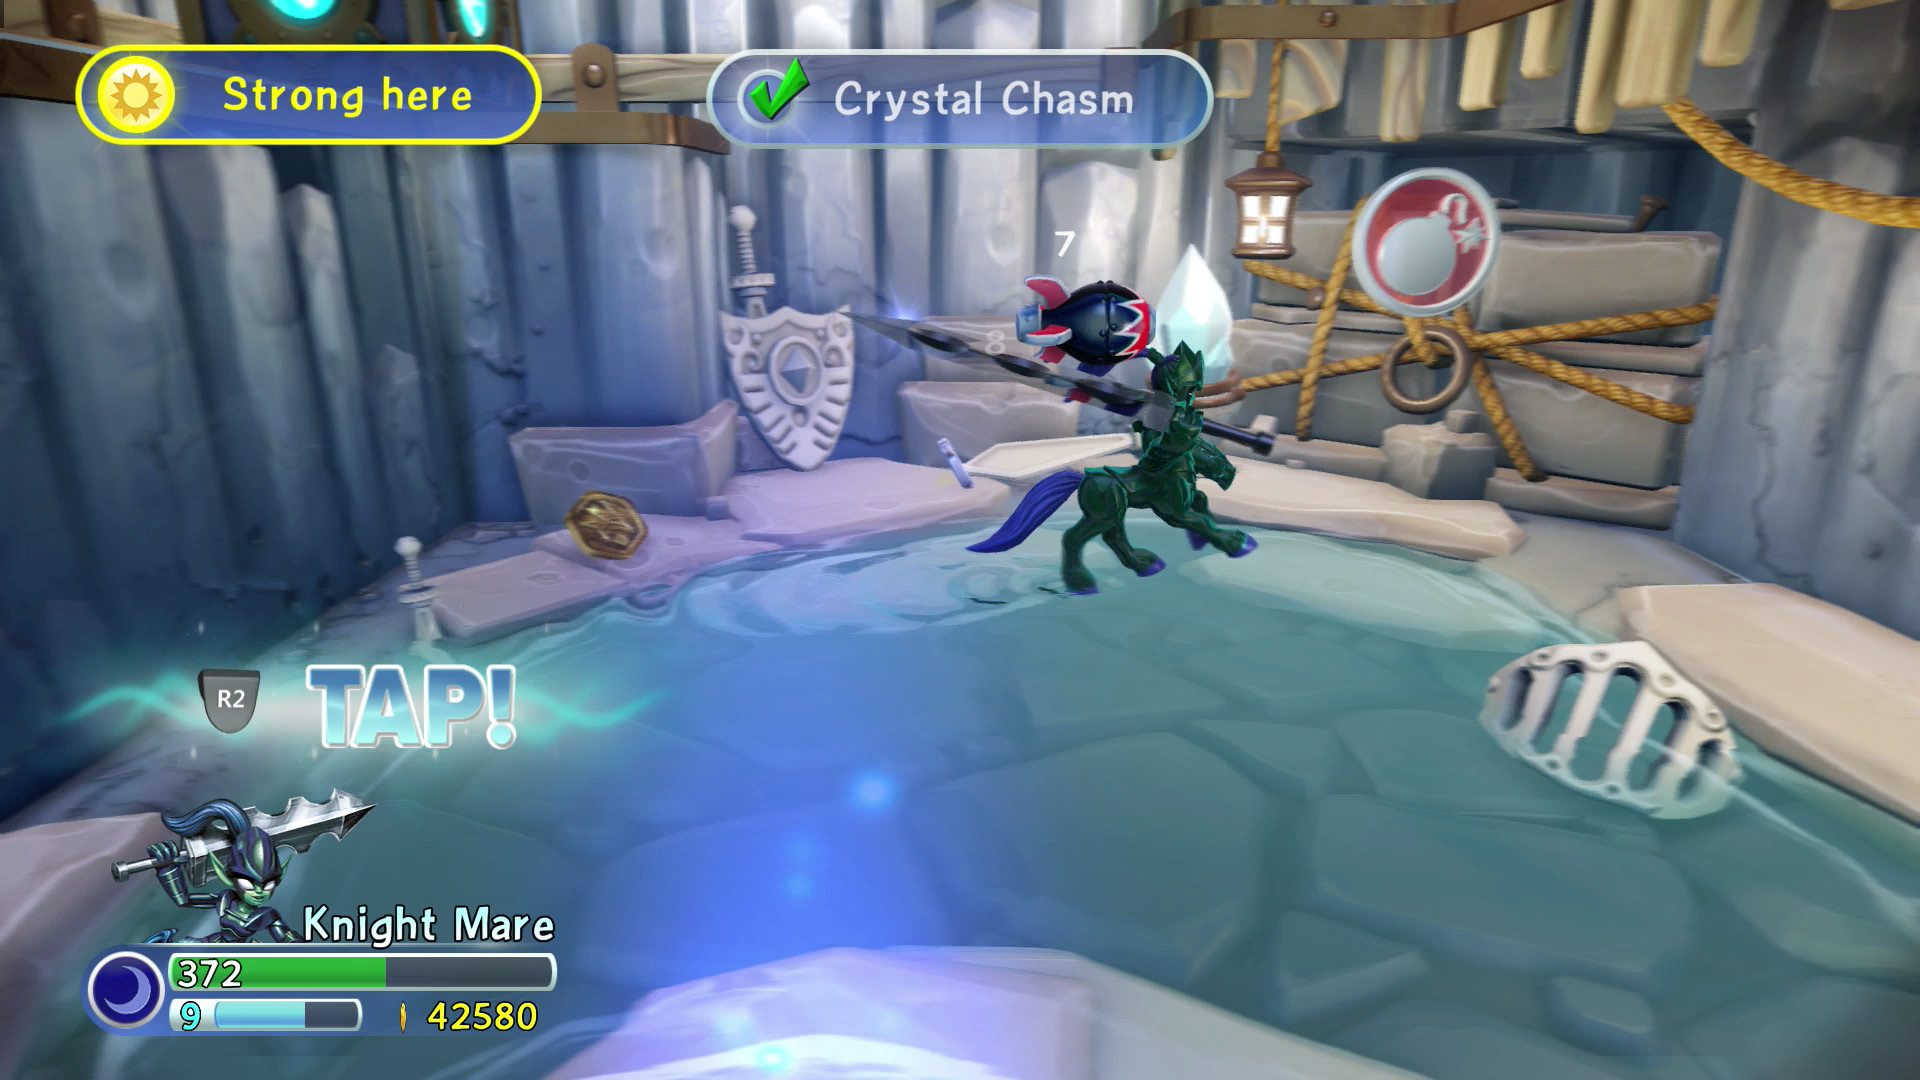
Crystal Chasm is a series of floors formed from light beam energy. You need to change slide blocks in place to block the beam and remove the floors one at a time. Your first task is to clear out the Cyclops welcome wagon that pops up immediately.
Push the block in the corner into the path of the light, and repeat the process on the next level. You must take out another wave of enemies to drop the Battle Gate blocking the final beam of light. The Bomb you need to remove the debris in the corner is in the next area. Use the Bounce Pad to fly up to the Third Beam Control Floor, grab the Bomb and fall into the gap to return to Crystal Chasm. Destroy the debris to reveal the Legendary Knight Statue.
Third Beam Control Floor
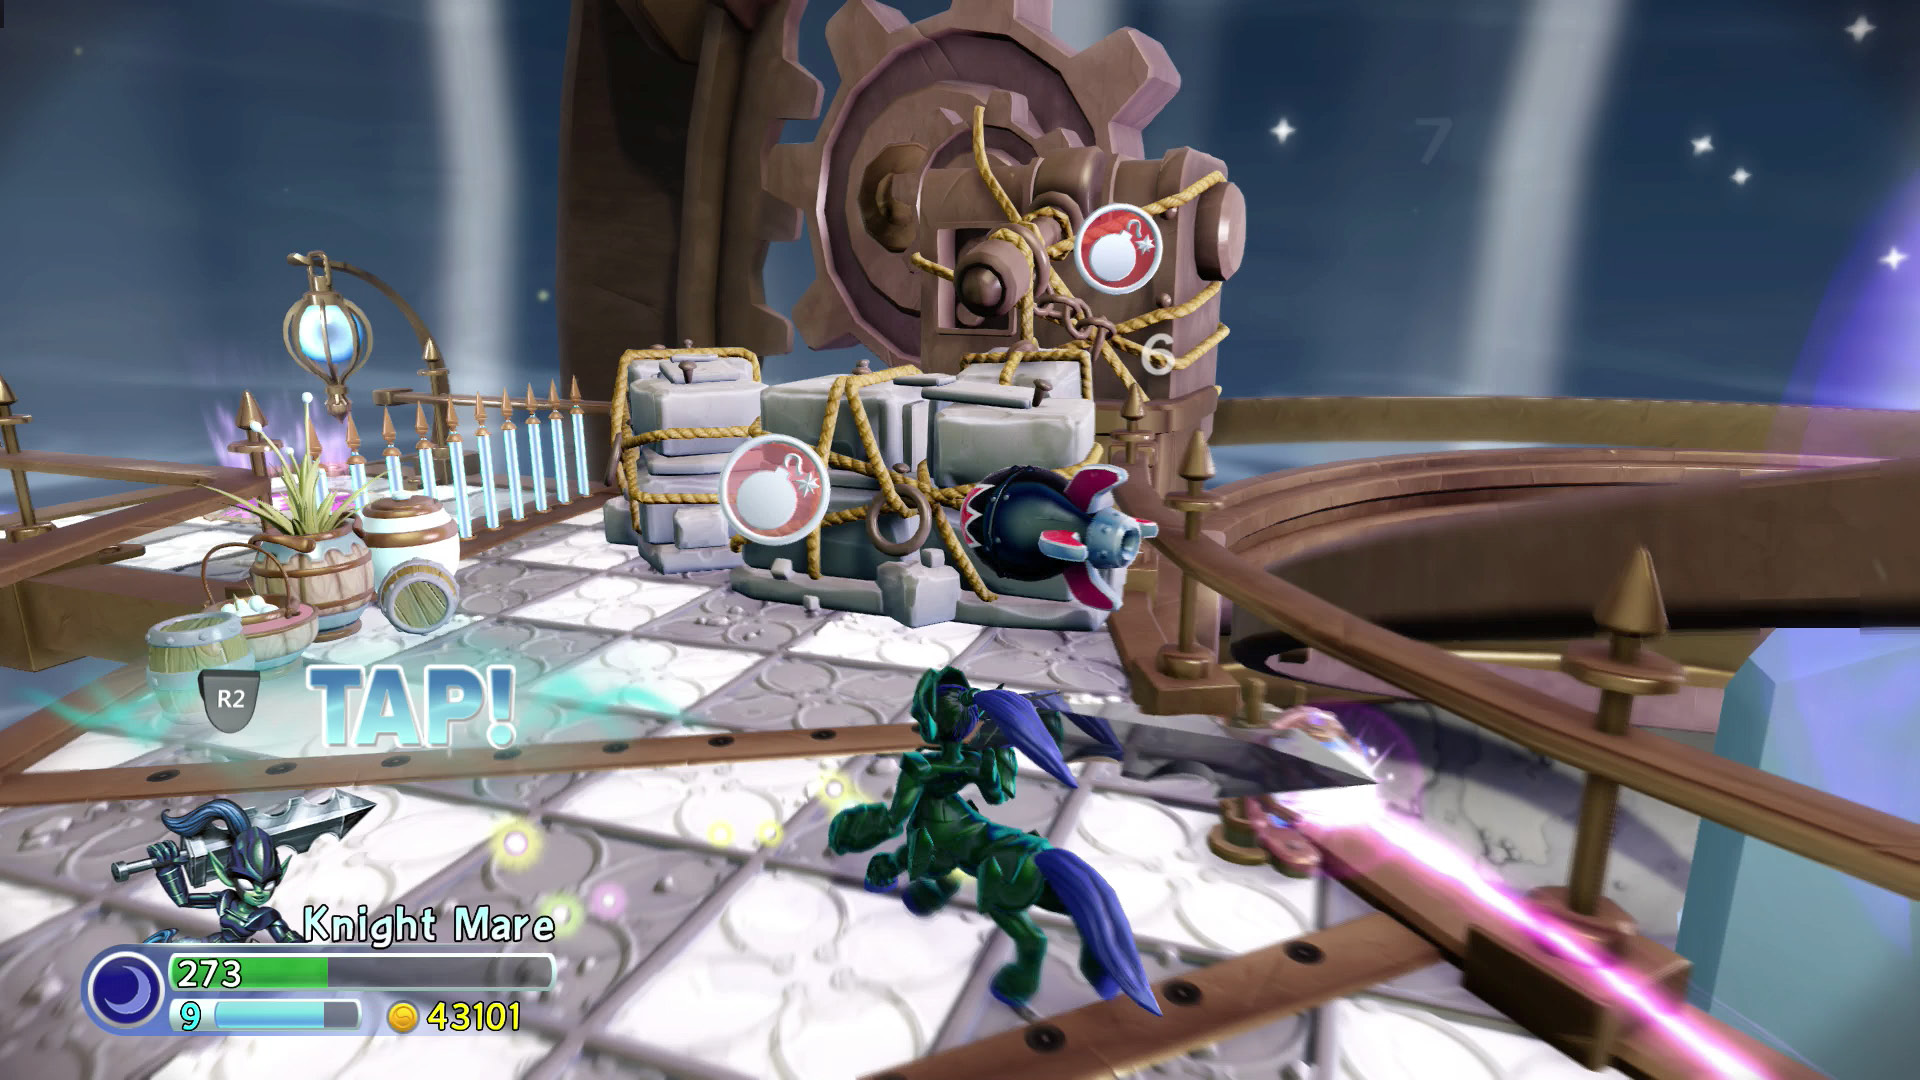
Use the Bomb to clear the debris across the gap. Don’t forget about the spear traps when you’re aiming. They don’t do much damage, but they will throw off your Bomb toss. Destroying the debris uncovers a swarm of Cyclopes and Chompies and more debris that must be destroyed with a Bomb. Be careful when crossing the light bridge. Charging enemies can interrupt the beam and cause it to vanish, sending your Skylander back to Crystal Chasm.
Destroying the debris reveals another Bomb and the third energy pillar. Bomb the stone to position the third pillar. Just one more to go! Grab the Bomb and use nearby Super Bounce Pad to reach the Fourth Beam Control Floor.
Fourth Beam Control Floor
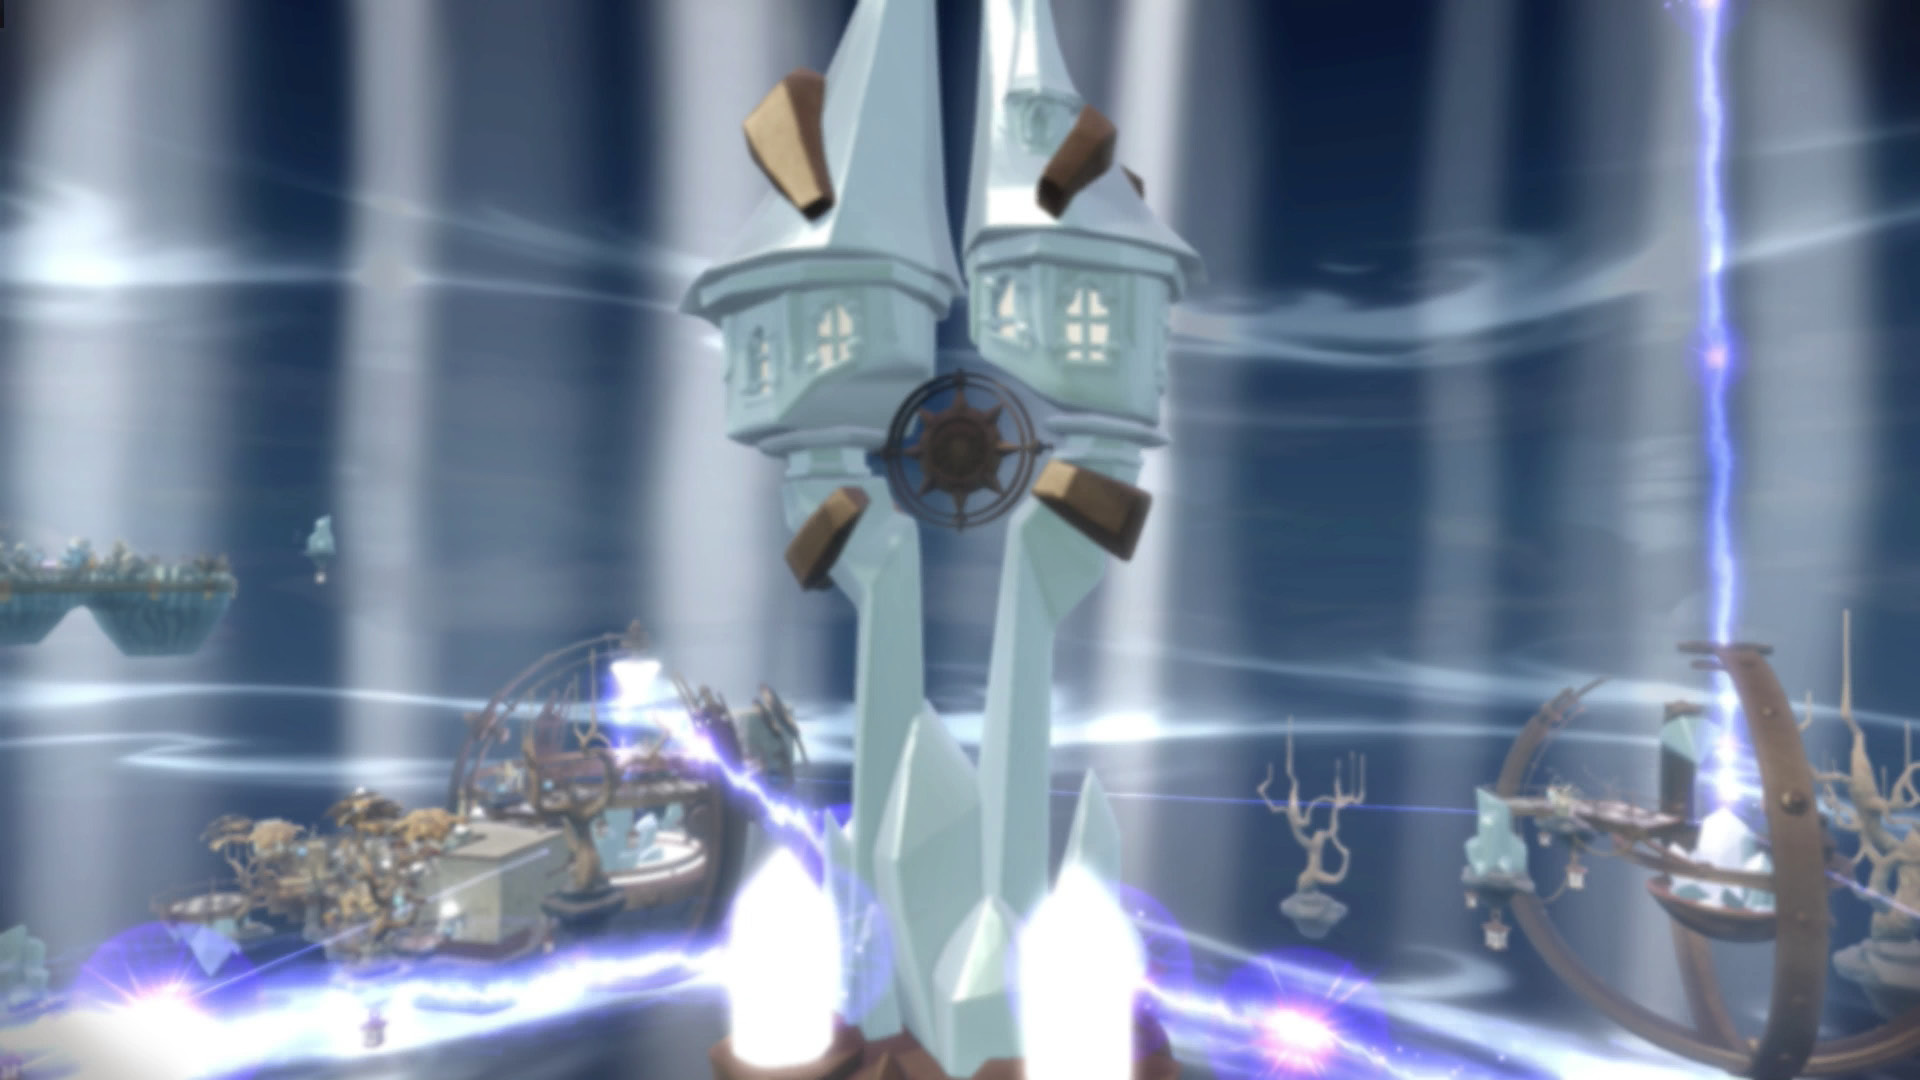
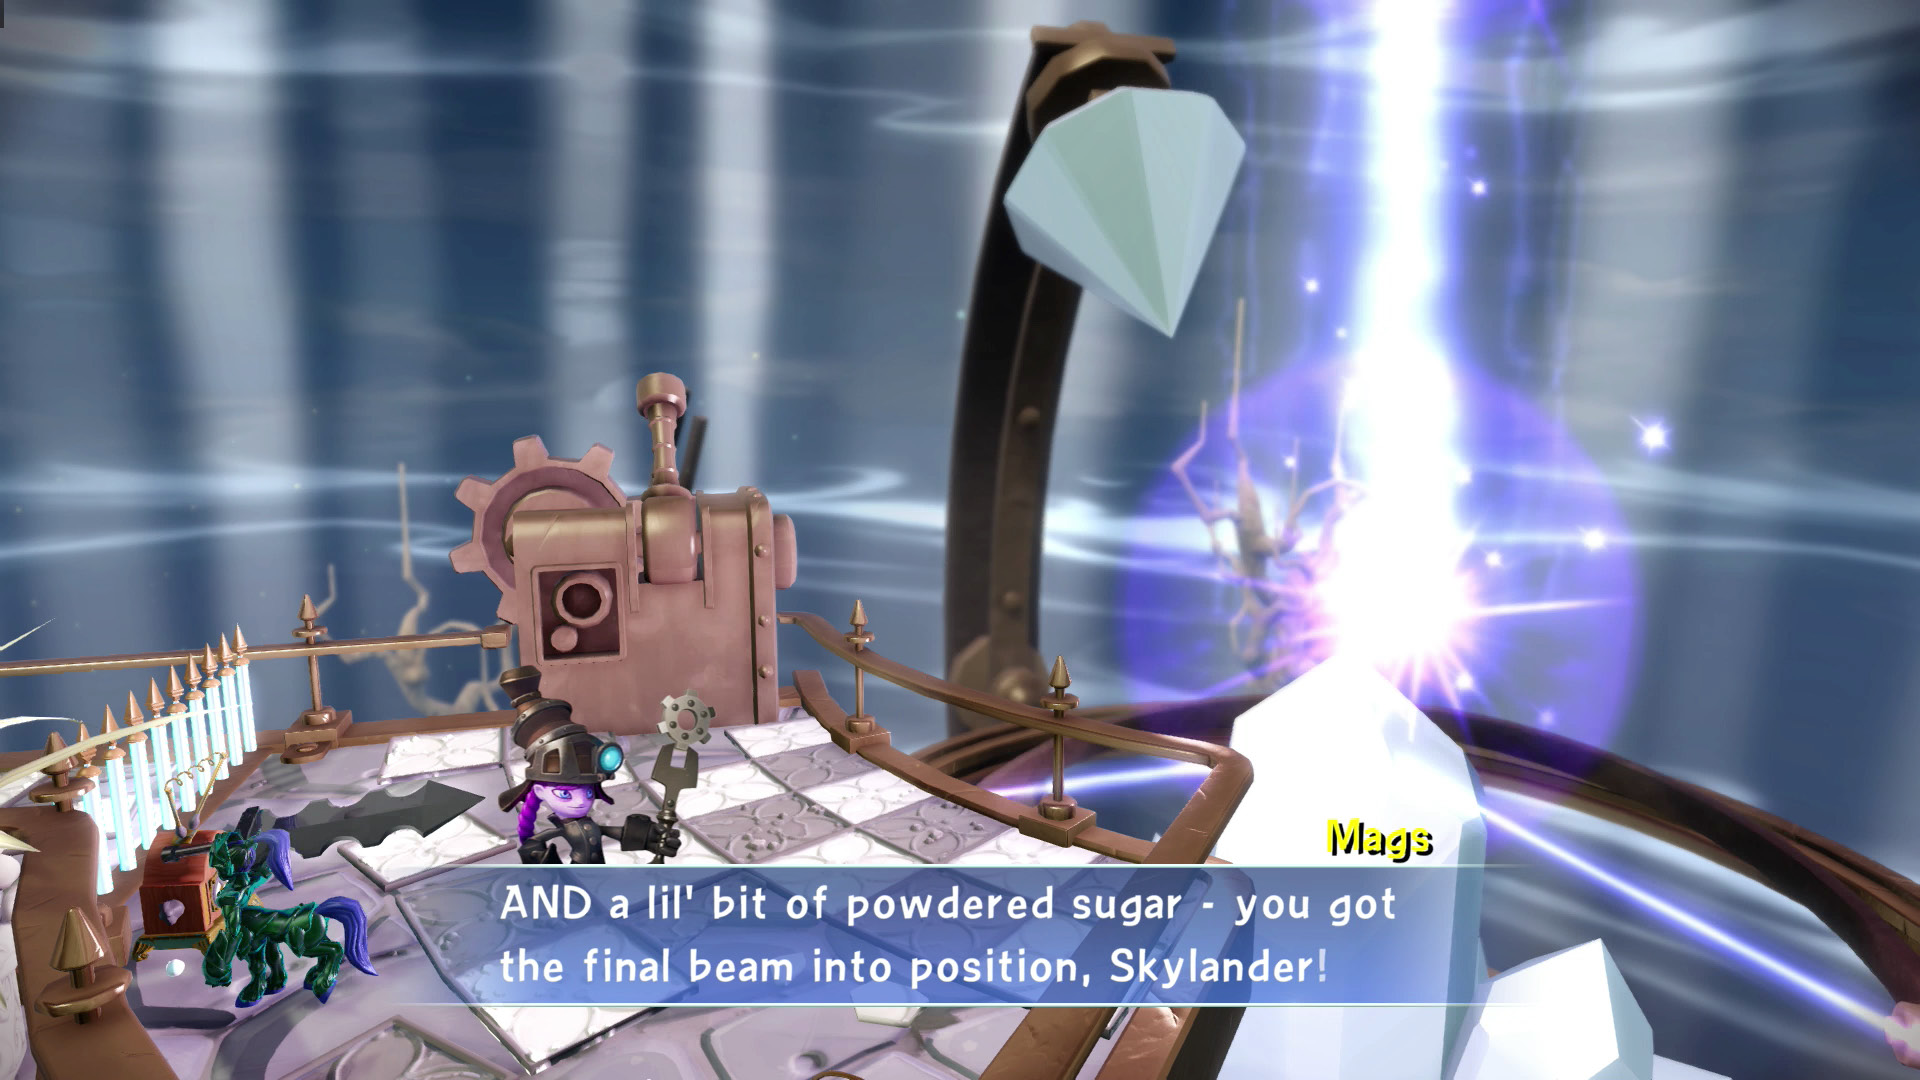
Your Skylander touches down near a Troll Radio and the final pillar. Use the Bomb to clear the way to Sunscraper Towers. If you forgot to grab the Bomb, or it didn’t work, use the Super Bounce Pad to return to the Third Beam Control Floor and get another.
Tricked You Tower
The name of the area offers a hint as to what happened when you diverted the light into Sunscraper Spire. Look on the bright side, at least Luminous supplied a proper, old school, evil overlord laugh of triumph–the kind that heralds victory by the good guys–so get ready for a fight!