
Skylanders Trap Team Signature Series Strategy Guide Walkthrough
Chapter 8: Telescope Towers
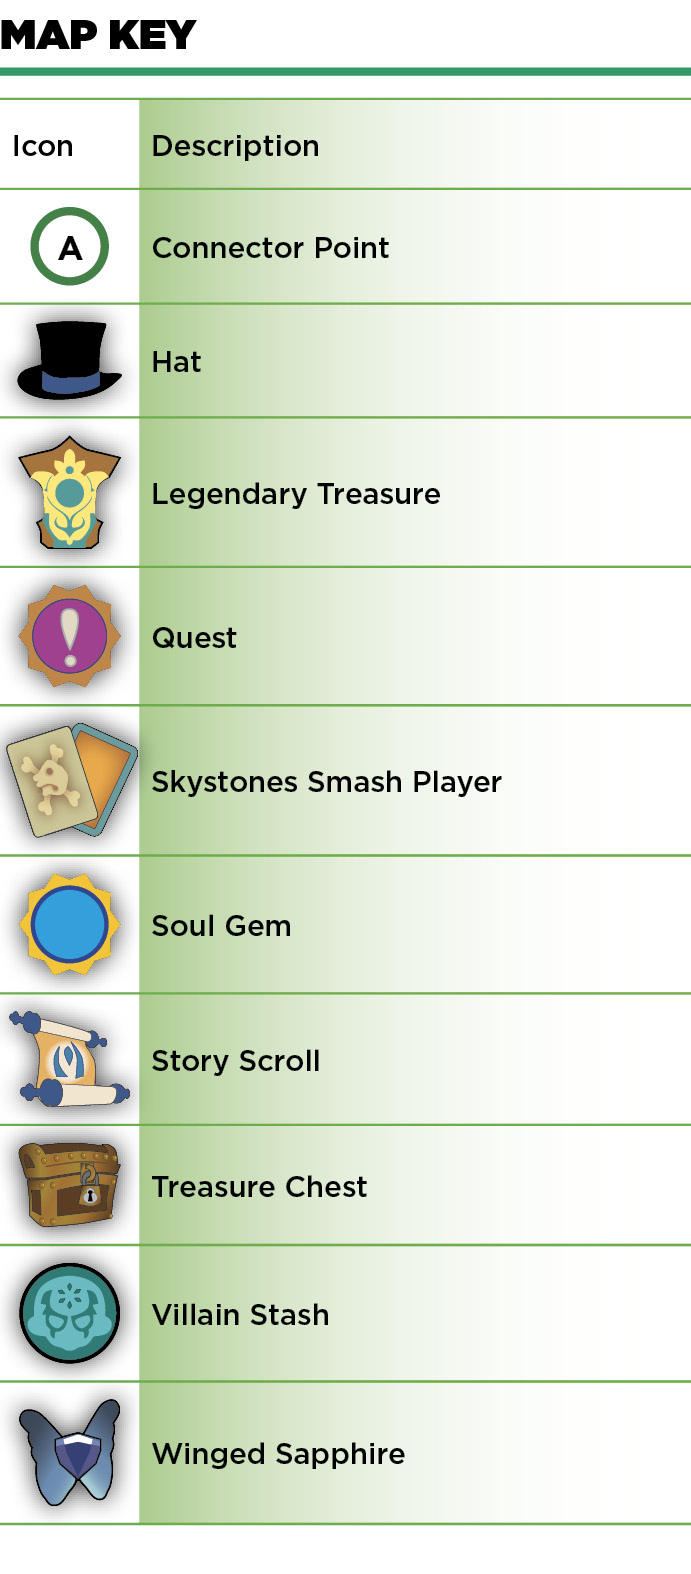
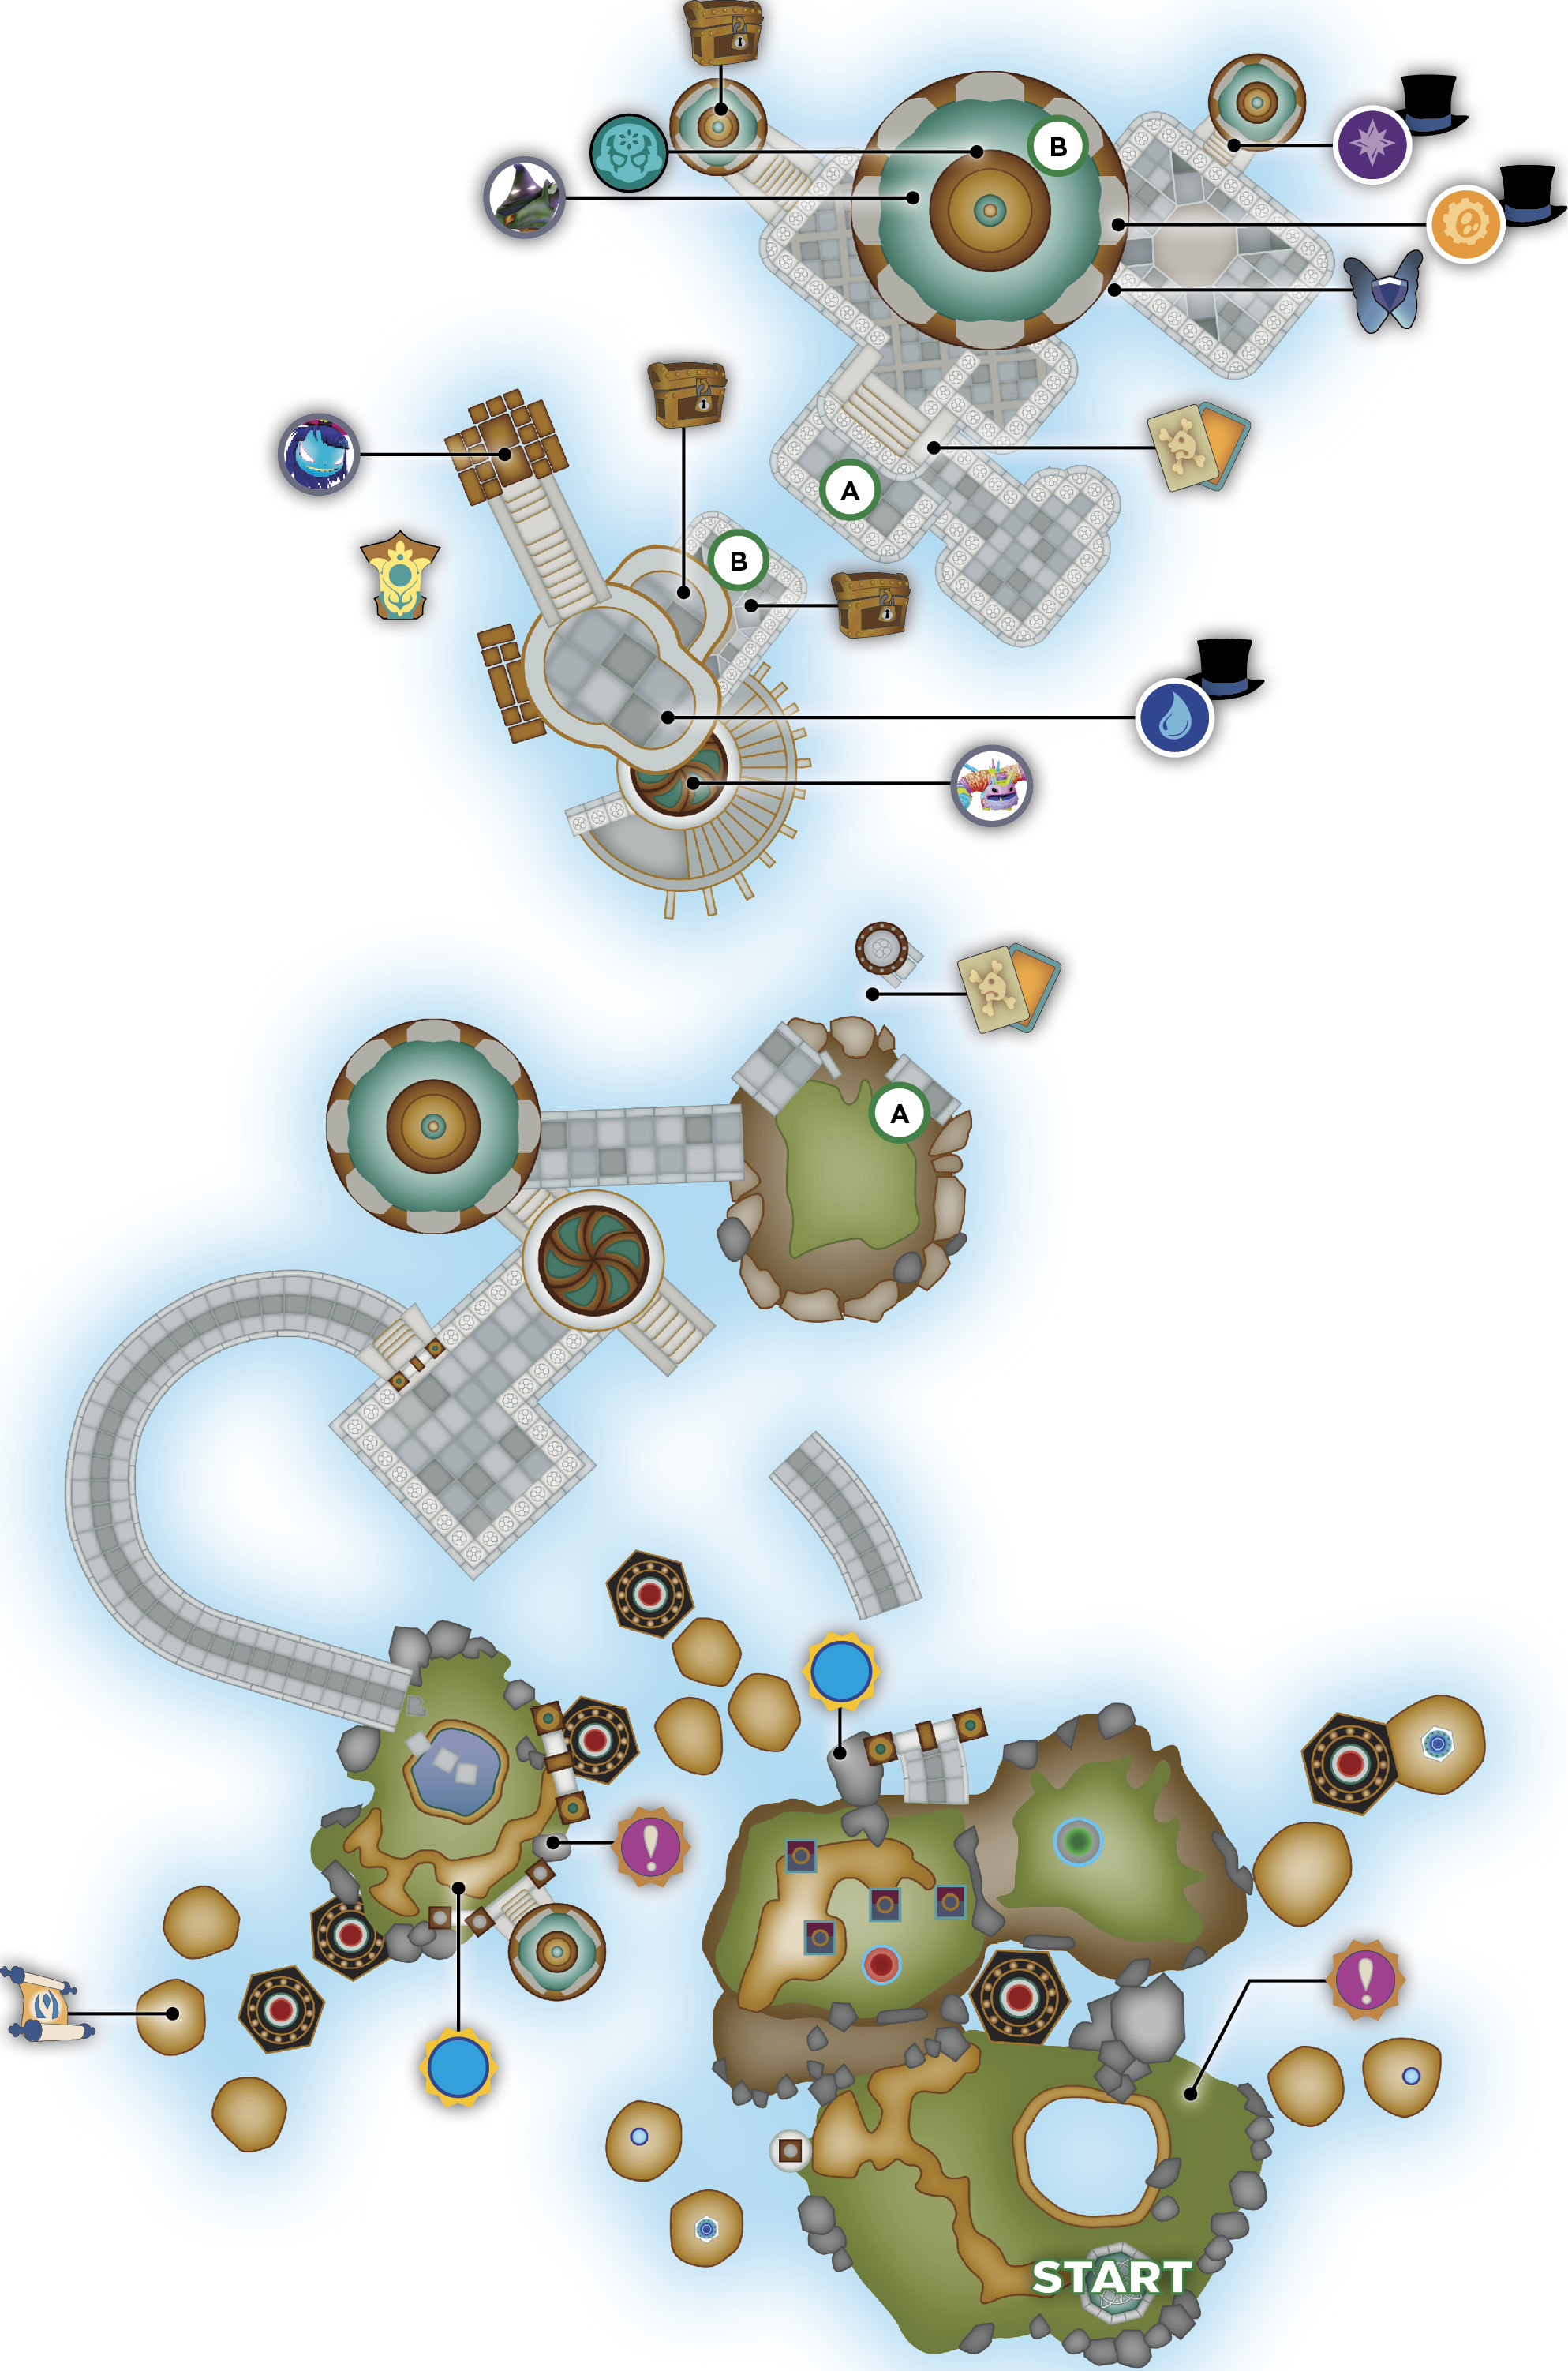
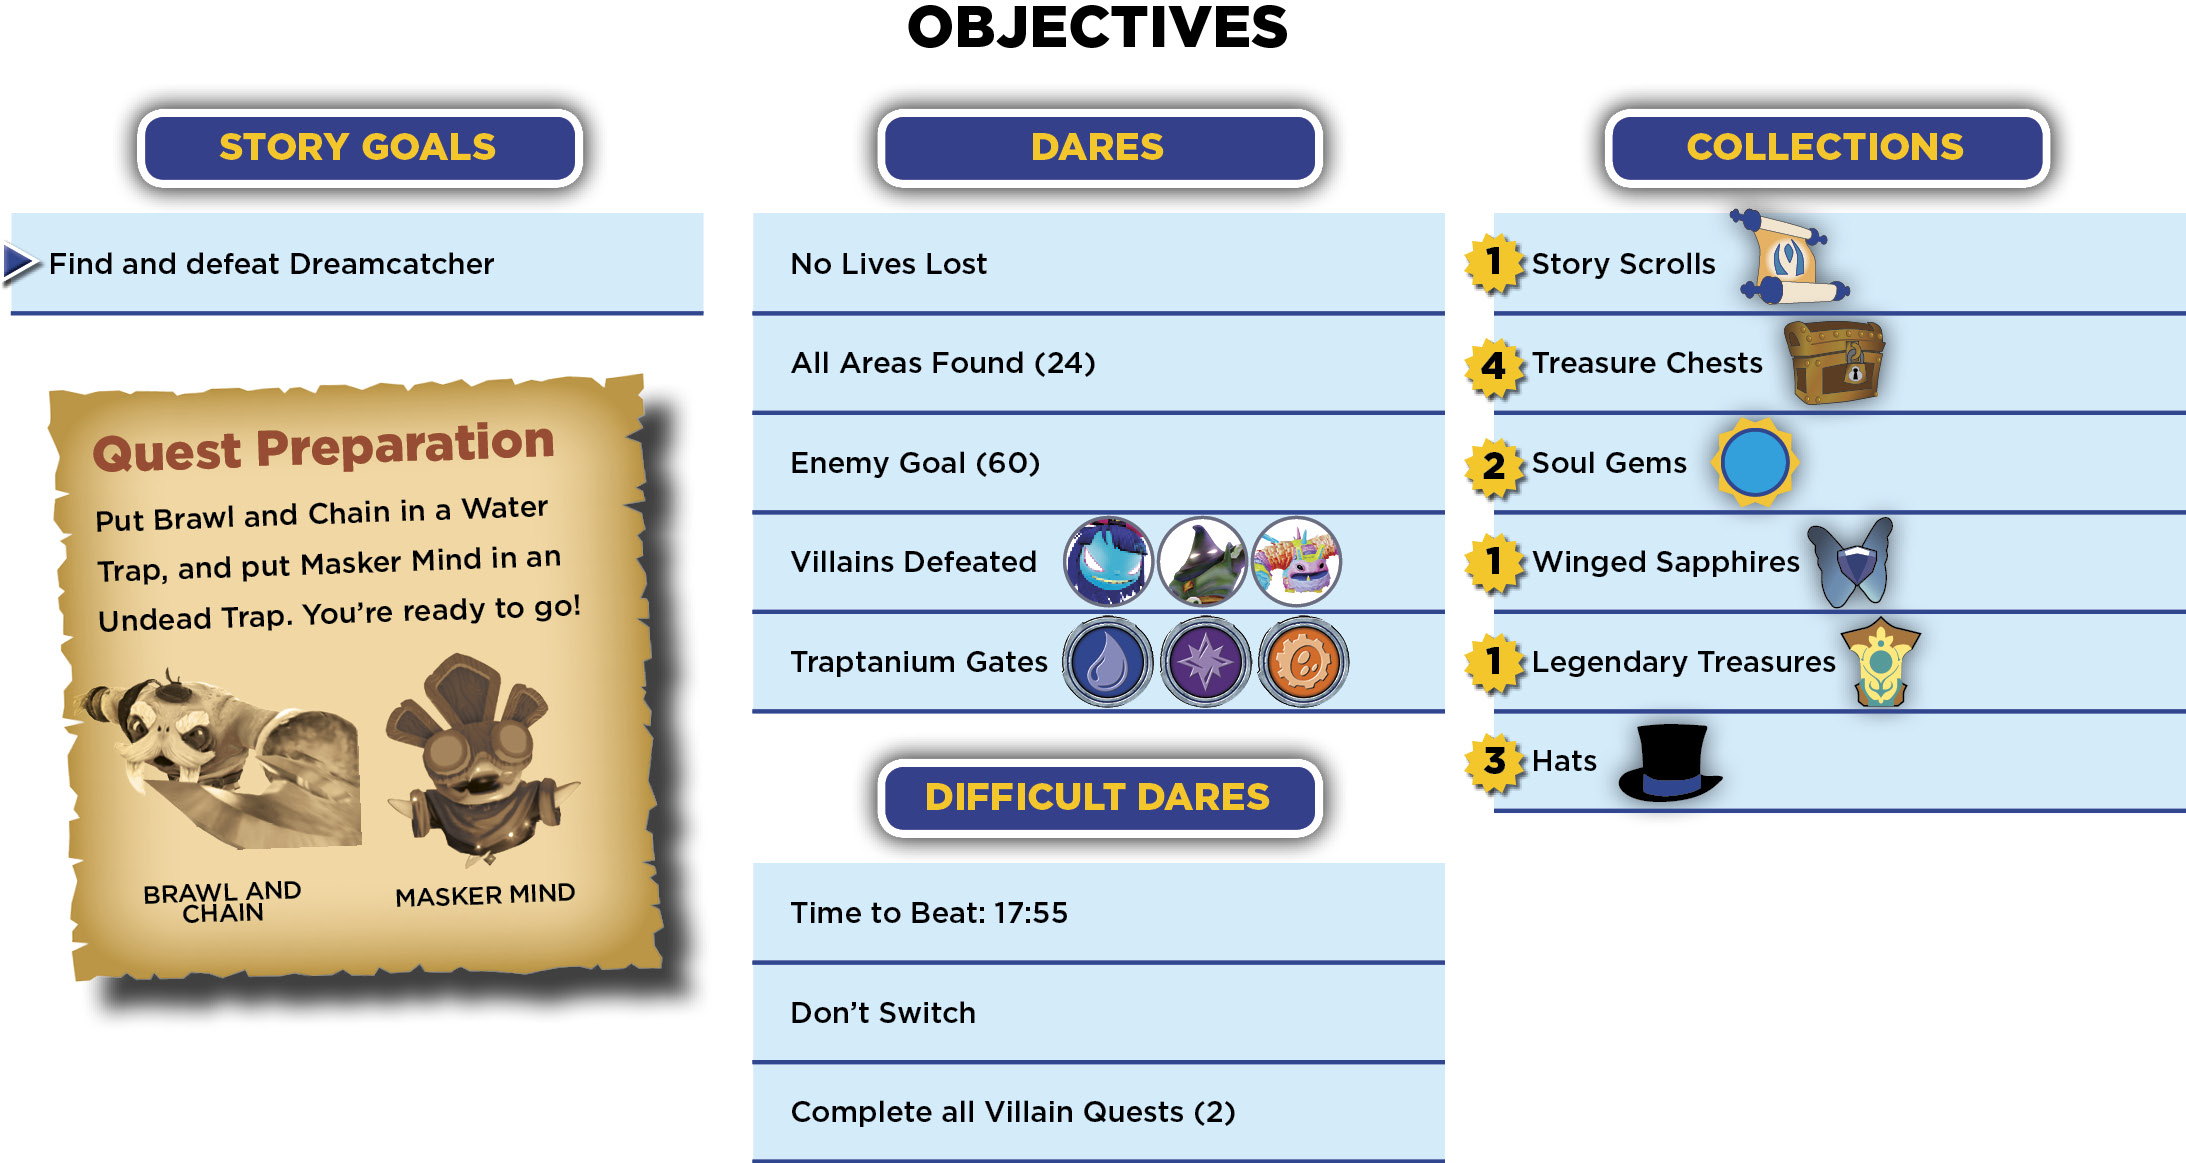
Galactic Bubble Center & Pulseblock Plains
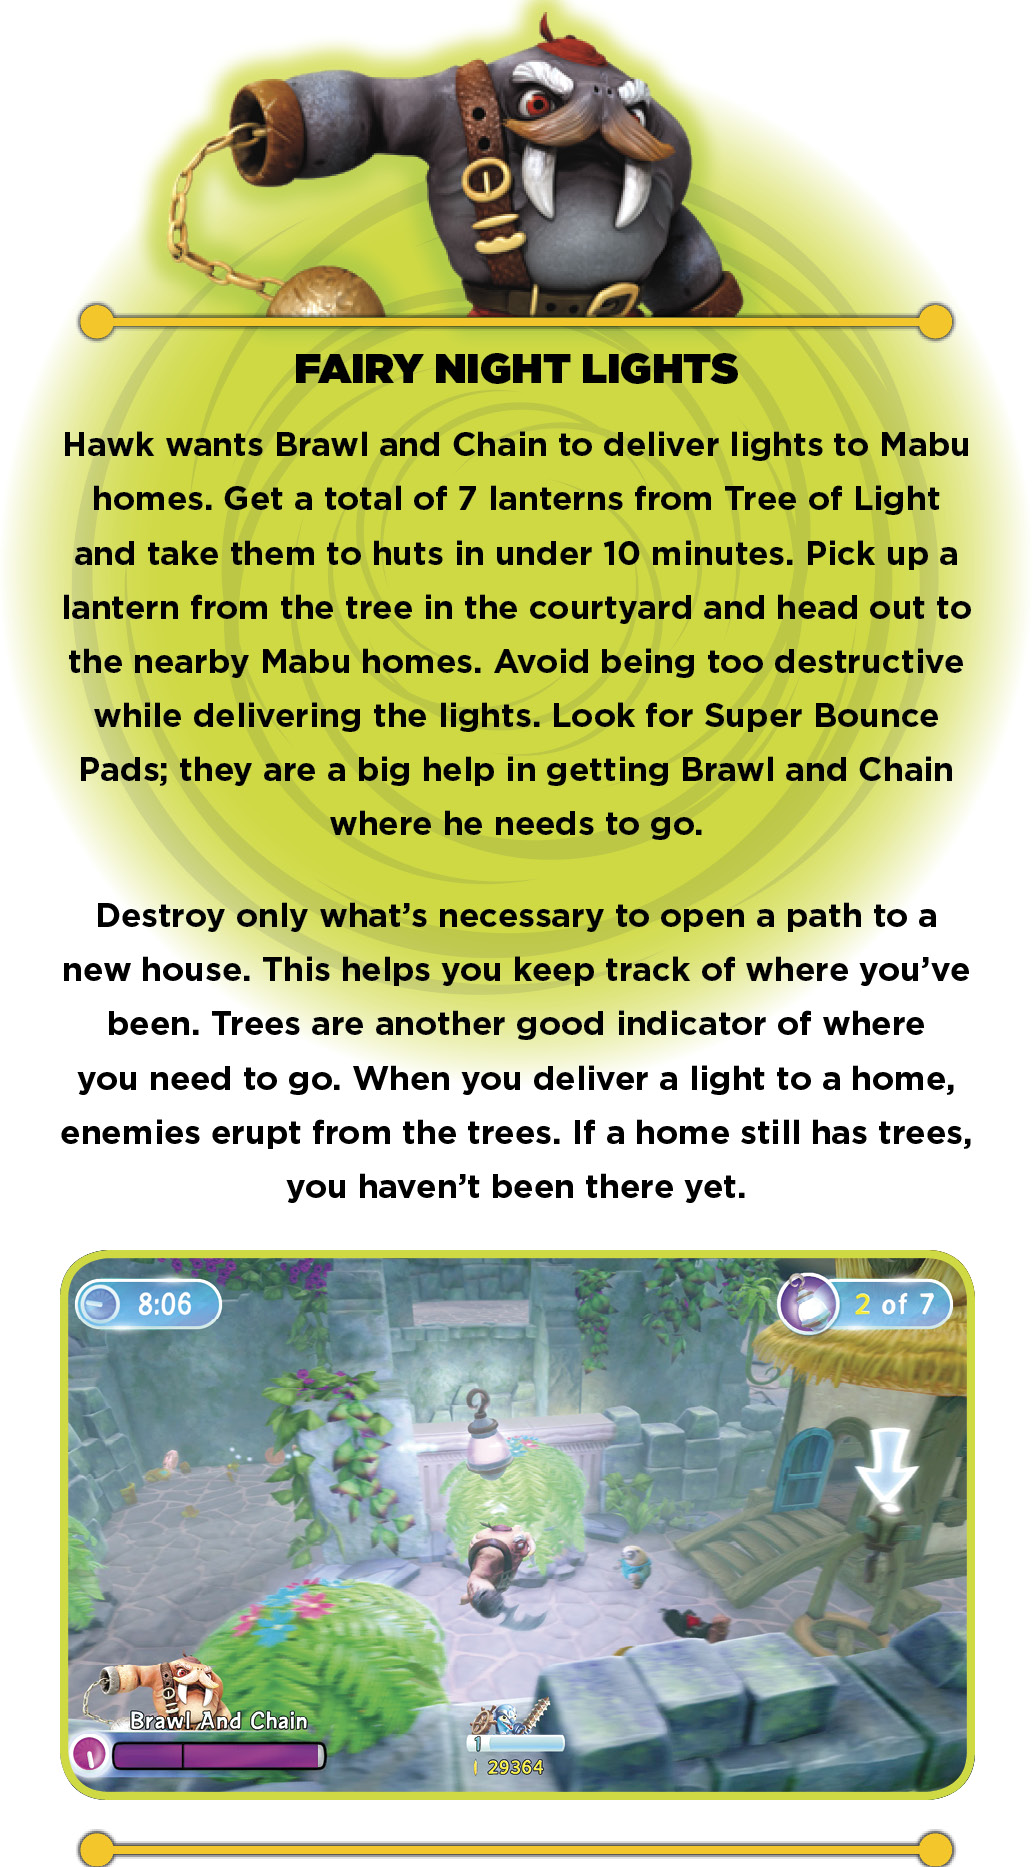
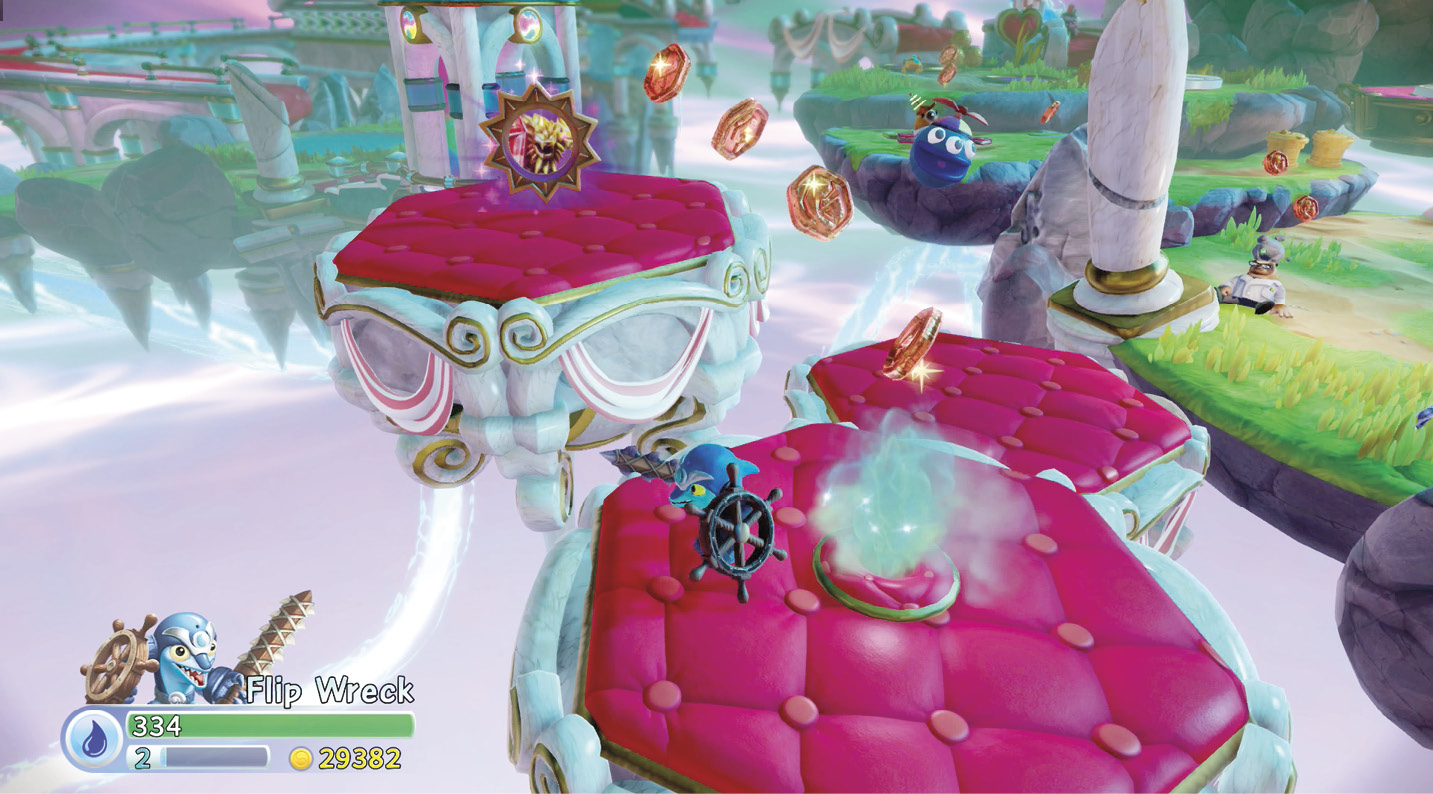
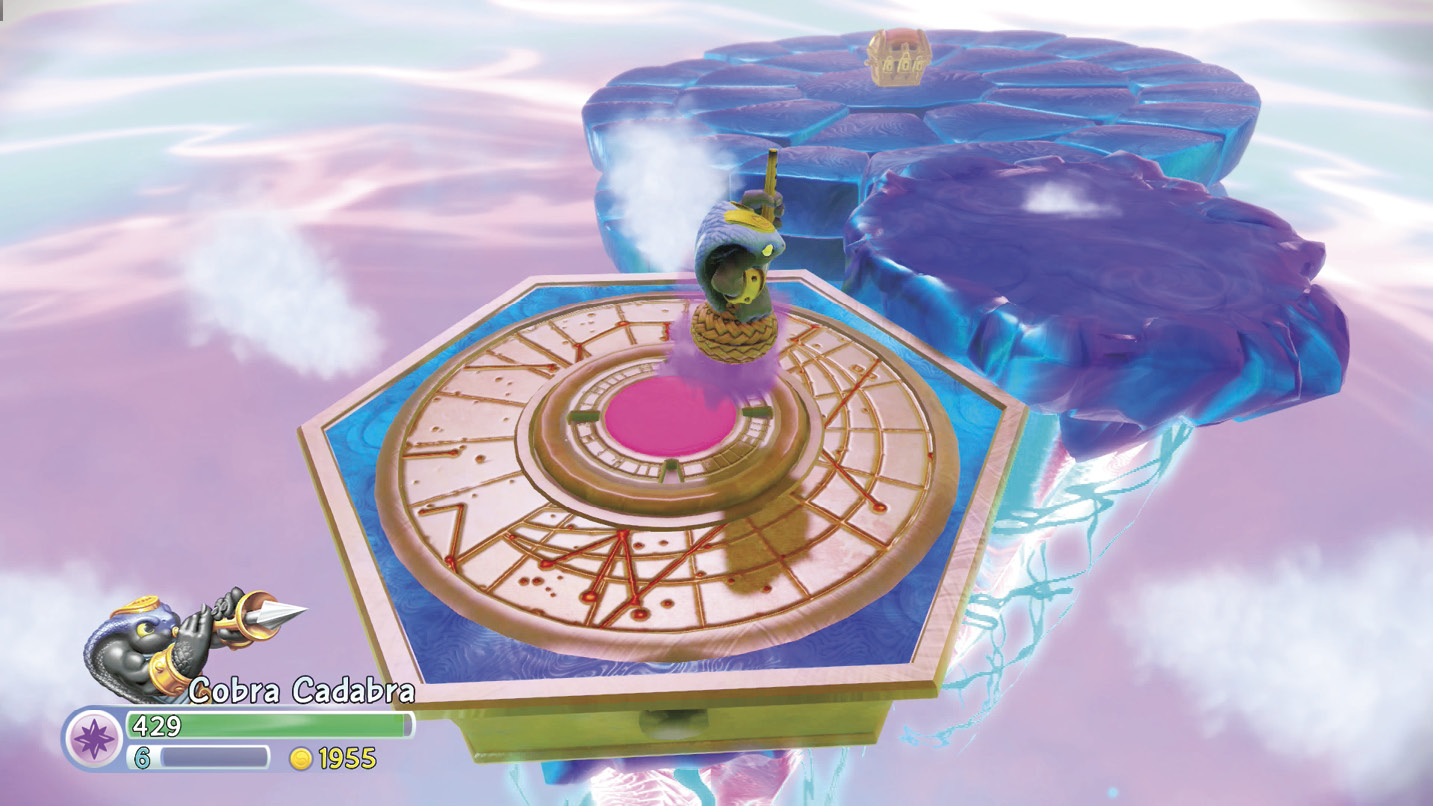
The slumbering Hawk has a quest for Brawl and Chain not far from where the level opens. Red felt-topped platforms surround the area around the starting point. Jump on the platforms near Newt for Wildfire’s Soul Gem (Lion Form).
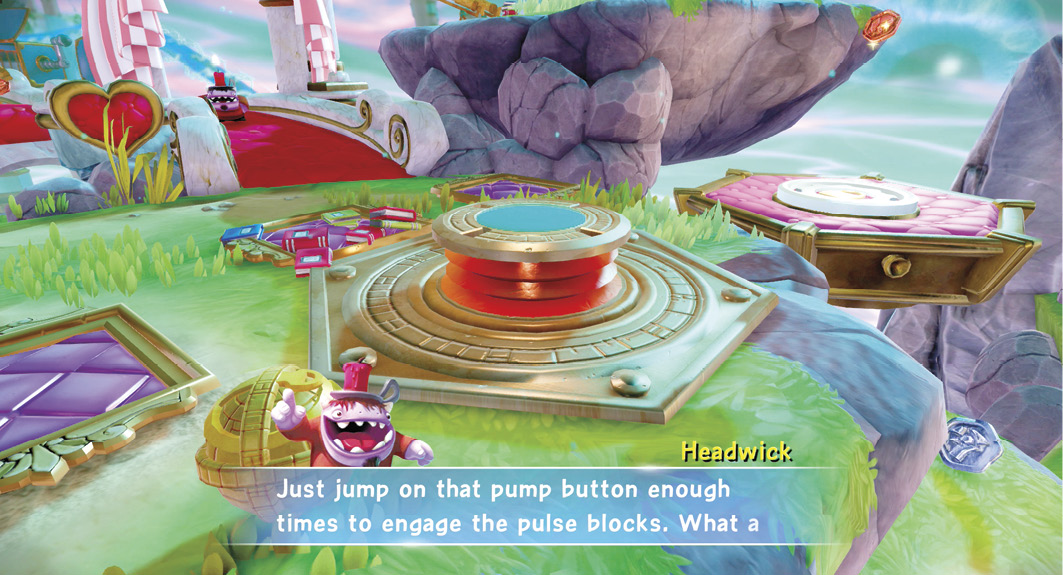
Headwick pops up and points out a pump button for you to jump on. Jumping on pump buttons until they turn red brings pulseblocks to the surface. Move the block nearest the pump button to bring them into alignment. Jump on the now unlocked pump button to reach a higher ledge. Jump on the ledge’s pump button to open the bridge.
Embroidered Bridge, Chamber Entrance & Back-to-Back Stack-N-Jack
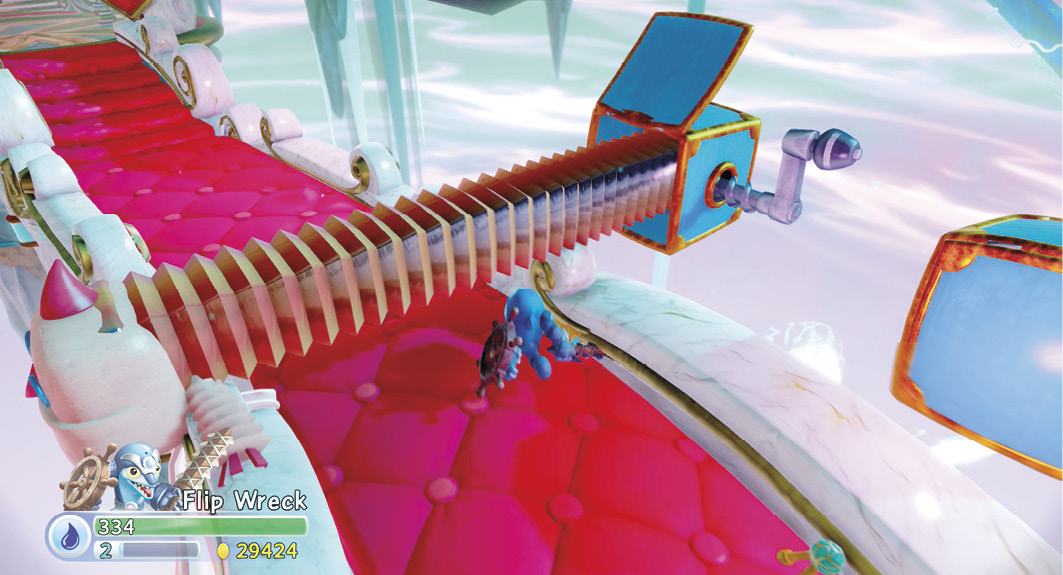
Move across the bridge while avoiding the jack-in-the-boxes. They wobble just before springing. Headwick pops up again at the Chamber Entrance, which is just a locked door, and points out a key and how to acquire it.
There are more jack-in-the-boxes to avoid on the bridge through Back-to-Back Stack-N-Jack. Floating platforms are on the right, halfway across the bridge, where Persephone is available for upgrades. The bridge ends at Watering Hole Encounter.
 Watering Hole Encounter
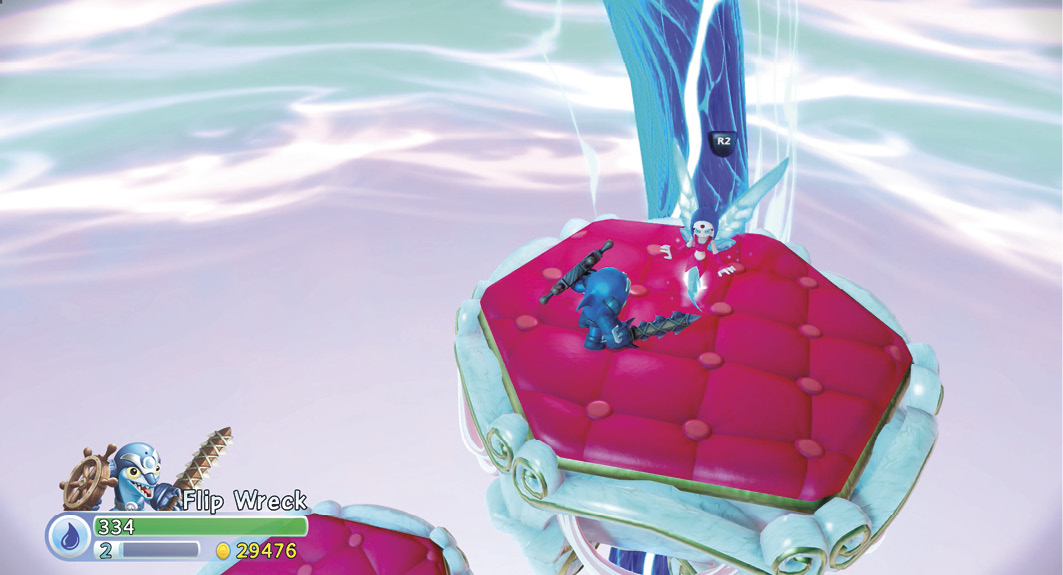
Dreamcatcher appears and blocks your path with Battle Gates. Defeat Eye Scream and the tiny eye enemies that appear to clear the Battle Gates. Go to the platform on the right and bounce on the button. Grab the Story Scroll from the highest ledge. The shimmering doorway goes to Hypnosis Pocus; you should visit it before using the nearby pump button.
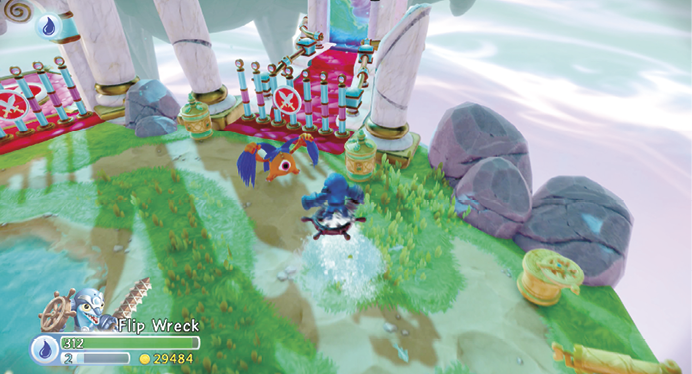
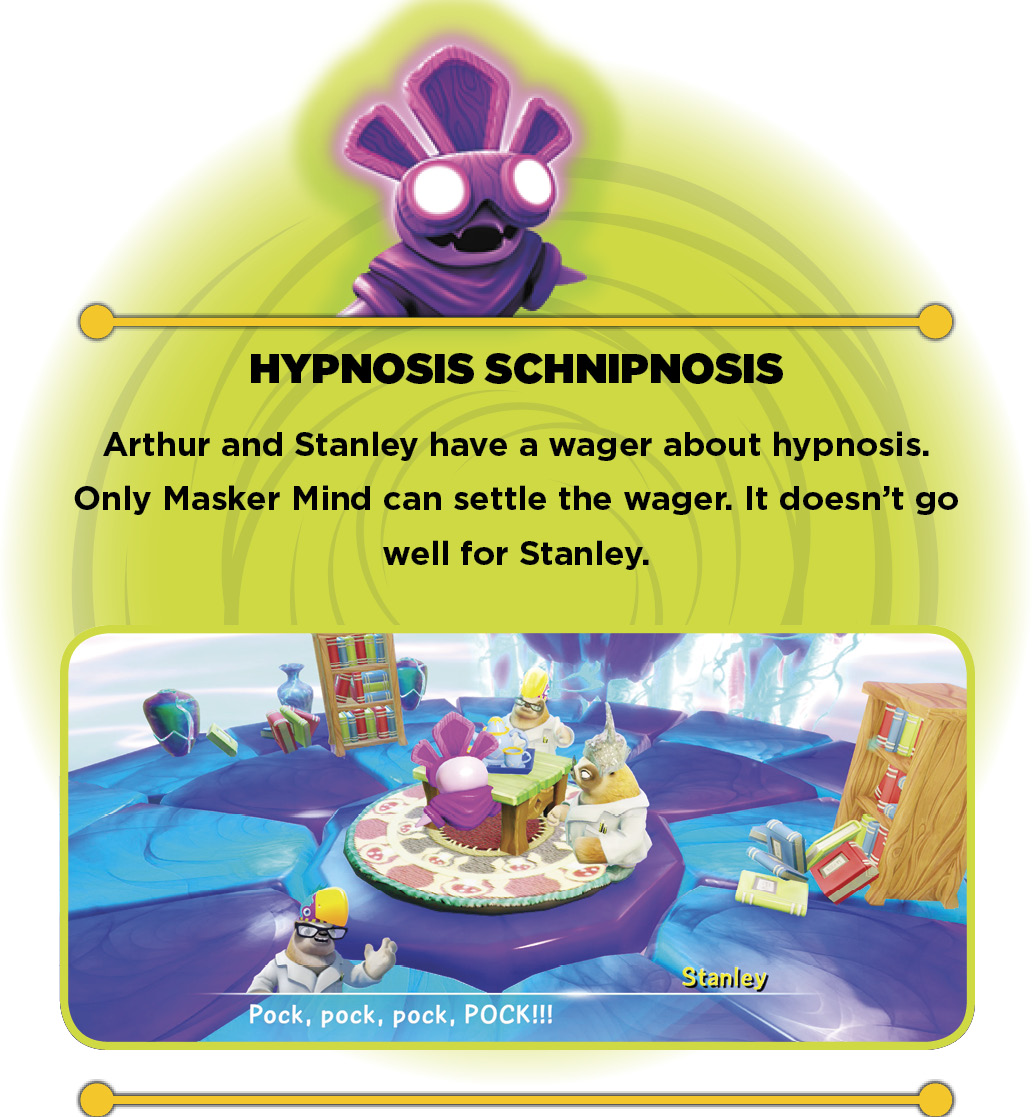
Hypnosis Pocus
Destructible items and the quest for Masker Mind are here.
Jump on the pump button in Watering Hole Encounter to reach more platforms. Collect the loot and ascend to the highest pump button, which brings up the pulseblocks around the Chamber Entrance. Drop down to the blocks and move the two necessary to align them. Bounce on the unlocked pump button to reach the key. Unlock the door and enter.
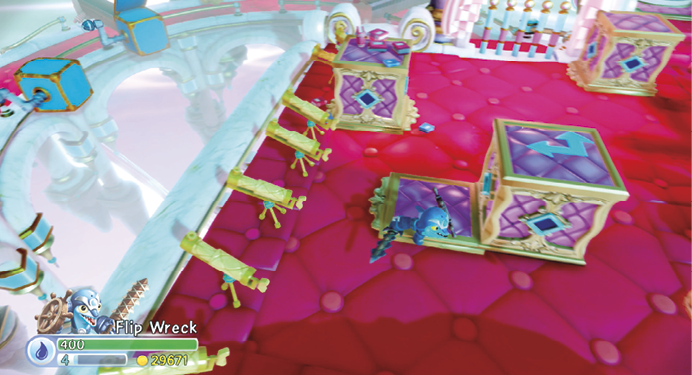
Cosmic Chamber
Phantom platforms materialize and dematerialize slowly. Wait for them to appear and hurry across them before they vanish. Explore the area and collect the valuables before moving close to the bed and waking the scientist. Bounce on the pump button to reach the portal to Pulseblock Pillow Pit.
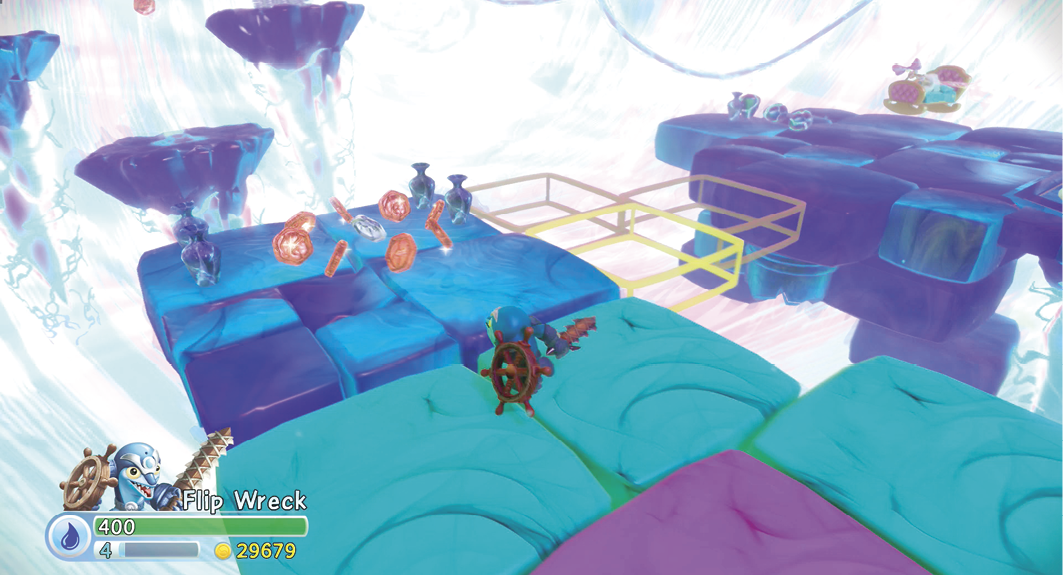
Pulseblock Pillow Pit
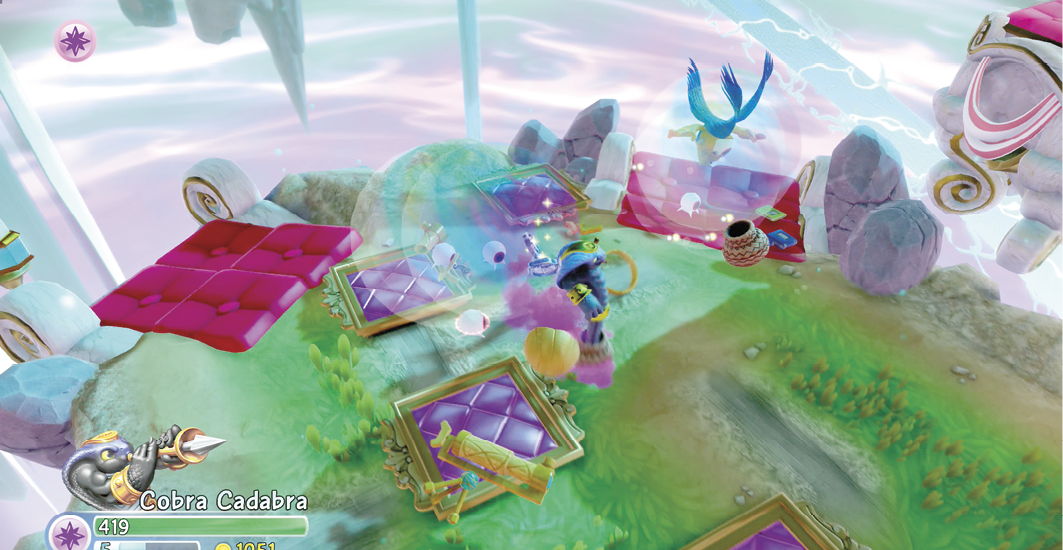
Dreamcatcher appears again and sets up a Battle Gate that blocks the pump button you need to conjure the pulseblocks from underground. Take out the enemies (you can attack them in their bubbles!), then use the pump button to bring up the blocks from underground. Move the three indicated boxes to clear the pump buttons on the nearby platforms.
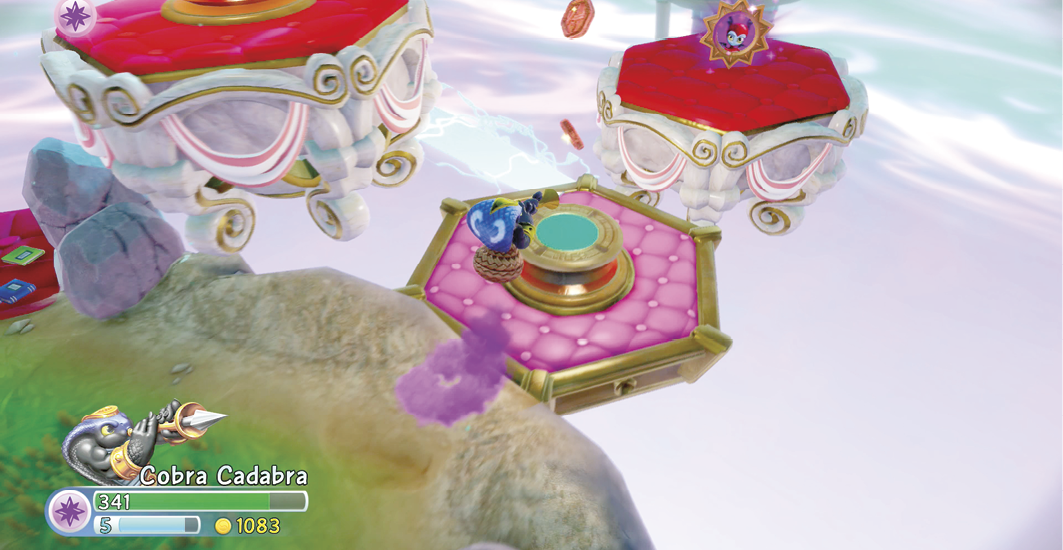
Bounce on the pump button to raise the platform. Grab Bat Spin’s Soul Gem (Great Balls of Bats!) on the way up. Use the pump button on the highest platform to build a bridge to a Super Bounce Pad.
 Observation Terrace
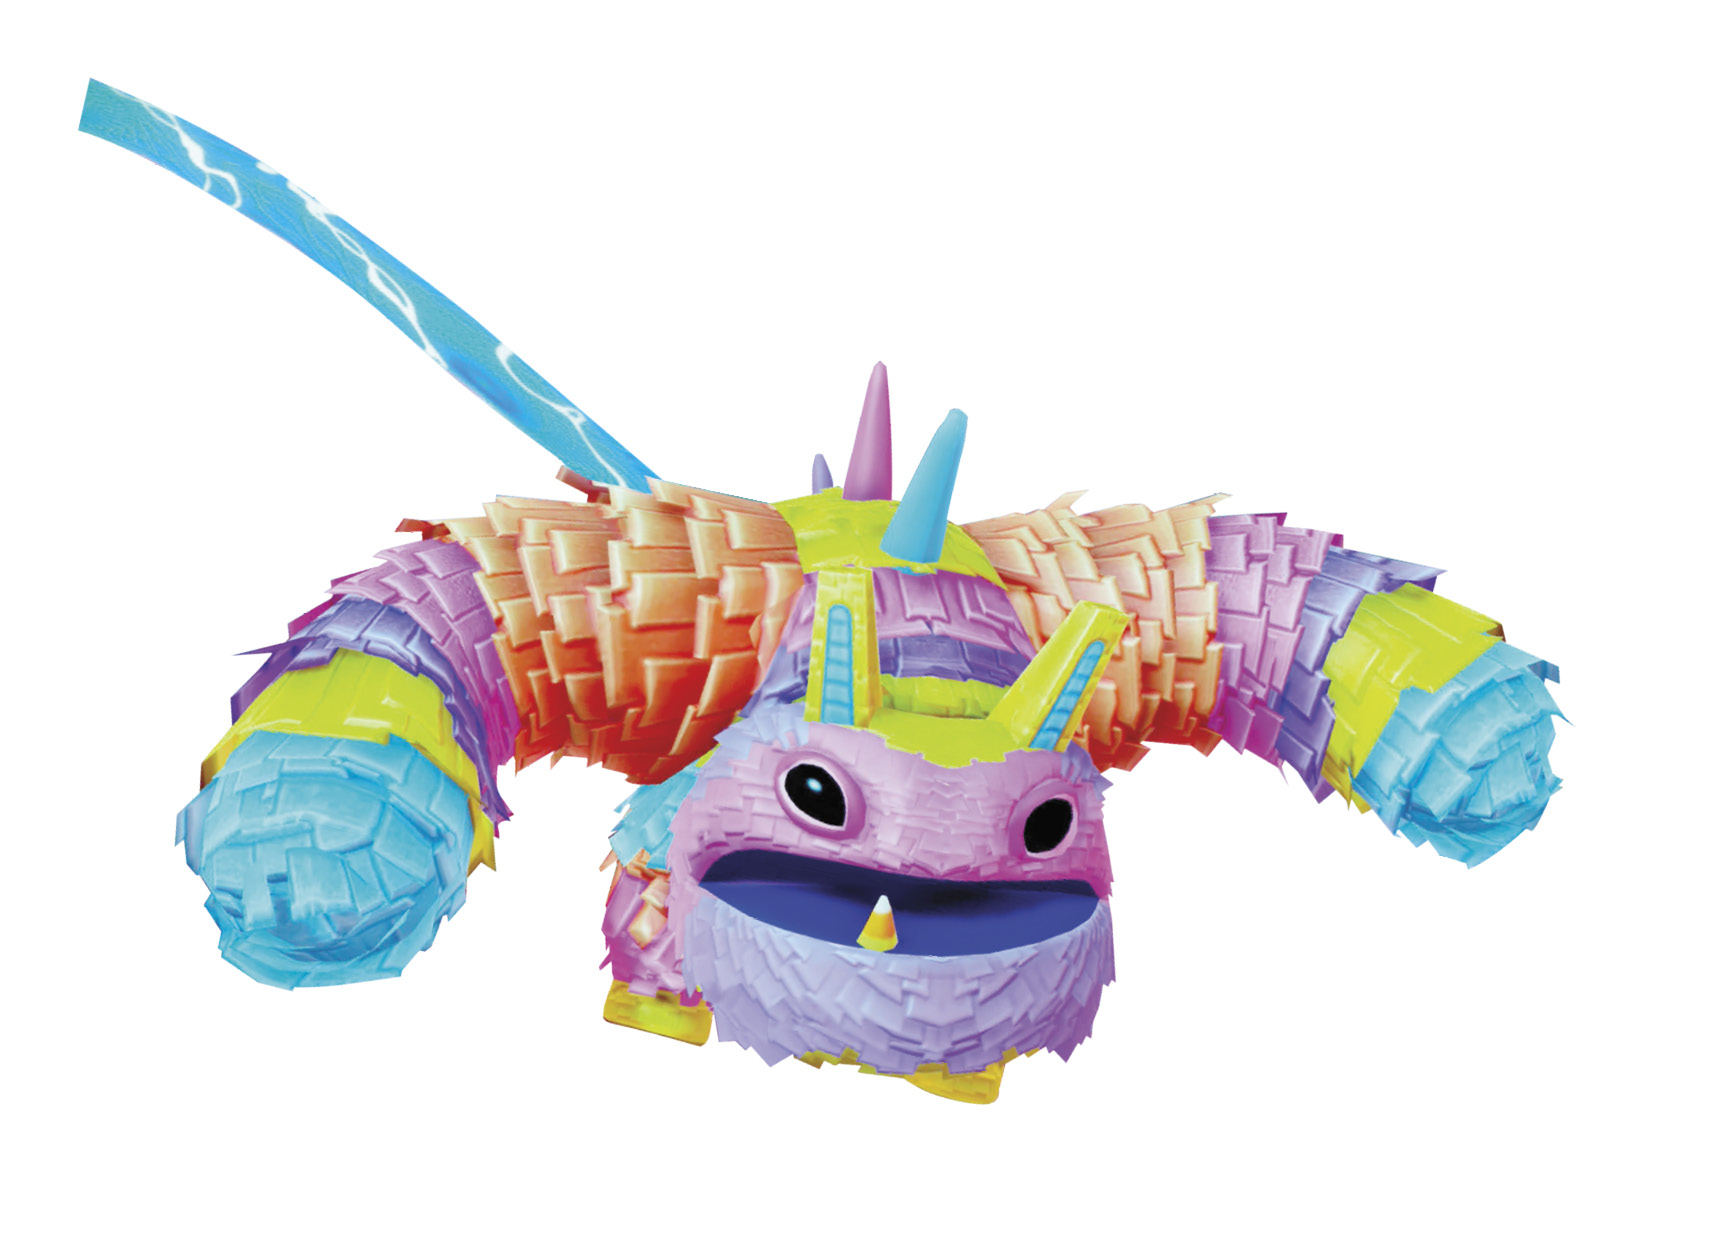
The wild ride ends at Observation Terrace. A Battle Gate pops up, and one of its guardians is the colorful Pain-Yatta. Watch out for its powerful overhand attack. When the Battle Gate is gone, destroy the Traptanium crystal to create a bridge that extends to Observation Loggia.
Talk to Galli in the cage for a game of Skystones Smash. When you defeat him, he hands over the key needed to unlock the nearby door. Go through the door to reach Impossible Gravity Collider.
Observation Loggia & Meditation Pool
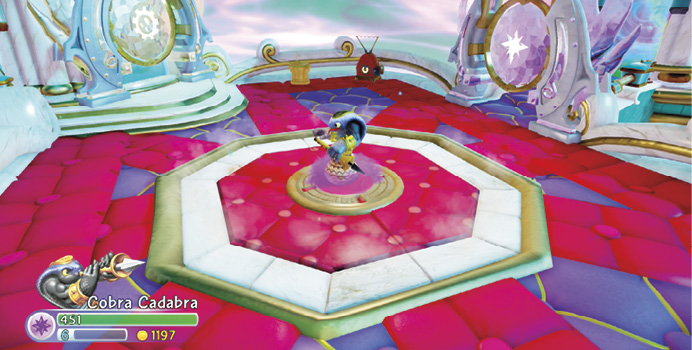
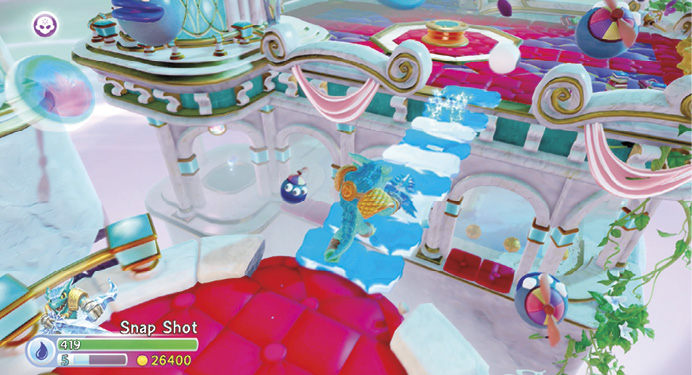
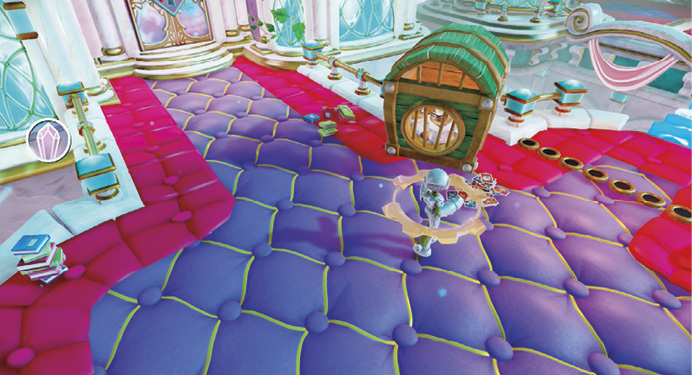
The Observation Loggia has not one, but two Traptanium gates. Step on the pump button to drop down to the Meditation Pool. Grab the Winged Sapphire in the corner, next to the scientist. Carefully push the golden balls to the waterfall flowing over the area’s end to make coins rain. If you can push 12 over the waterfall, you earn the Ball Sprawler achievement.
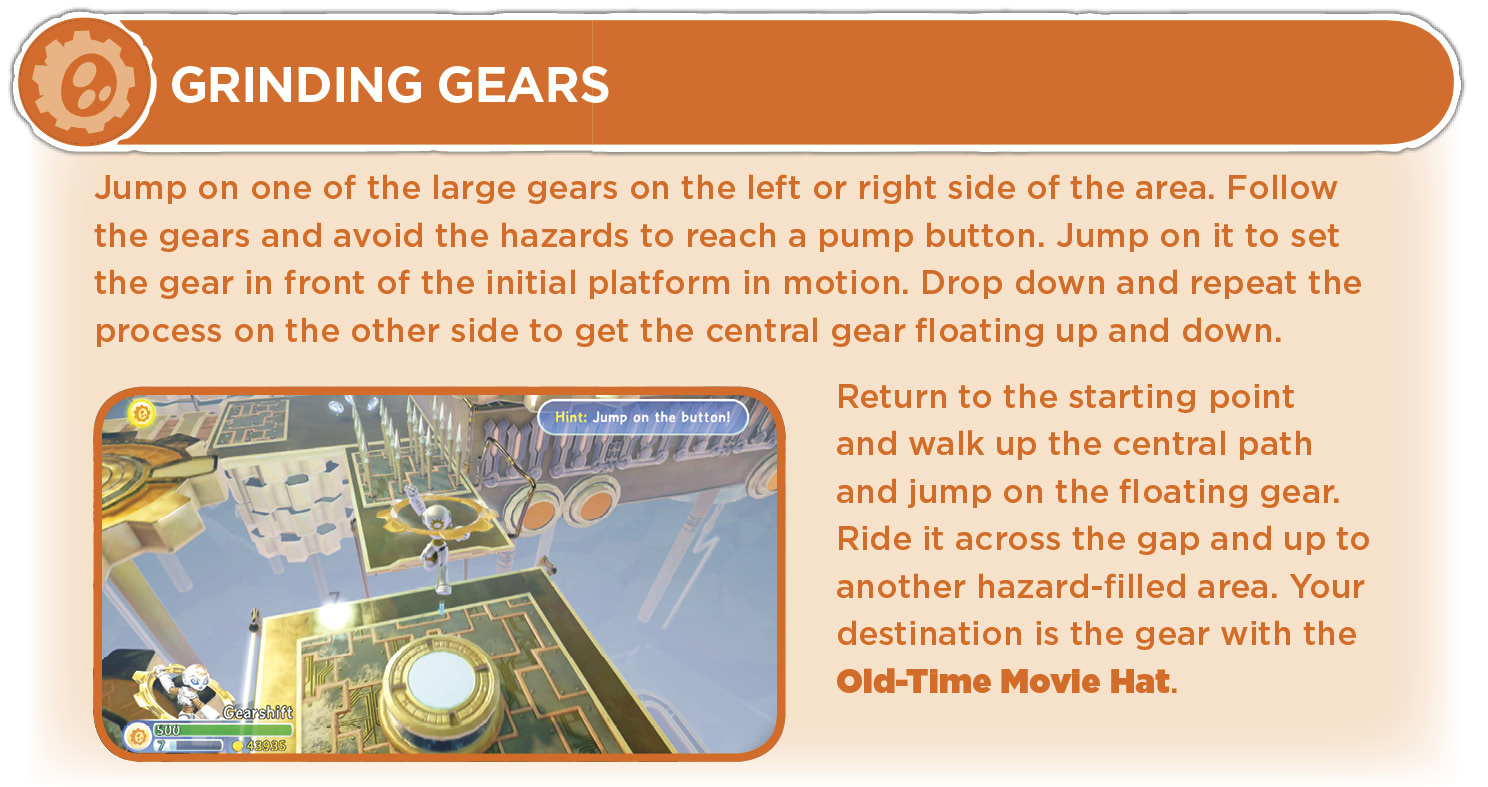

 Impossible Gravity Collider
Wake the scientist, then run across the phantom platforms. They end at a steam spout. Jump up to collect the coins. Dreamcatcher appears and sends another horde of enemies to stop you, including Hood Sickle.
Unfortunately, capturing Hood Sickle doesn’t end the fight. There’s one last wave of enemies to take out. After they fall, stay on the green stones (avoid the red ones!) to reach more sleeping scientists. Avoid the pump button for now. Go across the phantom platforms to reach the Villain Stash.
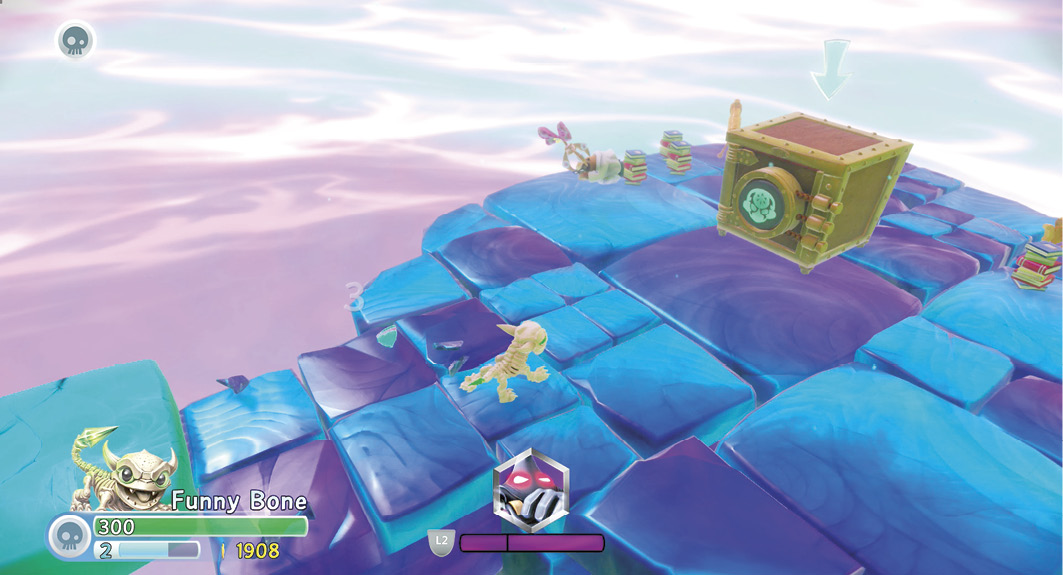
Return to the pump button and go up to the next area with the sleeping scientists. Wake both scientists to unlock the pump button. The phantom platforms to the right lead to another sleeping scientist and valuables. Use the pump button to go up another level. Exit through the archway to reach the Roof Observation Deck.
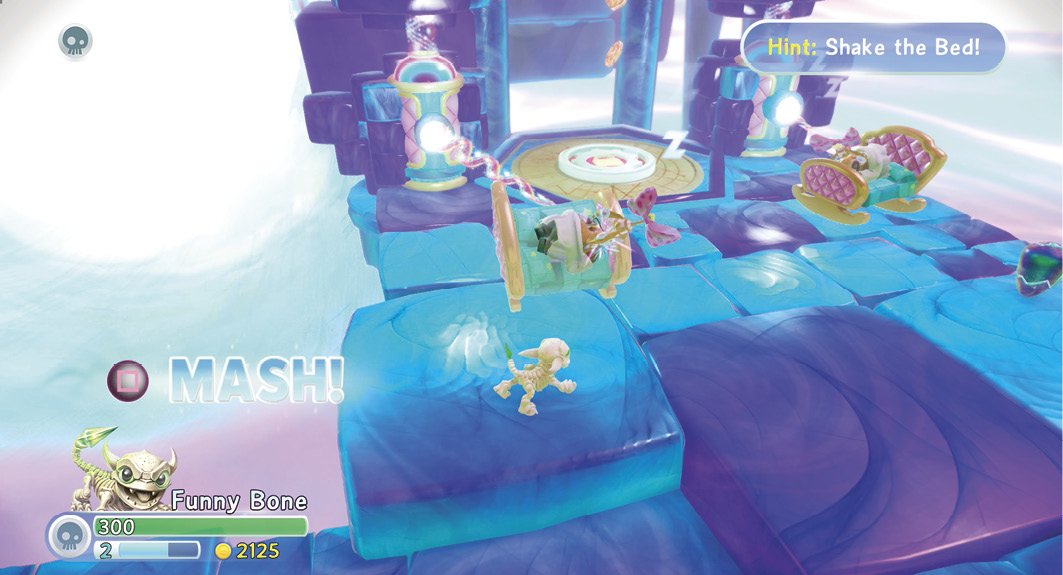
 Roof Observation Deck
Battle Gates block all the exits. Defeat the enemies that appear to remove the Battle Gates. Jump on the floating platforms on the right to play Skystones Smash against Ptol.
The portal at the area’s end goes to Framing an Art Attack. Walk down the steps past the telescope and use the Super Bounce Pad to fly across a short gap and land in The Great Spiral Observatory.
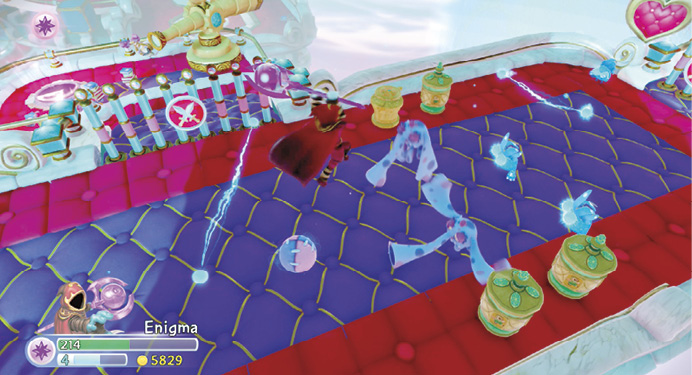
Framing an Art Attack
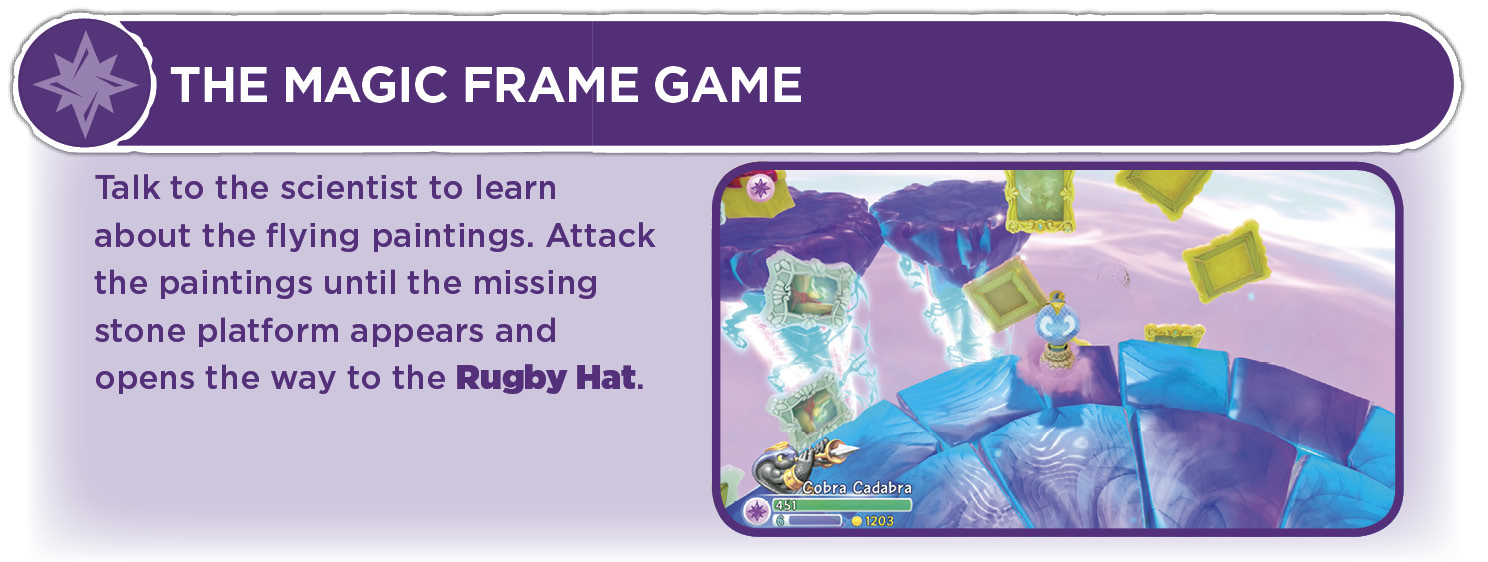
Talk to Pern; he encourages you to attack the paintings. Take his advice and attack the paintings until a stone platform appears. It fills in a gap in the path to a steam vent that flings your Skylander to a Treasure Chest.
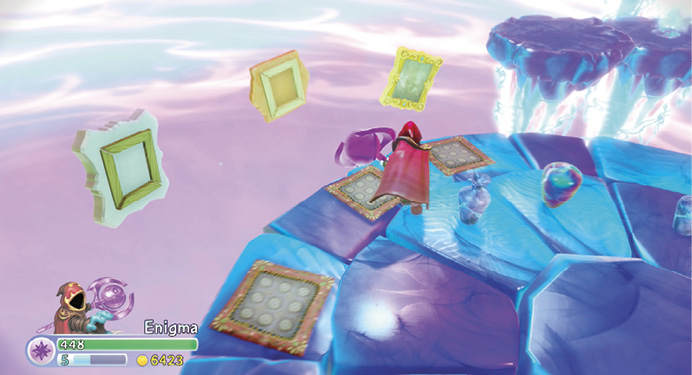
 The Great Spiral Observatory
Dream a Little Dream Beds
The Lock Puzzle in the Great Spiral Observatory blocks the way to Dream a Little Dream Beds. Go down, left, down, right, left, up, left, down, left, down, left, down, and right to destroy all the pots. Go up, right, down, left, up, left, down, right, and down to pick up the moveable block. Go up, left, and down to drop off the block. Go right, up, left, up, left, down, left, down, left, down, right, up, right, and down to open the lock.
Wake both scientists to clear the lock from the pump button. Jump on the button to raise the platform to reach a Treasure Chest.
Feng Shui Shove
Use the pump button near the entrance to Dream a Little Dream Beds to drop down one level. The entrance there goes to Feng Shui Shove.
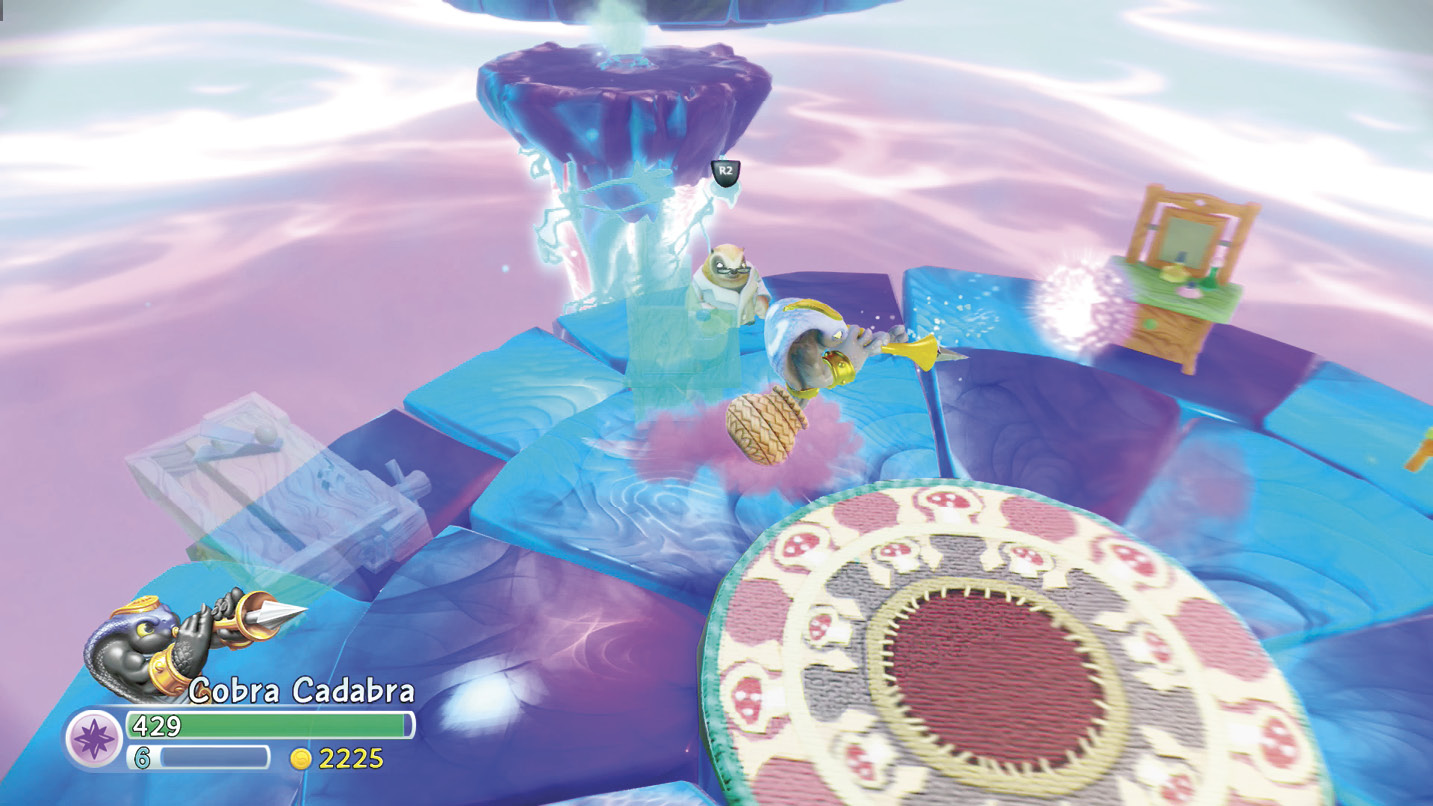
Talk to Tyche, then hit each piece of furniture in the area to summon a stone platform. Jump to the platform with the steam vent. Ride the steam vent to a higher platform with a Treasure Chest.
Stairway to the Stars & Spiral Balcony
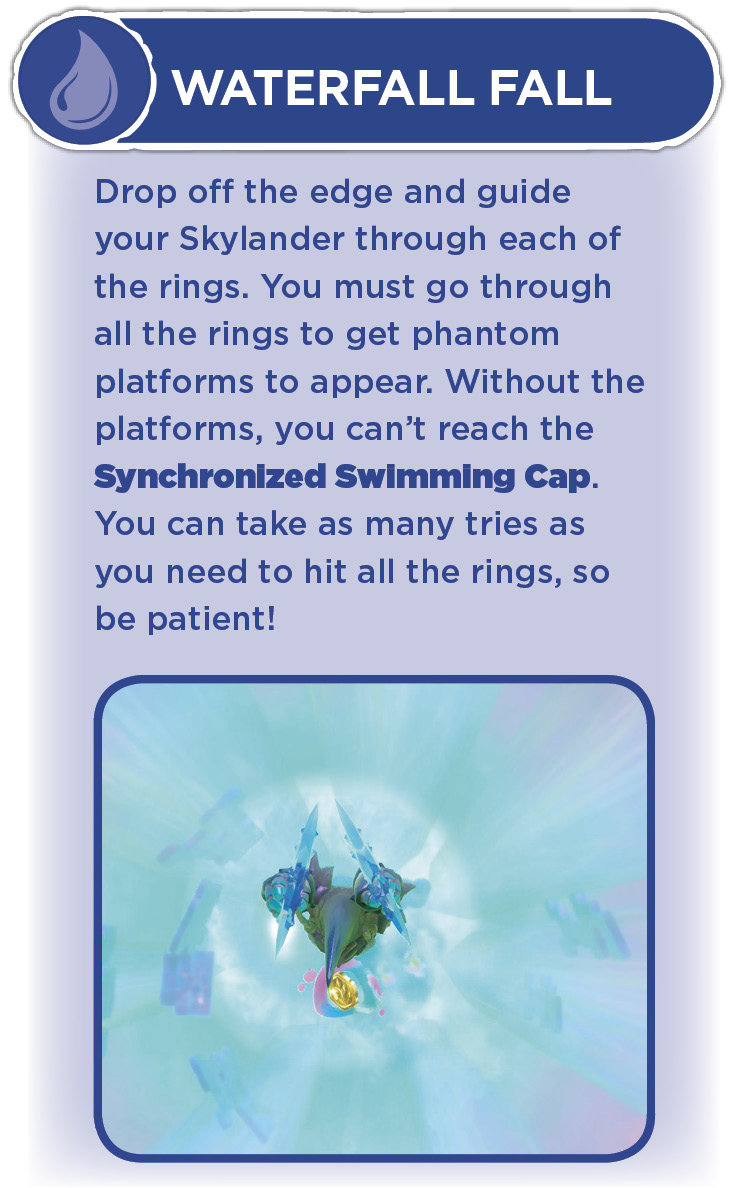
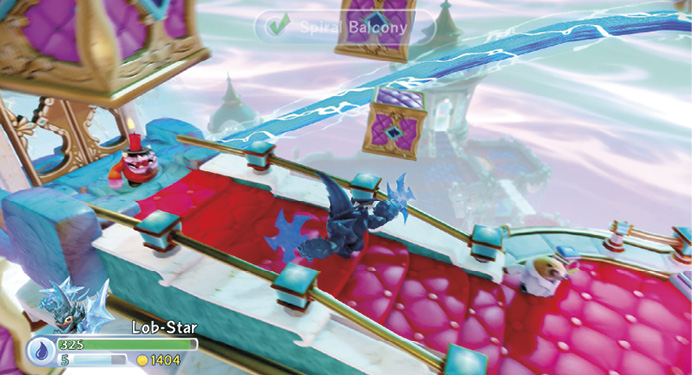
Use the pump buttons and steam vents to climb higher and higher until you reach Spiral Balcony. The door up the stairs leads to Headwick. Don’t speak with him until after you visit the nearby Water Gate and drop over the side of the tower. Do not talk to Headwick until you are ready to continue to the final fight against Dreamcatcher!
Library Lock Out
Drop from the roof to a ledge below. The door has a Lock Puzzle. Go right, down, up, left, up, left, down, right, up, right, down, right, left, down, right, up, right, up, left, down, left, down, right, left, up, right, up, left, and down to collect all the coins. Go right, left, up, right, up, left, and up to reach the exit.
Destroy all the stacks of books. Jump on the stone platforms. Use the steam vent to reach the highest platform and the Legendary Cyclops Teddy Bear.
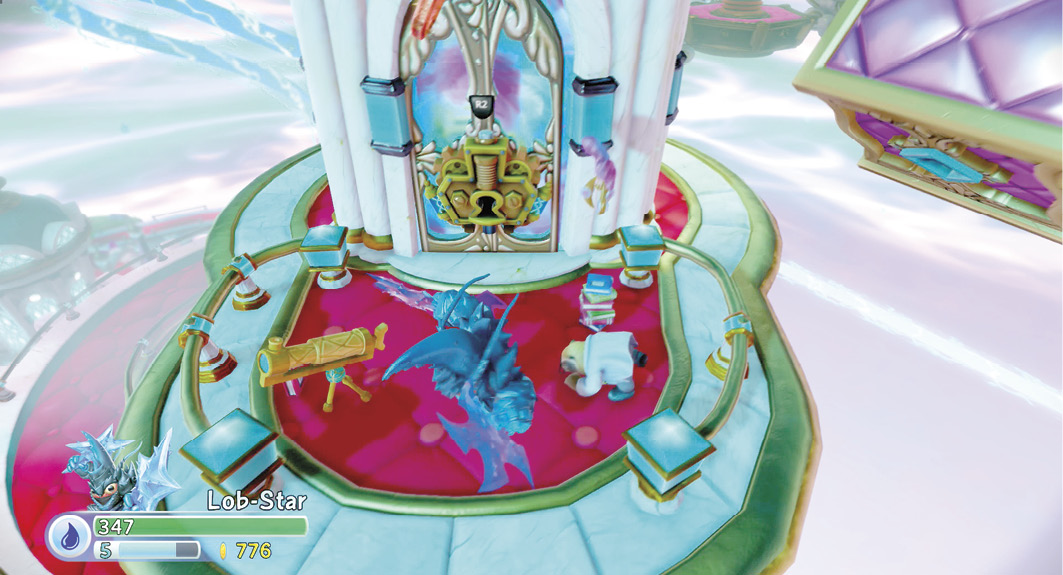


Back at Skylanders Academy
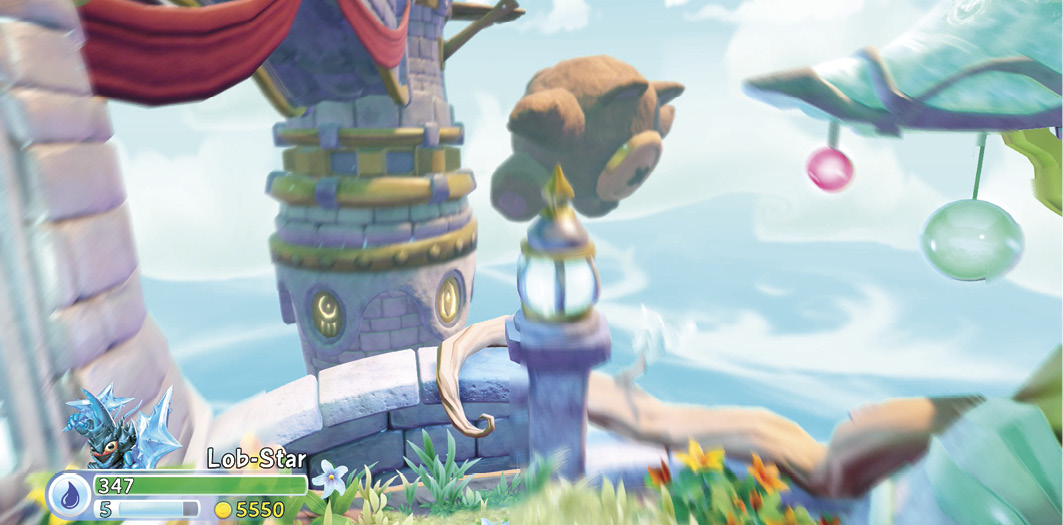
Visit Persephone and give the surprisingly huge Legendary Cyclops Teddy Bear a home. Go to the Main Hall where you can find a new Skaletone Showdown challenger. You can also return to the hat shop and complete Hood Sickle’s quest. Once you complete Hood Sickle’s quest, speak to Hatterson to open up The Hat Store.