Skylanders Trap Team Signature Series Strategy Guide Walkthrough
Chapter 16: The Golden Desert
Quest Preparation
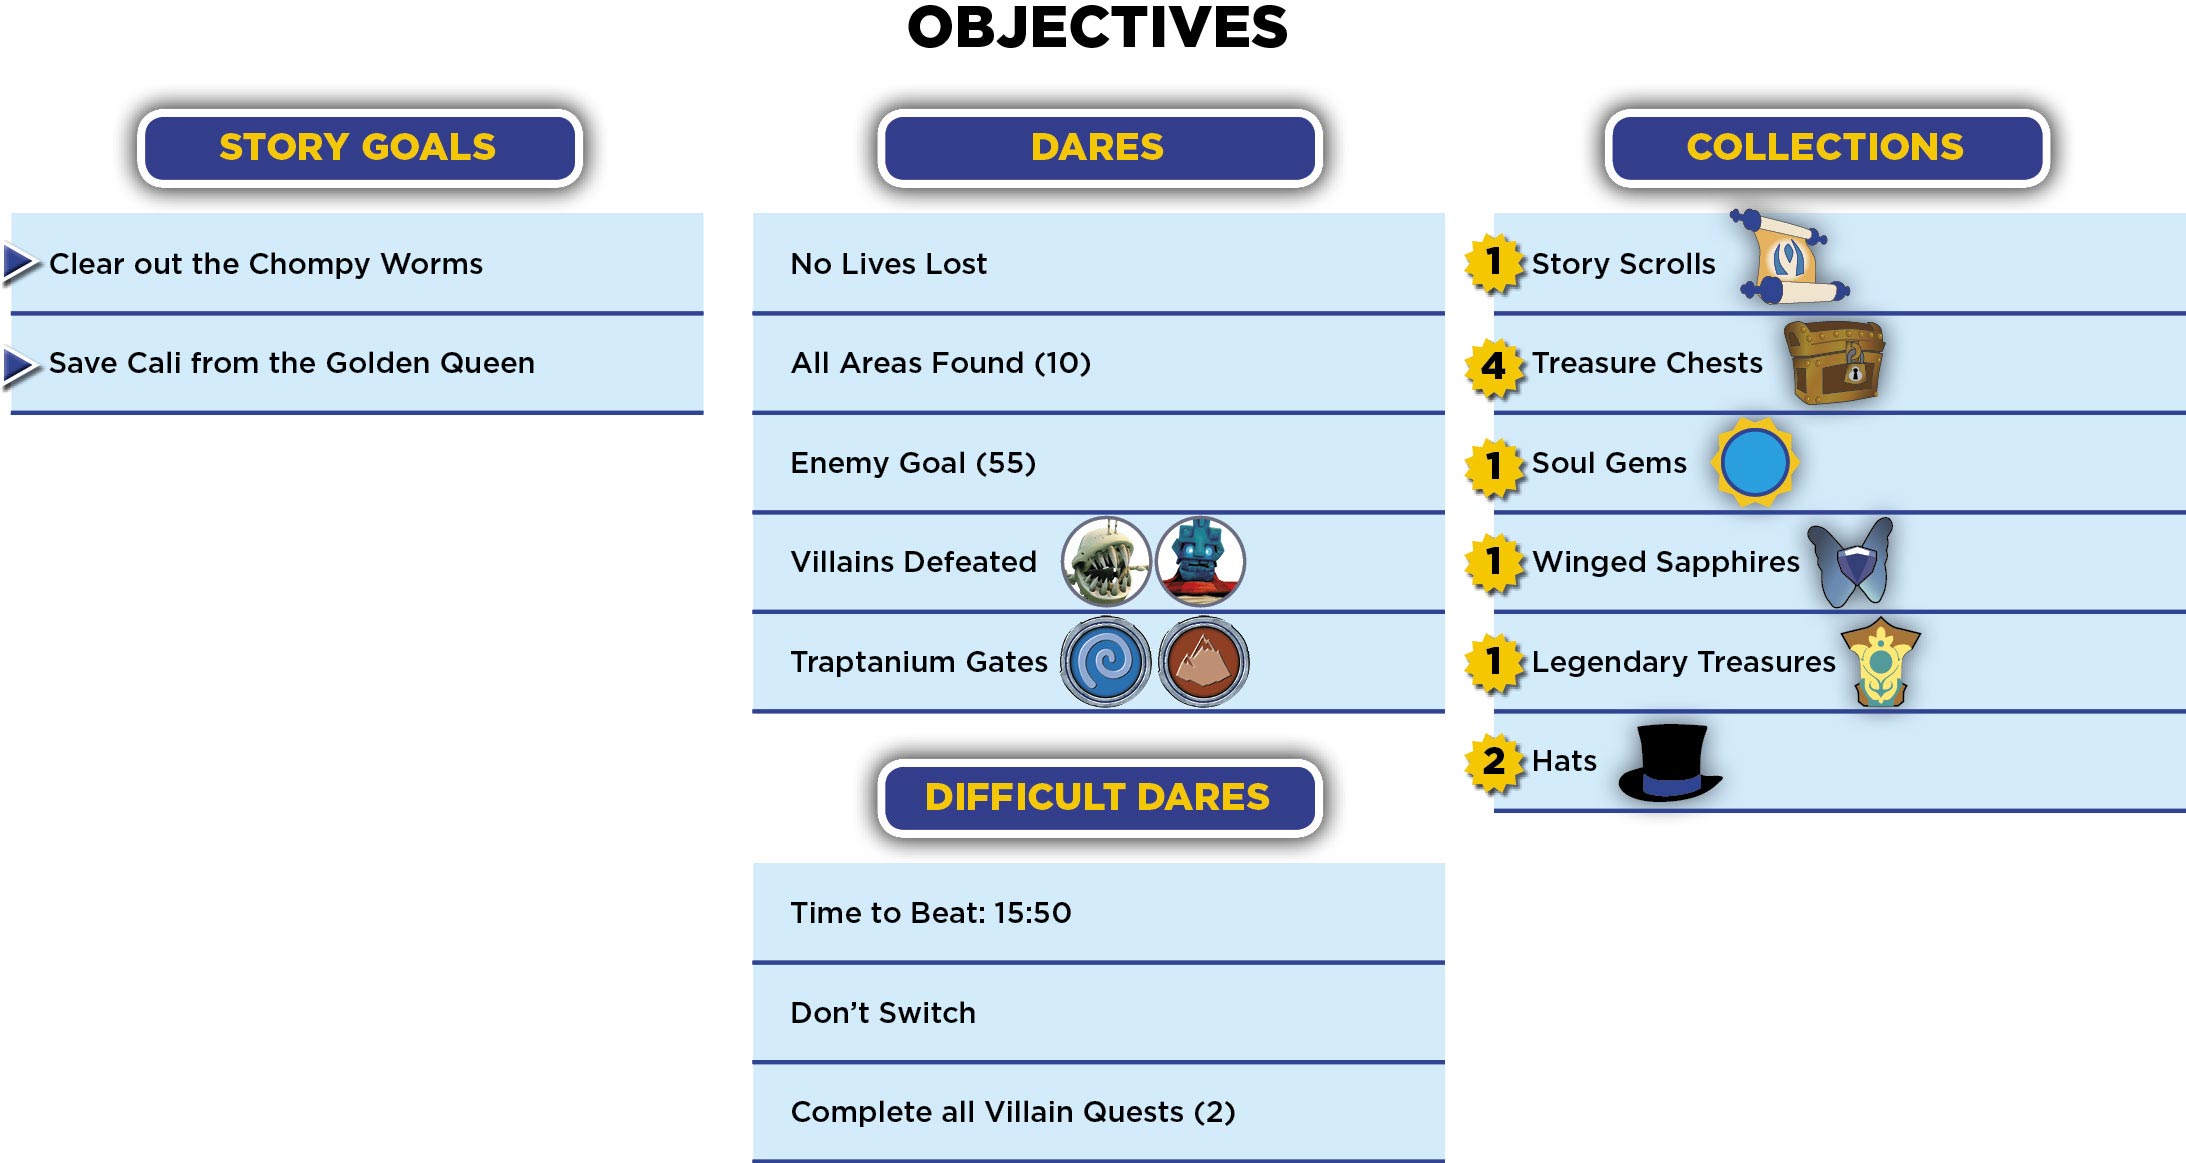
There are two quests in The Golden Desert. One is for a Dark enemy, and another for a Light enemy. Put Blaster-Tron in a Light trap, and Tae Kwon Crow in a Dark trap. Both quests appear early, so you'll have two newly-upgraded helpers for the rest of this area.
 X’s Shifting Sands
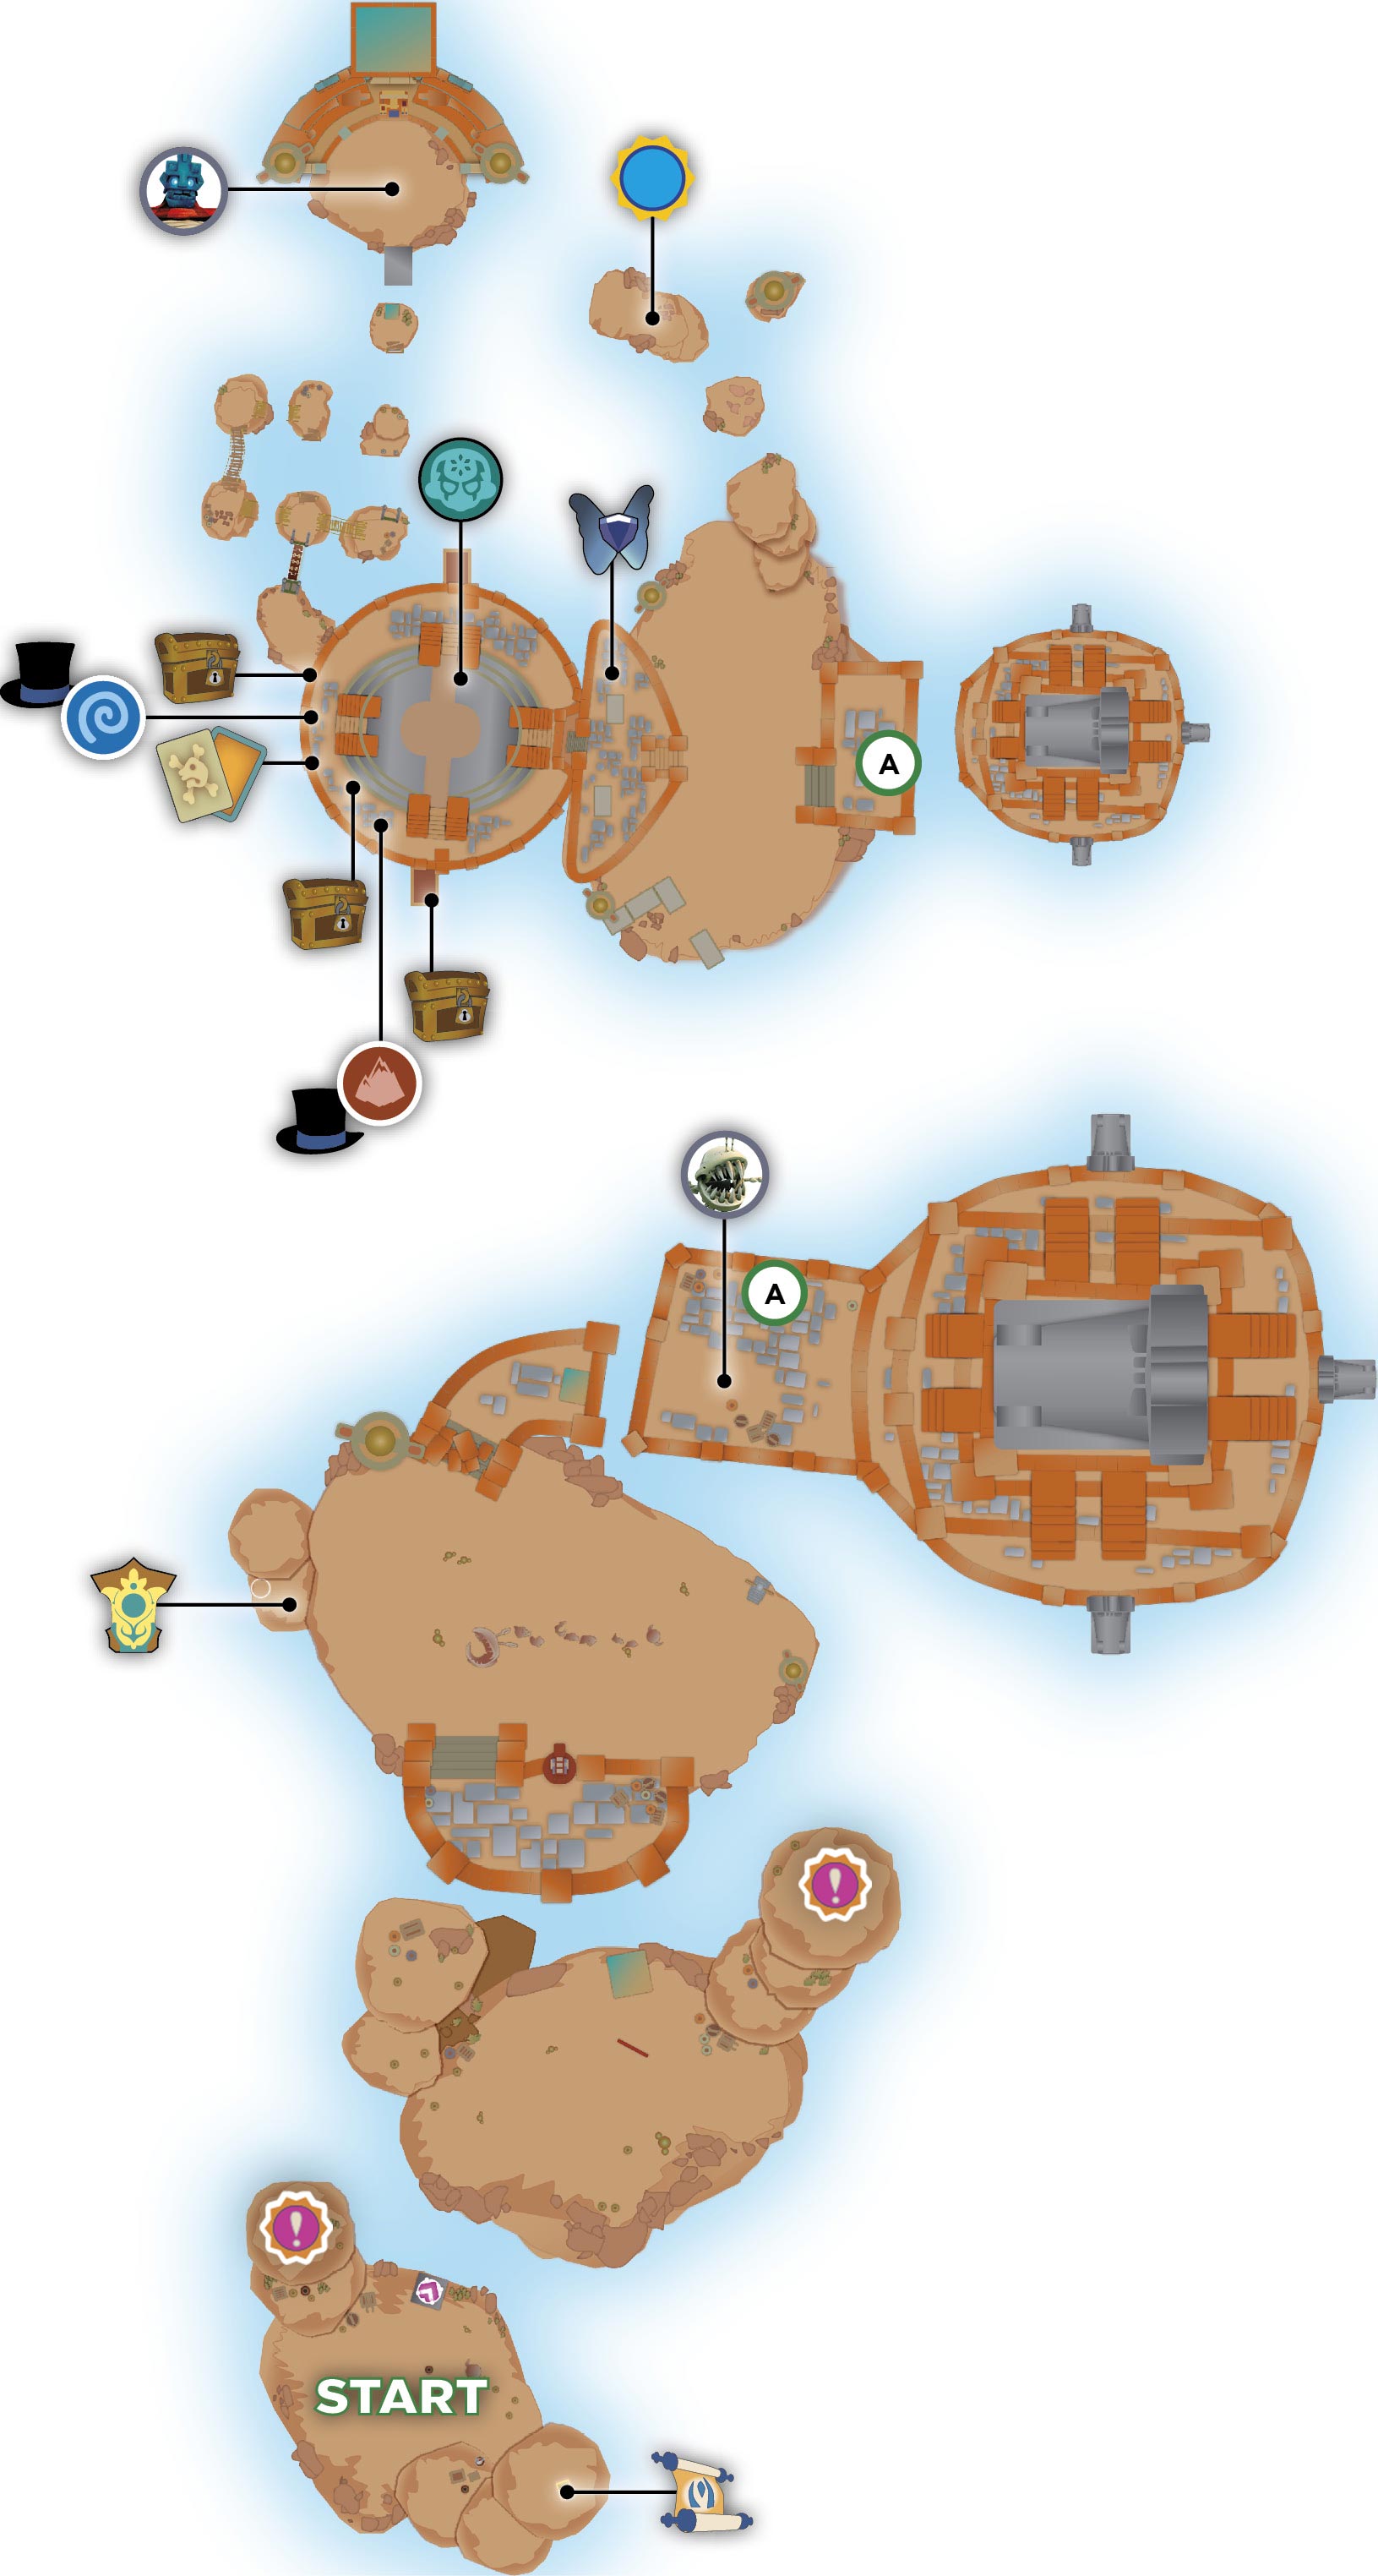
Collect the Story Scroll up on a large flat stone to the right. Speak with Diggs on the left, who has a quest for Blaster-Tron. Step on the Super Bounce Pad to travel over the chasm.
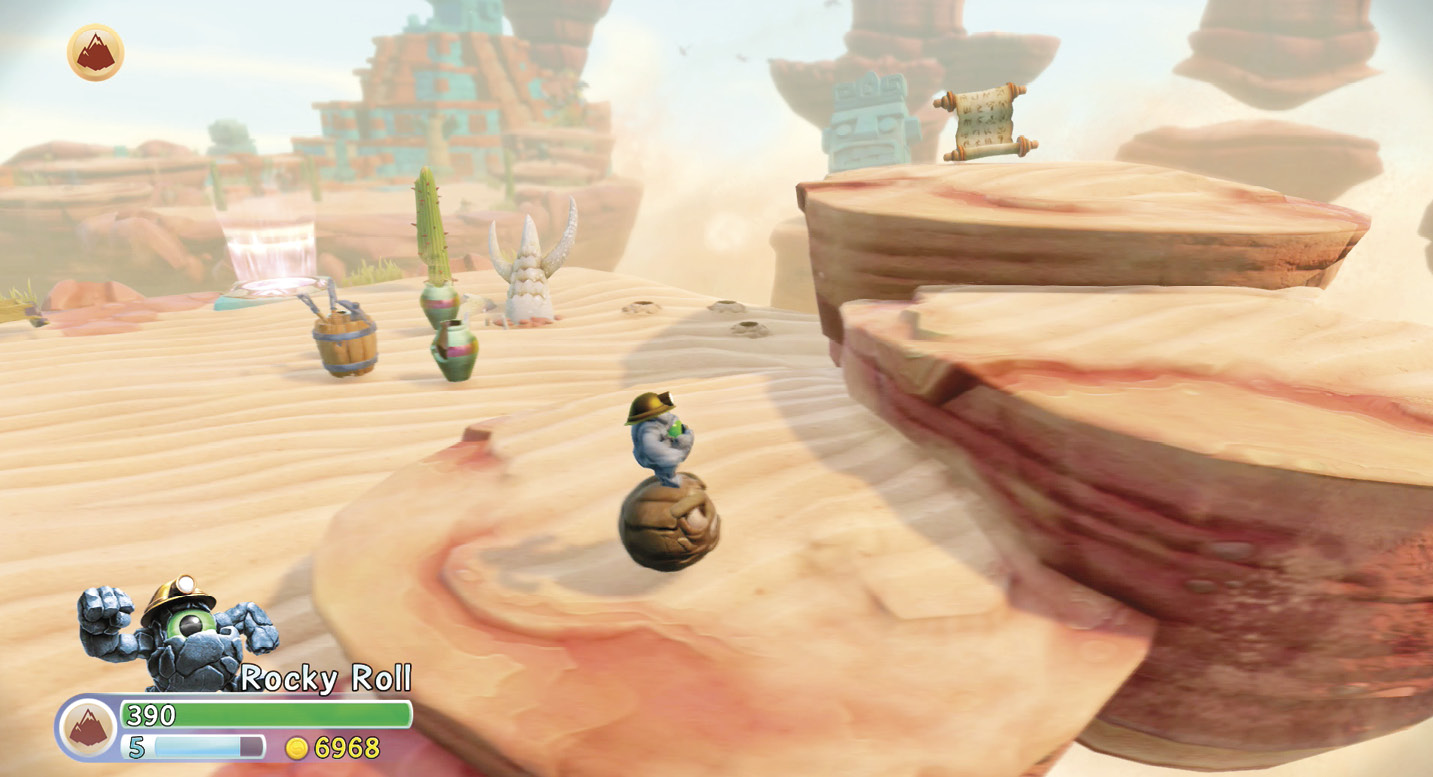
Defeat the skeletal enemies to clear the Battle Gate from the Super Bounce Pad. Strike the shield-wielding skeletons from behind, or goad them into an attack you can avoid. When their swords are extended, they’re vulnerable. If you’re the patient type, you can destroy the shields slowly. You can also destroy the entrance they use to enter the area. With the skeletonal enemies out of the way, jump up and talk to Tessa, who has a quest for Tae Kwon Crow. When you're done helping Tessa, bounce ahead to Dust Bowl.
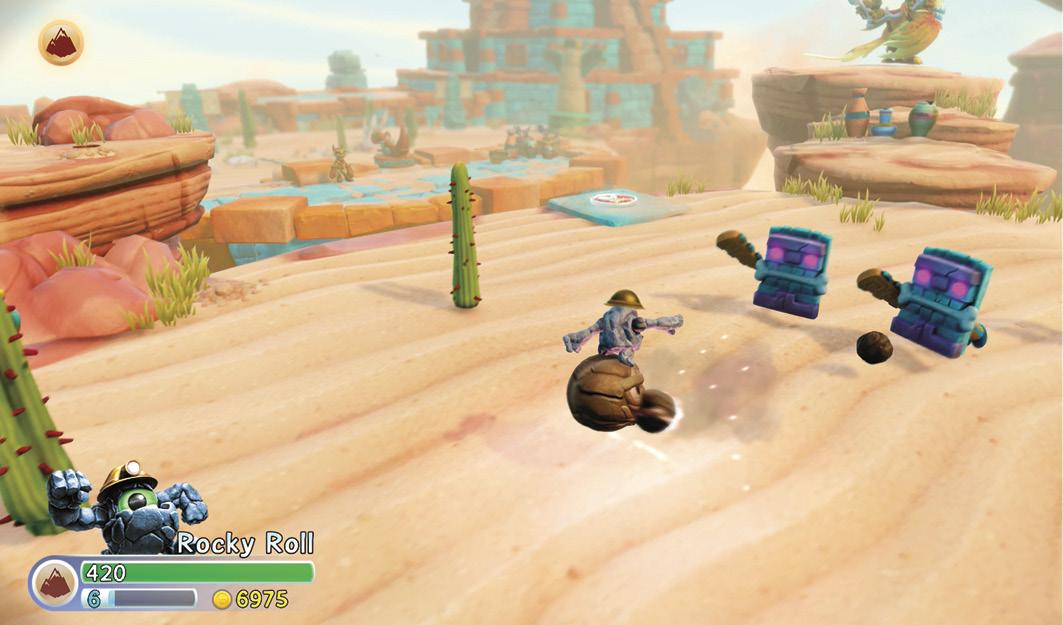
Dust Bowl
Speak with Cali who explains how to deal with the giant Chopmy Worms. While you’re manning the cactus-flinging catapult, aim for cacti and any statues in your field of fire. The statues turn into coins. If you destroy 10 cacti during this chapter (you have more opportunities at cacti later) you earn the Garden Gladiator Achievement/Trophy.
When the Chompy Worm flies off, follow Cali into the cleared bowl. Collect the loose coins and look for a platform off the left side. Grab the Legendary Dragon Head, and then use the explosives near Cali.
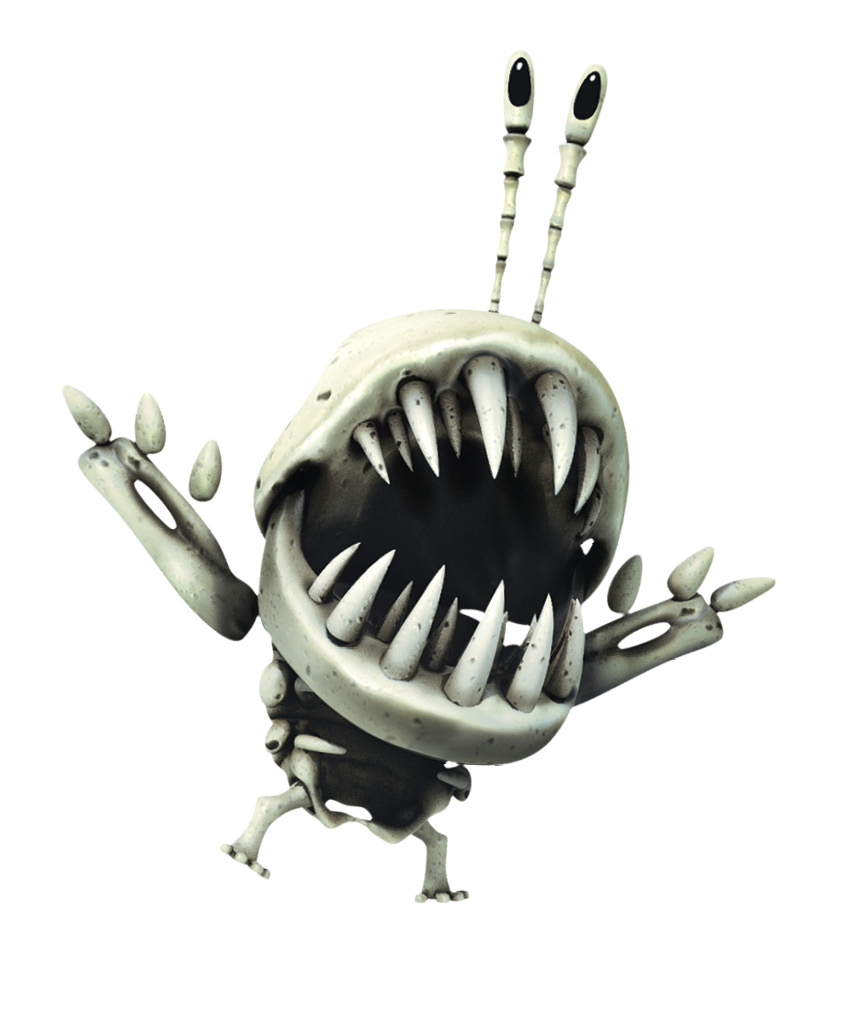
Use the Super Bounce Pad to reach an open courtyard. Enemies spill out of a doorway into a balcony just out of jumping range. Grave Clobbers are huge and powerful, but slow. When a green ring appears on the ground, you might be able to snag a Bomb out of the air by jumping at just the right time. Otherwise, stay clear! Eventually a Bone Chompy makes an appearance, though he isn’t the last enemy to appear. A Super Bounce Pad is unlocked when the final enemy falls.

The Temple of Topaz
Cali needs cover from the Chompy Worm again. This time, Masker Mind-controlled Bomb Shells join the Chompy Worm. The Chompy Worm is more aggressive, charging the catapult on more than one occasion. After it takes enough damage, it flies off again.
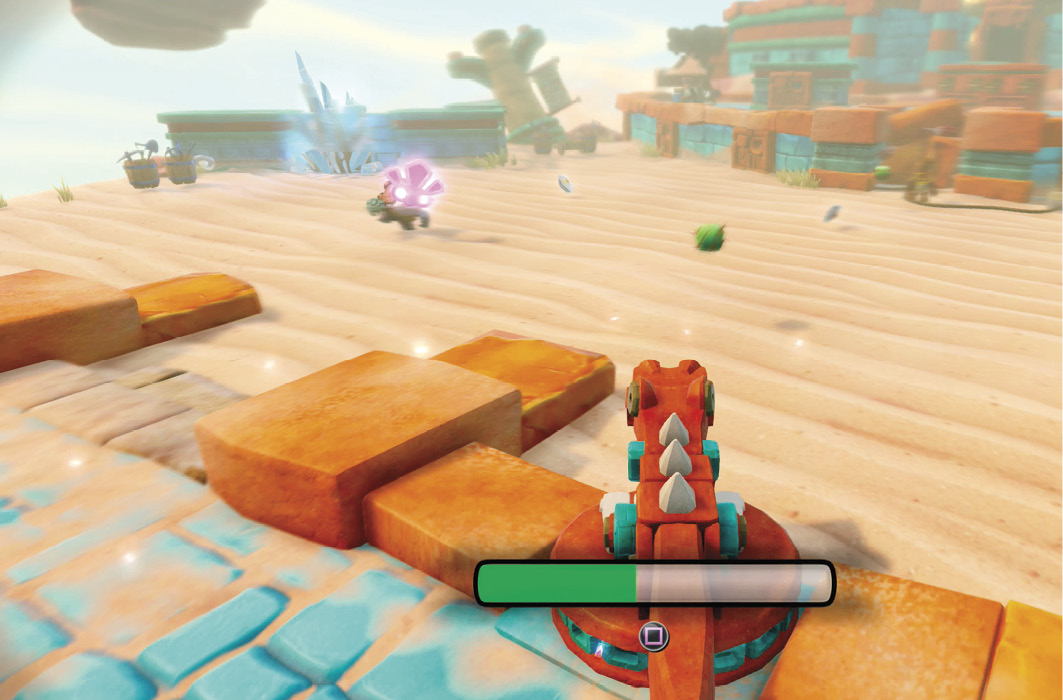
Destroy the Traptanium crystal on the left. Then do the same on the right to form a bridge. Walk over the bridge and destroy a third Traptanium crystal to reach Tuff Luck’s Soul Gem (Garden of Pain). Use the Super Bounce Pad for a quick trip back to Cali. After the Golden Queen appears and leaves, push the three blocks into the holes. Step on each flashing button to open the gate ahead and extend a bridge. Get the Winged Sapphire from the corner of the raised area.

 The Howling Caverns & Hole in the Wall
Persephone waits just inside the doorway. Stepping down into the lower area begins a long fight to clear a Battle Gate on a Bounce Pad. A second Bounce Pad appears below Persephone, allowing you to reach the doorway where your foes appeared. It leads to Hole in the Wall, and a Treasure Chest behind rows of spikes.
Bounce up to the Lock Puzzle. Go left, down, right, down, left, and up to get to the water. Go down, left, right, down, up, left, down, left, down, left, up, left, down, right, up, right, down, up, left, up, and down to hit the coins and vases. Go up, left, and down to clear puzzle and open the door to The Golden Springs.

The Golden Springs

Visit the Earth Gate first. When you’re done inside the gate, push the block one spot. Use the switch nearest the block once. Flip the switch nearest the molekin once and wait next to it. When the pulse passes through the beam, use the switch again to send the pulse over to the other side.

Walk up the newly opened stairs. The left path ends at a Lock Puzzle guarding a Treasure Chest inside a Traptanium crystal. Go right, and up to collect the coins. Go down, left, up, right, down, left, up, left, up, right, up, left, down and right to clear the lock.

The path that goes off to the right is trapped. Watch out for the spikes that pop up from the ground! The door goes back to The Howling Caverns, near the Villain Stash shown earlier. Go down the stairs away from the Villain Stash first. The door at the bottom goes back out to The Golden Springs, near a Skystones Smash player and an Air Gate. The hall near the Villain Stash is a one way trip back to a different area of The Temple of Topaz.

The Windy Heights
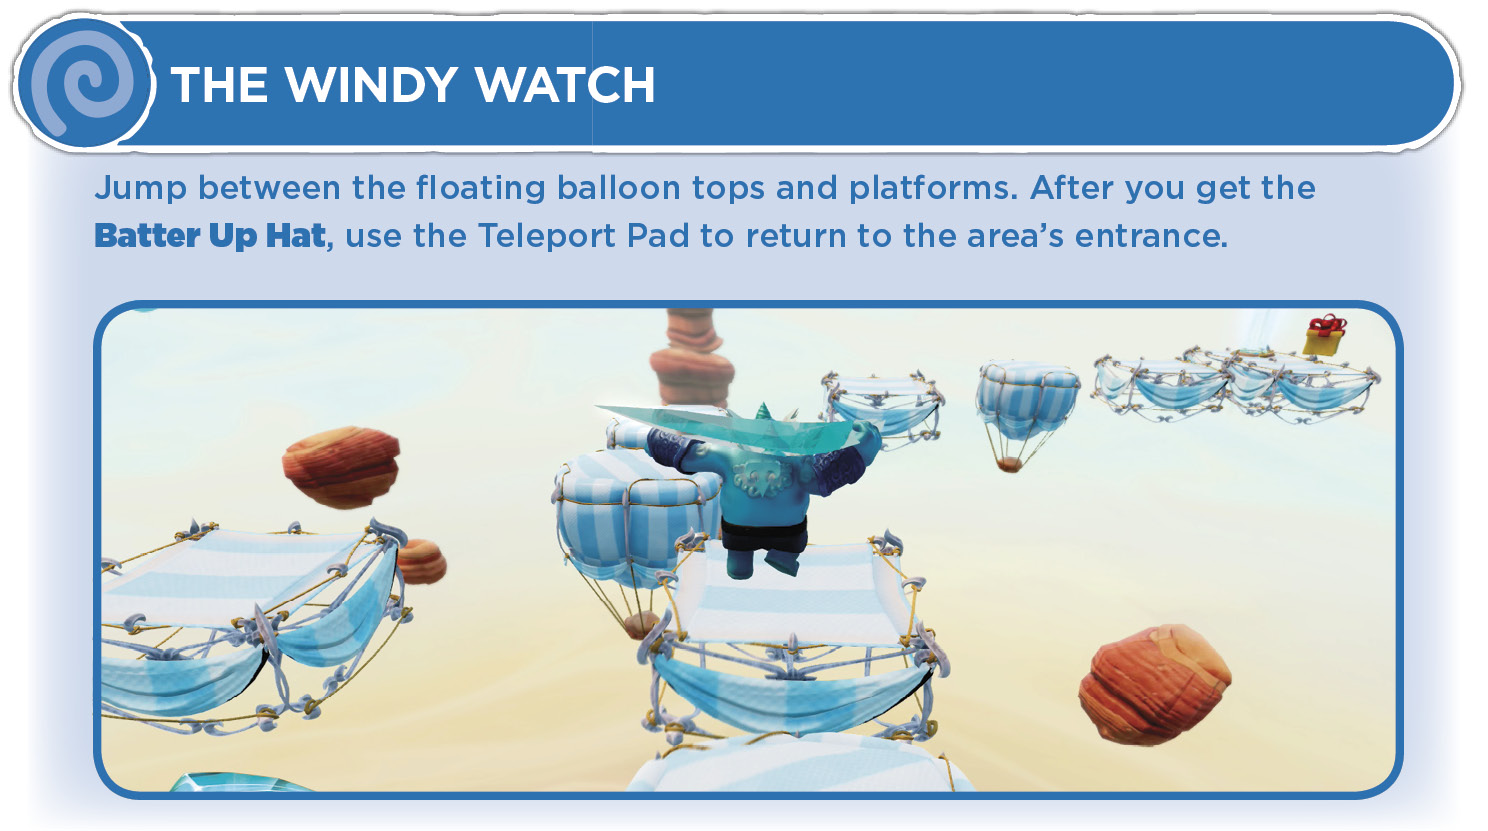
There’s a Treasure Chest to the left of the entrance to the area. In the Windy Heights, pick up and move the bamboo bridge so you can retrieve the wooden bridge. Move the wooden bridge to the center platform, then move the bamboo bridge to the opposite side. Move the metal bridge across the bamboo bridge and place it there. Finally, get the wooden bridge and use it to reach the platform with the Super Bounce Pad.

The Jeweled Coliseum
The first stage begins with a steady stream of shielded skeletons, followed by Bone Chompies and a Bad Juju. Watch out for eyebeams from the statue overlooking the arena floor. When the bomb-tossing enemies appear, try to catch a bomb and throw it at the statues under Cali. Take out all the statues to send the wall behind her crashing into the enemies below.

Things pick up when the Chompy Worm appears in the center of the arena floor and creates a quicksand pit. The edges of the floor are safe from the pit, but not from the enemies that keep appearing!


Back at Skylanders Academy
Place the Legendary Golden Dragon Head at the doors of the Main Hall. Check in with Brock, who has a new arena for the Rumble Club. Talk to Flynn to go to the Lair of the Golden Queen.