Skylanders Trap Team Signature Series Strategy Guide Walkthrough
Chapter 4: The Phoenix Psanctuary
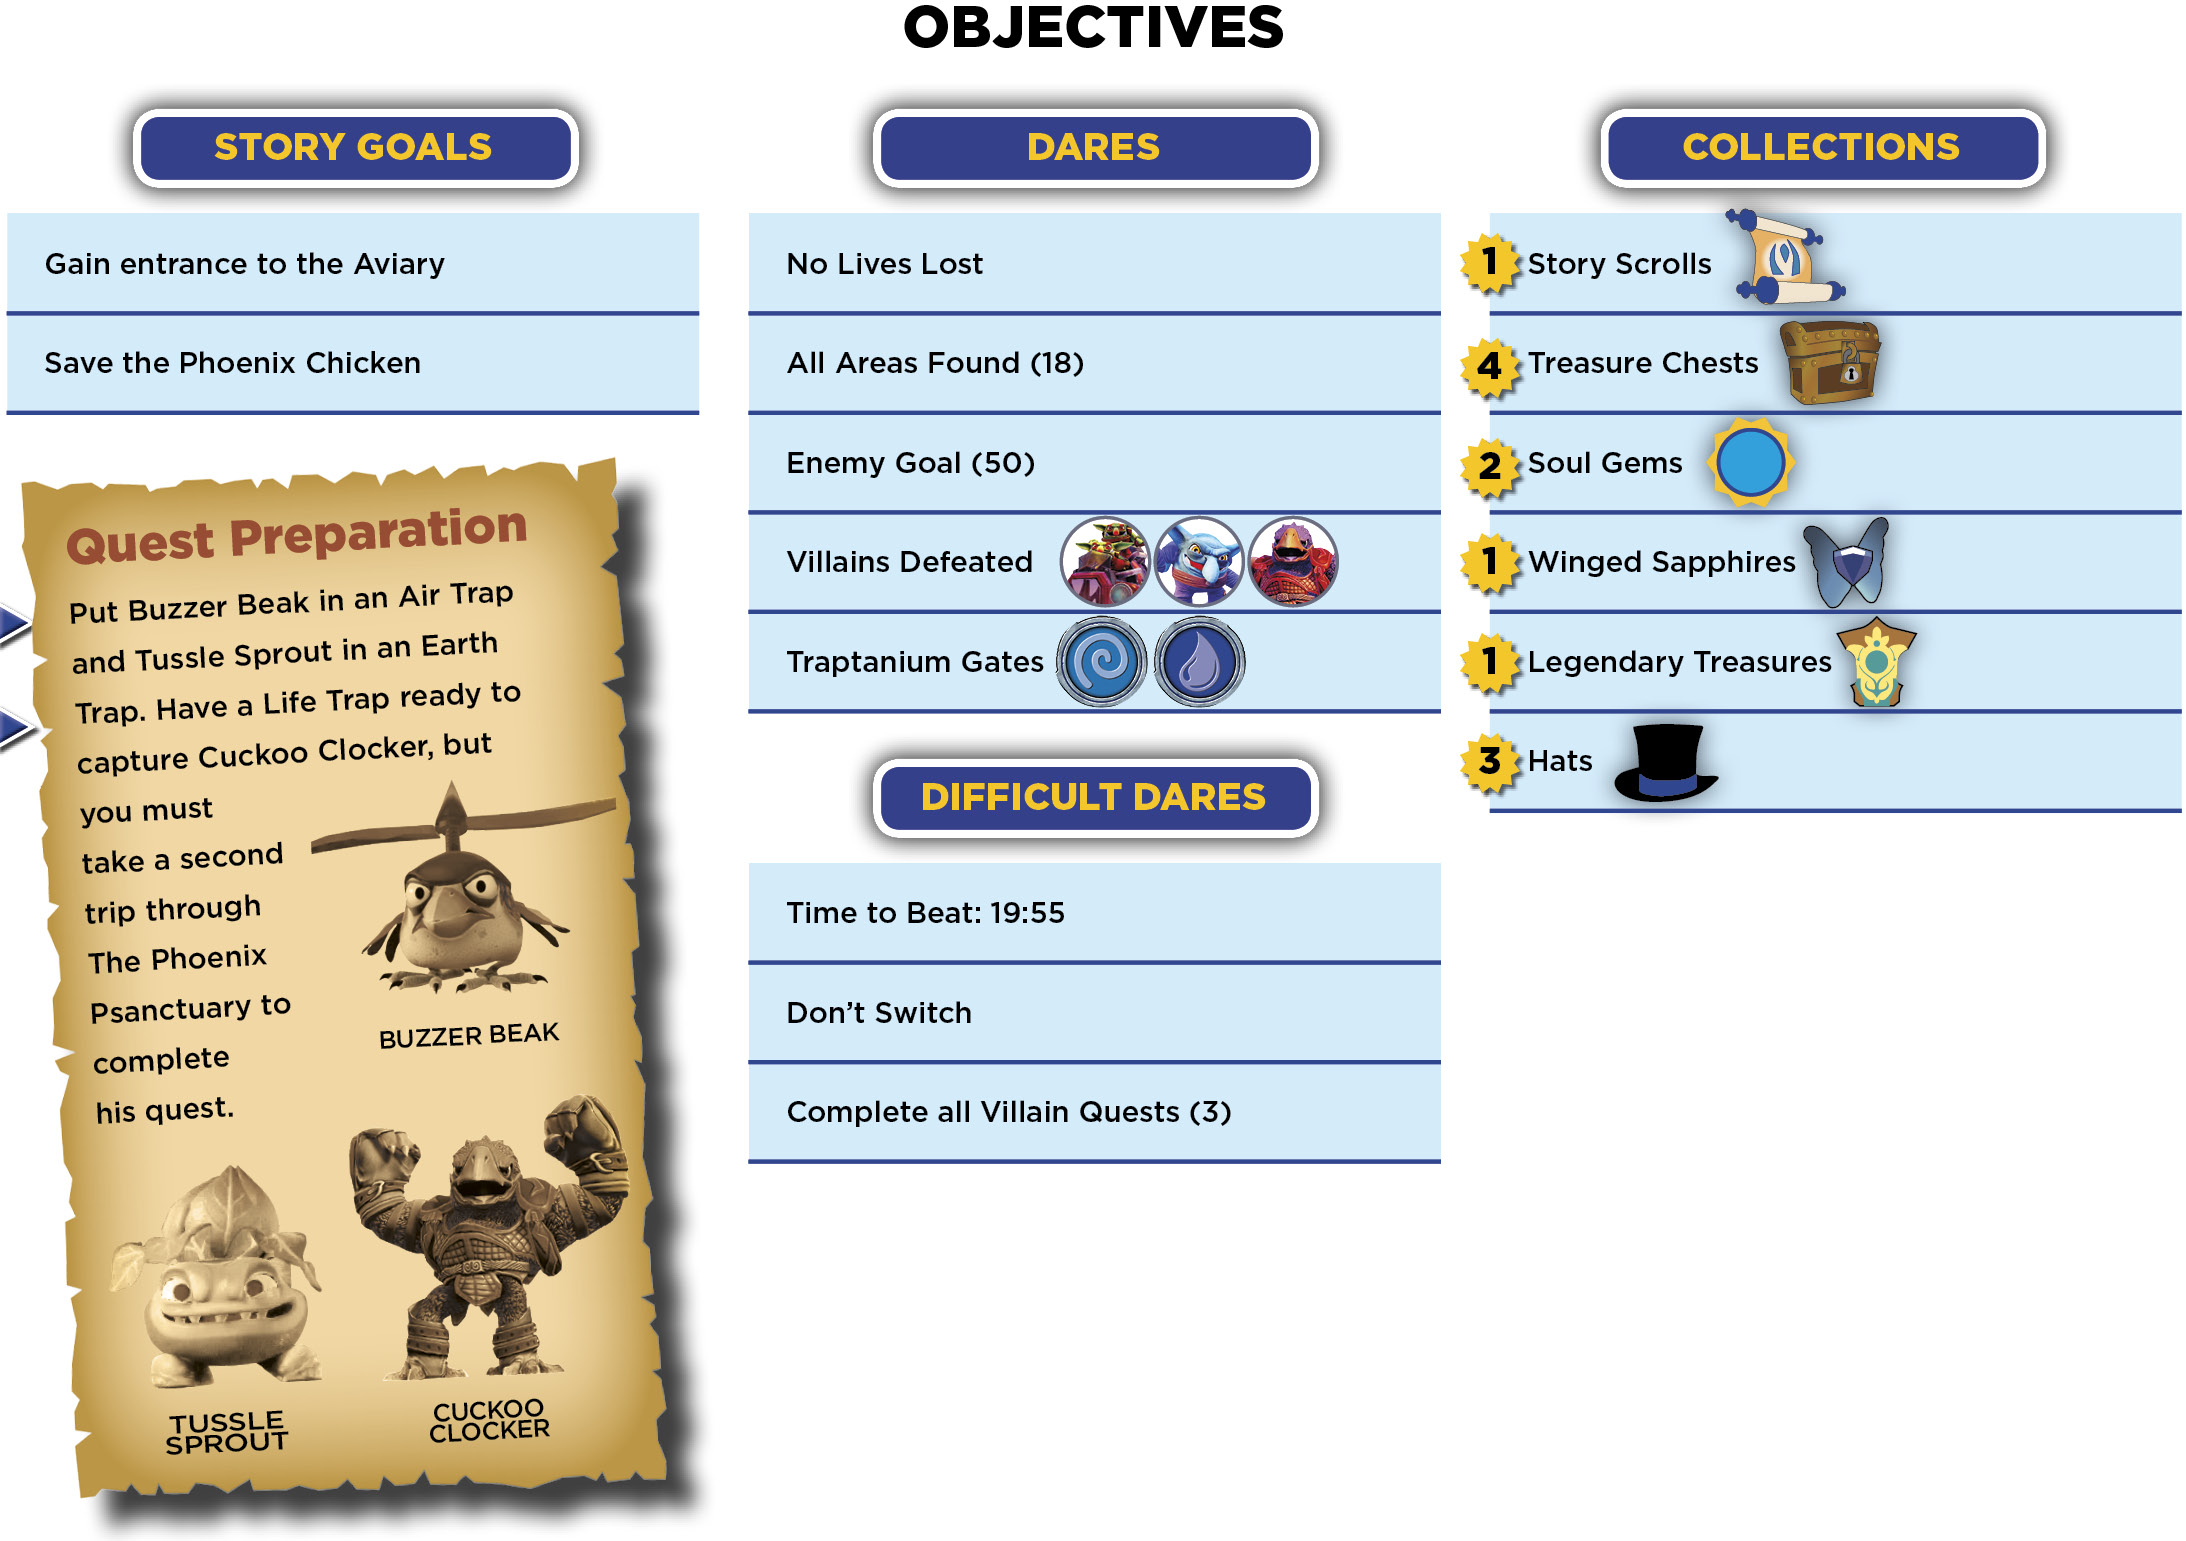
Outer Plumage
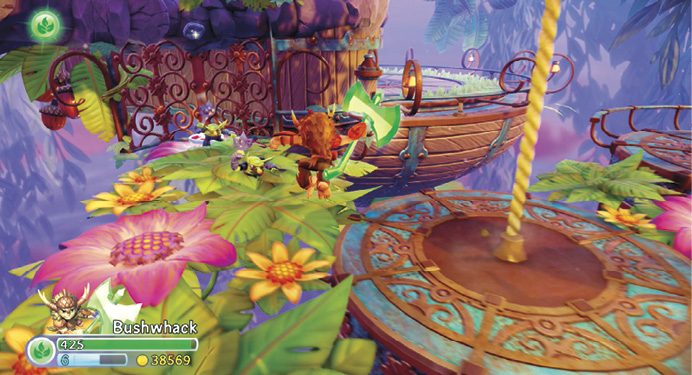
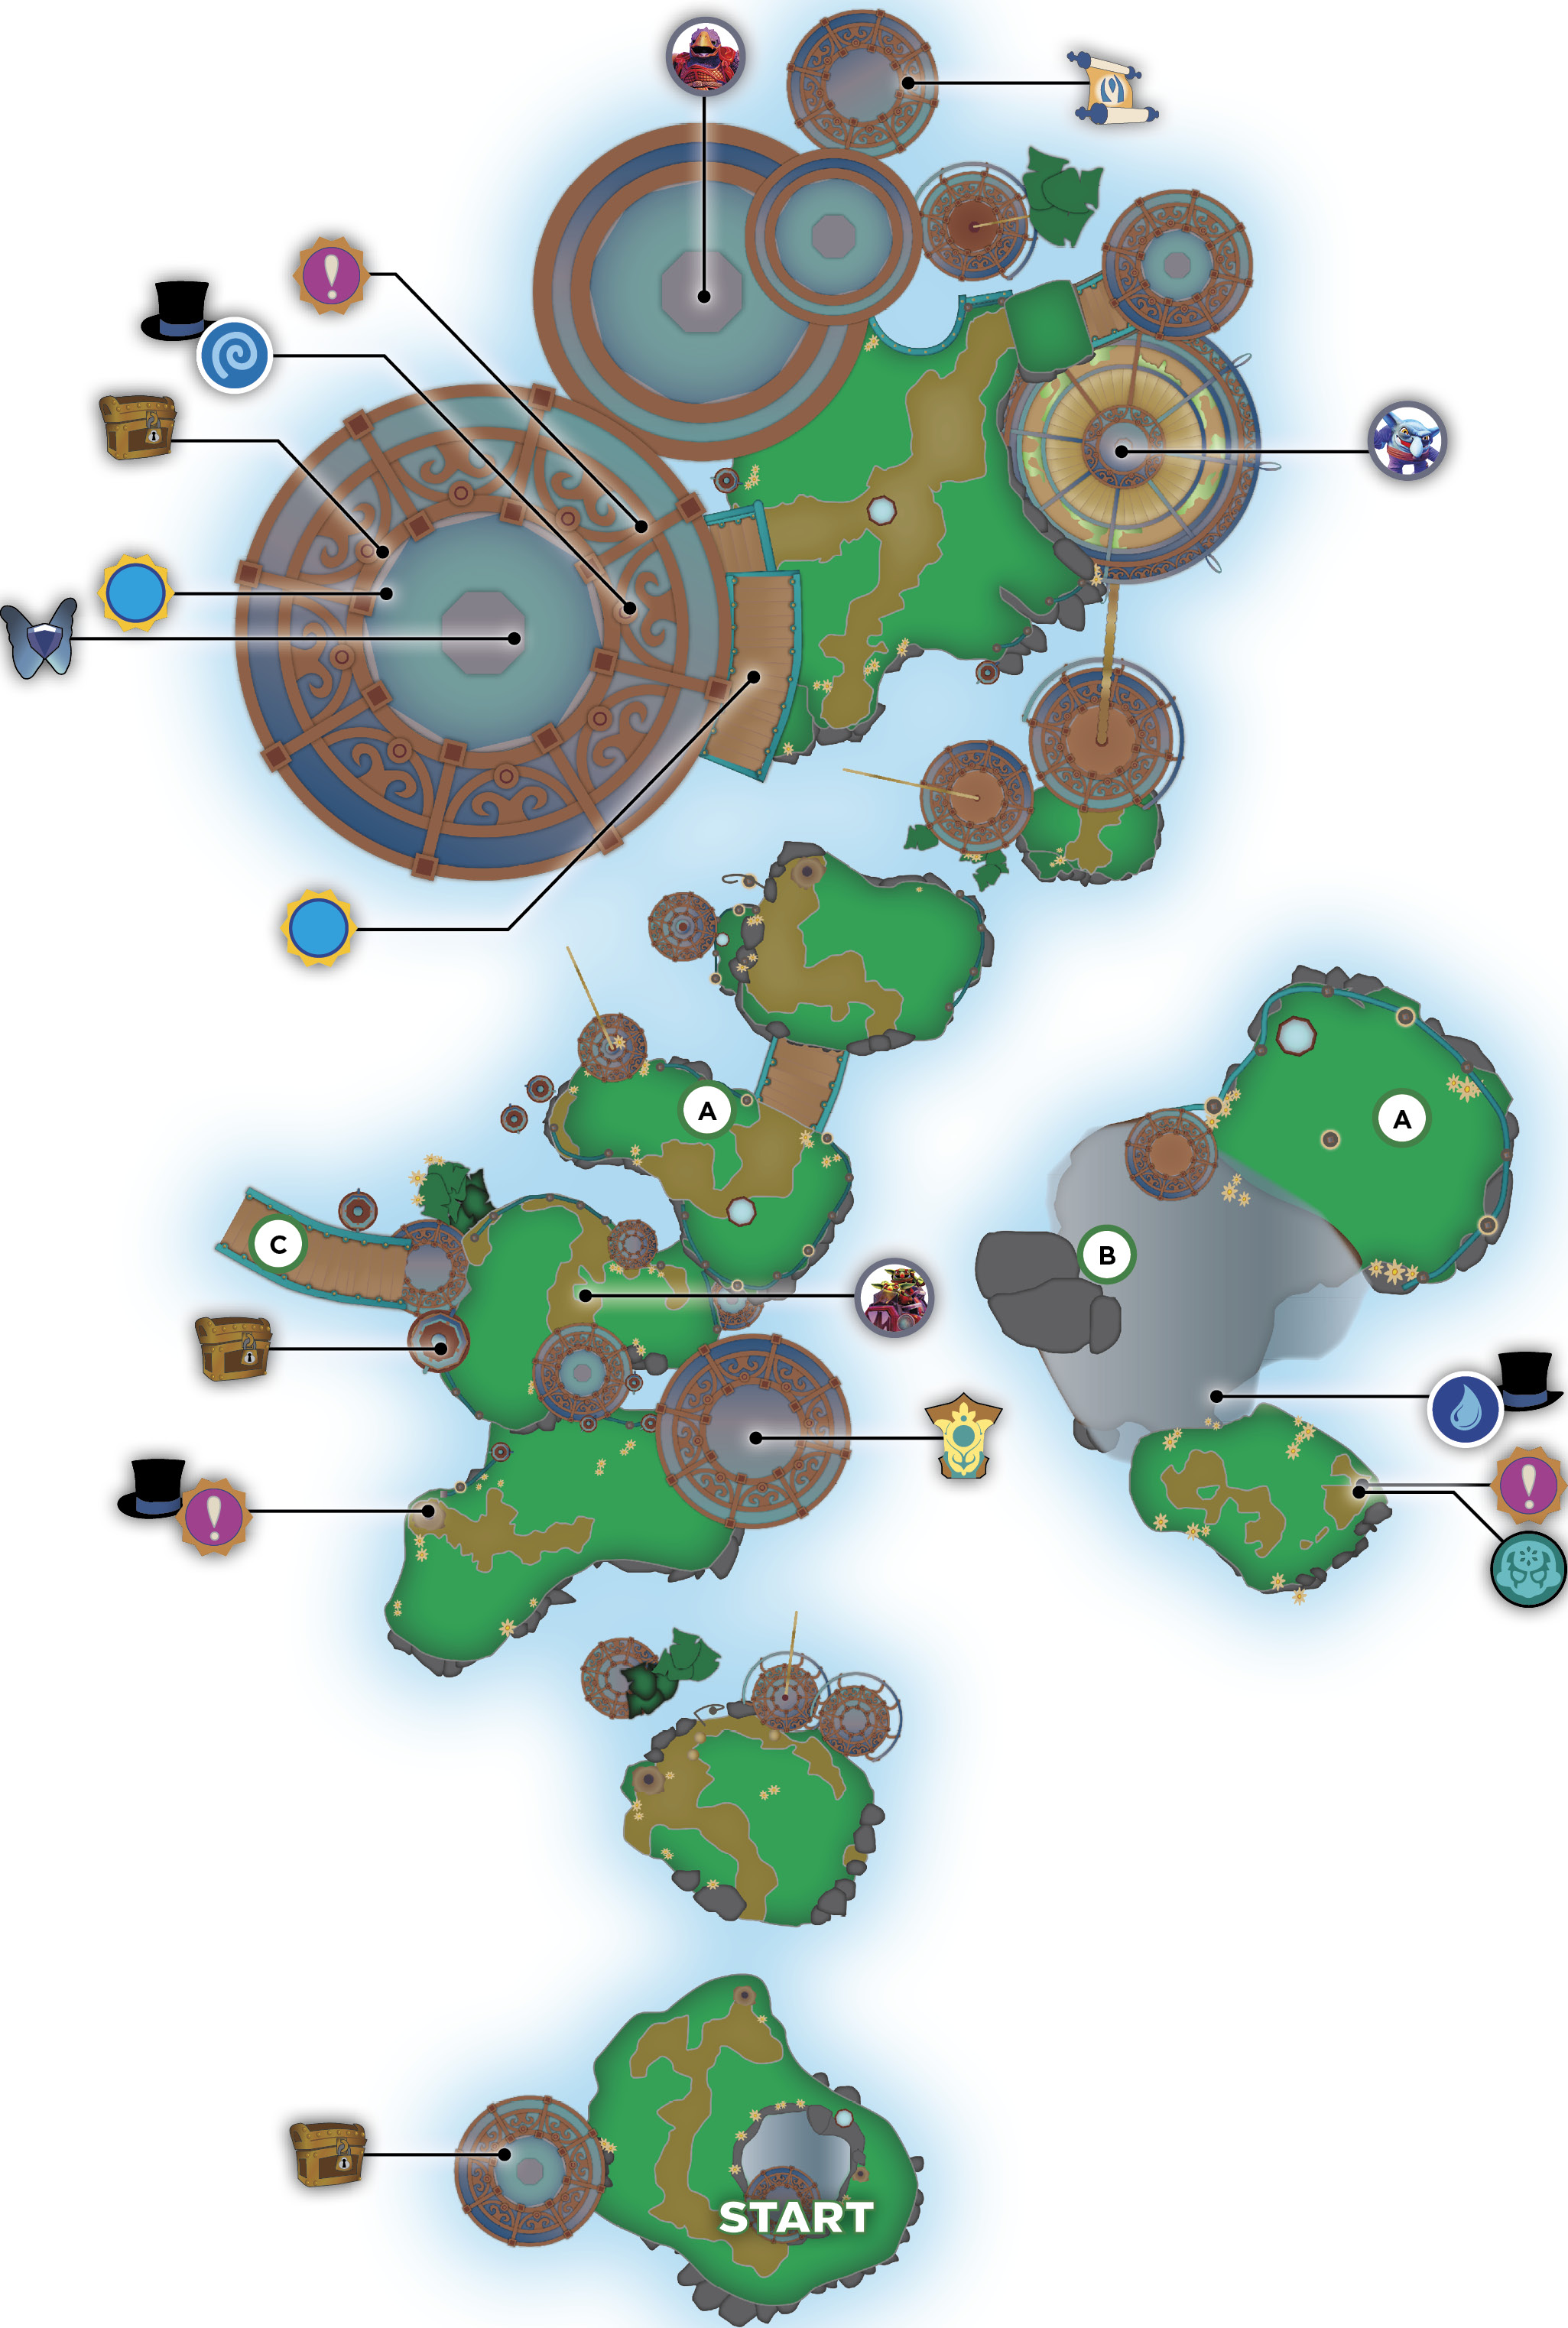
Destroy the Traptanium crystal near Tessa to open the way to a Treasure Chest. Tessa explains how to use nuts to grow bridges. Use the Boingo Nut to grow the first vine bridge. Cross the bridge, and be ready to fight a group of Eggsecutioners. Get the nut from the cage. Use it to grow a vine bridge, and cross it.
 Fledgeling Rise, Paradise Highway & Rump Feather Roost
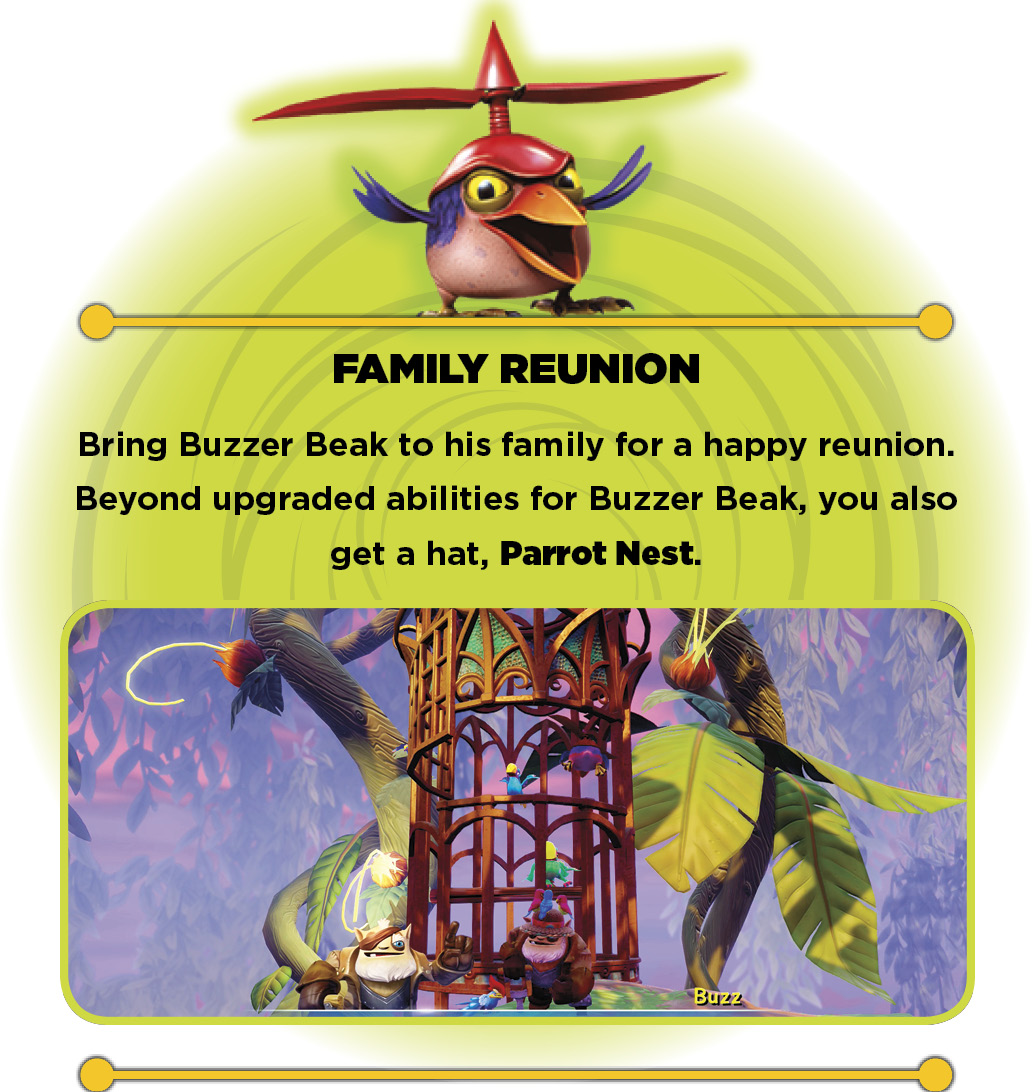
You can’t use the Bounce Pad here yet, so pick up the nut and toss it into the ground to grow a forked vine bridge. The left fork goes to Buzz, who offers a quest for Buzzer Beak.
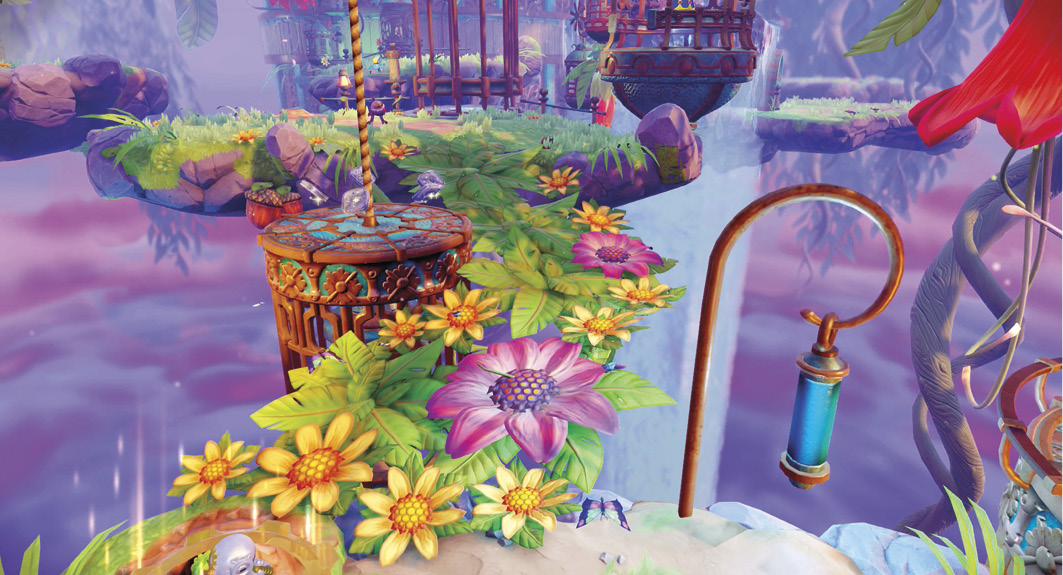
The right fork ends at the switch needed to open the cage with the Bounce Pad. Return to the Bounce Pad and jump up to Rump Feather Roost, which has a Battle Gate-locked Bounce Pad and a battle with Shrednaught.
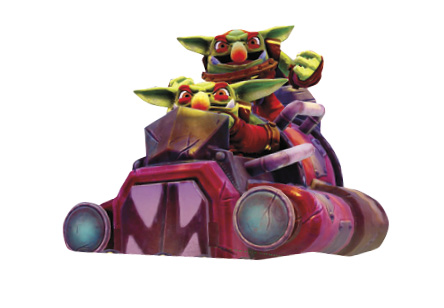
Take out the Trolls that appear after defeating Shrednaught to clear the Bounce Pad. Step on the blue platform (it’s the top of a cage) on the area’s right side and ride it down. Drop off the side and get the Legendary Egg from inside the cage. The Treasure Chest is out of reach for now, but remember its location.
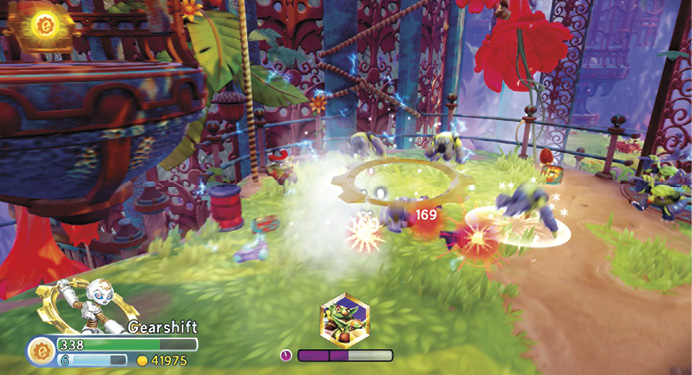
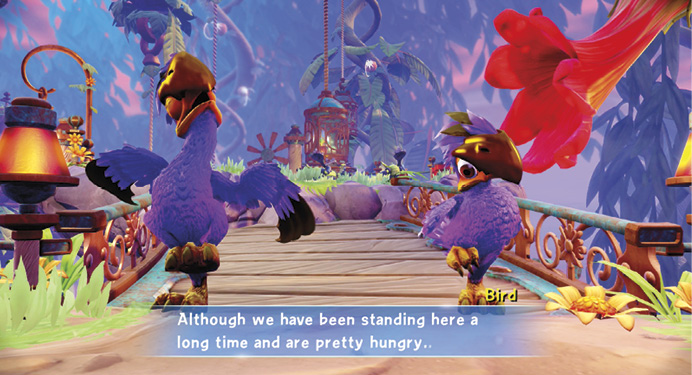
Bounce back up to Rump Feather Roost and use the Bounce Pad there to reach a bridge blocked by Blocker Birds. Plant the nut to draw them out and clear the path ahead. Jump over the railing near where you first saw the birds to reach Down Feather Wash.
Down Feather Wash
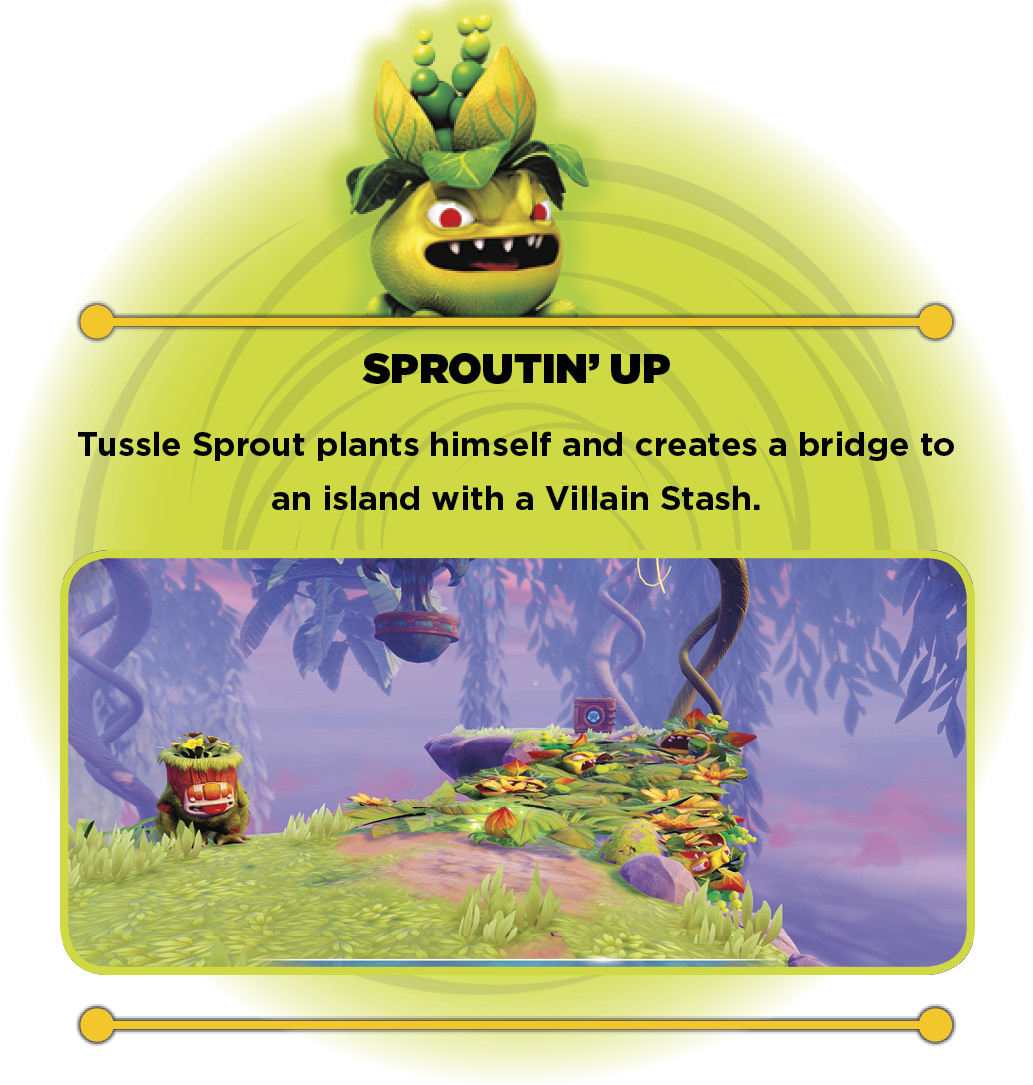
Use the Bounce Pads in the grassy area to collect the coins. Drop down into the water and follow the trail of coins over the edge to reach a Water Gate and Arbo, who has a quest for Tussle Sprout.
 Hooked Bill Ascent
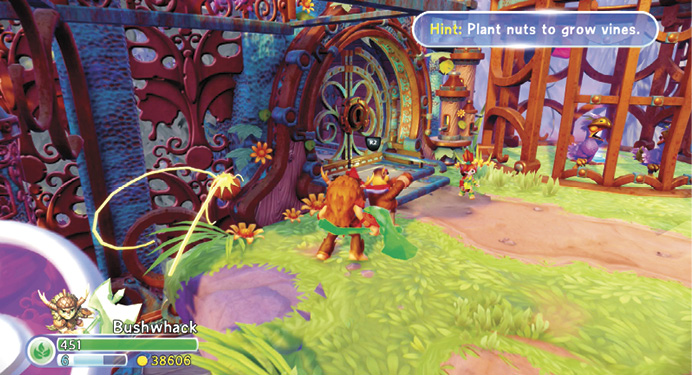
The bridge formerly blocked by the Blocker Birds goes to Hooked Bill Ascent. Defeat the Trolls guarding the nut, then plant the nut to create a bridge. More Trolls appear and you must defeat them to clear the Battle Gate from the Bounce Pad ahead.
Aviary Gate
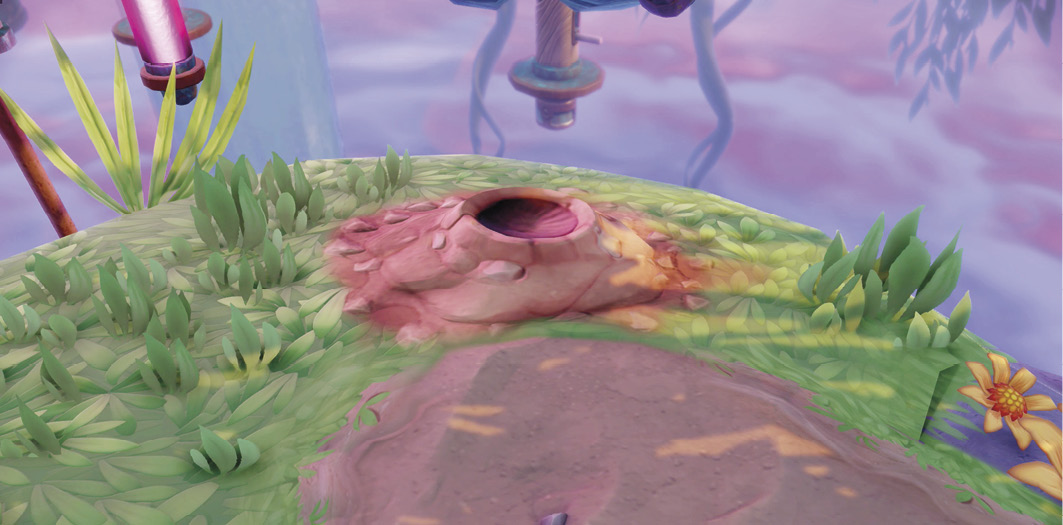
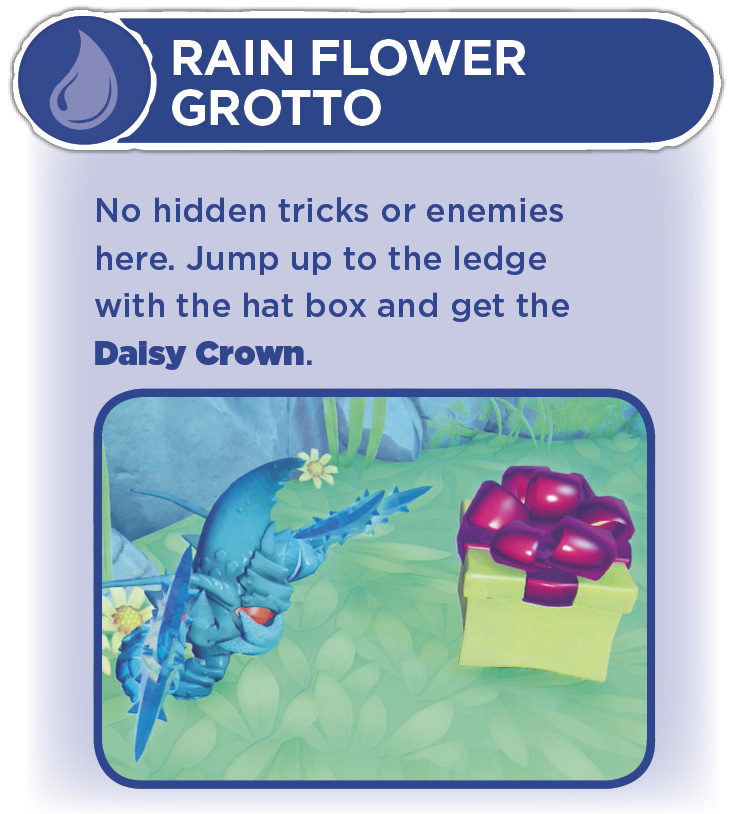
Bounce up to meet Flynn and Tessa outside a locked door. They tell you where to get the key, but first drop off the ledge near Flynn. A worn, dirt spot marks the place to do it.
 Rare Species Walk
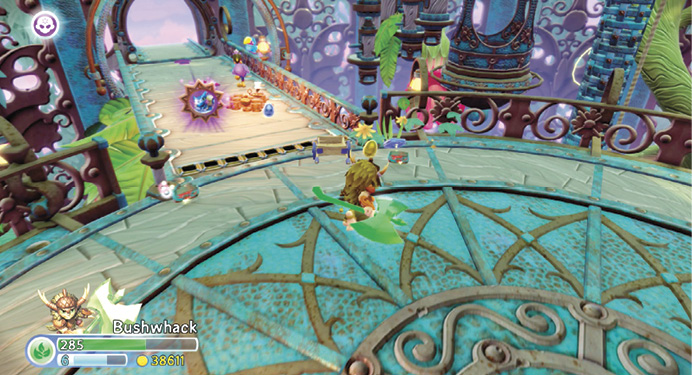
Go through the doorway ready for a fight. A small group of Trolls, featuring a Shrednaught, guard a Battle Gate. Take them out and get Snap Shot’s Soul Gem (A Shard Act to Follow) on the bridge. Continue through the exit. The path leads back to Aviary Gate. Step on the round platform and ride it down. It’s the cage with the Treasure Chest from earlier, but now it’s yours to claim.
Return to Flynn and Tessa outside the Aviary Gate. To open the gate, you must clear out Clockwork Nest, the nearby, Troll-infested area.
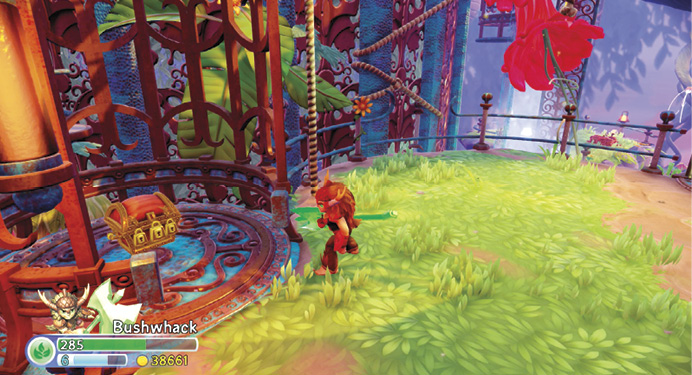
 Clockwork Nest & Hatchling Hall
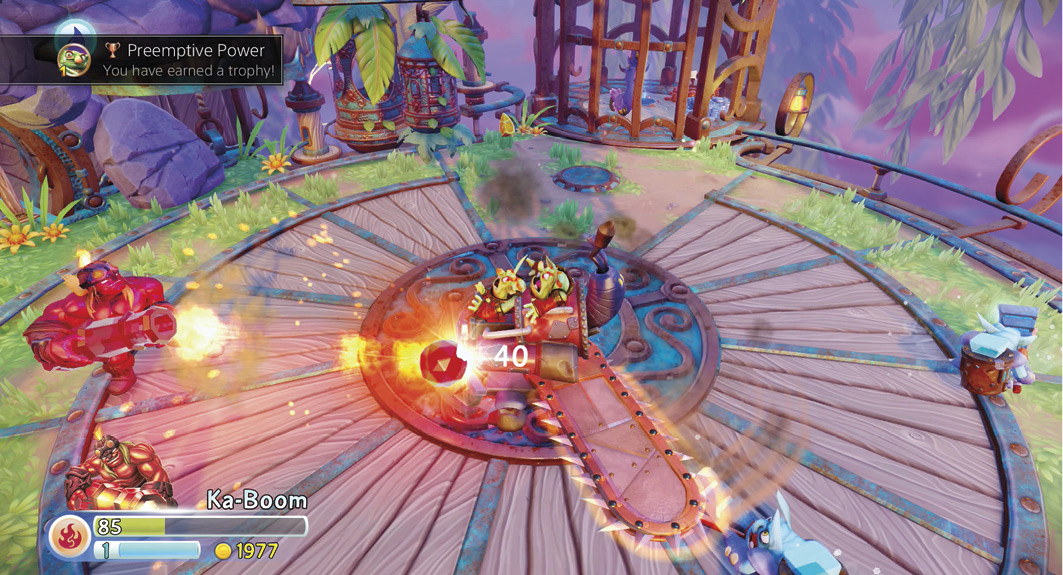
Settle in for an extended battle. After you defeat the initial Troll forces, reinforcements arrive by dropship and grappling hook. The Troll forces include Lob Goblins, Chill Bills, and Shrednaughts appearing in groups. Whenever you see a grappling hook appear, attack it before too many Trolls climb up to join the fight. If you manage to destroy one of the dropships, you earn the Preemptive Power Achievement.
Tessa and Flynn appear when the fight is over. Go through the now opened door to reach Hatchling Hall. Speak with Persephone in the back to purchase upgrades if necessary. Push the bird cages to create a path to the Key from the corner of the room. When you return to Clockwork Nest with the Key, Chill Bill appears.
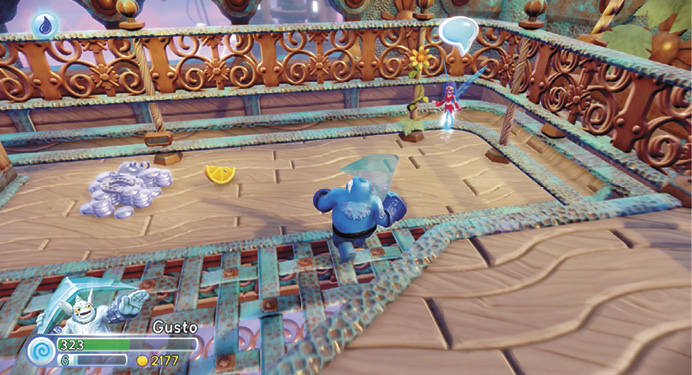
Use the nut that appears to open the cage with the Bounce Pad. Bounce back up to the Aviary Gate and use the nut there to open the cage with another Bounce Pad. Ride up to the top of the cage and collect the piles of loot and the Story Scroll.
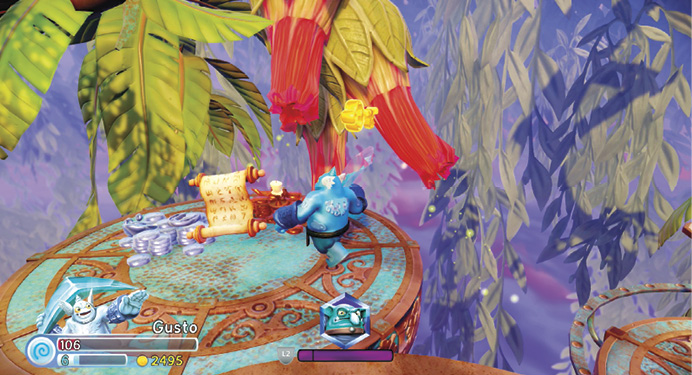
Carry the nut across the way and plant it to grow a bridge to the ledge above the locked gate. Collect the coins and Funny Bone’s Soul Gem (Healing Paws).
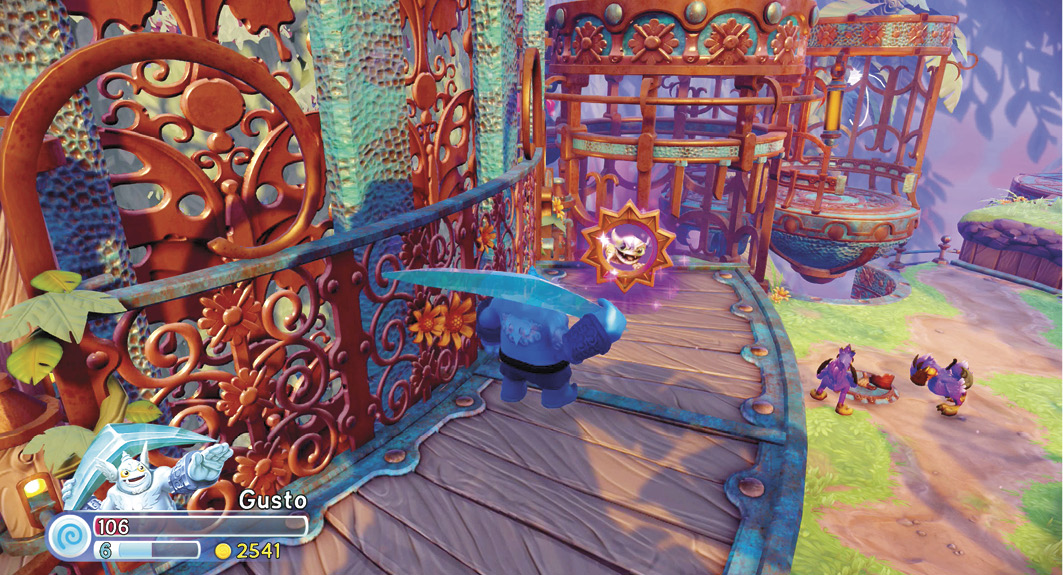
Feather Bed Hatchery, Songbird Perch & Little Chicken Landing
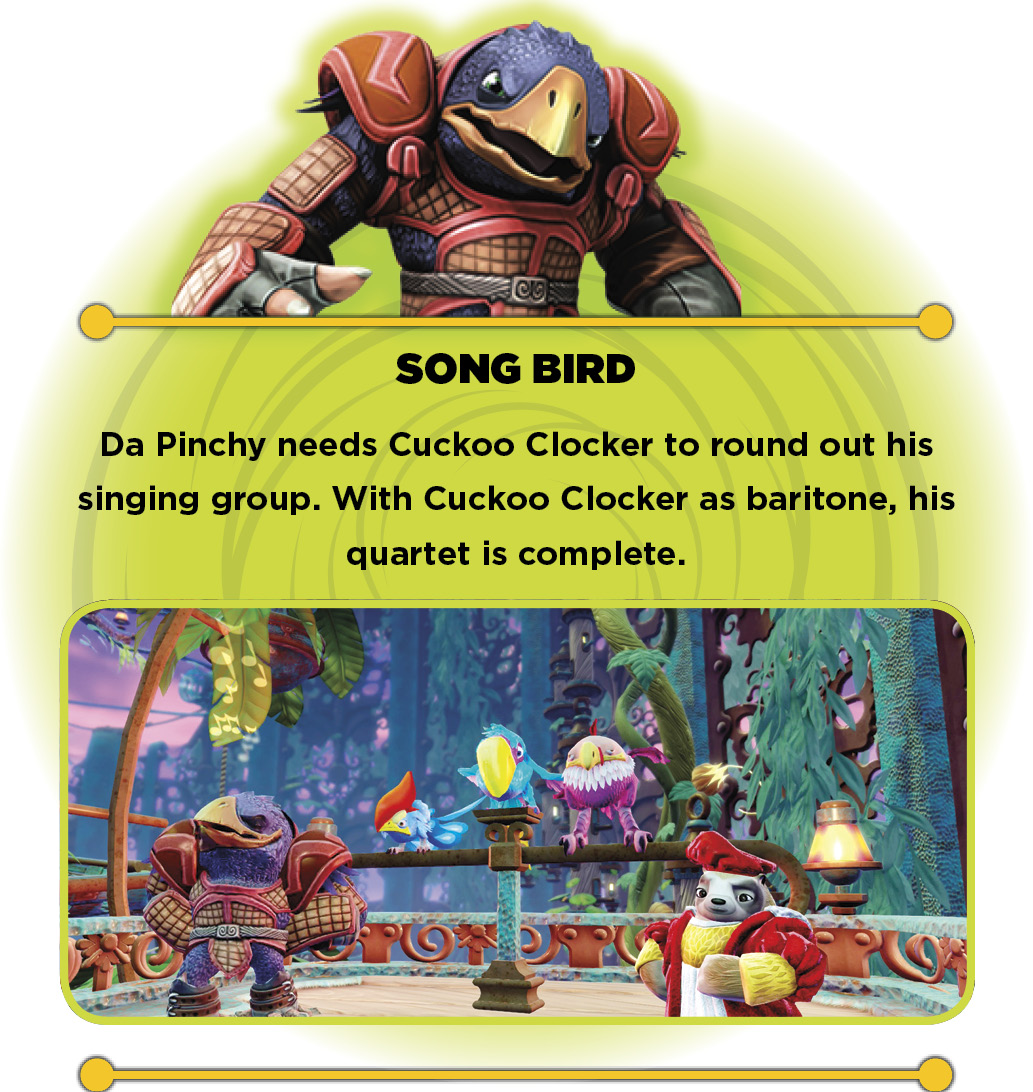
The Feather Bed Hatchery is the first area beyond the Aviary Gate. Da Pinchy is off to the right in Songbird Perch with a quest for Cuckoo Clocker. An Air Gate is to the left. Explore both areas before moving up to talk with Tessa.
Talk to Tessa to learn more about your mission. Avoid or destroy the eggs tumbling down the ramp. When the suction tube is clear, drop into it to reach Little Chicken Landing. Destroy the Traptanium crystal to reveal a Winged Sapphire. Mess with the Troll Radio before jumping into the tube to return to the ramp.
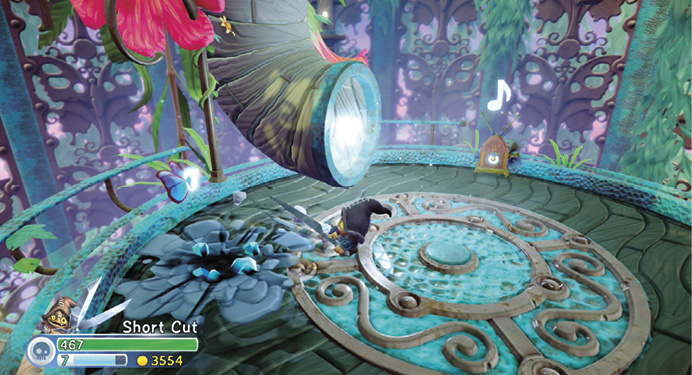
 Free Range Rollers
Continue upward on the ramp. Use the rounded areas to step aside when an egg passes if you can’t destroy them quickly enough. A handful of Trolls waits just ahead to slow you down. Head away from the steps where they fight you and step off the ledge.
Wish Bone Balcony
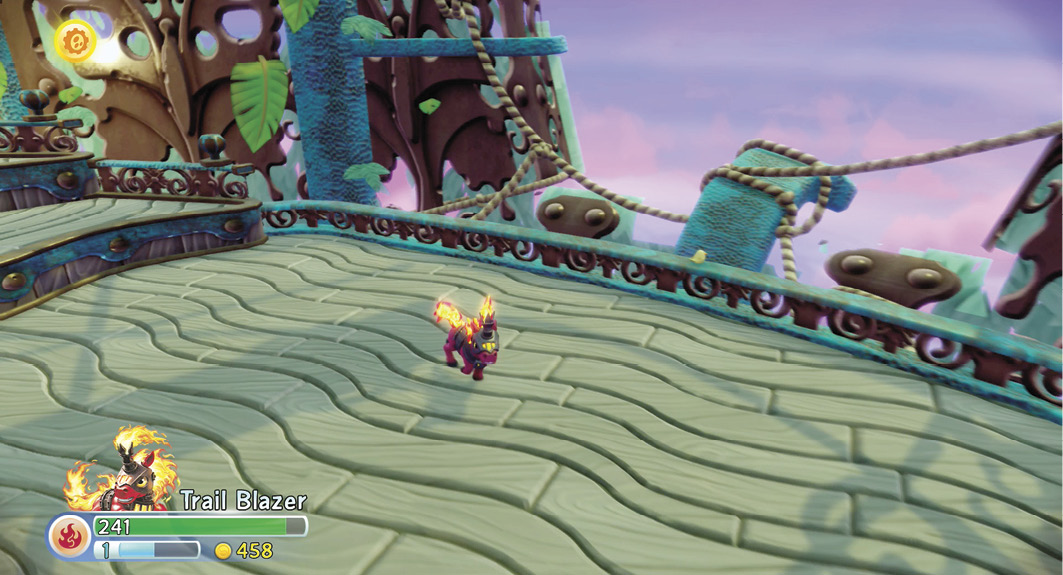
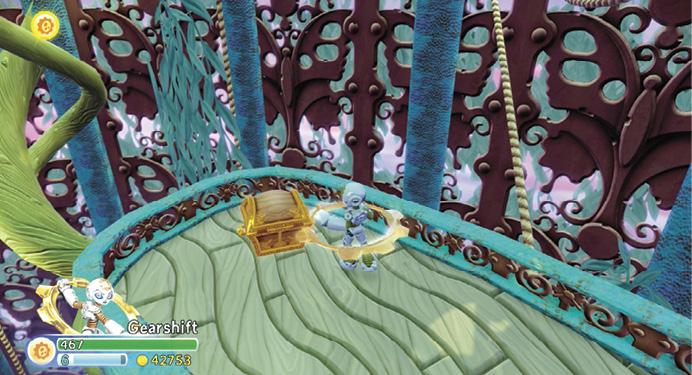
Use the Bounce Pad up to the short ledge and collect the valuables. Destroy the Traptanium crystal at the other end of the Balcony to clear the way to a Treasure Chest. Use the Bounce Pad to return to Free Range Rollers. Ascend the steps where you fight the Trolls, then continue up the rollers to reach Aviary Heights. Use the suction tube to reach Chef Pepper Jack.
Aviary Heights
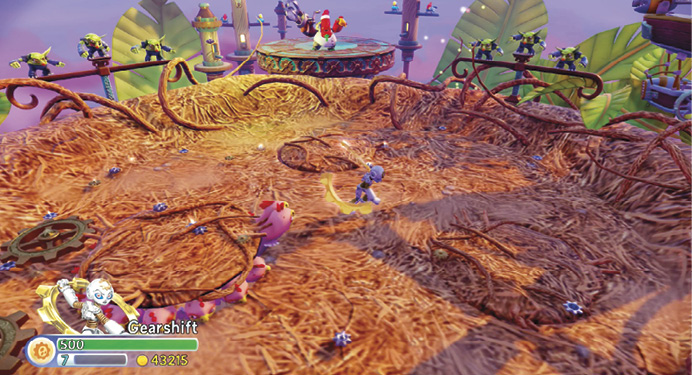
The Arena Battle kicks off with waves of Trolls, primarily Lob Goblins and Eggsecutioners. Watch out for Phoenix Chicks popping up from under the nest. Their heads push up the three circular areas in the nest and nip at anything in their reach.
The second wave’s enemies include Chill Bills and a Shrednaught. The third wave seems to be more of the same, but then Pepper Jack sends in Cuckoo Clocker.
Back at Skylander Academy
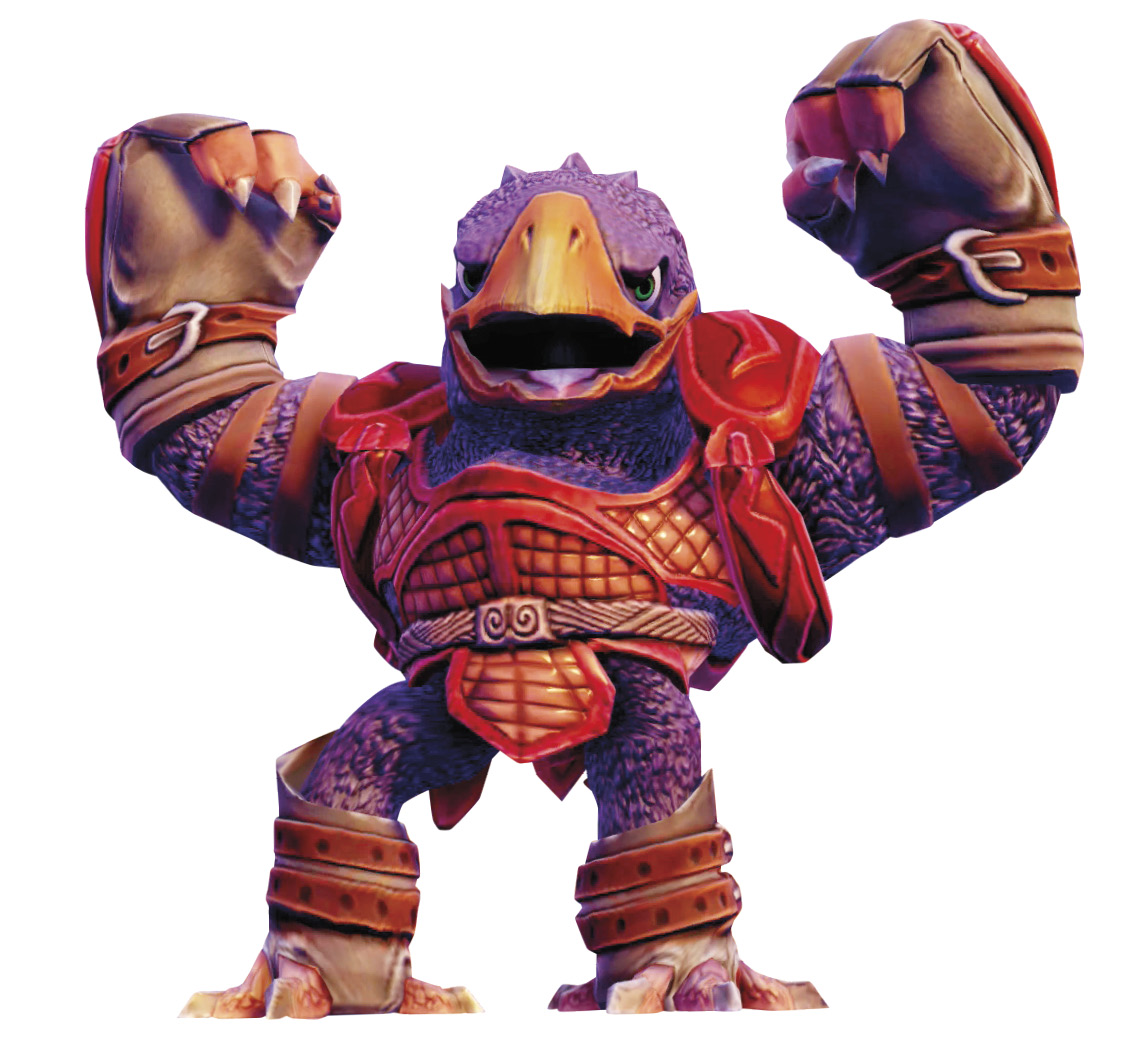
Heed Mags’ advice and walk to the Main Hall (don’t use the shortcut). Brock appears after the door opens, and makes the Rumble Challenge Arenas available. Place the Legendary Egg above the fireplace’s mantle, then check out Auric’s updated selection.
Auric’s New Inventory
|
Price | |
|---|---|
|
Blobbers’ Medal of Courage |
100 |
|
Medal of Gallantry |
100 |
|
Snuckles’ Sunflower |
100 |
|
Goo Factory Gear |
100 |
Talk to Crossbones who opens a new wing of the Main Hall and introduces Skaletone Showdown. For more information about Skaletone Showdown, check out the Skylanders Academy section of this guide. When you’re done with your tour of the Main Hall, speak with Flynn.