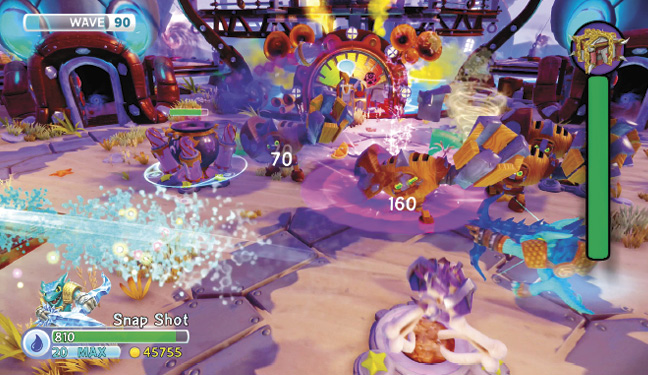
Skylanders Trap Team Signature Series Strategy Guide Kaos Doom Challenges
Kaos' Ultimate Challenge!
Overview
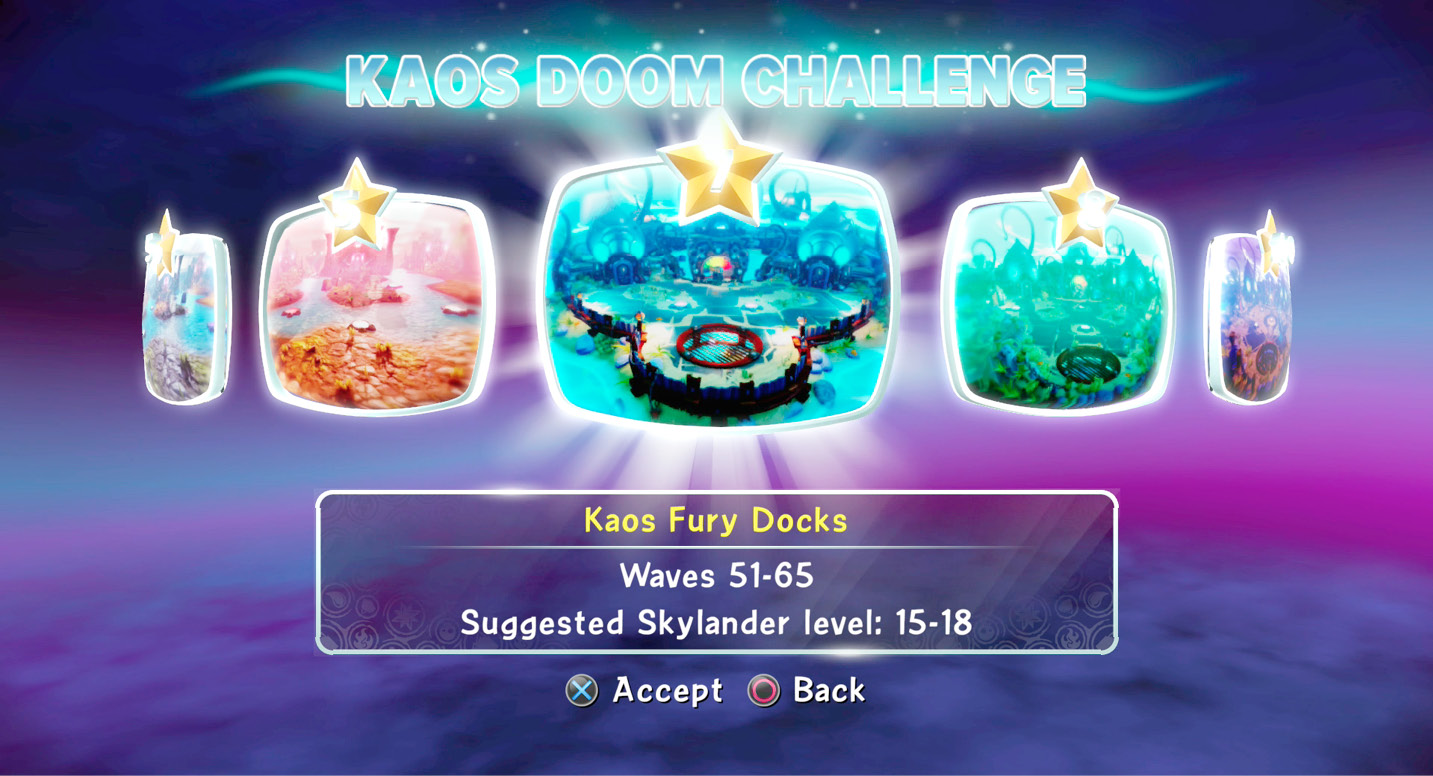
Welcome to Kaos’ ultimate challenge! He has created a task so ridiculously difficult it will take an entire army of Skylanders to beat it. Well, at least that is what he is hoping. Kaos cursed the training simulator and each challenge gets progressively harder. These can be found to the left in the Main Menu or in the Academy at the status of Kaos. The statue shows the current waves completed in gold numbers.
There are 100 waves of enemies to survive and they are separated in to nine groups of Challenges. Each Challenge must be completed in order to unlock the next one. The reward for completing these is Kaos’ treasure as well as Stars. There are a total of 50 Kaos Mode Stars to boost your Portal Master rank.
Survival Basics
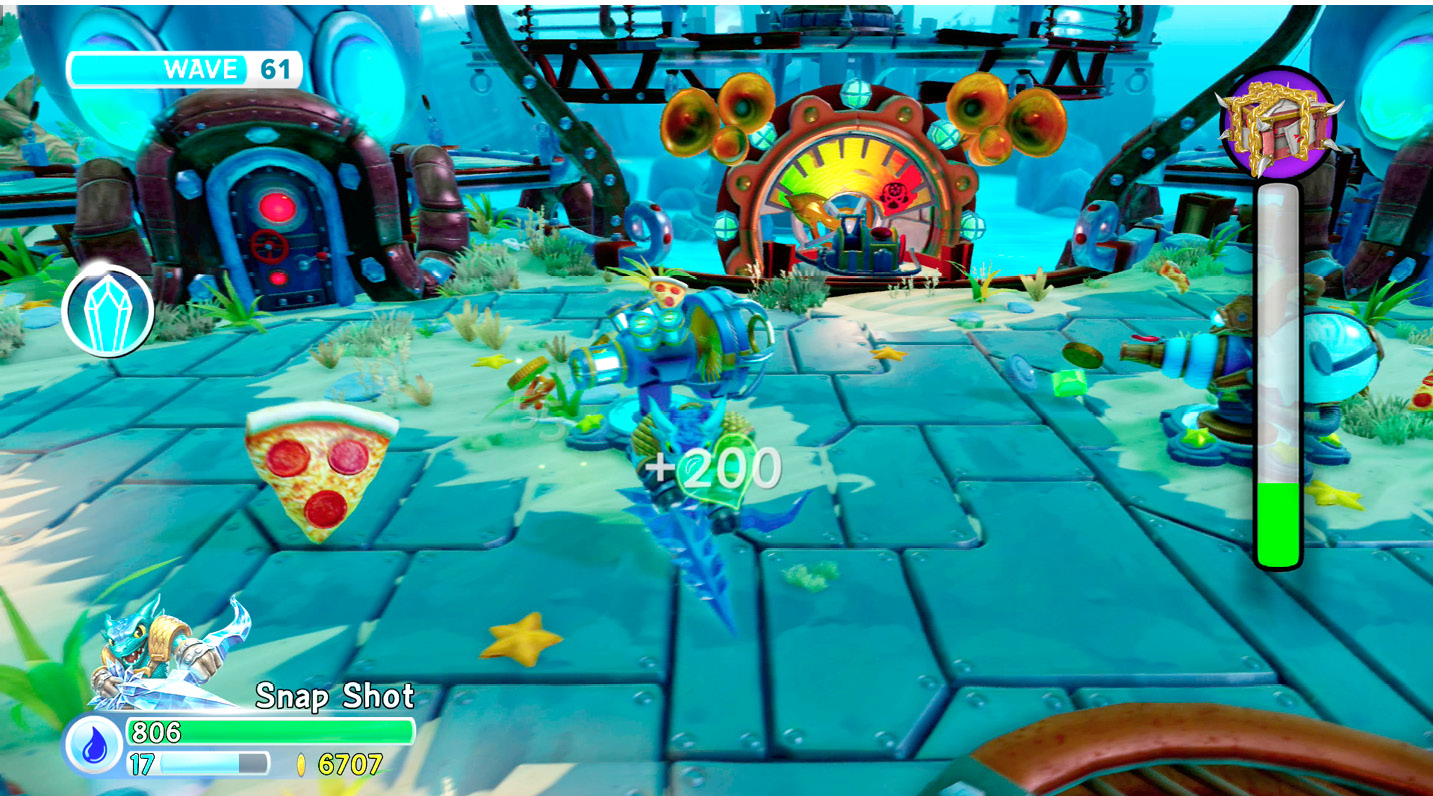
Each minion unleashed by Kaos attempts to knock out the Skylander or to break open the locks on the Mystery Box of Doom. The status of the box is shown on the right side indicated by the green gauge. However, the goal is actually to survive and if the box is opened you wont fail the Challenge. Also, if a Skylander is knocked out it is possible to restart the challenge or simply continue with another Skylander.
When entering the Challenges it is important to have a wide selection of Skylanders to activate Towers as well as provide backup if one gets knocked out. A key factor in surviving the Challenges is to use the Towers to help defeat enemies. Also, conserve food for when it is really necessary. On higher difficulty settings enemies do more damage and food is a lot more scarce.
Challenge Phases
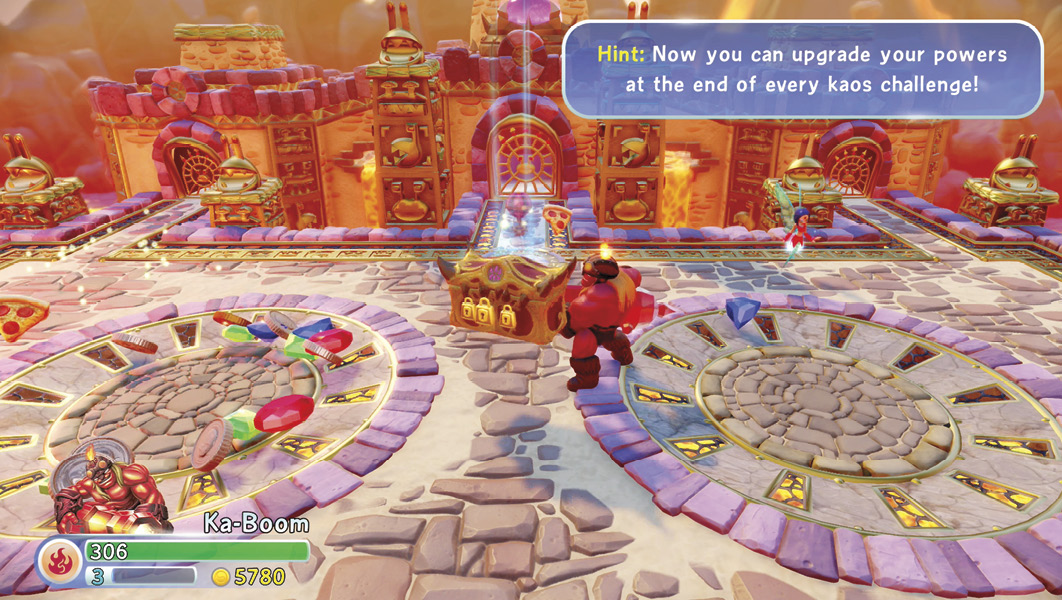
Each Wave consists of a Build Phase and “Combat Phase.” Move a Skylander near a Tower Spot to build defenses against Kaos’ army. When you are ready to start the Combat Phase use the wave switch that is held by the hovering robot. Note that each time you play a wave the enemy pattern is different. If all Towers survived that Combat Phase there is nothing to build and the Towers are upgraded. After completing all Waves in a challenge, Kaos’ treasure is yours! Also, after the last wave of an area Persephone appears to upgrade any Skylanders. To proceed to the next challenge or quit the game, step onto the exit portal.
Towers
A specific Skylander or Villain of the same element as the Tower spot must be used to create a Tower, except for the few special spots that show elements of all types. Towers can be chosen from all elemental types and each Tower damages enemies with their own element attack. Several Tower spots are covered and may require a Trap Master to break the Traptainum Crystals or a Giant to lift a huge boulder.
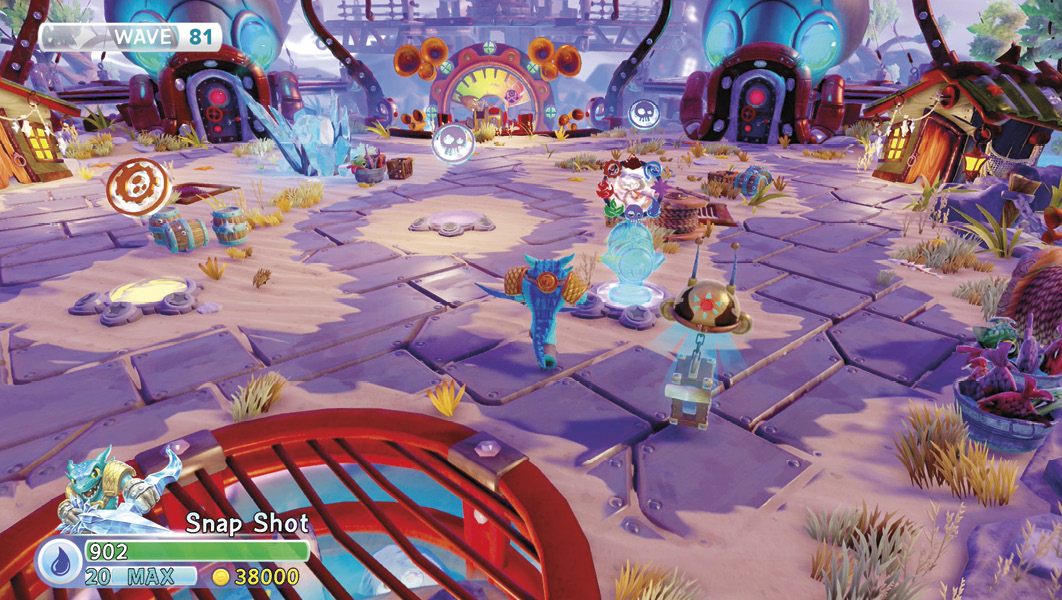
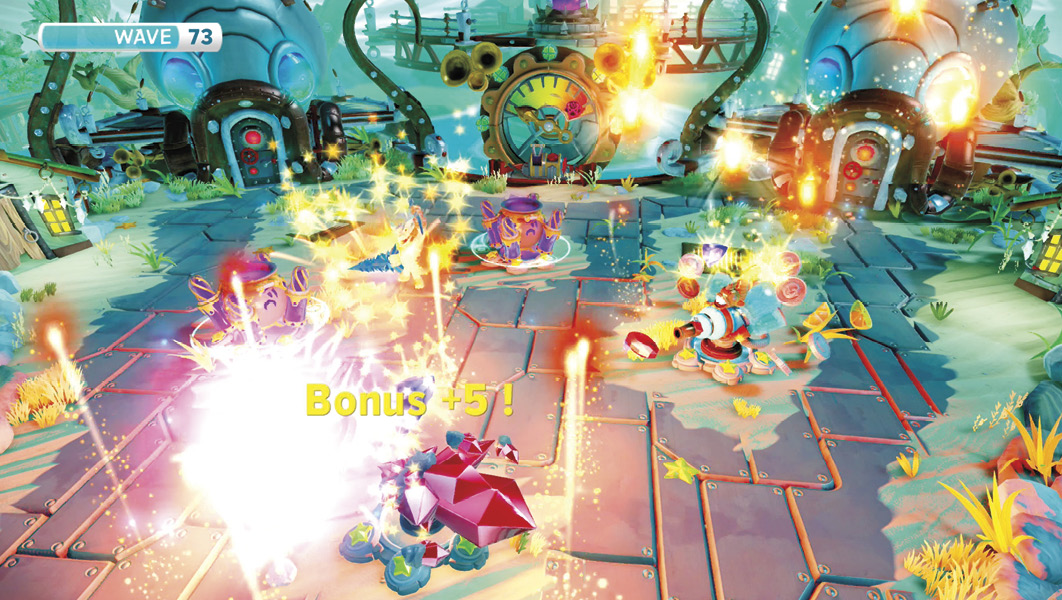
Each time a tower survives a wave it is upgraded. Note that Towers are completely regenerated after each Wave. The upgrades are an important part of survival, as Towers get significantly more powerful as they are upgraded. Visually, The Tower changes when it is upgraded and a gold star is added to the base of the Tower. A Tower can be upgraded three times, then it gets a treasure bonus starting with +1 and ending with +5 each time after the fifth upgrade. If a Tower is destroyed it loses all of its upgrades.
Mystery Box of Doom
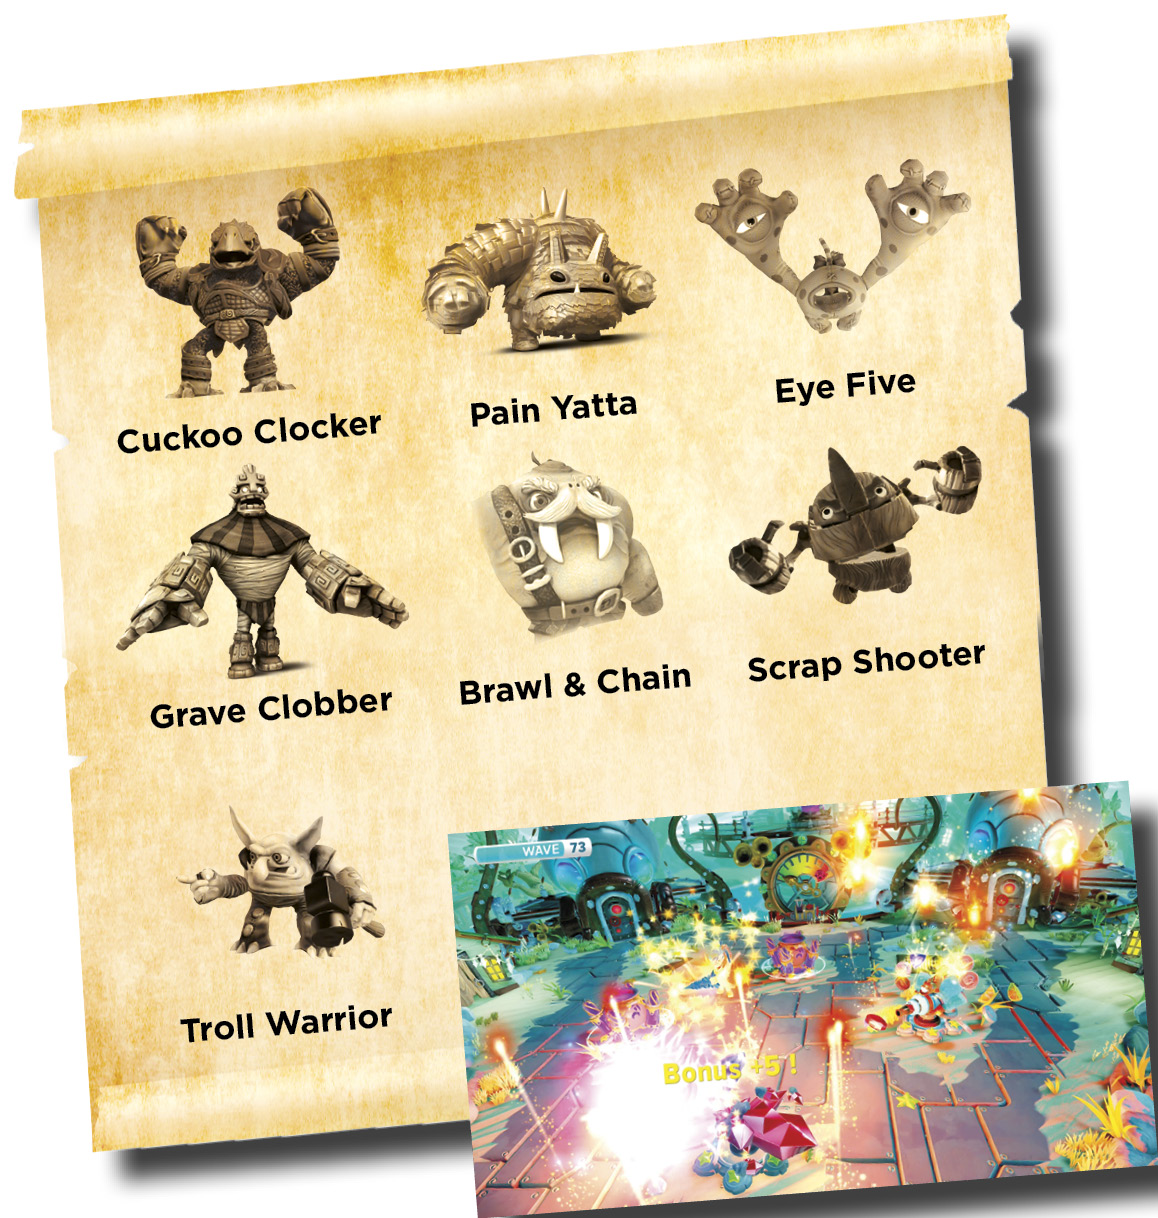
The Mystery Box of Doom does not have to survive the Wave to complete the Challenge. However, if it is opened a huge evil creature is unleashed. Once it is defeated, a new box appears for the next wave. The contents of the Mystery Box of Doom are random and it can contain any of following enemies:
So It Begins
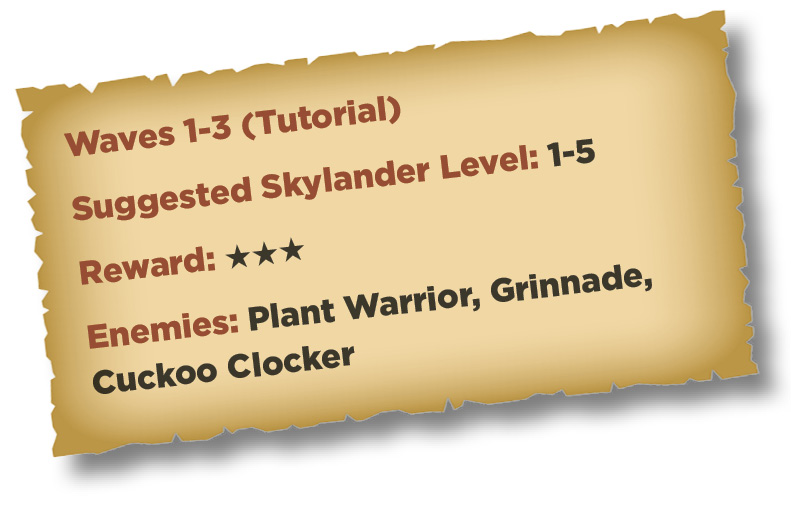
The first three waves are a tutorial, which illustrates how to play. Defeat the first group of Grinnades and Plant Warriors as they charge towards the Mystery Box of Doom. Create your first tower and start the second wave. Learn to work with the newly built Tower to defeat the same group of enemies.
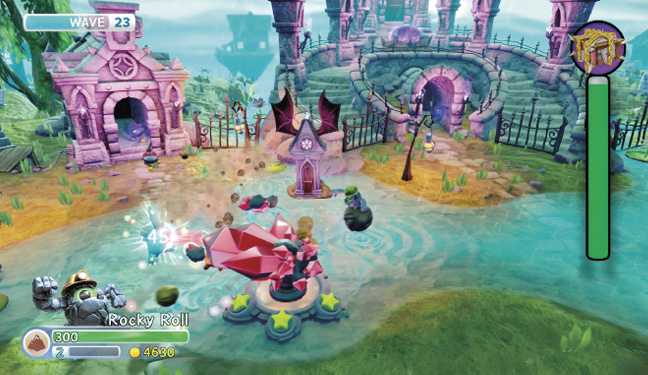
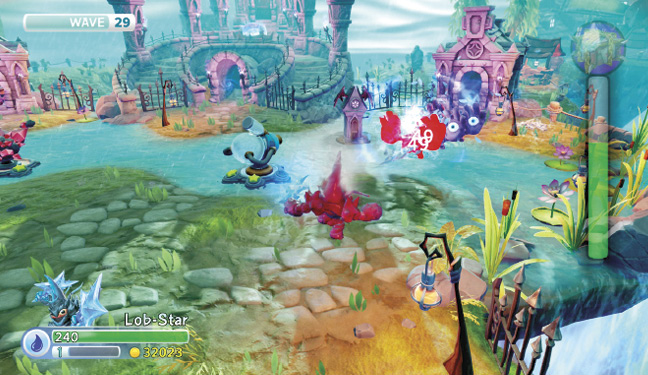
During the next build phase, create a second tower and start wave three. Heavy enemies (Cuckoo Clockers) appear in this wave and it is important to intercept these tough enemies or they can quickly destroy a Tower. Stand near the tower it is attacking to protect it while using powerful attacks to work with the Tower to defeat the heavy foes.
Enfuego Rain Temple
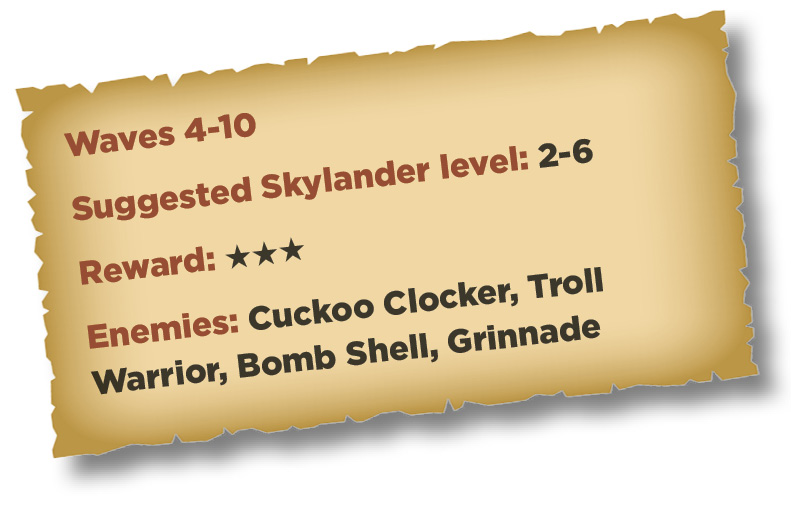
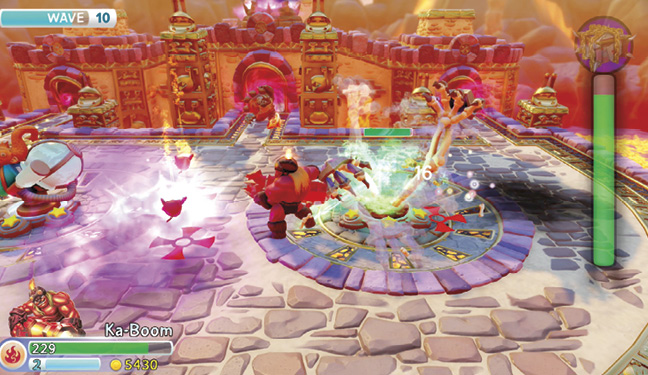
From now on you must use a Skylander or Villain of the same elemental type to activate various Tower spots. There are three enemy doors and dealing with incoming foes revolves around monitoring where they emerge from the gates. Starting in Wave 5, pay attention to the warning about an incoming Chompie rain. Watch the ground for the red targets to avoid falling flaming Chompies.
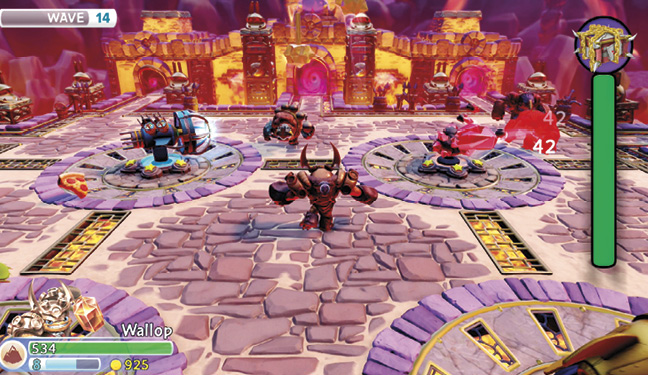
Let the Towers deal with smaller foes and directly deal with the Cuckoo Clockers and Bomb Shells. The big birds are strong against Towers and should be attacked directly before they take one down. Bomb Shells launch projectiles that explode and continue to damage the area they hit. Lure these enemies away from the Towers if possible and make sure to fight near the Towers as much as possible to regenerate them.
Horrible Something Temple
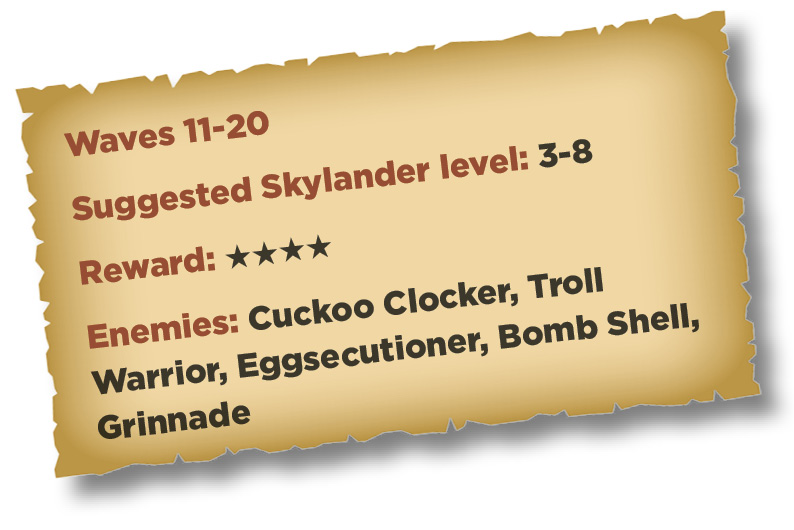
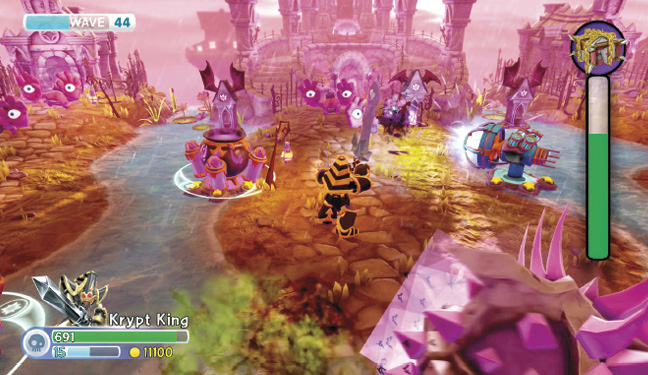
Activate all the Tower spots and prepare for several traps. Wave 11 starts with fire that surrounds the Towers. Keep close to them but don’t stand over the vents unless the Tower is in really bad shape. However, Fire Skylanders can actually be healed from these flames! Wave 12 introduces floor spikes that can pop up from time-to-time. To deal with these hazards stay on the cobbled stone section in the center of the area and use long-range attacks. Only travel outside this spot to deal with heavy enemies like the Cuckoo Clocker and Bomb Shells.
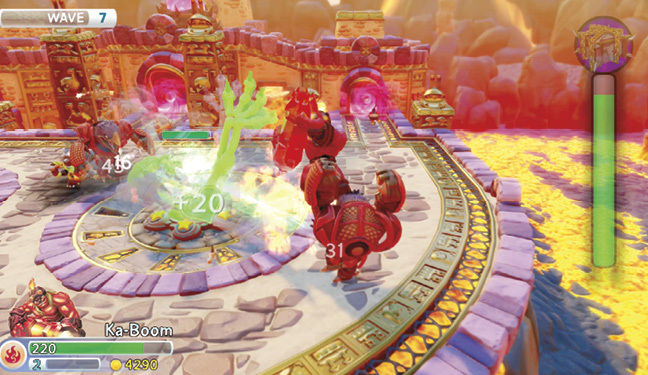
After a few waves the enemies start appearing from the sides as well as the front. Stay further back to keep an eye on the flow of enemies and alternate sides to deal with the largest threat. Upgraded Towers can deal with smaller foes but the Lob Goblins and heavy enemies should be tackled by the Skylanders. The traps shouldn’t present too much trouble, but when the Chompy rain starts it can become chaotic. Shift to each side depending which needs the most attention, and stick close to the Towers, However, be careful of the ring around the Towers that can be set ablaze.
Worst Nightmare Marsh
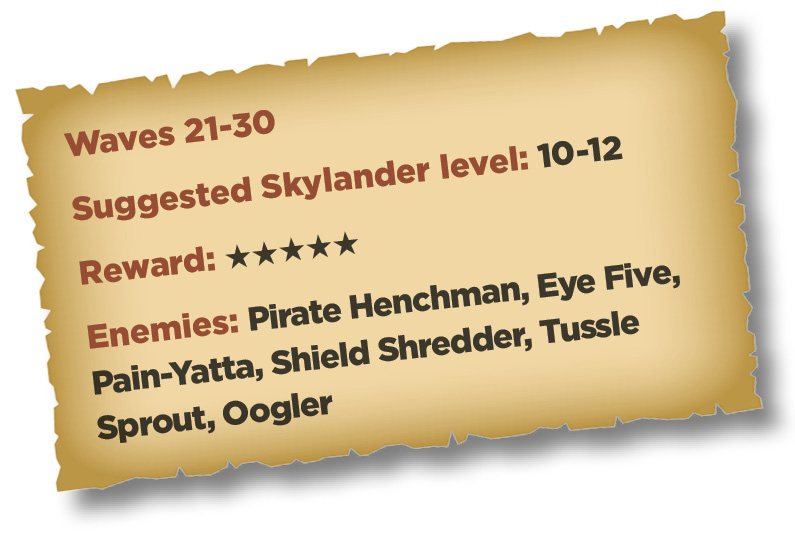
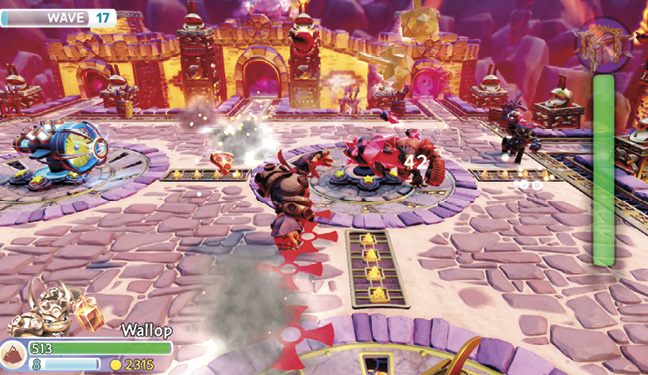
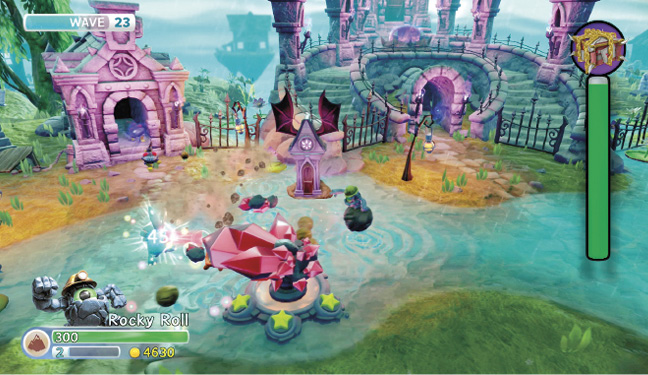
There are only two towers to support your efforts in this challenge and making sure they survive and upgrade is a pretty big priority. In Wave 22 tombstone traps appear and you must destroy them to get rid of the pesky bat clouds. The bats aren’t a real threat but they are a big distraction, so smash the tombstones as soon as they appear. The initial enemies can be handled easily but the Ooglers are very fast and they can cause a lot of damage to the Towers if they aren’t dealt with quickly. Their long range electric attack covers a lot of area but luckily they are not that tough to wipe out.
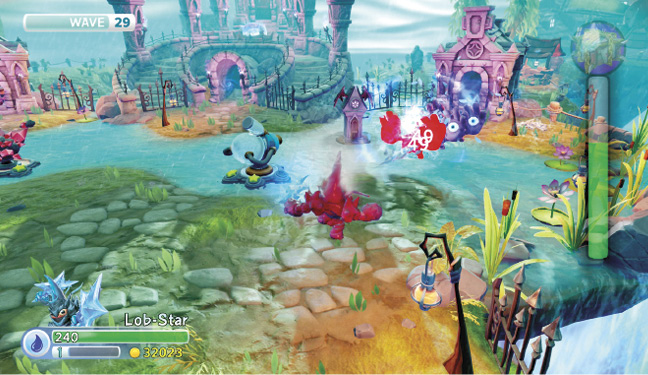
The real threats in this series are the heavy enemies such as the Pain-Yatta and Eye Five. The Eye Five travel in groups of two or three but they are relatively slow and should allow enough time to battle them personally. Don’t let them get too close to the Towers or it falls quickly. On the other hand, The Pain-Yatta makes a dash for your Towers or Mystery Box of Doom. They usually arrive in pairs and they require using your Skylander directly. Try to get the attention of the heavy enemies and remain close to the Towers. Stay toward the back of the marsh to keep an eye on the Mystery Box of Doom and intercepts the Pain-Yatta to distract them from their target.
Twice Doomed Marsh
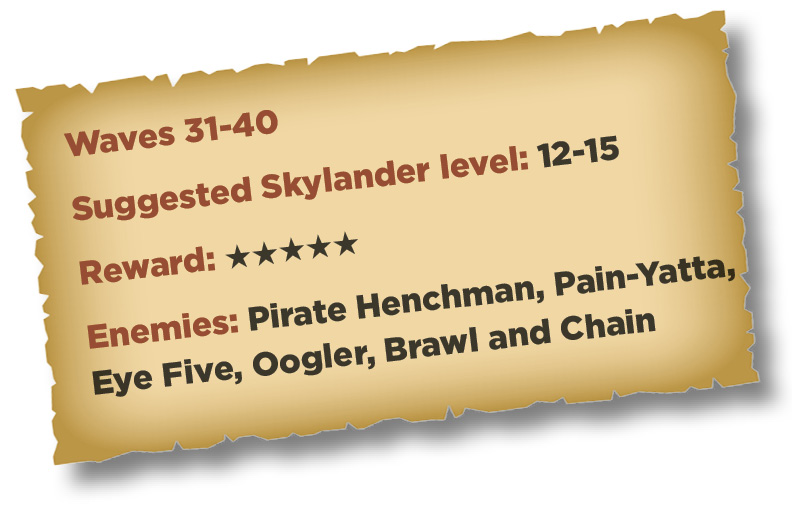
In the first build phase there is a boulder covering a Tower Spot. Only Giants can move the rock to create a Tower. The bat generating tombstones are back, along with a new trap called wicked water. The aptly named traps appear randomly in water and do a small amount of damage when touched. The first few waves are short but heavy enemies appear from the start and must be fought to save the Towers. Shield Shredders start to emerge and although they are small in stature they are very quick and can cut up Towers. They are not as resilient as the heavy enemies but you should wipe them out quickly to protect the Towers.
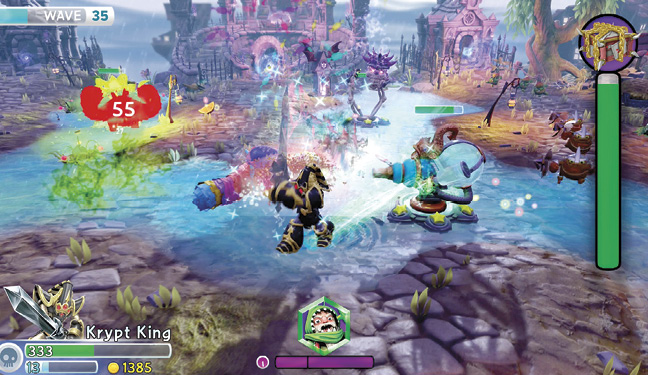
Stand towards the rear of the center island to survey the three enemy gates and stay out the water. Allow the Towers to do their job and deal with smaller enemies while you focus on the heavy damaging foes. The new heavy enemy in this challenge is the Brawl and Chain. It is similar to the Eye Five in that it moves pretty slowly but it does a ton of damage to Towers. A fully upgraded Tower should be able to withstand a Brawl and Chain, but in pairs they’ll destroy a Tower in no time. Use the combined attack power of a Tower and a Skylander to bring down these tusked enemies.
Itchy Lilies Marsh
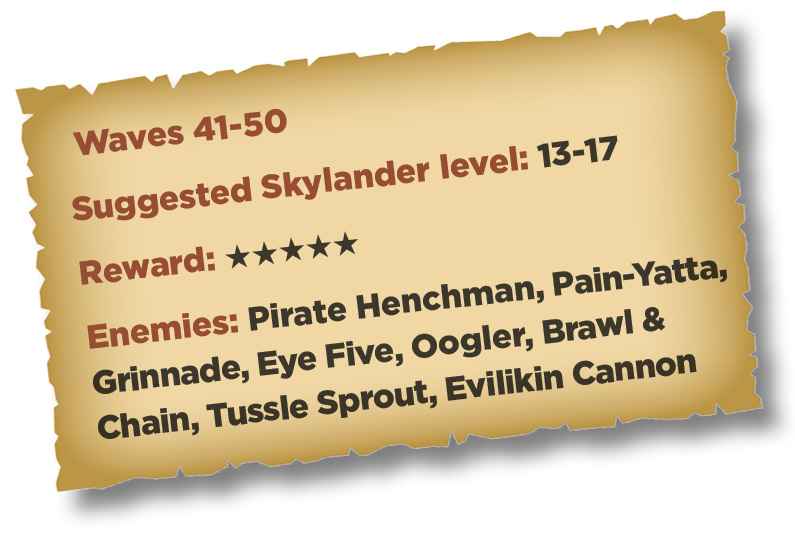
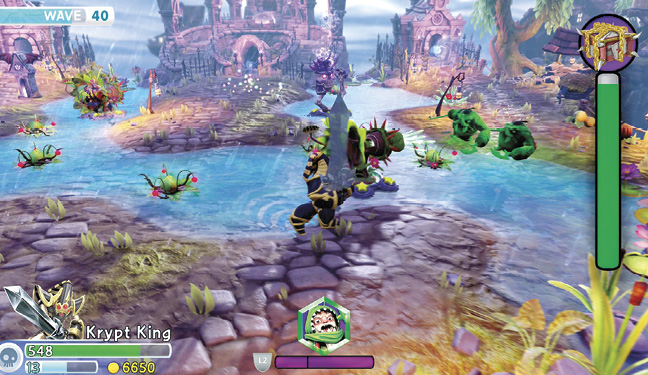
There are five Towers this time but don’t think this will be an easy challenge. In fact, the two Towers near the enemy spawning points are difficult to protect. The same water and bat traps are back but, more importantly, the pace has significantly increased! Once again, stay in the center isle to engage the biggest threats emerging from the enemy gates. Speedy foes like Pain-Yatta, Oogler, and Shield Shredder can be tough to chase down before they overtake a Tower. Use attacks or traps that cover multiple areas to cope with enemies on all sides. For melee Skylanders, attack heavy enemies and after several hits switch to the next one to let the Towers finish them off.
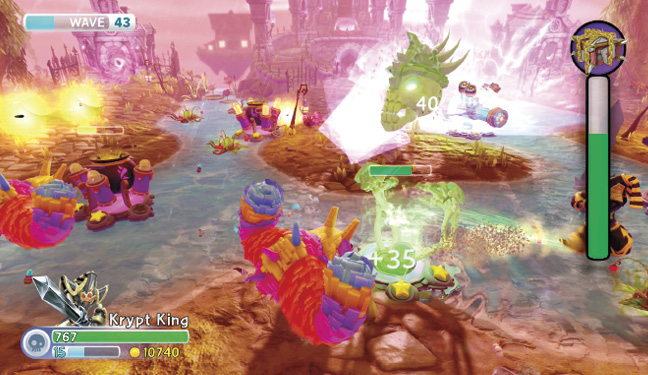
The last several waves send out lots of heavy enemies at the same time. A small army of Eye Five or Brawl and Chain are tough to eliminate. They can wreck a Tower pretty quickly and tear through the Mystery Box of Doom in a few hits. Take on these large groups directly with the most damage attacks that hit a small cluster of enemies. Of course other enemies will try to attack as well, but don’t become distracted by them. Avoid chasing enemies around the entire area or spending too much time trying to save every Tower. Retreat to the back if necessary and try to keep the bad guys from getting to the Mystery Box of Doom.
Kaos Fury Docks
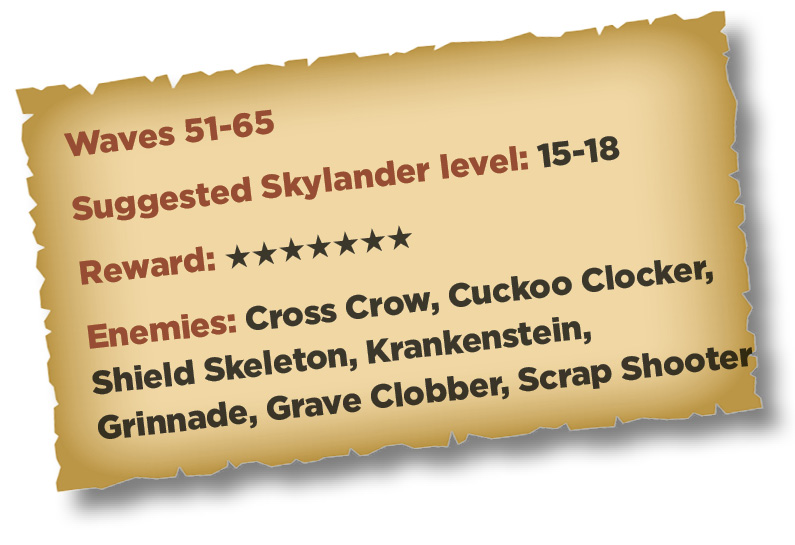
Kaos Fury is a new gameplay element added to this challenge. The machine continues to build pressure until the meter is completely filled. If this happens, the area is covered in a dark mist and a new set of powerful enemies emerges from the gates. Activate the switch in the center of the machine to release pressure and drop the gauge all the way down. When Kaos Fury is trigged it continues into the next wave so make sure to hit the switch whenever there is a break in battle.
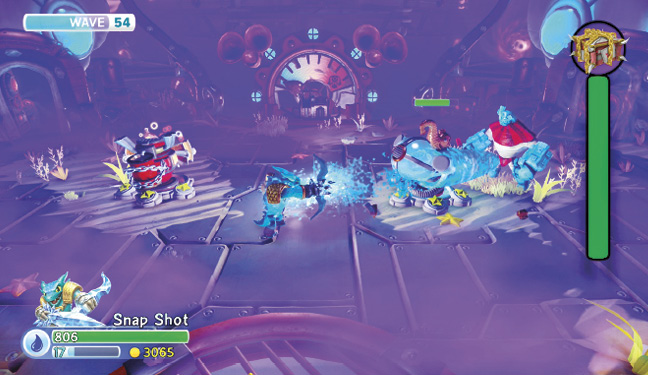
The battlefield is really small compared to the previous outdoor challenges. This means there is less running around but it also packs enemies in really close. The ideal place to stand your ground is between the two Towers, switching to whatever side needs assistance. There are a lot of heavy foes in this challenge and it adds two new ones, Krankenstein and Scrap Shooter. Soften up the big bad guys and switch to the next target while the Towers attempt to finish them off. Get the big enemies’ attention and fight them head on even if it costs some HP. However, in the later waves there will probably be too many to hold off and it is better to let the Tower fall as a decoy.
Twisted Twister Docks
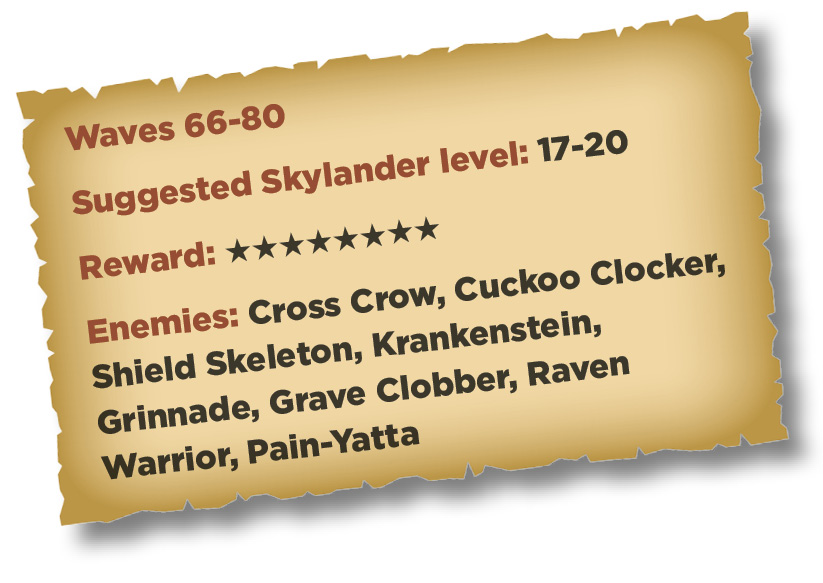
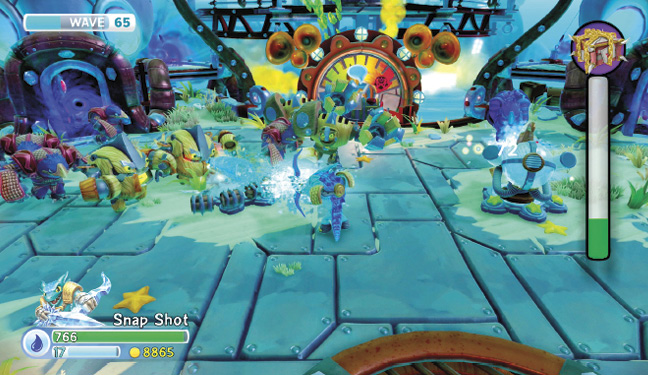
There are four Tower spots and one requires a Giant Skylander to move a boulder. The gauge on the Kaos Fury machine builds up a lot faster than the last challenge so use any break in the action to release the pressure. The best opportunity to do so is during a rush of small enemies that can be handled by the Towers. The new trap in this challenge is a twisted spinner that can whirl a Skylander around, immobilizing them for a short time. Every moment counts in the higher Waves and getting caught in the twister at the wrong time can be a big problem.
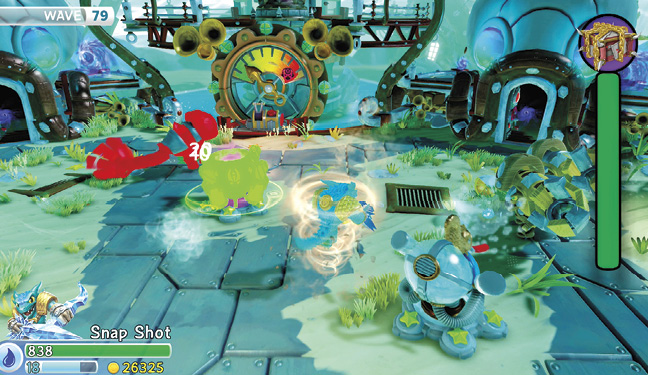
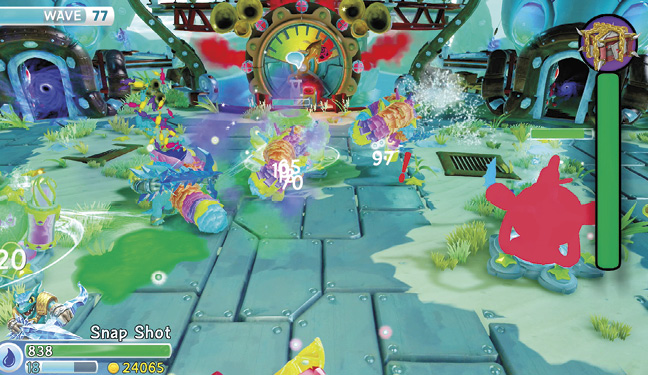
Stand guard in the center of the four Towers and fire off long-range attacks until enemies close in. Staying in the center allows you to change sides quickly to deal with enemies as well as regenerate any of the Towers. Big bad guys, especially Krankenstein, can take out a Tower pretty quickly and they often appear in groups of two or more. Weaken the heavy foes on one side and let the Towers finish them off while switching to the other side. Spending too long near any one Tower or on a single side probably means the others Towers are in jeopardy.
Finally Final Docks
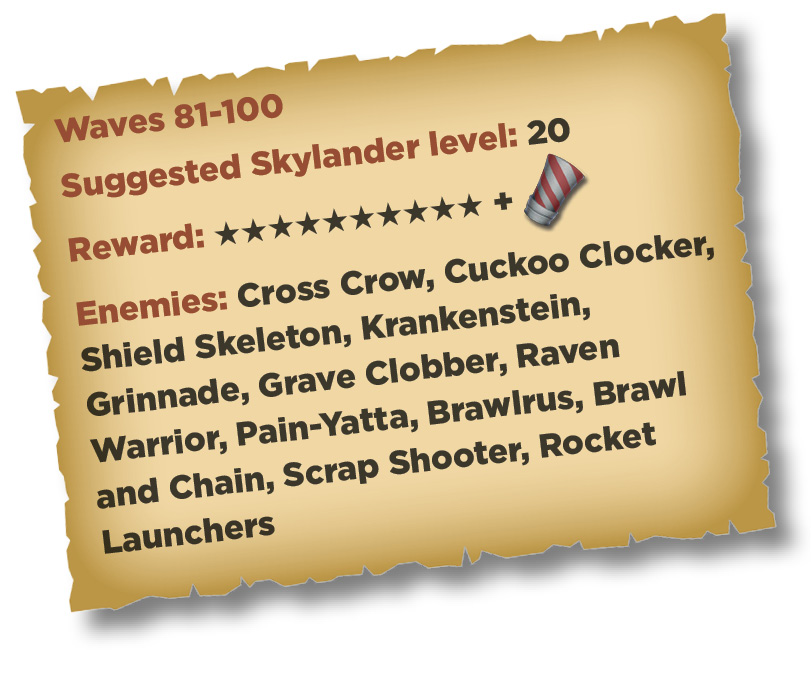
This area is a lot larger than the previous one, which means there is a lot more running around. Also due to its size and the armor/HP of the enemies it is tough to reach the switch to release the pressure on the Kaos Fury machine. Activate the switch anytime there is an absence of heavy foes, but that won’t be very often. To further complicate matters, there are two twisters to contend with. Even with these traps, the best place to camp out is far back enough in the level to track enemies from all four gates.
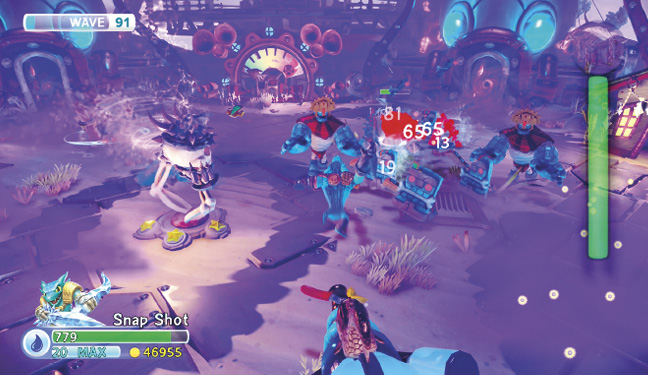
Even with five Towers this challenge requires great time and resource management. Use your time effectively doing as much damage to a group as quickly as possible and switching to the next horde. Trying to fight and finish each foe leaves other areas vulnerable. Use the Skylander’s powers to the best of their ability, firing off long range attacks or setting traps before enemies close in on the Towers. Piercing moves that go through enemies are great for groups that stay together in straight lines. Also use area effect attacks to weaken larger groups but switch to high damage single attacks for the heavy enemies.