
Skylanders Trap Team Signature Series Strategy Guide Walkthrough
Chapter 9: Mystic Mill
Mabu Flagship
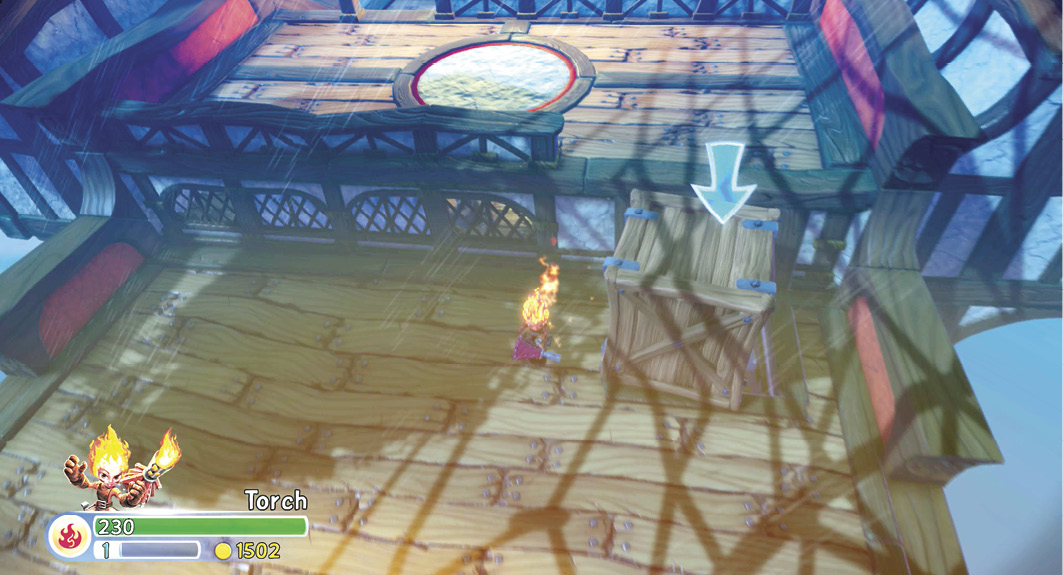
Guide the sliding crate into the stairwell. Repeat the process three more times to reach the flight deck and regain control of the flagship. Don’t worry about trying to keep the crates on the deck. If one falls overboard, another appears shortly afterward.
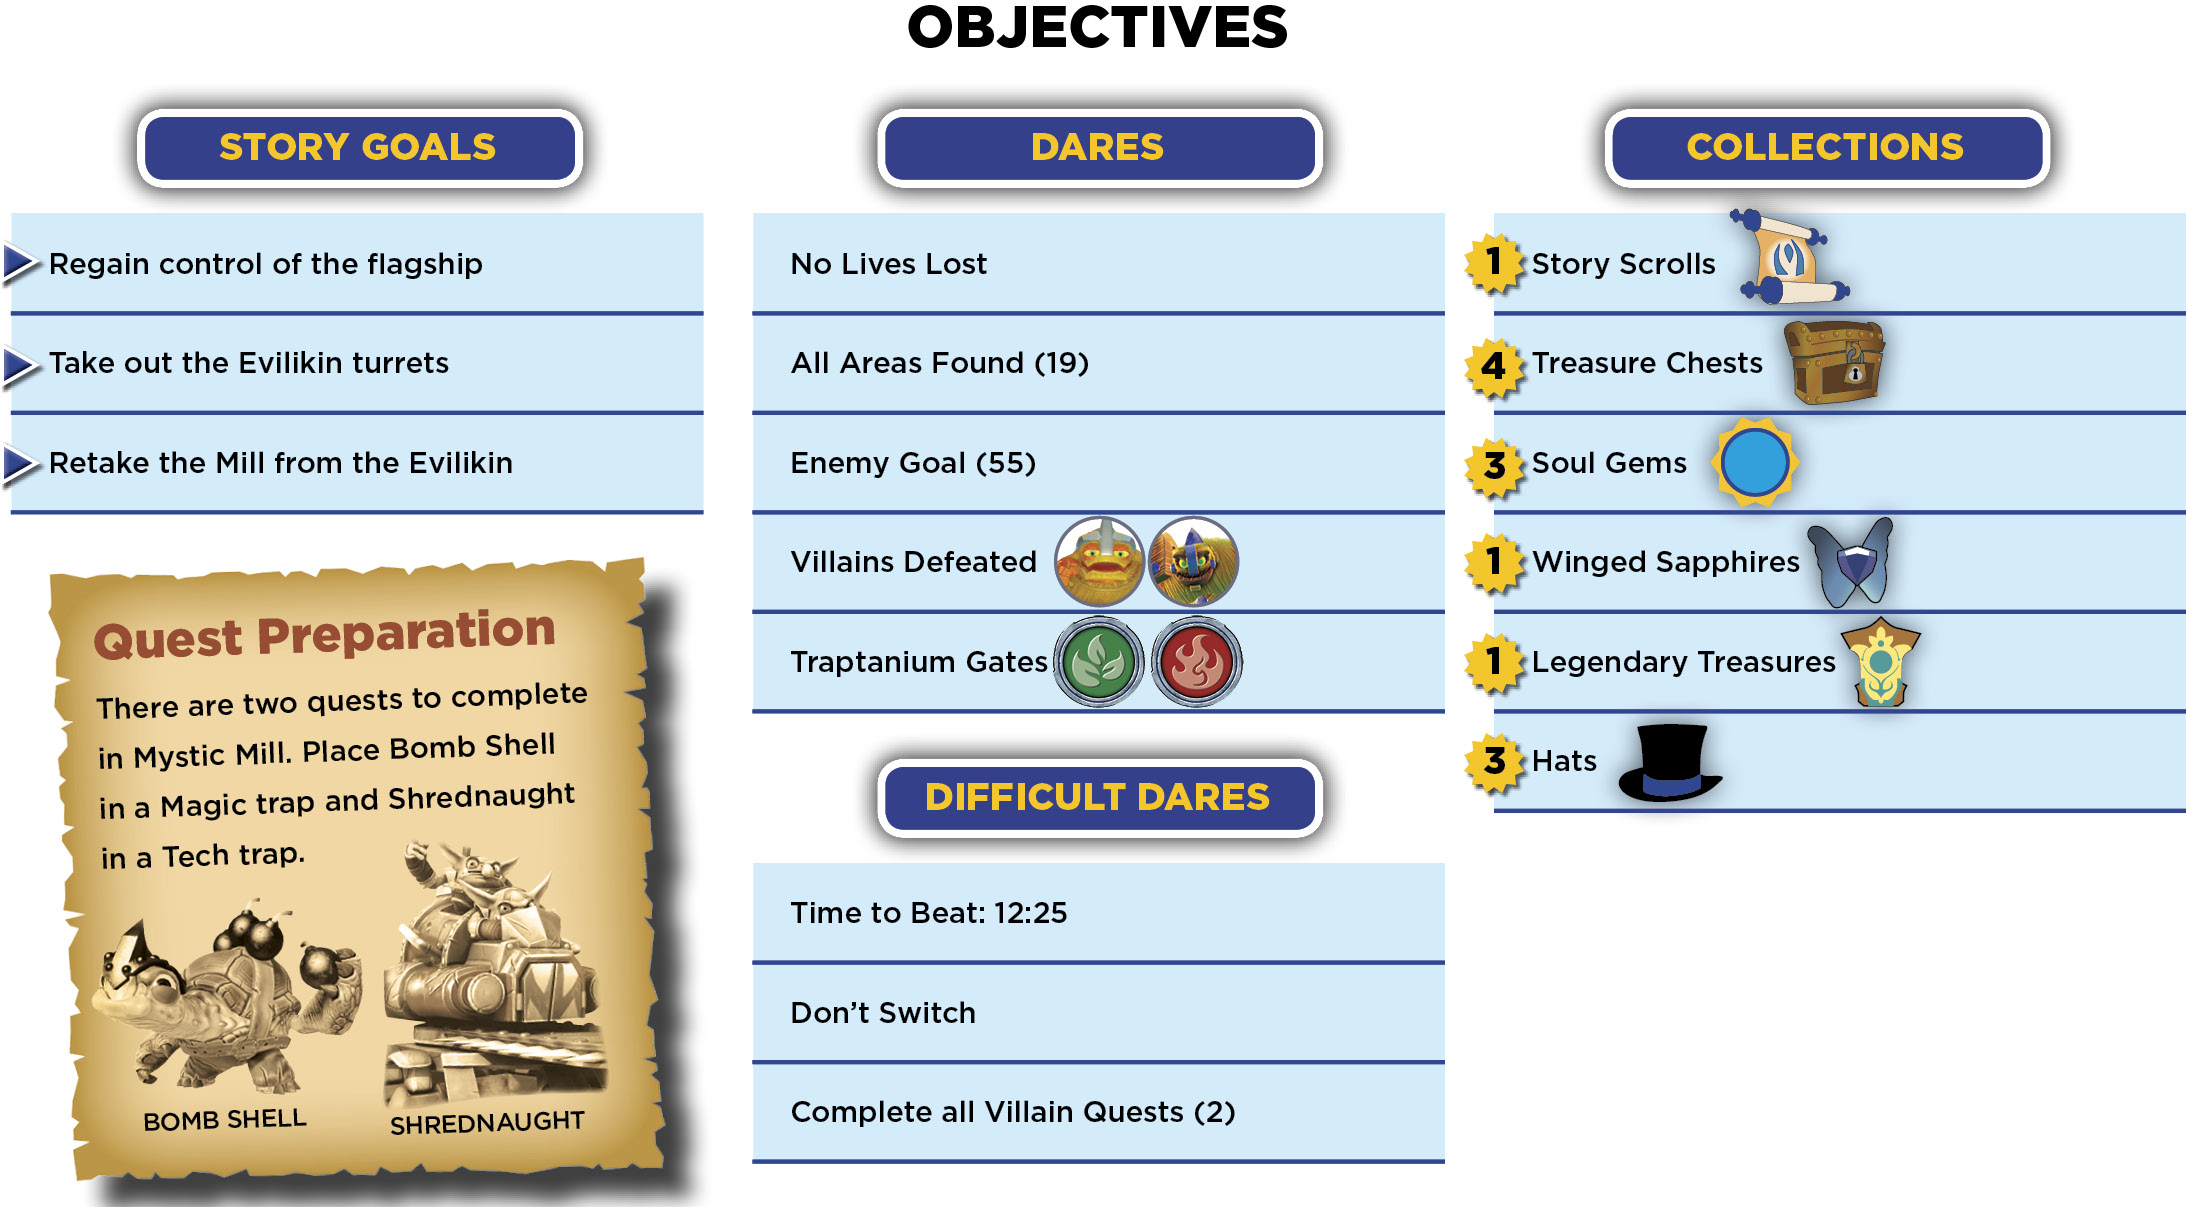
Take control of Flynn’s turret and clear the island’s defenses. The controls remain the same as when you cleared out Chef Pepper Jack’s zeppelin defenses. There are four Winged Gems to shoot again, and you can earn an achievement (Evilikin Eliminator) for shooting 20 of the Evilikin manning the cannons. Take out the larger enemies capable of firing on Flynn’s ship. Shoot the Evilikin until no more appear to man the cannon.
 Loading Docks
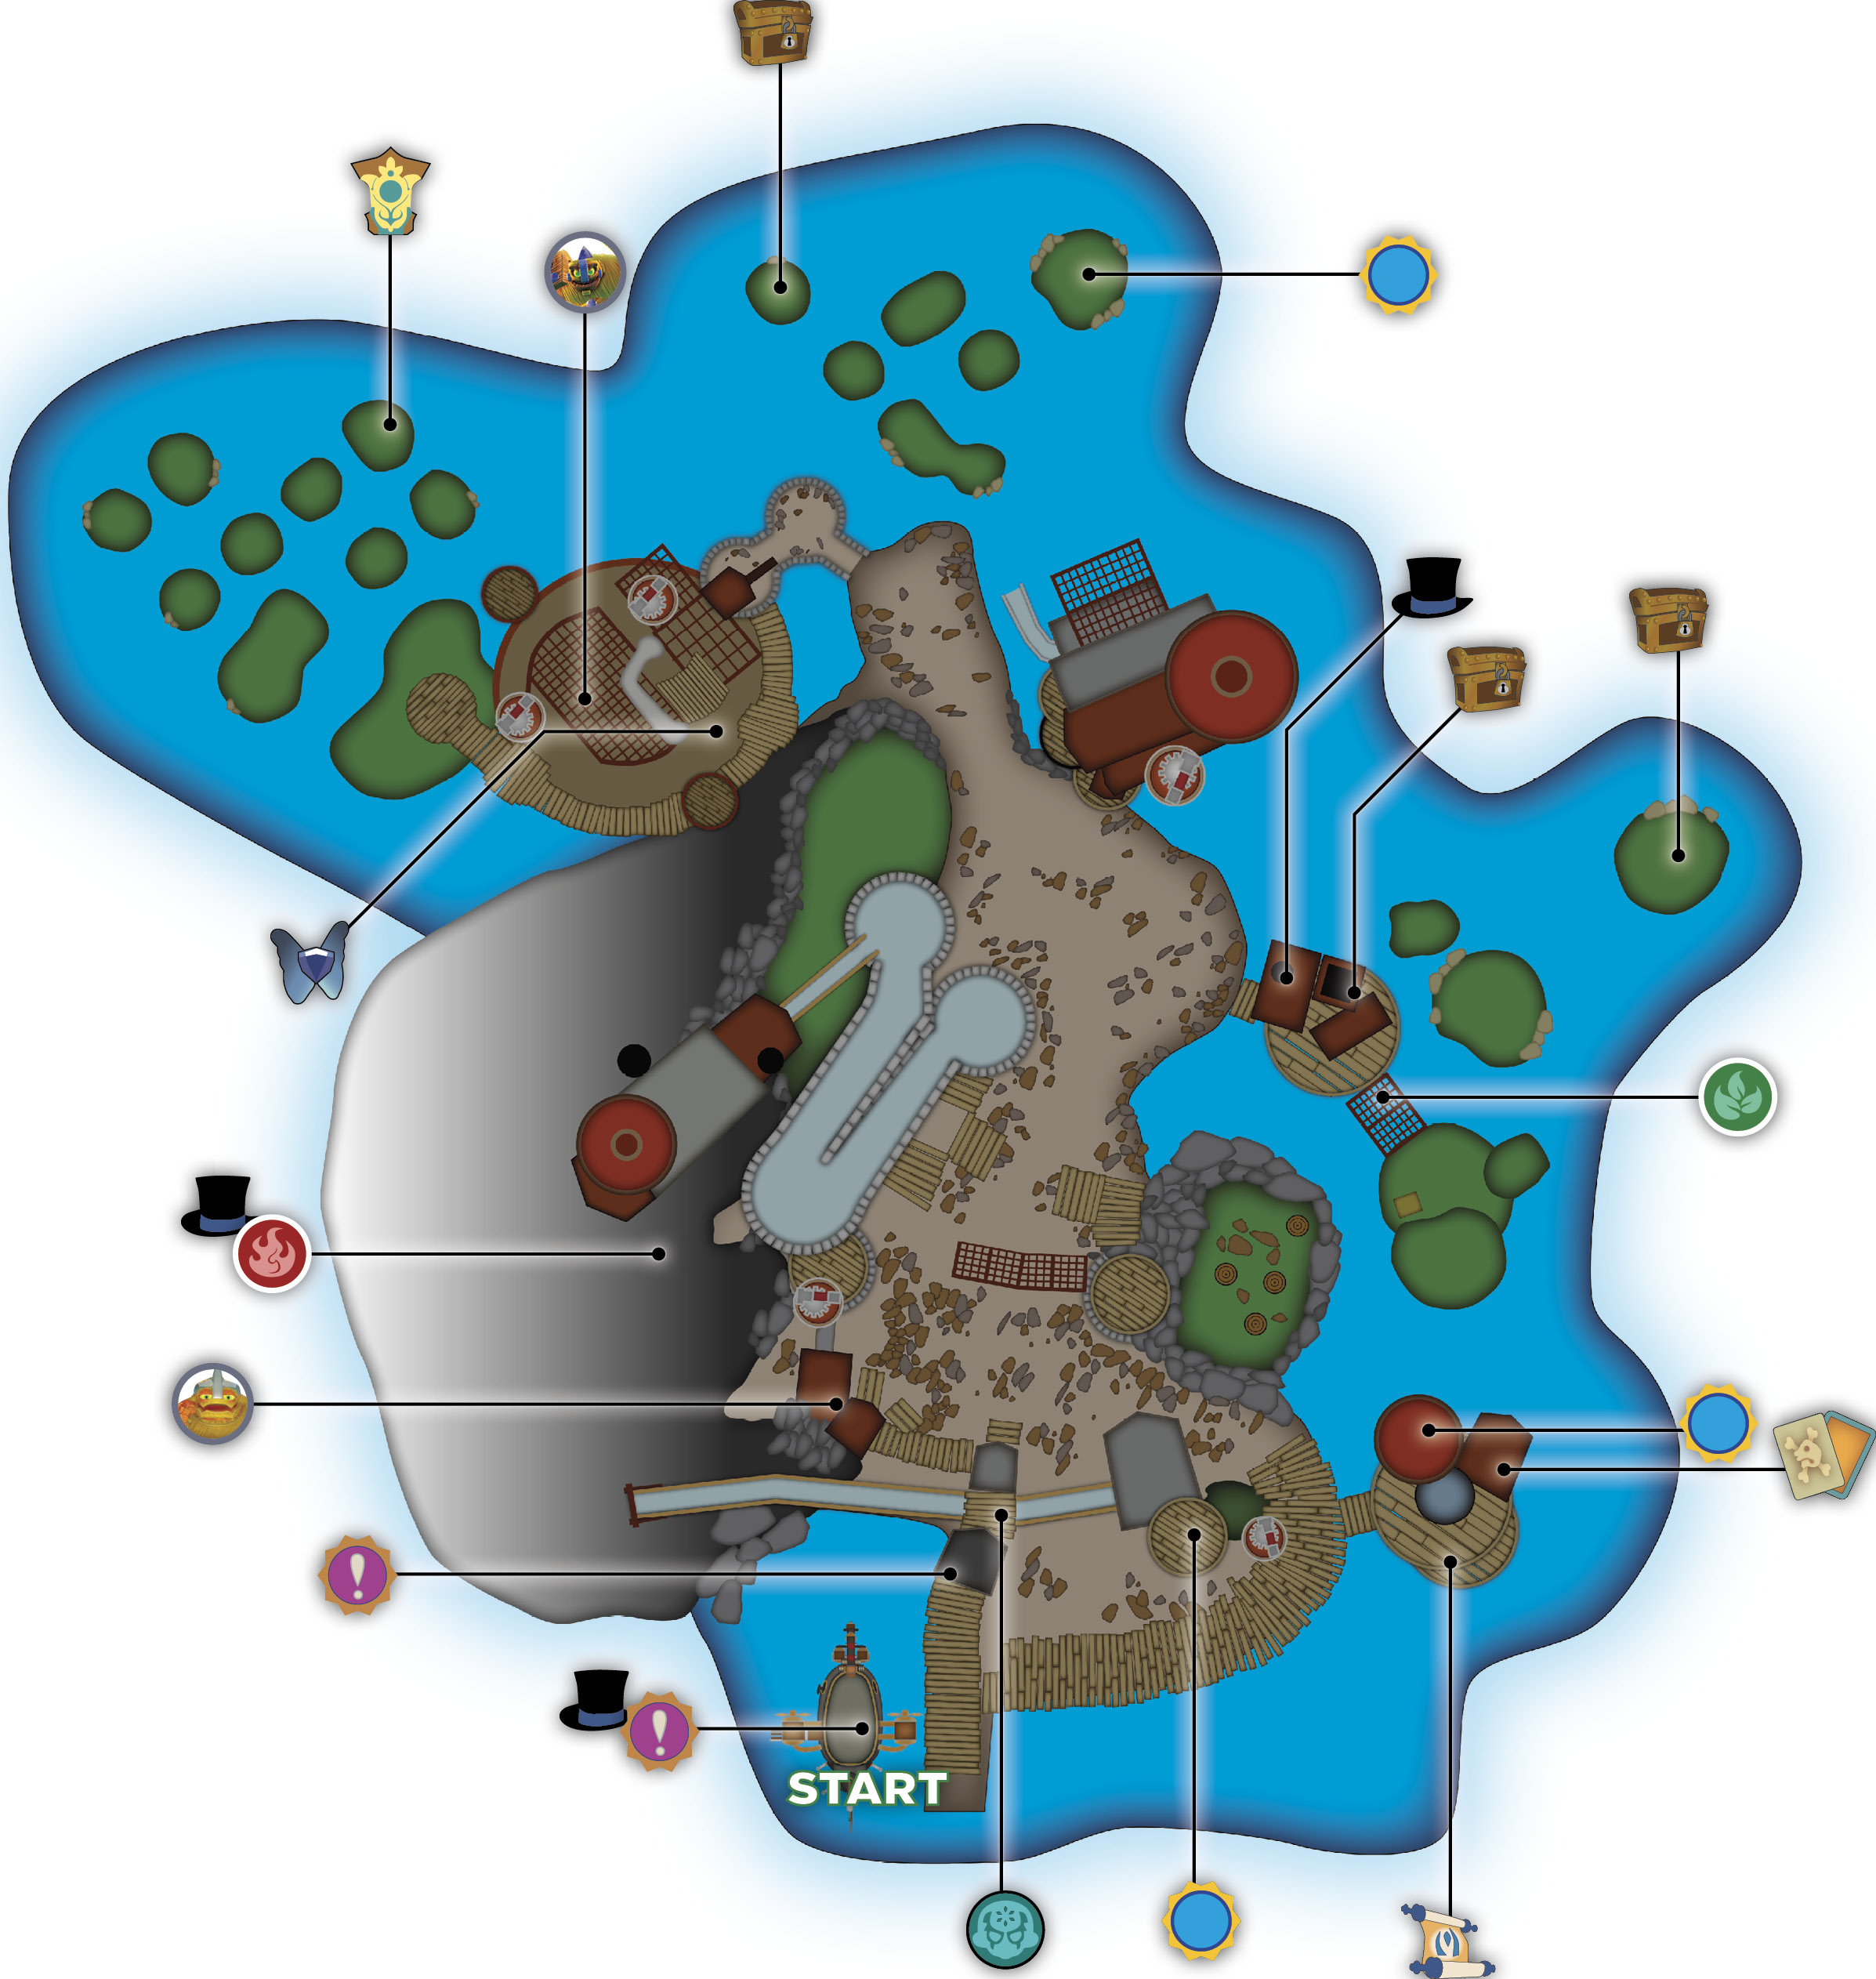
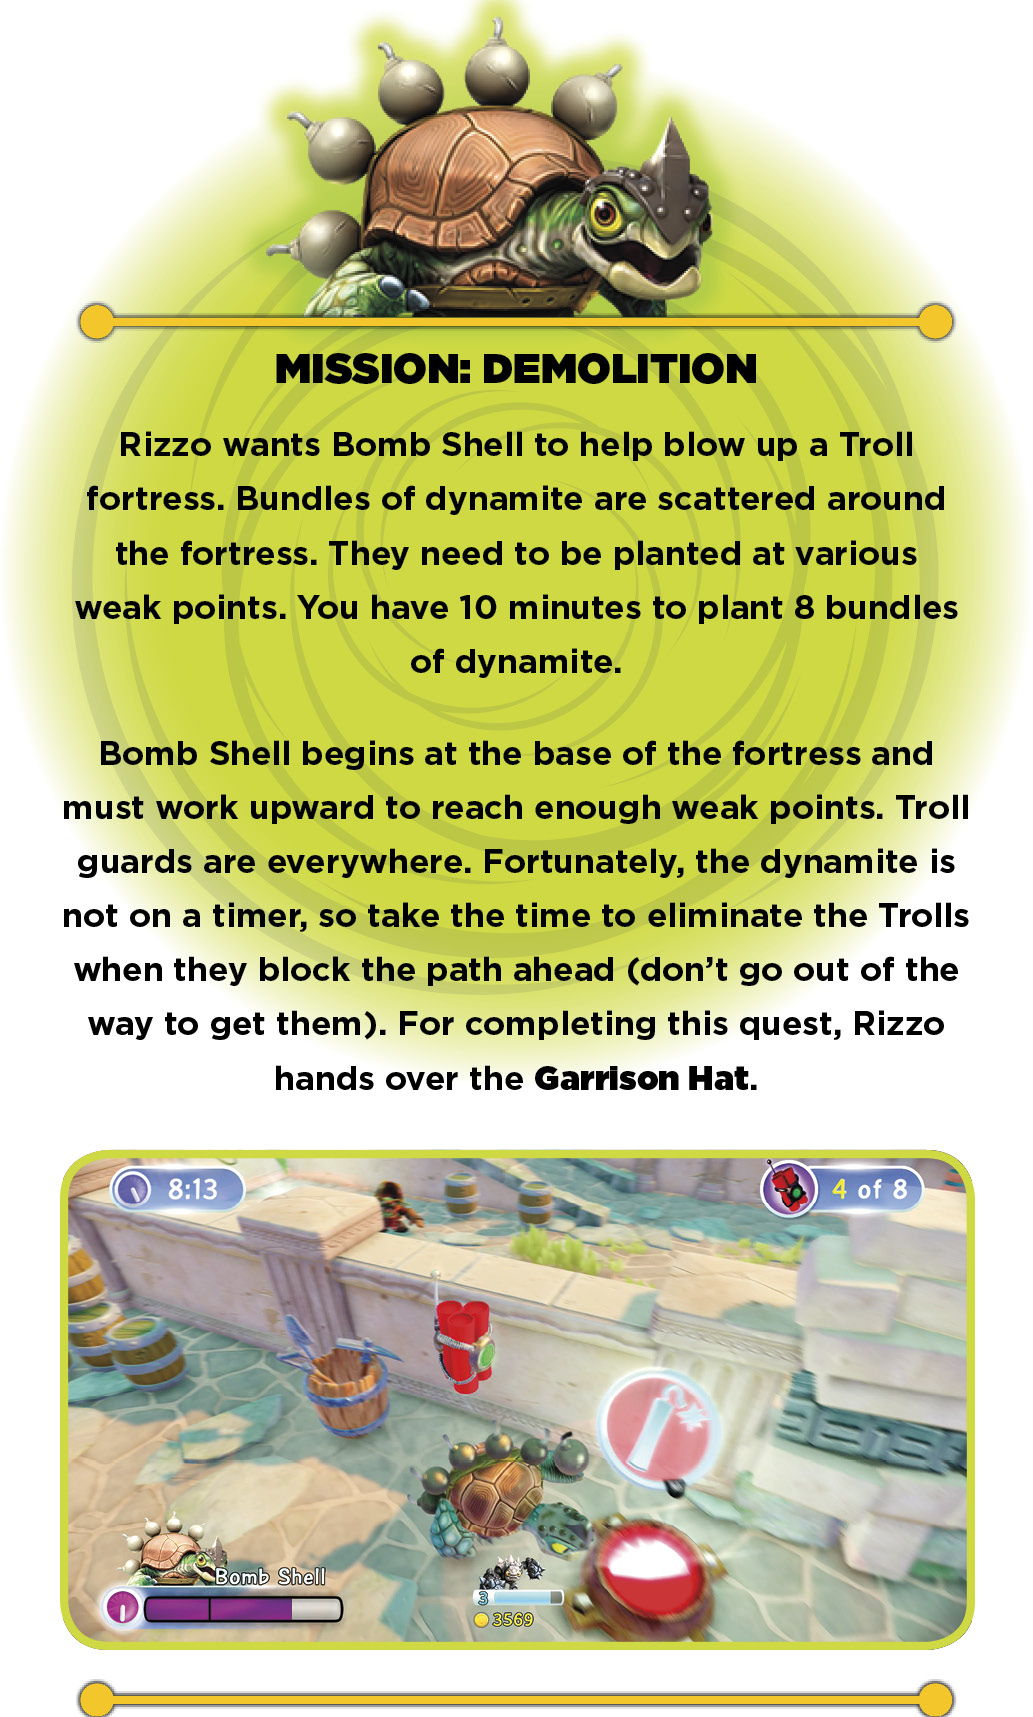
Rizzo’s crew joins your Skylander on the docks. Rizzo stays aboard his flagship, and he has a quest for Bomb Shell. The nearby building is the Lumber Mill Office. Drop off the left end of the dock for two big piles of coins. Use the Teleporter Pad to return to Rizzo’s crew.

Lumber Mill Office
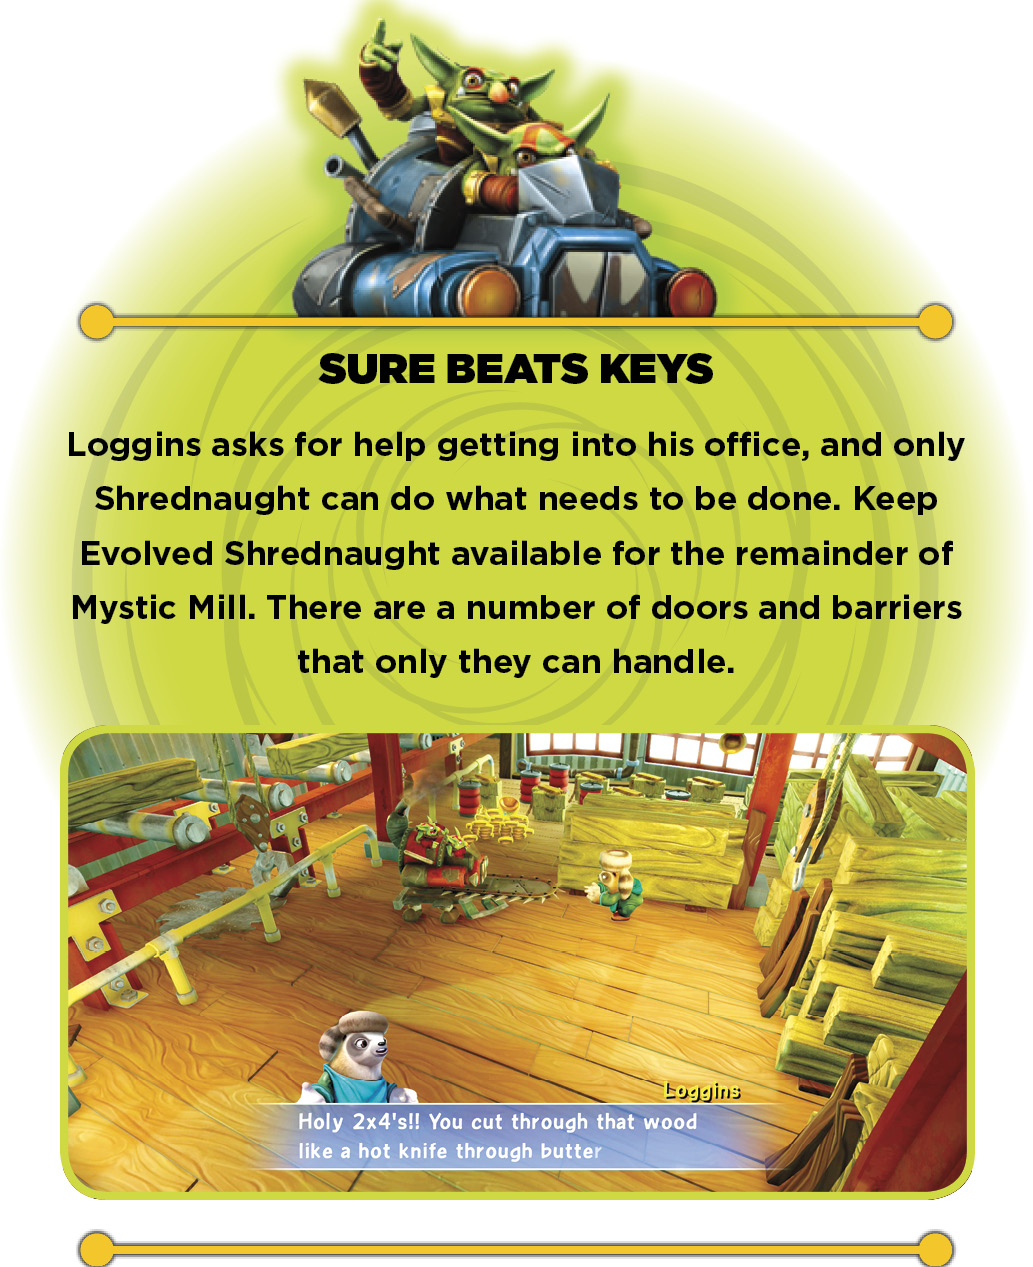
Loggins needs Shrednaught’s help in his office.

Back in Loading Docks, follow the pier until the path is blocked by a locked gate. Interact with the Mabu icon to summon Rizzo’s crew to build platforms to reach the gate’s key.
Go up the short ramp near the locked gate. Claim the Story Scroll and go inside the two small buildings. The building on the right is the Packing House. The other building is Wheelhouse A. When you’re done in both buildings, continue up the path through the previously locked gate to Mudder’s Corner.

Packing House & Wheelhouse A
The Packing House has a Skystones Smash player named Packard, and a Troll Radio. Wheelhouse A has Tread Head’s Soul Gem (Rocket Boost) and another Troll Radio.

 Mudder’s Corner
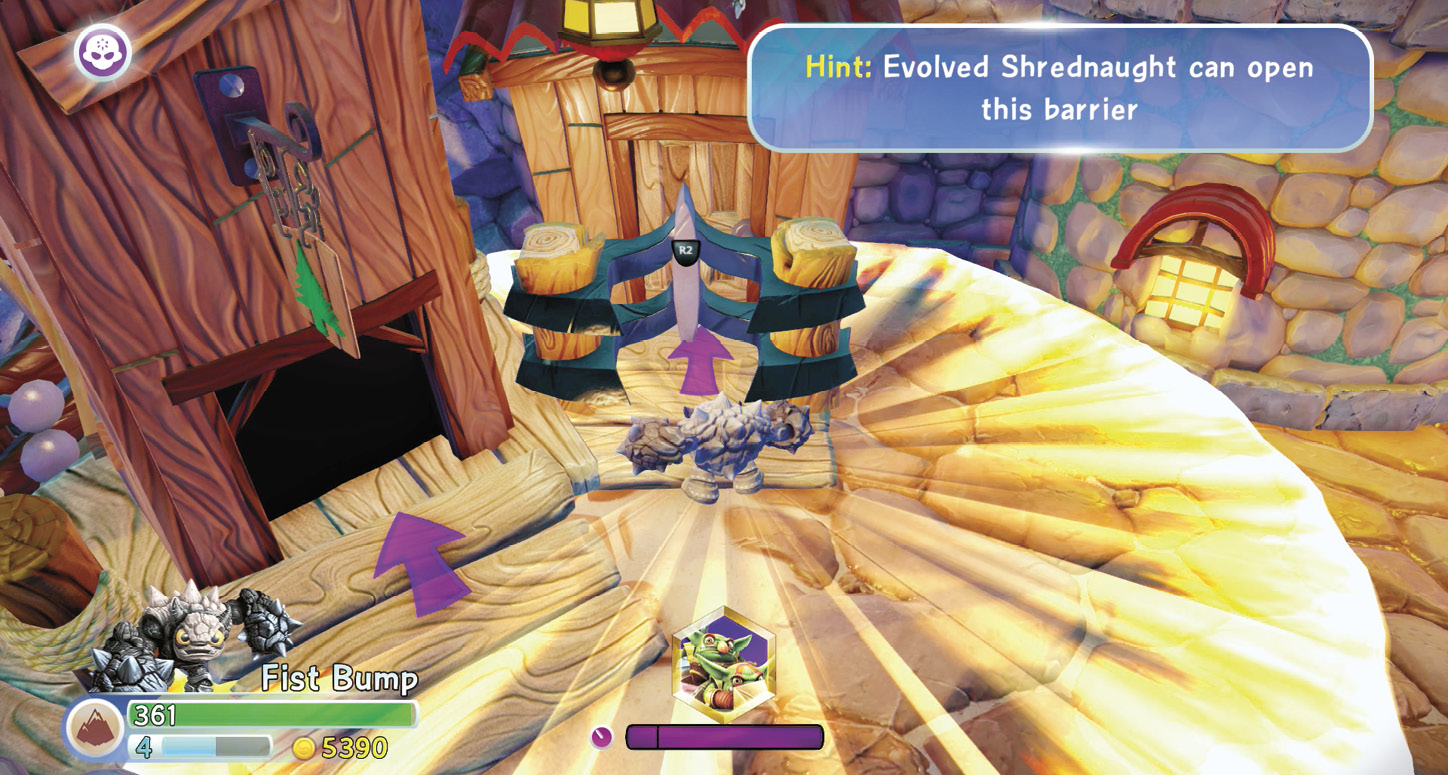
Evilikin Runners attack in groups and keep the uphill trip interesting. Look for a Troll Radio not far up the path on the left, between two doors. The door closer to the radio goes to the Western Storage Unit. The other doorway leads to Wheelhouse B. There’s a third doorway, next to the Western Storage Unit, that can only be opened by an Evolved Shrednaught. It leads to Sawdust Processing. Walk under the metal walkway to reach Waterways.
Sawdust Processing & Wheelhouse B

Destroy the barrels inside Sawdust Processing, and collect the pile of coins. Wheelhouse B has a VillainStash.
 Western Storage Unit
A few Chompies and Evilikin guard the floor of this small building. After you eliminate them, the real battle begins.
Waterways, Eastern Storage Unit & Power House
The gate at the end of the Waterways is doubly locked. Summon the Mabu to build platforms to reach the Power House. Use the floor switches inside the Power House one time each to complete the circuit.
The second key floats atop the aqueduct, but there are a few places to explore before you need to get it. A Life Gate is near a locked door (the kind that needs Evolved Shrednaught to open) not far from the Mabu-built platforms. The locked door leads to Eastern Storage Unit, which has a Treasure Chest inside.


Walk up either wooden ramp that leads to the metal bridge overlooking the area. The Super Bounce Pad at one of the walkways sends your Skylander to a tree trunk. Torch’s Soul Gem (The Incinerator) is there with a pile of coins.
Go up the aqueduct, but watch for cannon fire from above and logs rolling downward. Jump over the stone wall at the first rounded bend, where you can see a Fire Gate nearby. When you’re done in the Fire Gate, retrace your steps but continue to the top of the aqueduct for the key.

 Saw Mill Main Gate
Unlocking the gate doesn’t mean the way ahead is clear! Shield Shredders and Chompies guard a Battle Gate. They’re supported by a wizard who covers allies in air bubbles. When an enemy suddenly becomes invulnerable, look for a floating gem. Take out the enemy carrying the gem as fast as you can. Destroy the Traptanium crystal to create a bridge to Nature Bridges - North.

Nature Bridges - North
Destroy the Traptanium crystal here to create another bridge. Cross the bamboo bridge, then pick it up and set it on the other side. Cross the wooden bridge to reach the Treasure Chest. Go back to the bamboo bridge but don’t cross it. Pick it up and move it to build a path back to the first platform in the area.

Pick up the wooden (not bamboo!) bridge and carry it over the bamboo bridge, then the Traptanium bridge. Place the wooden bridge to reach Flip Wreck’s Soul Gem (Sea Slammer).

Return to Saw Mill Main Gate and walk up the stone ramp. Keep the Evilikins occupied while the Mabu remove the door. Not far beyond the door, look for a Winged Sapphire behind a gate that requires Evolved Shrednaught’s assistance.

The enemies on the wooden ramp guard a Battle Gate and fight from behind barricades. When the gate is down, walk past the metal ramp on the right (it leads to Pulp Shredder, the location of the battle against Krankenstein) and talk to Persephone for upgrades. Destroy the Traptanium crystal near her to build a bridge to Nature Bridges - West.
Nature Bridges - West
Alternate carrying the bamboo and metal bridges to reach the Legendary Saw Blade in the back corner platform. There are piles of coins on other platforms, so take some time to explore the area.

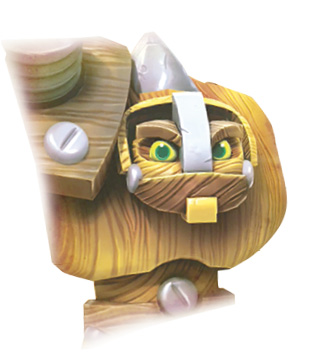
Pulp Shredder
Walk up the metal ramp to begin the final battle for Mystic Mill.
Back at Skylander Academy
Go to the Main Hall and place the Legendary Saw Blade over the fireplace. Check in with Auric, who has added Trinkets to his inventory.
Auric’s Inventory
|
Price | |
|---|---|
|
Ulysses Uniclops |
350 |
|
Medal of Mettle |
350 |
|
Winged Medal of Bravery |
350 |
|
Elemental Opal |
350 |
Go up the stairs near the Skaletones to reach the Outer Walkway. Follow the Outer Walkway to The Grand Library. Look for a trick bookshelf that leads to a coin-filled room, The Archives. Use a mini Skylander to speak with Quigley to explore hidden areas, including The Reading Room.
