
Skylanders Trap Team Signature Series Strategy Guide Walkthrough
Chapter 13: The Future of Skylands
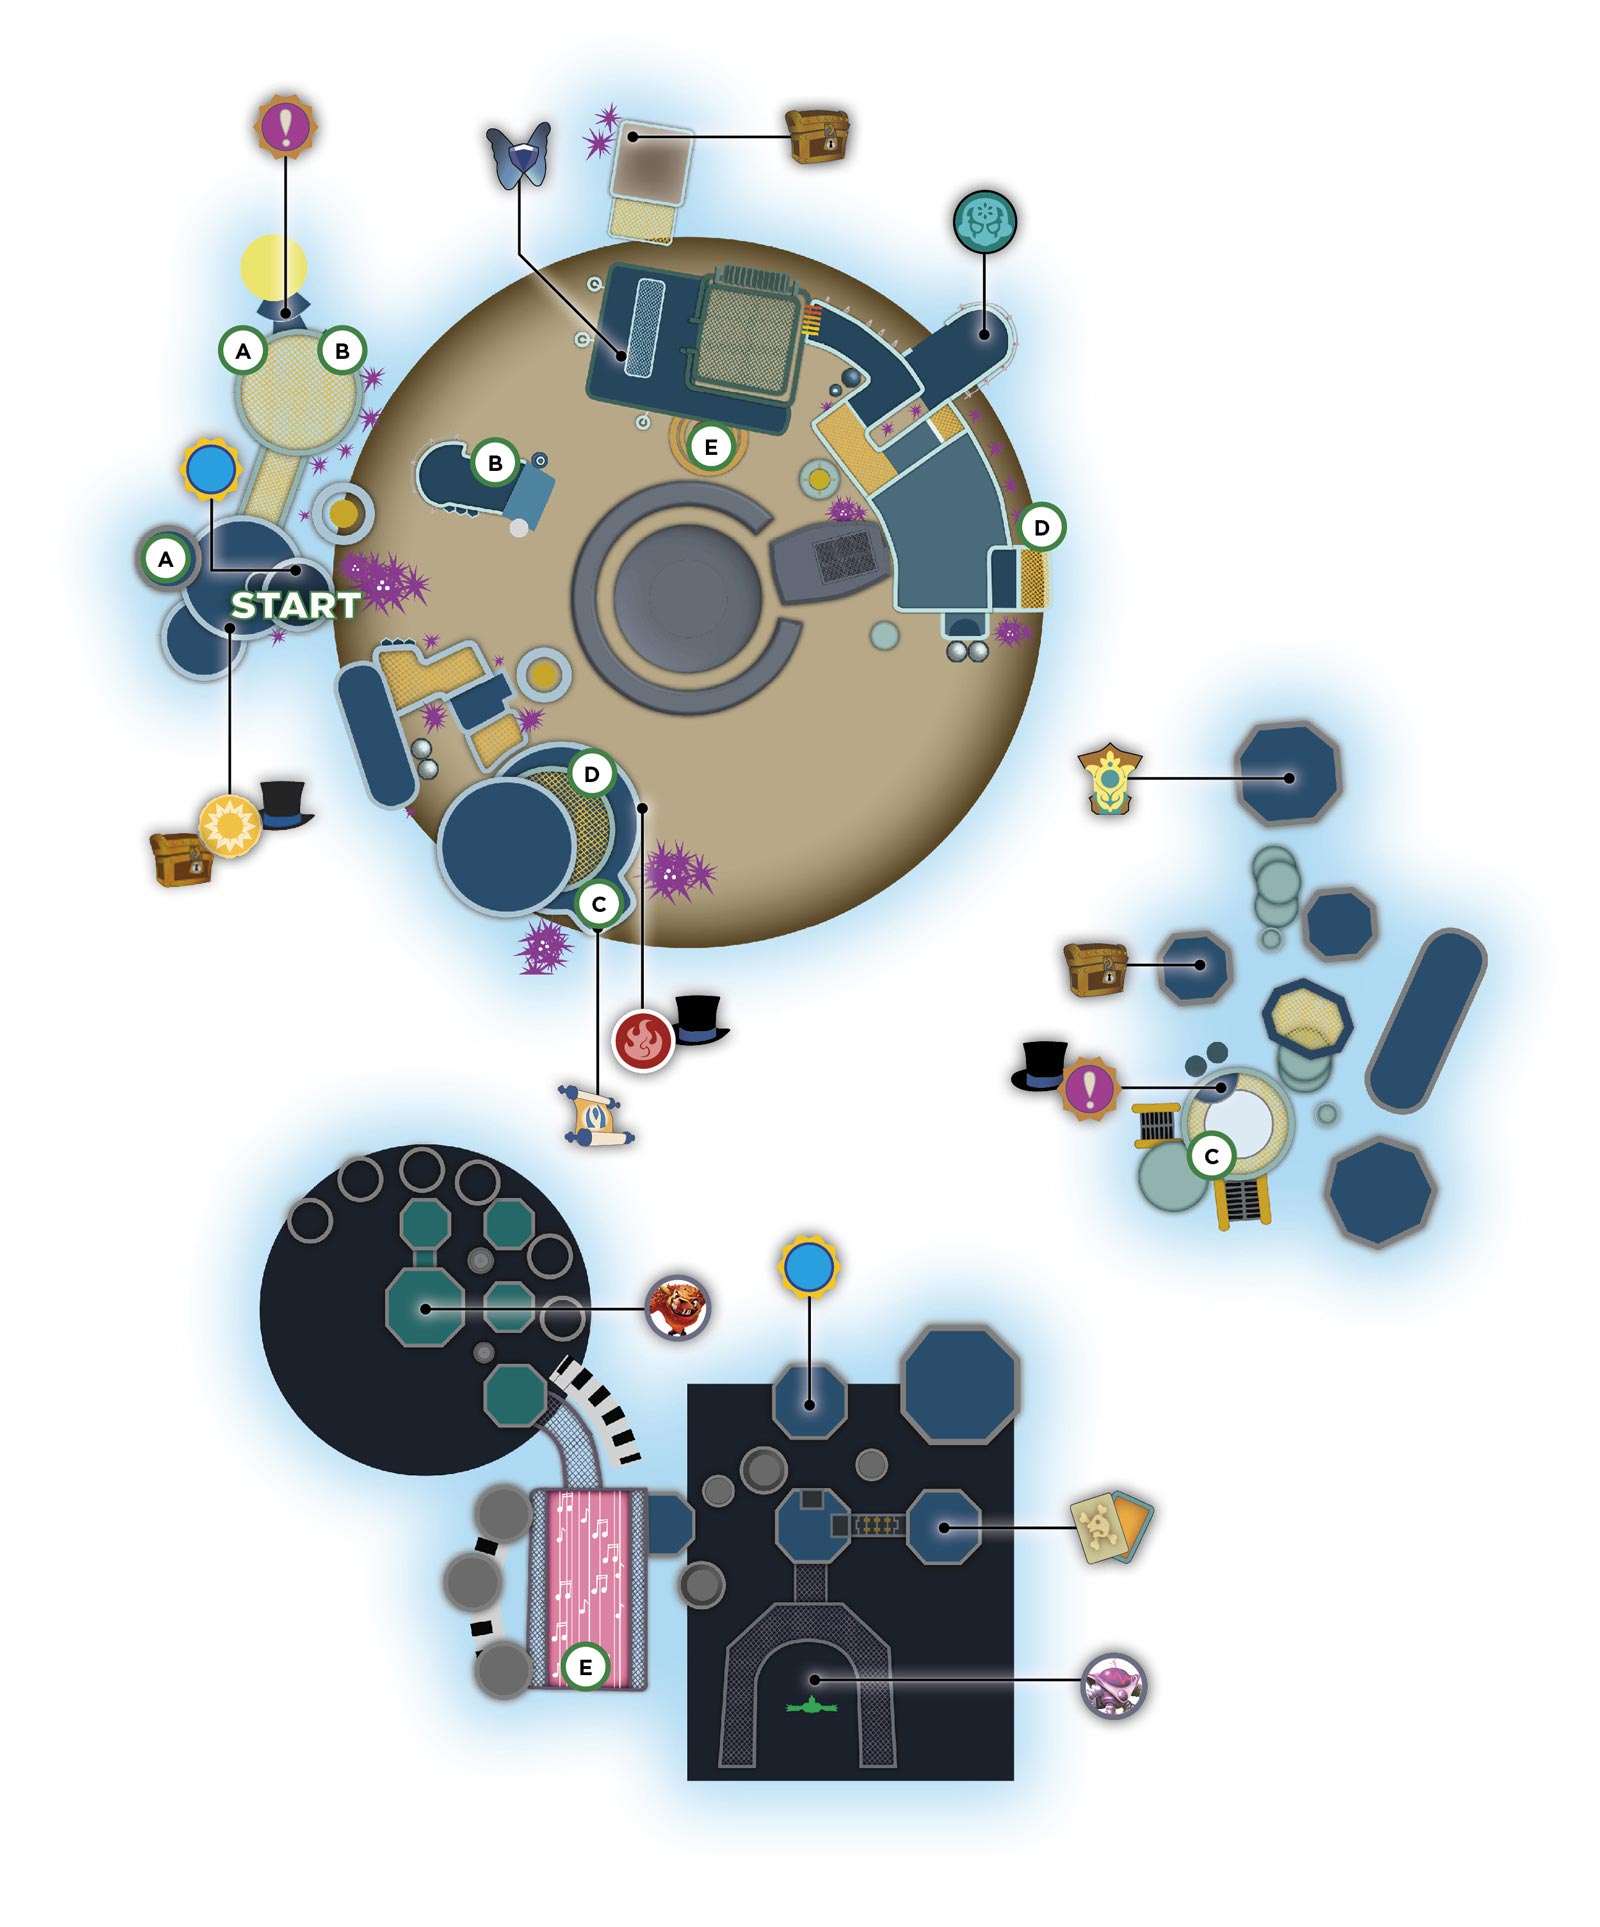

Arrival Platform
An energy barrier keeps your Skylander contained to the starting platforms. Look for a gap in the fence and drop down to be treated to a holograph of Wolfgang and a Light Gate. Bounce back up to the higher platform and pull the switch to shut off the barrier.

 Ice Cream Planet
The first enemy in the future is a Blaster-Tron. Attack it from behind to take it down and avoid the blue lines when they appear from its gun. There are two taxis and a quest waiting for you afterward.
The taxi to the left is a one-way trip up to Gearshift’s Soul Gem (Swing Shift). Jump off the platform to return to the Arrival Platform. The ride from the right-hand taxi ends at Electro Bridge Controls.
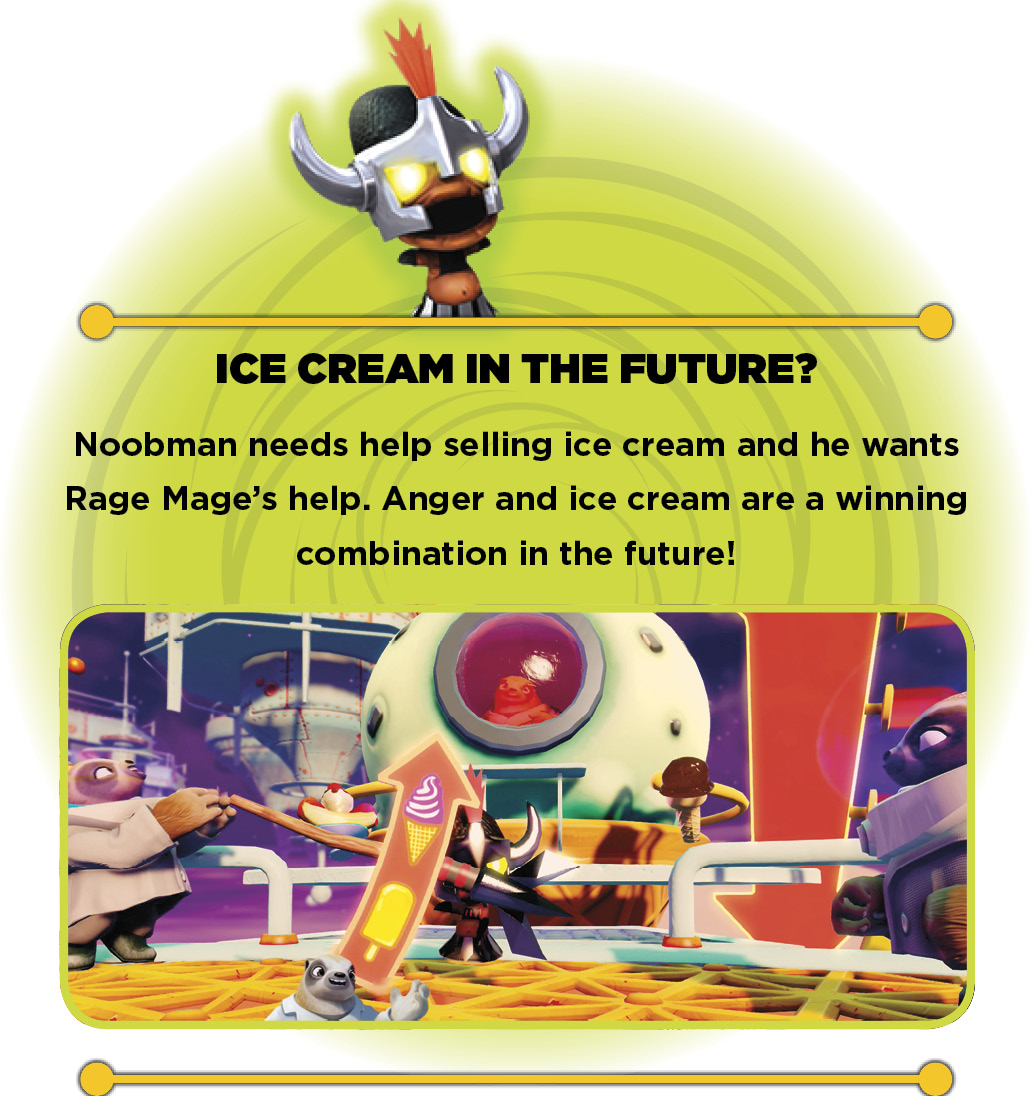
Electro Bridge Controls & Astro Bug Zapper
Use the switch next to the Mabu to extend the bridge. Cannons in the distance fire bombs to make the crossing dangerous. An energy barrier blocks the path near a Troll Radio. The switch to deactivate it is on the lower ledge. Drop down over the floating coins and deactivate the energy barrier.

 Sub-Orbital Combat Plaza
Drop down into the Sub-Orbital Combat Plaza and defeat the array of futuristic enemies that includes cyclopes and a pair of Blaster-Trons. A taxi driven by Snuckles X9 appears and offers the use of his transport.
Don’t take him up on his offer until after you visit the Fire Gate and use the Super Bounce Pad. The Super Bounce Pad deposits your Skylander near a Story Scroll and an automated taxi that goes to Containment Corner.


Containment Corner
Wolfgang’s quest is here, as well as a Traptanium crystal. Destroy the crystal to create a bridge. Destroy the Traptanium crystals to build more bridges. Pick up the metal bridge and use it to reach both aTreasure Chest and theLegendary Rocket. To reach the Legendary Rocket, carry the bridge back to Q.U.I.G.L.E.Y.’s platform, and use the Super Bounce Pad. The taxi nearQ.U.I.G.L.E.Y. is the return trip back toSub-Orbital Plaza.

Anti-Grav Truck
Snuckles X9’s transport is the Anti-Grav Truck. When the giant arms appear, push the boxes out of the way and use the cannon. You need to hit both arms to free the truck. The ride ends at Space Dog Field.

 Space Dog Field

Persephone is behind an energy barrier to the left. The controls are across from her but you need to deal with a swarm of enemies first.

Speak with Zeta Blobbers and follow him up the ramp. He stops at an energy barrier near a Troll Radio. Jump over the railing down to a platform with the control switch and a Villain Stash. Cross the bridge beyond Zeta Blobbers to reach the Sub Atomic Particle Smasher.
Sub Atomic Particle Smasher & Planet Ham
Don’t get too close to the spiked walls. The giant atoms that appear do some damage, but are not durable. Any attack breaks them up into smaller pieces and any follow up attack destroys a smaller piece. When the barrier is gone, use the Bounce Pad to rejoin Zeta Blobbers who points out your next destination, but don’t go there yet.

The Winged Sapphire is almost directly over Zeta Blobber’s head, but you need to push over a few nearby blocks to reach it. Push the blocks to the right into Planet Ham. Jump up to the higher area and open the Treasure Chest there.

 Harmonic Hold

Defeat the swarm of enemies to open the Battle Gate. Destroy the nearby Traptanium crystal to create a bridge. Blaster-Tron is on the platform to the right past the bridge, along with a number of Brawlrus assistants.
Cross the metal bridge and carry it around. The platforms in the area have a Skystones Smash player named Gumbus the 10000th, A Troll Radio, and Trail Blazer’s Soul Gem (HeatWave).
Return to Zeta Blobbers and follow him a short distance. Carry the metal bridge across two spans to reach the blueprints. Next up is a trip in a spaceship!

You have more control over this ship than in previous turret-type missions. You must first blast through the shielding (each hexagon can take one hit) while avoiding the subwoofer’s defensive cannons and bombs. After clearing the shielding around a power conduit, turn the ship around and destroy it. To earn the Just to be Safe achievement, take down every shield unit during this flying sequence.
The exterior hull falls away, exposing additional power conduits. A robot orbits the subwoofer and restores the shield. That makes it even more important to clear the shield in one pass, then immediately turn around and blast the exposed power conduit. When all power conduits are destroyed, it’s time to take on Wolfgang.


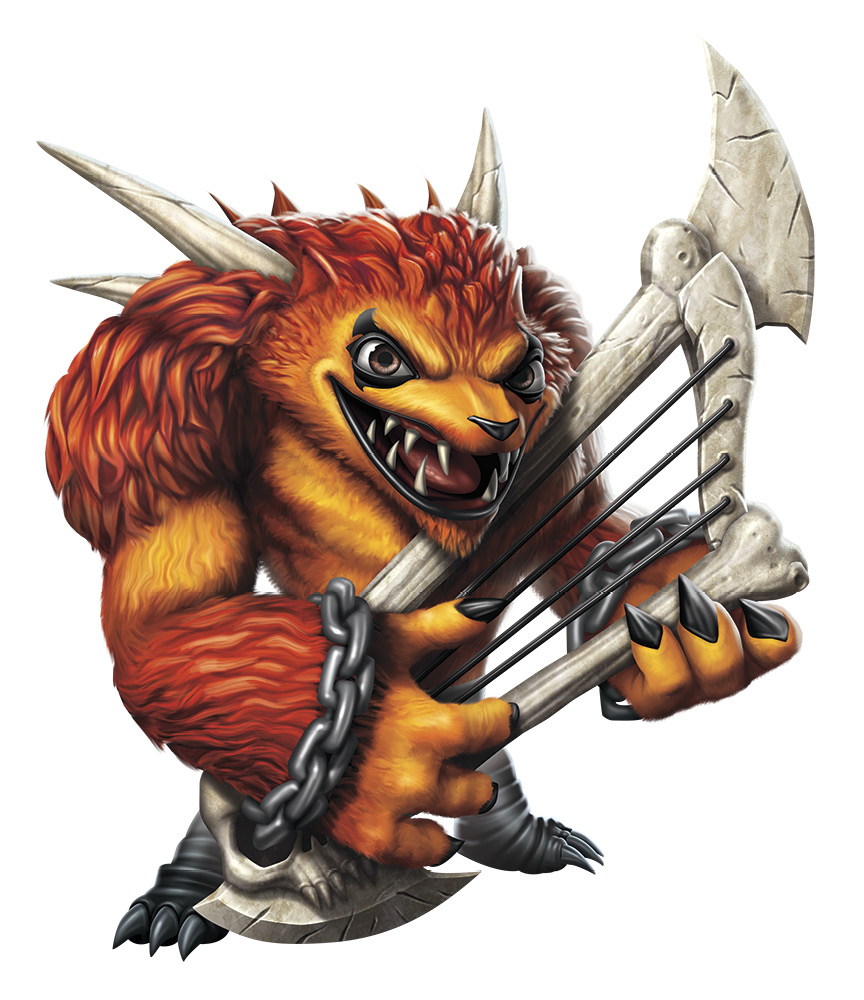
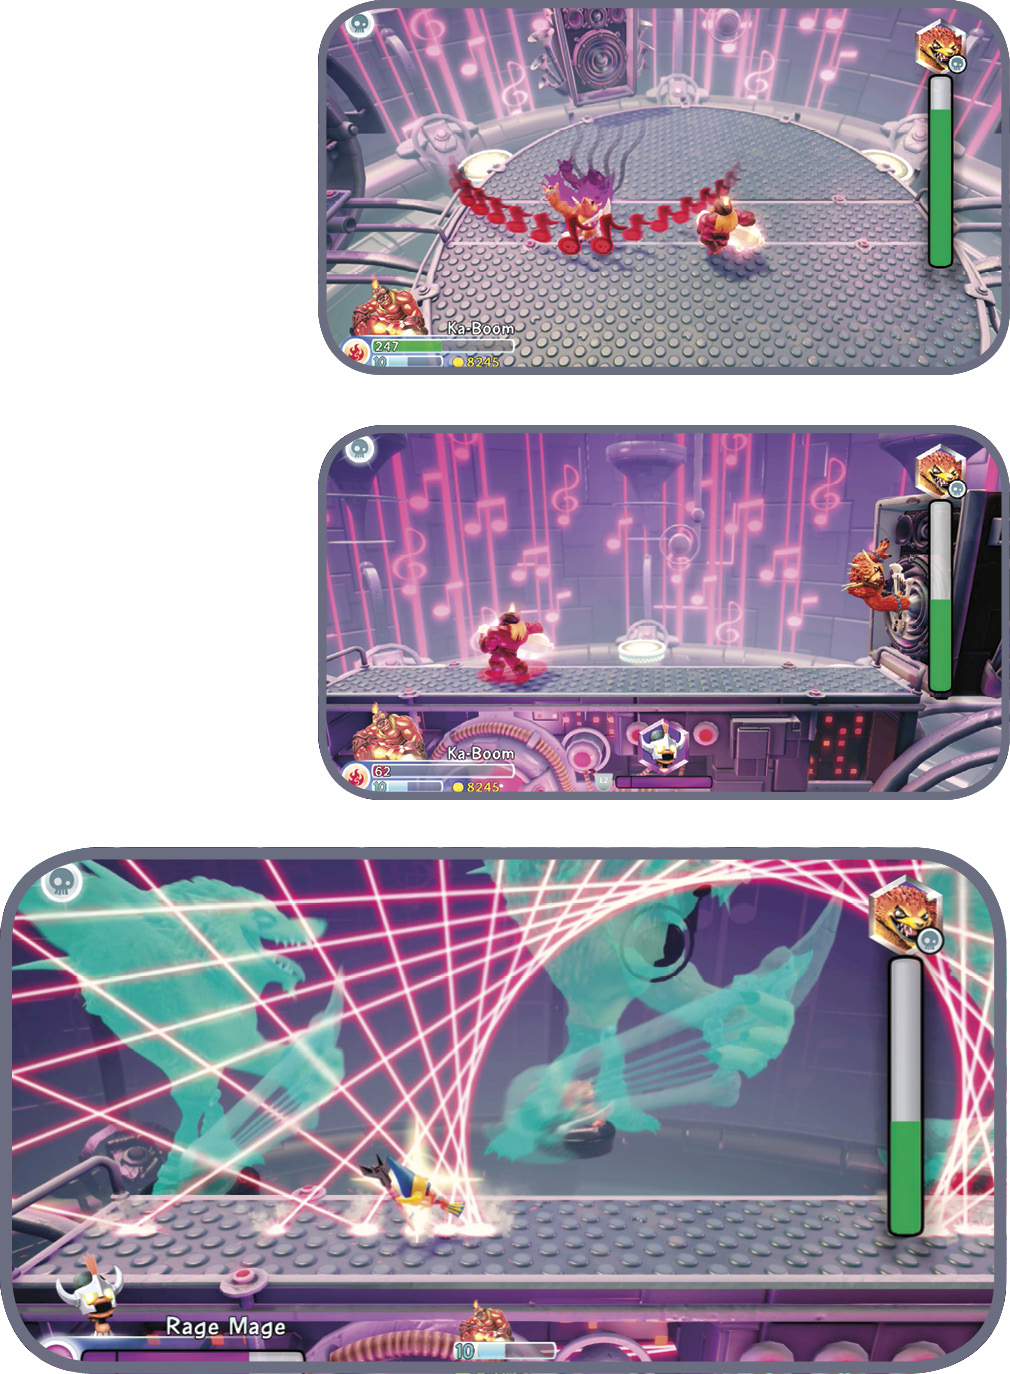
Wolfgang begins a laser light show when he has one-third of his health remaining. When the beams are narrow, they’re safe to touch. Listen for the buildup of energy and move away from the laser (whether it’s to a side or jumping over it). When Wolfgang rejoins the fight, the laser show continues and you must avoid the lasers and Wolfgang’s attacks. Have an Undead trap ready for when he falls!
Back at Skylanders Academy

Place the Legendary Rocket on the right side of the Game Room near the piano. A new Arena opens up in Brock’s Rumble Club.
Auric has added a few items to his inventory.