
The Legend of Zelda Majora's Mask 3D Guide Walkthrough Chapter 9: Saving the Great Bay
Great Bay Temple
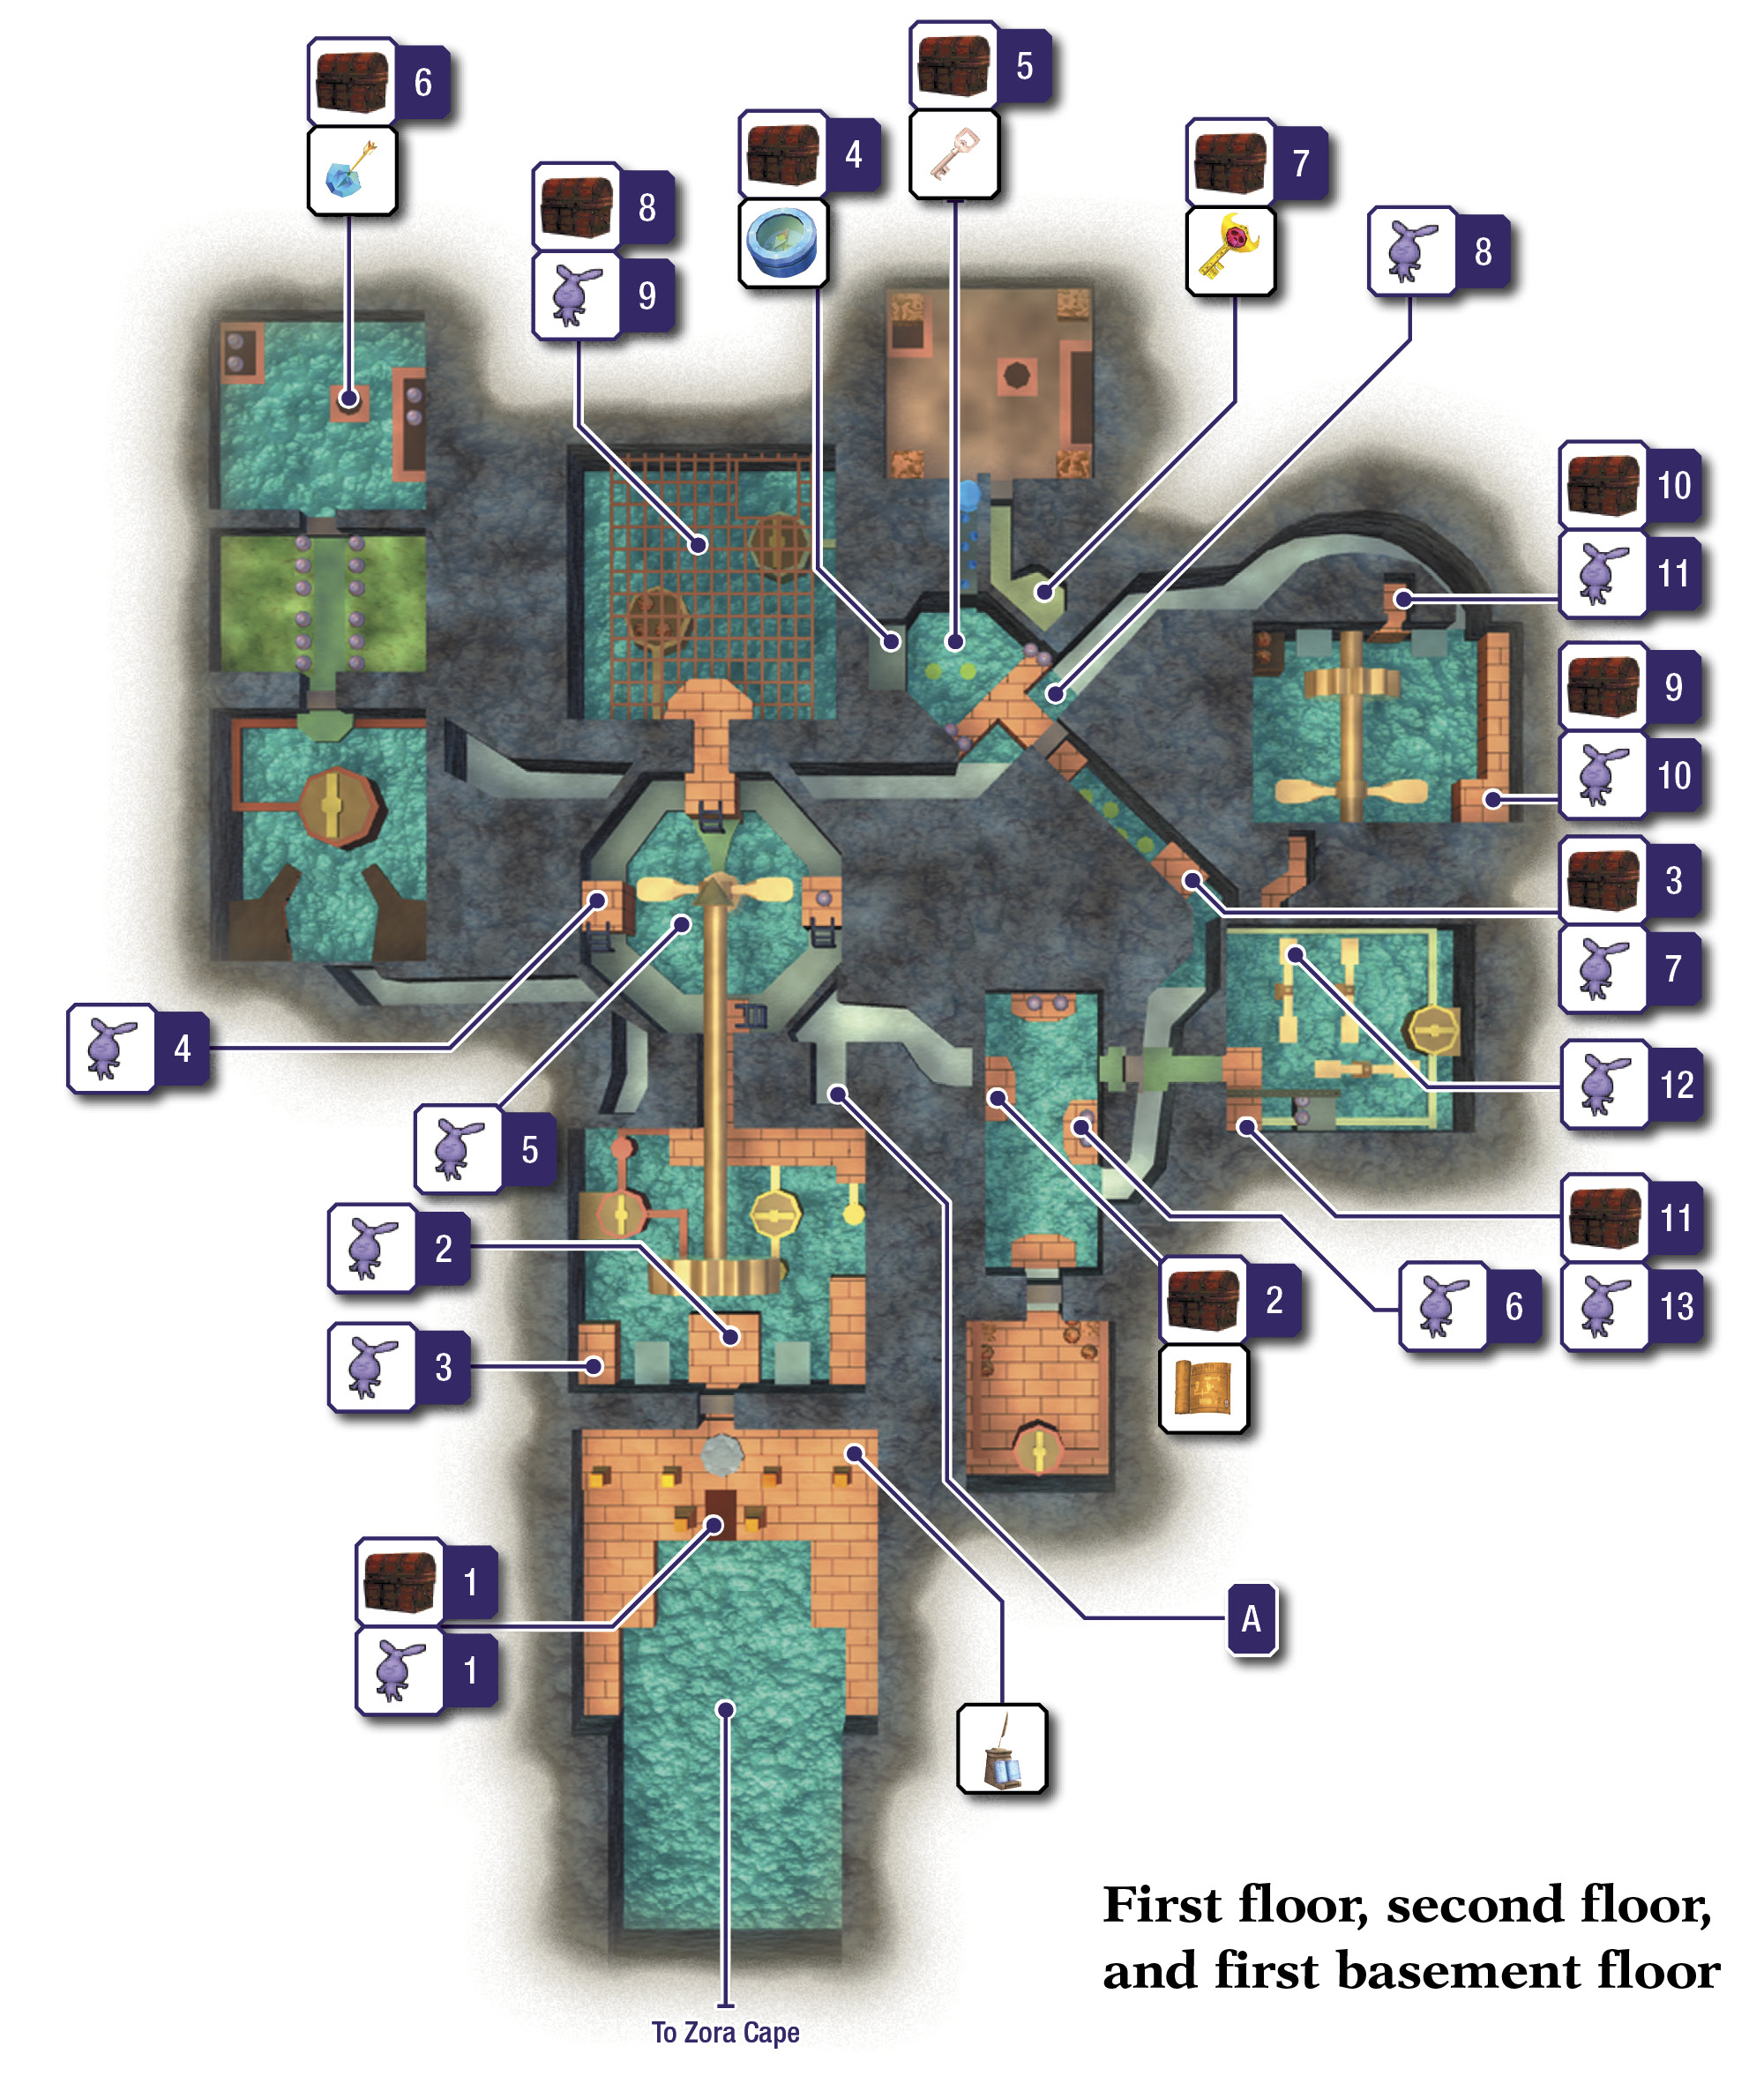
Room 1: Entrance
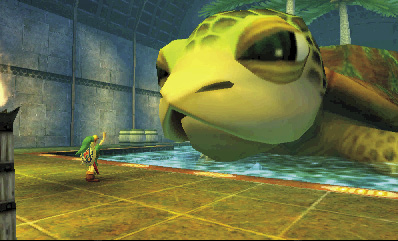
After dropping Link off in the Great Bay Temple’s entrance, the great turtle’s task is at an end. Link waves the turtle goodbye, and then sets about his mission.
The Great Bay Temple’s entrance appears to be empty, but looks can be deceiving. Put on the Bunny Hood, and light one of your Deku Sticks using the torches near the giant turtle. Then, quickly run and light the four unlit torches above the stairs to make a hidden chest appear.
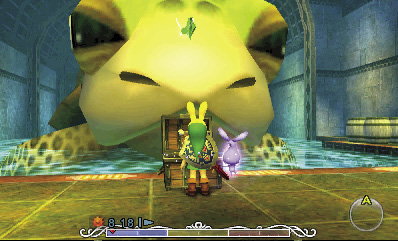
The chest contains a Stray Fairy. Looks like you’ll need to rescue more of these little fellows in this temple. Smash the barrels on either side of the giant turtle for some arrows, bombs, and a Fairy, then go through the north door to visit Room 2. (Goron Link’s punches make short work of barrels.)
Room 2: Waterwheel Room 1
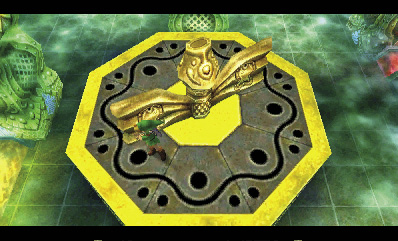
A massive waterwheel dominates the center of this room. This giant device controls the water level in the temple, so you’ll be using it very frequently.
Jump into the water, and swim to the central platform that’s directly ahead of you. The platform features a spinner that you can grab, but don’t grab it yet. Instead, turn around and spy a Stray Fairy in a bubble beneath the entry platform. Pop its bubble with an arrow or the Hookshot, then use the Great Fairy’s Mask to draw in the Stray Fairy. (You can also try to grab it by diving underwater as Zora Link.)
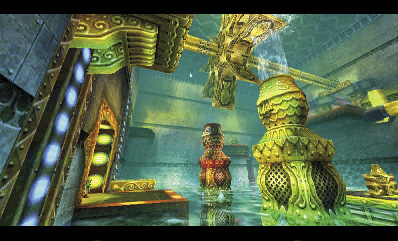
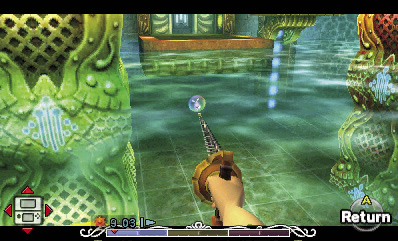
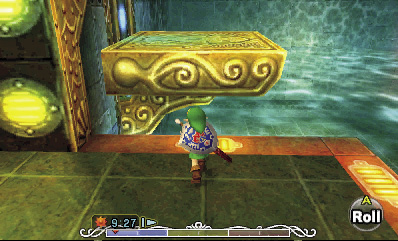
Leave the spinner platform, and swim back to the entry ledge. Climb onto the ledge and turn right (face west), then leap onto the elevator platform that’s moving up and down.
The platform lifts you up to a high ledge that’s covered with Rupees. Leap to the ledge, and immediately hold  to raise Link’s shield when you land—a Skulltula suddenly drops from the ceiling.
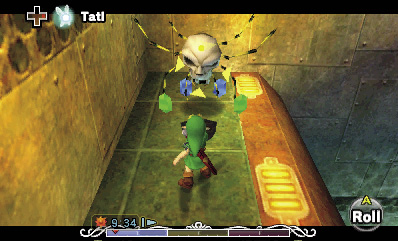
If you raised your shield in time, Link successfully blocks the Skulltula’s ambush. Slay the Skulltula after it spins around, and you’ll release a Stray Fairy. Collect the Stray Fairy and the Rupees here, as well.
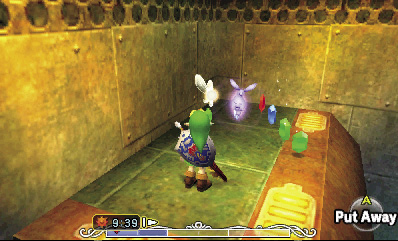
Put on the Zora Mask, and dive back into the water. Swim to an underwater platform in the room’s northeast corner. Dive and hold  to grab the underwater platform’s spinner, then push it to send water flowing to a nearby pump.
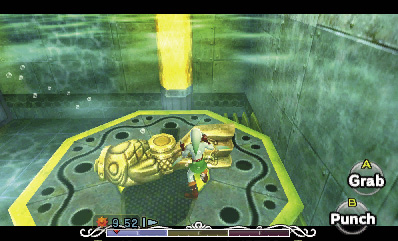
Return to the entry ledge and climb onto it. This time, turn left (face east) and leap onto the other elevator platform.
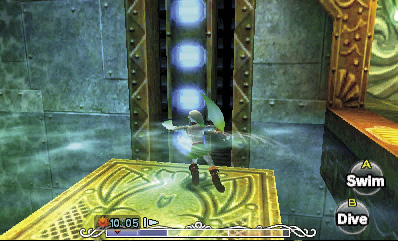
Ride the elevator platform all the way up, and then leap to the room’s high east ledge. Beware of the Skulltula that drops from the ceiling—spot its shadow, and ensure that you don’t land near it. Another Skulltula also guards this ledge. Slay both Skulltulas, then approach the edge of the ledge.
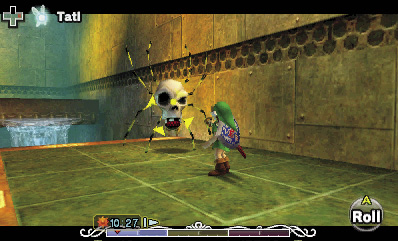
The water pump that you activated shoots up a thick geyser of water in regular intervals. Wait for the geyser to go down, then leap onto the pump. When the geyser rises again, it lifts you up like an elevator. When you’re at the height of the jet, leap to the next ledge ahead.
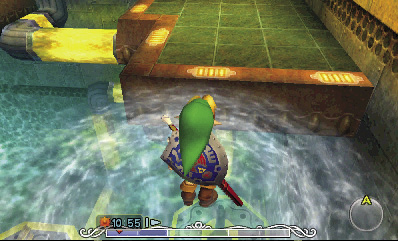
Nice work! Now, carefully make your way across a yellow pipe, heading for the north ledge. Take the north passage to reach Room 3.
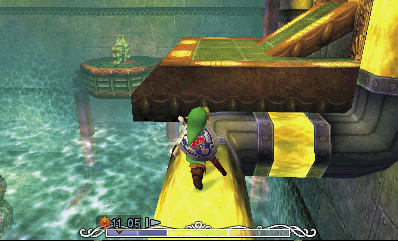
Room 3: Main Chamber
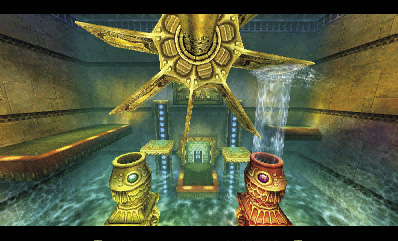
Tatl hints that the waterwheel in Room 2 must control the giant machinery in this chamber. As usual, she’s not wrong.
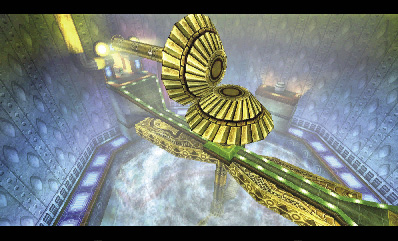
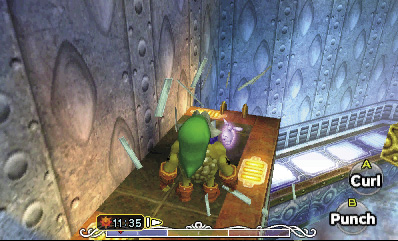
Before messing with anything, turn left (face west) and spy a barrel on a ledge with a ladder. Leap down, climb the ladder, and smash the barrel with a roll (or a punch from Goron Link) to free a Stray Fairy.
Step to the ledge’s edge next, and look down at the water. A jar lies at the very center of the chamber’s floor. Smash it with an arrow to release a Stray Fairy, then put on the Great Fairy’s Mask and wait patiently for the Stray Fairy to arrive. (You can also dive into the water and smash the jar as Zora Link if you prefer, but the current makes it tricky.)
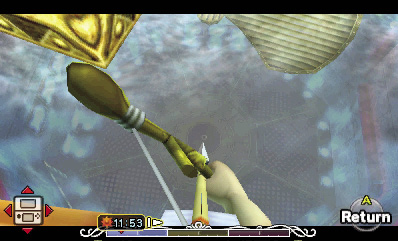
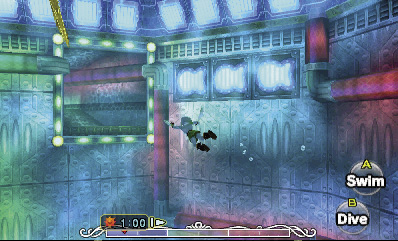
Dive into the water, and sink to the bottom of the chamber. If you weren’t able to break the jar with an arrow for Stray Fairy #5, go ahead and smash it now. Collect Stray Fairy #5, and then battle the current as you swim into a high southeast tunnel (the one with red and green pipes running into it). Once you enter the tunnel, the current whisks you away to Room 4.
Room 4: Dungeon Map Chamber
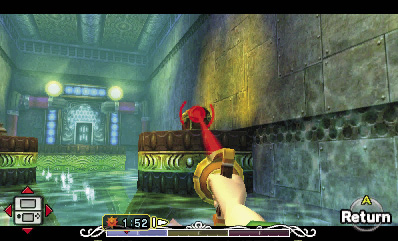
As you swim up to the surface, beware of the Skullfish that prowl this watery room. Climb onto the north ledge with the two jars, and then fire the Hookshot at the gilded chest on the higher ledge.
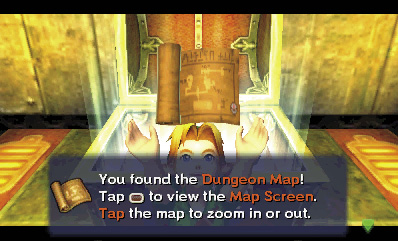
After zipping over to the chest, open it to obtain the Dungeon Map. This should make things easier.
Dungeon Map

You found the Dungeon Map! Tap the Map button to view the Map Screen. Tap the map to zoom in or out. When zoomed in, slide to check out different areas of the map. Select the floor you wish to view from the bar on the right.
With the Dungeon Map tucked away, turn around and use the Hookshot to break the jars on the ledge you couldn’t climb onto. A Stray Fairy pops out; draw it in with the Great Fairy’s Mask.
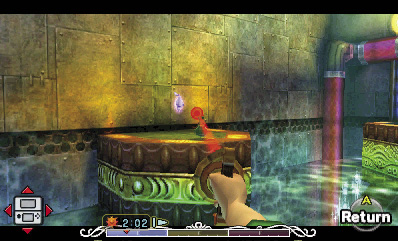
Put on the Zora Mask, and sink to the room’s bottom. Locate a tunnel that features two new enemies known as Dexihands. Before entering the tunnel, slay both Dexihands by locking on and throwing Zora Link’s fins at them (hold  and then release). Enter the tunnel afterward, and swim to Room 5.
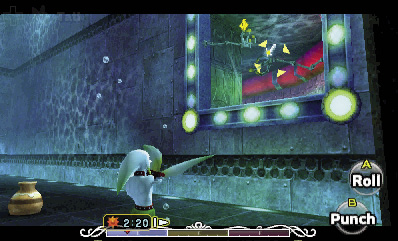
Dexihand
Damage: None
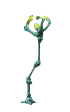
Dexihands are found underwater, usually in confined spaces such as tunnels or passages. They try to grab Link and throw him for a loop if he moves too close. Dexihands can’t actually harm Link; they’re just obstacles that you must slay in order for Link to progress. Ranged attacks are best, though Zora Link can also defeat them easily with his magic field (hold  +
+  while swimming, or hold
  +
+  while walking).
Room 5: Biohazard Tunnel
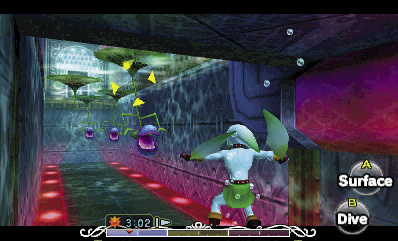
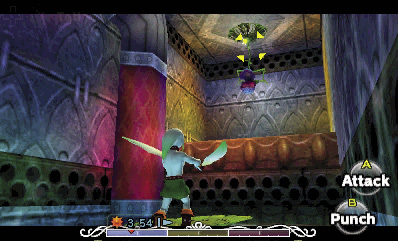
This watery passage features three Bio Deku Babas. You’ve encountered these baddies before when you obtained Piece of Heart #23. Lock on and throw Zora Link’s fins to sever them from their lily pads, then defeat them with normal attacks.
After slaying the three underwater Bio Deku Babas, surface and spot a fourth Bio Deku Baba hanging from the ceiling. Throw Zora Link’s fins to defeat it.
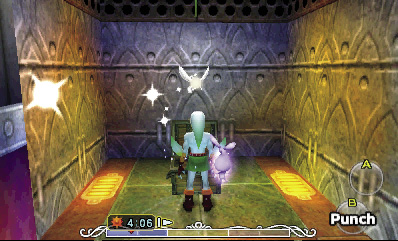
With all four Bio Deku Babas defeated, a chest appears on the southeast ledge. Open it to free another Stray Fairy, and then proceed through the northwest door to visit Room 6.
Room 6: Compass Chamber
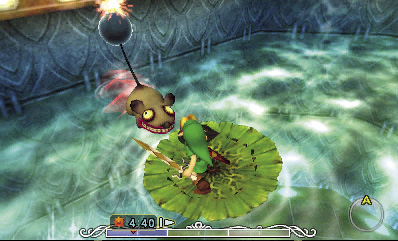
A gilded chest tempts you from across this room. Use the Hookshot (or Zora Link’s fins) to cut down the Bio Deku Babas in the center of the room, then leap across the lily pads. When you reach the second lily pad, hold  to defend as a Real Bombchu comes racing toward you.
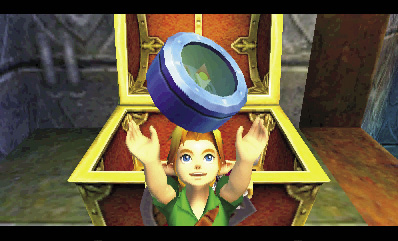
After deflecting the Real Bombchu, fire the Hookshot at the gilded chest to zip up to it. Open the chest to claim the dungeon’s Compass.
Compass

You found the Compass! Now many of the dungeon’s hidden things will appear on the map.
With the Compass in hand, put on the Zora Mask, and sink to the bottom of the room. Defeat the Bio Deku Babas and the Dexihand, then open the central chest to obtain a Small Key.
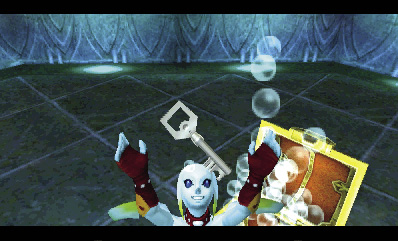
Small Key

You got a Small Key! Use it to open a locked door. You can use the key only in this dungeon.
Return to the entry ledge, and look left (face northeast). Spy a jar flanked by Dexihands in the nearby rushing water channel. Carefully break the jar with the Hookshot to free a Stray Fairy, then draw it in with the Great Fairy’s Mask. That’s already half of them! Put on the Zora Mask and hop into the flowing water channel, and you’ll be whisked back to the Main Chamber.
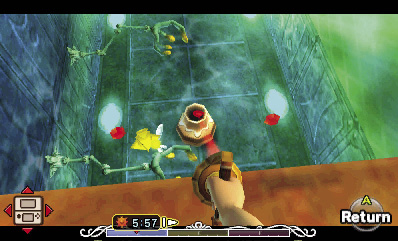
Room 3: Main Chamber (Revisited)
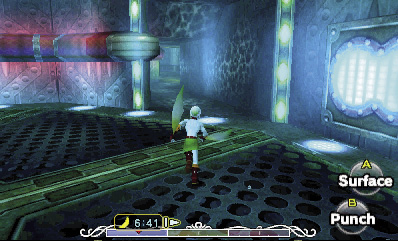
This time, dive to the bottom of the Main Chamber, and take the tunnel with the red pipe running into it to reach Room 7.
Room 7: Red Pipe Room 1
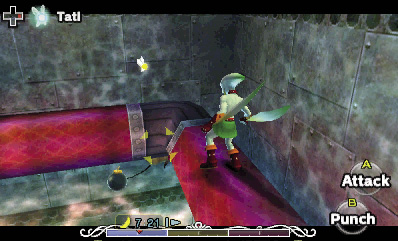
This room’s waters are filled with Shell Blades and Skullfish, and there’s an Octorok on the water’s surface. You’re not here to battle these beasts, however. Surface and climb onto the thick red pipe that runs along the east wall. As you cross, carefully avoid the Real Bombchu on the pipe.
Shell Blade
Damage: 1/2 Heart
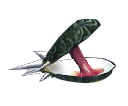
These clam-like enemies reside deep underwater and are surrounded by sharp spikes. They move with surprising speed and are totally protected by their hard, spike-covered shells. Their only weakness is the ligament that lies inside the shell, but it’s only visible when the Shell Blade’s “mouth” is open. Any attack can harm the ligament, but Zora Link’s magic field ( +
+  while swimming or
  +
+  while walking) is the easiest method.
Octorok
Damage: 1/4 Heart

A classic Legend of Zelda baddie, Octoroks live on the surface of water in Majora’s Mask and pop up to spit rocks at Link. Defeating these immobile foes couldn’t be easier; just lock on, and raise your shield to knock their rocks back at them.
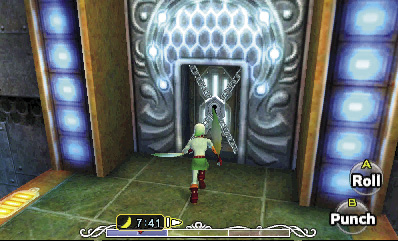
The red pipe leads to a ledge with a locked door. Open it with the Small Key you found back in Room 6, and go through the door to visit Room 8.
Room 8: Chuchu Chamber
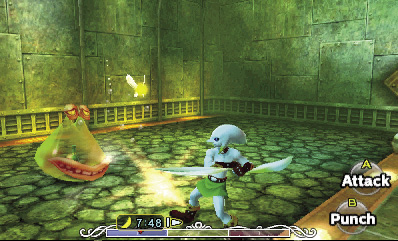
This gooey room is home to a pair of colorful Chuchus. Slay these easy enemies for items, and smash the jars here for more goodies before proceeding through the north door to enter Room 9.
Room 9: Wart’s Lair
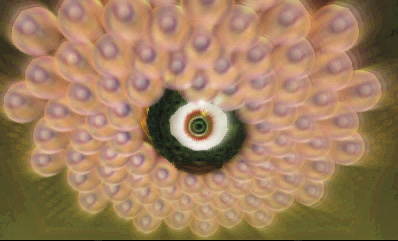
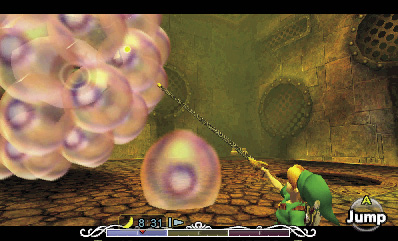
Upon entry, Link is sealed inside this sizable room. Don’t break the jars here just yet, for a devious fiend lurks nearby. Look all the way up at the ceiling to spy the monster: Wart!
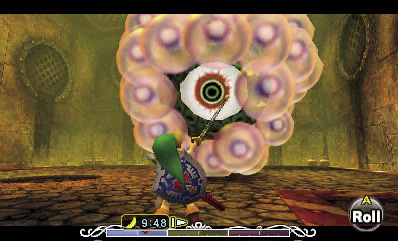
Wart is a giant eyeball that’s surrounded by about 100 smaller pink eyeballs. To damage Wart, you must strike its open eye with the Hookshot or an arrow from the Hero’s Bow. However, before attempting to harm Wart, spend time plucking the smaller pink eyes off of it with the Hookshot and slaying them with a quick swing of Link’s sword.
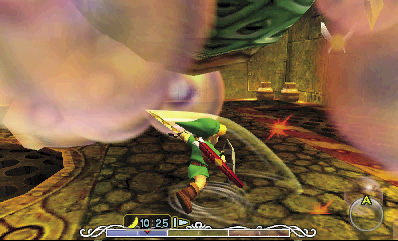
It may seem like Wart has an unlimited number of pink eyes, but this is not the case. There is a finite amount, so just keep snatching them with the Hookshot and cutting them with Link’s sword. If you lose patience, rush Wart and slice up its pink eyeballs with your sword to speed things up.
Removing Wart’s pink eyes gives you a clearer shot at the mini-boss’s main eye. Begin striking that big, ugly eye with arrows or the Hookshot. You can only damage Wart while its eye is open, so don’t waste arrows while it’s closed. Tatl targets Wart’s eye while it’s open, so just lock on, and fire the Hero’s Bow or Hookshot to score a hit.
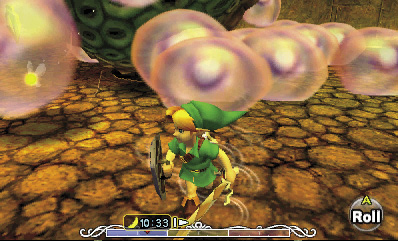
After suffering several hits, Wart slams down on the ground, shedding all of its pink eyes. The pink eyes then begin bouncing everywhere and would be very dangerous had you not slain most of them already. Wart races around the room, smashing into walls. Being hit by Wart inflicts a full Heart of damage, so roll to avoid him. Pull out the Hero’s Bow (arrows are faster than the Hookshot), and wait for Tatl to target Wart’s open eye. Fire arrows at Wart the moment that Tatl targets him, and keep it up until you finally defeat the monster.
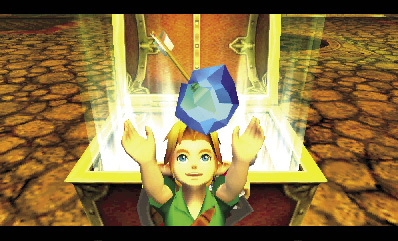
After you best Wart, a big chest appears in the room. Open it to claim a useful new item: the Ice Arrow. With the Ice Arrow at your disposal, you’ll be able to accomplish new feats in rooms you’ve already visited. Begin by backtracking out to Room 7, which features the Octoroks and the big red pipes.
Ice Arrow
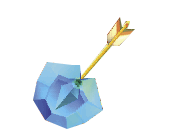
You got the Ice Arrow! Equip it to power up your arrows with magic. Now you can freeze enemies and objects. Aim wisely to turn shimmering water into icy platforms.
Room 7: Red Pipe Room 1 (Revisited)
When you return to Room 7, jump into the water and swim to the southeast ledge. Don’t defeat the nearby Octorok, but lock on, and dodge its rocks as you look to freeze it with your newfound Ice Arrows. (Wait for the Octorok to reappear if you accidentally defeat it.)
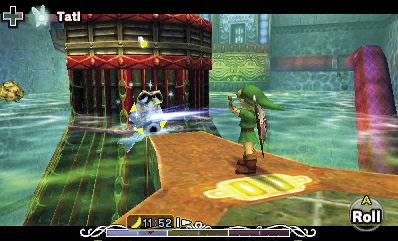
Freezing the Octorok with an Ice Arrow turns it into a big ice cube that floats on the water. Leap onto this temporary icy platform, then jump from the ice cube to reach the room’s tall central platform.
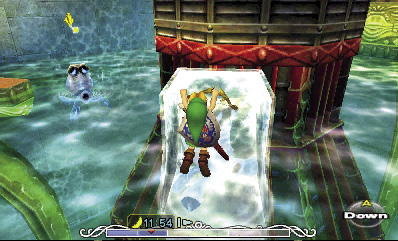
The central platform features a spinner. Hold  to grab it, and then push or pull it around. Turning the spinner causes water to flow through the room’s thick red pipes.
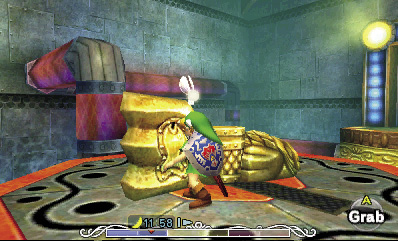
After turning the spinner, put on the Zora Mask, and then dive underwater and swim through the south tunnel to return to the Main Chamber.
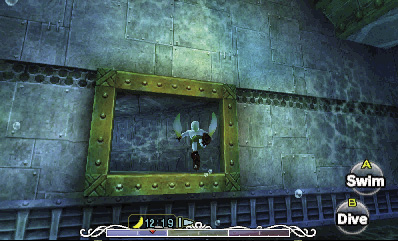
Room 3: Main Chamber (Third Visit)
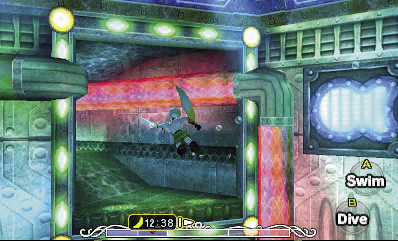
Once there, travel back through the yellow tunnel with the green and red pipes (the southeast tunnel) to return to Room 4, where you found the Dungeon Map.
Room 4: Dungeon Map Chamber (Revisited)
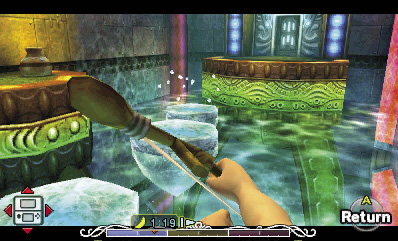
Now that you have the Ice Arrow, you can reach this room’s south door. Surface and climb onto the north ledge, then Hookshot over to the chest that contained the Dungeon Map. From the chest ledge, fire an Ice Arrow at each of the three sparkling spots on the water’s surface to create a path of ice platforms leading to the south ledge. Hop across the ice platforms before they melt, and go through the south door to visit Room 10.
Room 10: Red Pipe Room 2
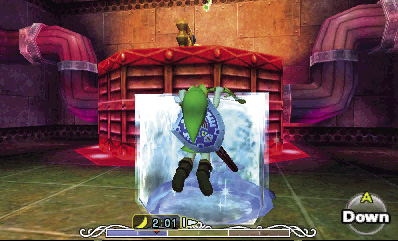
This room also features big red pipes. Roll into the crates and barrels to smash them and discover items, then lure the Chuchu over to the south pump. Lock on to the Chuchu and freeze it with an Ice Arrow, then climb onto the frozen monster and leap from it to reach the spinner atop the pump. (Grab and move the frozen Chuchu block closer to the spinner if necessary.)
Careful—a Real Bombchu roams near the spinner. Raise your shield to deflect its mad dash and defeat it, then grab the spinner and turn it to make water flow through the red pipes.
With the spinner spun, backtrack out to the previous room, and sink to the bottom. Throw Zora Link’s fins to slay the Dexihands in the east tunnel as you did before, then swim through the tunnel to return to the Bio Deku Baba tunnel. Surface there, and go through the northwest door to return to the Compass Chamber.
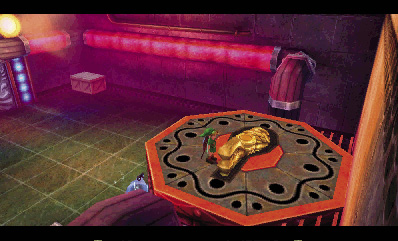
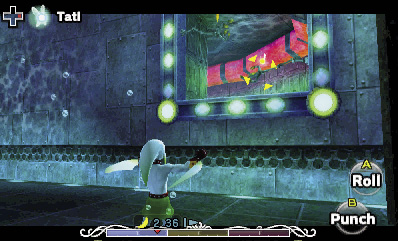
Room 6: Compass Chamber (Revisited)
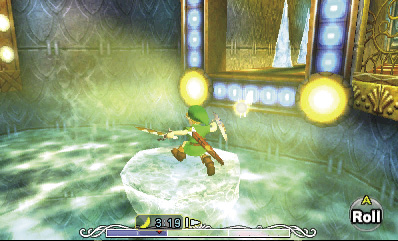
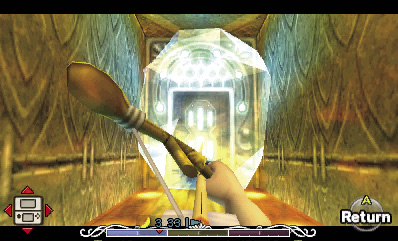
When you arrive in Room 6, use Ice Arrows to create ice platforms on the water’s surface as you did before (shoot the shimmering spots). Hop across the ice platforms to reach the north passage, which features some large icicles.
Smash through the icicles, and then use a Fire Arrow to melt the frozen door beyond them. Afterward, go through the door to enter Room 11.
Room 11: Gekko’s Den
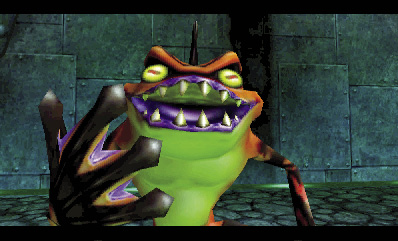
Your old pal Gekko awaits in this chamber, and he’s hopping mad over your last battle in Woodfall Temple. The Gekko has a new strategy this time, and he’s far more dangerous.
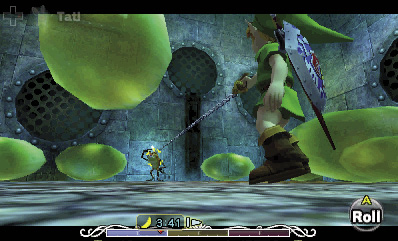
The Gekko begins the battle by summoning a number of big, jelly-like blobs called Mad Jellies to protect him. These Mad Jellies present obstacles that knock 1/4 Heart off Link’s life energy if touched. The Gekko is your target, so chase after him. Slash the Gekko with Link’s blade to send it fleeing to the ceiling. You can also use the Hookshot to bring the Gekko within striking range, or simply shoot the monster with arrows from afar.
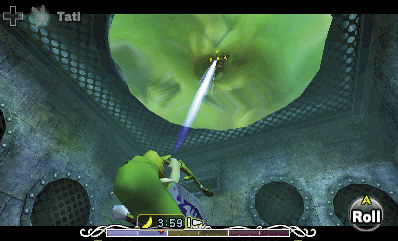
Heads up! The Mad Jellies surround the Gekko after he flees to the ceiling, covering him in a giant Mad Jelly blob. The Gekko then tries to slam down on you, inflicting significant damage if he succeeds. Roll away from the plummeting Gekko’s giant shadow, then lock on and freeze him with an Ice Arrow.
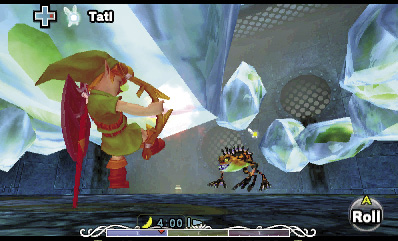
After you’ve frozen the Gekko, he’ll fall from the ceiling and smash apart. At this point, the battle begins anew: the Gekko hops away from you while his Mad Jellies try to interfere. Hookshot the Gekko and slash him again (or hit him with an arrow), then look to freeze him with another Ice Arrow after he flees to the ceiling. Repeat this until the Gekko is a goner.
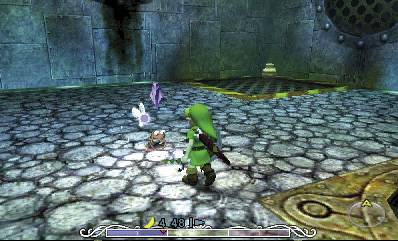
Like last time, the Gekko transforms into a small frog after you defeat him. One of the room’s south doors also unseals. Smash the crates around the room for items, then go through the unsealed door to visit an area of the Compass Chamber that you couldn’t reach before.
Room 6: Compass Chamber (Third Visit)
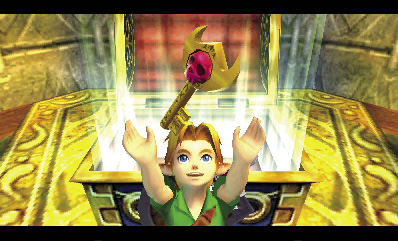
After defeating the Gekko and returning to the Compass Chamber, proceed down the passage to reach an ornate chest. Open it to claim the Boss Key.
Boss Key

You got the Boss Key! Now you can enter the chamber where the boss lurks.
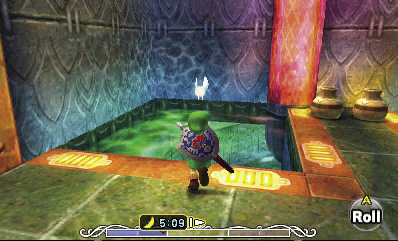
Nice find, but you still have plenty of dungeon to explore before reaching the boss battle. After claiming the Boss Key, climb through the nearby gate, and then dive into the flowing water channel near the room’s entrance to quickly return to the Main Chamber.
Room 3: Main Chamber (Fourth Visit)
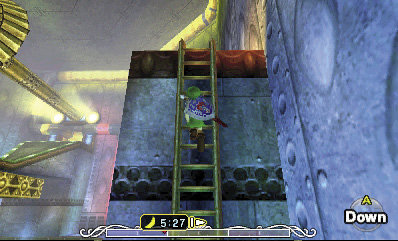
You’re done exploring the temple’s underwater tunnels for the time being. Back in the Main Chamber, surface and climb onto one of the narrow ledges that surrounds the room. Climb a ladder afterward to reach either the east or west ledge (the east ledge is a bit better, but it doesn’t really matter which one).
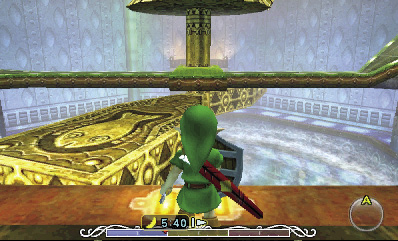
Once you reach one of the room’s high side ledges, leap onto one of the spinning blades of the room’s central machinery. Land on the blade, then ride around and climb onto the room’s central bridge.
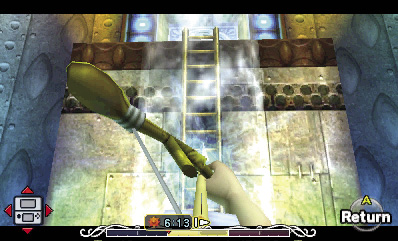
Get to the north end of the room’s central bridge, riding around the spinning blades again if necessary. Once you’re up north, use an Ice Arrow to freeze the north waterfall. This stops the water and exposes a ladder. Climb up the ladder, and proceed through the north door to visit Room 12.
Room 12: Yellow Pipe Room
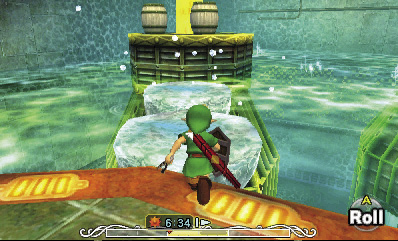
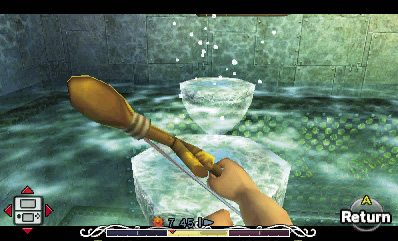
As you enter this room, slay the Blue Tektite that hops toward you, and then use Ice Arrows to create two ice platforms on the water’s surface. Hop across to the yellow platform with the barrels.
Don’t smash the barrels: a pesky Blue Tektite pops out of one of them. Instead, look up and notice an opening in the northwest corner of the ceiling. Create two more ice platforms to the north, and then leap across.
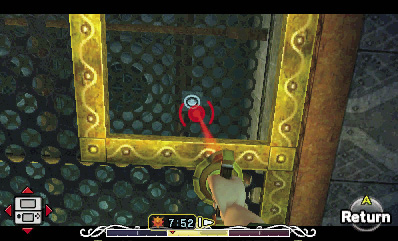
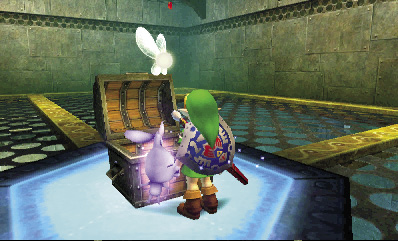
When you reach the second ice platform, turn around and aim up at the ceiling with the Hookshot. Fire the Hookshot through the opening, targeting the anchor point on the stone ceiling beyond.
Using the Hookshot on the northwest anchor point sends you zipping up to the loft. Open the chest you find up there to free a Stray Fairy. Drop down through the south opening to return to the entry ledge.
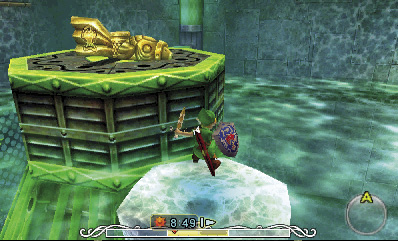
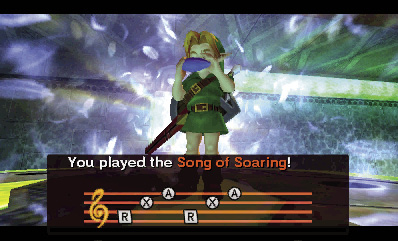
You aren’t finished here yet. Create ice platforms from the entry ledge and return to the yellow platform with the barrels, then make more ice platforms to the east and hop over to the green platform with the spinner.
Grab and turn the spinner to make water flow through the green pipes. Great work! Next, play the Song of Soaring and soar to the temple’s entrance, then go through the north door to return to the Waterwheel Room.
Room 2: Waterwheel Room 1 (Revisited)
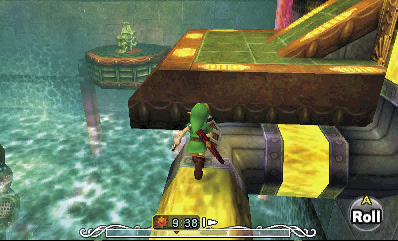
Back in the Waterwheel Room, you should see a new active water geyser in the room’s northwest corner. To reach it, you must work your way back around to the high north ledge. Use the southeast elevator platform to reach the high east ledge, then slay the two Skulltulas and leap across the water geyser as you did before to reach the northeast ledge. From there, carefully cross the yellow pipe to get to the north ledge.
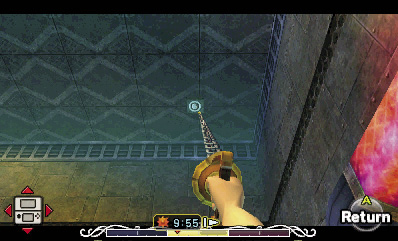
Once you’re standing on the north ledge, look up and Hookshot the anchor point on the ceiling in the northwest corner. You’ll zip up and then drop down atop the northwest water geyser.
Allow the water geyser to boost you upward, then leap over to the nearby red platform, which features a spinner. Grab and turn the spinner to fire up a red water geyser that halts the central waterwheel and keeps it from spinning.
The time has finally come to turn the spinner on the room’s central platform, which you ignored during your first exploration of this room. Drop to the water and swim to the central platform, then turn the spinner to shut off the yellow water geyser that had been causing the waterwheel to spin all this time.
With the yellow water geyser halted and the red one going full steam, the waterwheel begins turning in the opposite direction. This reverses the water flow throughout the whole temple, opening up new areas. Use the southeast elevator platform again to return to the high east ledge, then work your way around to the high north passage that leads to the Main Chamber.
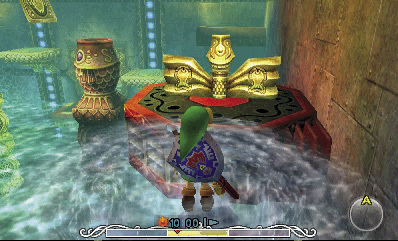
Room 3: Main Chamber (Fifth Visit)
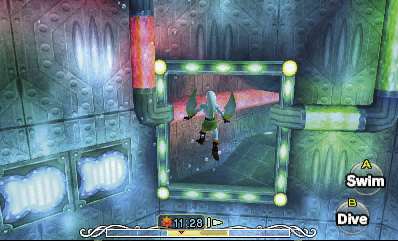
Back in the Main Chamber, the giant machinery is now churning the water in the opposite direction. Put on the Zora Mask and dive into the water, then enter the northeast tunnel with the red and green pipes running into it. You’ll be whisked down the channel that runs through the Compass Chamber, eventually ending up in a new room.
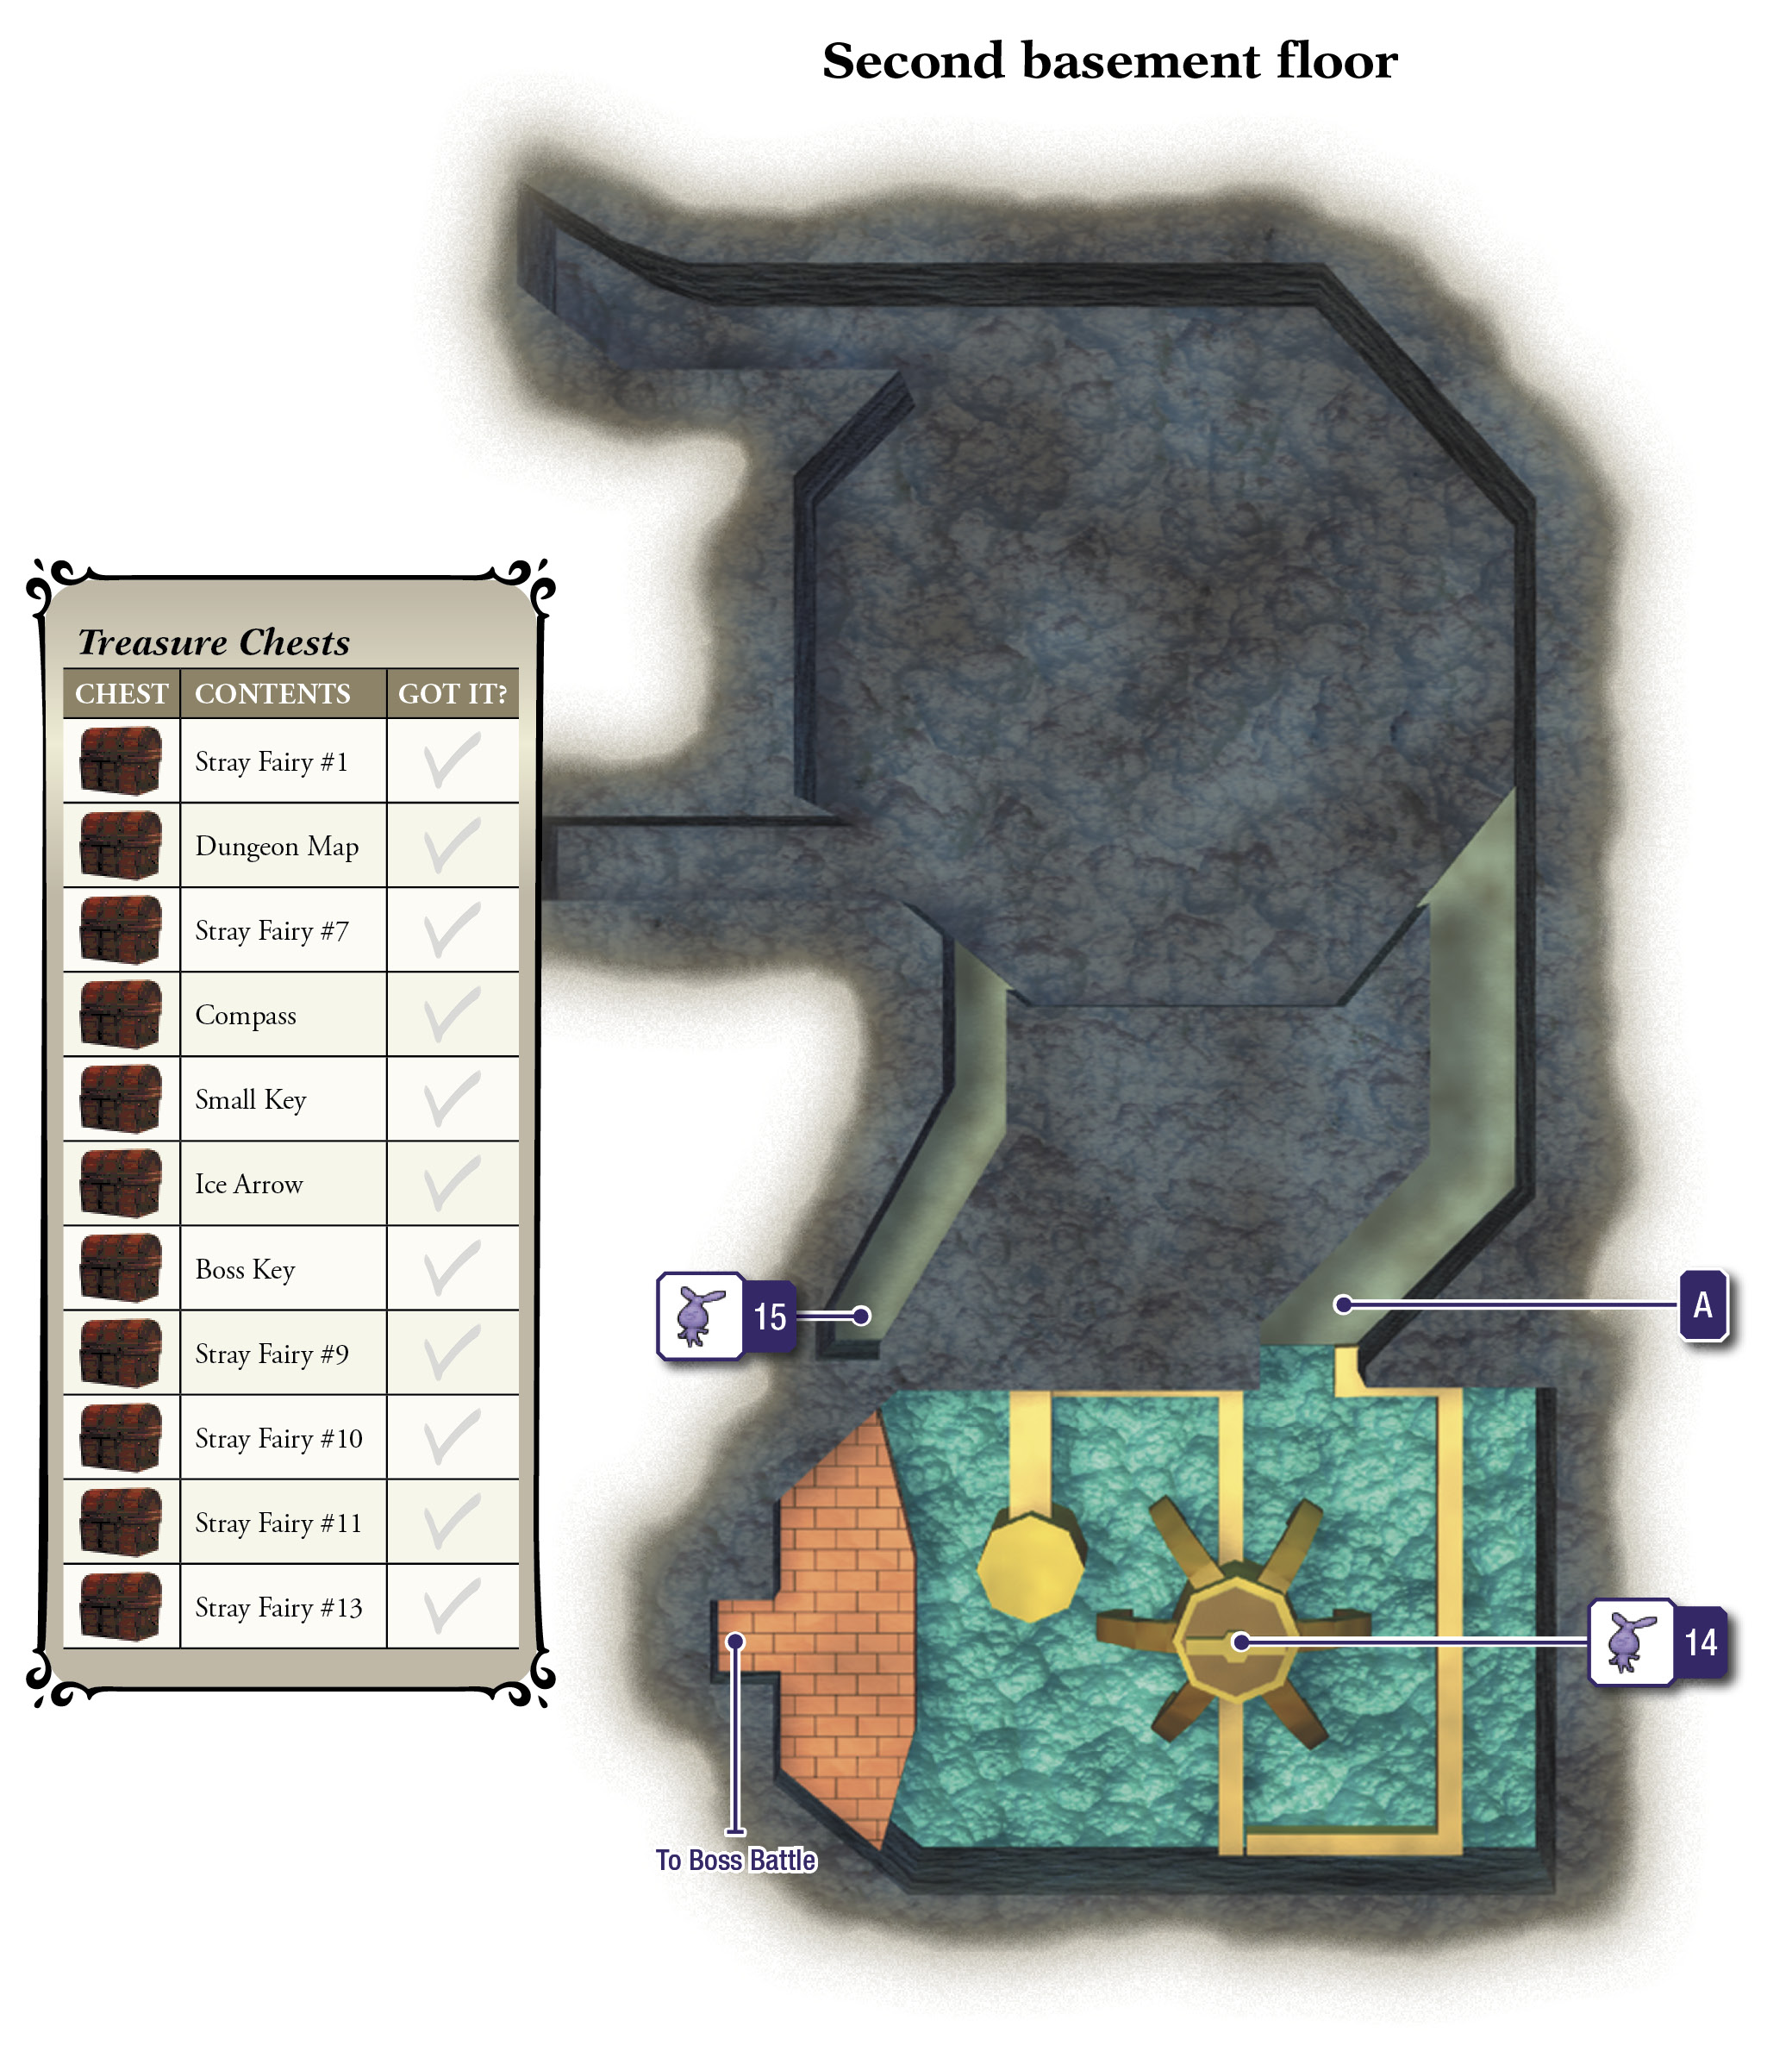
Room 13: Waterwheel Room 2
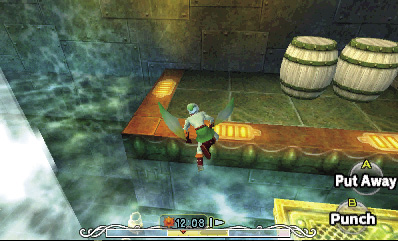
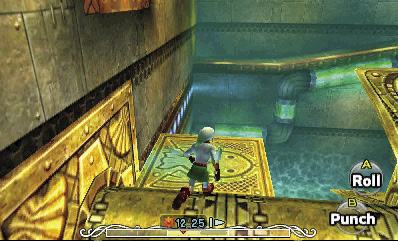
What’s this? Another waterwheel? Yes, there are two of them in this temple. As you swim to the surface, carefully avoid the underwater mines and Skullfish. Climb onto the northwest ledge, and then leap to the nearby elevator platform.
Jump from the height of the elevator platform, and land atop the waterwheel’s spinning axle. Keep your footing and avoid falling off as you wait for the next platform to approach. When the moving platform draws near, leap onto it.
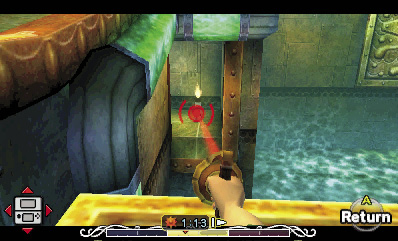
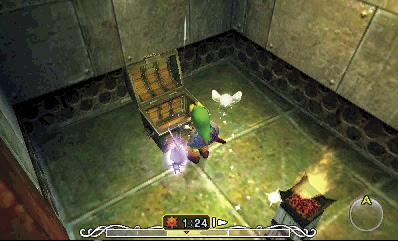
The moving platform ferries you to the room’s east ledge, but don’t climb onto the ledge just yet. Instead, remain on the moving platform, and aim your Hookshot to the south. Look for a torch in a small alcove, and Hookshot over to it.
Hey, there’s a chest in this little nook! Open it to rescue a Stray Fairy.
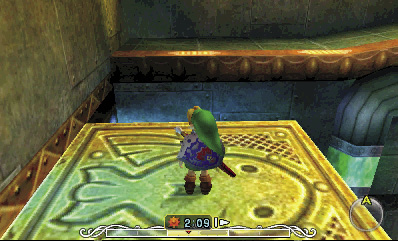
Return to the elevator platform, and leap onto the waterwheel’s spinning axle again. Jump to the moving platform once more, and this time, ride it over to the east ledge.
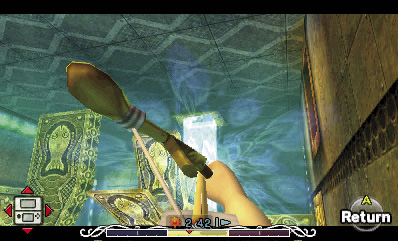
Climb onto the east ledge, and then pull out your Ice Arrows. Fire one at the far waterfall on the opposite side of the room. This freezes the waterfall, permanently halting the room’s waterwheel and letting you walk across its blades. You couldn’t have done this earlier, for the room’s platforms stop moving when the waterwheel isn’t active.
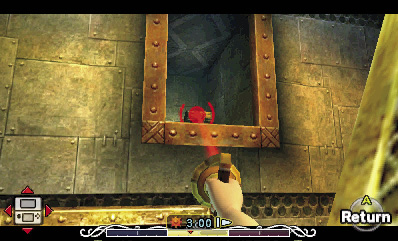
Move to the center of the waterwheel, and climb onto the wheel’s central part. Hookshot the chest in the high north alcove to zip over to it, then flip its lid to free another Stray Fairy.
Carefully drop from the north alcove’s ledge, aiming to land on the waterwheel’s stationary axle. Then, go south across the waterwheel before leaping to the room’s high southwest door. Go through to enter Room 14.
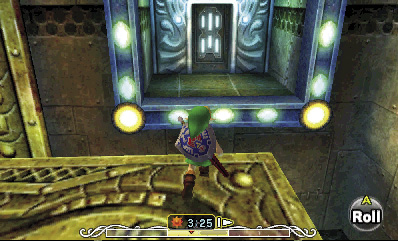
Room 14: See-Saw Room
This spacious room features a number of unique see-saw platforms. Put on the Zora Mask, drop to the bottom of the room, and then locate a watery hole near the entry ledge. Jump into the hole and sink to the bottom.
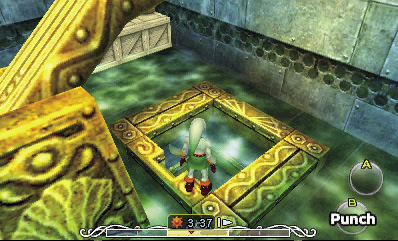
A single barrel lies in the watery nook below the hole. Use  +
+  to swim straight into the barrel at high speed and break it. The tight space makes the barrel tough to smash, but a Stray Fairy will pop out. After collecting the little fellow, return to the surface.
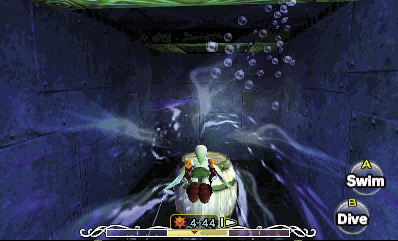
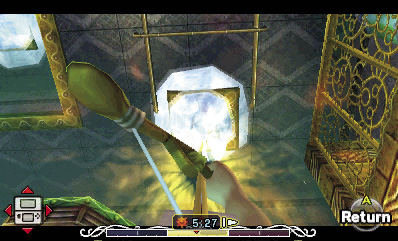
Take off the Zora Mask, and step onto the far see-saw platform (the one farthest from the entry ledge, near the room’s south end). Look up at the ceiling, and shoot a Fire Arrow at the ice above this see-saw platform.
Melting the ice starts a waterfall that flows from the ceiling. The water strikes the see-saw platform’s other end, pushing it down and elevating you within range of a higher see-saw platform. Neat!
Leap onto the higher see-saw platform, and melt the overhead ice again. You’ll be hoisted up even higher—high enough to reach the nearby green platform, which features a spinner.
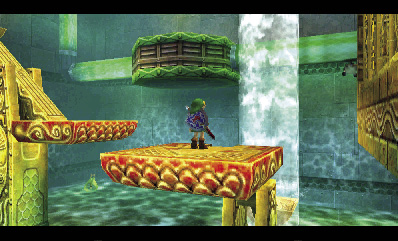
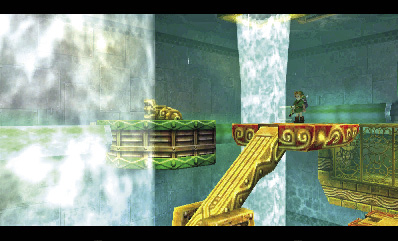
Jump to the green platform, and turn the spinner. Water begins to flow through the room’s green pipes, an important accomplishment.
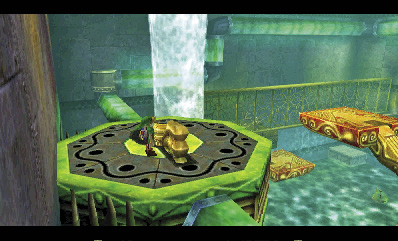
After turning the spinner, cross the nearby green pipe, carefully avoiding (or blocking and defeating) the Real Bombchu. When the pipe bends upward and you can’t travel on it any farther, drop to a lower ledge, which features two jars.
Smash the jars for items, then Hookshot the distant chest. Open the chest to free another Stray Fairy.
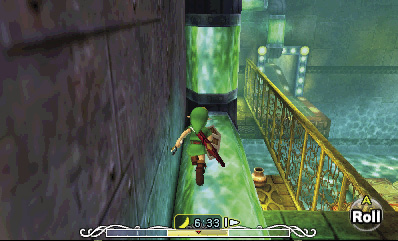
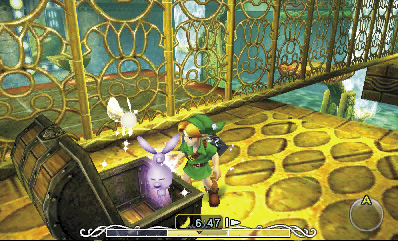
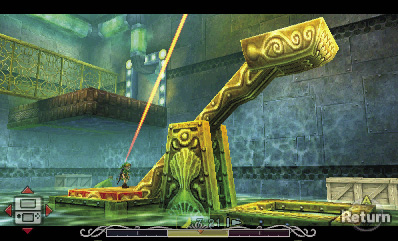
Drop to the bottom of the room, and move onto the west see-saw platform (the one near the entry ledge). Melt the overhead ice, and you’ll be hoisted high enough to reach the high southwest ledge. Jump to the ledge, and go through the west door to return to the Dungeon Map Chamber.
Room 4: Dungeon Map Chamber (Third Visit)
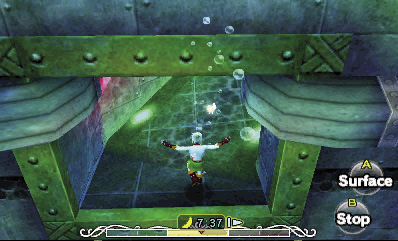
Nothing to see here. Just dive and swim through the west tunnel with the red and green pipes running into it, and you’ll find your way back to the Main Chamber.