The Legend of Zelda Majora's Mask 3D Guide Walkthrough Chapter 10: Eastern Explorations
Ancient Castle of Ikana
Let It Shine
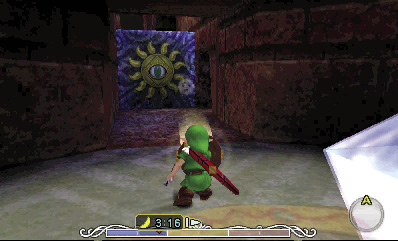
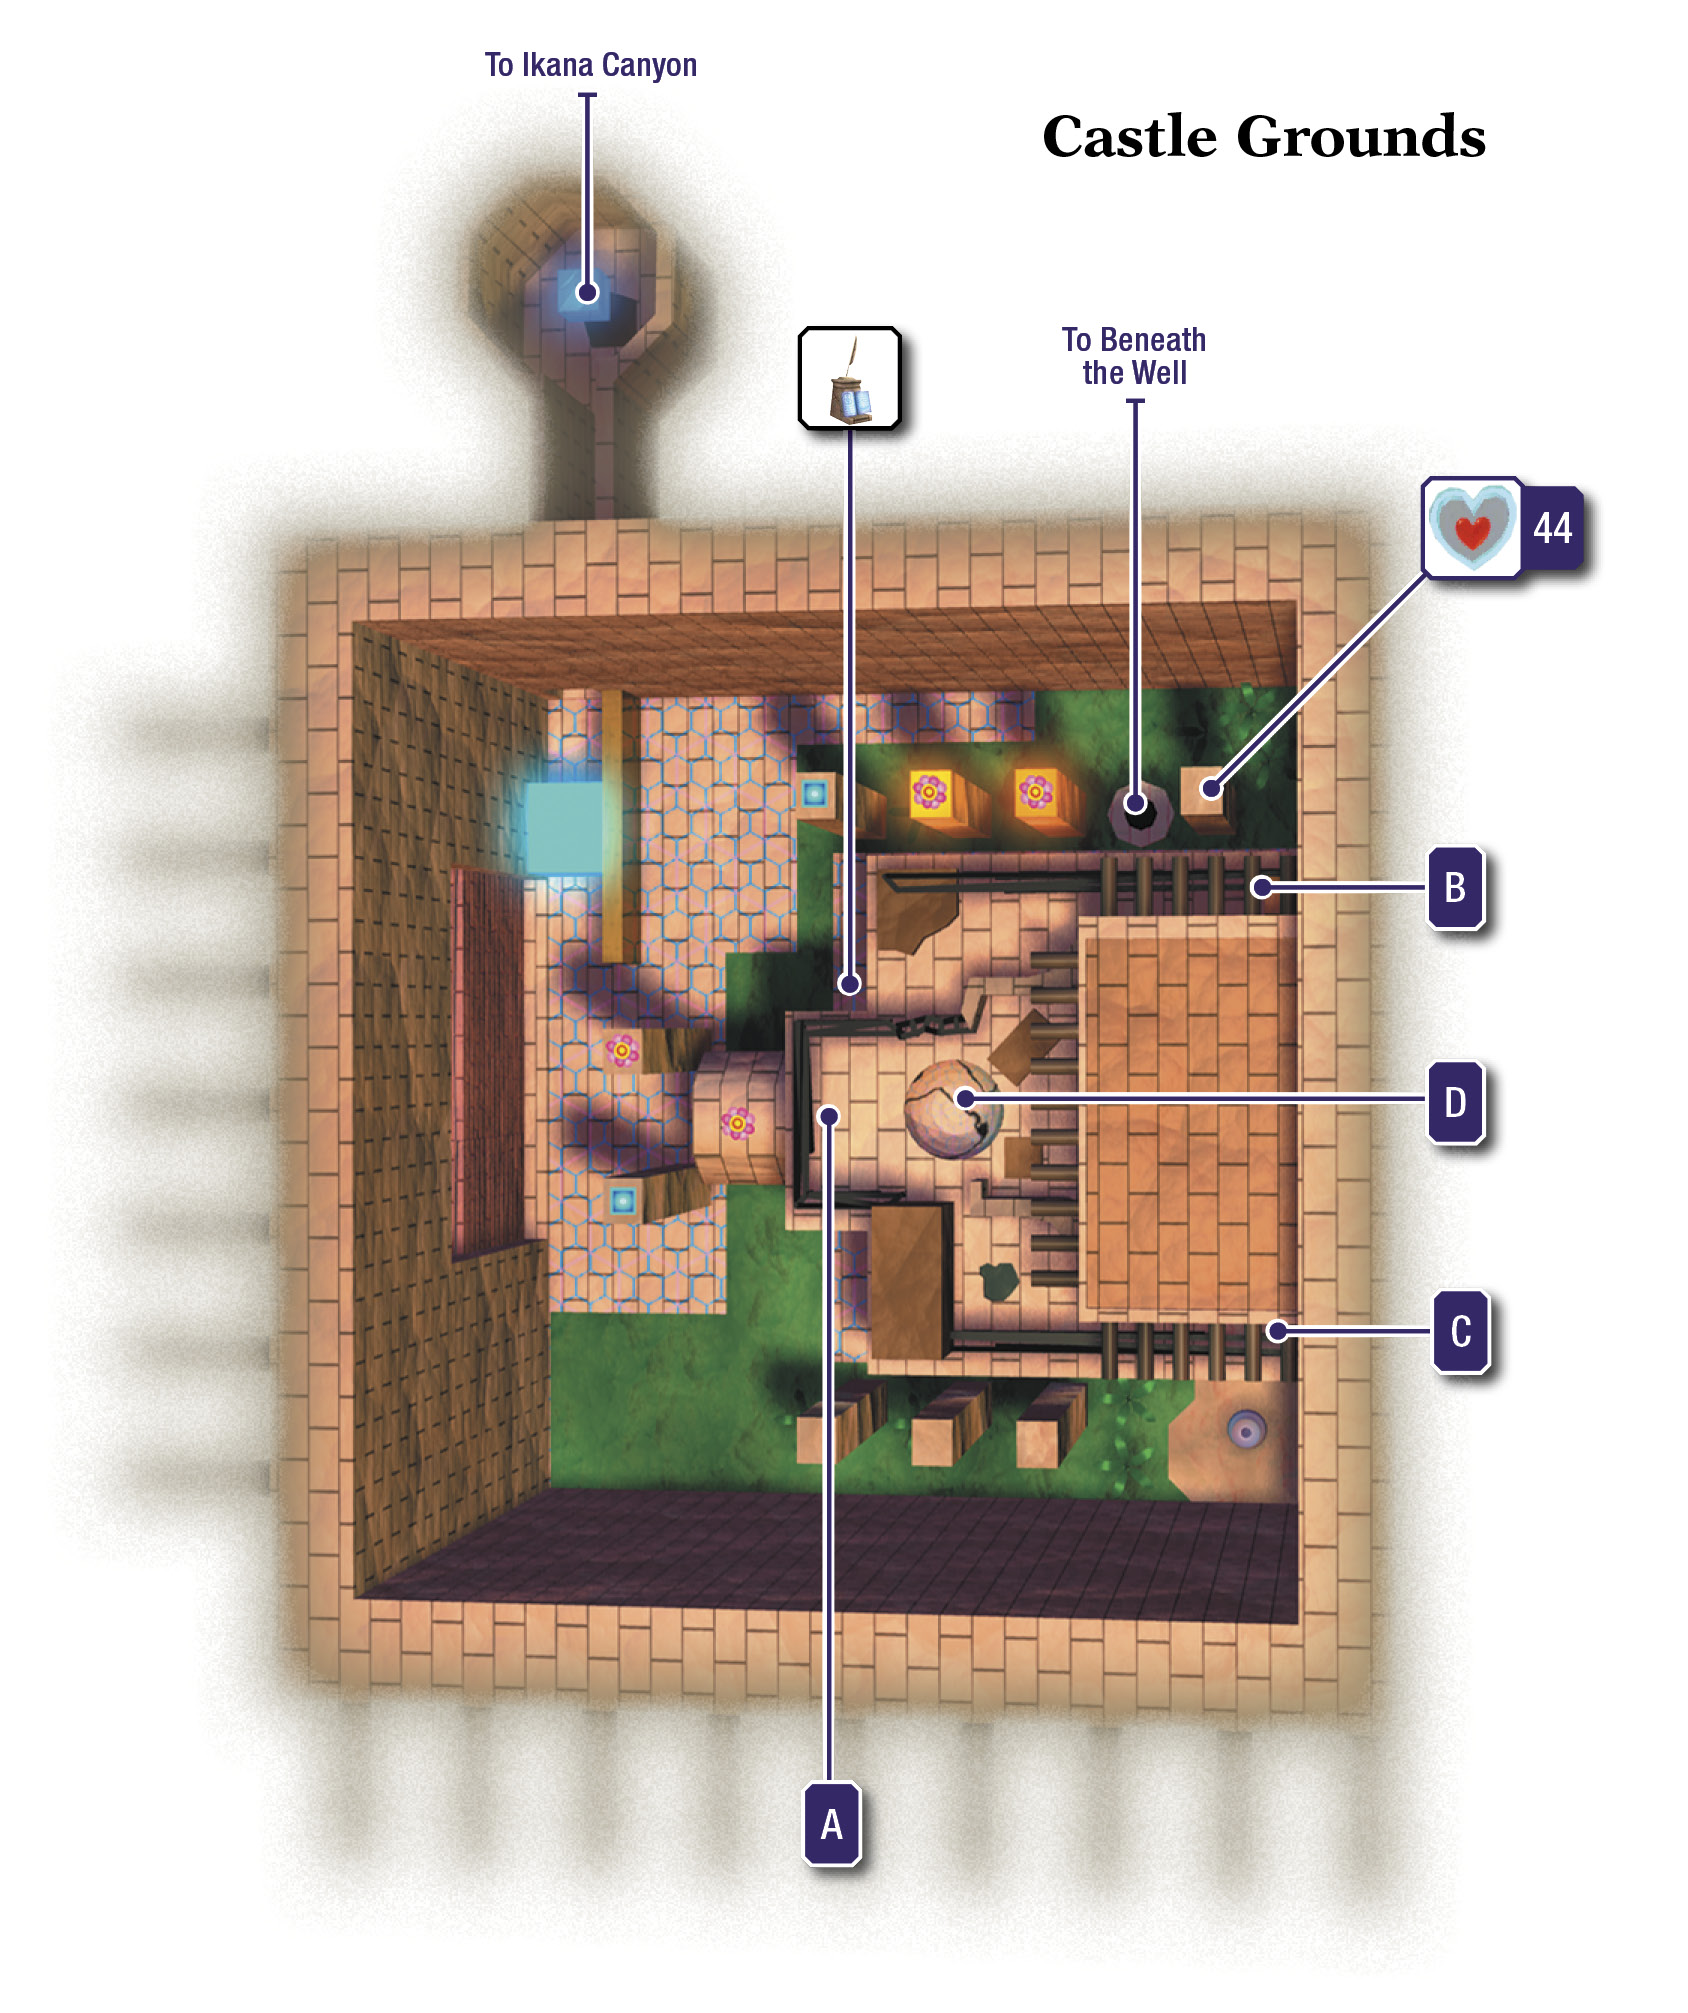
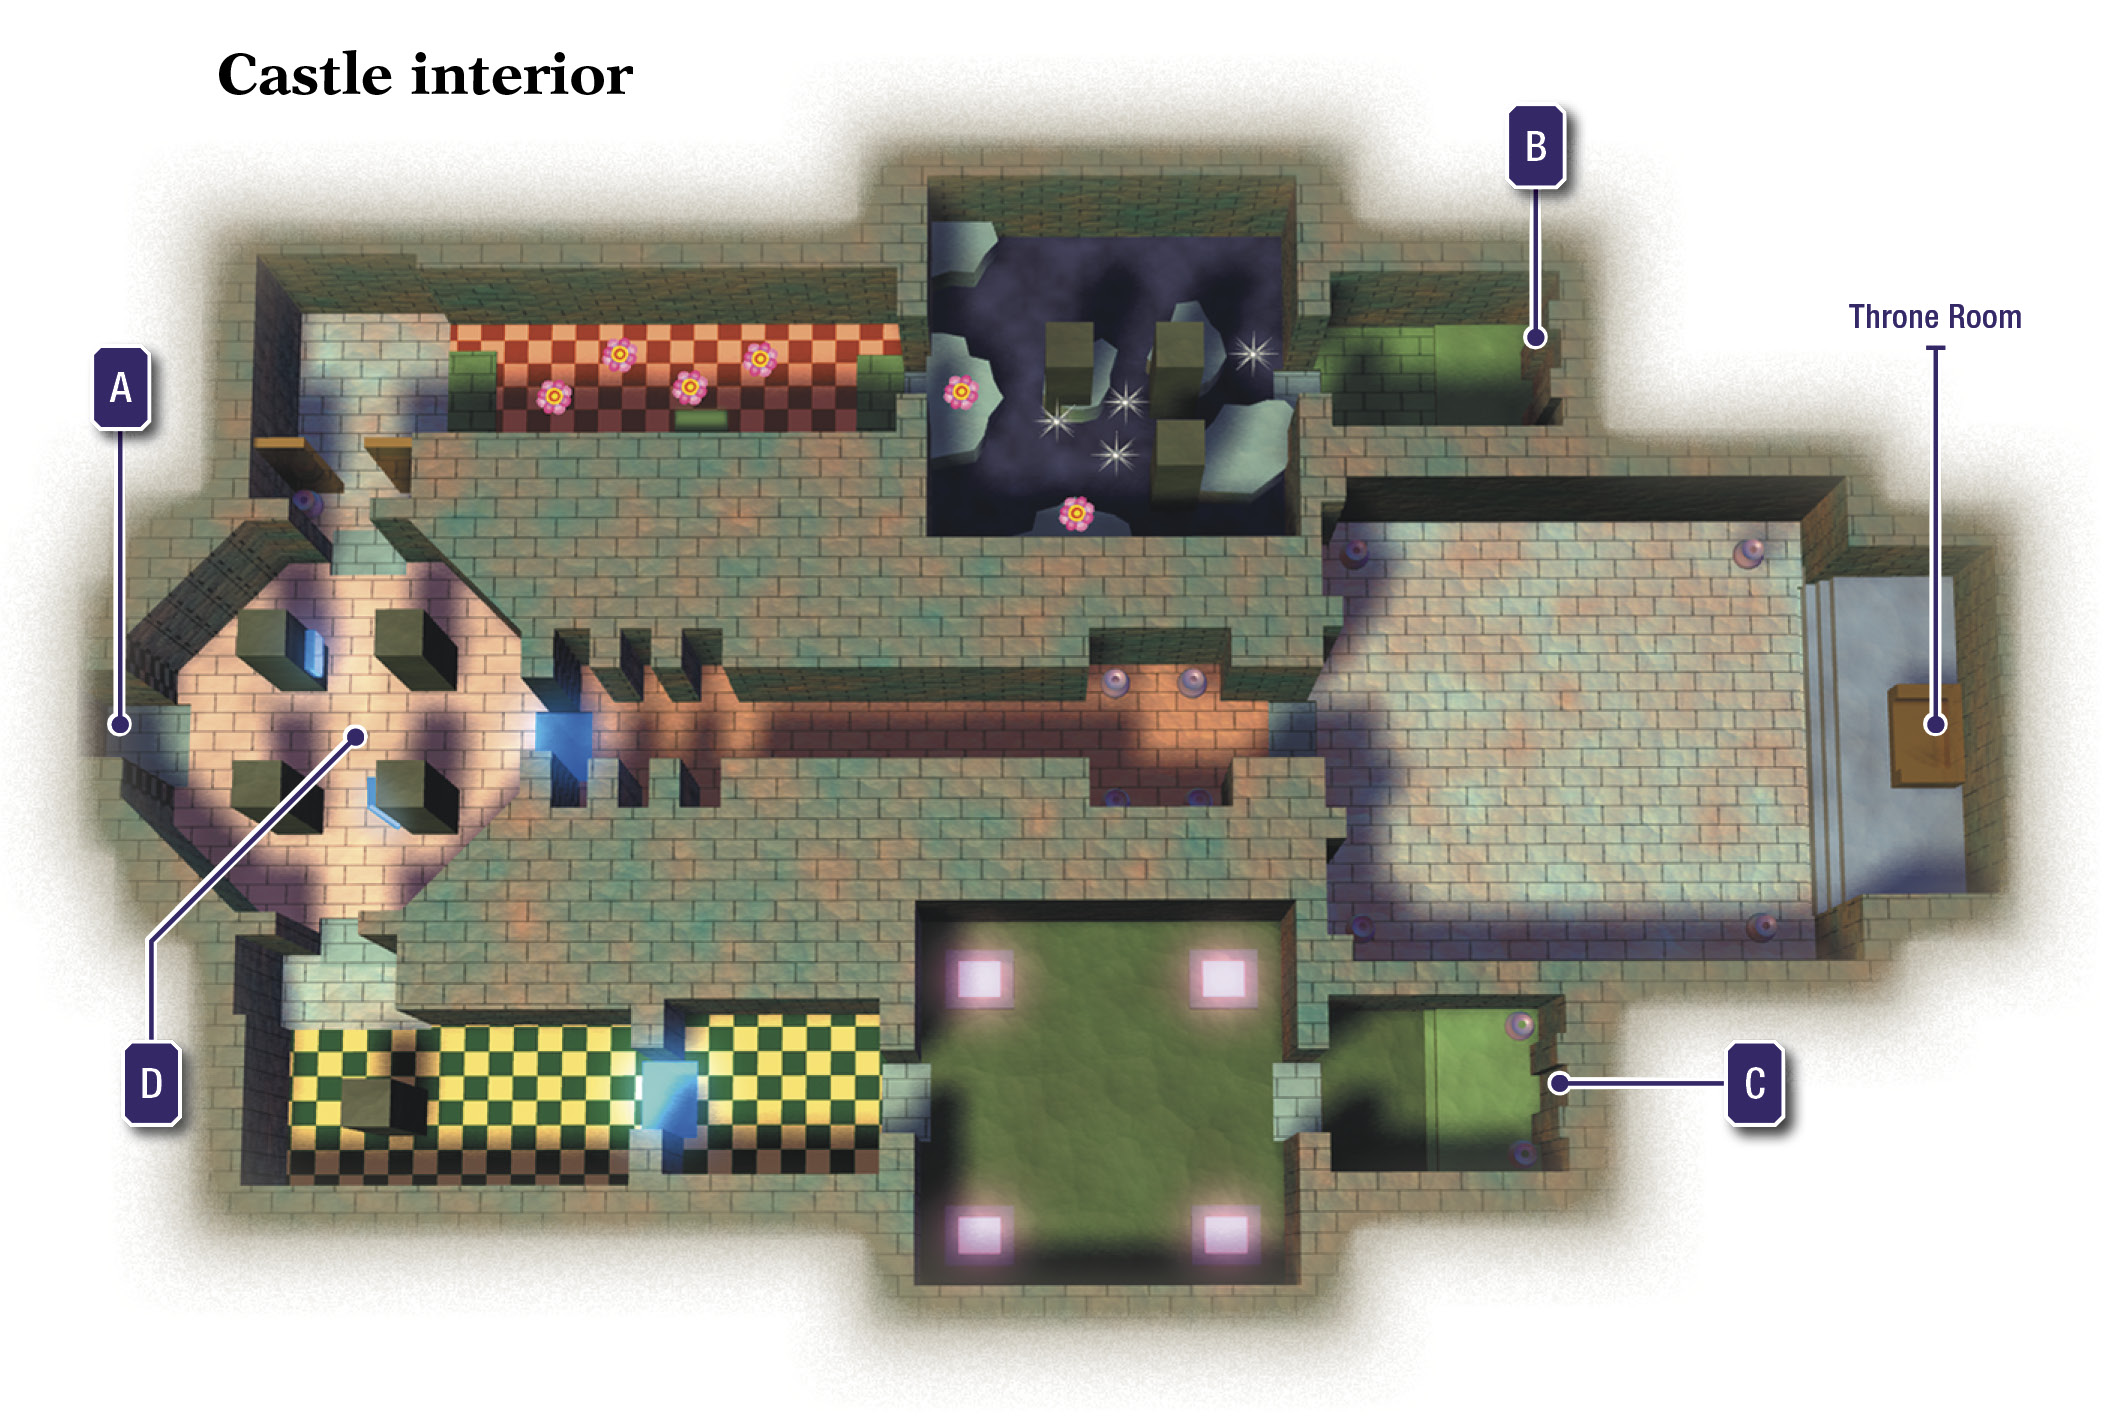
Entering Ikana Castle through the hole near the front gate brings you to a room with a crystal switch and a sun block. Hit the switch to make sunlight flood the room, then use the Mirror Shield to angle the light at the sun block. Keep shining light at the block until it vanishes, letting you progress.
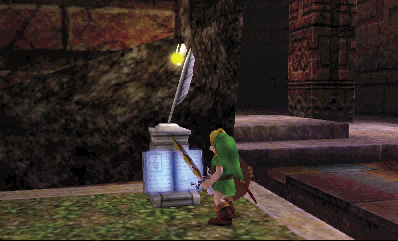
Aside from a save statue, there’s little of interest around the castle’s exterior grounds. Save your progress, and then head directly into the castle to begin your explorations of this ancient stronghold.
Hall of the ReDead
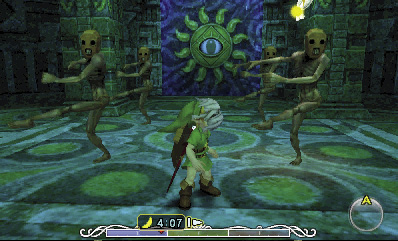
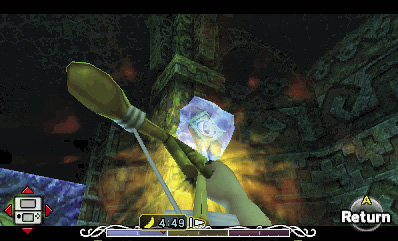
Just look at all those ReDeads! The castle’s entry hall is full of them, but you have an easy means of dealing with these creepy foes now: put on the Gibdo Mask to make the ReDeads dance. They’re harmless while dancing, so have at them with Link’s blade.
After defeating the ReDeads, use a Fire Arrow to thaw out the two frozen eye switches on the room’s pillars. This unseals the north and south doors. Go through the north door to visit the castle’s north wing.
North Hall
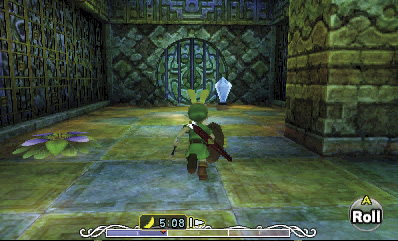
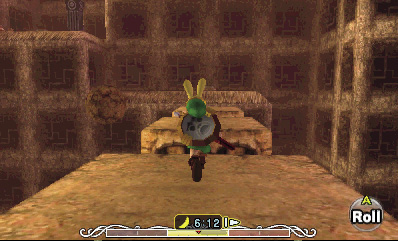
Put on the Bunny Hood, and strike the crystal switch in this hall to make the big central lava pool rise. The lava soon comes back down, so hurry down the hall and stand near the other crystal switch to the east.
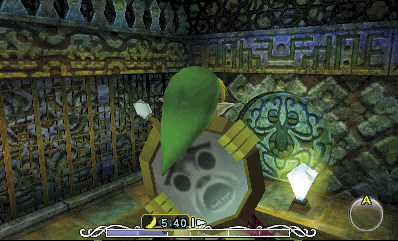
Put on the Deku Mask, and wait near the east crystal switch for the lava to come back down (you’re safe while standing near the east crystal). Spin into the east crystal to raise the platform again, then quickly launch from a Deku Flower and glide onto the nearby pillar.
There’s a floor switch atop the pillar. Take off the Deku Mask, and activate the switch with Link’s full body weight. This unseals the east door; hurry over and go through.
Floorless Room
Be careful not to fall in this room—the floor has collapsed! Look to the left (north), and spy another floor switch on a ledge. Either use the Deku Flower to glide there, or use the Lens of Truth to discover an invisible platform that you can also use to reach the switch.
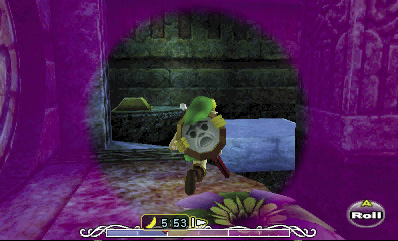
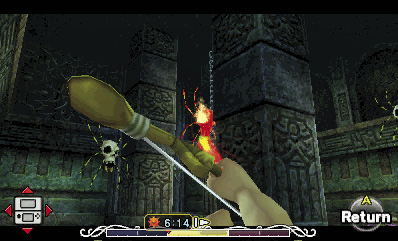
Step on the switch to unseal the east door, then pick off the overhead Skulltulas with the Hero’s Bow. Hop across the invisible platform, and if you like, use the Bunny Hood to help you make the big jumps on your way to the east door. Put on the Stone Mask before going through the door.
North Stairwell
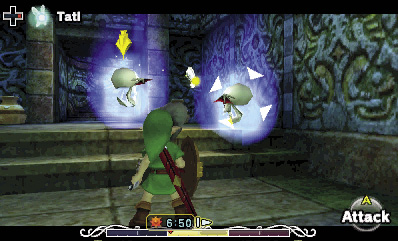
The Stone Mask ensures that the Blue Bubbles that patrol this stairwell won’t bother you. Pick them off with the Hero’s Bow, if you like, then ascend the stairs to reach the castle’s roof.
Castle Rooftop
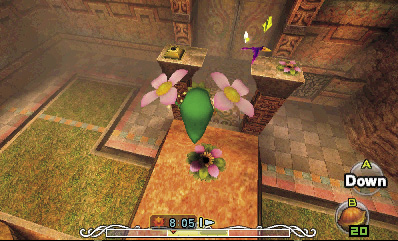
Continue wearing the Stone Mask so that the circling Guays don’t disturb you up on the roof. Climb onto the roof’s thick railing, and walk around the railing until you spot a lower ledge with a Deku Flower. Drop to this ledge, and glide to the floor switch atop the nearby pillar using the Deku Flower.
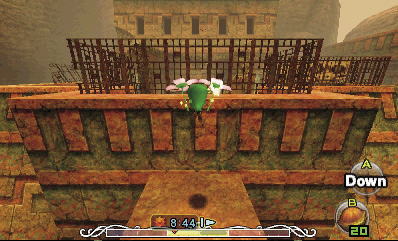
Activate the pillar’s floor switch to shift a block atop the castle’s roof. This shines light down in the room below. Afterward, put on the Bunny Hood, and leap over to the Deku Flower that’s atop the nearby pillar. Use this Deku Flower to glide back to the previous one, then use that Deku Flower to return to the top of the roof.
Backtrack along the railing, and spy a crystal switch atop a pillar to the north. Activate it with an arrow or the Hookshot to briefly quell the flames atop the other nearby pillars.
The flames return after several seconds, so you must be quick. Hit the crystal, and then leap to the nearby pillar, which features a Deku Flower. Dive into the flower, and then glide to the next pillar ahead. Use that pillar’s Deku Flower to glide all the way to a distant Piece of Heart on the high northeast ledge. If you fall, work your way back up to the roof and try again.
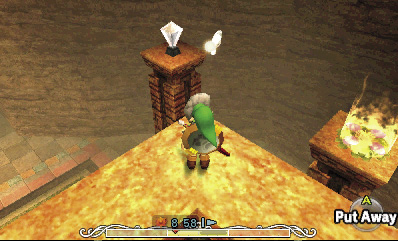
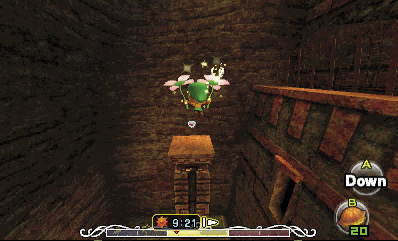
Piece of Heart #44

You got a Piece of Heart! Collect four Pieces of Heart to assemble a new Heart Container. Each new container you put together increases the amount of life energy you can have.
South Hall
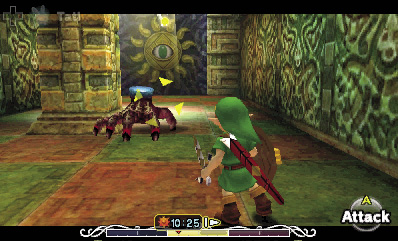
After claiming the Piece of Heart, drop from the ledge, and save your game at the save statue before reentering the castle. Use the Gibdo Mask to help you slay the ReDead, then go through the south door to visit the castle’s south wing. Beware the dangerous Floormaster that stalks the sunlit hall beyond the door.
Floormaster
Damage: 1/2 Heart
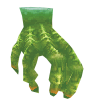
Akin to Wallmasters, Floormasters are giant hands that crawl along the floor seeking prey. They leap at Link when they see him, and they can’t be harmed when they turn green, so play defense until they return to their normal color. Damage a Floormaster to reduce it to three smaller Floormasters that try to grab Link and damage him. Mash buttons to break free of a smaller Floormaster’s grip, and chop them all down quickly with Link’s sword before they reform.
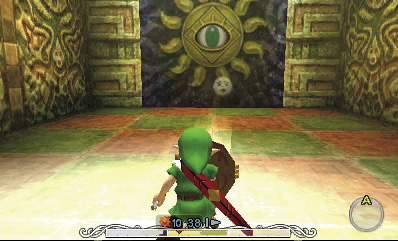
With the Floormaster destroyed, use the Mirror Shield to reflect light at the east sun block. (Sunlight only shines here if you’ve activated the floor switch atop the pillar outside, which you’ve already done.) Keep it up until the block vanishes, revealing four ReDeads. Use the Gibdo Mask to make them dance, then cut them down and proceed through the east door.
Wizzrobe Battle
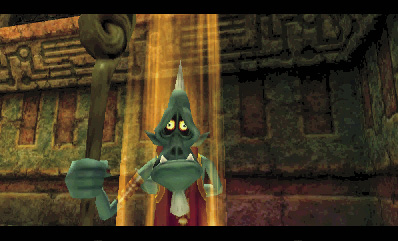
A villainous Wizzrobe awaits in this chamber, and he’s steaming mad. This Wizzrobe wields fire instead of ice, but otherwise, the battle is just the same as the ones fought in Snowhead Temple.
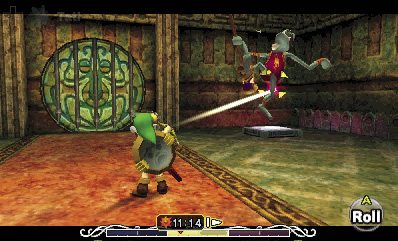
The confines of room make this an easy fight.  -Target the Wizzrobe each time he appears, and then quickly shoot him with an arrow before he has a chance to attack. Keep using Tatl to track the real Wizzrobe once he starts summoning clones, and continue shooting the fiend until you finally defeat him. Put on the Gibdo Mask afterward, and proceed through the east door.
South Stairwell
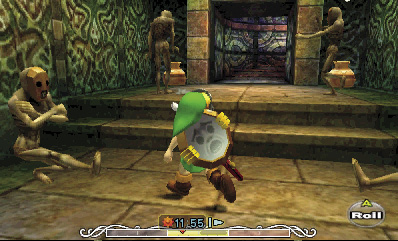
It’s a good thing you slapped on that Gibdo Mask: this stairwell is filled with ReDeads. Slay the dancing demons on your way upstairs to the roof, if you like.
Rooftop (Revisited)
Avoid falling down the small hole on this side of the roof—you’ll land back near the Floormaster. Instead, look around for a nearby cracked section of the roof, which Tatl takes note of. A bomb isn’t big enough to blast the roof, so put on the Goron Mask, and place your Powder Keg here instead.
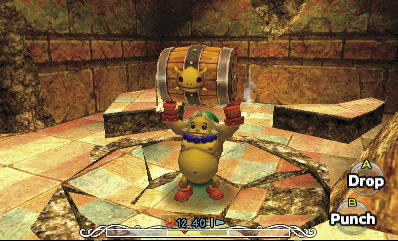
Don the Gibdo Mask, and then drop through the hole. You land back inside the castle’s entry hall, directly amid all of those ReDead. Chop them down, if you like, and then use the Mirror Shield to reflect the light that now shines into the hall at the east sun block. After the sun block vanishes, proceed through the east passage to reach the throne room.
Throne Room
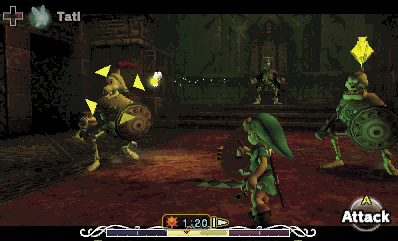
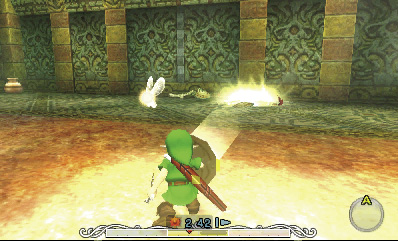
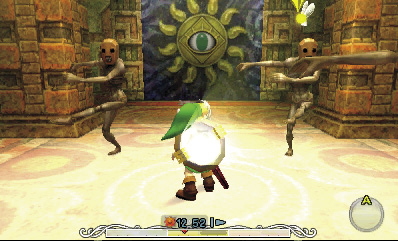
The long-dead King of Ikana awaits you in the throne room, but he isn’t feeling very friendly. In fact, he lowers curtains to cover the room’s windows and plunge the place in darkness. Then, he sends two hulking guards to thrash you.
The guards don’t inflict much damage, and you can block their attacks with  . Hit them a few times with Link’s blade afterward to make them crumble, but what’s this? The guards soon stand back up and resume their attack!
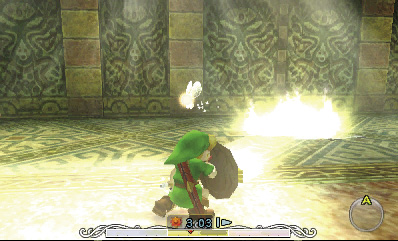
To truly defeat the guards, you must reflect light at them while they’re down. To do this, you must use Fire Arrows to burn away the curtains that are covering the south windows. You don’t need to burn away both curtains, but it helps.
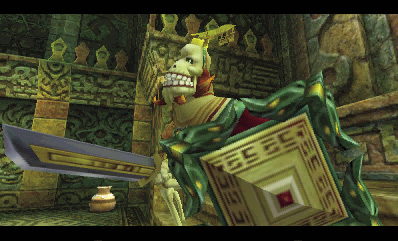
Once sunlight floods the throne room, work at knocking down the guards again. Then, quickly move into a patch of sunlight, and use your Mirror Shield to reflect light at the downed guards. Keep it up until the strength of the sun has slain both guards.
Dethroning the King
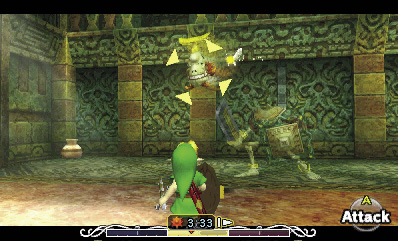
After the guards have been stomped, the King of Ikana himself takes to the battle. Now you’re in for a fight!
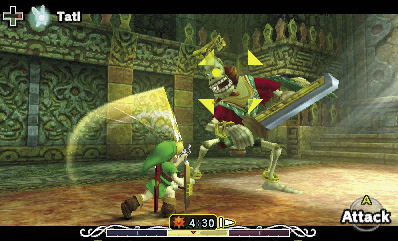
The King is far more dangerous than his lowly guards and possesses far more powerful attacks. Mostly, he tosses his head at you while his shadowy body stalks you. It’s best to avoid the King during this attack.
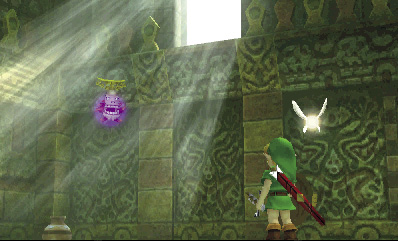
The King is also better at blocking your attacks with his shield, which makes him tougher to take down. Strike hard when he becomes whole and solid, interrupting his sword strikes. Keep it up until you collapse the King, then shine sunlight on him with your Mirror Shield, just as you did with the Stalfoses.
Royal Request
Defeating the King sends the two slain guards into a furious argument. The King suddenly realizes that his people’s own pettiness has brought them to this lowly state. He informs you that the trouble in Ikana all started after the doors of Stone Tower were opened. To return true light to Ikana, you must seal the doors of Stone Tower, through which the winds of darkness blow.
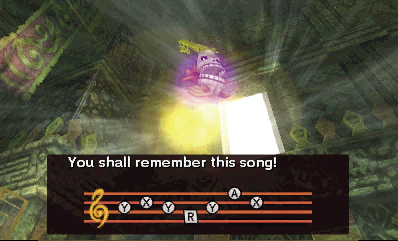
Sadly, the King recounts that hundreds of his soldiers could not topple the Stone Tower. He can’t let Link go alone. He grants the young hero a soldier who has no heart, one who will not falter in the darkness. The King then teaches Link a special song. Play the notes to learn the Elegy of Emptiness.
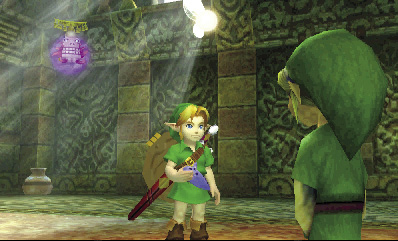
Playing the Elegy of Emptiness creates a “shell” of Link, a twin image who has no heart. By playing this song in Link’s different forms, you can create up to four “shells” of Link: one for human Link, one for Deku Link, and so on. This power is sure to come in handy.
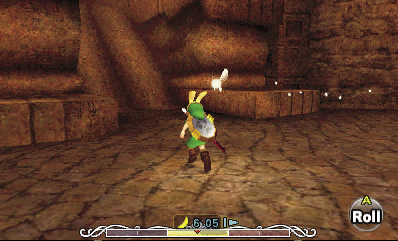
To Stone Tower!
Now that you’ve learned the Elegy of Emptiness, you’re ready to tackle the Stone Tower. Play the Song of Soaring and soar to Ikana Canyon, then head north up the slope. Make your way up to the cave where you confronted Sharp, and then proceed east to reach the sloping entrance to the Stone Tower.