
The Legend of Zelda Majora's Mask 3D Guide Walkthrough Chapter 8: Hookshot Heroics
Oceanside Spider House
Entry Room
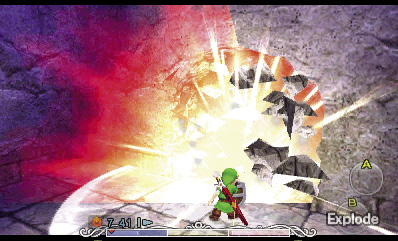
This unmarked building is known as the Oceanside Spider House, and its first room is completely empty. Use a bomb or the Blast Mask to blast through the cracked wall, remembering to raise your shield for safety.
Gold Skulltulas #1 and #2
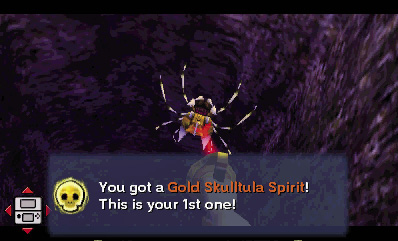
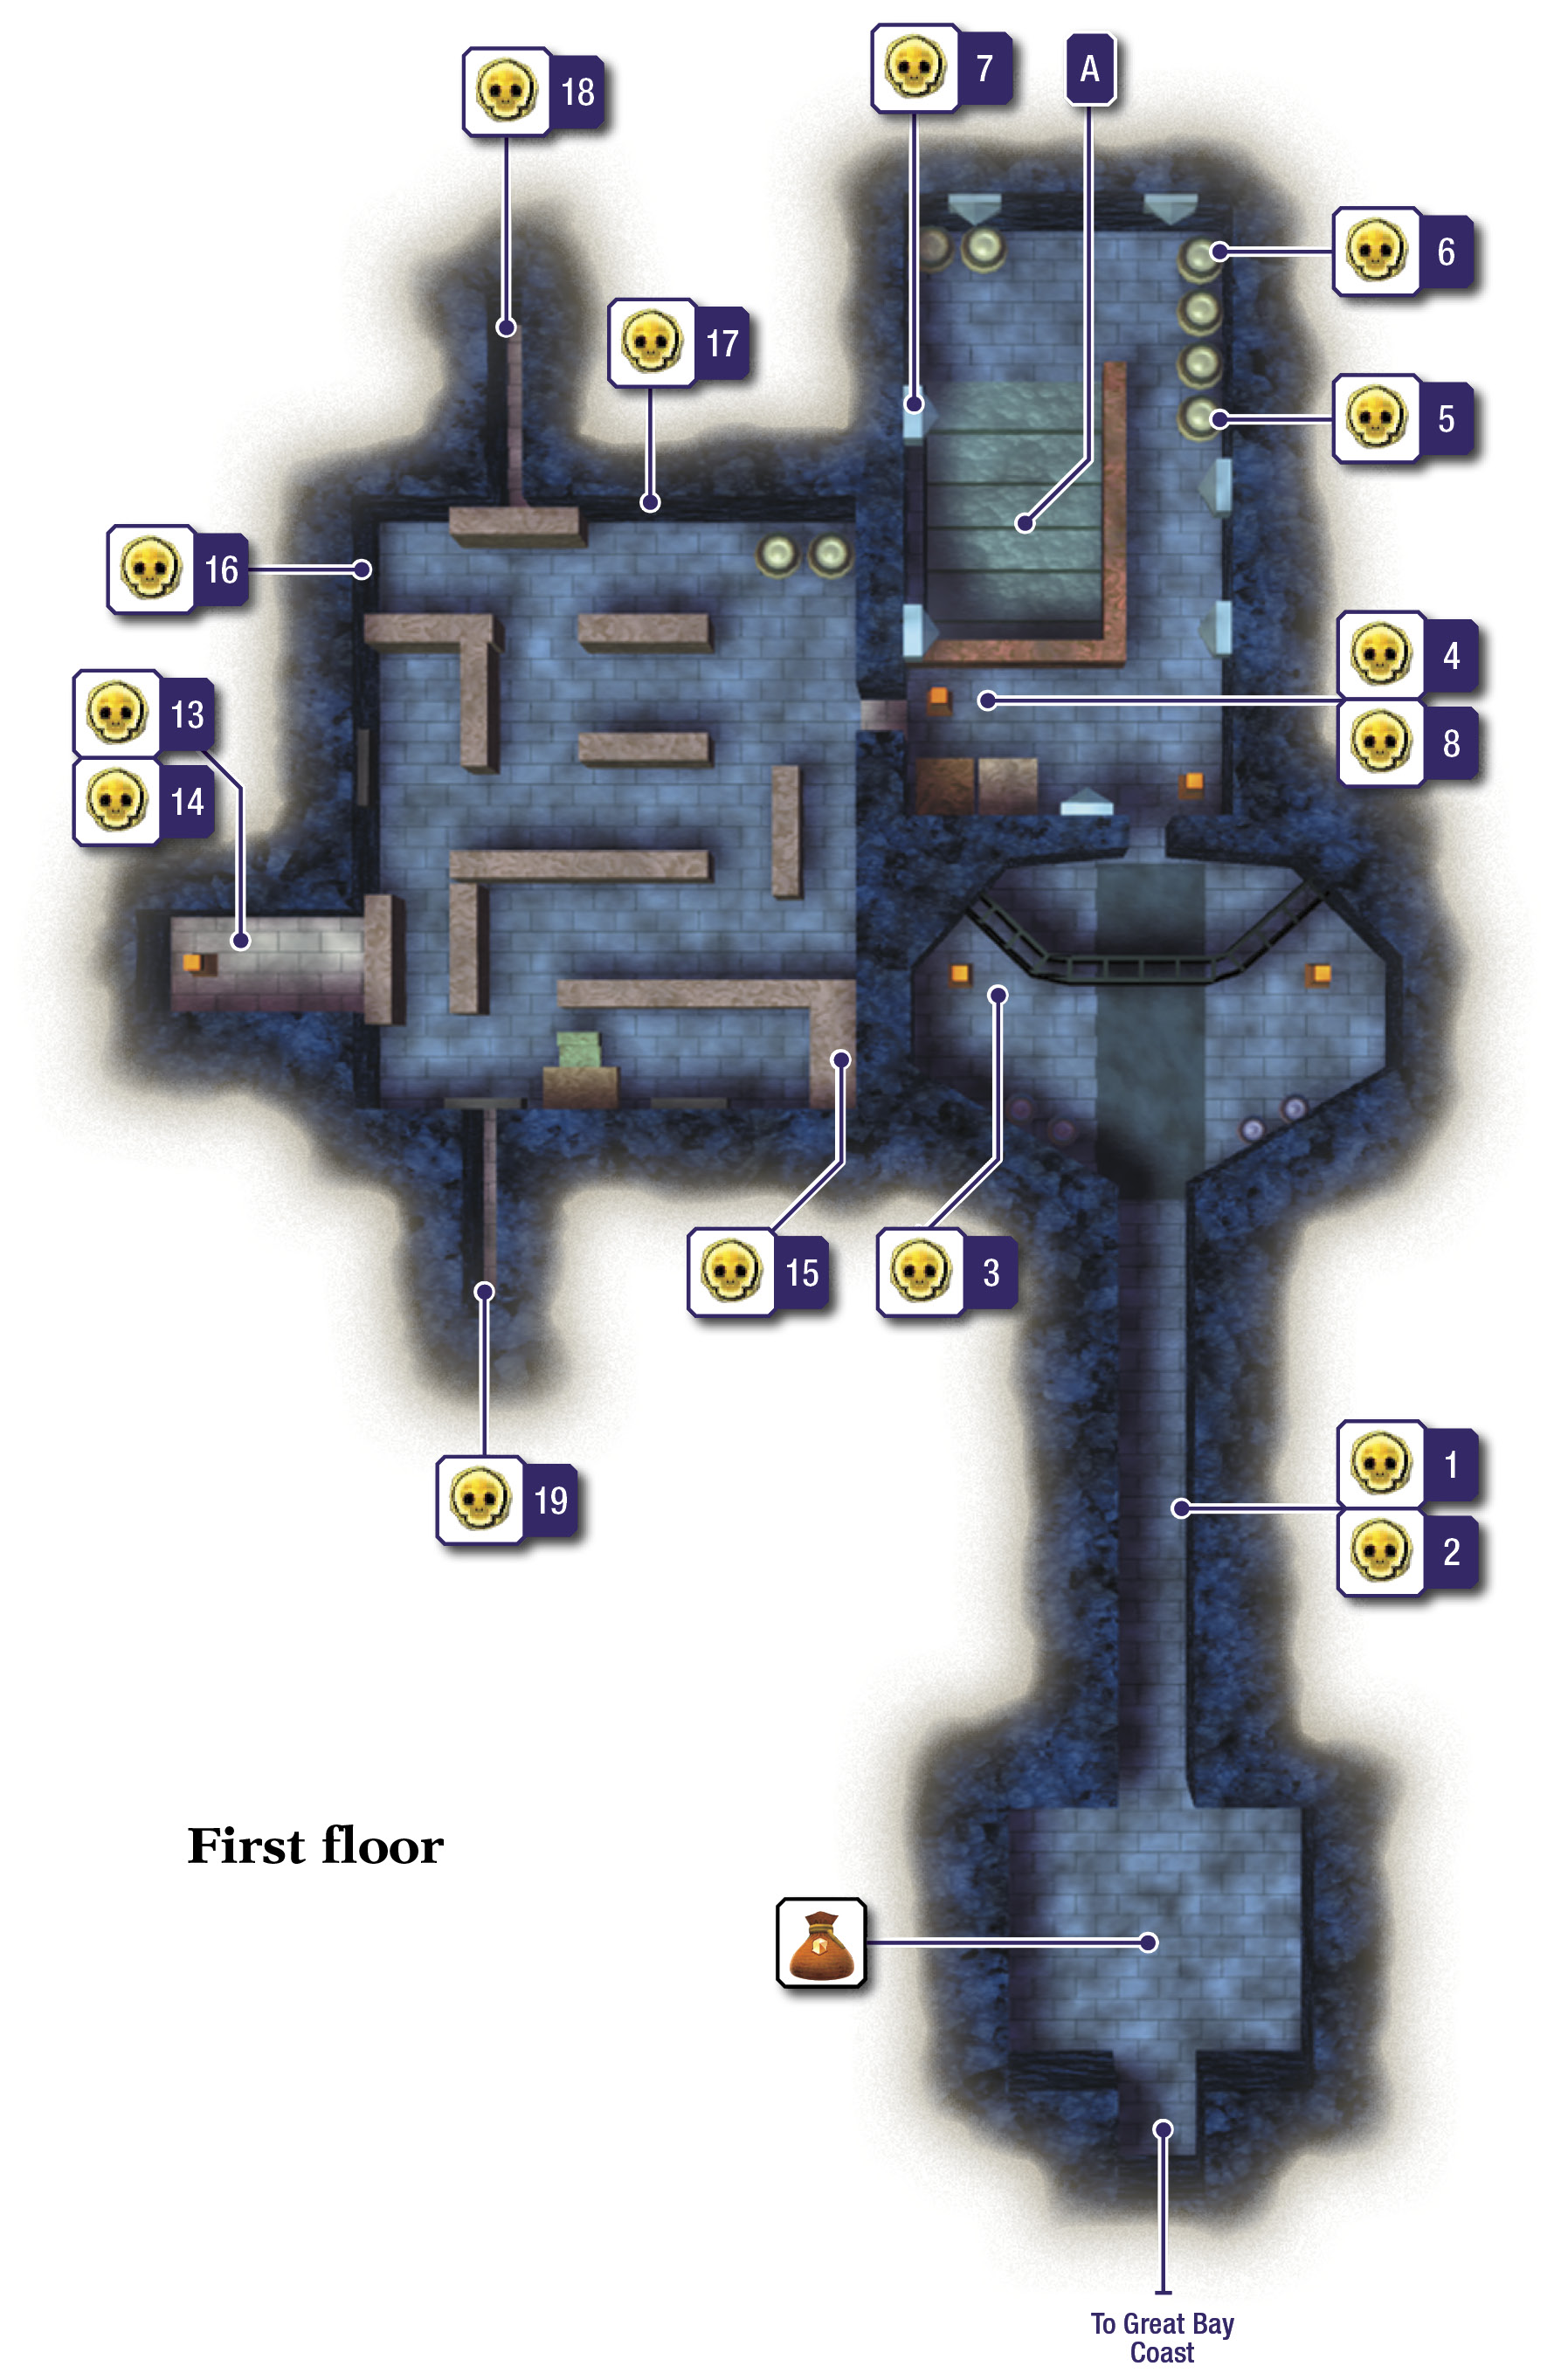
Blasting through the wall reveals a ramp that stretches downward. Hey, there are Gold Skulltulas crawling around in there! Slay the two Gold Skulltulas on the ramp with the Hookshot, then use the Hookshot again to snatch their leftover spirits. If you accidentally slide down the ramp and can’t seem to reach the two Gold Skulltulas, put on the Goron Mask, and roll back up.
Gold Skulltula #3
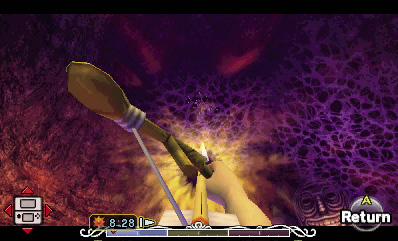
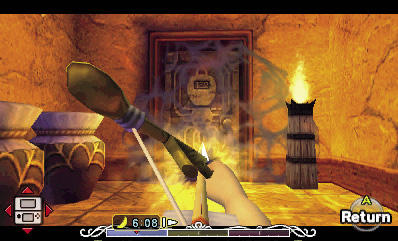
Slide down the ramp, and then look up to spy a Gold Skulltula behind a web above you. Smash the nearby jars to find arrows, then use a Fire Arrow to melt the web that’s covering the Gold Skulltula. Use the Hookshot afterward to slay the Gold Skulltula, and then grab its spirit.
Gold Skulltula #4
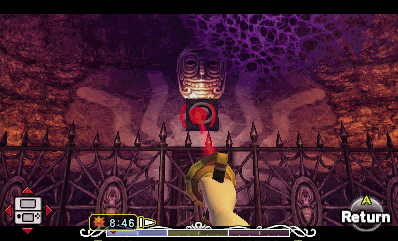
Hookshot the anchor point on the north wall to zip over the room’s fence, then proceed through the north door to visit the stairwell.
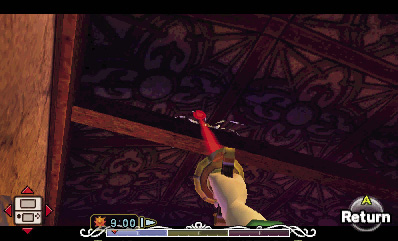
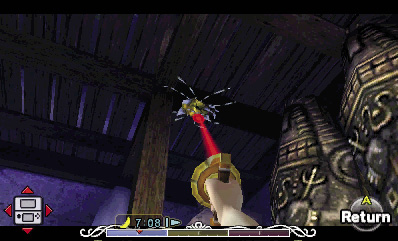
After passing through the door, turn left, and climb onto the crates in the room’s southwest corner. Look up and spy a Gold Skulltula crawling along the top of a ceiling rafter. This one’s tough to hit, but with careful aim, you can defeat it with the Hookshot and snatch its spirit from this position atop the crates.
Gold Skulltula #5
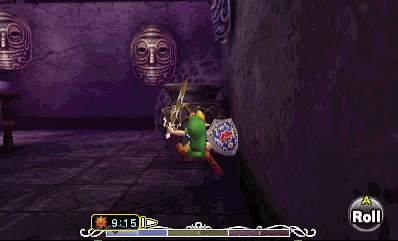
Drop from the crates, and run north toward a row of large jars. You can’t smash the jars, but you can roll into them and knock out a Gold Skulltula.
Gold Skulltula #6
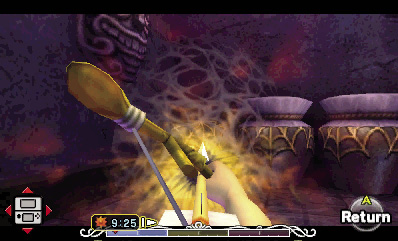
This one’s also hidden in one of the room’s big jars—the jar that’s covered by a web. Use a Fire Arrow to burn away the web, then roll into the jar to expose the Gold Skulltula.
Gold Skulltula #7
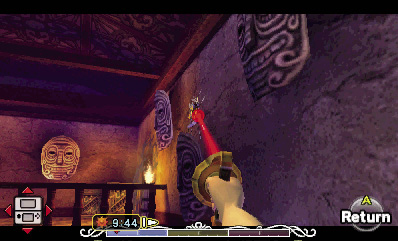
This one regularly emerges from the mask on the wall near the stairs. Defeat it with the Hookshot when it crawls out from the mask and exposes itself.
Gold Skulltula #8
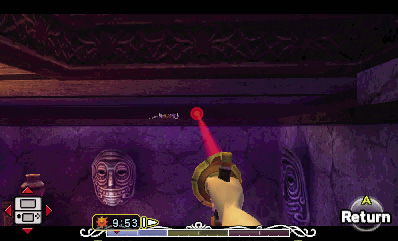
Go about halfway down the stairs, then use the Hookshot to look up and spy a Skulltula that crawls around the small space between the floors. Slay it, and snatch its spirit with the Hookshot.
Gold Skulltula #9
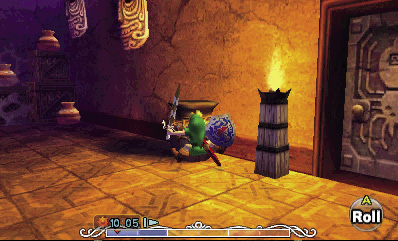
Now, go all the way downstairs to reach the basement. Roll into the jar near the east door to knock out another Gold Skulltula.
Gold Skulltula #10
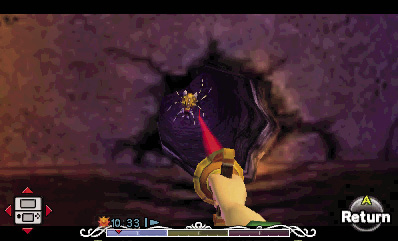
Behind the stairs, the north wall is covered with webs and features a small hole. Burn away the webs with Fire Arrows, and then use the Hookshot to defeat the Gold Skulltula in the hole beyond the webs.
Gold Skulltula #11
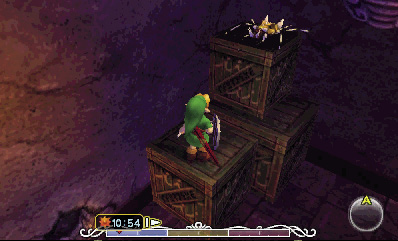
Use the Hookshot to smash the jars on the crates in the northeast corner. The highest jar contains a Gold Skulltula. Climb onto the lower crate, then use the Hookshot again to safely defeat the Gold Skulltula and grab its spirit.
Gold Skulltula #12
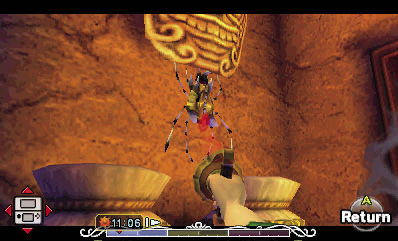
This one crawls out from the mask on the wall behind the stairs. Use the Hookshot to defeat it, and then claimits spirit.
Gold Skulltulas #13 and #14
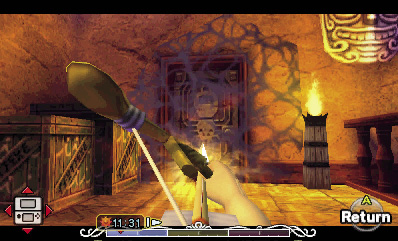
That’s the stairwell’s last Skulltula, but you haven’t finished searching the first floor. Go back upstairs, and use a Fire Arrow to melt the webs that cover the west door. Head through the door to visit a library.
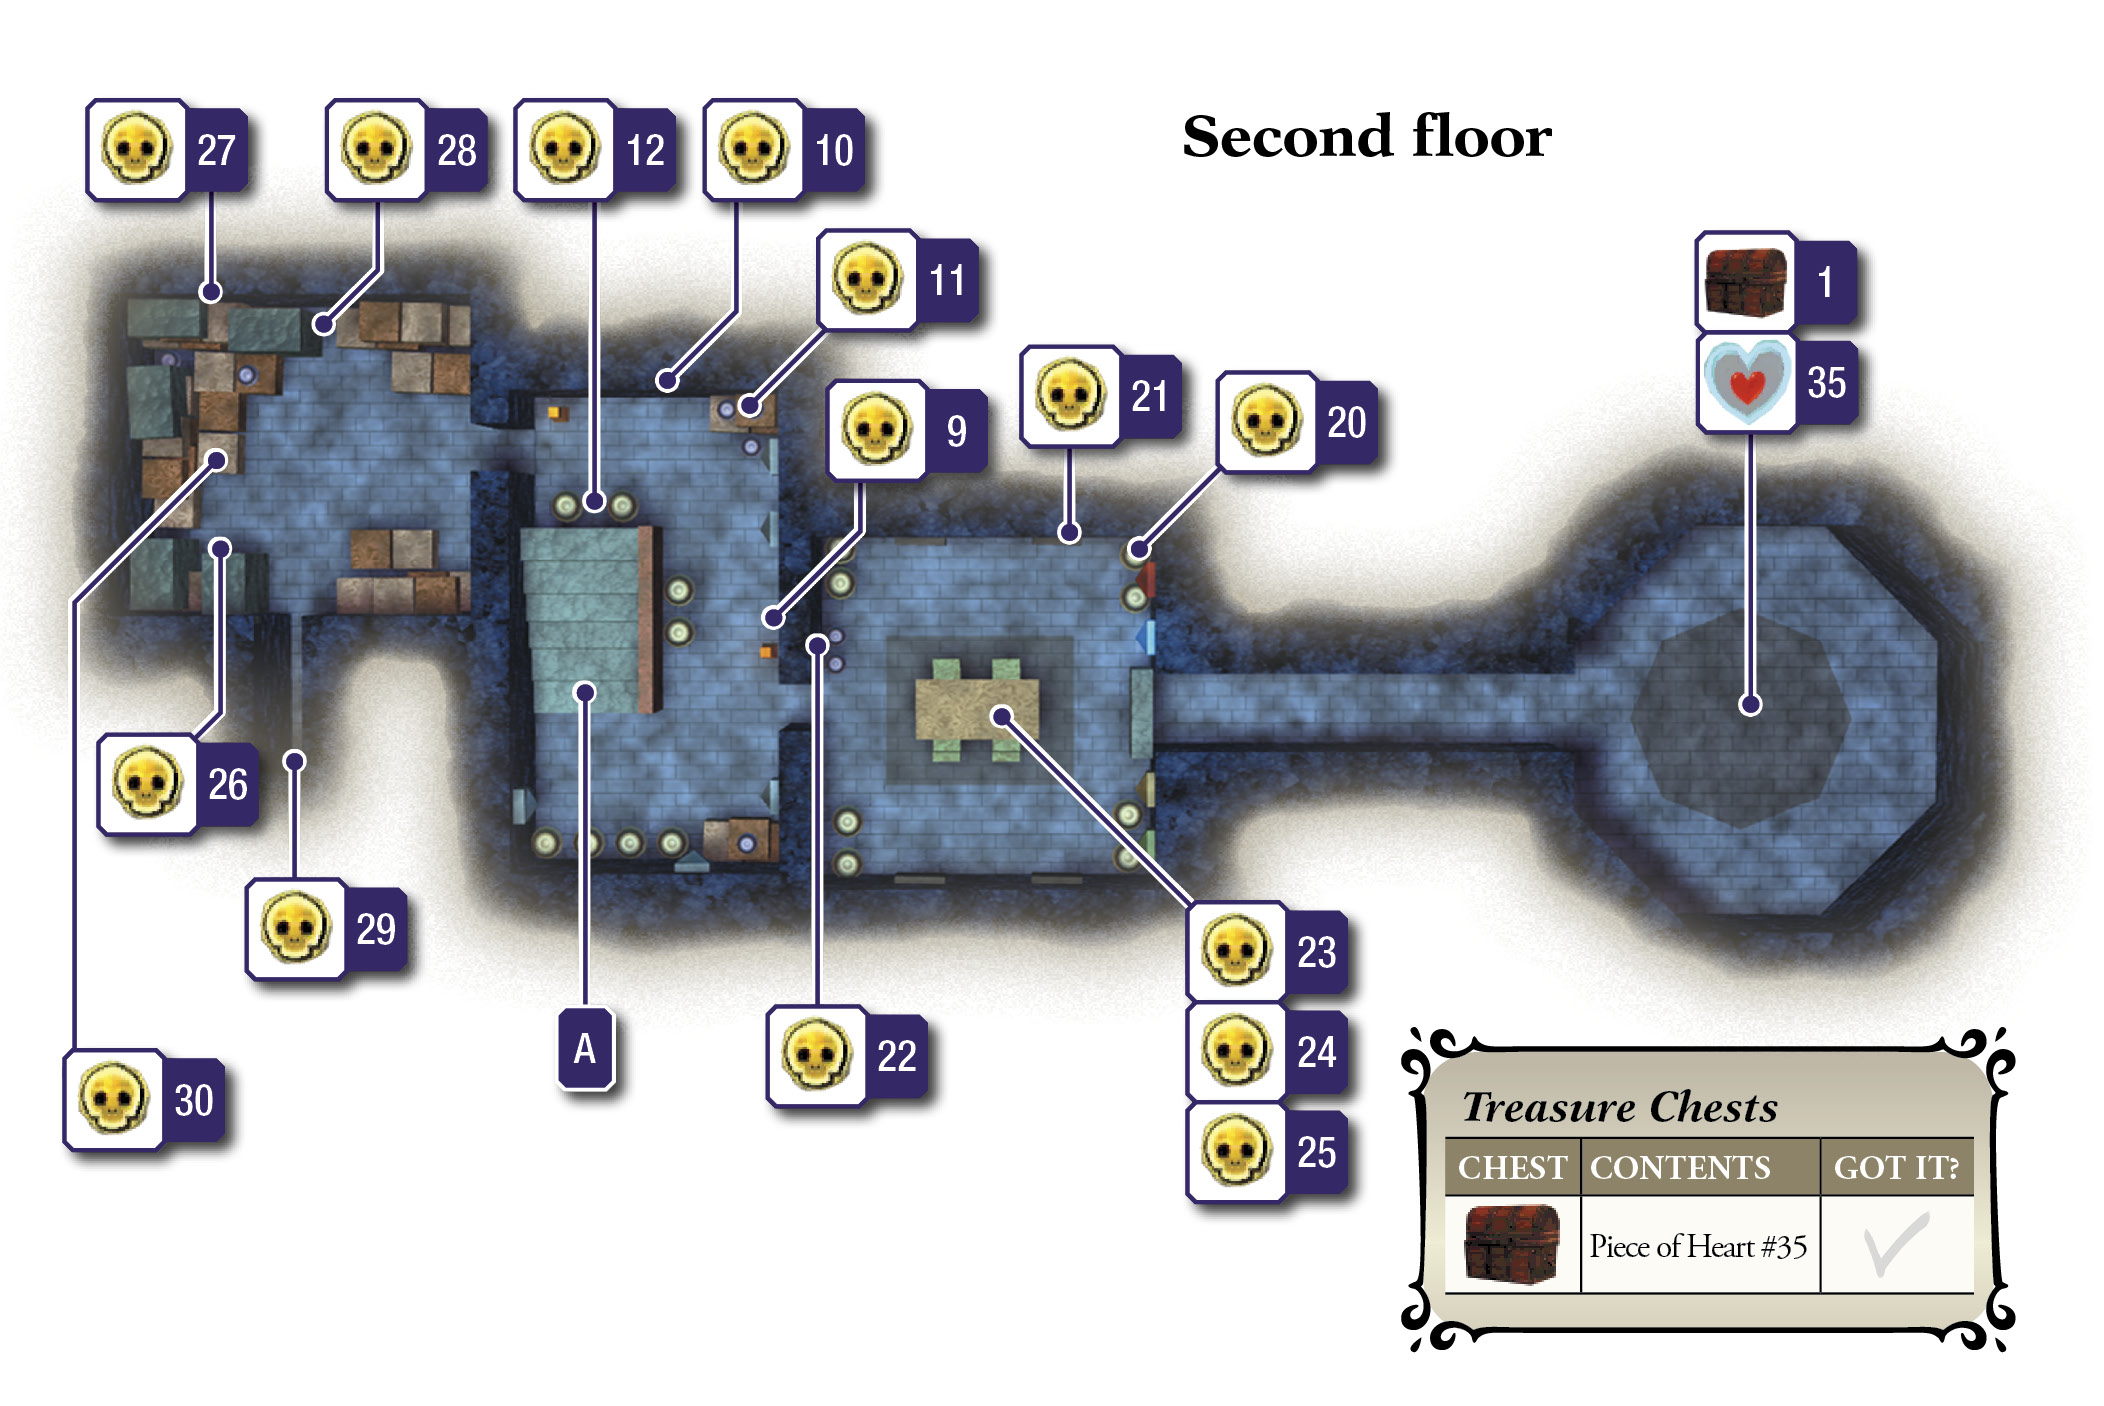
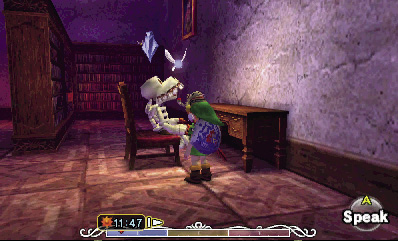
As you enter the library, go left (south) and locate a Stalchild sitting at a desk. Put on the Captain’s Hat, and speak to the Stalchild for a mysterious clue: “diamond” should be shot sixth. This cryptic info will soon be of use.
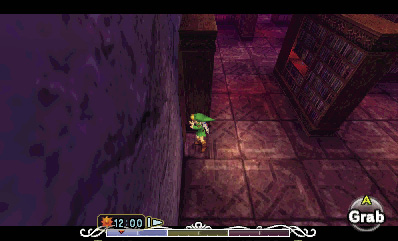
After speaking to the Stalchild, go west and locate a bookshelf against the nearby (west) wall. Approach the bookshelf from the side, and you’ll be prompted to grab it. Hold  to grab the bookshelf, then shove it along the wall to expose a secret alcove.
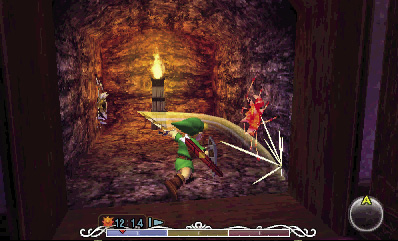
Two Gold Skulltulas lurk in the west wall’s secret alcove. Slay them, and add their spirits to your collection.
Gold Skulltula #15
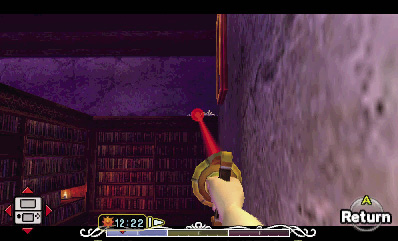
As you exit the secret alcove, you can see a Gold Skulltula crawling atop a distant bookshelf across the room. Climb onto the Stalchild’s desk for a better angle, and slay the Skulltula with the Hookshot. You’re halfway there!
Gold Skulltula #16
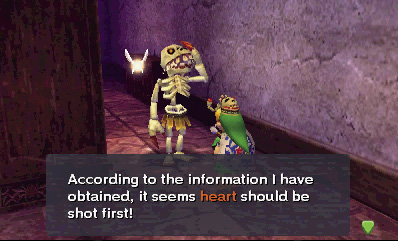
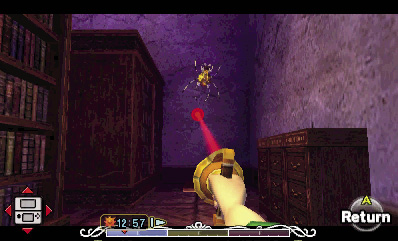
Backtrack to the library’s entry door, and explore the room’s north side. Spot another Stalchild that sits atop a bookshelf up here. Target the Stalchild and speak to it while wearing the Captain’s Hat for another vital clue: “heart” should be shot first.
After speaking with the Stalchild, spy a painting of the Skull Kid on the wall in the room’s northwest corner. This is far from art, so use the Hookshot to knock down the painting and expose a Gold Skulltula.
Gold Skulltula #17
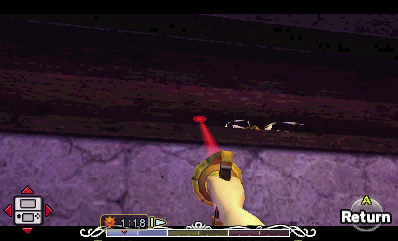
Climb to the top of the bookshelf that the Stalchild was sitting on, using the ladder-like stack of books to ascend. Once you’re on top of the bookshelf, spy a Skulltula that crawls along the small gap in the nearby (north) wall, up near the ceiling. Slay it with the Hookshot.
Gold Skulltula #18
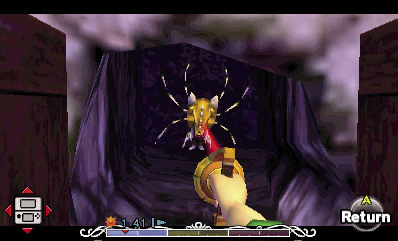
Drop from the bookshelf, and notice three small cabinets against the nearby (north) wall. Grab and pull the middle cabinet away from the wall to uncover a small hole with a Gold Skulltula. Use the Hookshot to defeat it, and then snatch its spirit.
Gold Skulltula #19
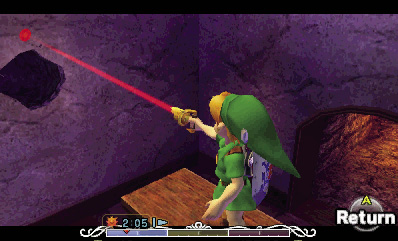
Climb back up the bookshelf, and leap back to the room’s opposite (south) side. Hookshot the Skull Kid painting on the wall to the right of the Stalchild’s desk to knock it down and reveal another hole with a Gold Skulltula. Use the Hookshot from atop the bookshelves to slay it, and then claim its spirit.
The Stalchildren’s Secret
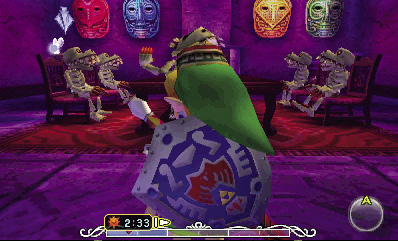
You’ve just cleared out the library, so head back downstairs to the basement. Open the east door at the bottom of the stairs to visit the dining room, where four more Stalchildren are seated around a table. Speak to each of the Stalchildren while wearing the Captain’s Hat to discover four more clues.
The dining room’s east wall features a number of colored masks. The Stalchildren’s clues tell you the order in which you should shoot the masks with arrows. Equip regular arrows (not Fire Arrows) to conserve magic power, then shoot the colored masks in the order in which the Stalchildren have indicated. (The order varies from game to game.):
Red mask (“heart”)
Green mask (“club”)
Yellow mask (“diamond”)
Blue mask (“spade”)
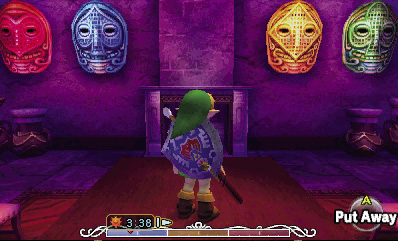
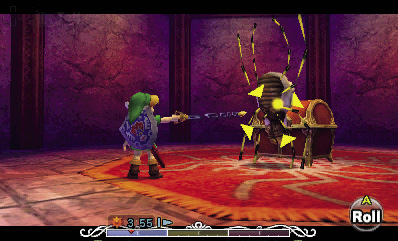
After you’ve shot the colored masks in the proper order, a secret passage opens in the fireplace. Go through to visit a small chamber with a treasure chest. Defeat the Skulltula that guards the chest, then open it to claim a Piece of Heart.
Piece of Heart #35

You got a Piece of Heart! Collect four Pieces of Heart to assemble a new Heart Container. Each new container you put together increases the amount of life energy you can have.
Gold Skulltula #20
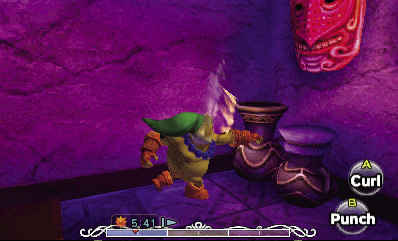
After claiming the Piece of Heart, return to the dining room. Roll into the jars in the dining room’s northeast corner (the ones directly beneath the red “heart” mask) to expose a Gold Skulltula. If you’re having trouble getting this shy Skulltula to pop out, try putting on the Goron Mask and punching the jars instead.
Gold Skulltula #21
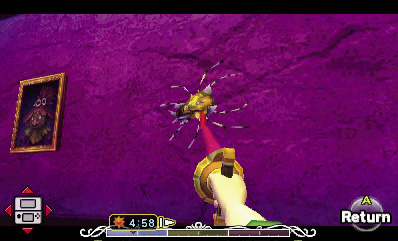
Use the Hookshot to knock down the Skull Kid painting on the north wall (the one that’s nearest to the red “heart” mask) to expose another Gold Skulltula.
Gold Skulltula #22
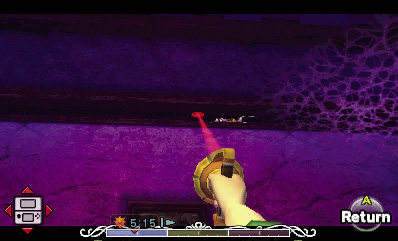
Climb onto the dining table, and spot a Gold Skulltula crawling in the small gap up near the ceiling above the room’s entry door. Use the Hookshot to defeat it, and then tractor in its spirit.
Gold Skulltulas #23, #24, and #25
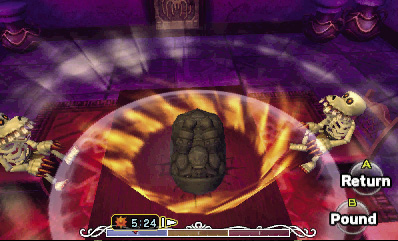
While still standing on the table, put on the Goron Mask, and press  to curl into a ball. Press
  afterward to pound the table and knock three Gold Skulltulas down from the ceiling.
Gold Skulltula #26
Leave the dining room, and head for the web-covered door beneath the basement stairs. Burn away the web with a Fire Arrow, and then enter the door to visit a storage room.
Slay a Black Boe and a Skulltula in the storage room, then cross the room and use a Fire Arrow to burn away the web on the ceiling in the southwest corner. Hookshot the Gold Skulltula on the ceiling beyond the web.
Gold Skulltula #27
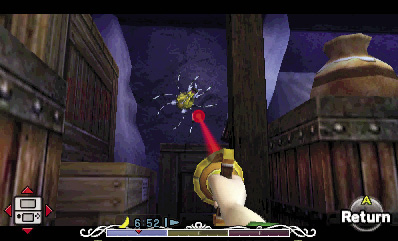
After slaying Gold Skulltula #26, turn around and face the north wall to find another Skulltula crawling around. Hookshot it, and claim its spirit.
Gold Skulltula #28
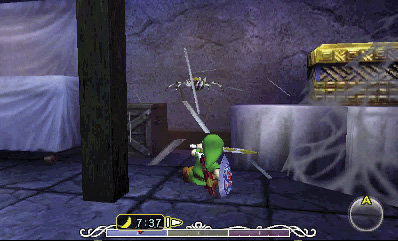
Roll into the light brown crate along the north wall, near the room’s web-covered corner. Out pops a Gold Skulltula.
Gold Skulltula #29
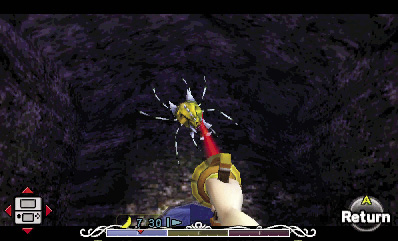
Roll into the light brown crate against the room’s opposite (south) wall to smash it and reveal a small hole. Go through to reach a small nook with two jars.
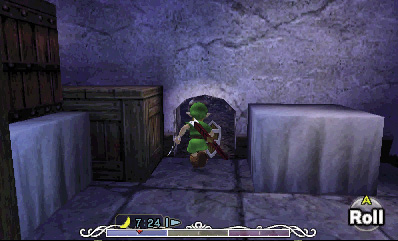
Smash the jars for items, then turn around and spot a Gold Skulltula on the wall above the nook’s entry hole. Slay it, and claim its spirit with the Hookshot.
Gold Skulltula #30
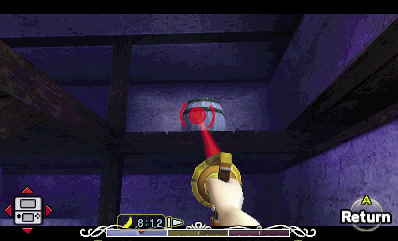
Exit the nook, and climb the crates on your right (the ones in the southeast corner). Get up as high as you can, then spot a barrel up on an overhead loft near the far (north) wall. Hit the barrel with the Hookshot to zip up to the loft.
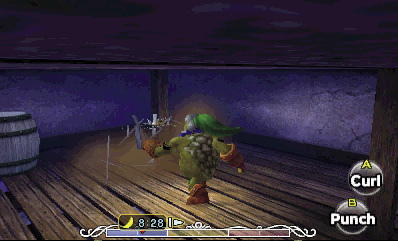
Put on the Goron Mask, and punch the loft’s other barrels to discover a Gold Skulltula. That’s the last of them!
Claiming Your Reward
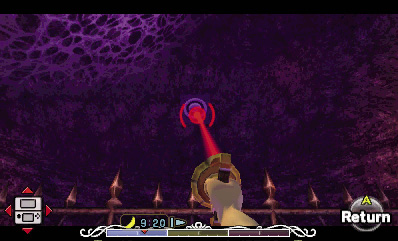
You’ve found all 30 Gold Skulltula Spirits, so now it’s time to claim your prize. Backtrack upstairs, returning to the house’s entry room. When you reach the room with the tall metal fence, look up, and fire the Hookshot at the anchor point on the far (south) wall to zip past the fence. Then, put on the Goron Mask, and roll up the slope to return to the entrance.
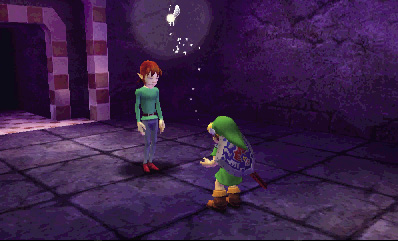
What’s this? A man stands in the entry room; he was drawn here by the sound of loud noises. The man seems terrified about the looming moon, and he begs that you let him use this place as an underground shelter. You actually have no say in the matter, but if you managed to obtain all 30 Gold Skulltula Spirits from this spooky house during a single day, then the man will give you a Giant Wallet as thanks for letting him hole up there. How about that!
Giant Wallet
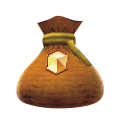
You got a Giant Wallet! This thing is huge! It can hold up to 500 Rupees.