
The Legend of Zelda Majora's Mask 3D Guide Walkthrough Chapter 4: Woodfalls Woes
Deku Shrine
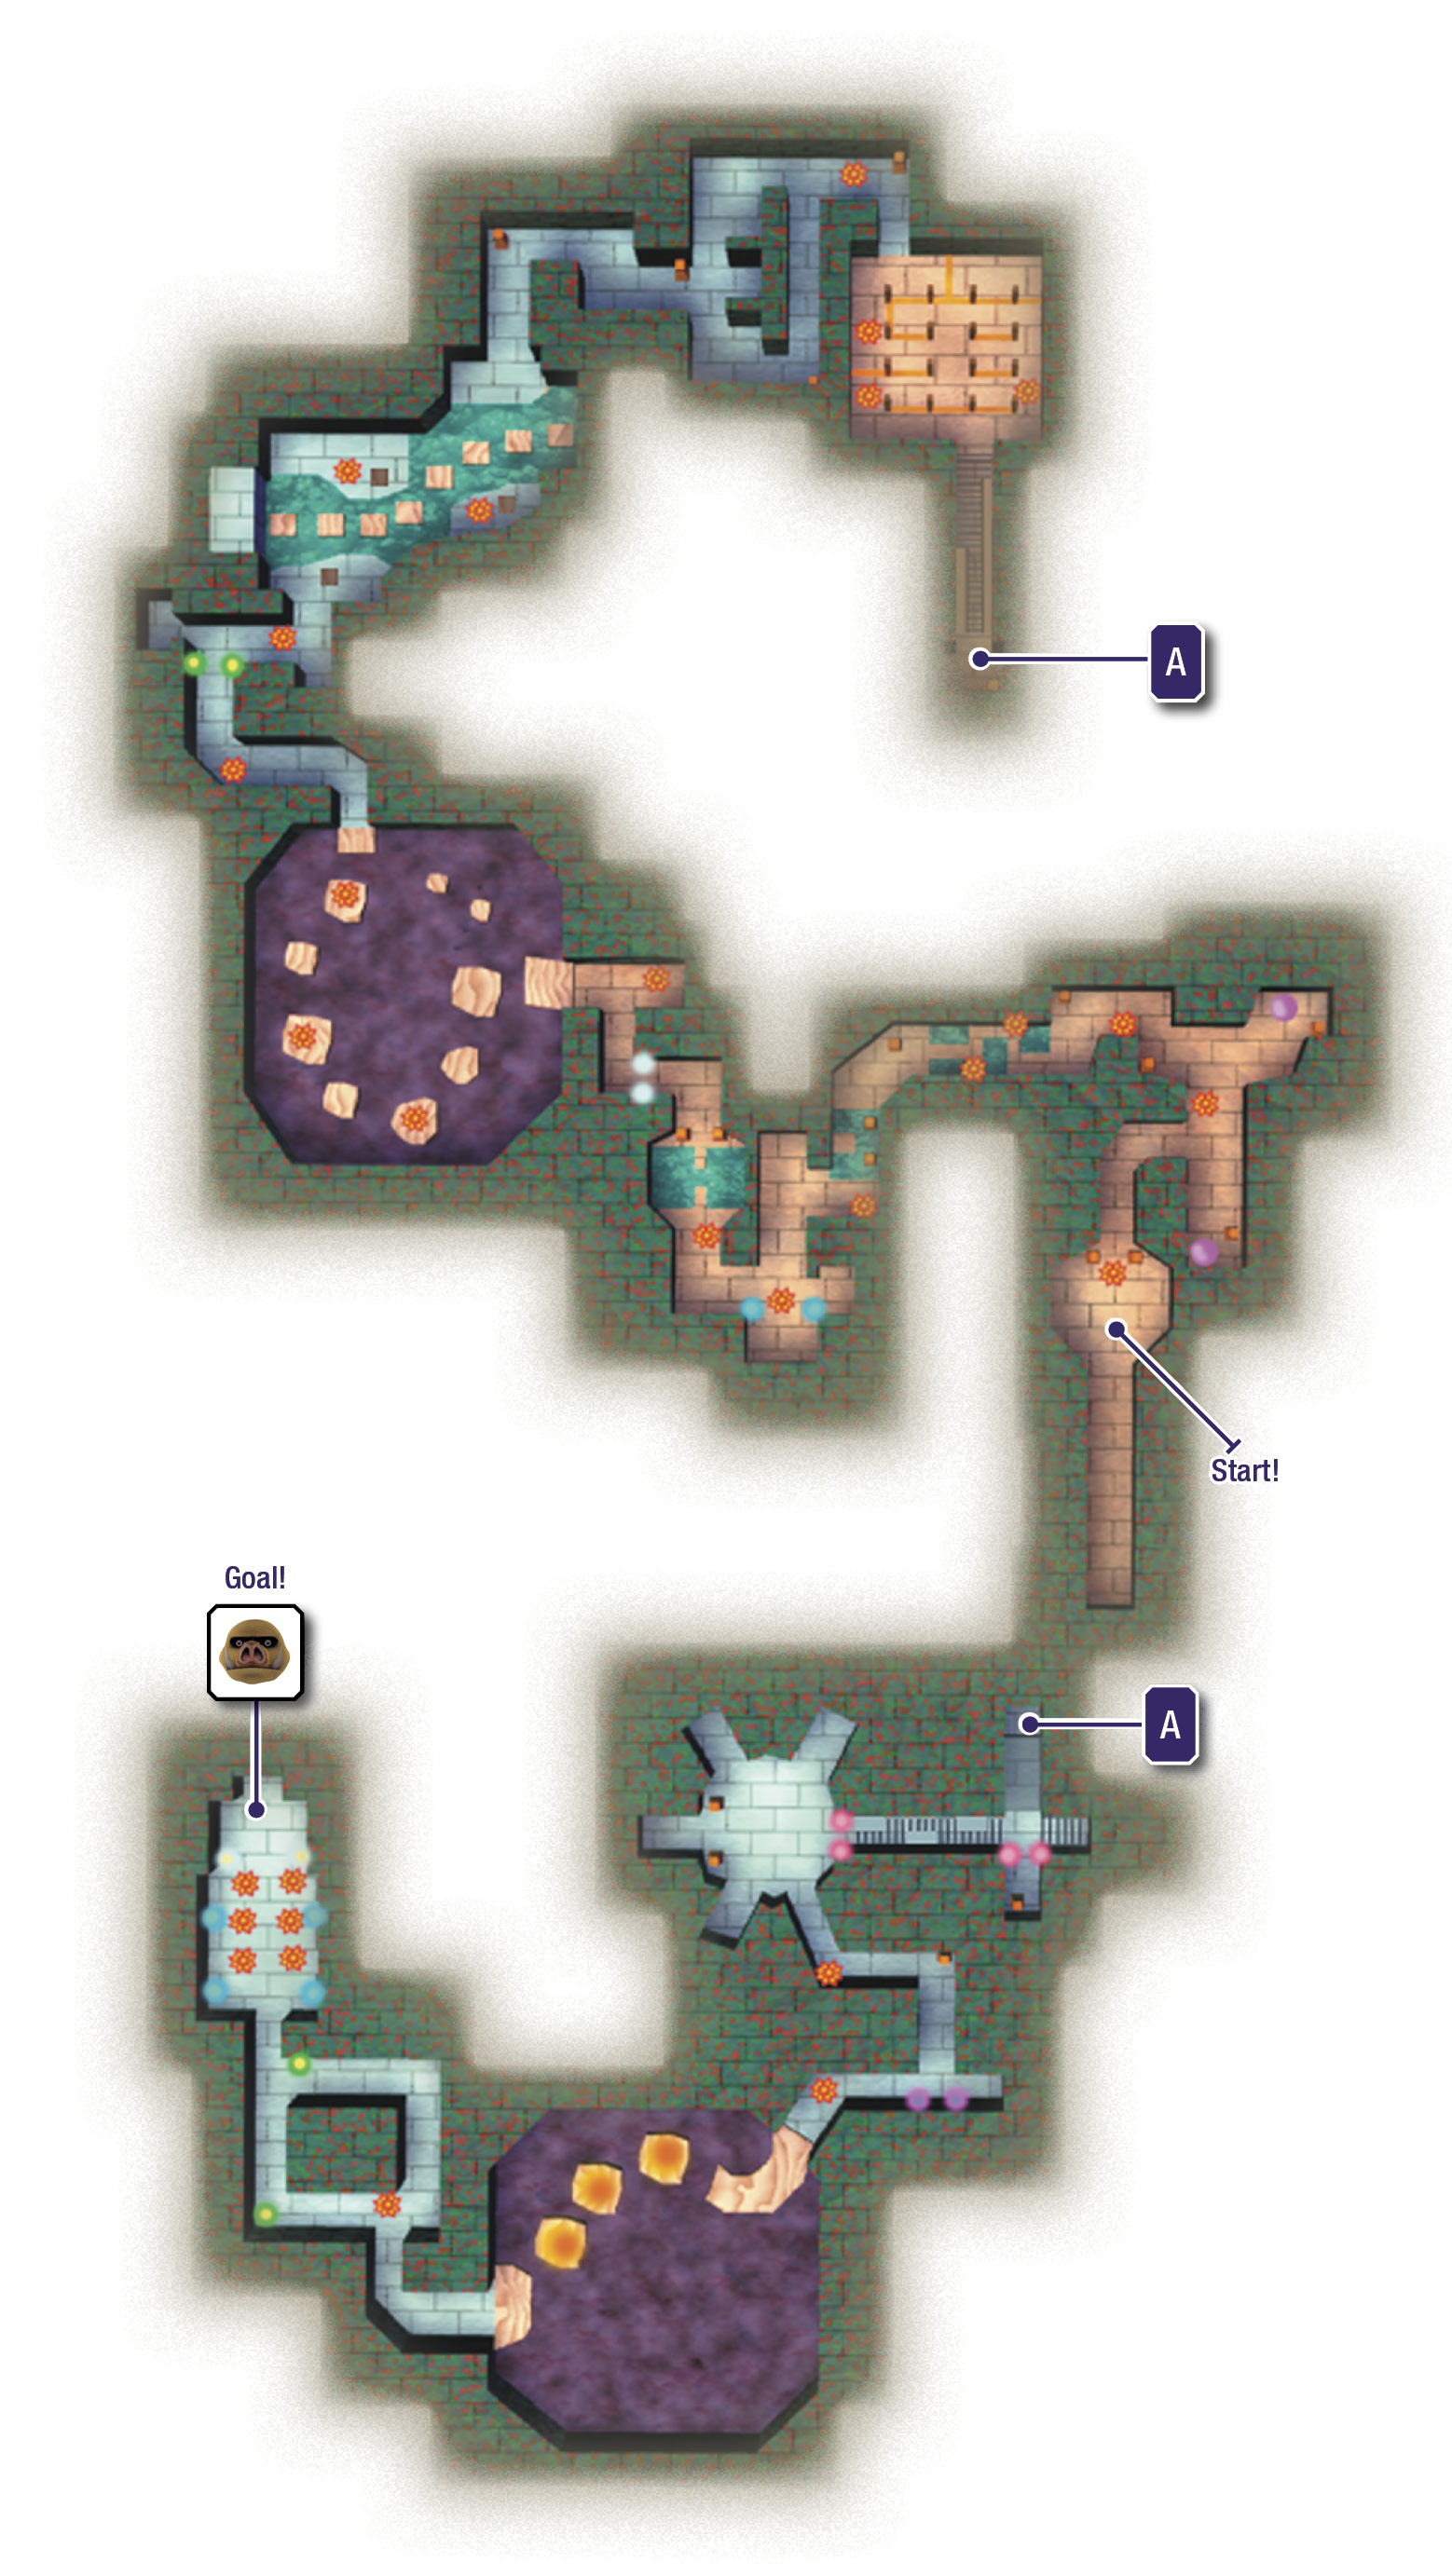
Follow That Butler!
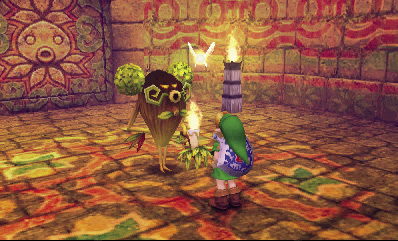
Enter the cave on the palace’s west side to visit the Deku Shrine. Speak with the Deku butler inside, and he’ll begin to guide you through the maze-like shrine. The Deku butler sure can motor, so put on the Bunny Hood and chase after him without letting him get too far ahead.
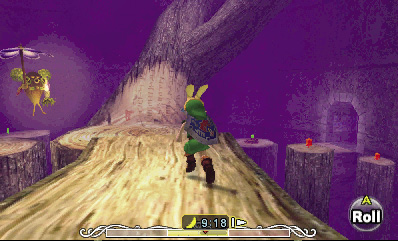
Like your pursuit of the monkey through the Woods of Mystery, you’ll be forced to restart at the Deku Shrine’s entrance if you fall too far behind or make any false moves. Do your best to keep the Deku butler in sight, and stick to the exact path that he follows. Should you ever lose sight of the Deku butler, listen closely for the unique sound that he makes. You can often follow him based on that sound.
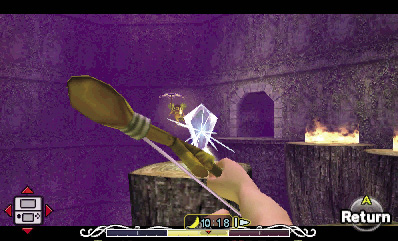
As you near the end of the long pursuit, you’ll need to strike a crystal switch to banish some flames that get in your way. Quickly hit the crystal with an arrow, and then follow the butler into the far tunnel.
When you finally reach the end of the run, the Deku butler hands you a very special item: the Mask of Scents. This will come in handy before long.
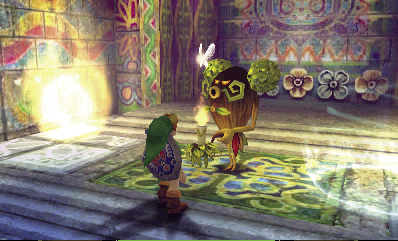
Mask of Scents

You got the Mask of Scents! This mask heightens your sense of smell. Wear it to sharpen your olfactory perception. Sniff, sniff… That’s the smell of power!
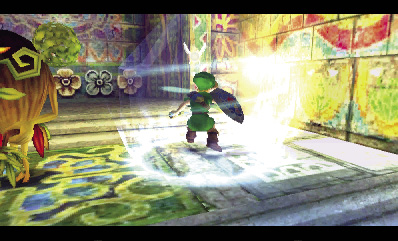
After handing Link the Mask of Scents, the Deku butler recounts fond memories of his and his son’s races through the Deku Shrine. He apologizes for making the chase so difficult; he’d been caught up in the nostalgia of it all. At least you don’t have to race him out of the place. Step into the nearby blue light to return to the shrine’s entrance.
Smells like Blue Potion
Now that you’ve got the Mask of Scents, you’re able to obtain Blue Potion. Play the Song of Soaring and soar to the Southern Swamp, then go east, past the Magic Hags’ Potion Shop, and enter the Woods of Mystery. Time has been reset, so you must rescue poor Koume as you did before. Follow the monkey through the Woods of Mystery to find her, using the Bunny Hood to make the chase much easier. Backtrack a bit, and have Kotake fill your Empty Bottle with Red Potion (or buy a Red Potion at the Magic Hags’ Potion Shop). Then, return to Koume and heal her.
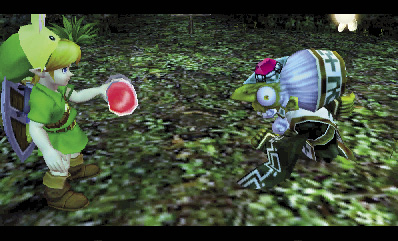
After saving Koume, play the Song of Soaring and soar back to the Southern Swamp. Slap on the Mask of Scents, and search around for a nearby purple plum of fragrance. There’s one to the west, and another directly near the sign that you pass on your way to the Magic Hags’ Potion Shop.
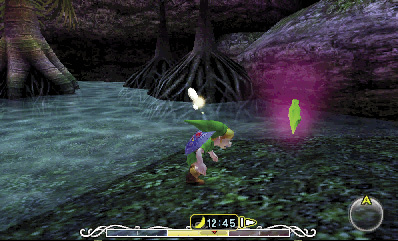
Once you’ve found a purple scent plume, get up close to it, and then take a swing with your Empty Bottle. You’ll bottle up a Magic Mushroom.
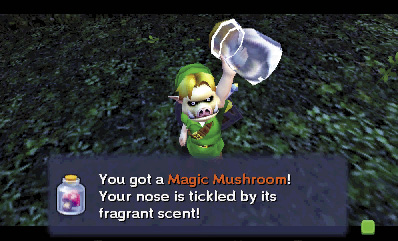
Bring the Magic Mushroom to the Magic Hags’ Potion Shop. Speak to the hag at the counter, and then show her your Magic Mushroom. She’ll be thrilled to have the rare ingredient, and she starts brewing her special Blue Potion immediately.
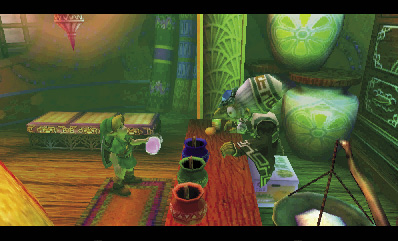
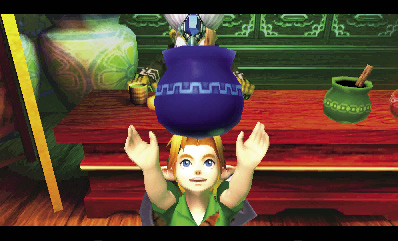
Leave the shop, and immediately return to find that Kotake has finished her concoction. Select the Blue Potion, and Kotake will top off your Empty Bottle with a full dose of Blue Potion as thanks for bringing her a Magic Mushroom. What a pal!
Blue Potion

You got a Blue Potion! Drink it to replenish your health and magic power. Keep it stored in a bottle so you can take it with you.
Koume’s Bottle
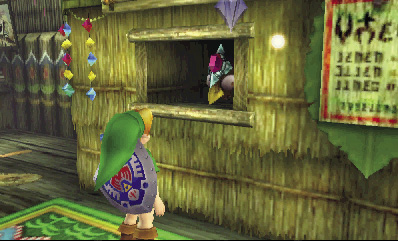
Wouldn’t it be nice to have another Empty Bottle on hand so that you can carry more great stuff like Blue Potion around with you? Of course it would! Play the Song of Soaring and soar back to the Southern Swamp, then enter the Swamp Tourist Center and speak with Koume. Now that you’ve rescued Koume, cleansed the swamp’s poisoned water, and obtained the Hero’s Bow, Koume offers a fun new game at her boat cruise stall in the Swamp Tourist Center.
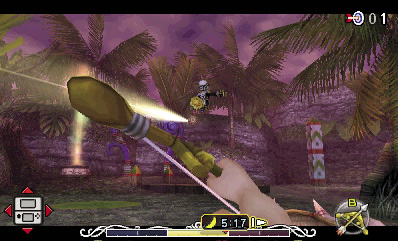
Agree to play Koume’s game, and she’ll tell you the rules. She’ll fly around on her broom while you shoot arrows at the target that she dangles beneath her. Remember that you aren’t aiming for Koume, but for her target.
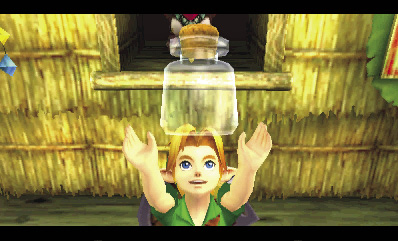
It’s OK if you hit Koume a few times, but the game ends abruptly if you hit her 10 times. As you strive to hit her target 20 or more times with arrows, aim low. You have plenty of time to accomplish this, so relax, and don’t take any wild shots. Hit the target 20 or more times, and Koume rewards your efforts with a new Empty Bottle. You have unlimited arrows during this game, so don’t hesitate to fire when you’ve got a clear shot.
Empty Bottle #2

You got an Empty Bottle! Save items in it, andthen use them later.
Town Shooting Gallery
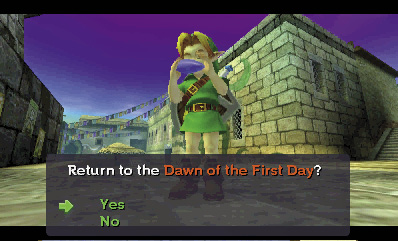
Now that you’ve obtained the Mask of Scents and beat Koume’s game for Empty Bottle #2, there’s no reason not to reset time. Warp to Clock Town first to save your game, deposit your Rupees as always, and then play the Song of Time to reset to the Dawn of the First Day. Tatl tells Link that the quickest way to the mountains is through the town’s north gate, but you should do a few more things before you head up north.
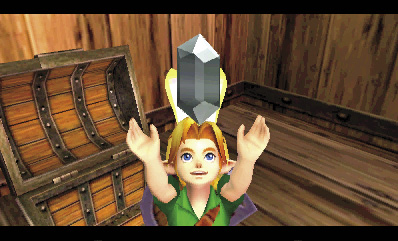
Play the Inverted Song of Time to slow time as usual, then use the Bunny Hood to reach the Silver Rupee chest atop the Town Shooting Gallery in East Clock Town as you’ve done before.
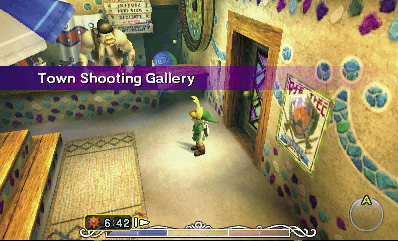
After scoring your 100 Rupees from the chest, drop from the roof and enter the Town Shooting Gallery. Now that you’ve got the Hero’s Bow, you can pay the big guy at the counter 20 Rupees to play his game. No arrows are necessary; they’re provided to you during the game.
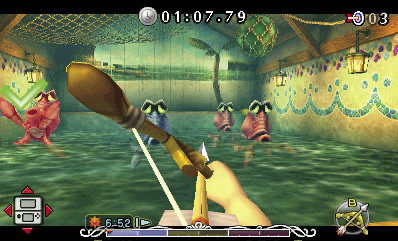
The goal of this archery game is to quickly shoot the red Octoroks that appear. Don’t hit the blue Octoroks, or you’ll be penalized and lose precious time off the clock. You don’t need to shoot every red Octorok; you just need to shoot enough to beat the game’s high score of 39 points. Do this, and you’ll win the Large Quiver.
Large Quiver

You won a Large Quiver! Now you can carry up to 40 arrows.
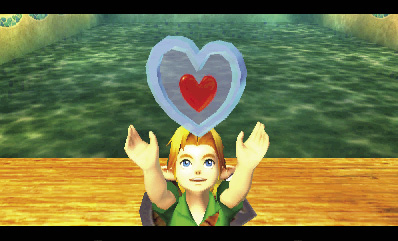
The Town Shooting Gallery is one of the most challenging games in Majora’s Mask, so expect to make a few attempts before you succeed. Score 40 points to win the Large Quiver, then play again and hit every red Octorok without missing any or running out of time to receive a Piece of Heart. If you miss a red Octorok but manage to set a new high score, you’ll receive a Purple Rupee as a consolation prize, giving you more funds to help you win that Piece of Heart.
Piece of Heart #17

You got a Piece of Heart! Collect four Pieces of Heart to assemble a new Heart Container. Each new container you put together increases the amount of life energy you can have.
Honey & Darling’s Heart
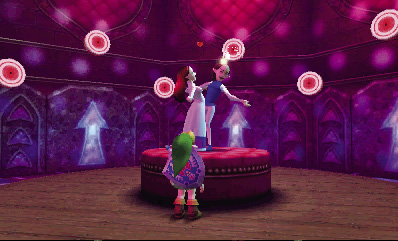
After you’ve won the Piece of Heart from the Town Shooting Gallery, save your game, and then play the Song of Time to return to the Dawn of the First Day. Use the Bunny Hood to loot the Silver Rupee chest above the Town Shooting Gallery again, then drop from the roof and enter Honey & Darling’s nearby shop.
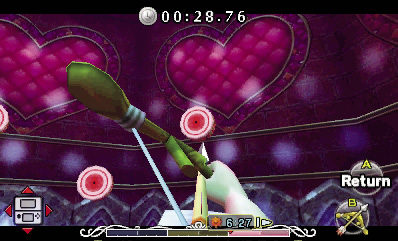
Honey & Darling host a different game each day, and every game costs just 10 Rupees to play. In each game, your goal is to hit all of the targets on the walls with a particular type of weapon (Bombchus, bombs, or the Hero’s Bow) before the enamored pair finishes their minute-long dance. They provided all of the ammo; all you need to do is take out those targets. Hit all of the targets before time runs out to beat each different game.
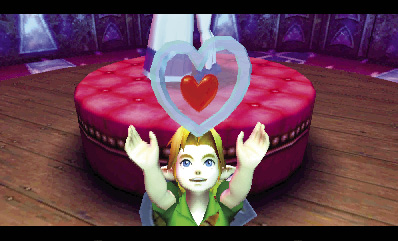
You’ll score a Fishing Hole Pass each time you win at Honey & Darling’s games, but the real prize is the Piece of Heart that you can win by beating all three games without resetting time. Just play the Song of Double Time to advance to the next day after you beat each game, and keep winning until that Piece of Heart is yours.
Piece of Heart #18

You got a Piece of Heart! Collect four Pieces of Heart to assemble a new Heart Container. Each new container you put together increases the amount of life energy you can have.