
The Legend of Zelda Majora's Mask 3D Guide Walkthrough Chapter 7: Fair Weather Explorations
Great Bay Coast
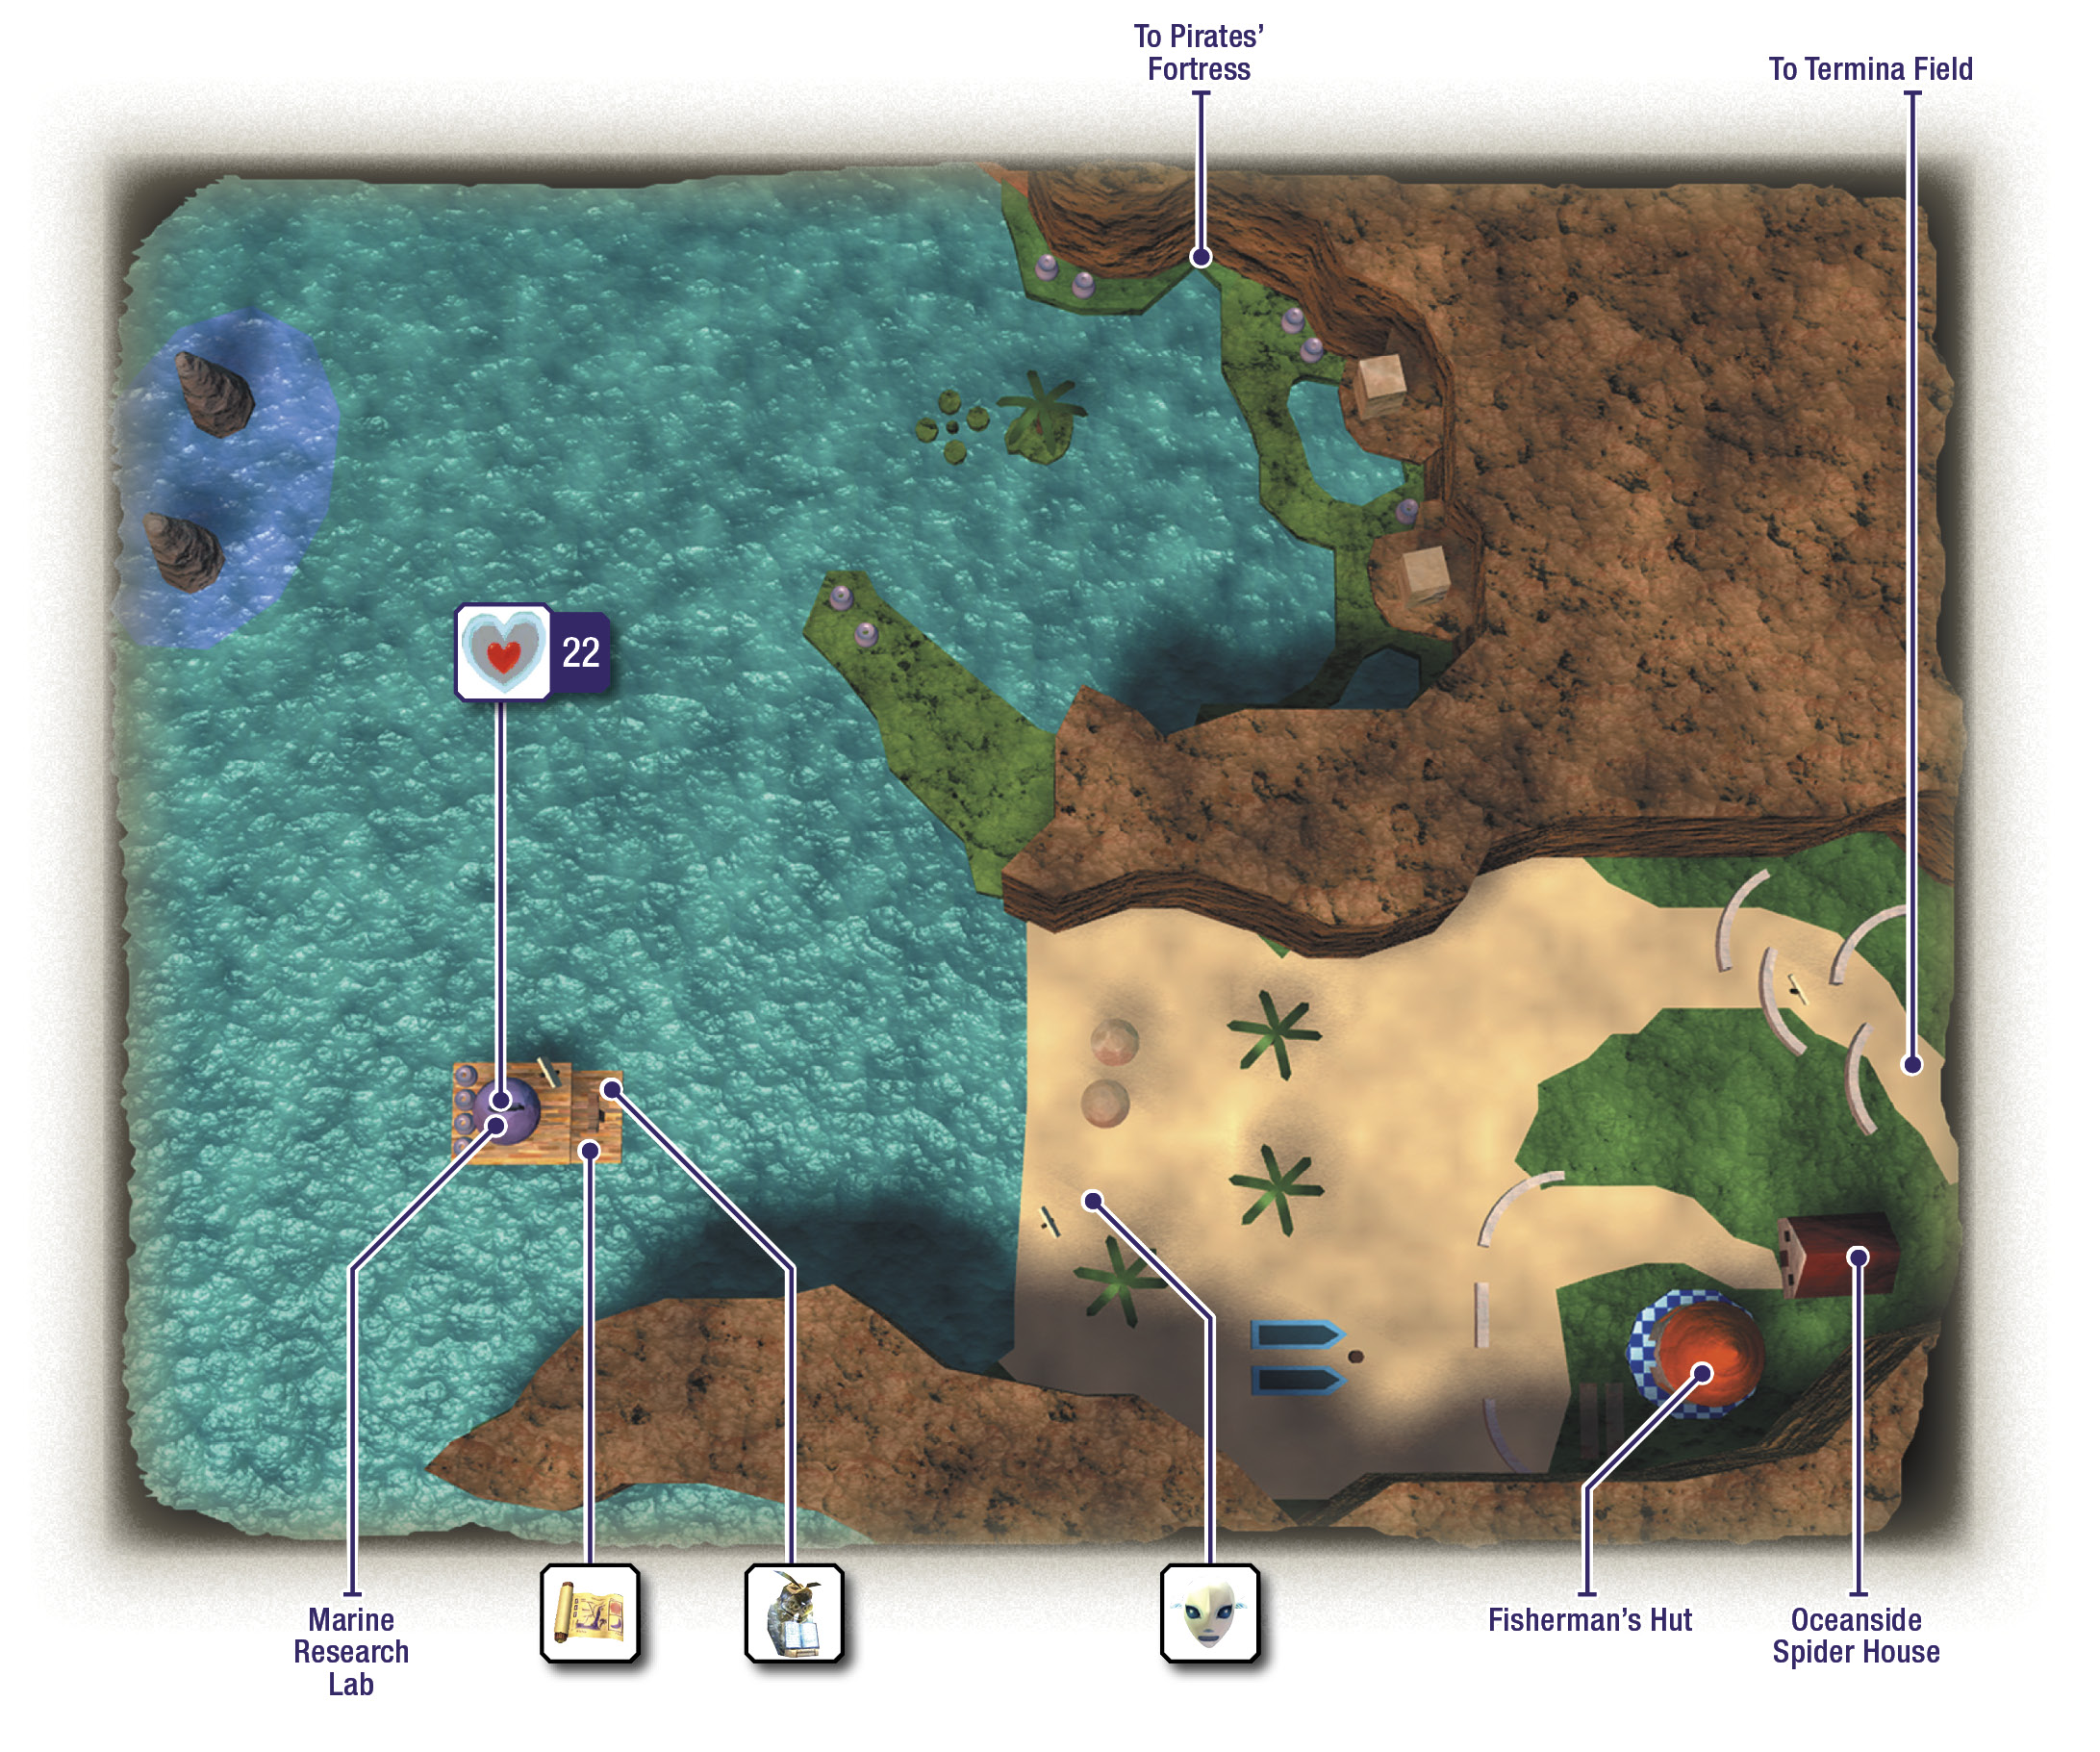
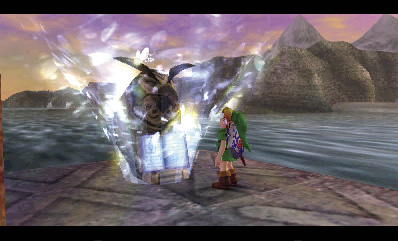
Great Bay Owl Statue
More Leevers swarm the coast, but you’re safe as long as you remain on Epona. Ride toward the water, then dismount from Epona and swim across the ocean, heading for the small hut that’s built upon the water.
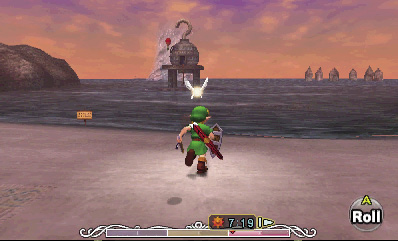
Climb onto the hut’s dock, and activate the nearby owl statue. Now you can easily warp to the Great Bay Coast whenever you like.
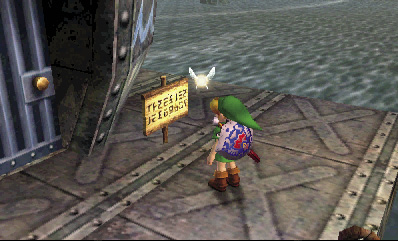
Marine Research Lab
After activating the Great Bay owl statue, climb the nearby ladder to reach the hut above. The sign out front reads “Marine Research Lab.” Cool! Head inside and check it out.
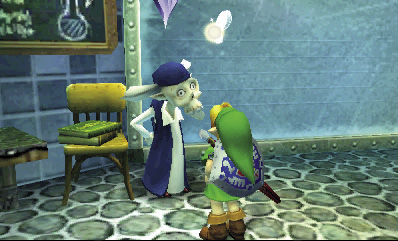
Speak to the old scientist who runs the Marine Research Lab to learn that something’s amiss. The aquatic race known as the Zoras should have dropped off some of their eggs here by now, but they haven’t yet arrived. It seems that the Zoras’ eggs can only hatch in the research lab’s special aquarium, where the conditions are just right. The old scientist wonders if something tragic might have happened at Zora Hall.
Charting the Waters
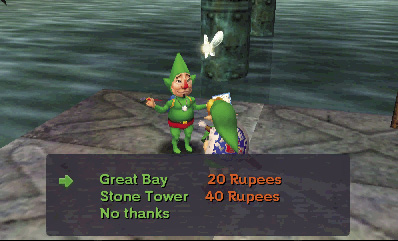
There isn’t much you can do in the Marine Research Lab, so head back outside. Look up and notice your old pal Tingle floating around in his red balloon. Pop his balloon with an arrow to knock Tingle down, then descend the ladder and purchase his Great Bay map for 20 Rupees.
Great Bay Map
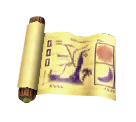
You got a map of Great Bay! Now you can find your way around the seashore. The red arrow on the map shows where you entered, and the yellow arrow shows your current location.
A Friend in Need
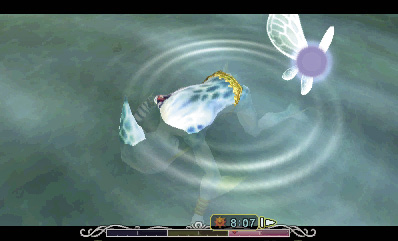
After purchasing Tingle’s map, scan the nearby waters. Something’s floating nearby! Tatl flies to the flotsam; lock on and check it to discover that it’s a Zora.
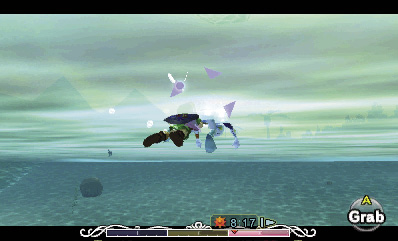
The Zora’s in distress and asks that you help him to shore. Jump into the water, move behind the Zora, and you’ll be able to grab him. Press and hold  to grab the Zora from behind, then swim him to shore.
Mikau’s Mask
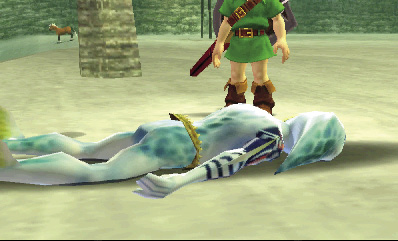
When you finally reach the beach, the Zora struggles to his feet and stumbles away from the water. Approach the Zora and speak to him. The Zora then tells you that his name is Mikau and that he’s a guitarist in the Zora band.
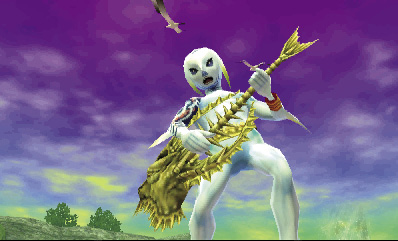
Tell the Zora that you’ll listen to his message, and he’ll suddenly find the strength to play his fishbone guitar. The Zora sings an unusual tale that sheds some light on recent events around the coast. It seems that the Zora band’s female vocalist has laid some eggs and lost her voice in the process. Worse, though, Gerudo Pirates have stolen that poor Zora girl’s eggs. Mikau tried to stop the Gerudo Pirates, but he got himself beaten up pretty badly. That’s why he was in such a state when you found him.
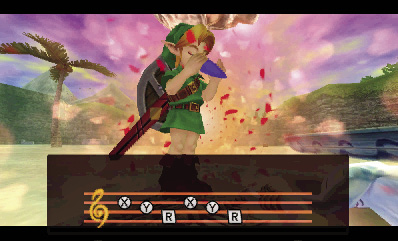
Mikau’s song ends with a hint that he wishes someone would rescue the Zora girl’s eggs and heal his soul. You know what to do. Whip out your ocarina, and play the Song of Healing. The magical melody sooths Mikau’s soul and allows him to find peace. After Mikau fades away, a special mask is left behind.
Zora Mask

You got the Zora Mask! This mask contains the spirit of a legendary guitarist. Wear the mask to inhabit the body of a Zora. Take it off to return to normal.
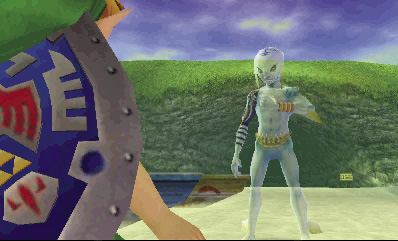
Mikau’s spirit appears before Link after he picks up the Zora Mask. He tells Link that he’s depending on him to help the Zora singer girl, and then he fades away.
Mikau’s Grave
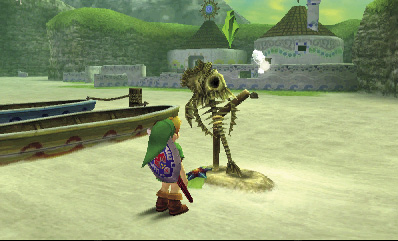
After Mikau’s spirt departs, Link comes out of his trance and finds a grave before him. Inspect the grave to learn the lyrical advice that Mikau has left behind. Mikau’s lyrics inform you that the Zoras possess sharp fins that allow them to speed through the water. Hold  to swim quickly, and hold
 +
 to swim even faster and shield yourself with magic power. To explore the sea floor, press
 to dive all the way to the bottom and walk around. Whenever you’re walking underwater (or on dry land), you can tap
 to unleash a fast flurry of attacks. You can also hold
 for a moment and then release it to throw your fins in a powerful, long-range double-cutter attack. Press
 +
 to bring up Zora Link’s magic barrier while walking around.
Fishing for a Heart
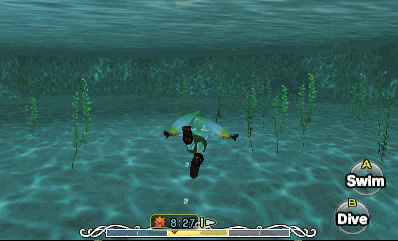
You just got a new mask, so try it out! Slap on the Zora Mask, return to the ocean waves, and hold  to swim north, heading for a lagoon. Beware of the creepy Like Likes that lurk on the ocean floor. Once you’re past the rocks, turn right, and swim east into the lagoon.
Like Like
Damage: 1 Heart
Like Likes are always hungry for items and can devour just about anything Link might be carrying, including his shield. Avoiding these aquatic monsters is best, but Zora Link can defeat Like Likes if you… um, like. Just hold  +
 while swimming or
 +
 while walking to bring up his magic barrier, which makes short work of Like Likes. You can also hold
 and toss Zora Link’s fins to stun a Like Like, letting you close in for a quick fin strike. Slay a Like Like to reclaim any items it may have stolen. When battled on the surface, Link can defeat Like Likes more easily with bombs or the Hero’s Bow.
Surface on the lagoon’s rocky eastern shore, and search for a small pond near the east wall. This pond is filled with little fish; fill all four of your bottles with fish by standing in the pond and scooping them up. (Dump out any Fairies or other items you might be carrying in bottles to make room.)
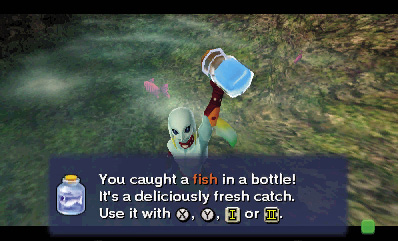
Soar back to the Great Bay Coast owl statue, and climb the nearby ladder to reach the Marine Research Lab. Enter the lab and climb onto the top of the fish tank near the door, which features two mean-looking fish.
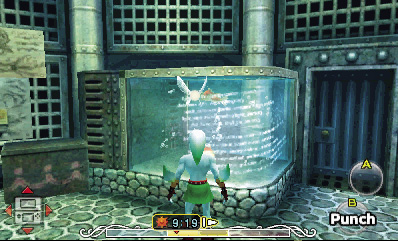
While standing atop the tank, dump out the four fish that you’ve bottled. The fish in the tank gobble them up, growing larger after each snack.
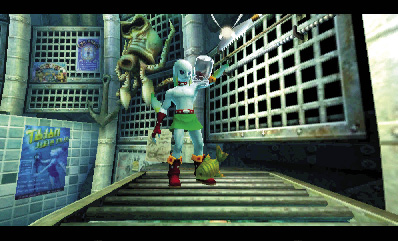
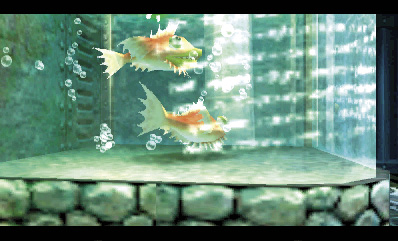
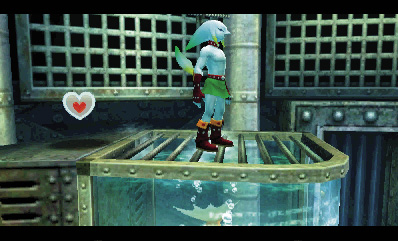
If necessary, return to the fish pond and fill your bottles with more fish, then soar back to the research lab. Continue to dump more fish into the tank to continue the feeding frenzy.
After feeding between four and seven fish to the fish in the tank, one of them grows large enough to gobble up the other. As thanks for all the tasty treats, the fat fish spits up a Piece of Heart.
Piece of Heart #22

You got a Piece of Heart! Collect four Pieces of Heart to assemble a new Heart Container. Each new container you put together increases the amount of life energy you can have.