The Legend of Zelda Majora's Mask 3D Guide Walkthrough Chapter 11: Storming the Stone Tower
Stone Tower Temple
Room 1: Entrance
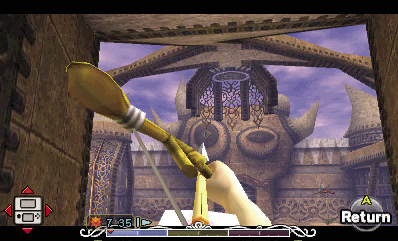
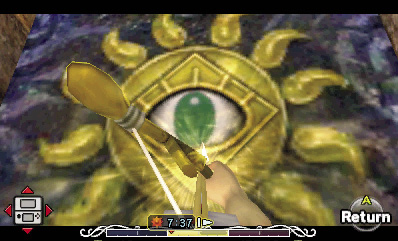
The Stone Tower Temple’s entrance is a spacious, open-air foyer. A massive stone head dominates the far (north) wall. One of the stone head’s eyes is actually an eye switch; shoot it with an arrow to make a treasure chest appear on the central ledge.
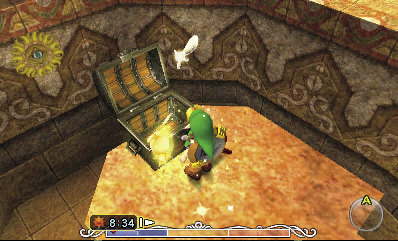
Use more arrows to slay the surrounding Dragonflies and Real Bombchu, then move into position so you can Hookshot over to the chest without falling. Open the chest to free a Stray Fairy, the first of 15 you’ll be finding in the temple.
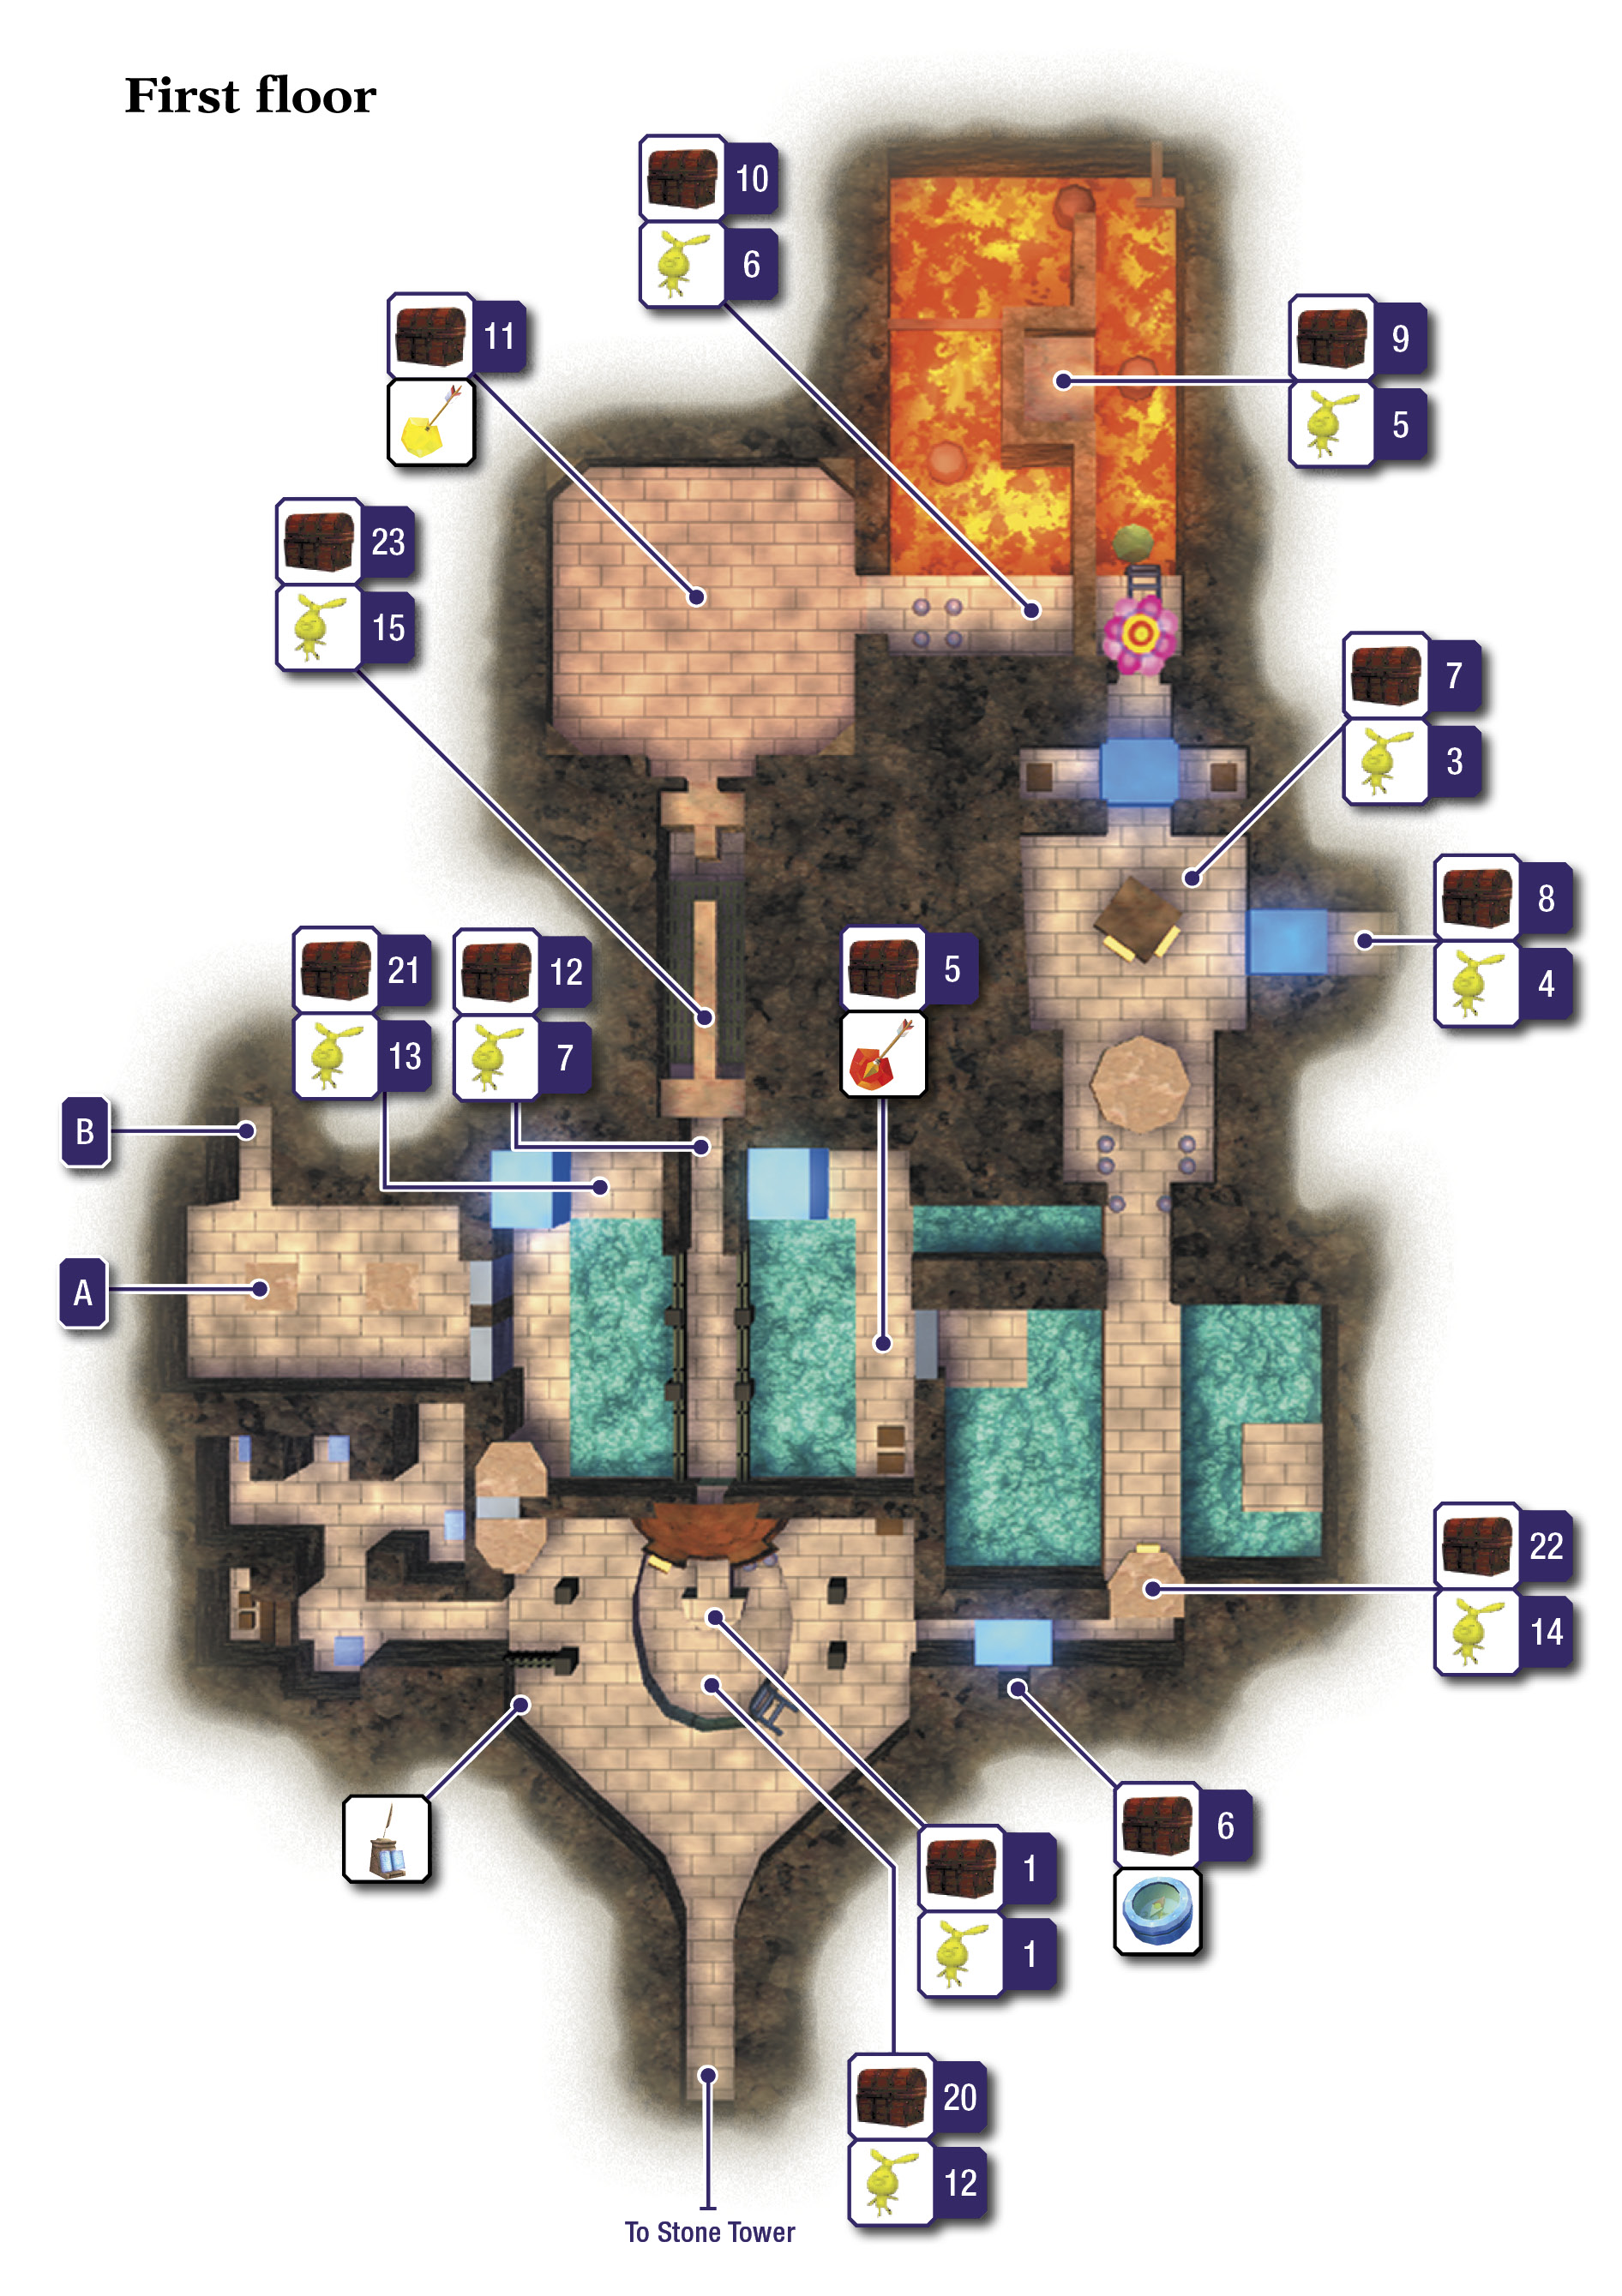
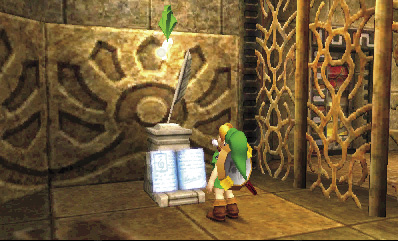
After rescuing the Stray Fairy, leap into the central pit, and use the ladder to climb out. Save your progress at the nearby save statue before going through the west door to reach Room 2.
Room 2: Floor Switch Passage
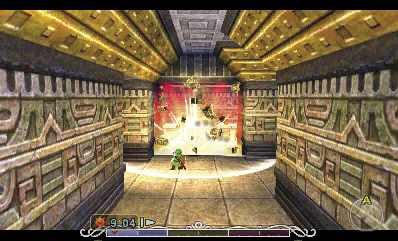
As you enter this winding passage, notice a cracked wall directly ahead of you. Block the Real Bombchus that rush you, then use a bomb or the Blast Mask to blow through the cracked wall and expose a nook with several crates. And, hey, what’s that chest doing on the ceiling?
You can’t open the chest, so ignore it, and roll into the crates to smash them (or use Goron Link’s fists). Smashing the crates exposes a stone block; pull it out of the nook, and shove it onto the nearby floor switch to the south.
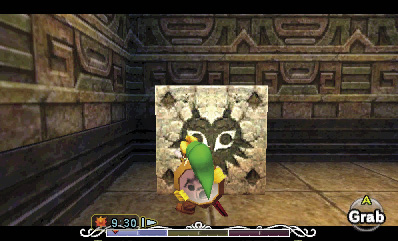
The block sinks a bit once it’s placed, keeping the floor switch depressed. This soon comes in handy.
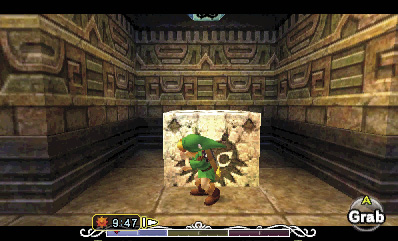
After shoving the block into place, continue exploring the passage to find a bigger floor switch to the northwest that only Goron Link’s weight can trigger. Put on the Goron Mask, stand on the big floor switch, and then play the Elegy of Emptiness to create a clone of Goron Link that keeps the big switch depressed.
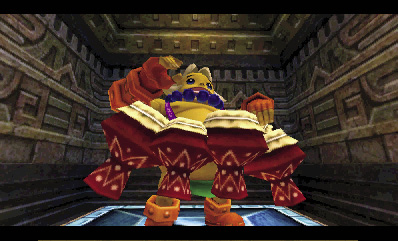
The passage features two more floor switches, both of normal size. Take off the Goron Mask and stand on the nearest switch, then play the Elegy of Emptiness again to create another clone and keep it held down. Repeat this with the remaining floor switch, using the Zora Mask to create a clone of Zora Link.
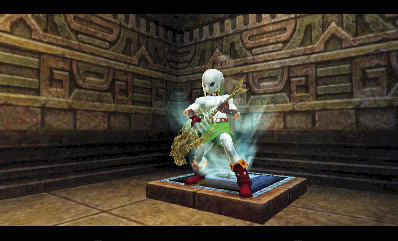
With all four floor switches depressed, a gate rises in the passage, letting you venture into an adjoining courtyard that’s still part of Room 2. Slay the Dragonfly and Guays in the courtyard, and then bomb the dark, cracked patch on the ground that has no plants growing from it.
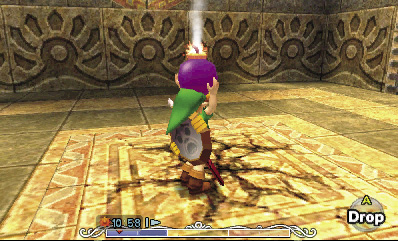
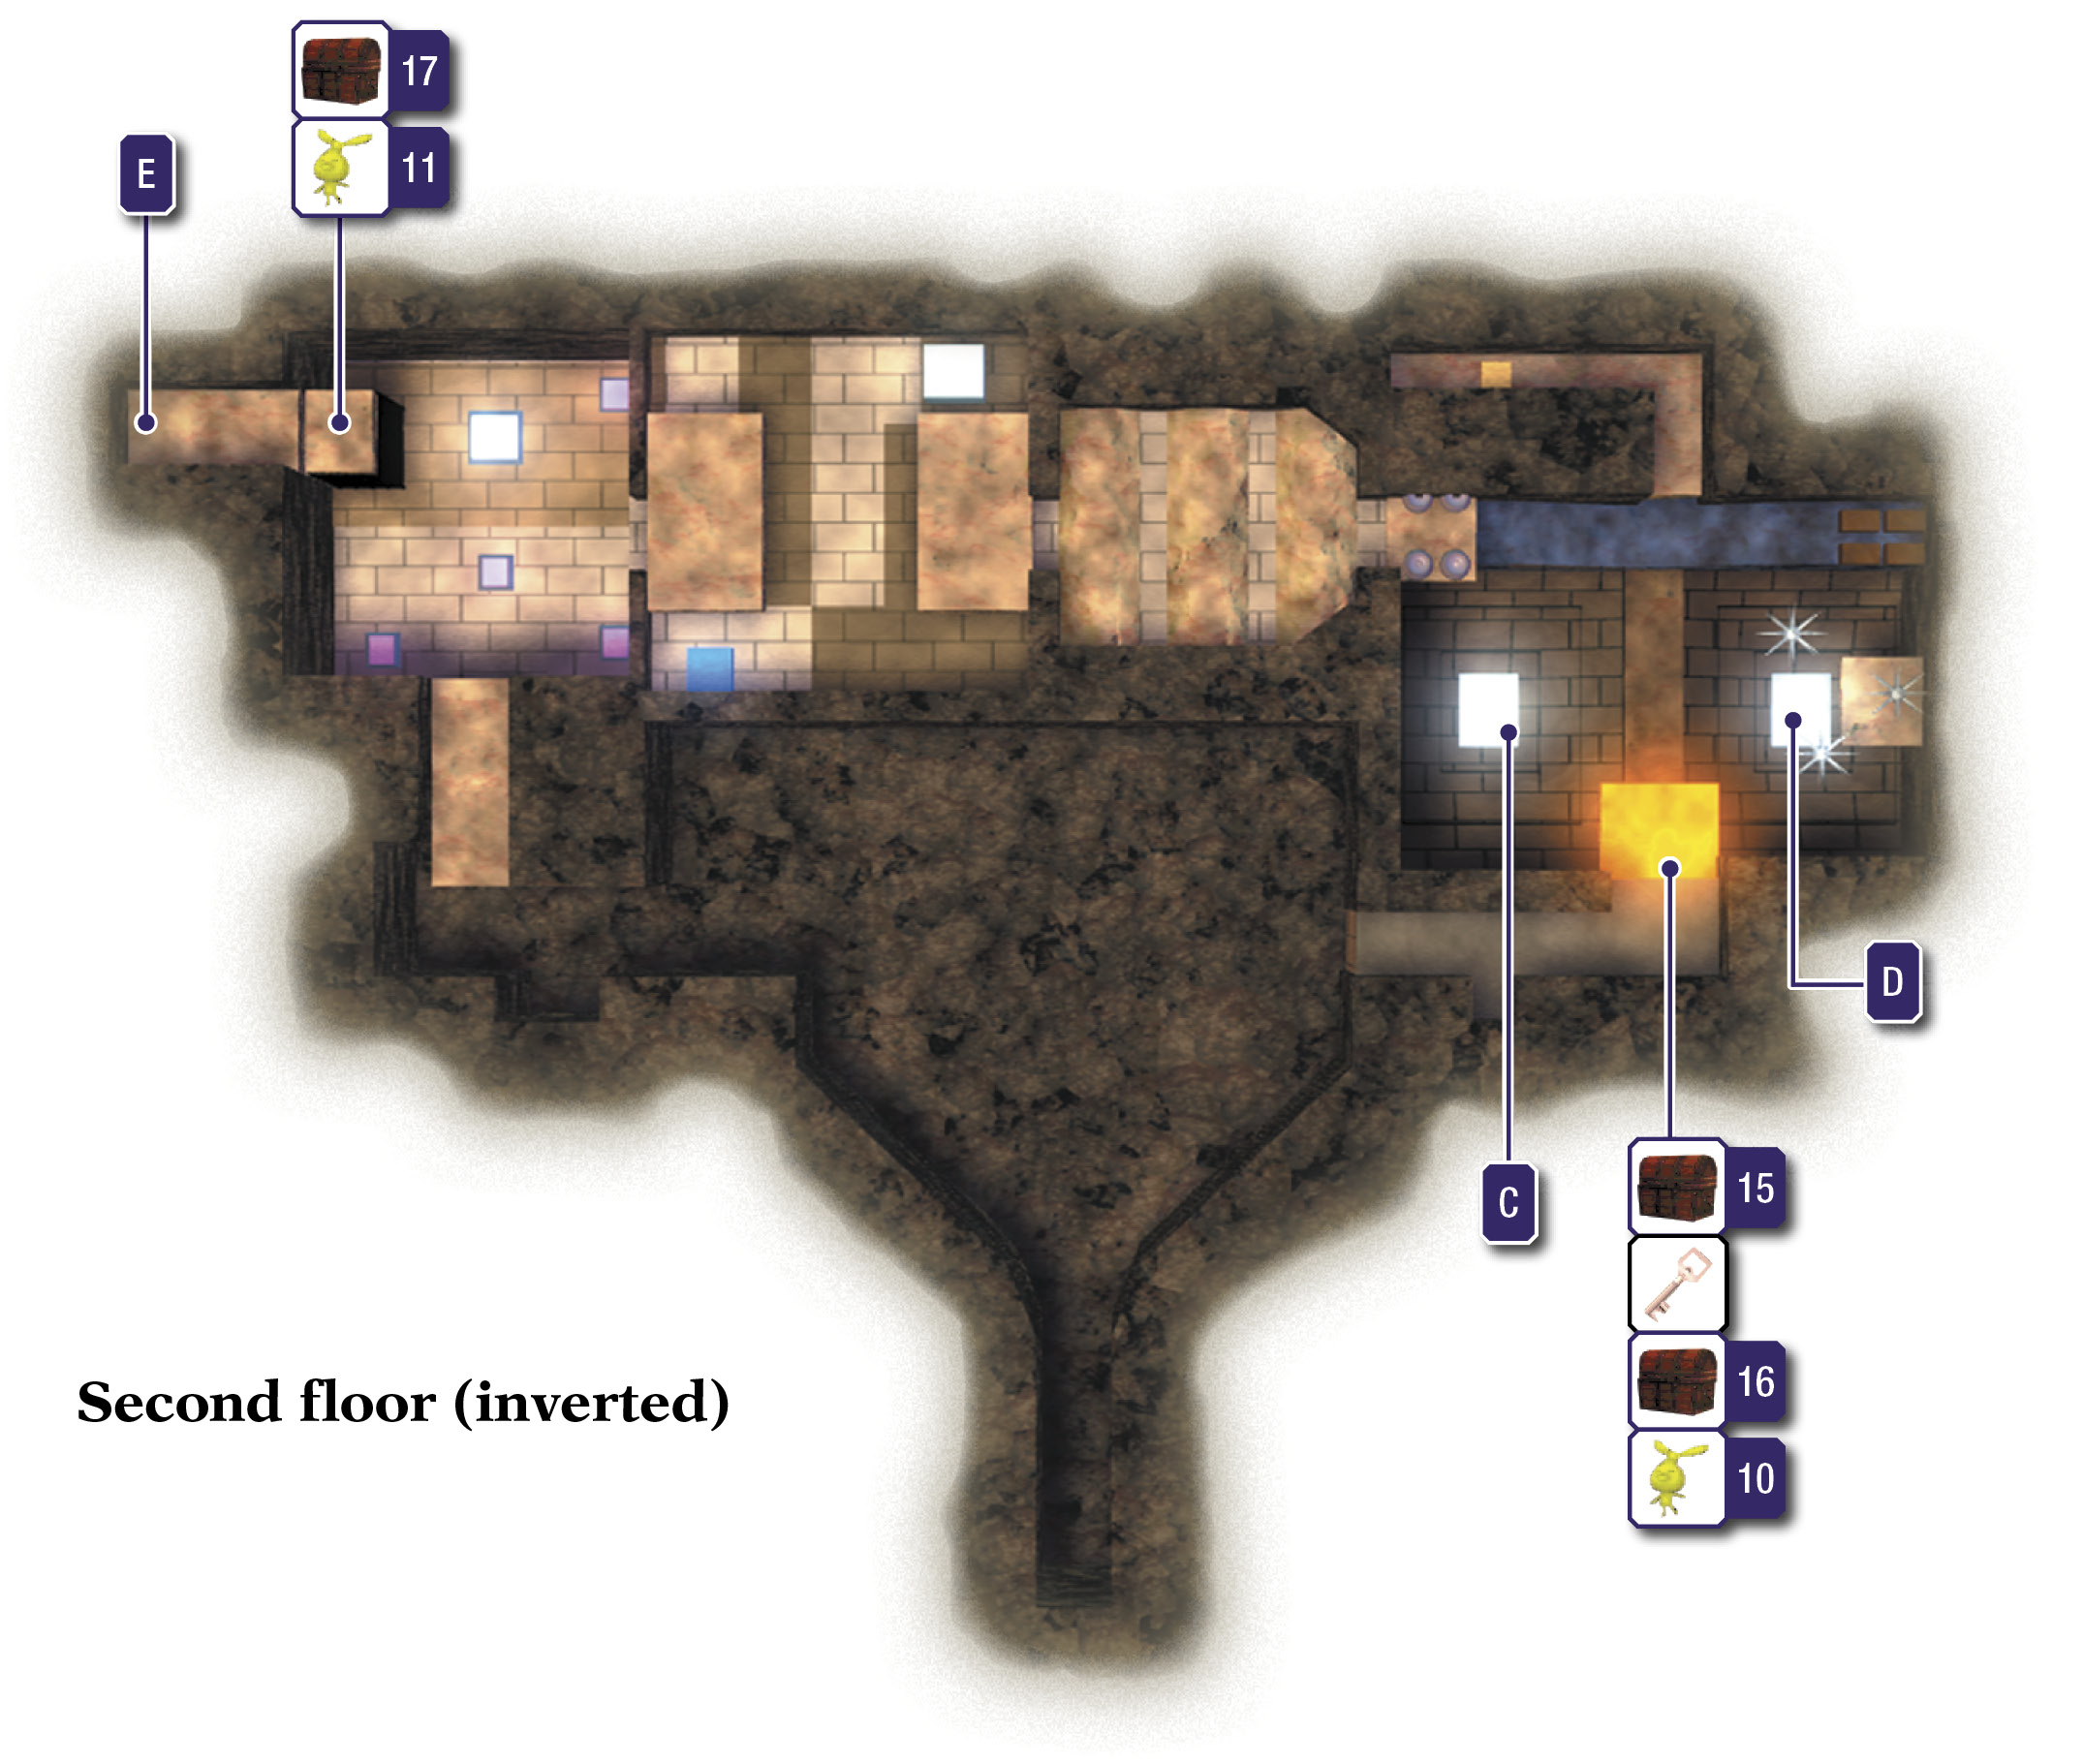
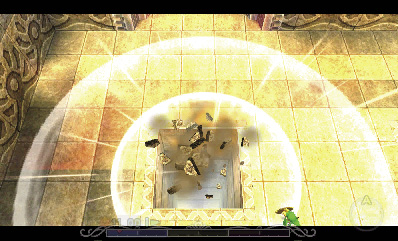
Boom! The bomb blasts a hole through the ground, exposing a new room below Link. Drop down to visit Room 3.
Room 3: Armos Pit
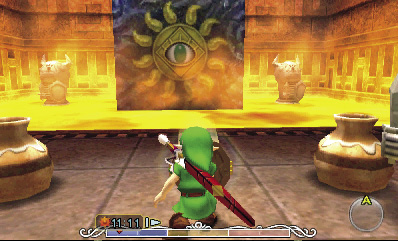
Link lands in a deep, fiery pit that features a sun block, lots of lava, and several creepy statues. Leave the statues be, reflect light at the sun block to make it vanish, and then put on the Goron Mask and cross the lava.
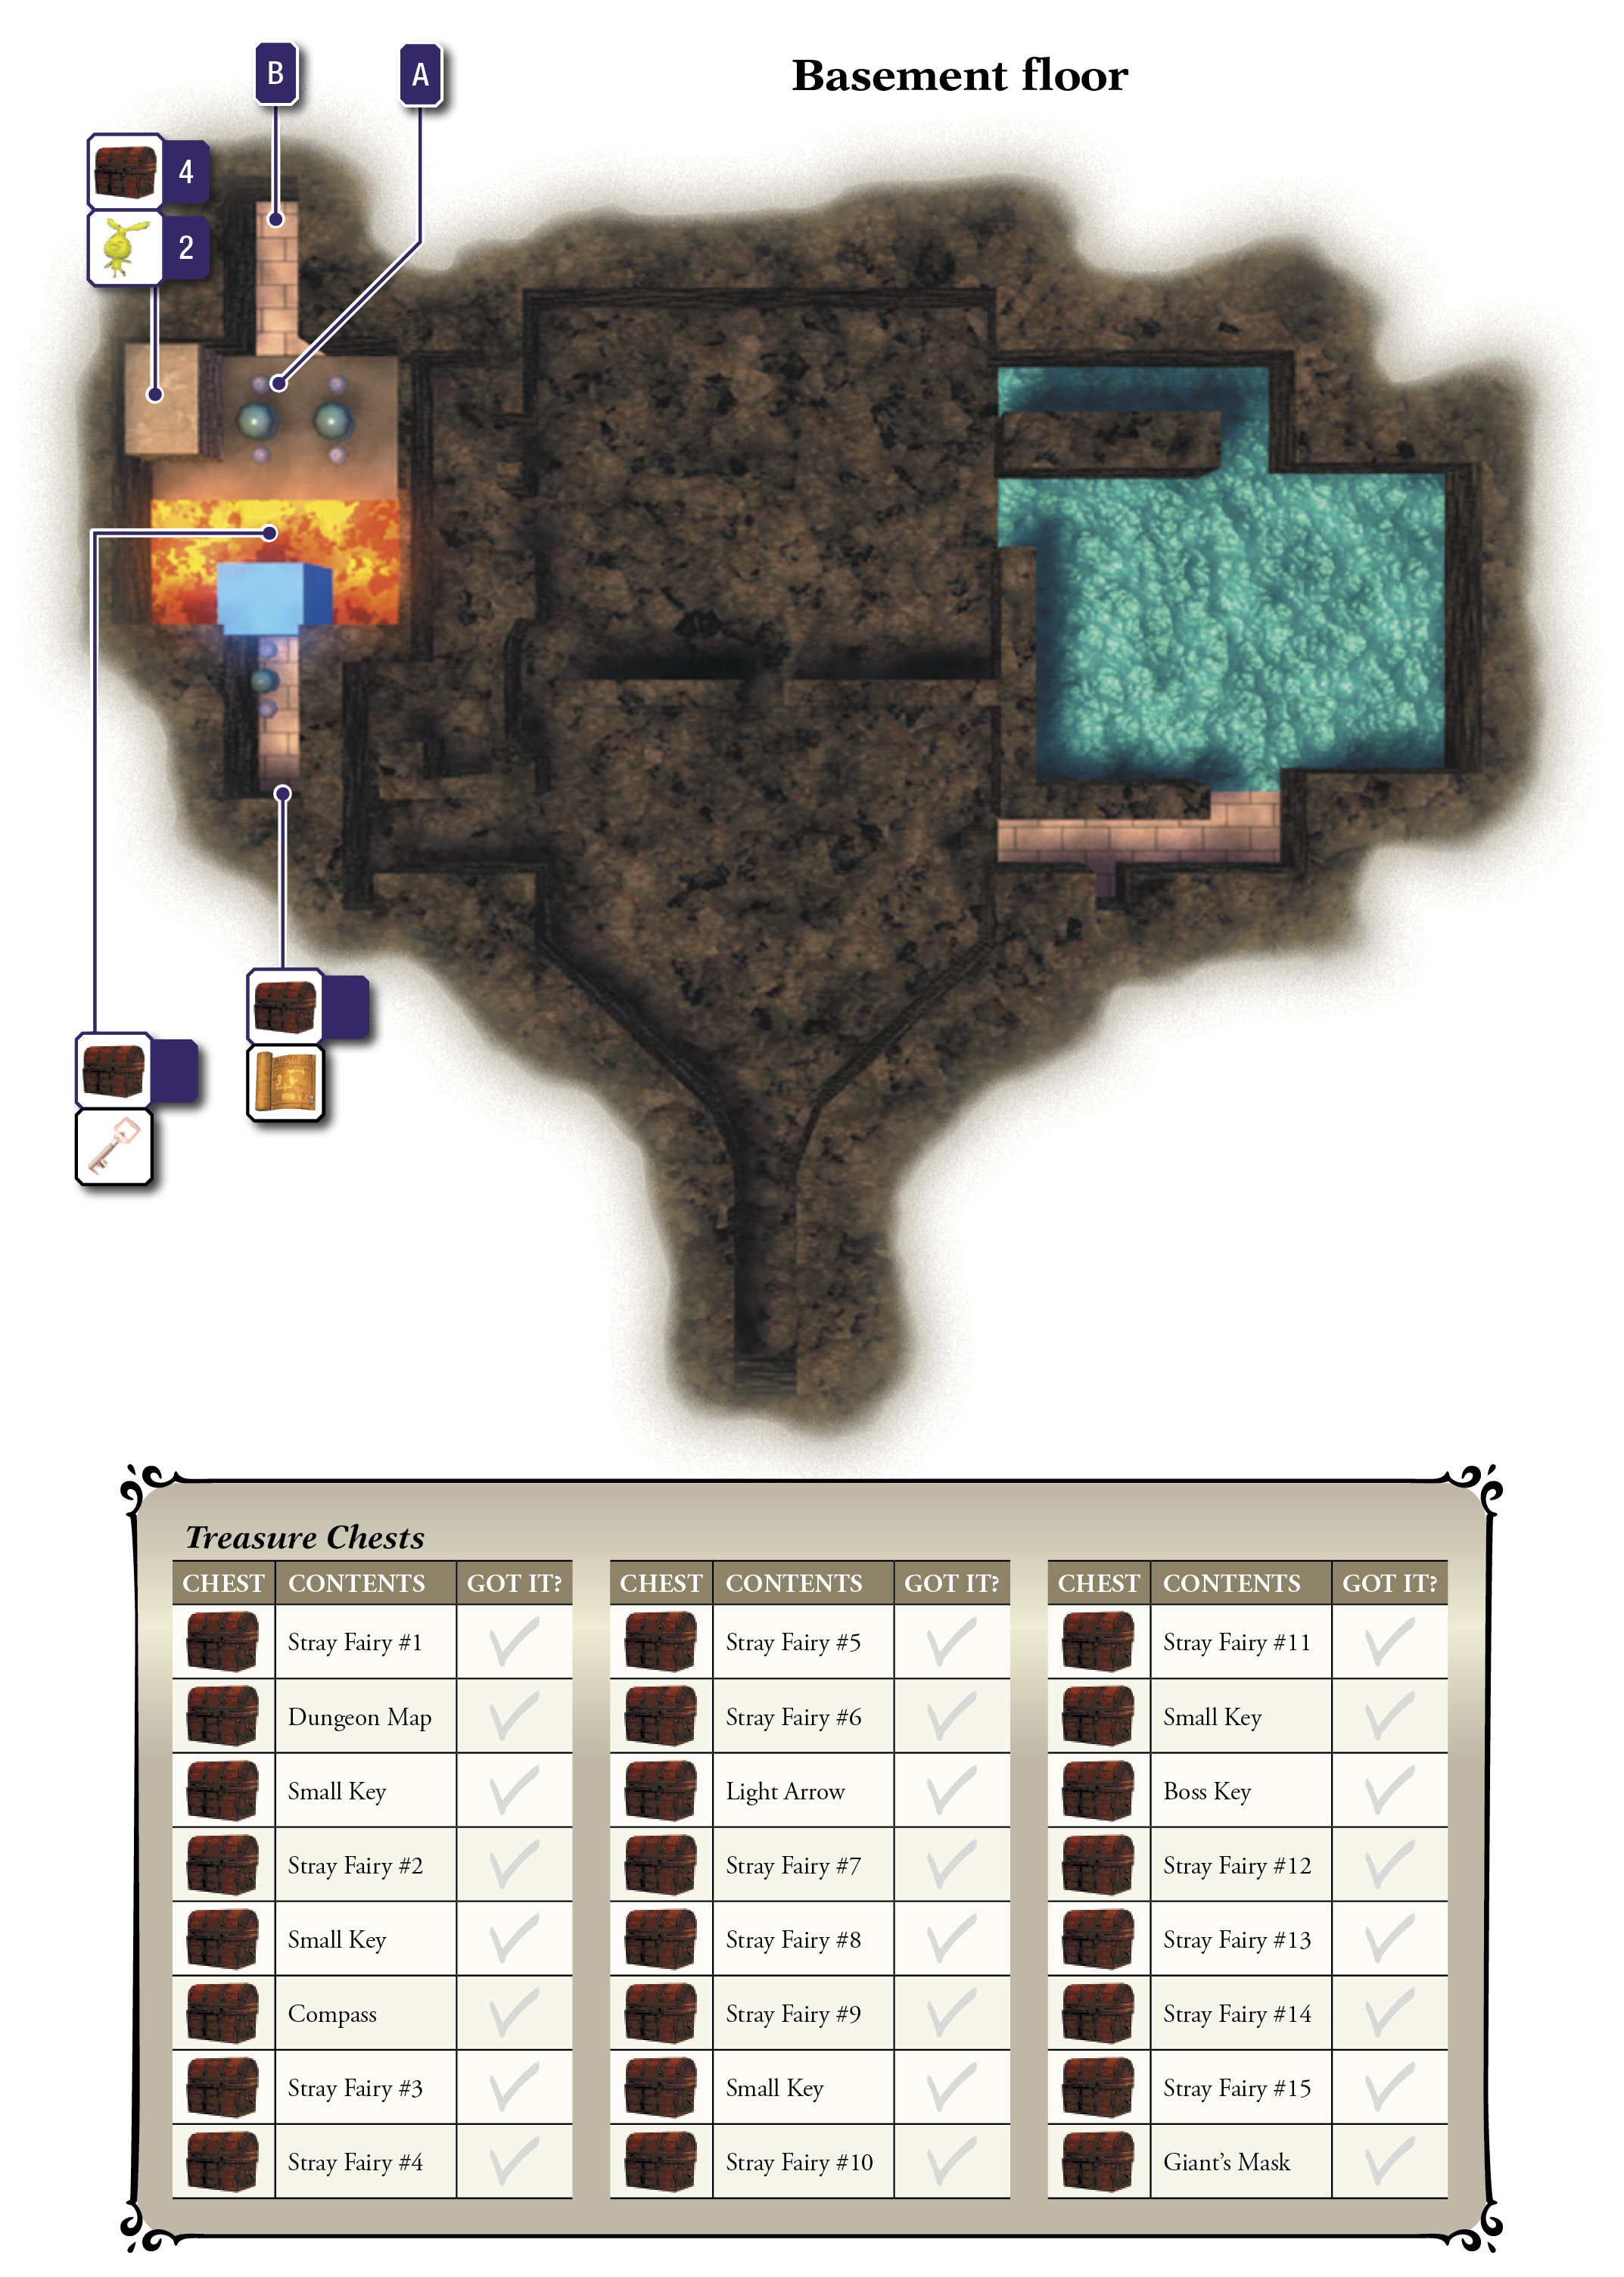
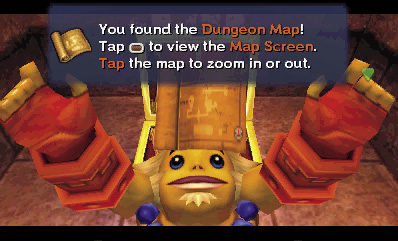
A gilded chest rests in the north alcove. Open it to obtain the Dungeon Map.
Dungeon Map

You found the Dungeon Map! Tap the Map button to view the Map Screen. Tap the map to zoom in or out. When zoomed in, slide to check out different areas of the map. Select the floor you want to view from the bar on the right.
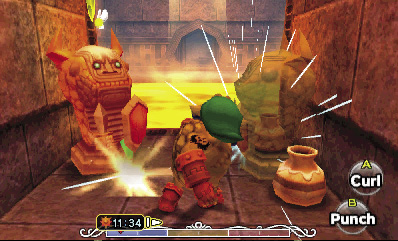
After claiming the Dungeon Map, punch the nearby Armos statues, but look out—they spring to life! Punch them again to damage them, then run away or hold ) to defend yourself before they explode. Do the same to the two Armos statues on the lava, as well.
Armos
Damage: 1/2 Heart
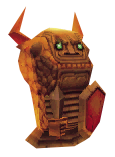
These stalwart statues seem harmless until they’re struck, but then they become hopping mad. Once awoken, Armos hop after Link, harming the hero if they slam into him. It’s usually best to leave Armos be, but you can also place a bomb near them and blast them to bits with minimal risk.
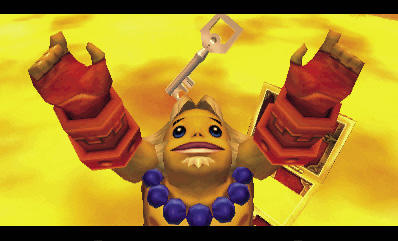
After you have defeated all four Armos statues, a chest appears in the lava. Open it to obtain a Small Key.
Small Key

You got a Small Key! Use it to open a locked door. You can use the key only in this dungeon.
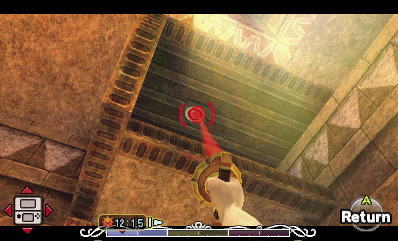
You’re not done here yet. Stand in the sunlight, and look up to spy a Hookshot ring up near the ceiling. Hookshot the ring to reach a small loft with yet another chest. Open this one to free a Stray Fairy.
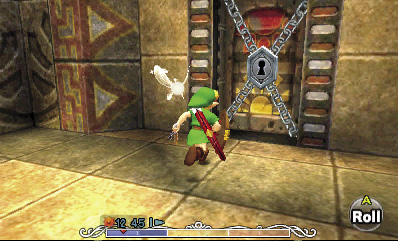
After freeing the Stray Fairy, drop from the ledge, and take the north stairs up to return to Room 2. Use your newfound Small Key to open the east door and visit Room 4.
Room 4: Floating Bridge
This open-air room features a central bridge that floats on water. Put on the Zora Mask, and dive into the blue.
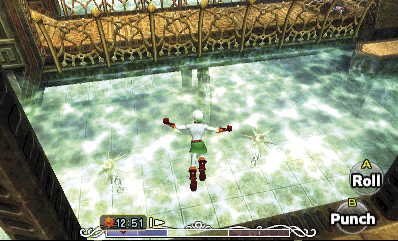
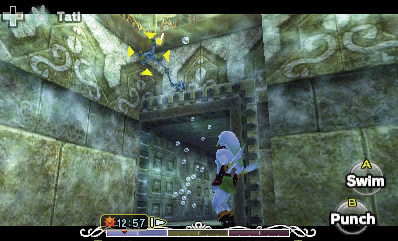
Dive to the bottom of the water, and locate a Dexihand that sticks out of the wall near the northeast tunnel. Land and lock on to the Dexihand, then throw Zora Link’s fins to slay it. Next, swim into the nearby mines to destroy them; you need the room to swim.
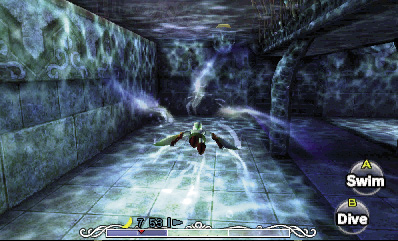
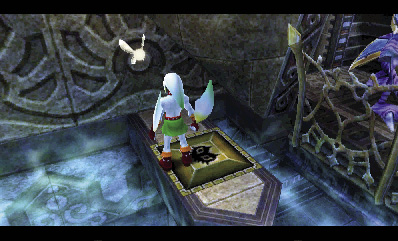
With the east side of the room’s pool free of threats, go to the pool’s northeast corner (near the underwater tunnel). Prepare to make a tricky swimming leap up and out of the water, aiming to land on the tiny south ledge that sports a floor switch. To do this, you must start underwater and swim upward toward the floor switch’s little ledge, holding A + R to swim at top speed.
If you do it correctly, your speed lifts you up out of the water when you reach the surface, causing you to land near the floor switch. It may take a few tries to get it right, so take your time. Step on the floor switch to make a chest appear on the nearby east ledge.
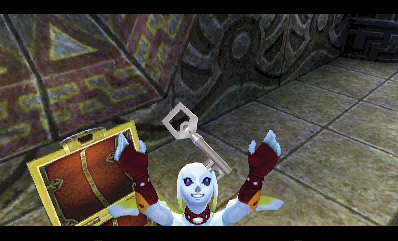
No need for any fancy swimming this time; just swim over and climb onto the east ledge, then open the chest to obtain a Small Key.
Small Key

You got a Small Key! Use it to open a locked door. You can use the key only in this dungeon.
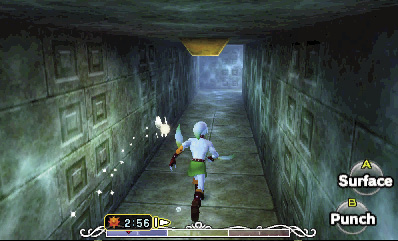
Return to the water, and dive to the bottom again. Enter the northeast underwater tunnel that the Dexihand was guarding to visit Room 5.
Room 5: Chamber of Water
This tall room is mostly filled with water. Sink to the bottom, and defeat all of the Skullfish and Bio Deku Babas. Then, carefully move behind the nearby mines, and step on the floor switch that they’re guarding. Stepping on the switch makes a chest appear above you.
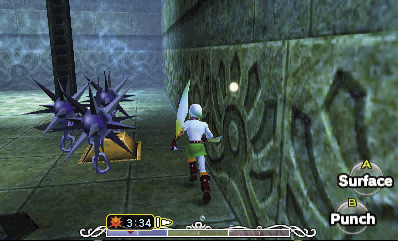
The chest is upside down and can’t be opened. Ignore it for now, then surface and climb onto the central footbridge. Ignore the locked door, and locate a mirror and sun block on the bridge’s other end. Sunlight is shining down on the bridge, but you can’t reflect it at the sun block from this angle. Hold ) and shine light at the mirror on the nearby wall instead.
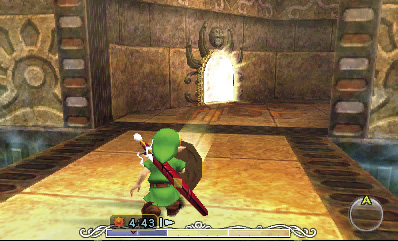
Keep shining the light at the mirror to “charge it” with light. When you stop, the mirror will begin to shine light on its own. The longer you shine light at the mirror, the longer the mirror’s light will shine. But be careful, the mirror can only be charged up so much. Quickly move into the mirror’s light and reflect it at the sun block.
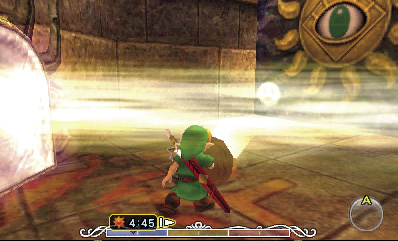
Presto! The sun block vanishes, exposing a passage. Block the Real Bombchu that darts out from the nearby nook, then open the nook’s chest to claim the Compass.
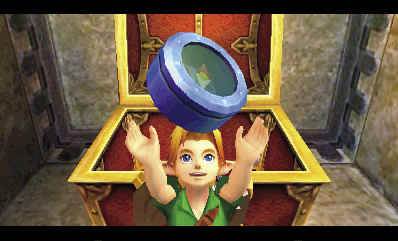
Compass

You found the Compass! Now many of the dungeon’s hidden things will appear on the map.
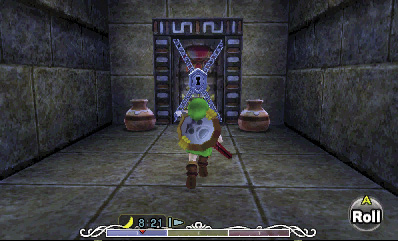
The nearby door leads back to the entrance, but don’t go through. Instead, head back across the footbridge, and open the north locked door with the Small Key you found in Room 4. Go through the door to visit Room 6.
Room 6: Chamber of Light
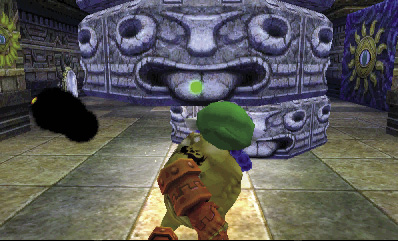
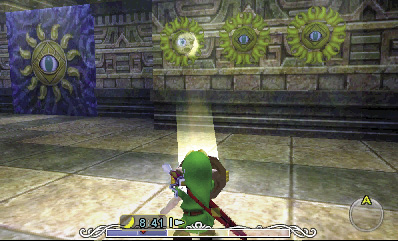
Several sun emblems line this chamber’s walls. Dispatch the roaming Black Boes (they’ll return after a short time), then slap on the Goron Mask and punch the central pillar until sunlight strikes the floor.
Stand in the sunlight, face east, and reflect a beam of light at the east wall’s left (north) sun emblem. This causes a chest to appear in the room. Open it to rescue a Stray Fairy.
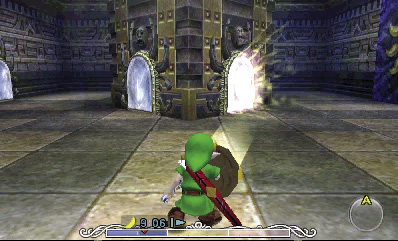
Return to the sunlight, and notice two mirrors near the center of the room. Reflect light at the east mirror (the one on your right) for several seconds (about 10) to charge it full of light. (Remember, the longer you charge up a mirror, the longer its light shines.)
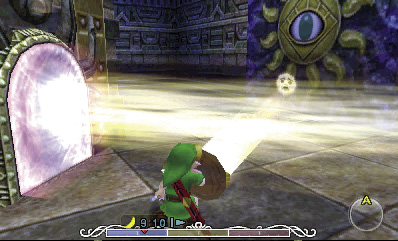
After charging the mirror for several seconds, quickly move into the light that briefly shines from the mirror, and then reflect it at the east sun block.
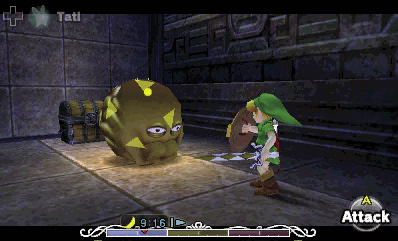
Tada! The east sun block vanishes, exposing a nook with a chest. Block the Nejiron that pops up in front of the chest and quickly slay it with an arrow, then open the chest to free another Stray Fairy.
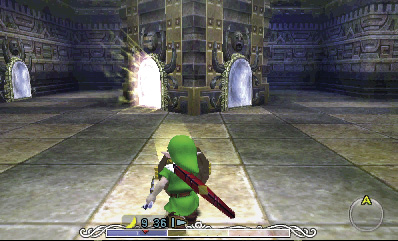
OK, this next part is tricky. Circle the room, and defeat any Black Boes. Keep slaying them until they stop appearing. With the room free of enemies, return to the sunlight, and reflect light at the mirror on your left. Keep shining light at the mirror to charge it all the way.
After charging the mirror, rush into its light, and then immediately shine it at the next mirror on the west wall. Reflect the mirror’s light at this mirror for as long as you can.
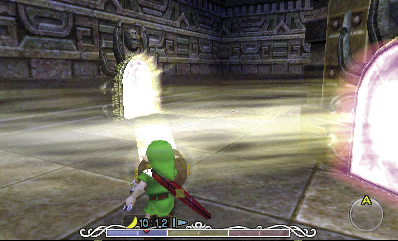
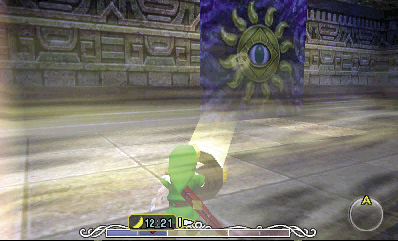
When your mirror runs out of juice, sprint into the west mirror’s light. It won’t last long, so get into position quickly, and shine it at the north sun block. If you run out of time, return to the sunlight and begin the process anew. Remember: the longer you shine light at the mirrors, the longer they’ll cast out light for you to use. Once the north sun block is gone, proceed north into Room 7.
Room 7: Chamber of Fire
The heat of this fiery room is oppressive, but you must venture onward. Don the Goron Mask, and drop to the chamber’s lava-filled bottom. There’s a special floor switch down here that only Goron Link can trigger. Step onto the switch and tap A to curl into a ball, then press B to activate the big floor switch with a Goron Pound.
Triggering the big floor switch briefly banishes some flames that surround a normal-sized floor switch down here in the lava. You only have a few seconds to reach it, so roll north, west, and then south without hitting anything to reach the switch in seconds flat. (You basically just make a big u-turn around the room.) Roll directly onto the switch to activate it before time runs out and the flames return.
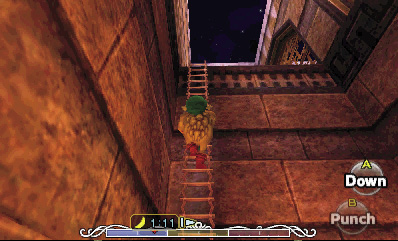
Rolling onto the floor switch removes the flames that surround a chest above you. The race is over now; these flames won’t return. Make your way back around the room, and climb the long ladder to return to the entry ledge.
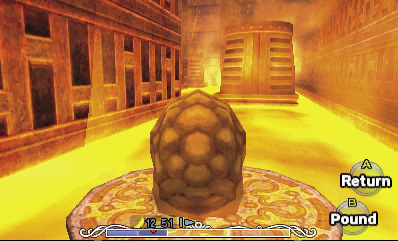
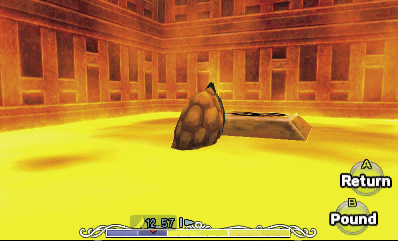
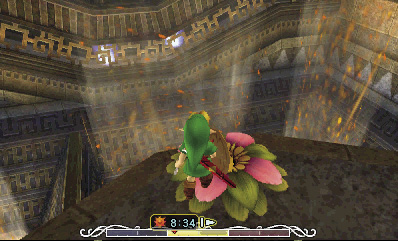
Swap your Goron Mask for the Deku Mask, and dive into the entry ledge’s Deku Flower. Launch out and glide toward the updraft ahead.
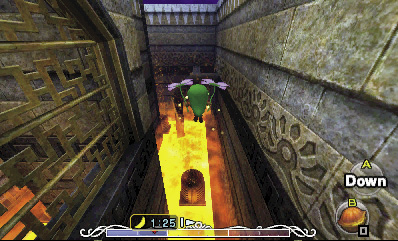
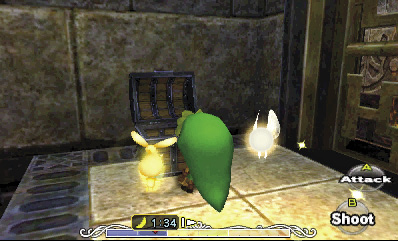
Glide into the updraft to gain some height and extend your glide. Turn left, and land on the Rupee-filled ledge, which also features a chest. Open it to free a Stray Fairy.
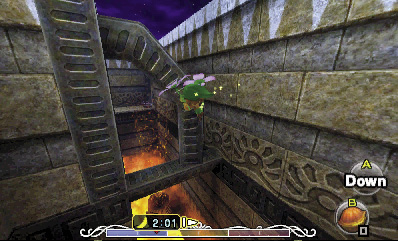
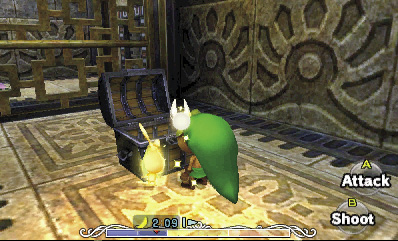
Leap back into the updraft, and remain in the updraft until you reach maximum height. This time, glide north and land on the big steel girders in the room’s northeast corner. From there, leap into the next updraft (the one up north), then glide around to the west updraft. Use that final updraft to gain the height required to reach the southwest ledge.
The southwest ledge sports the chest that had been surrounded by flames before. Open it to free another Stray Fairy, then go through the nearby door to visit Room 8.
Room 8: Garo Master’s Lair
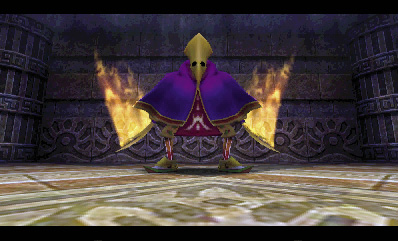
Link is sealed within this room and forced to battle a formidable foe known as the Garo Master. This nimble warrior is tough to keep up with.
Lock on and raise your shield to block the Garo Master’s swift attacks, then quickly counter by stunning the Garo Master with the Hookshot. You must be quick to land the Hookshot against the nimble Garo Master. It’s much easier if you can manage to back the Garo Master close to a wall.
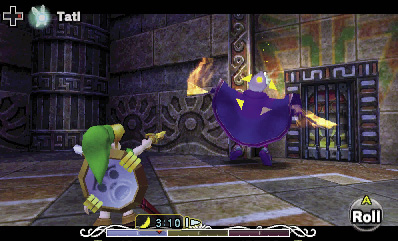
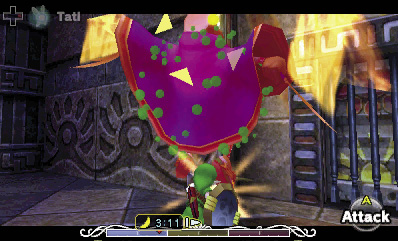
Once you manage to stun the Garo Master, race forward and strike him with Link’s blade, then immediately raise your shield to block his counterattack. Continue the sequence of block, stun, strike, and block, but remember that speed is key. Use the Bunny Hood to help you land your sword strikes, and hold ) to defend throughout the battle whenever you aren’t lashing out.
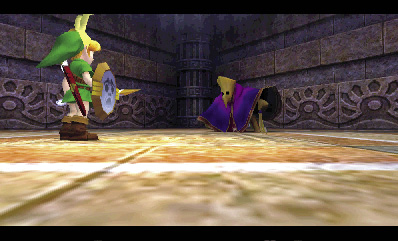
Surprised at Link’s skill, the Garo Master parts with some cryptic words of wisdom: “Shoot that which releases the sacred golden light into the blood-stained, red emblem outside the temple, and it shall rearrange things, in which the earth is born in the heavens and the moon is born on the earth.” What on earth could he be talking about? Perhaps you hit him a little too hard…
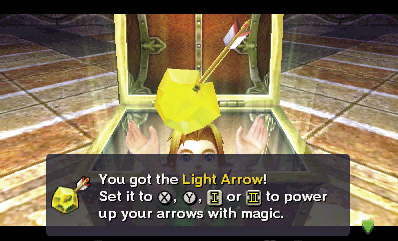
After the Garo Master departs, the room unseals, and a chest appears. Open the chest to obtain the ultimate Hero’s Bow upgrade: the Light Arrow. After claiming the Light Arrow, take the south door to visit Room 9.
Light Arrow
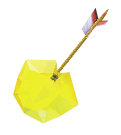
You got the Light Arrow! Use it to power up your arrows with magic. The sacred light of justice resides in these arrows. Aim true to slay evil and light the way.
Room 9: Hiploop Hall
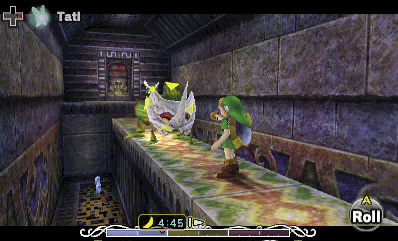
Climb onto the narrow ledge in this tall passage, then leap to the narrow walkway ahead. Lock on to the masked Hiploop that guards the narrow walkway, and use the Hookshot to rip off its mask so you may slay it. If you fall during the effort, Hookshot the ring on the ceiling to return to the entry ledge and try again. Go through the south door to return to Room 4.
Room 4: Floating Bridge (Revisited)
You’re back in the area with the floating bridge, but this time, you’re standing on the bridge itself. Defeat the formidable Eyegore that stands at the bridge’s far end, and then a chest appears. Open it to rescue a Stray Fairy.
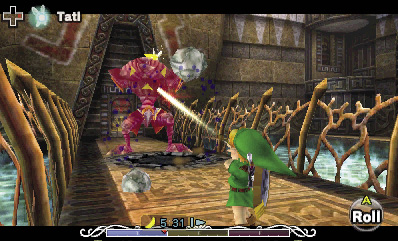
Eyegore
Damage: 1/2 Heart
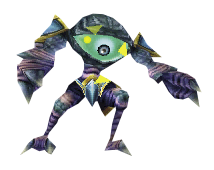
Eyegores are big and mean, and they have only one weakness: their giant eyeballs. Lock on and approach an Eyegore to make it spring to life, then back away from its crushing blows, and quickly shoot its eye with an arrow after you make the monster miss. You may catch some shrapnel produced by the Eyegore’s powerful impact, but don’t let that deter you. Keep dodging and shooting that big ugly eye until you finally beat the beast.
Inverting the Temple
After rescuing Stray Fairy #7, cross the bridge and proceed through the south door. You’ll be back at that temple’s spacious entrance. Leap into the pit, climb up the ladder, and save your game before exiting the temple through the south passage. Don’t worry—you won’t lose any progress.
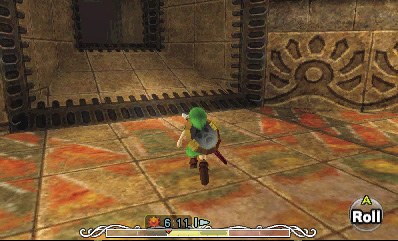
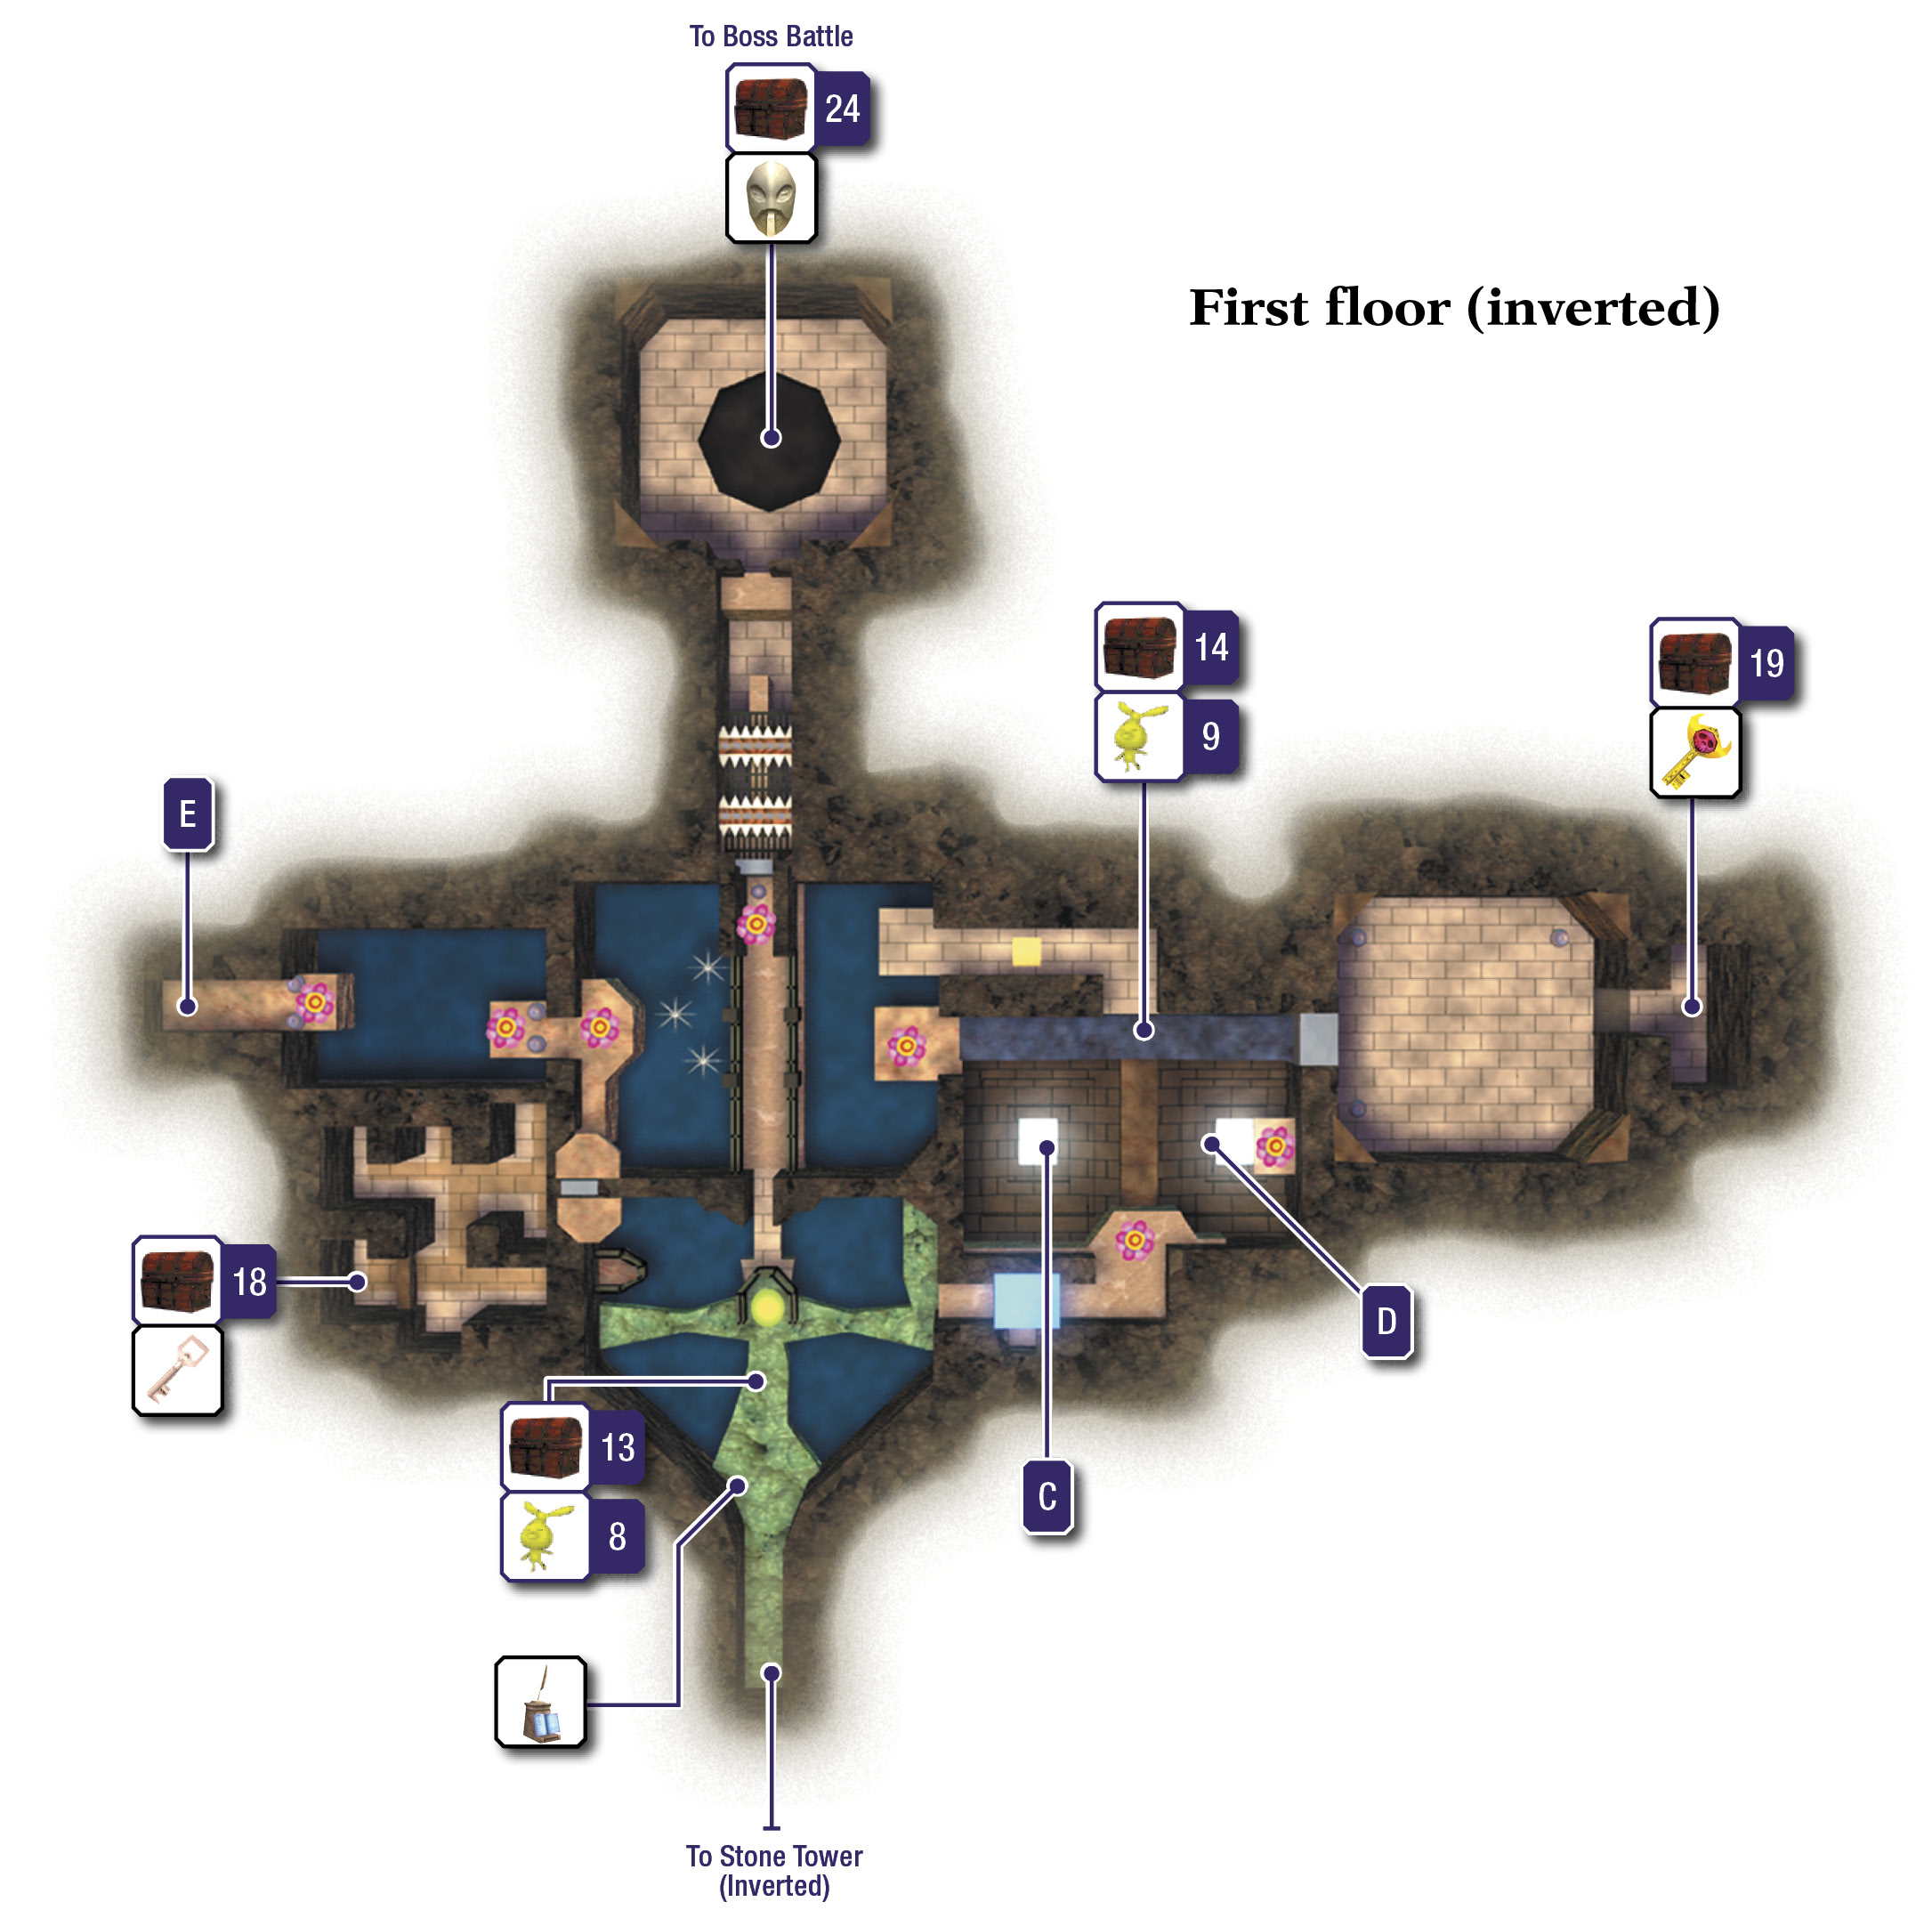
Outside the temple, run forward until you reach the edge of the cliff, then turn around and face the temple. Look up and notice a red emblem above the temple’s entrance. Could this be the same red emblem that the Garo Master was talking about? There’s only one way to find out: shoot it with a Light Arrow.
Activating the red emblem with a Light Arrow flips the entire Stone Tower upside-down. What a trip! Link lands safely back in this new inverted version of the tower, none the worse for wear. Leap back across the floating platforms, and go back in the temple for a completely new experience.
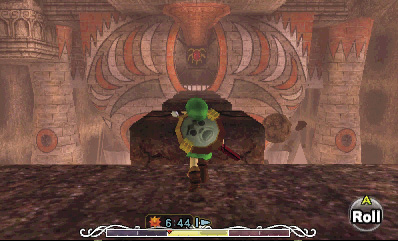
Room 1: Entrance (Inverted)
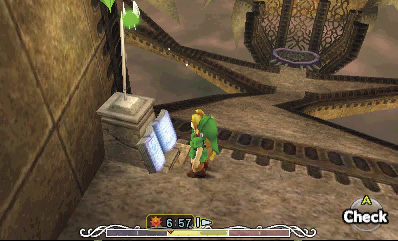
Be careful not to fall as you explore the temple’s open-air entrance; it’s a long way down. Or is it up? …Arg!! Don’t think about it too much—just save your game at the nearby save statue.
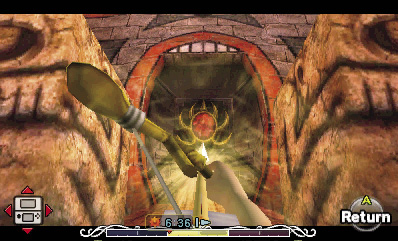
Move to the heart-shaped boss emblem on the floor in the entrance’s center, then turn around and look up. Shoot the sun emblem on the wall high above you with a Light Arrow.
Hitting the high sun emblem with a Light Arrow makes a chest appear nearby. Open the chest to rescue a Stray Fairy, then go through the east door to visit Room 5 (Inverted).
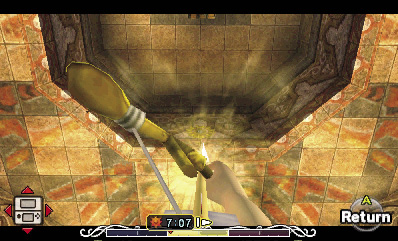
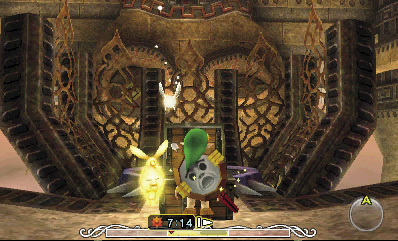
Room 5: Chamber of Water (Inverted)
As you enter this room, a giant sun block presents an immediate obstacle. There’s no sunlight to reflect here, but that isn’t a problem. Just banish the sun block with a Light Arrow instead.
Like the entrance, this room is also inverted (the whole temple is), and its water is now gone. Instead, three giant updrafts have taken the water’s place. You’ll get some use out of the updrafts soon, but for now, simply drop from the entry ledge and land on the ground floor.
After you land, turn around and use a Fire Arrow to trigger the frozen eye switch below the entry ledge. This reveals a chest on a different ledge to the north.
Put on the Deku Mask, and step into the central updraft. Only Deku Link is light enough to be blown upward by updrafts.
Let the central updraft lift you all the way up, and then make a long glide over to the north ledge, which features the chest that you’ve just revealed. You can just barely reach the chest with a long glide from the height of the central updraft. Open it to free another Stray Fairy.
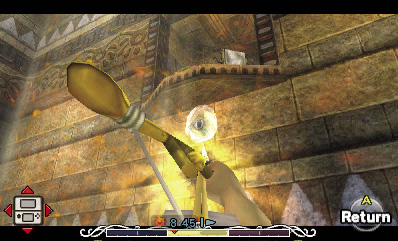
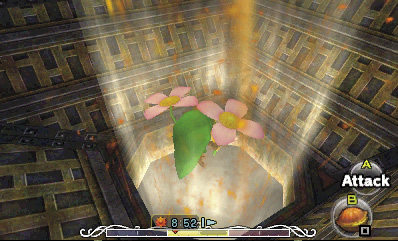
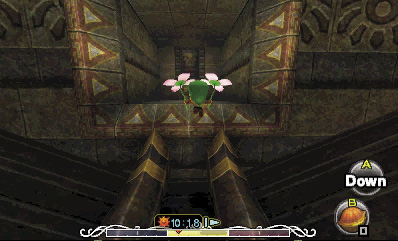
Use the east or west updraft next, which are both taller and stronger than the central updraft, to fly up to the high overhead bridge. Take off the Deku Mask after you land on the bridge, and then rip off the Hiploop’s mask with the Hookshot.
Slay the Hiploop, and then enter the north passage to locate a floor switch. Step on the floor switch to reveal a chest back on the bridge’s other end.
Nice work! Now simply backtrack across the bridge to reach the chest. Open it to pocket a Small Key.
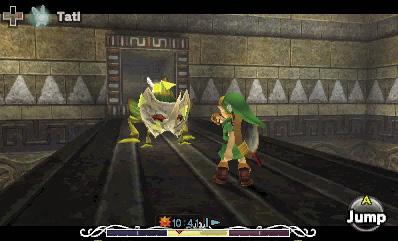
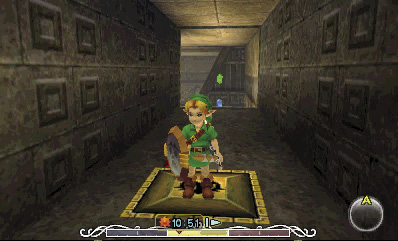
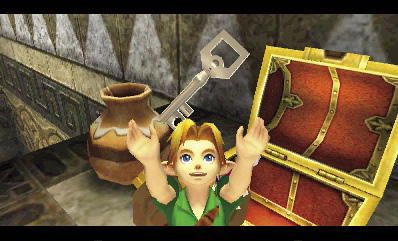
Small Key

You got a Small Key! Use it to open a locked door. You can use the key only in this dungeon.
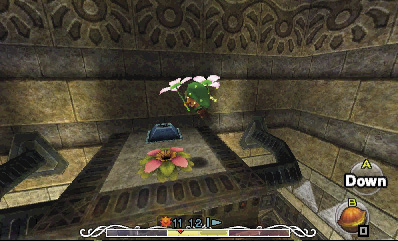
Put on the Deku Mask, and use the room’s east updraft to reach the high east ledge, which features a Deku Flower and a floor switch. Take off the Deku Mask, and trigger the floor switch with Link’s weight to banish the flames that surround a chest high above him. (This is the chest that you revealed during your initial explorations of this room before you inverted the temple, when you triggered the underwater floor switch that was surrounded by mines.)
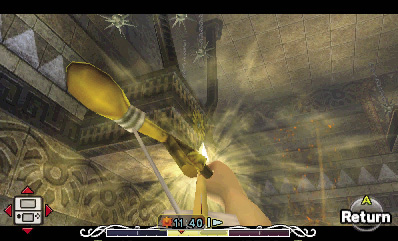
Play the Elegy of Emptiness to leave a clone of Link that holds down the floor switch. Then, fire a Light Arrow at the upside-down sun emblem on the south ledge, above which you can see hanging mines. Hitting the sun emblem causes an upside-down chest to appear on the same ledge, which you won’t be able to open until you restore the temple to its former orientation.
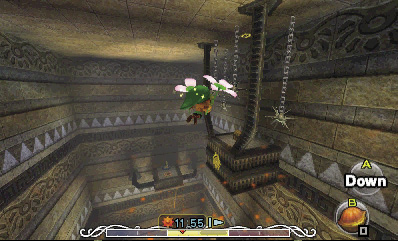
Time to go get the chest that flames surrounded before. Use the west updraft (the strongest one) to reach the south ledge, doing your best to avoid the hanging mines as you glide to the chest. It contains a Stray Fairy.
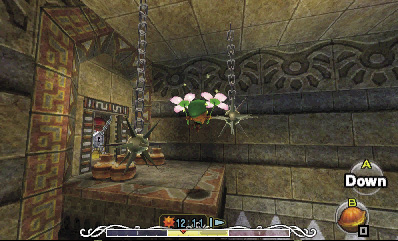
Return to the west updraft again and fly all the way up, then glide over to the room’s high northwest platform. Again, carefully avoid the hanging mines as you make your landing. Smash the jars, and then unlock the nearby door to enter Room 10.
Room 10: Fireball Passage
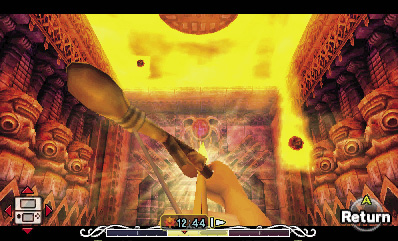
This room features a lava floor, but with the temple inverted, the lava is on the ceiling. Dangerous fireballs rain down, so you should fix that. Shoot the red emblem on the far wall with a Light Arrow to flip the room so that the lava is on the floor where it belongs.
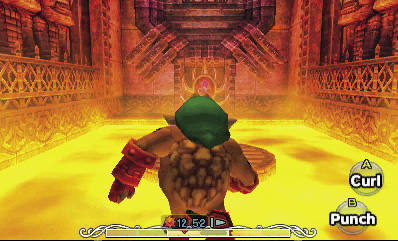
Put on the Goron Mask, and cross the lava. Stand on the central platform, take off the Goron Mask, and then shoot the red emblem again with a Light Arrow to invert the room once more. Afterward, proceed through the west door to enter Room 11.
Room 11: Chuchu Room
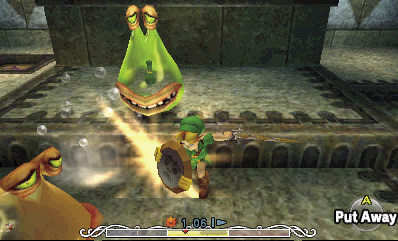
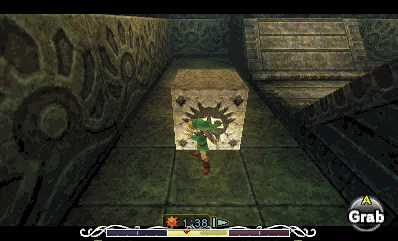
Two Chuchus lurk in this room. They’re an endless source of arrows and Magic Jars, which you could probably use after shooting so many Light Arrows on your way here. Slay the Chuchus, and replenish your arrows and magic power as needed.
Your goal in this room is to move the stone block onto the special slot in the floor that features the same logo that appears on the block. To accomplish this, you’ll need to move the block and use Light Arrows to flip the room several times. Follow these steps:
Shoot the red emblem on the wall with a Light Arrow to flip the room.
Move the stone block close to the center of the room.
Shoot the red emblem on the wall with a Light Arrow to flip the room again.
Move the stone block to the south until you can’t move it anymore.
Shoot the red emblem on the wall with a Light Arrow to flip the room again.
Move the stone block to the west until you can’t move it anymore.
Shoot the red emblem on the wall with a Light Arrow to flip the room again.
Move the stone block into the special slot that features the same logo that appears on the block.
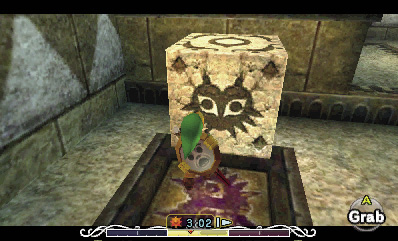
After the stone block has been placed in the slot, the west door unseals. Climb onto the block and leap to the west ledge, then proceed through the west door into Room 3.
Room 3: Armos Pit (Inverted)
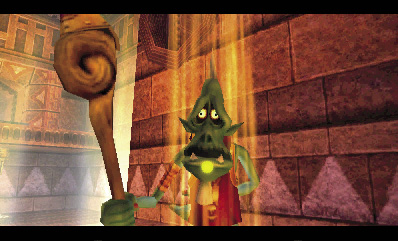
Those evil Armos aren’t around anymore. Instead, the inverted version of this room is home to your old pal Wizzrobe.
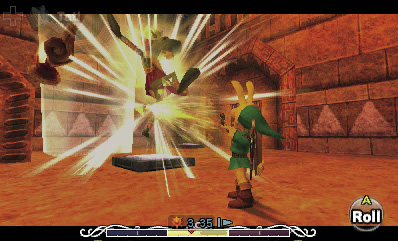
This is your final battle against this sneaky spellcaster, so don’t hold back. Put on the Bunny Hood for extra speed, and rely on Tatl to see where Wizzrobe is going to appear. It takes just four hits with Light Arrows to defeat Wizzrobe. Fight hard until you finally vanquish the villain.
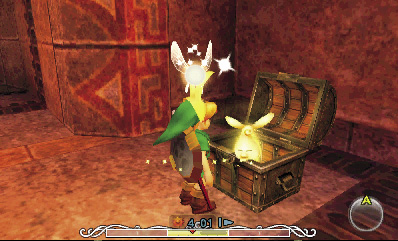
After you defeat the Wizzrobe, a chest appears. Hookshot the chest to reach it, and open it to rescue a Stray Fairy. Proceed down the northwest stairs (the ones near the chest that appeared after you defeated Wizzrobe) to visit Room 2.
Room 2: Floor Switch Passage (Inverted)
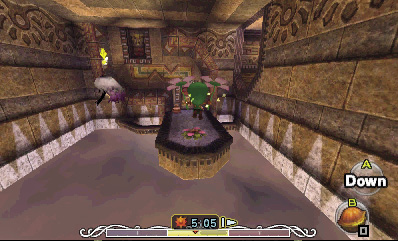
The inverted version of this passage is far more dangerous, as it’s home to pesky Poes. It’s best to avoid these spooky pests. Put on the Deku Mask, and use the entry ledge’s Deku Flower to glide to the east ledge.
Poe
Damage: 1/2 Heart
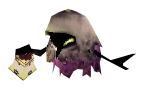
Poes are lowly ghosts that float about, looking for people to pester. They vanish if you (-Target them, making them troublesome foes. Don’t lock on to Poes, but simply cut them down with Link’s blade whenever they draw near. If you like, scoop up their souls into Empty Bottles—you can sell Poes’ souls to the man at the Curiosity Shop in Clock Town during the evenings after 10 p.m.
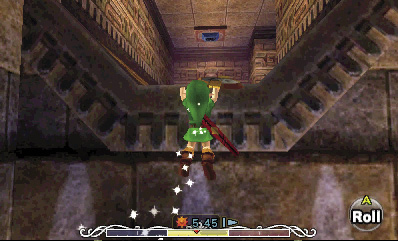
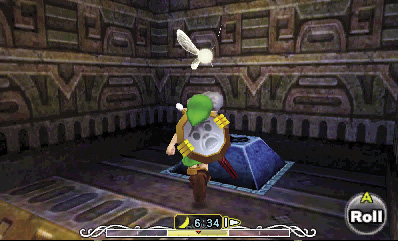
Land on the east ledge, but don’t enter the east door. Instead, take off the Deku Mask, and leap into the high southeast tunnel. Link grabs the tunnel’s edge and pulls himself up.
Use Light Arrows to defeat the deadly Death Armos that patrol the next few passages, or wear the Stone Mask to avoid detection. Make your way south to find a floor switch. Step on the south floor switch to get rid of the flames that surround a nearby chest, then play the Elegy of Emptiness to create a clone that keeps the switch pinned down.
Death Armos
Damage: 1 Heart
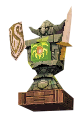
Death Armos are silent stone sentries that stalk the Stone Tower Temple. They float on high and slam down near intruders with great impact, creating a bomb-like quake. To defeat them, strike the emblem on their chest with a Light Arrow to make them flip around, then lure them into slamming down on you. They’ll end up smashing their heads and defeating themselves. Just be sure to defend or flee, for like regular Armos, these guys go boom after they’ve been slain.
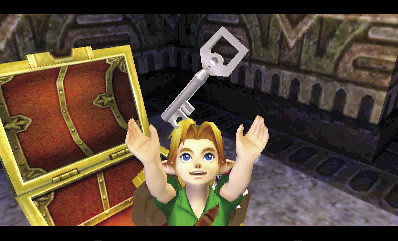
With your clone holding down the south floor switch, defeat the Death Armos that guards the chest, and then open the chest to collect a Small Key. Backtrack through the passage afterward, return to the floorless courtyard with the Deku Flowers, and then go through the east door to advance to Room 4.
Small Key

You got a Small Key! Use it to open a locked door. You can use the key only in this dungeon.
Room 4: Floating Bridge (Inverted)
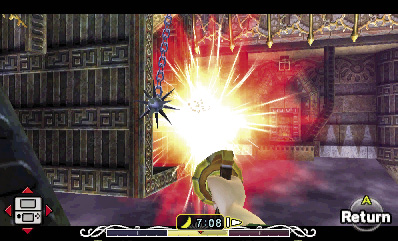
This is the place where you battled the Eyegore atop the floating bridge, but now it’s inverted, presenting new challenges. Use the Hookshot to whack the mines to your left (north), and see if you can detonate them all. Afterward, use the entry ledge’s Deku Flower to glide to the north alcove, which the mines were blocking.
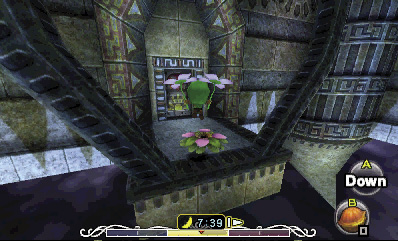
When you land inside the north alcove, defend yourself immediately as the jars here suddenly come flying toward you. Use the alcove’s Deku Flower afterward, and glide to the east ledge. Proceed through the east door to visit Room 7.
Room 5: Chamber of Water (Inverted; Revisited)
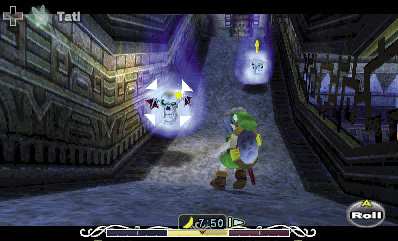
You’re back in the Chamber of Water, exploring a sealed-off central passage that you couldn’t have visited before. Put on the Stone Mask, slay or slip past the Blue Bubbles, and then go through the east door to reach Room 13.
Room 12: Gomess’ Den
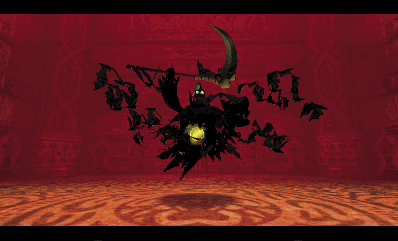
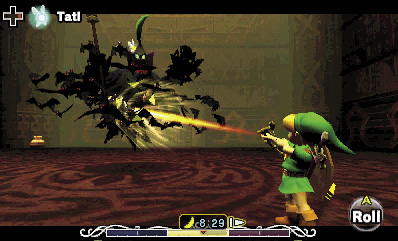
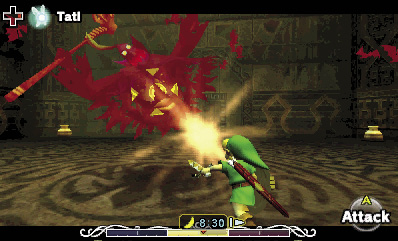
Link is trapped in this room, which is home to a devilish mini-boss known as Gomess. This freaky fiend must be fought.
Gomess surrounds itself in bats and attacks by swinging a massive scythe. Keep your shield up for defense, and maintain your distance from Gomess as you look to shoot the fiend with a Light Arrow.
Hitting Gomess with a Light Arrow banishes its bats for a brief moment. Now’s your chance! Advance and strike Gomess to score damage, then immediately raise your shield to block the villain’s swift counterattack. Fall back and hit Gomess with another Light Arrow, then dive in and strike. Repeat this until Gomess is a goner.
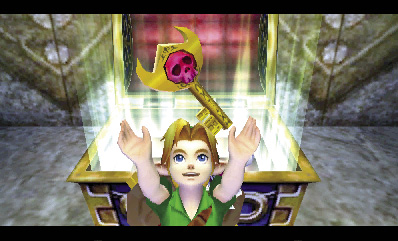
After Gomess falls, the room unseals. Open the ornate chest in the east alcove to claim the Boss Key. With this vital key in hand, exit out to the previous room, and slip past the Blue Bubbles to return to Room 4.
Boss Key
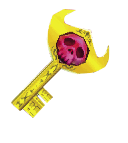
You got the Boss Key! Now you can enter the chamber where the boss lurks.
Room 4: Floating Bridge (Inverted; Revisited)
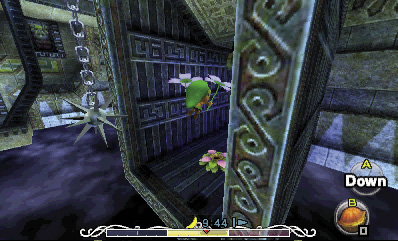
Back in Room 4, Hookshot the distant hanging mines to detonate some of them, and then glide over to the north alcove. Block those sneaky flying jars as you did before, and then use the alcove’s Deku Flower to reach the west ledge. This time, go south and proceed through the southwest door to return to the temple’s entrance.
Room 1: Entrance (Inverted; Revisited)
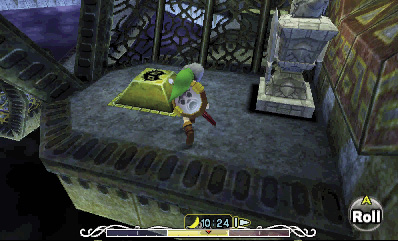
You’re back in the entrance, right near a floor switch that a Death Armos guards. This guy’s a pain, so put on the Stone Mask to avoid detection as you leap over to the floor switch. Step on it to make an upside-down chest appear way up on the ceiling.
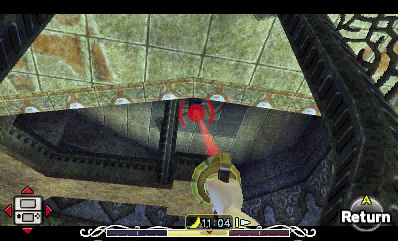
The switch won’t pop back up, so there’s no need to create a clone. You can’t open the chest that you’ve just revealed without restoring the temple, but you can use it as a clever anchor point for your Hookshot. Hit the chest with the Hookshot to zip up to it.
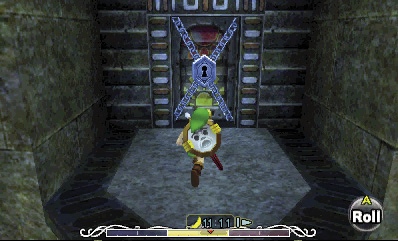
Striking the chest with your Hookshot zips you up to a tiny, high ledge. Cross it, and then open the nearby locked door with the Small Key that you found back in the inverted Floor Switch Passage. The door leads back into Room 4.
Room 4: Floating Bridge (Inverted; Third Visit)
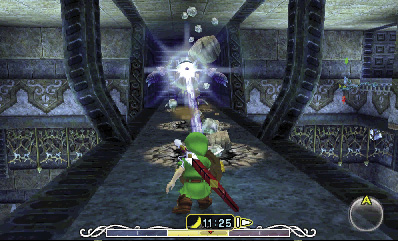
You’re back in the inverted version of Room 4 on the floating bridge where you battled the Eyegore before. Bad luck: the brute is back, and it’s even more dangerous now. Rather than smashing up the ground, this Eyegore fires a mighty laser from its giant eye the moment you arrive. Not cool!
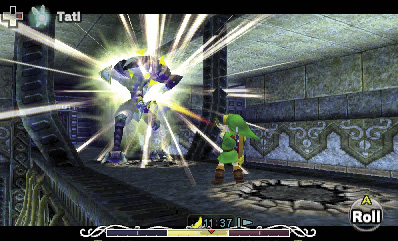
You can’t block the Eyegore’s laser, but you can sidestep it. Do so, and then shoot Eyegore with a Light Arrow to stun the brute. Once stunned, strike its giant eye with another Light Arrow or the Hookshot to score damage. Keep stunning and damaging the Eyegore until the monster finally falls, then proceed through the north door.
Room 9: Hiploop Hall (Inverted)
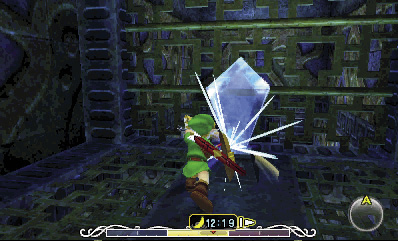
You’ve returned to Hiploop Hall, but now you’re inside the hall’s central cage. Avoid the spike trap as you move to activate the nearby crystal switch with a swing of Link’s sword. Activating the switch causes a chest to appear on the ceiling, but like other chests you’ve seen, you can’t reach it without restoring the temple. You’ll open it soon enough.
Resetting the Temple
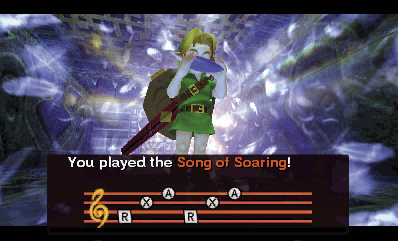
You now have everything you need to challenge the Stone Tower Temple’s boss, but several of the temple’s chests still await plundering. To reach them, you must reset the temple to its original state. Play the Song of Soaring and soar to the temple’s entrance, then save your game and step outside.
Outside the temple, leap to the second floating platform, then turn around and face the temple. Look up and shoot the red emblem on the temple’s wall to flip the Stone Tower again, reverting it back to its proper orientation.
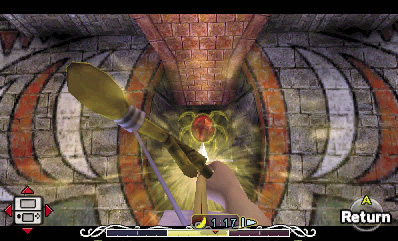
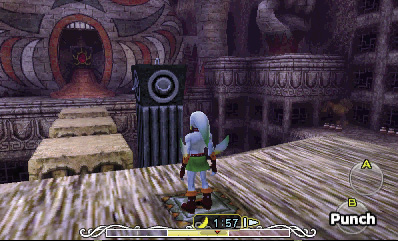
After flipping the Stone Tower, you’ll find yourself standing near the owl statue. You’ll need to align the floating platforms again so that you may reenter the temple. While facing the temple (facing away from the owl statue), create clones on the three nearby switches as follows: right, left, center. Hop across the platforms afterward, and reenter the temple.
Room 1: Entrance (Restored)
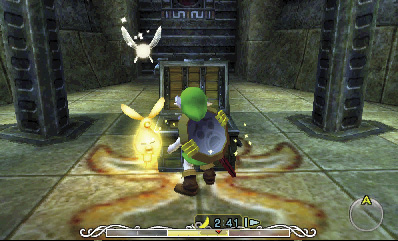
Ah, that’s more like it! The temple is back to its original state, so there’s less risk of falling to your doom now. Drop into the entrance’s central pit, and open the chest that you revealed here while the temple was inverted to rescue a Stray Fairy. Then, climb out of the pit, and save your game on your way to the west door to Room 2.
Room 2: Floor Switch Passages (Restored)
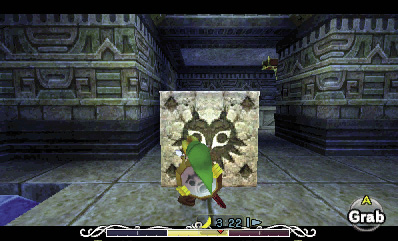
You’re just passing through here, but you’ll need to shove the stone block again and create clones to trigger the four floor switches like you did before. (Remember that only a clone of Goron Link can keep the big floor switch pinned down.) Trigger all four floor switches to access Room 2’s north courtyard, then go through the courtyard’s east door to reach Room 4.
Room 4: Floating Bridge (Restored)
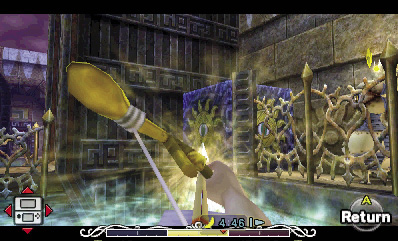
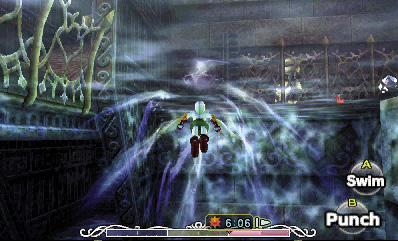
Dive into the water here as Zora Link, and swim over to the east ledge. Climb onto the east ledge, and then shoot the north sun block with a Light Arrow to get rid of it.
Now for the fun part. Dive into the water, and toss Zora Link’s fins to defeat the northeast Dexihand. Swim into the nearby mines to destroy them, then swim down to the southeast. Remember the swimming leap you made here before to reach the south floor switch? Well, now you must make another one and land on the northeast ledge.
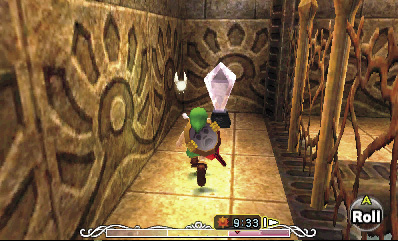
Use A + ) to swim up to the surface at top speed. Time it correctly, and you’ll leap out of the water and land on the northeast ledge. Use a bomb or the Blast Mask to defeat the Beamos that guards the ledge, then strike the crystal switch you find here to reveal a chest over on the northwest ledge.
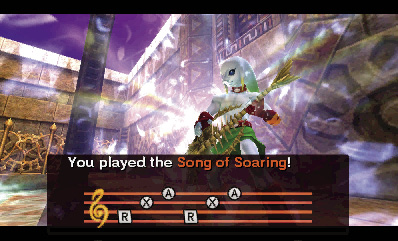
To reach the northwest chest, you must return to the west ledge. You can do this by making another swimming leap out of the water as Zora Link, just as you did to reach the northeast ledge. If you’re having trouble leaping out of the water and landing on the west ledge, you can climb onto the east ledge and then use the Song of Soaring to return to the temple’s entrance. You’ll then simply have to travel back through Room 2 to return to this room’s west ledge.
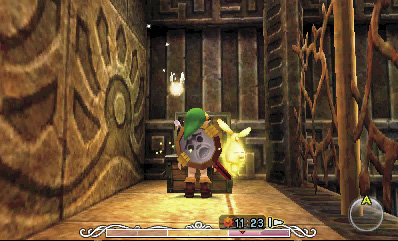
Once you’re back on the room’s west ledge, use a Light Arrow to banish the sun block that’s plugging up the northwest ledge. Bomb the nearby Beamos, and then open the chest that you revealed by striking the northeast ledge’s crystal switch to free a Stray Fairy.
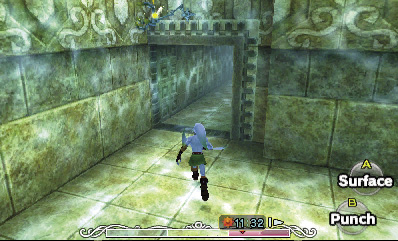
Dive back underwater as Zora Link, and enter the northeast tunnel near the Dexihand. Swim through the tunnel to visit Room 5.
Room 5: Chamber of Water (Restored)
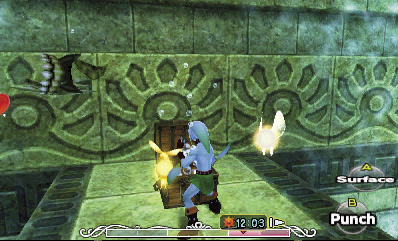
With the temple restored to its original state, you can now reach the chest that you revealed in this room while it was inverted. The chest rests atop the south ledge, which features a sun emblem. Open it to rescue another Stray Fairy. One more to go! Surface, and then go through the north door to visit Room 6.
Rooms 6 through 8 (Restored)
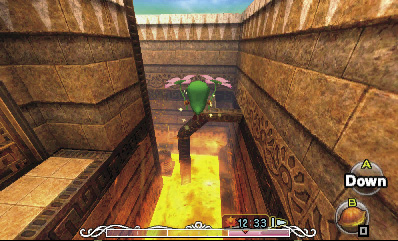
Cut straight through Room 6, taking the north door to return to Room 7. Glide as Deku Link through Room 7, and go through the high southwest door to visit Room 8, where you battled the Garo Master. Take the south door to reach Room 9.
Room 9: Hiploop Hall (Restored)
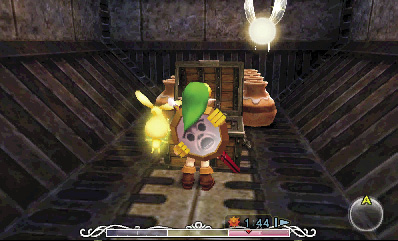
After making the trek to Room 9, drop to the ground floor, and open the chest that you revealed here by striking the crystal switch while the room was inverted. Out pops the last Stray Fairy.
Reaching the Boss Door
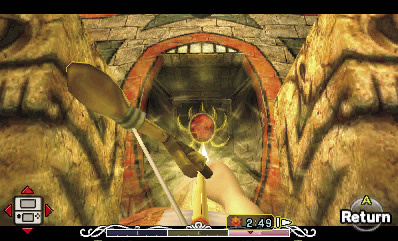
You’ve fully explored the Stone Tower Temple, and all that remains is to defeat the temple’s boss. To do this, you’ll need to invert the temple once more. Soar to the entrance, save and step outside, and then shoot the red emblem on the temple’s exterior.
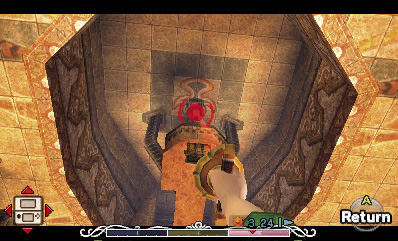
Reenter the temple after inverting it, and go about halfway down the entry walkway. Look up and target the higher of two upside-down chests on the ceiling, both of which you’ve already opened. Aim at the higher chest, and Hookshot up to it to land on a high, narrow walkway. Proceed through the nearby (north) door.
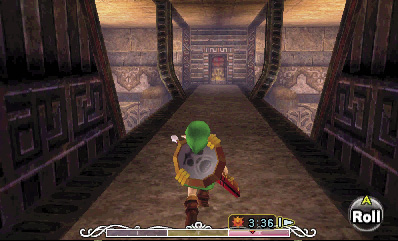
The door leads to the bridge where you battled the enhanced Eyegore. Thankfully, the monster hasn’t returned. Cross the bridge, and enter the north door.
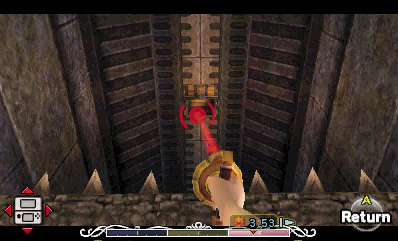
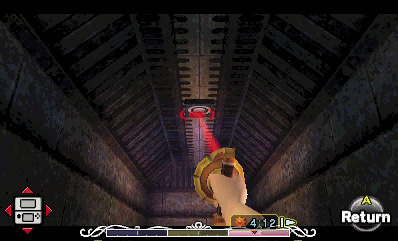
As soon as you enter the next room, look up and notice another upside-down chest on the ceiling. Hookshot up to a higher vantage.
Look out: you land directly near a rolling spike trap! Hold ) to block the trap, and then Hookshot the anchor point on the ceiling to zip past the trap the next time it rolls near.
After passing the spike trap, drop to the bottom of the room, and bomb the Beamos below you. Block the first two jars that come flying toward you, and then smash the rest for items. When you’re ready, proceed through the nearby Boss Door. Drop into the massive hole in the room beyond to advance to the temple’s final battle.