The Legend of Zelda Majora's Mask 3D Guide Walkthrough Chapter 8: Hookshot Heroics
Pirates Fortress (Second Visit)
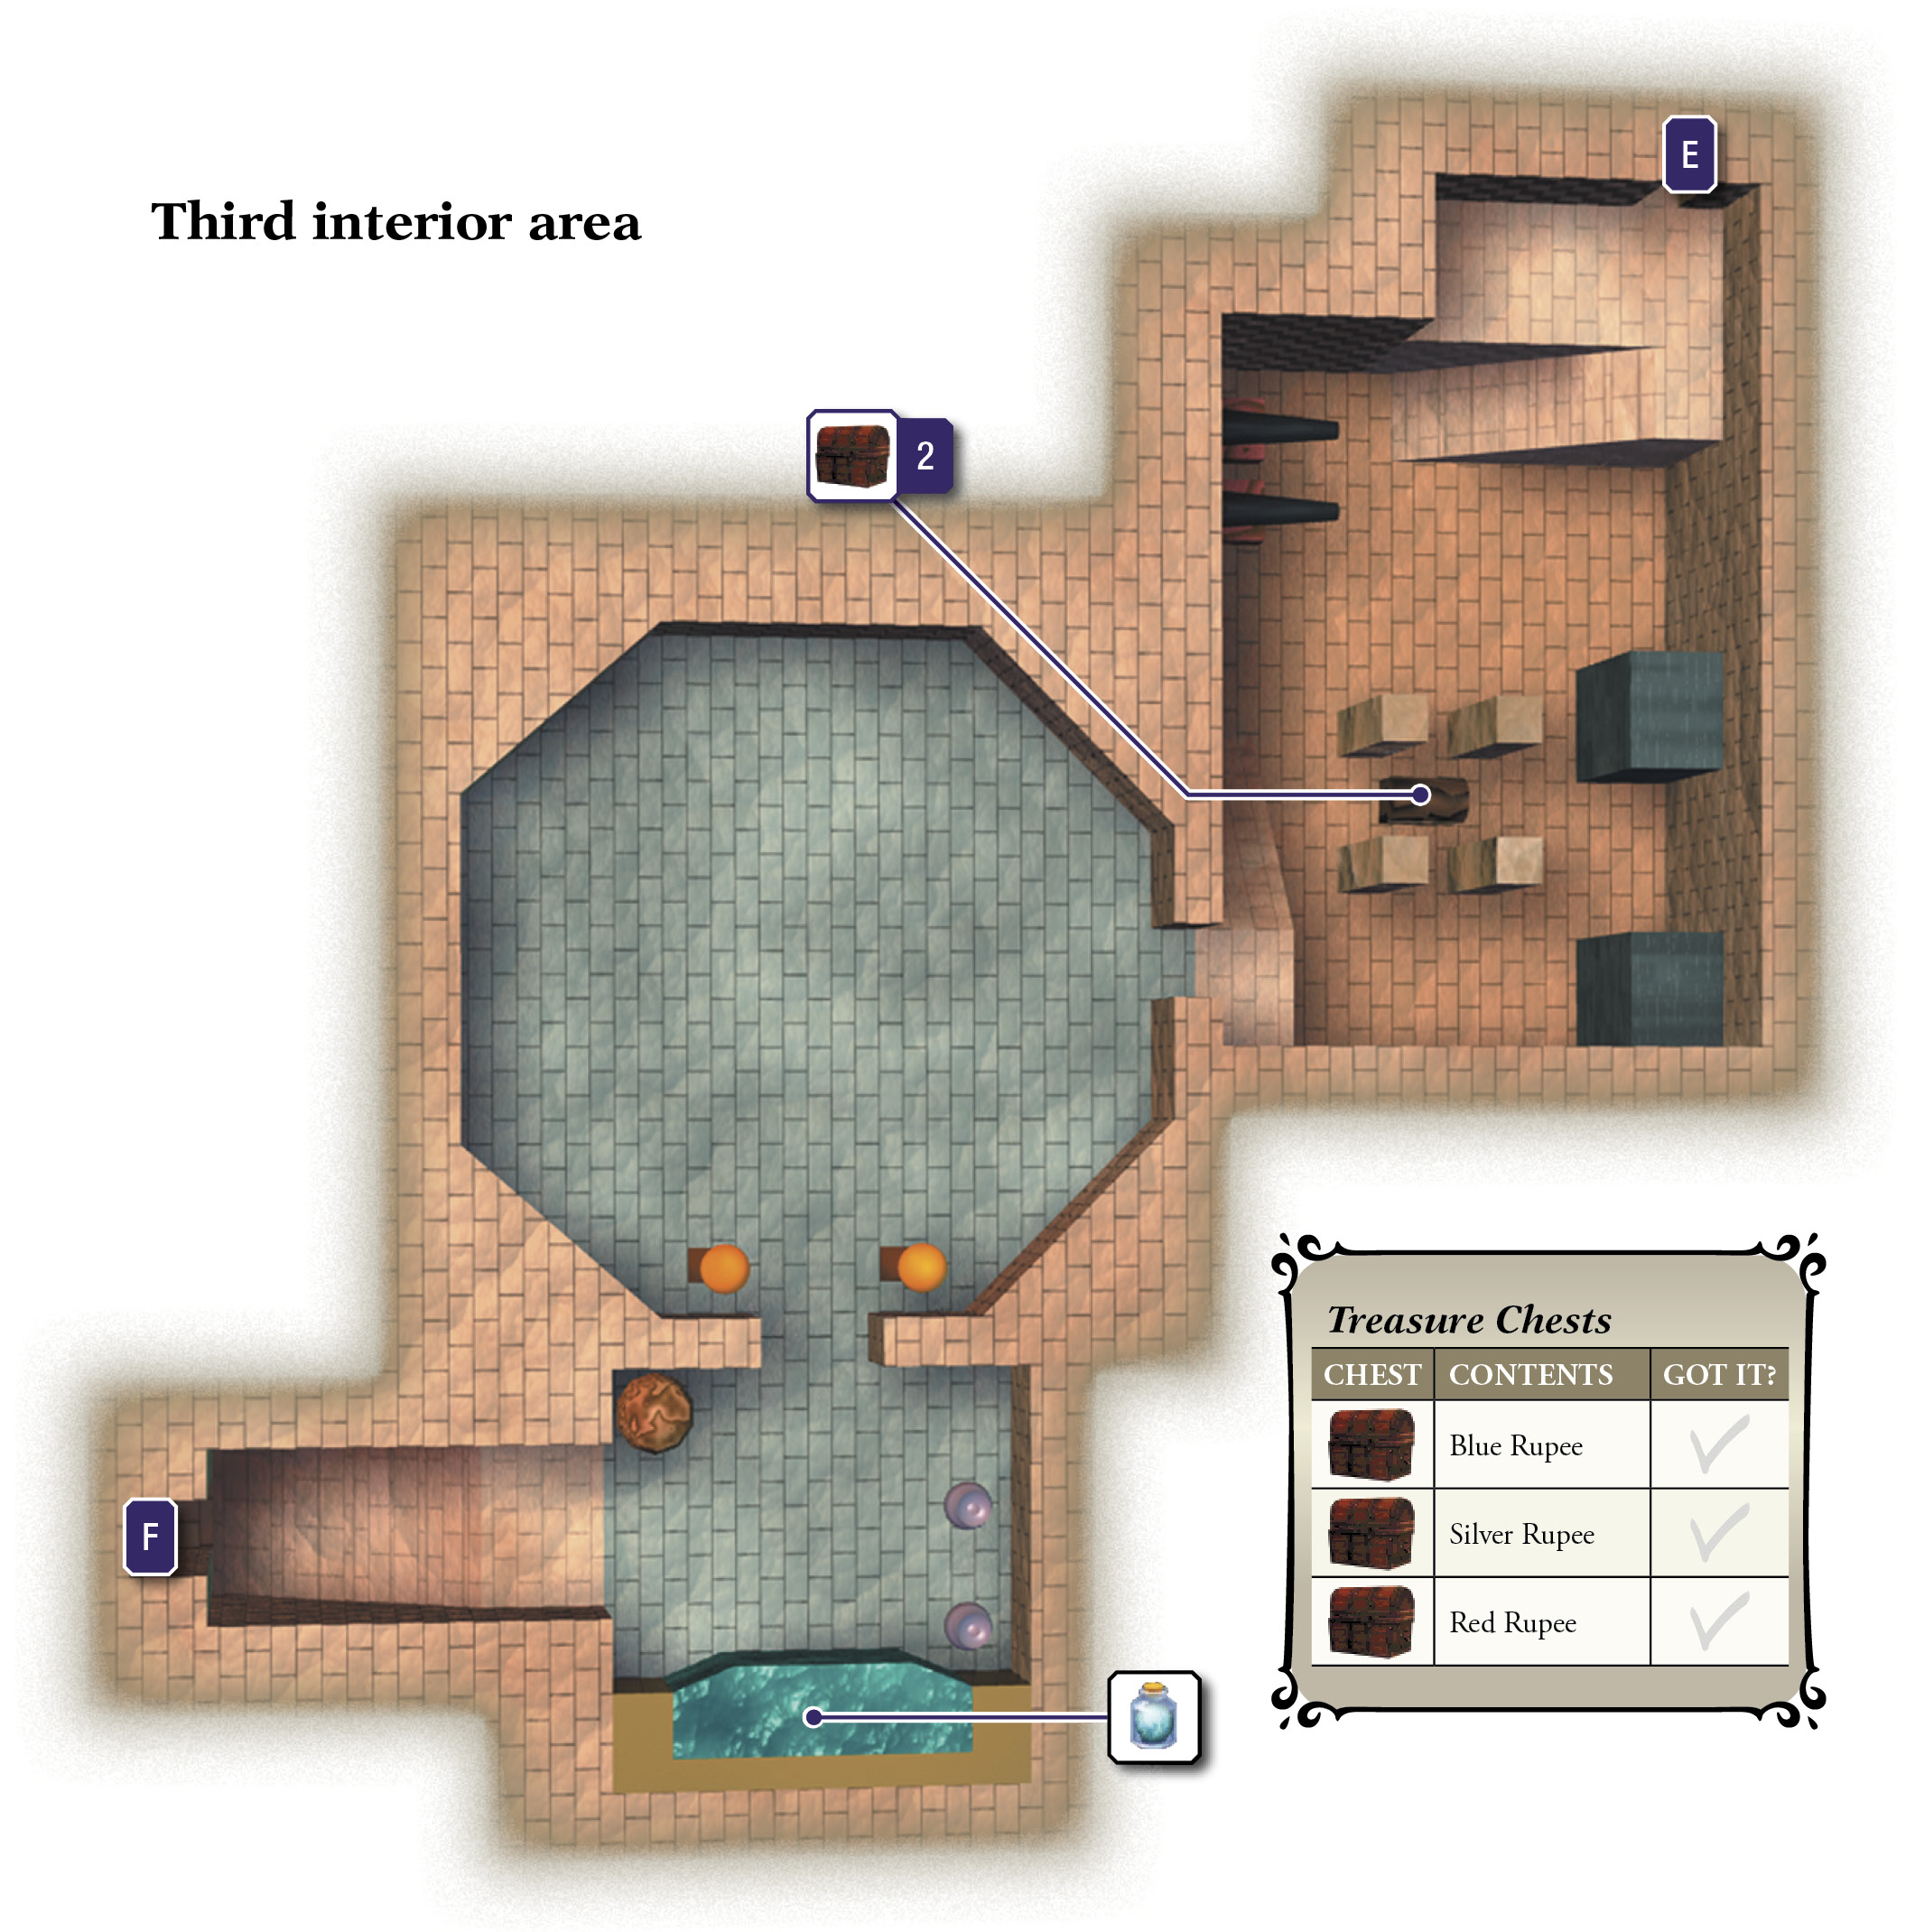
Hookshot Shortcut
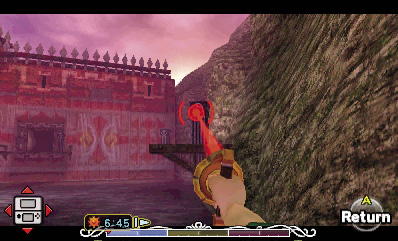
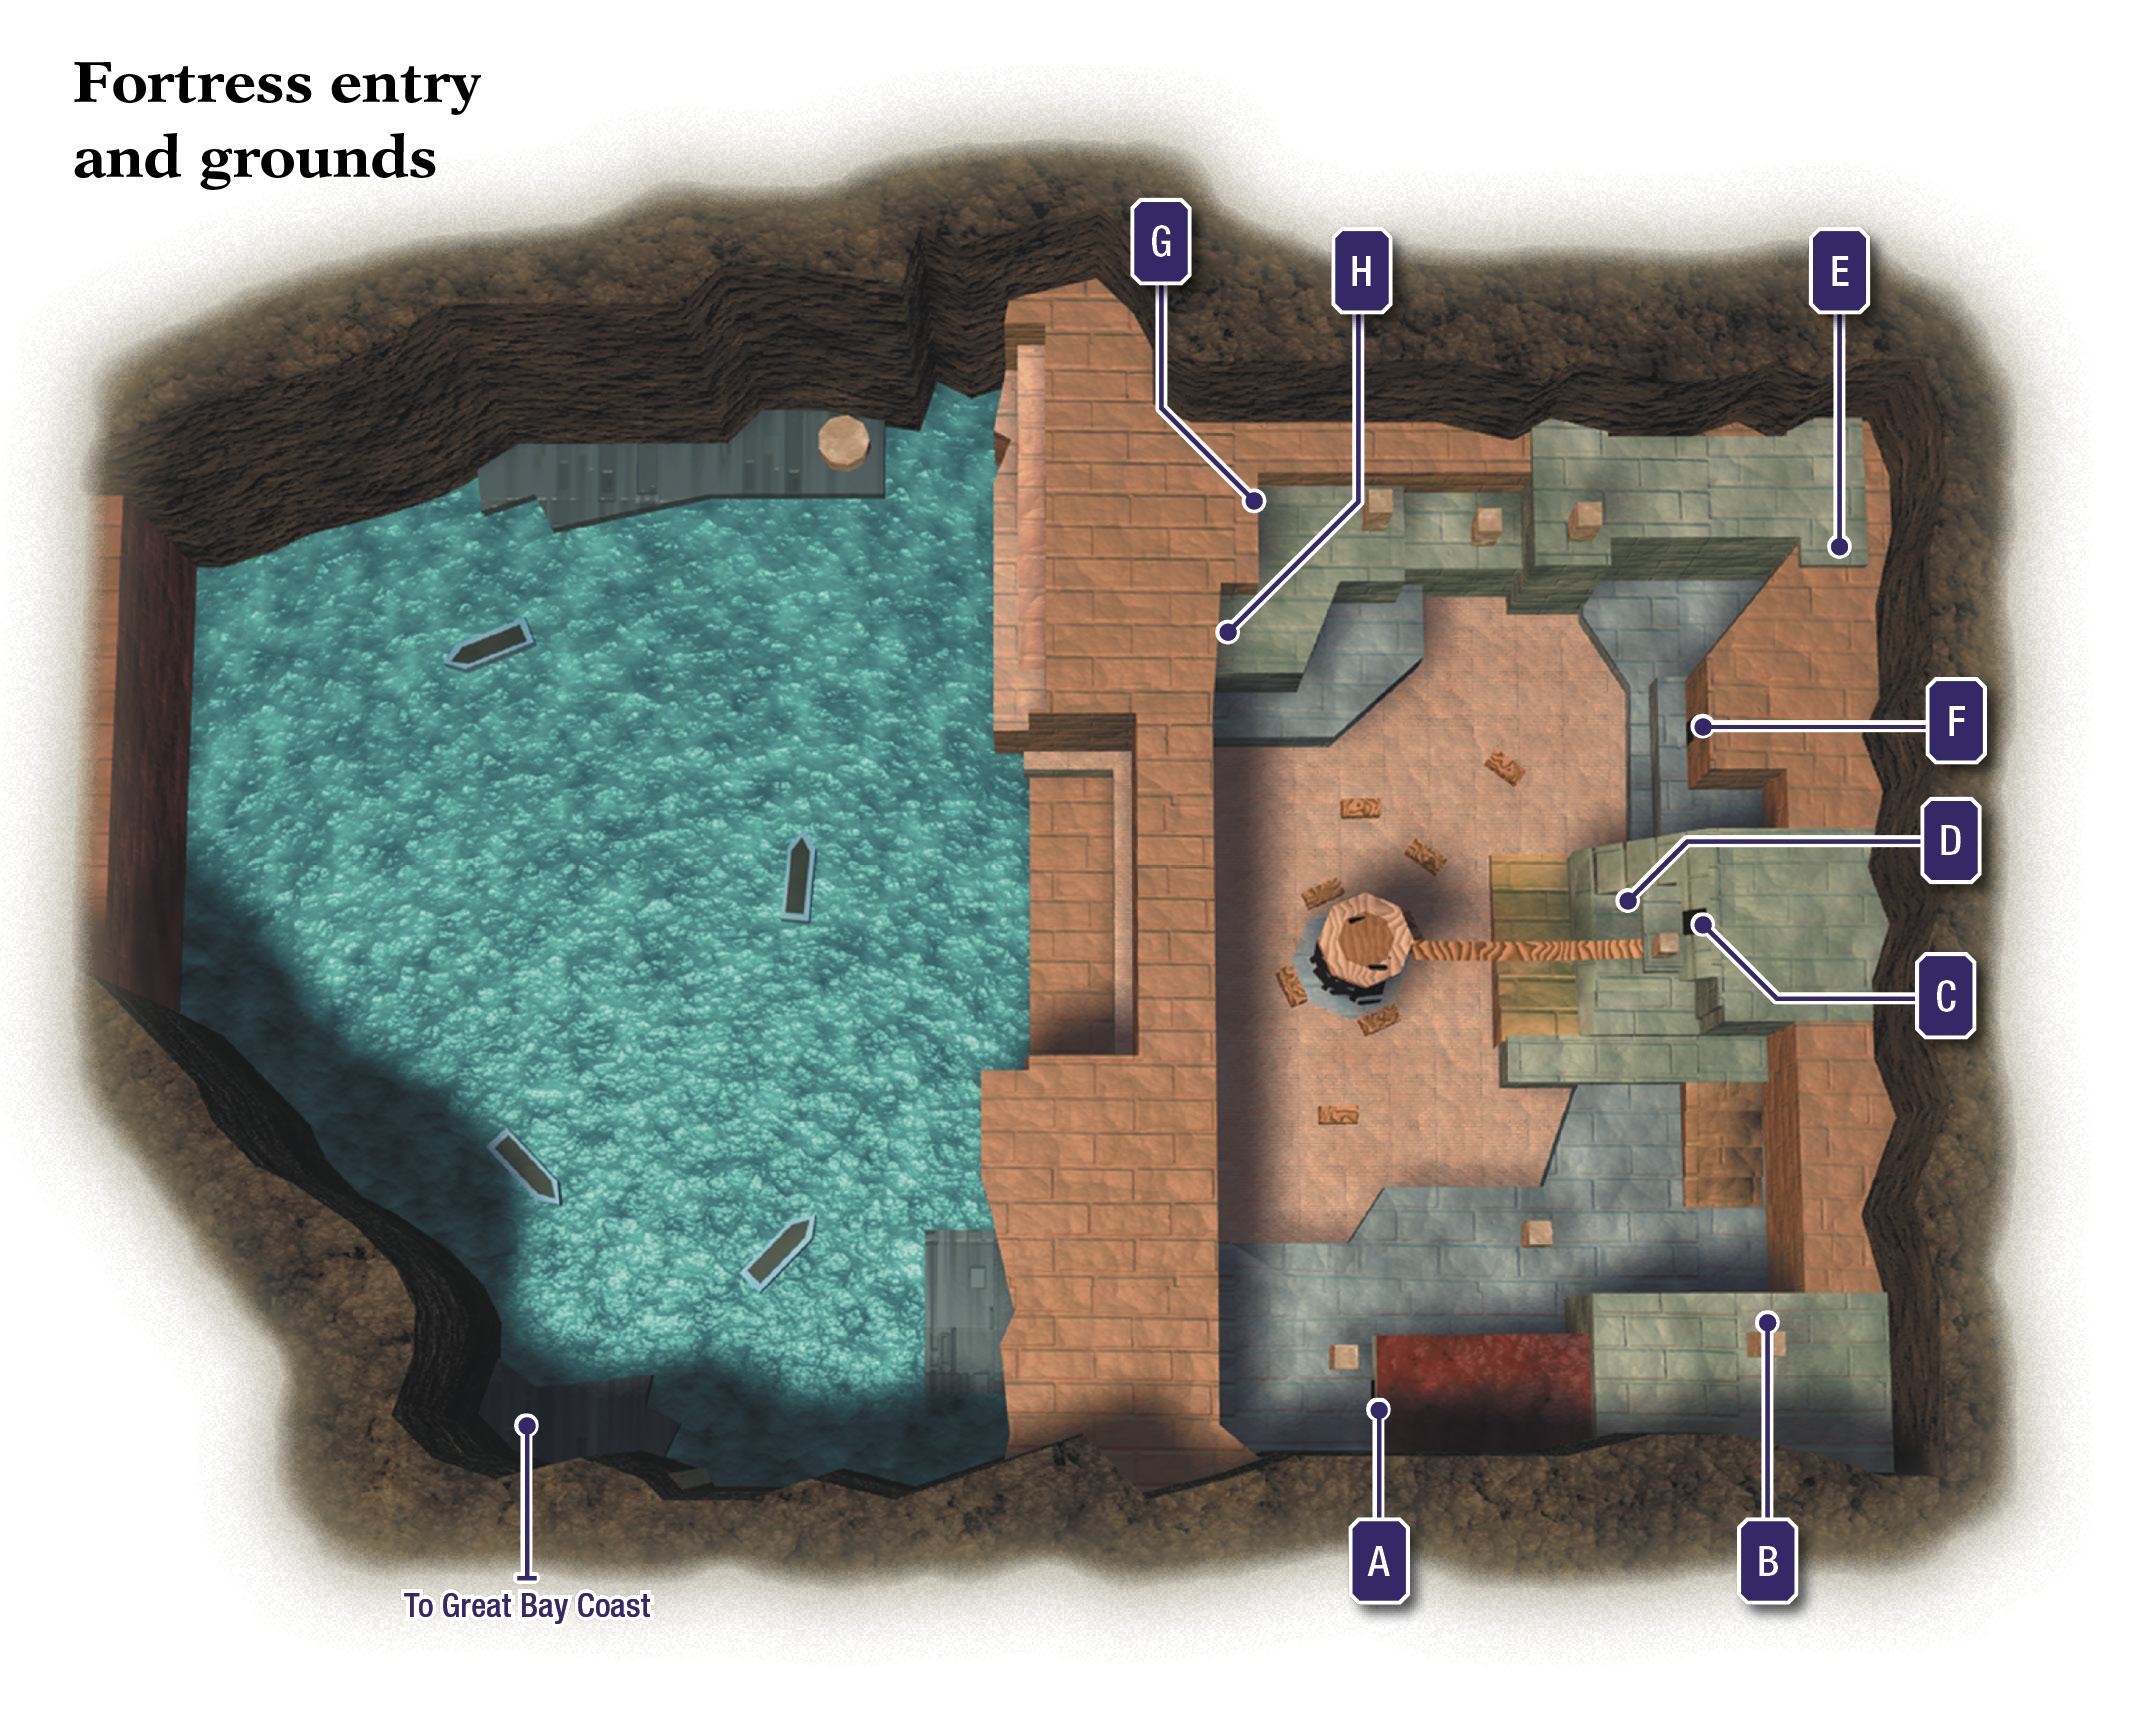
Now that you have the Stone Mask and Hookshot, you can slip into the Pirates’ Fortress with ease. Slap on the Stone Mask, and use the Hookshot to zip along the anchor stones near the south wall. Work your way around to an east tunnel that leads to the fort’s inner grounds.
Zora Egg #1
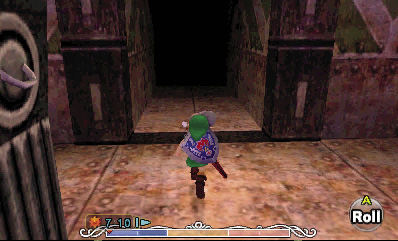
You’re here to find the missing Zora Eggs, so get to it! Continue wearing the Stone Mask to avoid any chance of the Gerudo guards detecting you as you head straight through the nearby doorway. (You can still stun guards with arrows, Deku Nuts, or the Hookshot if necessary.)
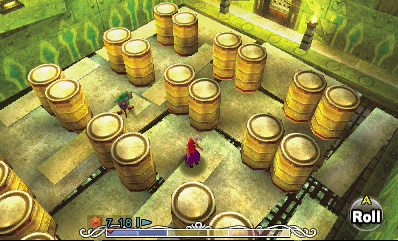
Careful: there’s a guard in the barrel-filled room beyond the doorway. Use the Stone Mask to slip past the guard with ease, and then head through the far door.
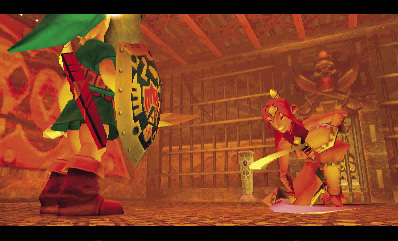
Link becomes trapped in the next room, and a formidable Gerudo warrior confronts him. She isn’t fooled by the Stone Mask, and a battle quickly begins!
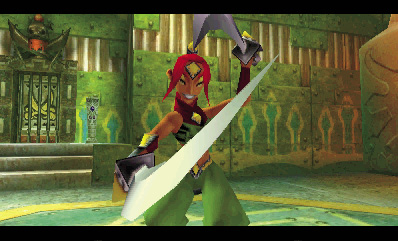
You’ll be captured by the pirates and tossed out of the fort if you fail to best the Gerudo warrior, but she only deals 1/4 Heart of damage, so the fight isn’t difficult. You can block her attacks, but she can block yours, as well. Your attacks are much stronger than hers, so be aggressive, and end the battle with speed.
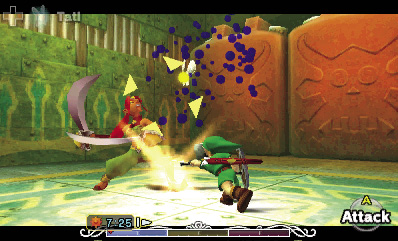
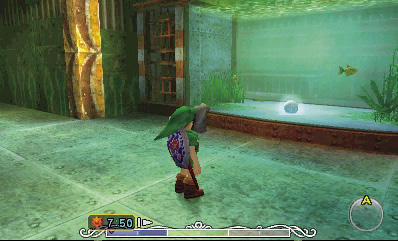
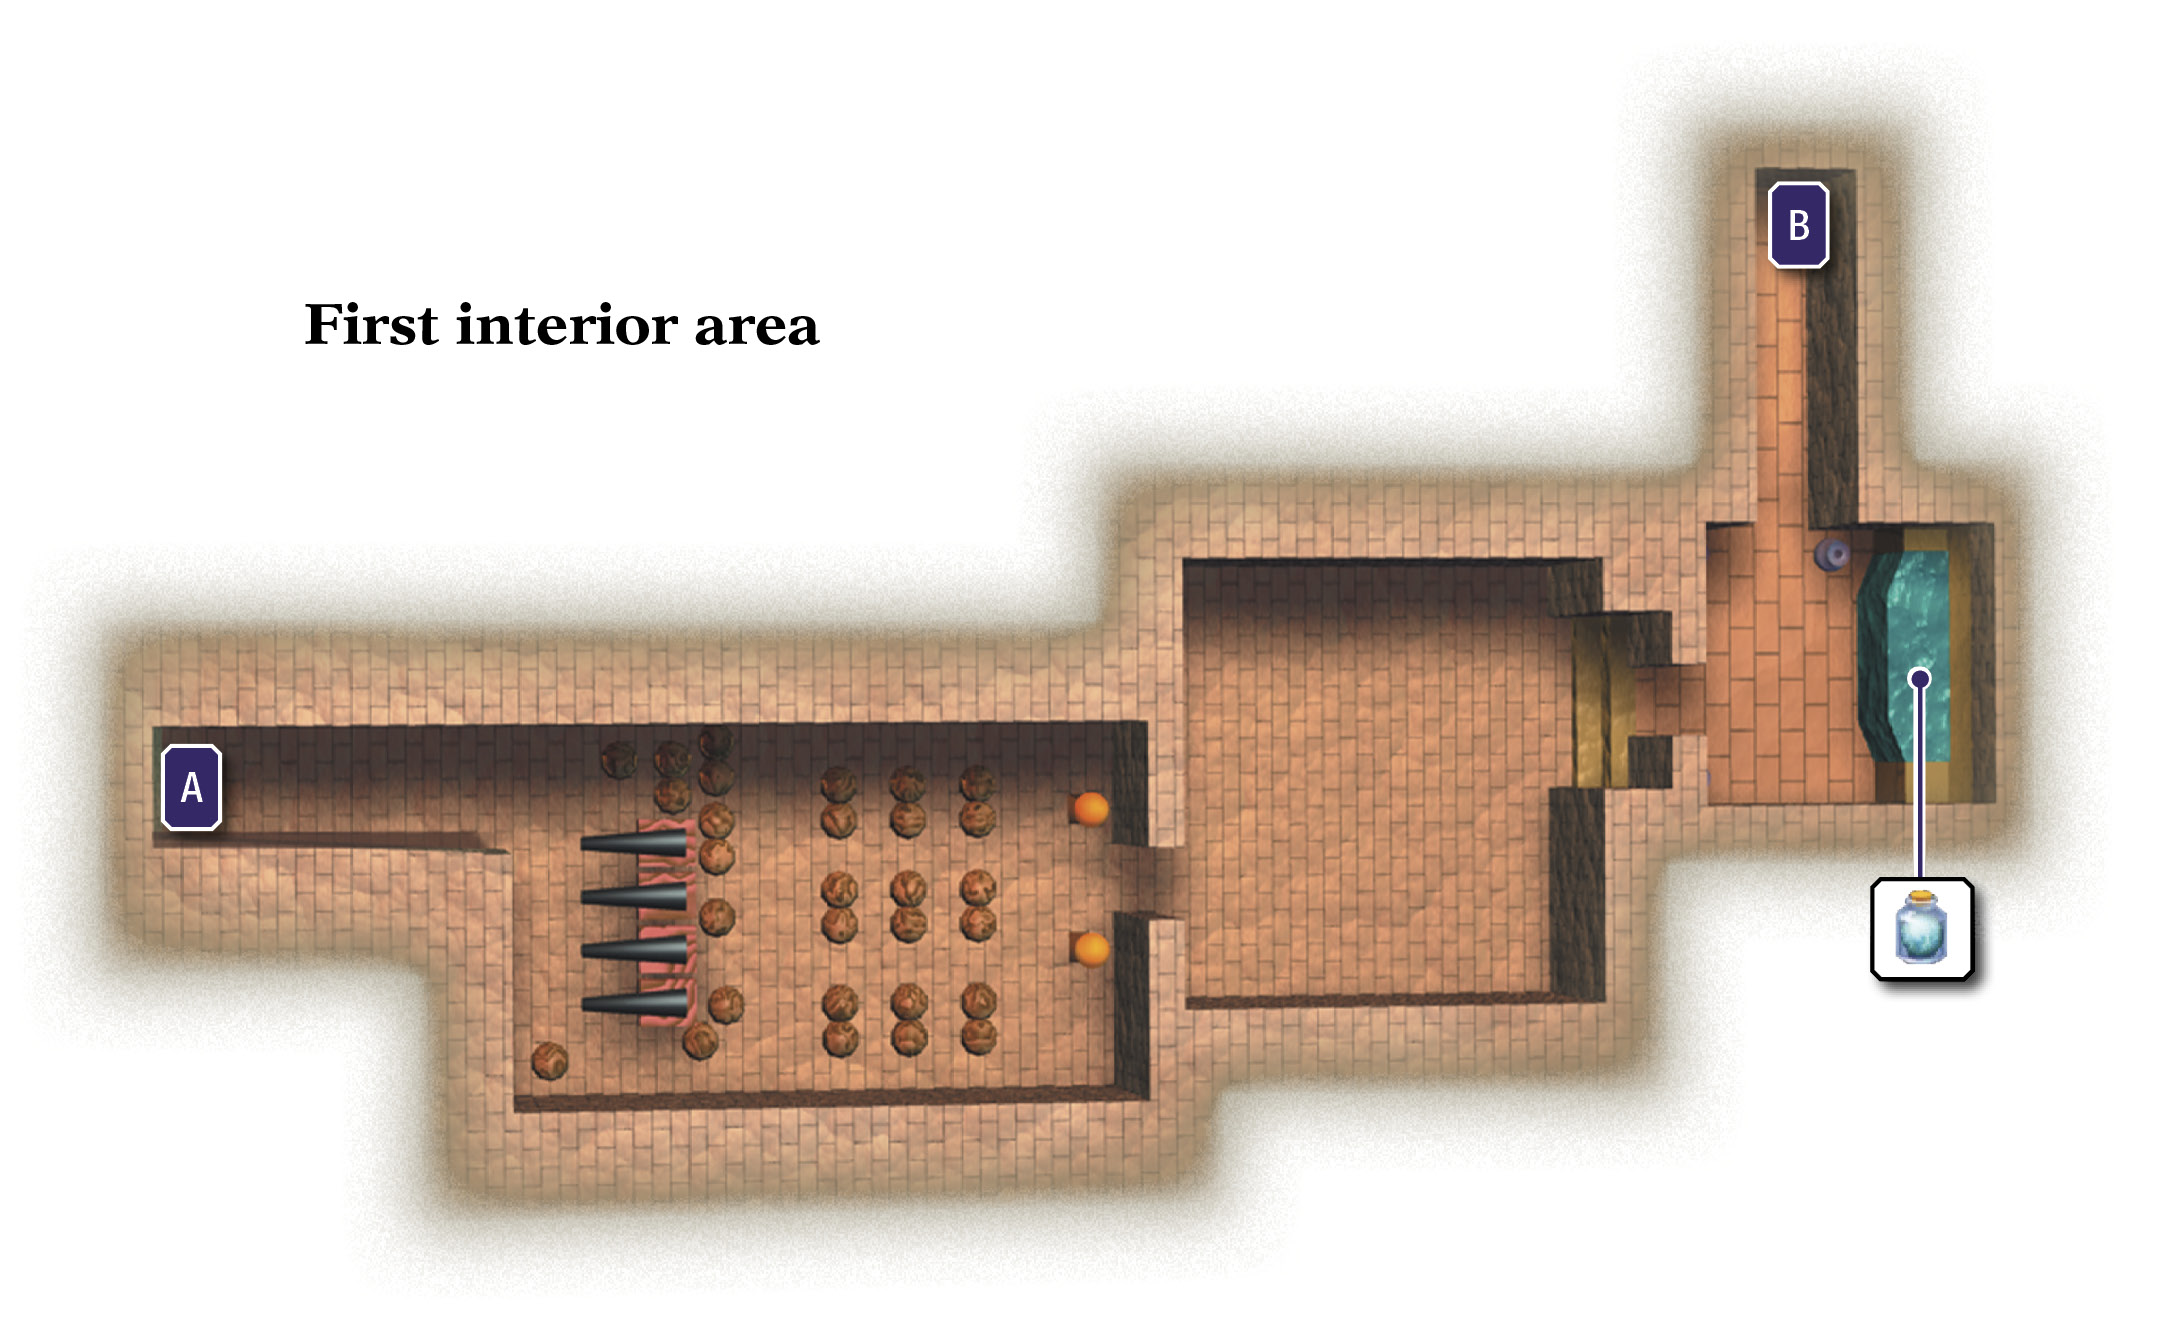
After you land a few blows, the Gerudo pirate flees, and the room unseals. Go through the torch-lit door to enter a small room that features a large fish tank. What’s this? There’s a Zora Egg in that tank! But how to reach it?
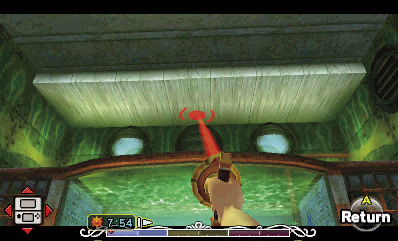
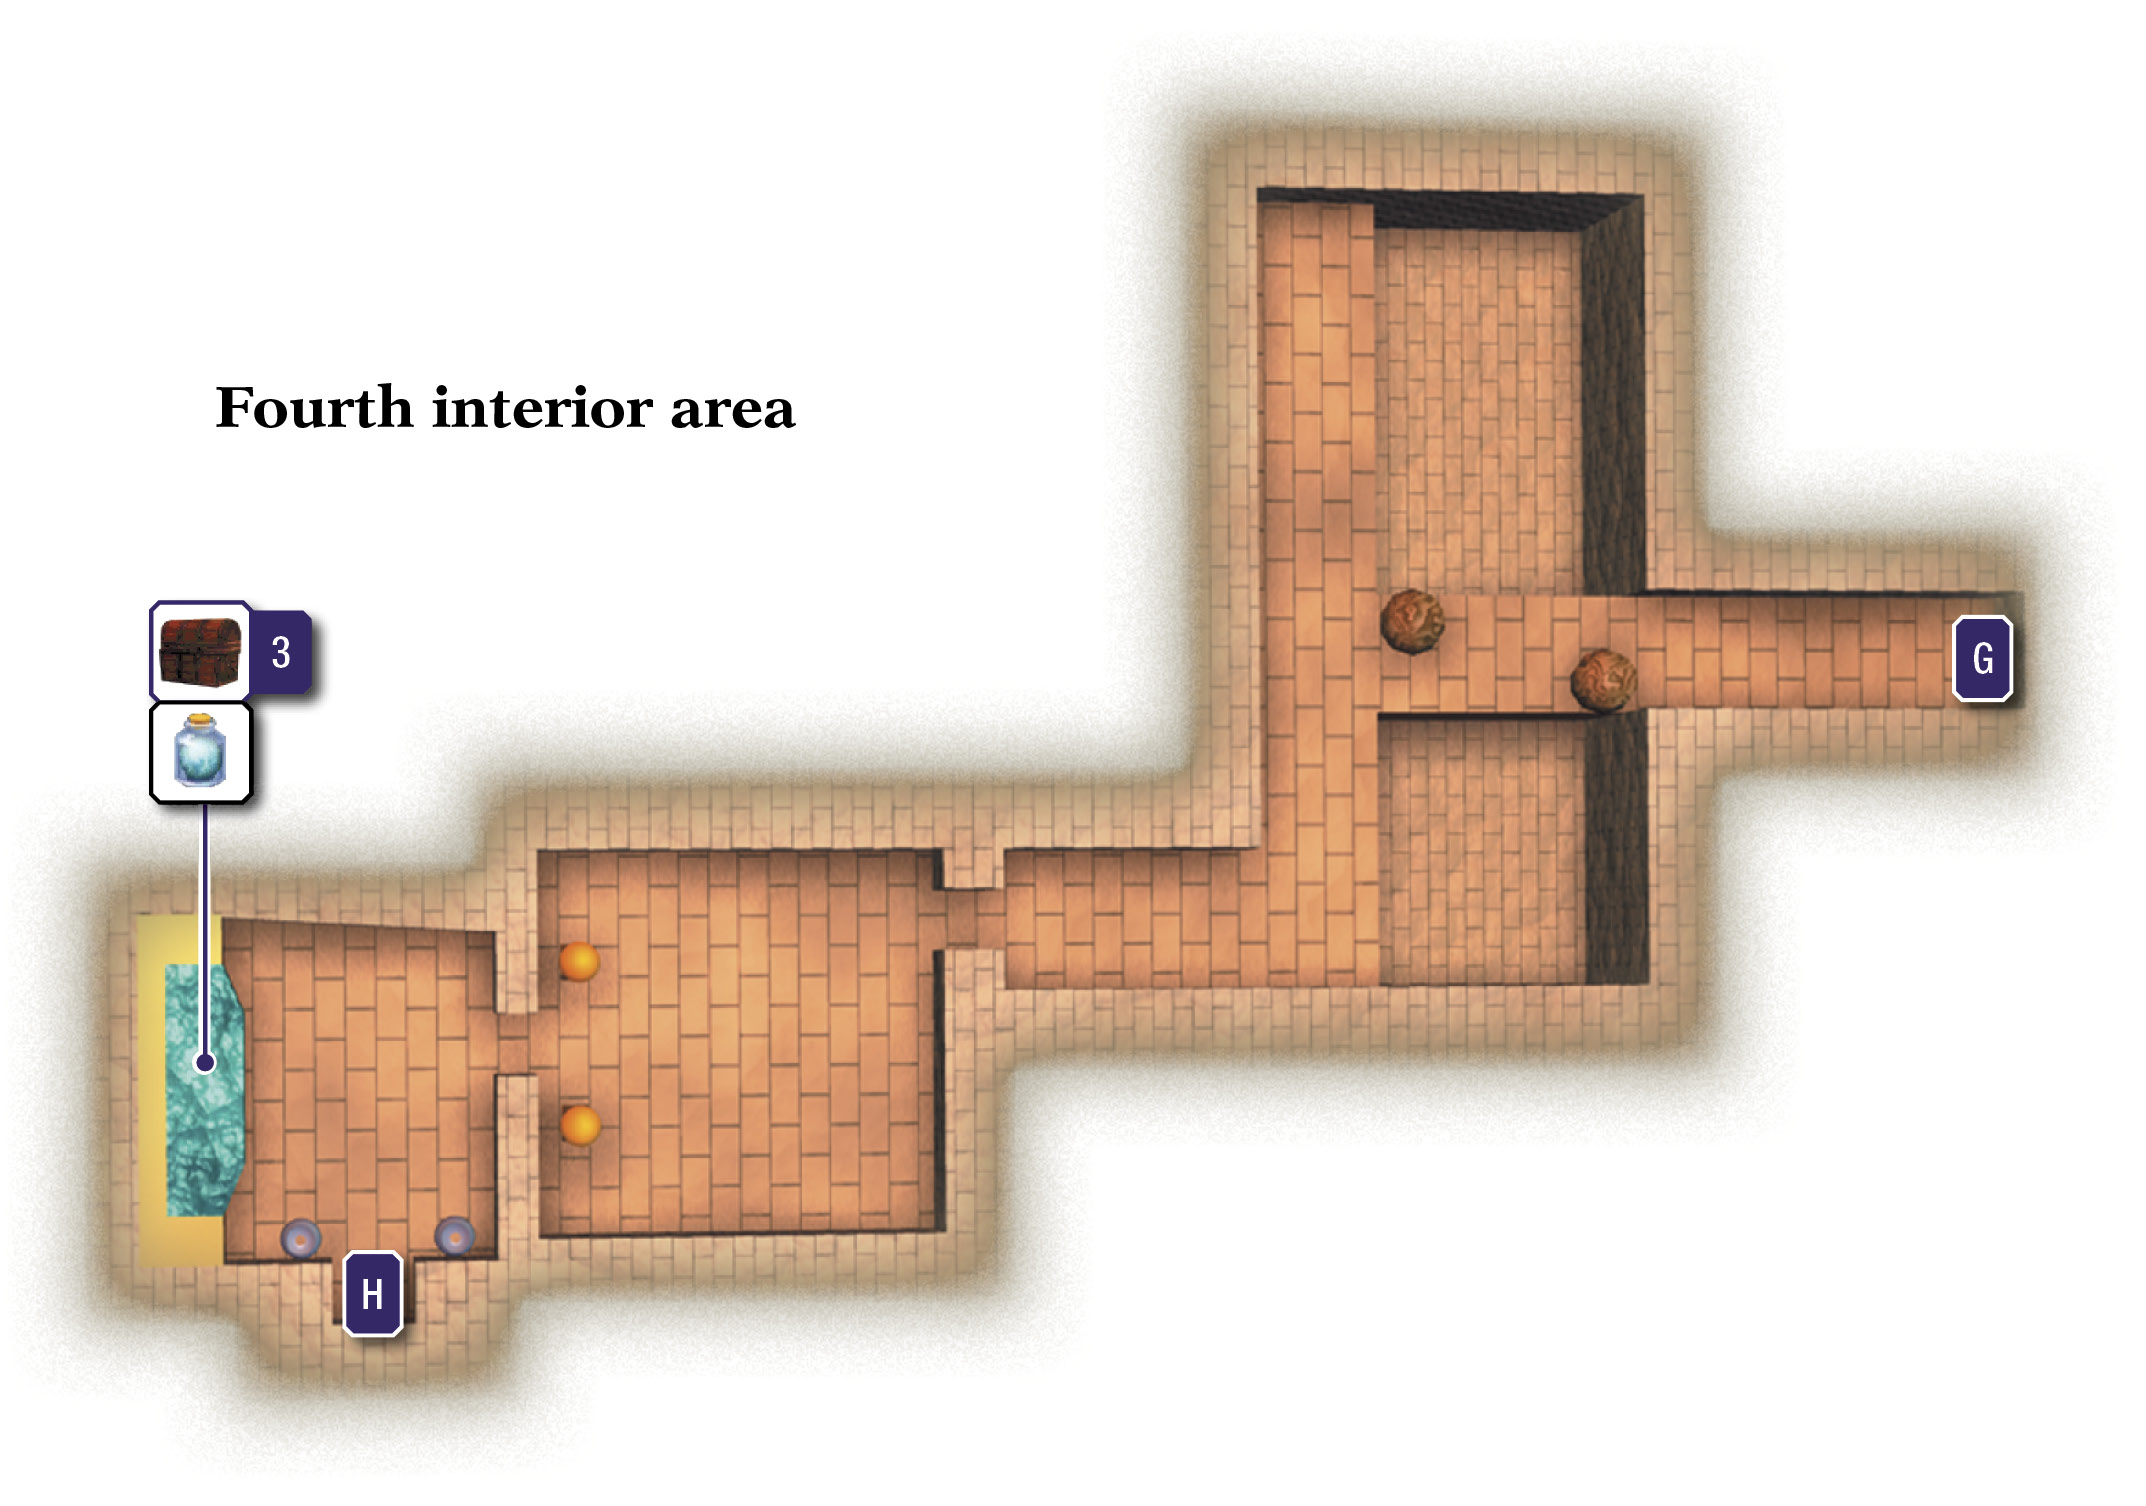
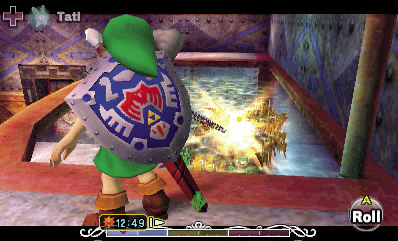
Back away from the fish tank, and target the wooden ceiling above it with the Hookshot. Zip up to the wooden panel, and you’ll splash down in the tank.
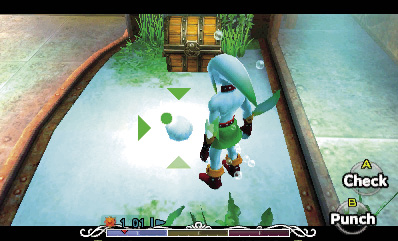
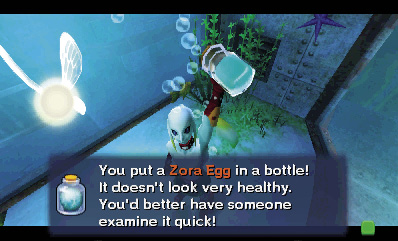
Put on the Zora Mask, and dive to the bottom of the tank. Use an Empty Bottle to scoop up the Zora Egg—the first of four eggs that the pirates have stolen.
Zora Egg #2
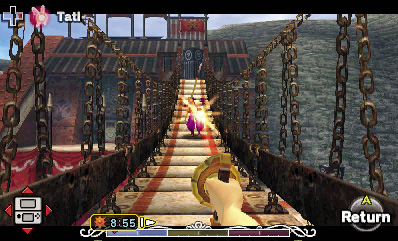
Climb out of the fish tank, put on the Stone Mask again, and then go through the nearby doorway to return to the fort’s inner grounds. Drop to the ground level, and head for the camp’s central tower. Climb up the tower’s ladder to reach the high bridge, then use an arrow or the Hookshot to stun the bridge’s guard. Hurry across, and then go through the door behind the pillar beyond to sneak into the leader’s room.
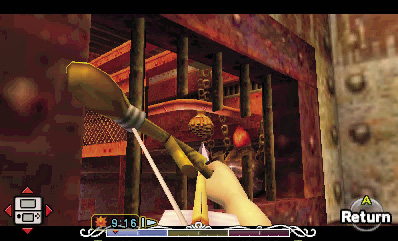
You’ve reset time since you were last here, so the scene with the Gerudo leader plays out again inside the leader’s room. When it ends, aim through the barred window, and use your Hero’s Bow to knock down the beehive in the leader’s room, just as you did before. The bees do the trick, scaring off the leader and her guards.
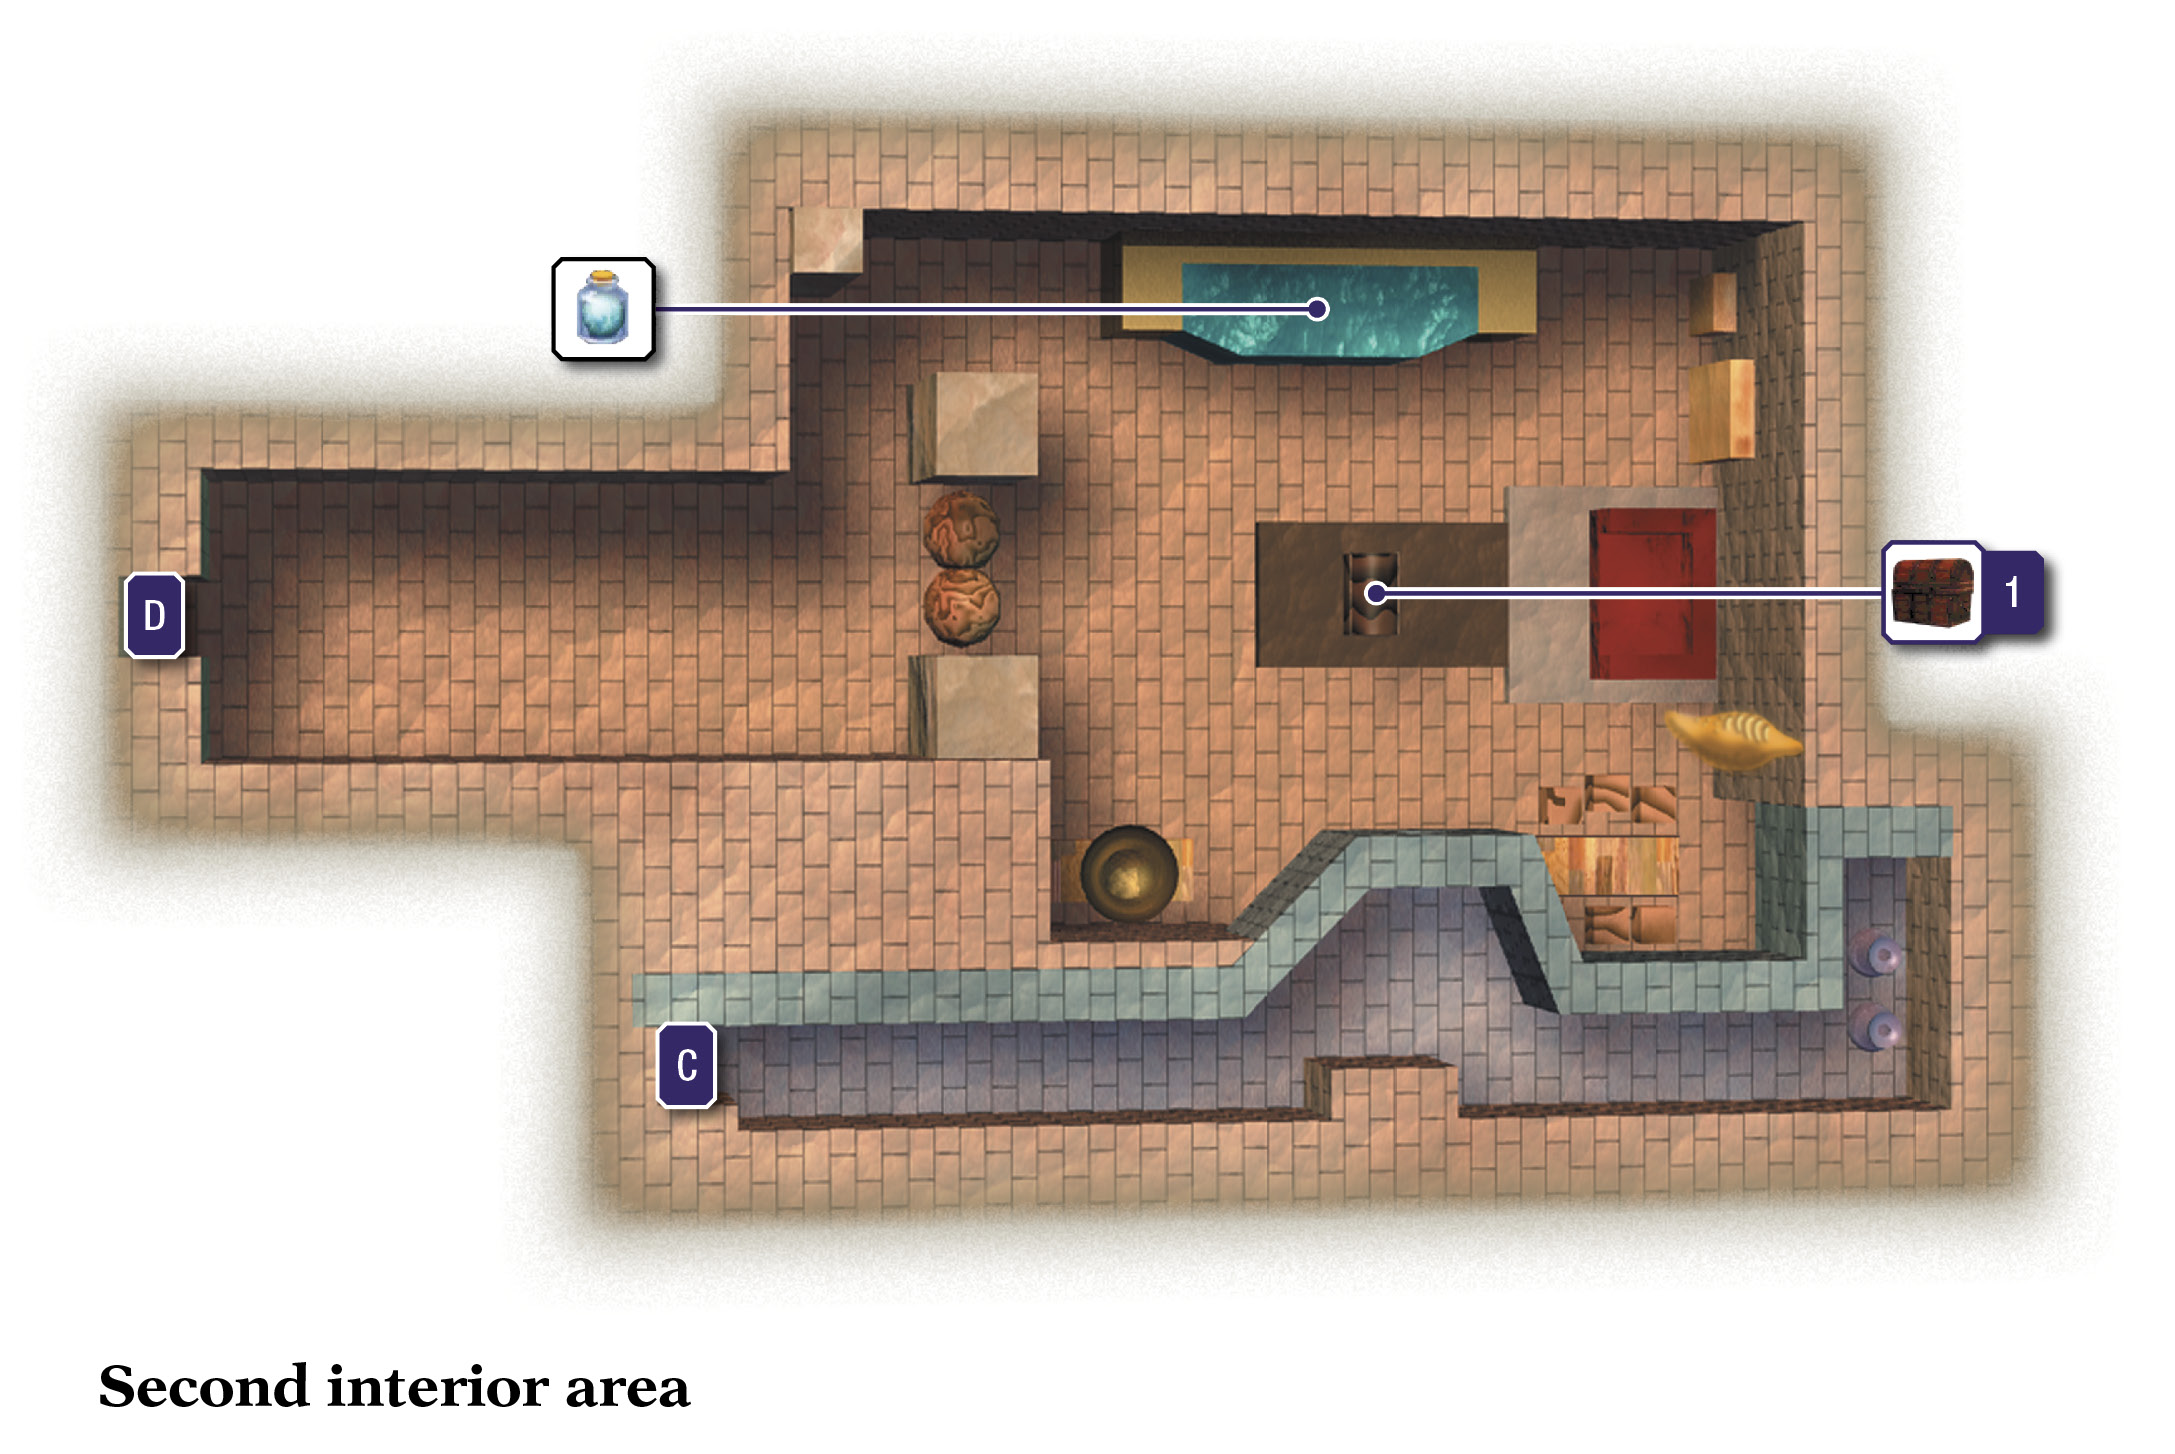
Loop around and drop into the now-vacant leader’s room, where you discovered the Hookshot before. You’ve already obtained the Hookshot, so the chest in the leader’s room contains a Blue Rupee instead. Grab it, and then look to the left and spot a large fish tank.
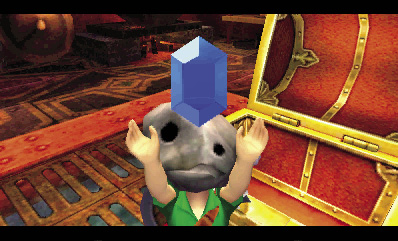
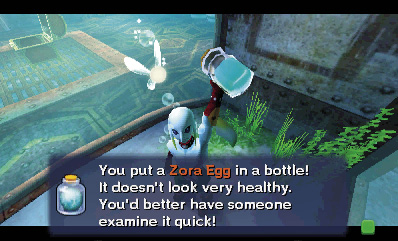
You know what to do. Target the wooden panel above the tank with your Hookshot to zip up, and then drop into the tank. Put on the Zora Mask (no one’s around to see you) and dive to the tank’s bottom. Scoop the Zora Egg into an Empty Bottle, and then climb out of the tank. Put on the Stone Mask before making your way back outside.
Zora Egg #3
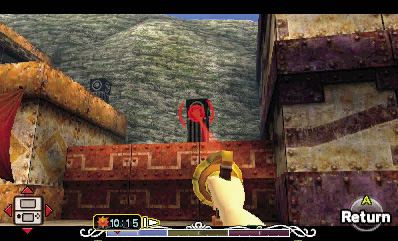
As you move through fortress’ inner grounds, use the Stone Mask to avoid detection. Cross the grounds, and Hookshot the north anchor stone to reach a high ledge. Hookshot the next anchor stone to the west to climb even higher and reach a doorway, but don’t go through it.
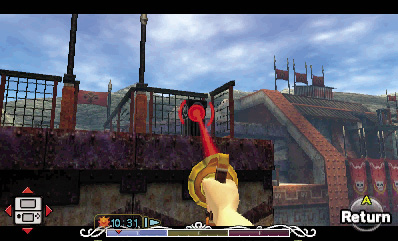
Instead, turn around (face east) and Hookshot a third anchor stone to climb even higher. Avoid the guard up here (or stun her with an arrow or the Hookshot, if you like), and then enter the nearby door, which leads to the fort’s treasury.
A large chest is under heavy guard inside the treasury. Use the Stone Mask to avoid detection as you lift a Silver Rupee from the chest. Score! Scale the west ramp, and then proceed through the southwest door to reach the next chamber.
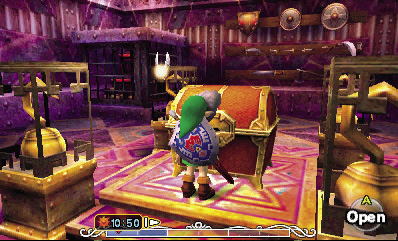
Link is trapped in the next room and forced to battle another Gerudo warrior. Her attacks aren’t any more powerful than the last, so be aggressive and defeat her just as you did the first warrior.
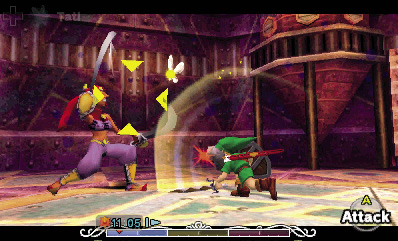
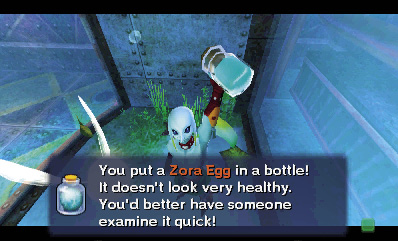
After the pirate warrior flees, the room unseals. Proceed through the torch-lit door to reach another room with a fish tank. Use the Hookshot and Zora Mask to claim the Zora Egg as you’ve done before, then put on the Stone Mask and exit through the door at the end of the nearby ramp.
Zora Egg #4
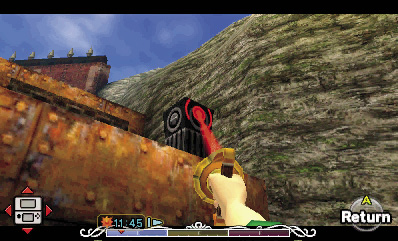
The door leads back to the fort’s inner grounds. Hookshot the north pillars and zip over to the high northwest doorway, which you ignored before. This time, go through the doorway to visit the fort’s final area.
Slip past the lone guard in the first passage, stunning her with an arrow if necessary. Proceed through the far door to visit the next room, where yet another Gerudo pirate confronts you. Unleash the full fury of Link’s sword and defeat her, then proceed through the torch-lit door.
You guessed it: another fish tank lies in the room beyond the torch-lit door. This tank is filled with a school of Skullfish, however, along with a big, mean Desbreko. Hookshot the overhead wooden ceiling’s left or right side so that you land on the platforms at either side of the tank rather than splashing down in the water with the dangerous Desbreko. Then, simply lock on to the Desbreko, and hit it twice with the Hookshot to defeat it.
Desbreko
Damage: 1/4 Heart

Desbrekos are larger Skullfish with powerful jaws. Schools of little Skullfish commonly follow these dangerous nautical monsters, making them formidable adversaries. Whenever possible, use ranged attacks from land to slay Desbrekos without putting yourself at risk. If you must battle one in the water, use Zora Link’s magical barrier by holding  +
+  while swimming (or by holding
  +
+  while walking on the sea floor) to damage them when they draw near.
After defeating the Desbreko, don the Zora Mask and dive into the tank. Scoop up the fortress’ final Zora Egg, and crack open the nearby chest for a Red Rupee before climbing out of the tank and exiting through the nearby door.