
The Legend of Zelda Majora's Mask 3D Guide Walkthrough Chapter 6: Saving Snowhead
Snowhead Temple
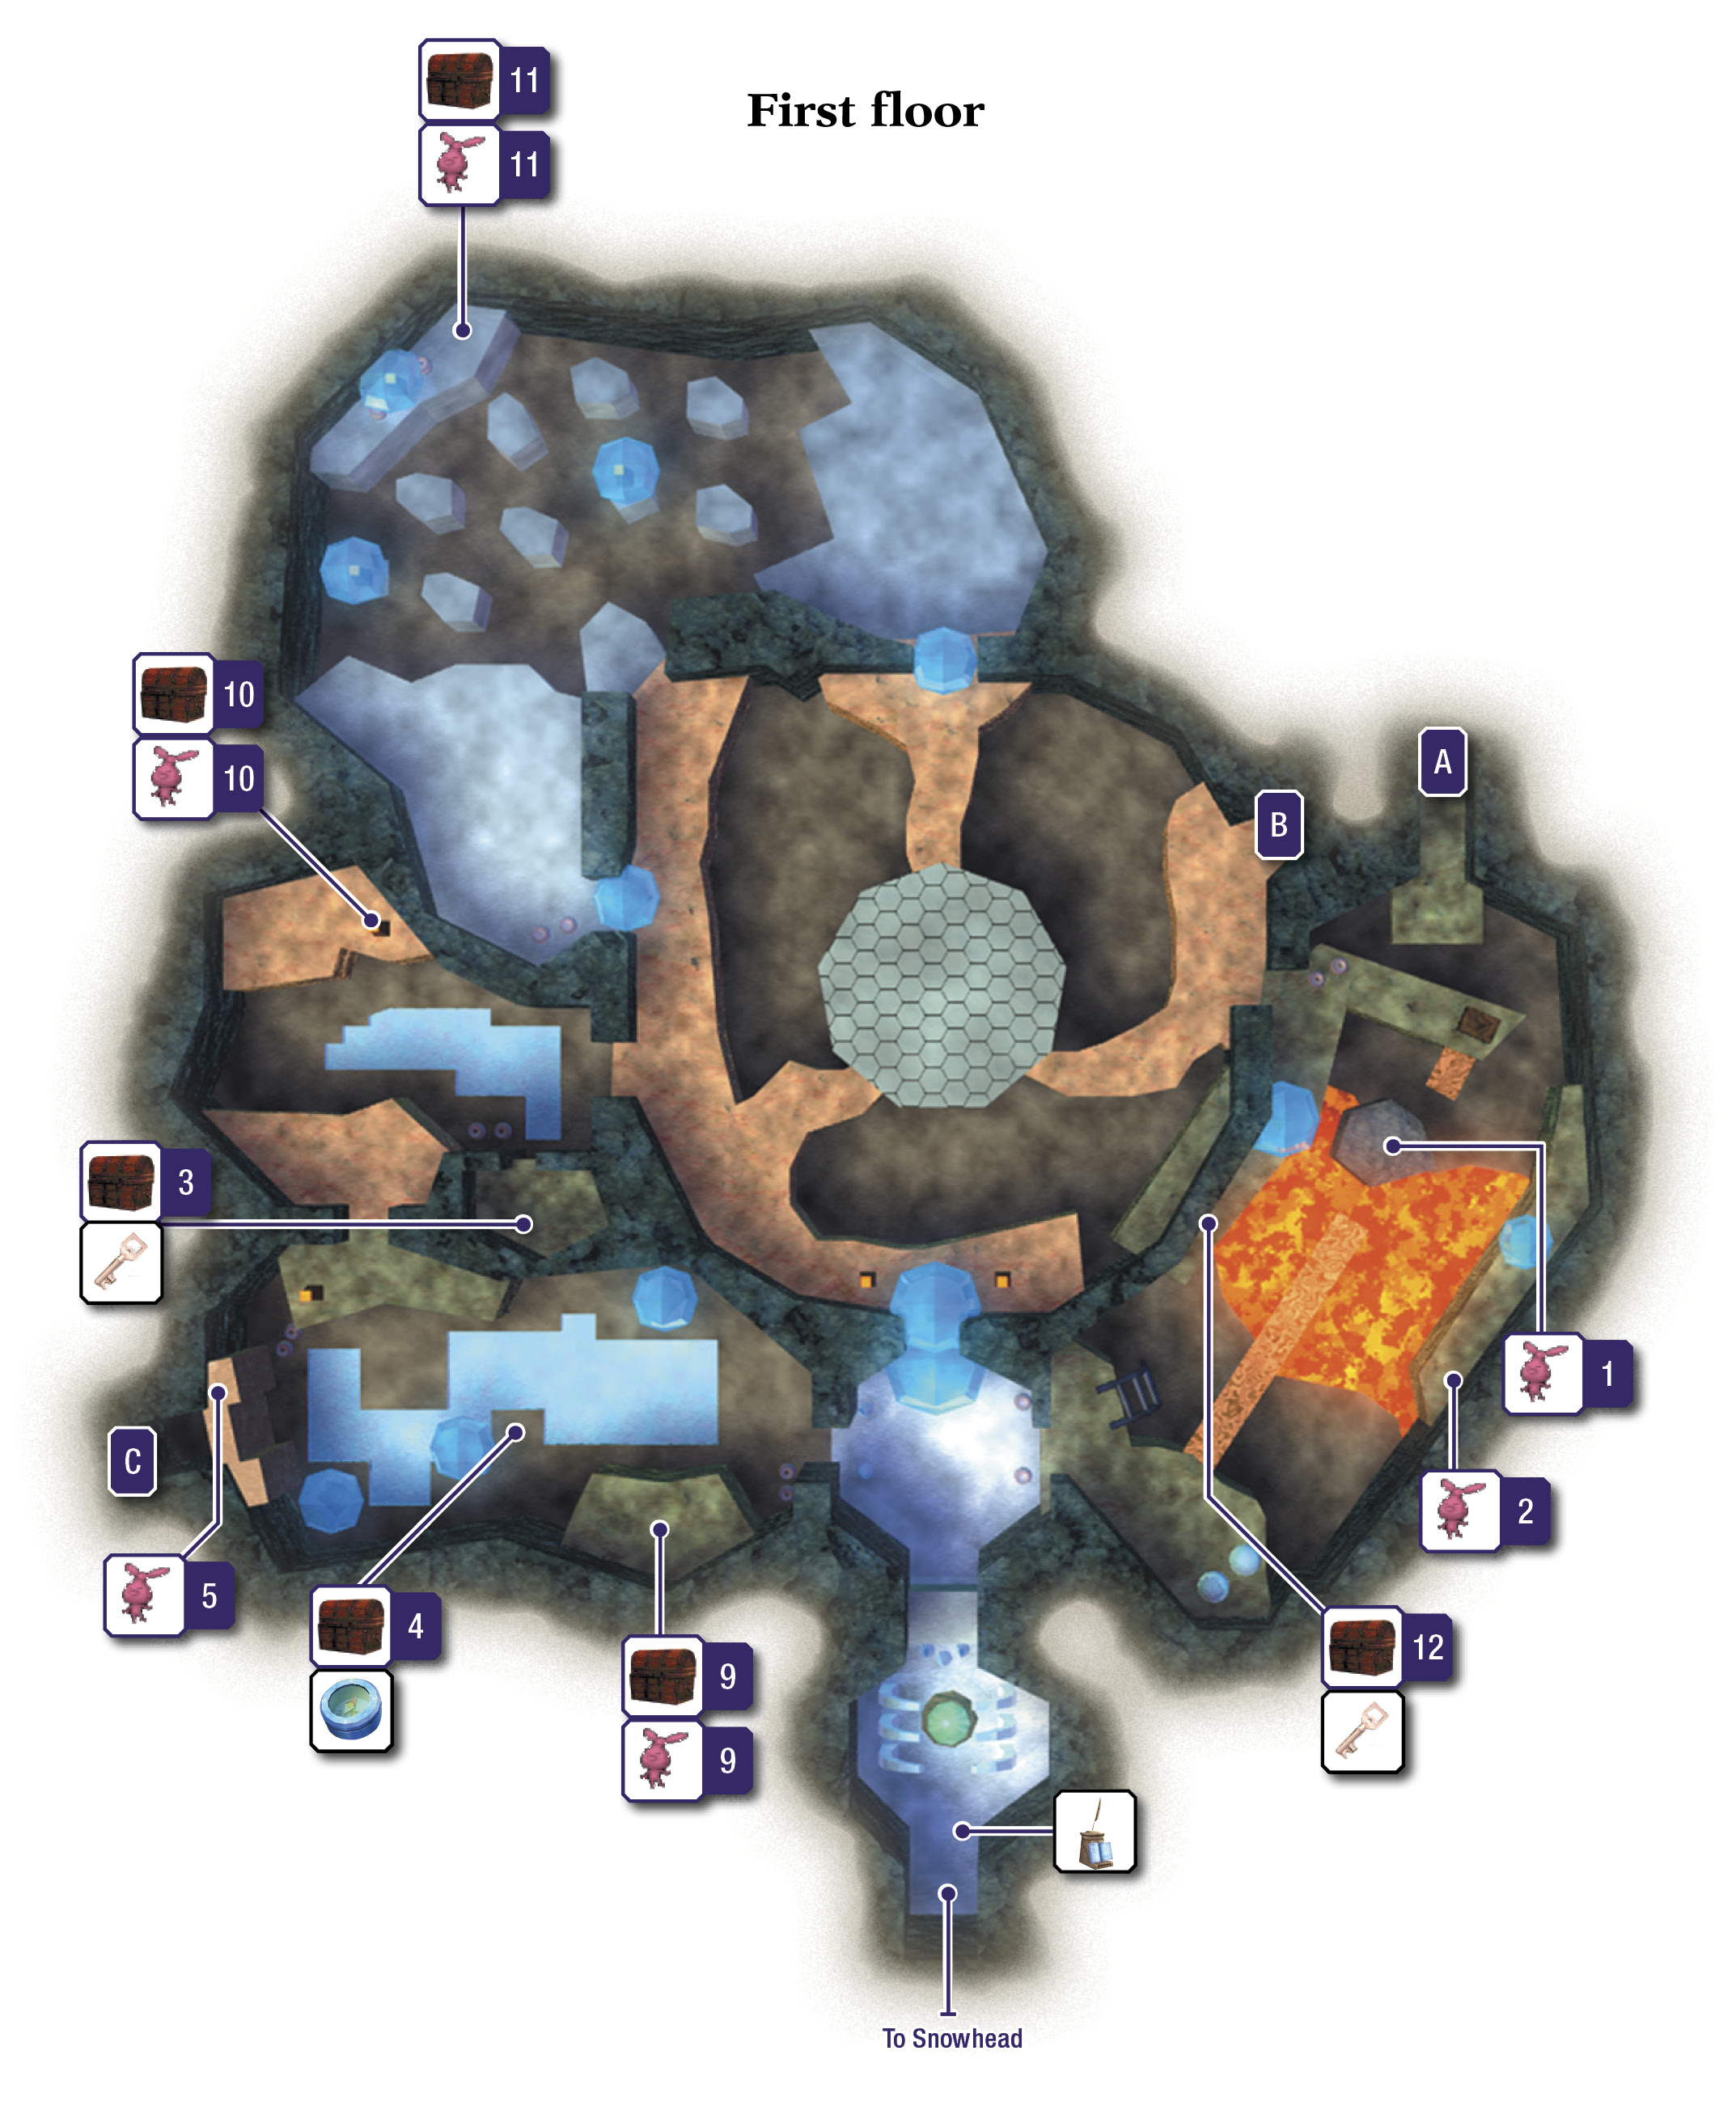
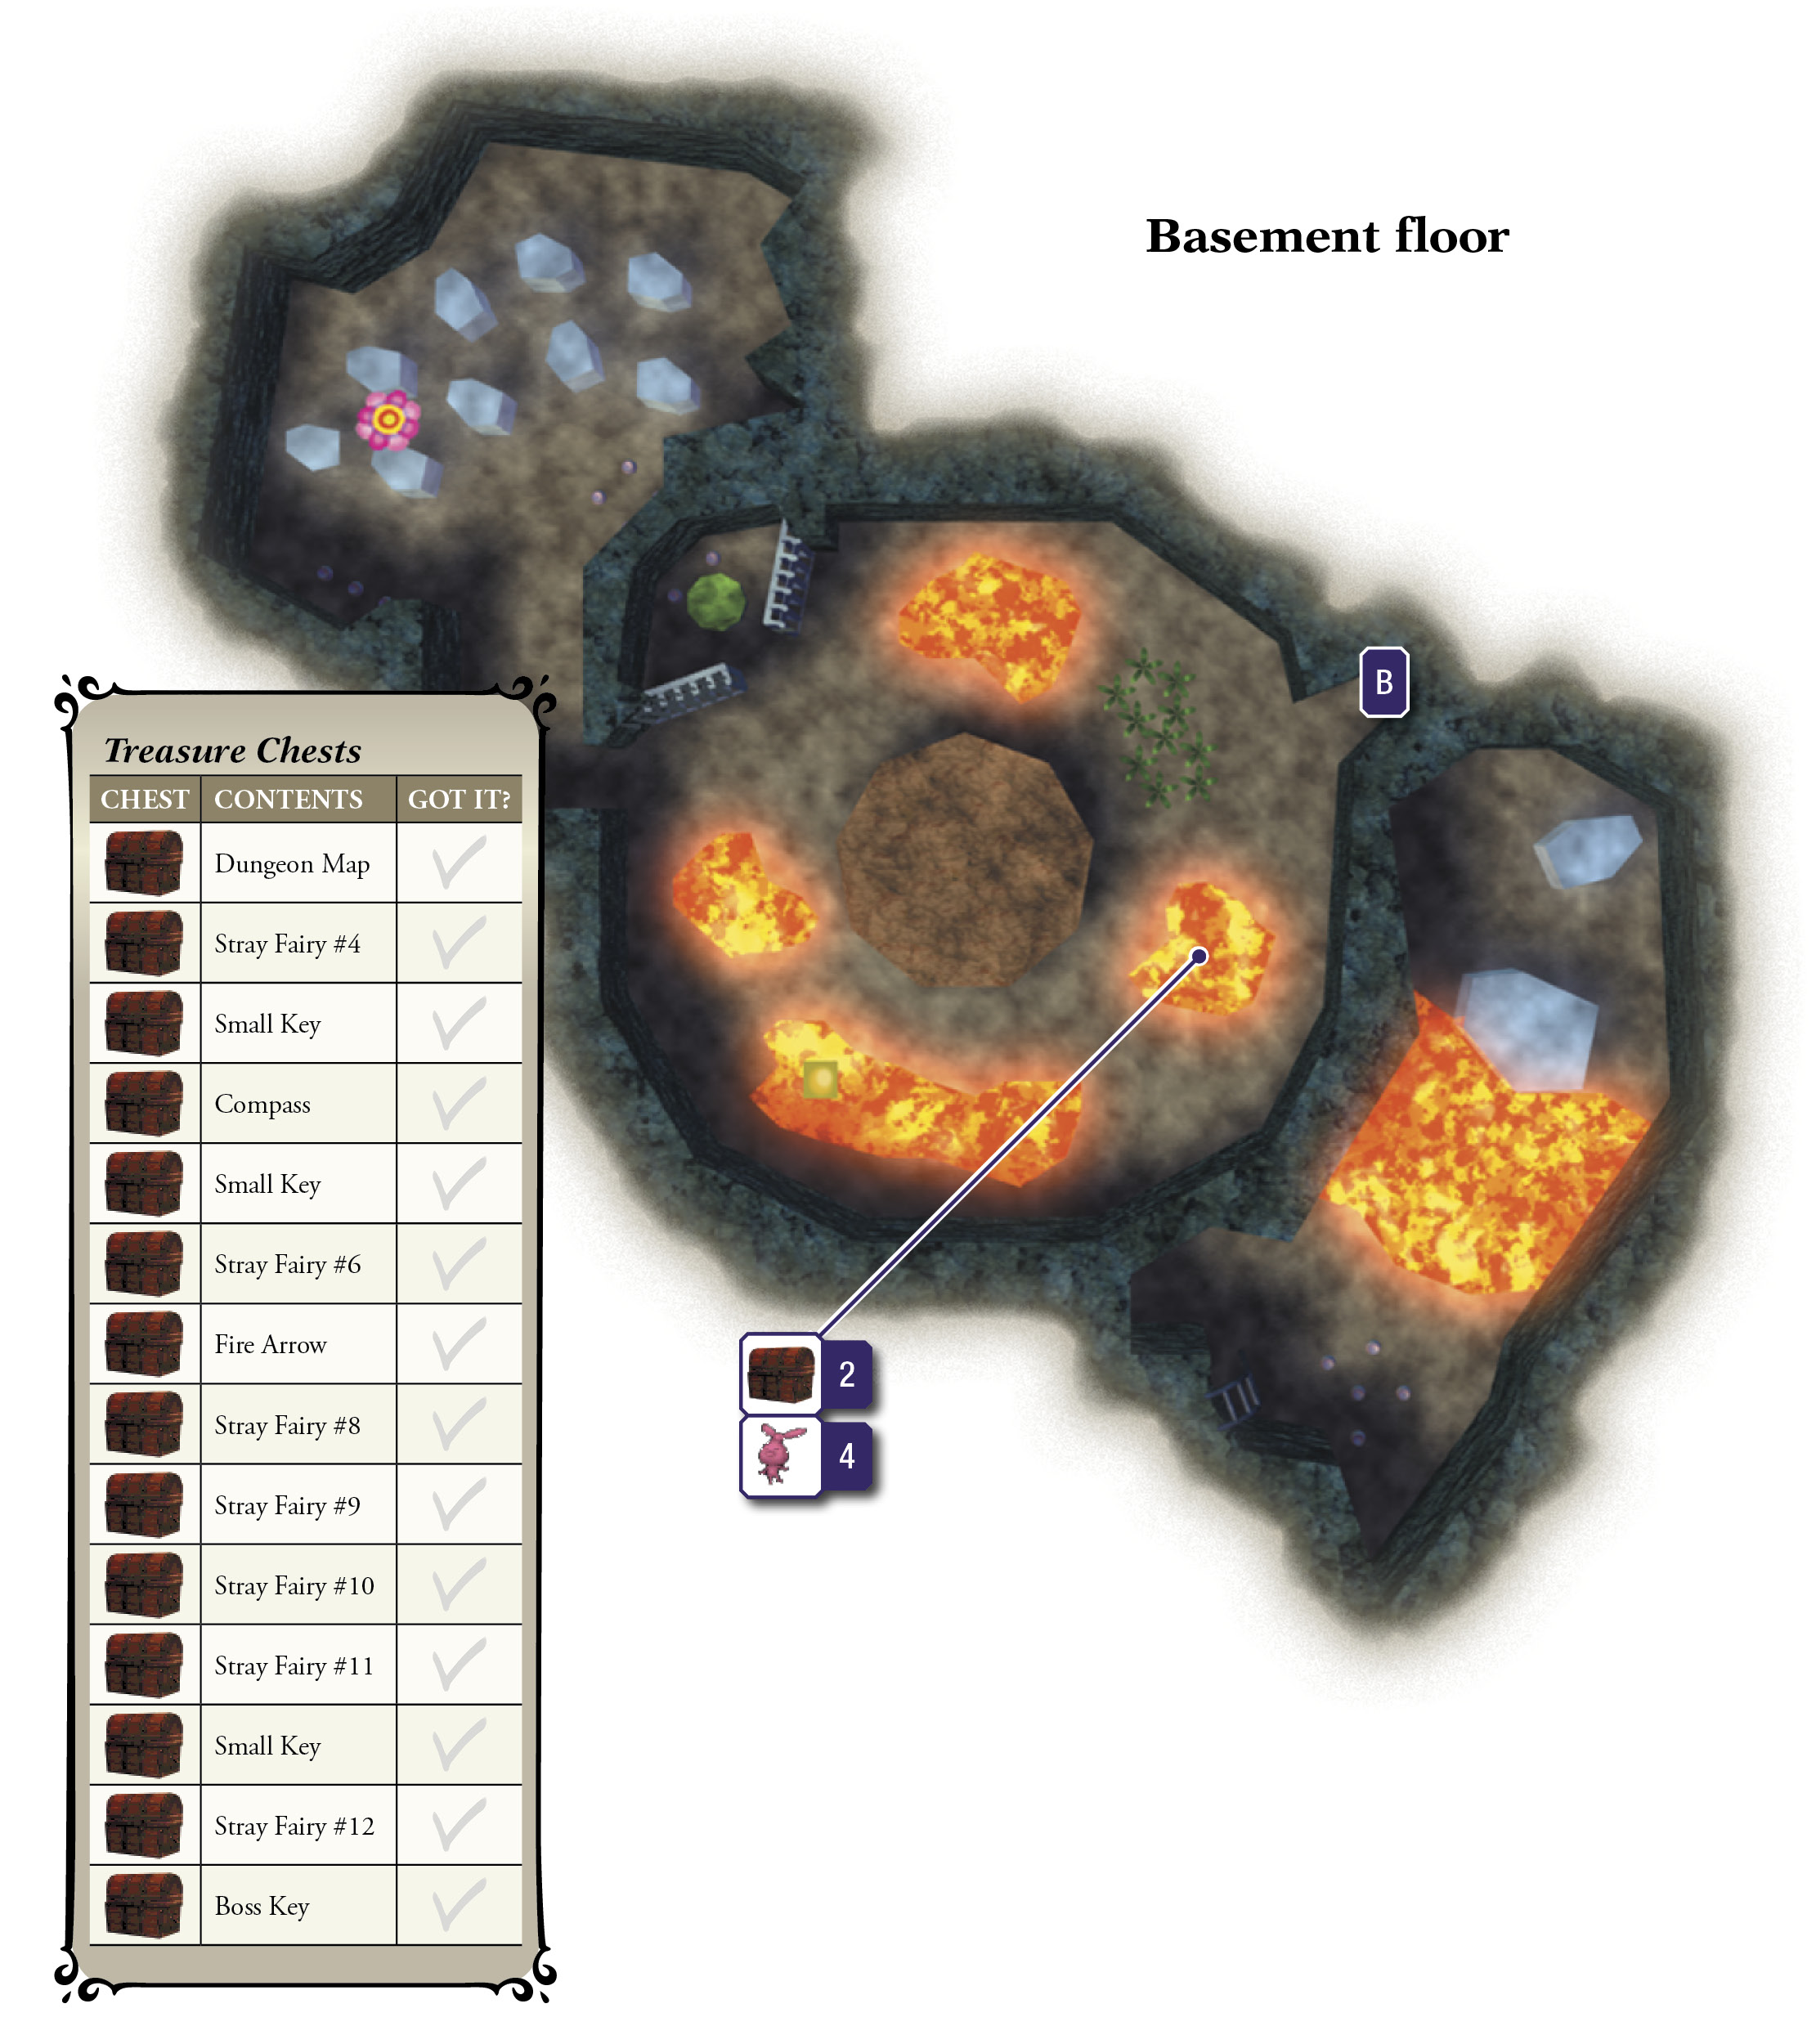
Room 1: Entrance
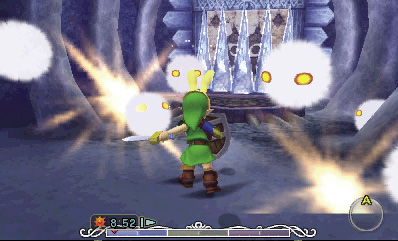
A mob of White Boes ambushes you in the temple’s very first room. Not exactly a warm welcome. Slay them all, then use the nearby save statue to record your progress.
White Boe
Damage: 1/4 Heart

These little fluff balls are just like the Black Boes you encountered in Woodfall Temple. Though weak, they travel in packs and attempt to overwhelm Link with their numbers. Spin attacks are most effective at clearing them out.
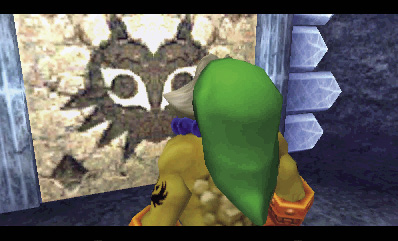
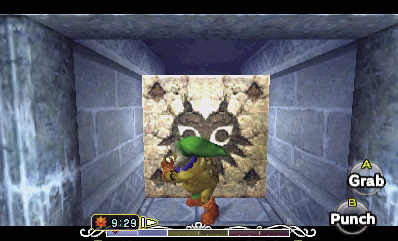
Icicles surround the north door. Smash through them to find that the door is too big for Link to open. Don the Goron Mask to bulk up, then press and hold  to grab the door.
Hang on—this isn’t a door; it’s a big stone block. Shove the block forward until it drops into a hole, letting you advance to the room’s north half.
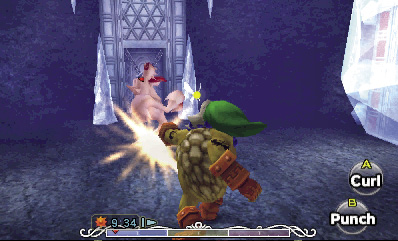
Watch out for a White Wolfos that attacks you as you pass beyond the block. Dodge its claw attacks and counter with one of Goron Link’s unforgiving fists, then smash the jars and icicles near the east and west doors for goodies. The west door is locked, and the north door is frozen shut, so proceed through the east door to visit Room 2.
Room 2: Broken Bridge
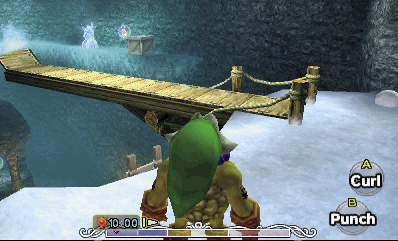
This room features icy floors and a narrow bridge that spans a pool of bubbling lava. Tatl advises that you try rolling as Goron Link to get through icy areas like this.
Before rolling across the bridge, stand near the entry door and scan the room. Spot two Stray Fairies that are trapped in bubbles—one atop the tower below you, and another one near the east wall. Shoot arrows to pop their bubbles, and then put on the Great Fairy’s Mask to draw them toward you. If you don’t have any arrows, climb down the nearby ladder and smash the jars down low, near the lava.
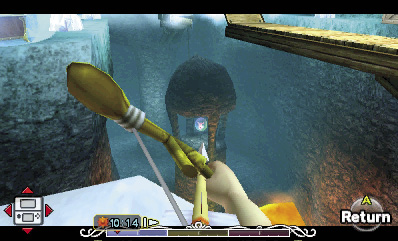
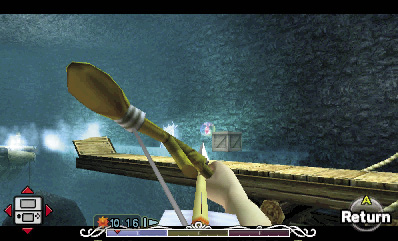
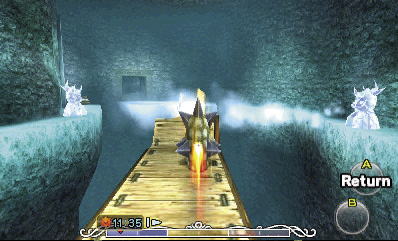
Now, approach the broken bridge. Stand on the icy ground, put on the Goron Mask, and press  to curl up into a ball. Start rolling toward the bridge just as the nearest Freezard stops blowing its icy breath. By starting your roll on the ice, you’ll peel out for a moment and build up speed without going far. Reach top speed, and then roll across the bridge to leap the gap in the middle.
Freezard
Damage: Varies

Freezards are immobile ice statues that regularly emit powerful gusts of chilling wind. These gusts can freeze Link solid, inflicting steady damage until he breaks free. If you manage to get close to a Freezard, you can defeat it with a few blows.
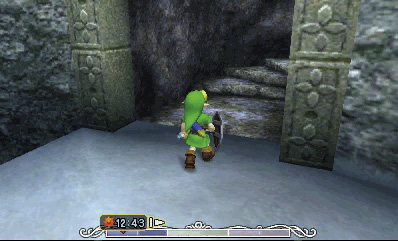
At this point, you can either go up the north stairs, or leap across the nearby gap and head through the west door. The Dungeon Map is upstairs, so go upstairs to reach Room 3 on the temple’s second floor.
Room 3: Bombchu Room
A Real Bombchu runs wild in this small chamber, but unlike the ones in Termina Field, it doesn’t show much interest in Link. Slay it with an arrow, and defeat the nearby Freezard guarding a treasure chest, as well. Open the chest to obtain the Dungeon Map.
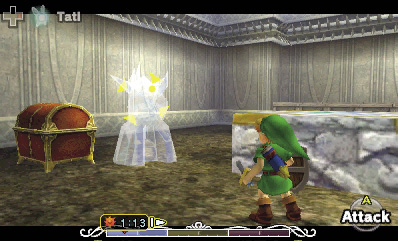
Dungeon Map

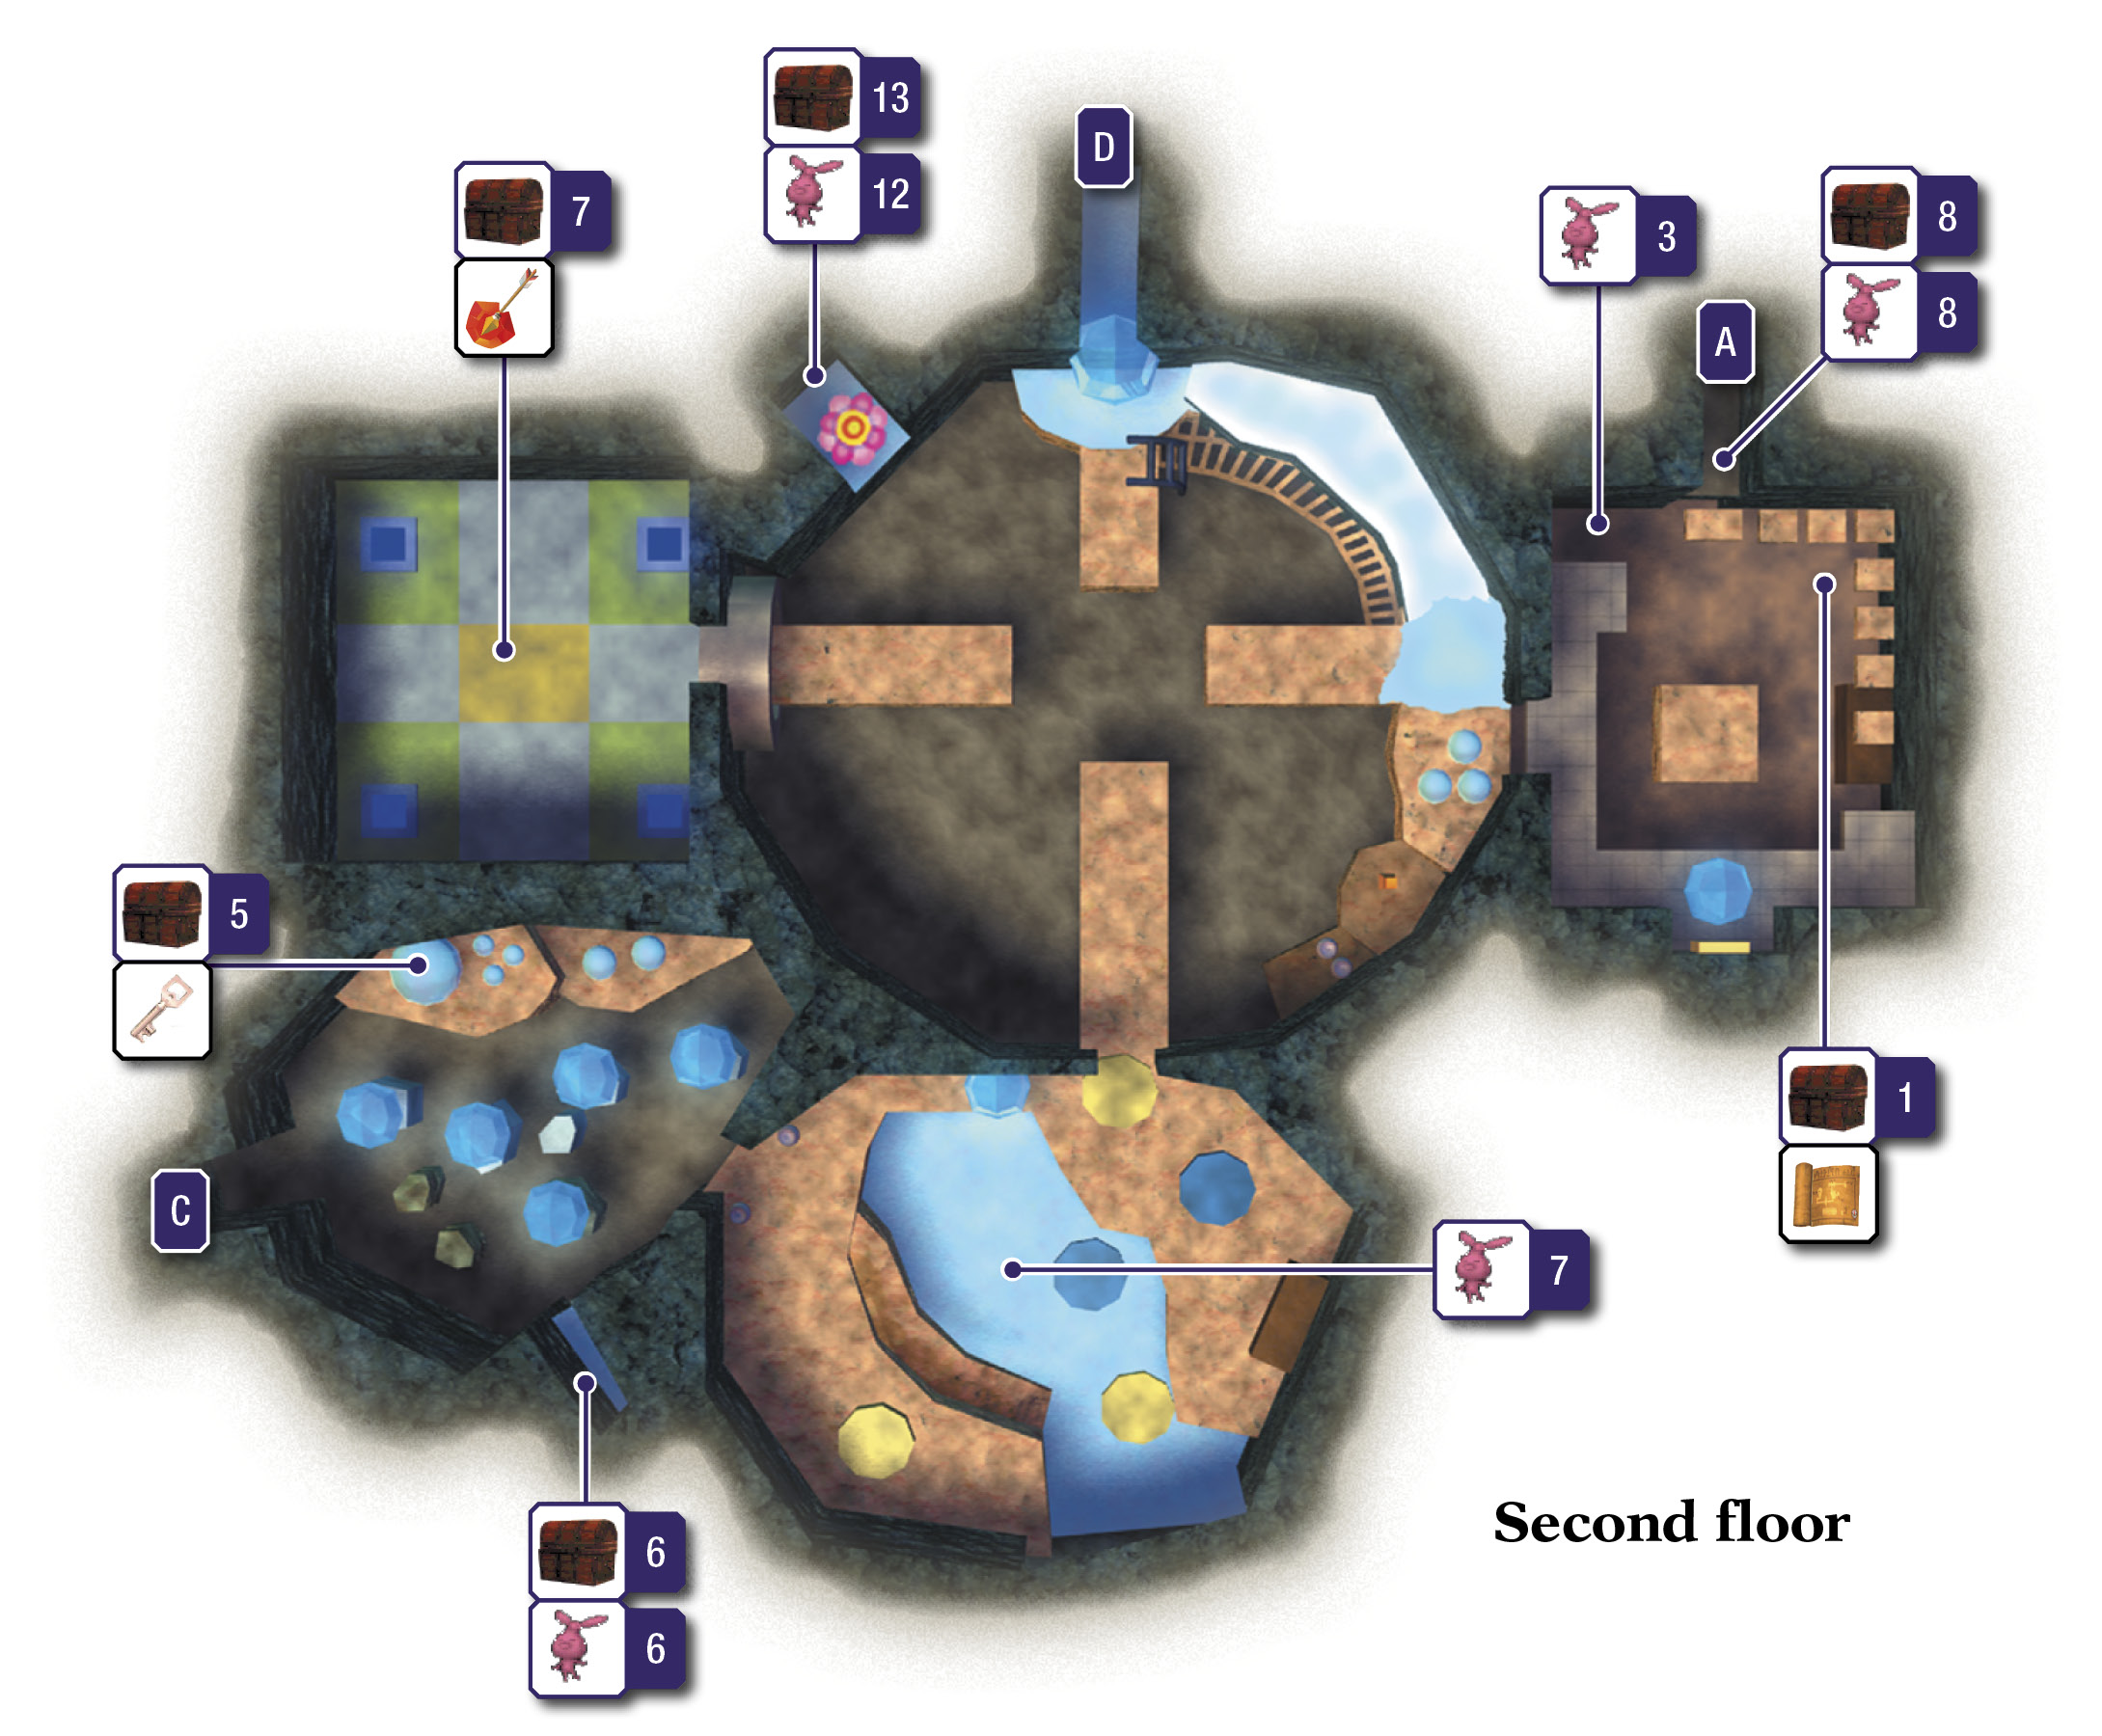
You found the Dungeon Map! Tap the Map button to view the Map Screen. Tap the map to zoom in or out. When zoomed in, slide to check out different areas of the map. Select the floor you wish to view from the bar on the right.
After pocketing the Dungeon Map, search the room’s corner to find a Stray Fairy floating around. Grab the Stray Fairy, then backtrack downstairs to Room 2 and jump over to the west door. Go through it to visit Room 4.
Room 4: Great Cavern (First Floor)
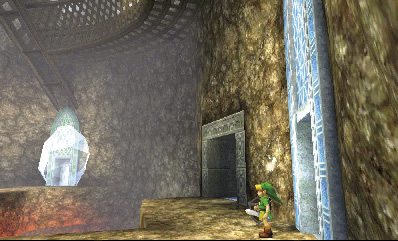
Room 4 is a spacious, multi-leveled cavern that stretches from the temple’s lowest floor (the basement floor) all the way up to its highest level (the fourth floor). There’s a lot to see here, but you should start from the bottom. Take the nearby stairs to the east to reach the cavern’s basement floor.
Room 4: Great Cavern (Basement Floor)
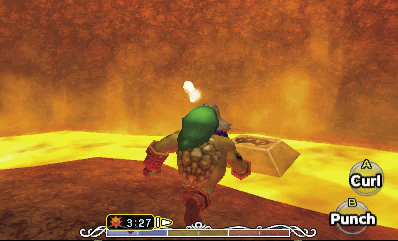
As you explore the cavern’s basement floor, beware of the Red Bubbles that pop up from the lava. Smash the jars up north to free a Fairy that can be bottled or used to recover Link’s life energy. Then, locate a large floor switch that sticks up from a lava pool on the room’s west side. Step on the floor switch as Goron Link to activate it and cause a chest to appear in another nearby lava pool.
Red Bubble
Damage: Varies

Beware of lava pools, for they’re often home to dangerous Red Bubbles. These blazing baddies bound up from lava and begin to bounce around, aiming to bump Link and burn him up. If a Red Bubble touches Link, he’ll be set ablaze and burned for damage over time. Keep your shield up to block their attacks, and roll to put out the flames and save Link from damage while he’s burning. Getting close to Red Bubbles is unwise, so lock on, and use the Hero’s Bow to pick them off from a safe range.
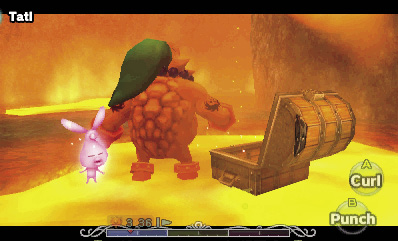
As Goron Link, stroll over to the chest and open it to free a Stray Fairy. That’s all you can accomplish down here for now, so head back upstairs to return to the cavern’s first floor, and go through the unfrozen door to the west to visit Room 5.
Room 5: Two Blocks Chamber
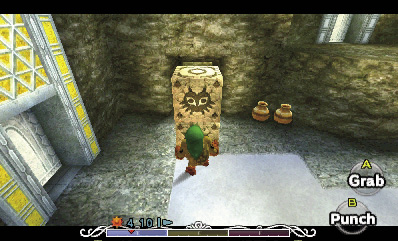
Room 5 is free of enemies and features a pair of movable blocks that are stacked atop one another. Grab and pull the blocks twice to yank them out from the wall.
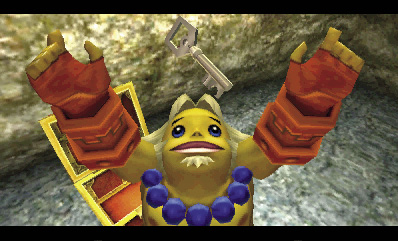
After moving the blocks, circle around behind them to discover a chest in a small nook. Open the chest to obtain a Small Key.
Small Key

You got a Small Key! Use it to open a locked door. You can use the key only in this dungeon.
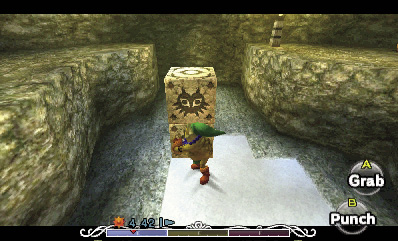
After collecting the Small Key, grab hold of the blocks again and slide them all the way to the west end of the track. The blocks drop into a small recess at the track’s west end, locking into place and causing a chest to appear on a high ledge. You can’t reach the chest yet, but you’ve already got what you came here for: the Small Key. Play the Song of Soaring and soar back to the temple’s entrance.
Room 1: Entrance (Revisited)
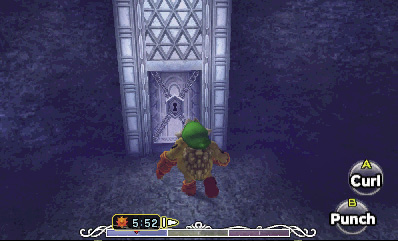
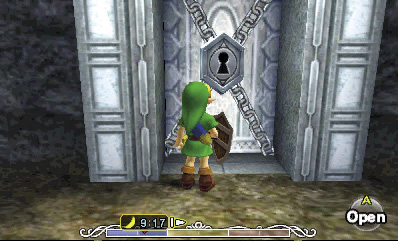
Remember the locked door you saw way back in the entry room? Well, it’s time to open it. Slay the White Boes and White Wolfos, then use your Small Key to open the locked west door and go through to visit Room 6.
Room 6: Compass Chamber
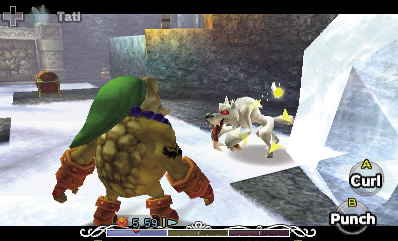
Defeat two more White Wolfos in this room, then open the central chest to claim the Compass. Cool!
Compass
You found the Compass! Now many of the dungeon’s hidden things will appear on the map.
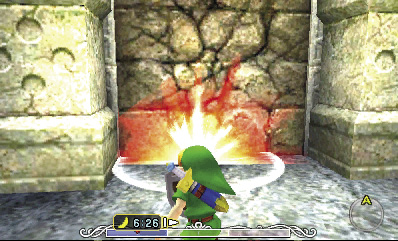
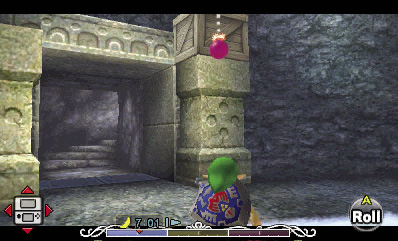
With the Compass in your possession, use a bomb or the Blast Mask to blast the cracked west wall and reveal some stairs that lead up to the dungeon’s second floor. Before going upstairs, look up and notice a crate that’s sitting atop the nearby stone pillar by the stairs you’ve just uncovered.
Stand back a bit, and pull out another bomb. Wait a few seconds, and then move forward and press  to throw the bomb up at the crate. If you time it correctly, the bomb blasts the crate, freeing a Stray Fairy. Keep trying until you blast the crate, then put on the Great Fairy’s Mask and collect the Stray Fairy. Go upstairs afterward to reach Room 7.
Room 7: Icicle Cave
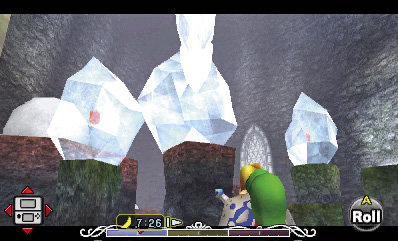
As you enter this chilly chamber, Tatl flies up to the big overhead icicles. Lock on and talk to Tatl, who hints that these look just like the big icicle that you saw when you first made your way up the mountain.
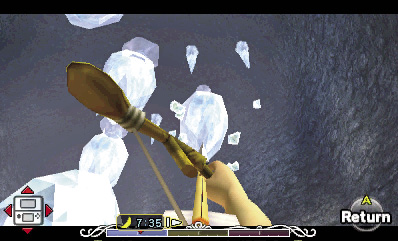
Time to get rid of those nasty icicles, right? Whip out the Hero’s Bow, aim at each big icicle, and then shoot it twice to knock it down. The big icicles shatter the large ice chunks on the pillars beneath them, getting rid of the ice chunks and uncovering some Red Rupees in the process. Shoot all of the smaller icicles on the ceiling, as well, to ensure that they don’t end up falling down on you.
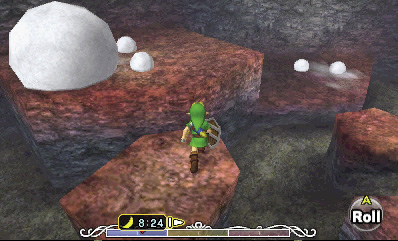
After shooting down all of the icicles, climb onto the lowest pillar and begin hopping across them, heading for a ledge with a big snowball.
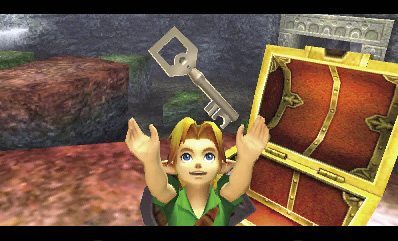
Chop up the ledge’s smaller snowballs for items, then blast the big snowball with the Blast Mask or a bomb (or punch it as Goron Link) to uncover a treasure chest. Open the chest to claim another Small Key.
Small Key

You got a Small Key! Use it to open a locked door. You can use the key only in this dungeon.
A look at your map shows that there’s another chest in this room, but it appears to be off the map. Gaze through the Lens of Truth to discover a hidden alcove in the south wall. Leap from the pillars to reach this alcove, then open the alcove’s chest to release a Stray Fairy.
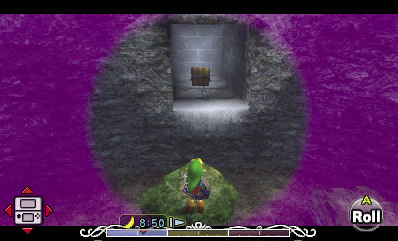
After rescuing the Stray Fairy, drop from the hidden alcove, and open the room’s east door to advance to Room 8.
Room 8: Big Switches
White Boes roam this room’s lower area, and there are big floor switches on the east and west ledges. Before messing with the switches, look up and use the Lens of Truth to spy a Stray Fairy that’s trapped in a bubble beyond a false ceiling. Sneaky! Pop the Stray Fairy’s bubble with an arrow, and rescue it with the Great Fairy’s Mask.
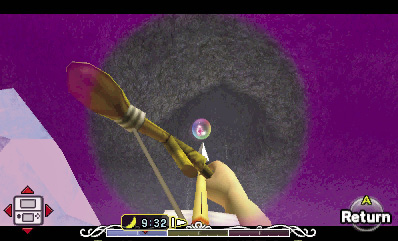
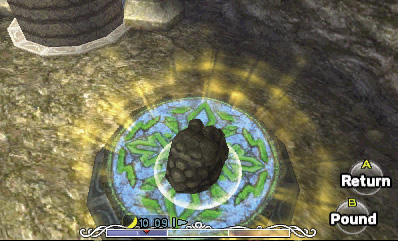
Now for those big floor switches. Put on the Goron Mask, and hop onto the nearby yellow switch to find that even Goron Link’s considerable bulk can’t trigger it. Tatl hints that you need to find some way to pound down the switch.
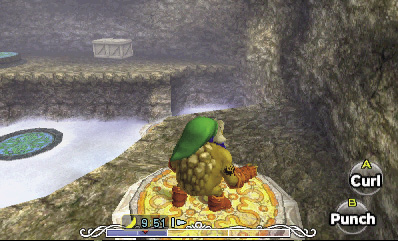
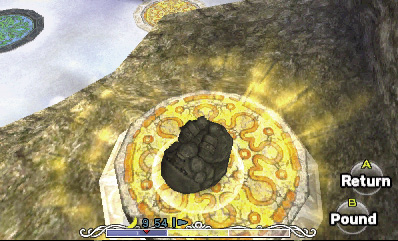
While standing atop the switch, press  to curl into a ball, and then press
  to perform a Goron Pound. Bam! That does the trick.
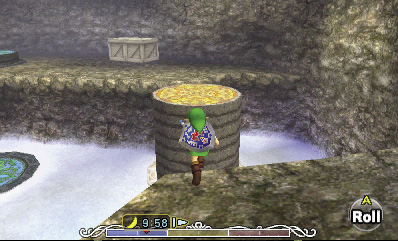
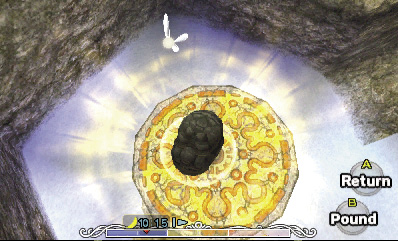
Pounding down the yellow switch causes a yellow pillar to rise in the middle of the room. Unfortunately, another pillar also rises near the north door, blocking it off. No matter; take off the Goron Mask to return to human form, and then leap onto the yellow pillar. From there, you can reach the east ledge.
When you reach the east ledge, put on the Goron Mask, and punch the nearby crates to
discover some items. Then, use another Goron Pound to trigger the big green switch over here. This raises a green pillar in the middle of the room, but the north door remains blocked.
The green pillar won’t stay up for long, so you must hurry. Return to the yellow pillar, and perform another Goron Pound to drive it into the ground. This lowers the pillar that’s blocking the west door.
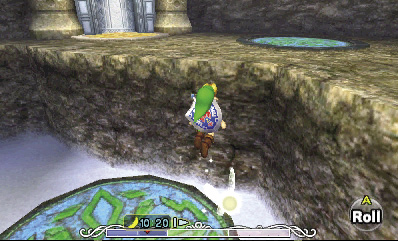
Now’s your chance! Take off the Goron Mask, and climb onto the green pillar. Quickly leap to the east ledge before time runs out and the green pillar sinks into the ground. If you take too long, you’ll need to start over again by pounding down the yellow switch. Go through the north door to return to Room 4.
Room 4: Great Cavern (Second Floor)
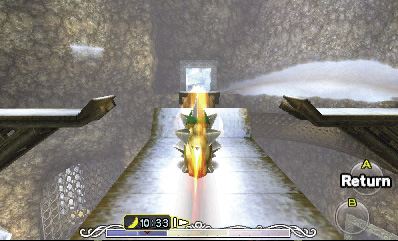
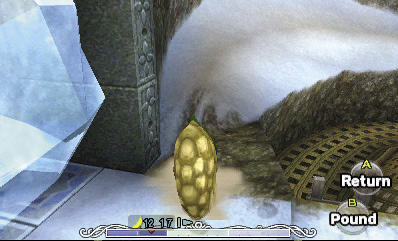
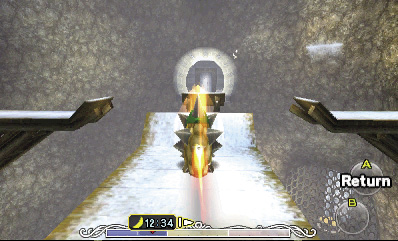
You’re now exploring the Great Cavern’s second floor, which features several walkways and ramps for Goron Link to roll across. Put on the Goron Mask, and roll across the first ramp. You must hit full speed in order to clear the distance. Tap  when you land to stop rolling and catch your breath.
Carefully roll across the sloping snowbank next, looping around the room’s northeast wall. You don’t need to roll at full speed to round this bank, so take it nice and slow to avoid falling, and tap  to stop rolling when you arrive near the east door. If you drop to the metal basin during the roll, smash the jars, and then use the ladder to escape.
Ignore the east door after you roll across the snowbank. Instead, curl up and roll across the central walkway, aiming to launch off the ramp at top speed and land near the west door. Again, you need a full head of steam to make the jump. After you land, go through the west door to visit Room 9.
Room 9: Wizzrobe Duel
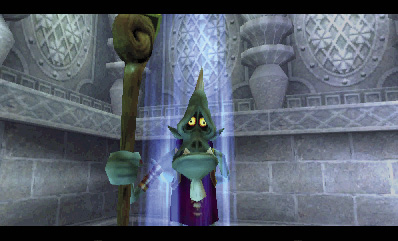
Snowhead Temple’s mini-boss, a cruel spellcaster known as a Wizzrobe, resides in this small room. A great treasure canbe yours if you manage to defeat thistricky villain.
When the battle begins, the Wizzrobe teleports to one of the room’s four corners. Remain in the center of the room and  -Target the Wizzrobe each time he appears, then strike him with an arrow before he has a chance to unleash his icy magic. (You can also attack the Wizzrobe with Link’s sword, but it’s more difficult.)
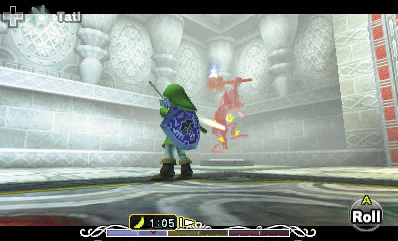
After suffering a few hits, the Wizzrobe steps up his game, summoning clones in an effort to confuse you. The clones are harmless and merely meant to distract you—and they can be quite distracting. Rely on your pal Tatl, for she only targets the real Wizzrobe. Lock on with  -Targeting whenever Tatl flies to the Wizzrobe, and continue using your Hero’s Bow to score damage.
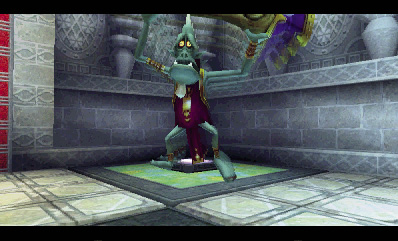
Keep shooting the real Wizzrobe until you finally defeat the villain. Slaying this evil spellcaster causes a chest to appear in the center of the room. Flip its lid to obtain the Fire Arrow.
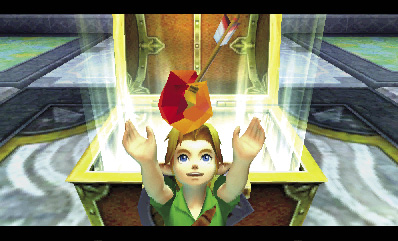
Fire Arrow

You got the Fire Arrow! Equip it to power up your arrows with magic. A direct hit puts the heat on your target. Aim wisely to set objects aflame and melt ice.
Room 4: Great Cavern (Second Floor, Revisited)
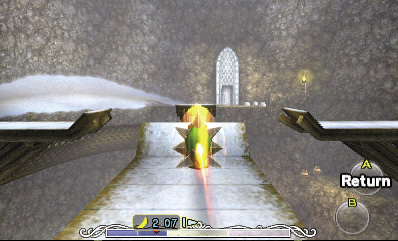
After obtaining the Fire Arrow, backtrack out of the Wizzrobe’s chamber, and roll back to Great Cavern’s east side. This time, go through the east door to visit the upper ledges of Room 3.
Room 3: Bombchu Room (Upper Ledges)
You’re now exploring this room’s upper ledges, which you couldn’t have reached before. Test out your new Fire Arrows by using one to thaw the south wall’s frozen eye switch. This melts the ice around the eye switch and also shuts the eye switch, causing the room’s central platform to rise for a moment before lowering back down. If you ever fall, simply hit the eye switch with another arrow to activate the central platform again.
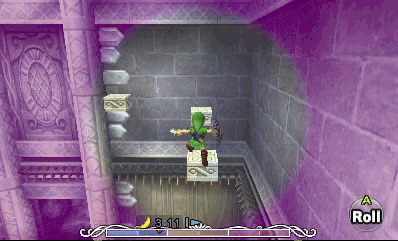
And there’s a real chance that you might fall, for a peek through the Lens of Truth reveals a series of tiny invisible platforms that lead to a high treasure chest alcove. Leap carefully along these tiny platforms, heading for the chest. If you fall, shoot the eye switch with an arrow to raise the central platform and return to the upper ledges.
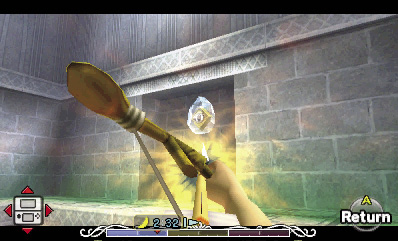
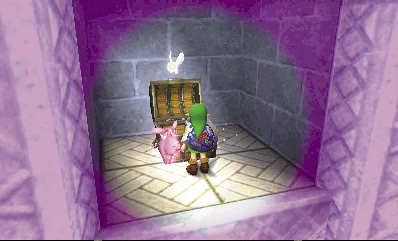
Once you reach the high alcove, crack open the chest to release a Stray Fairy. That’s already half of the Stray Fairies in this temple!
Room 1: Entrance (Third Visit)
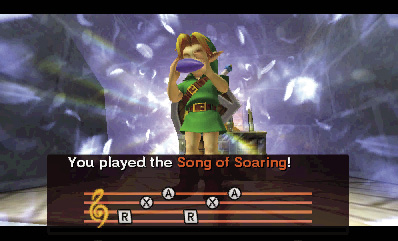
You’ve now fully explored Room 3. Play the Song of Soaring to return to Room 1, then save your game before going through the west door to revisit Room 6.
Room 6: Compass Chamber (Revisited)
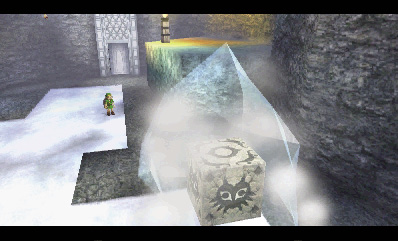
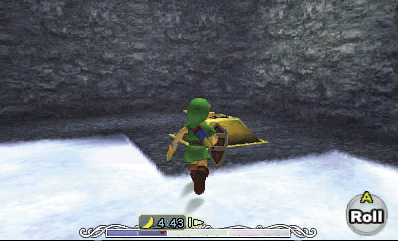
Now that you’ve found the Fire Arrow, you can melt all of the ice chunks in this room. Do so to expose a floor switch and a movable stone block.
Ignore the block for the moment, and step on the floor switch to reveal a chest on a high ledge. Now, shove the block north, east, and then south to move it close to the ledge.
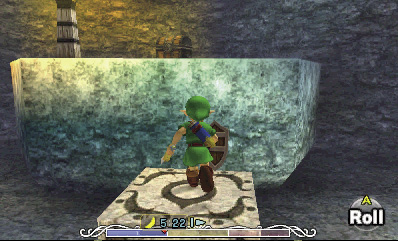
Shoot down the overhead icicles for safety, then climb onto the block. (Press  while moving toward the block to climb on top of it.) Leap from the block to reach the chest, and open it to rescue another Stray Fairy.
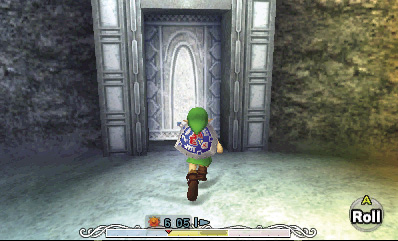
Drop back down to the movable block, and this time, shove it west, north, and then west again to move it near the north ledge. Climb onto the block, leap to the ledge, and go through the north door to revisit Room 5.
Room 5: Two Blocks Chamber (Upper Ledges)
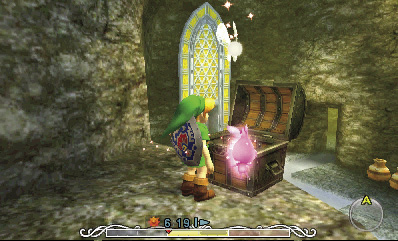
You’re now exploring Room 5’s upper ledges. Remember the chest that you revealed here before by moving the stacked blocks around? Well, now you can reach it. Hop over, hold  to block the two jars that come flying at you when you land, and then loot the chest to rescue another Stray Fairy. Five more to go!
Room 4: Great Cavern (First Floor, Third Visit)
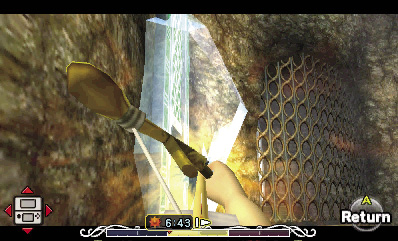
Drop to Room 5’s ground floor, and exit through the east door to return to the Great Cavern. Melt the ice chunk that’s blocking the nearby door on your left, then go through the door to visit Room 10.
Room 10: Freezard Cave
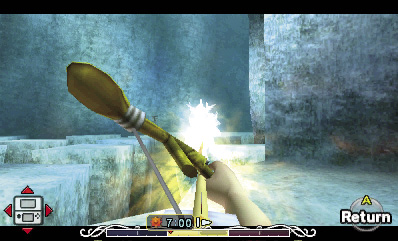
This large cave is home to three Freezards. Melt down each one with Fire Arrows from the safety of the entry ledge.
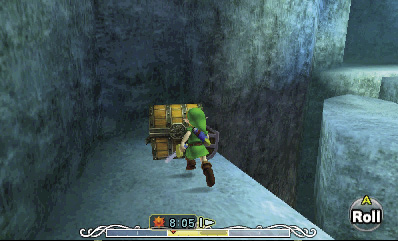
After you’ve defeated all three Freezards, a chest appears on the north ledge. Carefully hop over, and loot the chest to rescue another Stray Fairy. (You may want to put on the Bunny Hood to make Link jump farther, which makes things a little easier.)
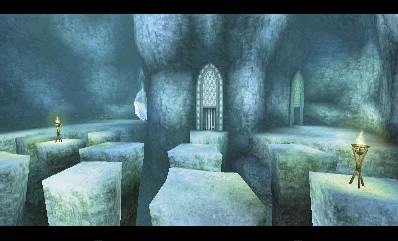
Next, use Fire Arrows to light all three of the unlit torches around the room. After you’ve lit all three torches, the room’s middle door unseals. Hop over, and go through the middle door to return to the Great Cavern.
Room 4: Great Cavern (First Floor, Fourth Visit)
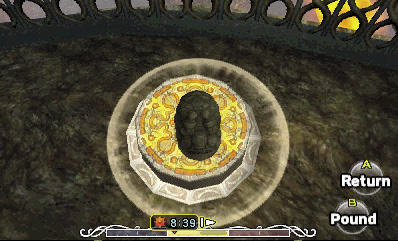
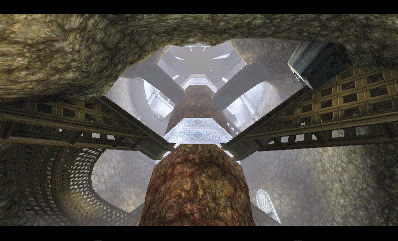
Entering the Great Cavern through the Freezard Cave’s middle door places you behind bars. You’re trapped in a cage in the room’s northwest corner! Slap on the Goron Mask, and perform a Goron Pound on the big switch here to activate it.
Activating the big switch causes the Great Cavern’s central pillar to rise all the way up to the ceiling. This is an important accomplishment. Play the Song of Soaring to return to the temple’s entrance, then go through the east door to return to Room 2.
Room 2: Broken Bridge (Revisited)
Use Fire Arrows to melt down all three Freezards in this room, and to thaw out the frozen chest on the east ledge. Next, roll across the bridge as Goron Link, and then open the chest to claim a Small Key.
After snatching the Small Key from the chest, go north and hop over to the north stairs. Go up to return to Room 3.
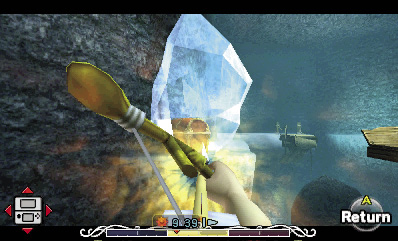
Small Key

You got a Small Key! Use it to open a locked door. You can use the key only in this dungeon.
Room 3: Bombchu Room (Revisited)
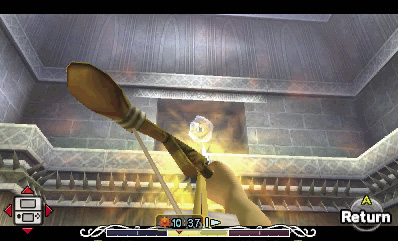
Back in Room 3, stand on the central platform, and slay the Freezard and Real Bombchu. Aim up at the frozen eye switch on the wall afterward, and shoot it to make the central platform rise like an elevator. Ride the platform up, and then hop off to reach the room’s upper ledges. Proceed through the nearby (west) door to revisit Room 4.
Room 4: Great Cavern (Second Floor, Third Visit)
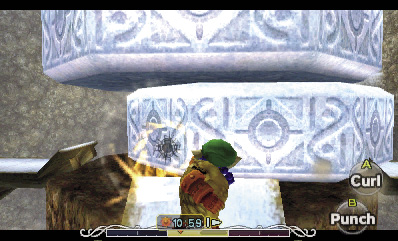
You’re back in the Great Cavern, up on the second floor. Approach the central stone pillar, which you recently raised. Put on the Goron Mask, and punch the pillar as Goron Link. The mighty blow knocks a section out of the pillar, causing it to lower a bit. Punch the pillar again to knock out another section and drop it even lower.
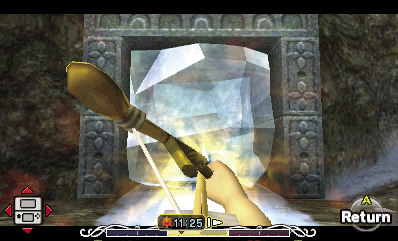
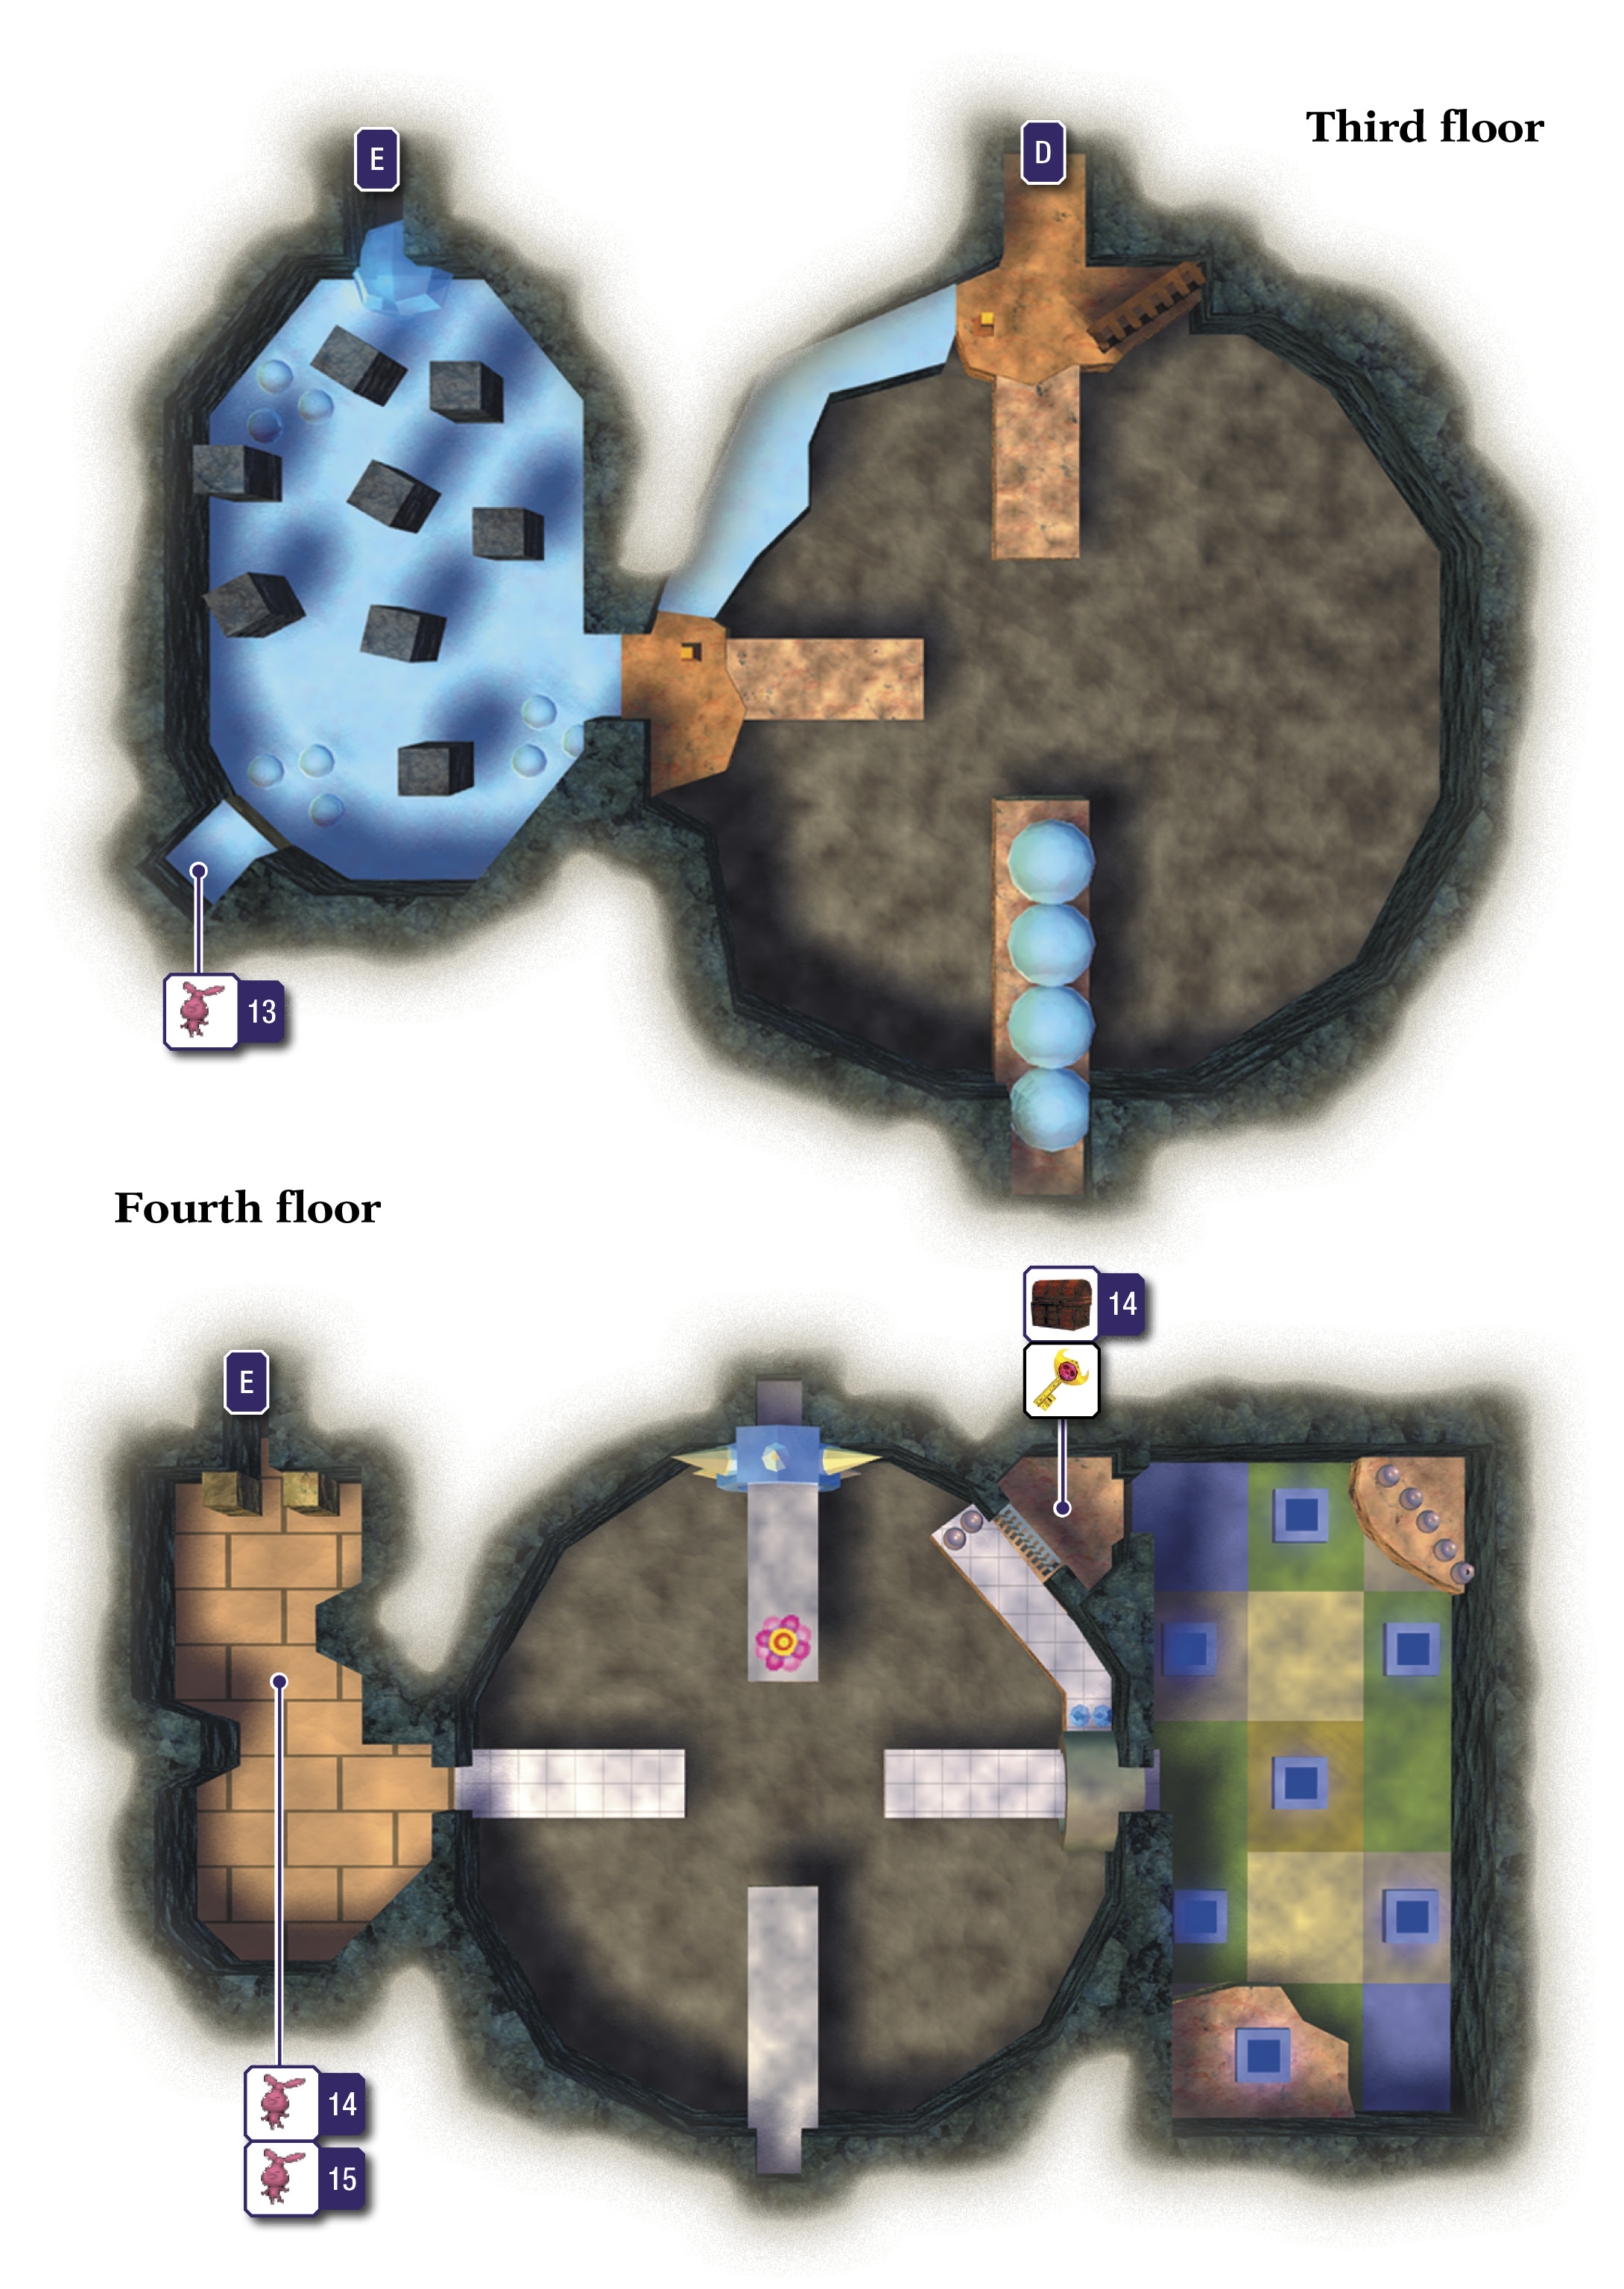
After lowering the pillar, roll around the northeast snowbank to reach a stairwell that’s blocked by ice. (You can also drop to the lower area and then climb the ladder to avoid rolling around the snowbank.) Take off the Goron Mask, melt the ice with a Fire Arrow, and then head upstairs to reach the temple’s third floor.
Room 4: Great Cavern (Third Floor)
You’re getting there! The central pillar is right before you, and it’s just begging to be punched again, but don’t punch it just yet. Instead, stand on the walkway that leads to the pillar, then face west and gaze through the Lens of Truth. Spot an invisible nook in the wall below you—a nook with a Deku Flower.
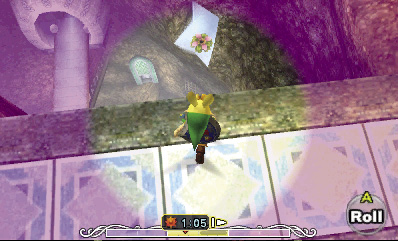
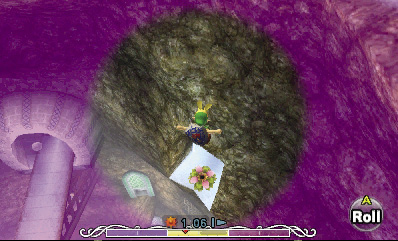
There’s just got to be something good in that secret nook. Gather your courage, slap on the Bunny Hood, and make a daring leap down toward it. You don’t need to use the Bunny Hood to land in the nook, but it definitely helps.
Room 4: Great Cavern (Second Floor, Fourth Visit)
Once you land in the secret nook, you’ll be down on the cavern’s second floor again. Hey, there’s a chest there! Open the chest to rescue a Stray Fairy.
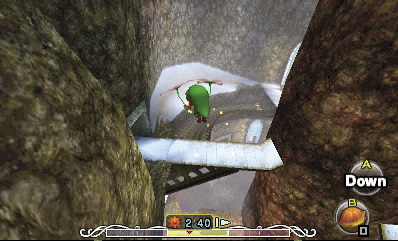
After saving the Stray Fairy, slap on the Deku Mask and dive into the nook’s Deku Flower. Launch out and glide to the left, aiming to land on the walkway that leads to the north stairs, which in turn lead up to the third floor.
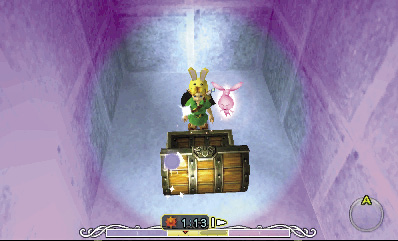
Room 4: Great Cavern (Third Floor, Revisited)
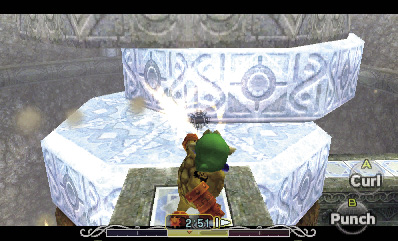
Back on the third floor, put on the Goron Mask and punch the central pillar to knock out a section, lowering the top platform. Carefully roll around the northwest snowbank afterward, heading for the locked west door. You don’t need to roll at top speed, so take your time as you circle around the bank.
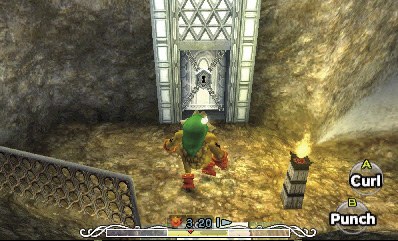
After crossing the snowbank, punch the central pillar’s remaining section to lower it the rest of the way. Then, unlock the west door, which leads to Room 11.
Room 11: Eeno Den
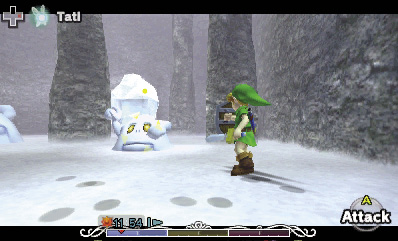
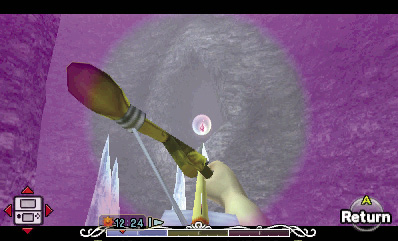
Beware of several creepy Eenos that reside in this frozen cave. Block their snowballs, and counter with Fire Arrows to wipe them all out.
After defeating the Eenos, peer through the Lens of Truth and spy a Stray Fairy floating beyond a false wall to the west. Pop the Stray Fairy’s bubble with an arrow (you’ll have to fire blindly, for you can’t shoot and use the Lens of Truth at the same time), then draw it in with the Great Fairy’s Mask. Only two left to find!
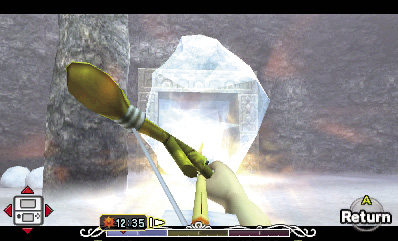
With the Stray Fairy rescued, loose a Fire Arrow at the ice that’s blocking the north stairs, then go up to visit Room 12.
Room 12: Dual Dinolfos
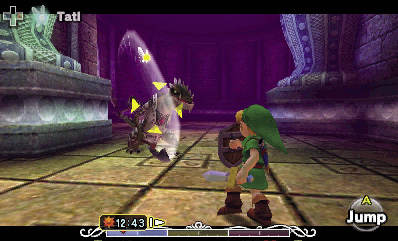
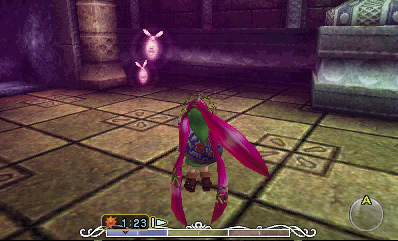
Beware: a pair of dangerous Dinolfoses roams this stone room! Battling two of these aggressive menaces at once is tough, so make things easier by locking on and lighting them up with Fire Arrows. Burn each Dinolfos with two Fire Arrows to defeat them.
Each Dinolfos drops a Stray Fairy when slain. Nice work: you’ve just found all of Snowhead Temple’s Stray Fairies. Proceed through the east door to reach Room 4’s top floor.
Room 4: Great Cavern (Fourth Floor)
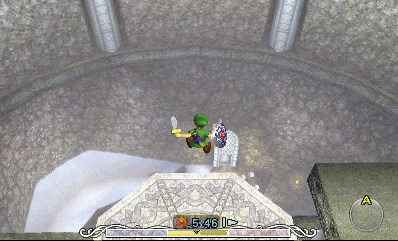
You’ve finally reached the Great Cavern’s top floor, but you can’t advance very far. The gap in the walkway here is too far to jump across, even for Goron Link. Drop off the walkway’s end, and land on the central platform below you to return to the cavern’s third floor.
Room 4: Great Cavern (Third Floor, Third Visit)
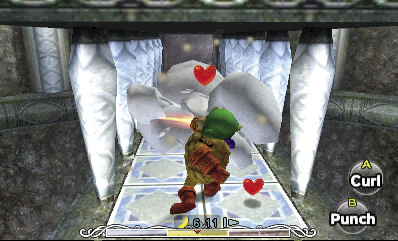
Down on the cavern’s third floor, don the Goron Mask, and punch through the south snowballs. Smash them all to uncover a set of stairs that leads back up to the cavern’s fourth floor.
Room 4: Great Cavern (Fourth Floor)
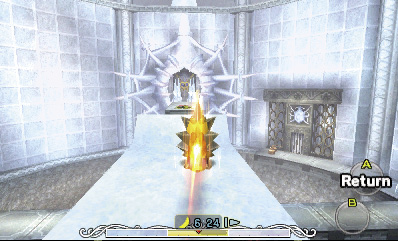
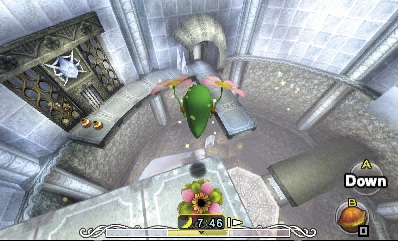
The stairs lead up to a higher walkway. You can cross this one’s gap with a full-speed Goron Link roll. Put on the Goron Mask, line up carefully, and roll off the ramp to reach the far Boss Door.
You’ve yet to acquire the Boss Key, so you can’t open the Boss Door just yet. Instead, use the nearby Deku Flower to glide to the east door below you (the one with the icicles nearby). Go through the door to visit Room 13.
Room 13: Wizzrobe’s Revenge
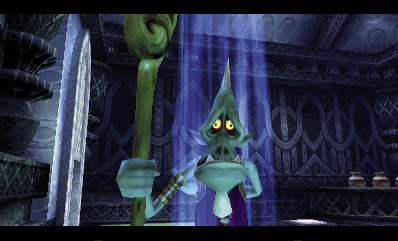
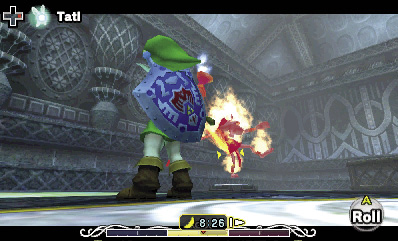
A familiar adversary greets you in this chamber: a Wizzrobe. This battle is just like the last one, except that this Wizzrobe has more locations to teleport to.  -Target the Wizzrobe each time it appears, and shoot it with a quick arrow (Fire Arrows do a bit more damage than regular arrows).
Don’t be fooled by the Wizzrobe’s false clones. Rely on Tatl to target the real Wizzrobe, and continue peppering him with arrows from afar. After you slay the Wizzrobe, the north door unseals. Go through to return to the Great Cavern.
Room 4: Great Cavern (Fourth Floor, Revisited)
Back in the Great Cavern, you find yourself standing in a small cage. Open the nearby ornate chest to obtain the Boss Key.
Go through the nearby door to escape the cage, then circle around the ledge, smash through the icicles, and drop to the central platform below. Punch through the south snowballs again and go back upstairs, then use Goron Link’s full-speed roll to reach the Boss Door. What are you waiting for? Head through to reach the temple’s final challenge
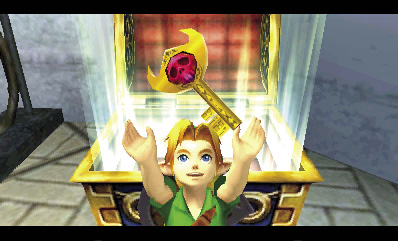
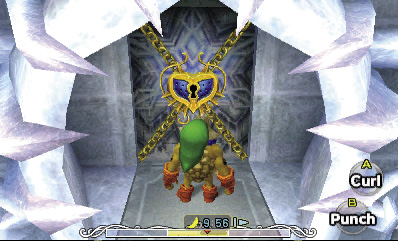
Boss Key

You got the Boss Key! Now you can enter the chamber where the boss lurks.