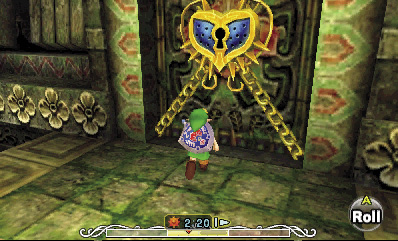
The Legend of Zelda Majora's Mask 3D Guide Walkthrough Chapter 4: Woodfalls Woes
Woodfall Temple
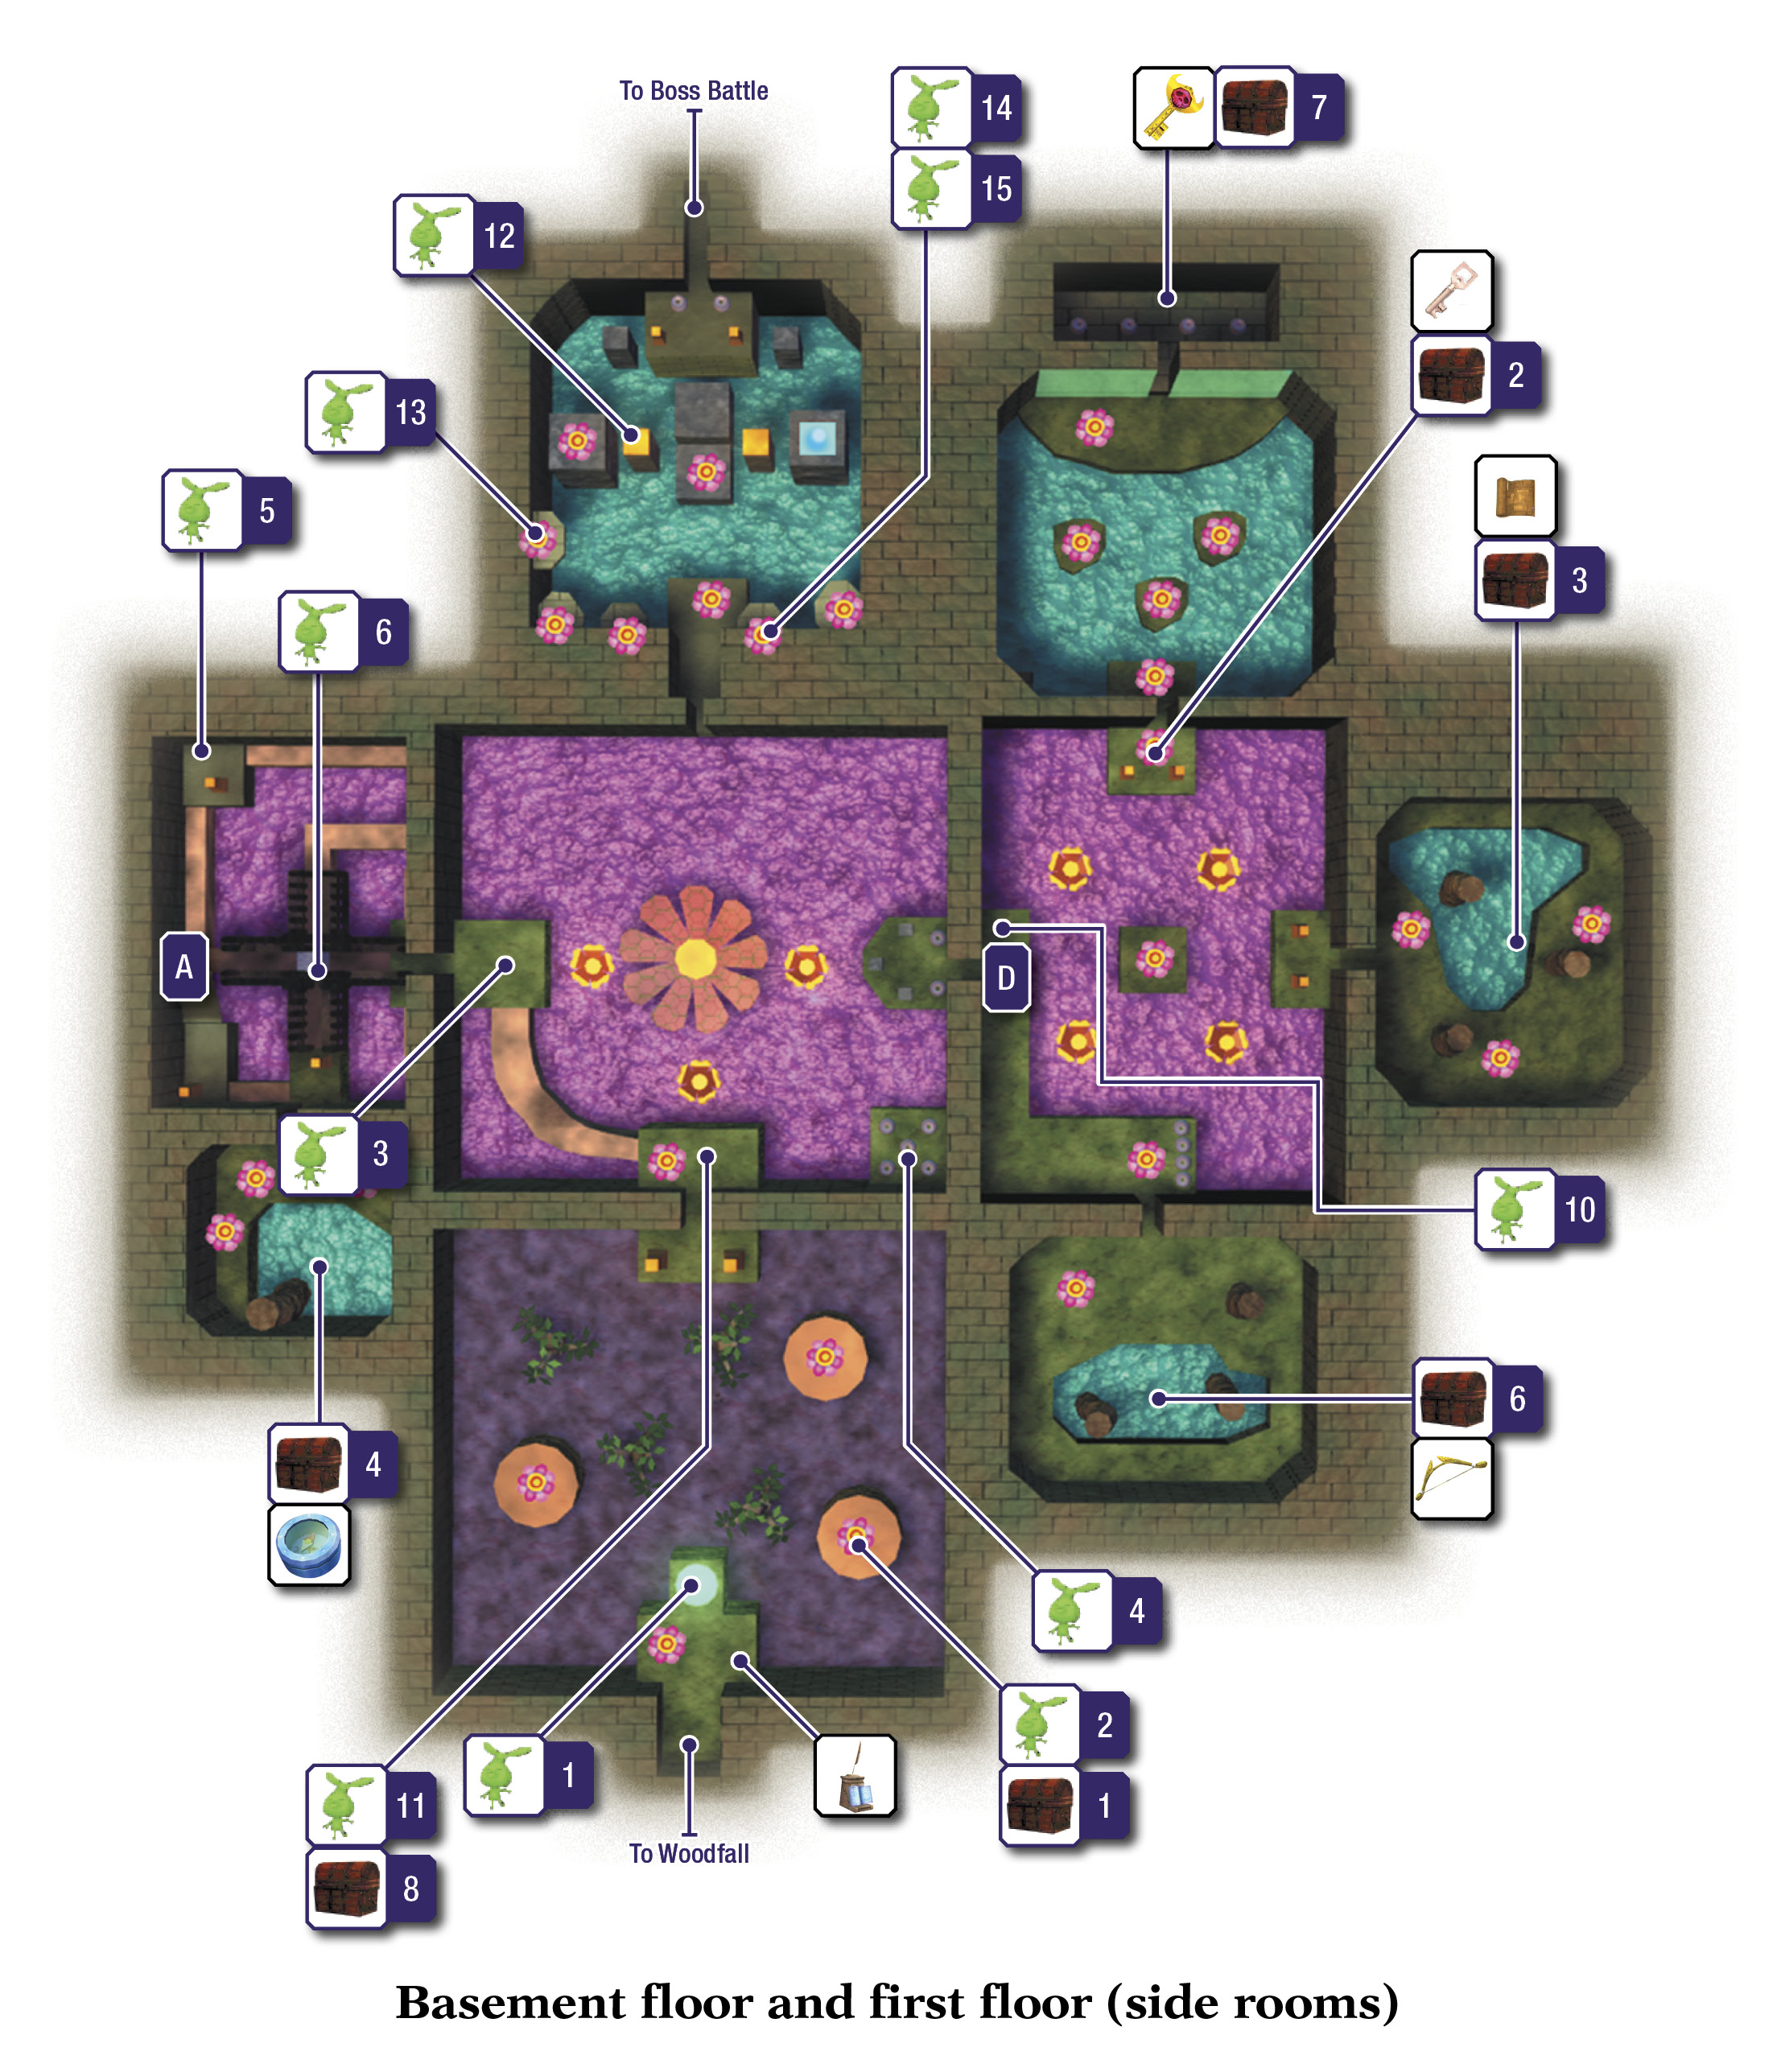
Room 1: Entry Chamber
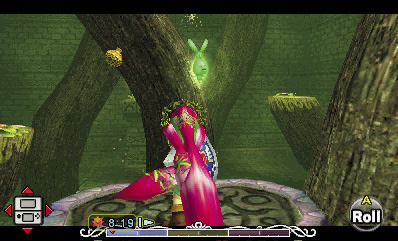
A Stray Fairy floats in Woodfall Temple’s very first chamber. That’s right: as you discovered during your recent explorations, the Great Fairy of Woodfall has been broken and shattered, just like the Great Fairy in Clock Town. Take off the Deku Mask, and put on the Great Fairy’s Mask that you obtained from the Great Fairy in Clock Town. Collect the Stray Fairy—the first of 15 you’ll be finding in this dungeon.
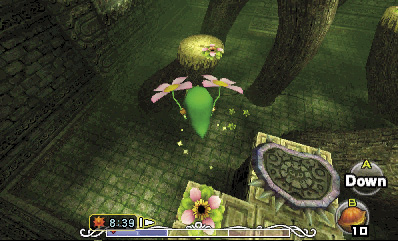
Smash the entry ledge’s jar to release another Fairy that you can catch in your Empty Bottle. (Only one Fairy can be kept in a single bottle at a time; this one’s a backup in case you didn’t get the one back near the Woodfall owl statue.) Then, put on the Deku Mask and use the entry ledge’s Deku Flower. Pop out and glide to the next Deku Flower ahead. From there, sail to the next Deku Flower to the east, which a treasure chest sits near. If you fall, slay the Black Boes at the chamber’s bottom, and then use one of the south ladders to climb back up.
Black Boe
Damage: 1/4 Heart

Often attacking in swarms, Black Boes slink about the floor and then leap at Link, ramming into him for damage. Lock on and back away to avoid being surrounded, and block to avoid damage. When you see an opening, unleash the full fury of Link’s blade or Deku Link’s spin attack.
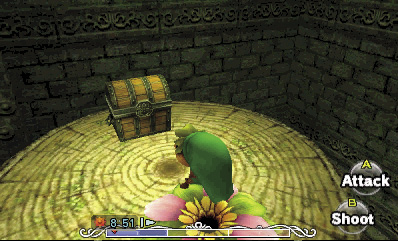
Open the chest to free another Stray Fairy. Link collects this one automatically, with no need for the Great Fairy’s Mask this time. That’s two!
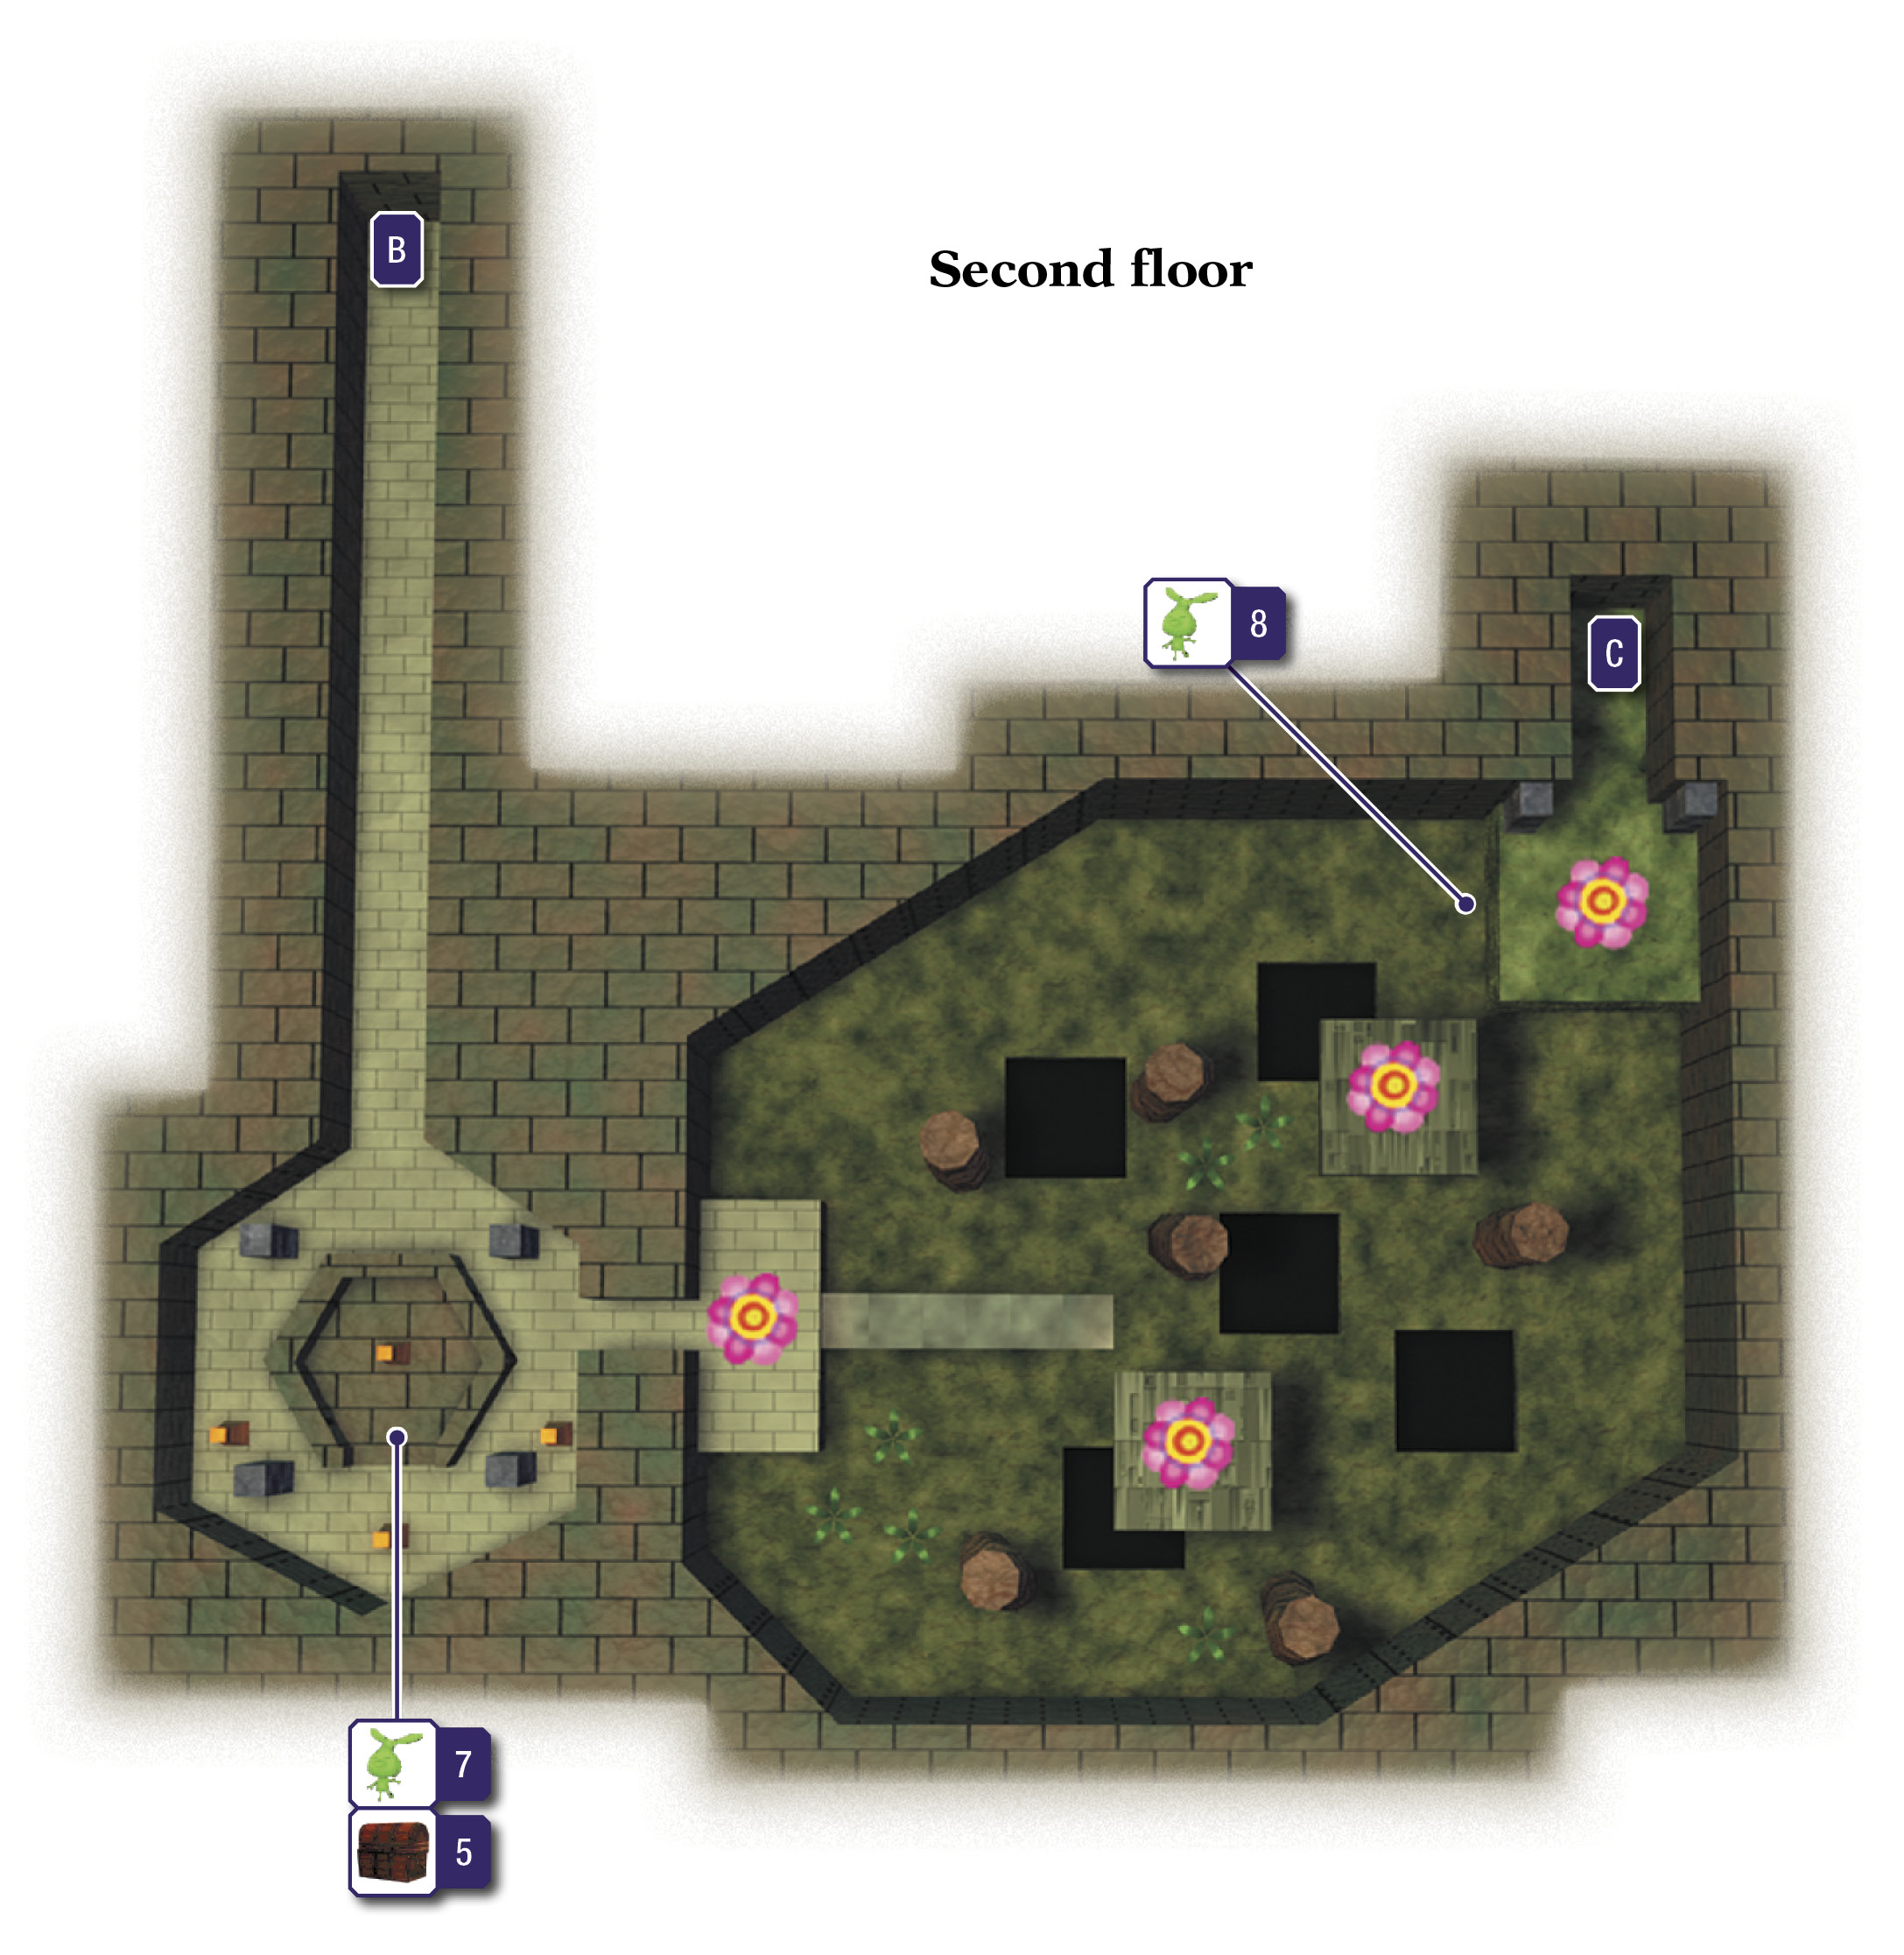
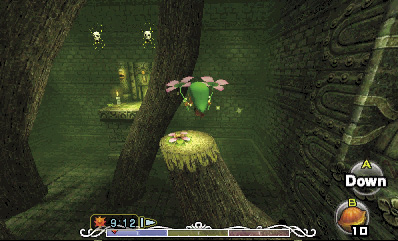
After opening the chest, put the Deku Mask back on and dive into the platform’s Deku Flower. Launch up and glide, making a stop on a stump before using another Deku Flower to sail toward the north ledge.
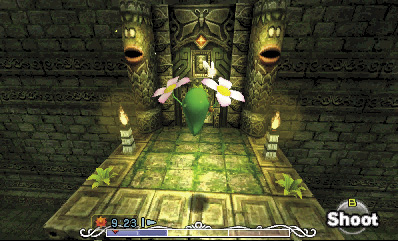
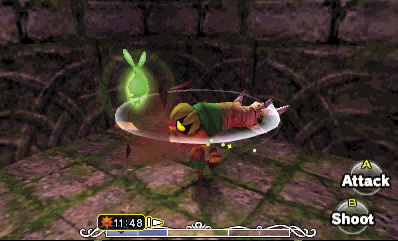
When you land on the north ledge, two Skulltulas drop from the ceiling. Try to land on the exact center of the ledge to avoid being hit, and for safety, hold  to defend yourself when you land. Use Deku Link’s bubbles to slay the Skulltulas if you like, or leave them be and proceed through the north door to enter Room 2.
Room 2: Shrine Chamber
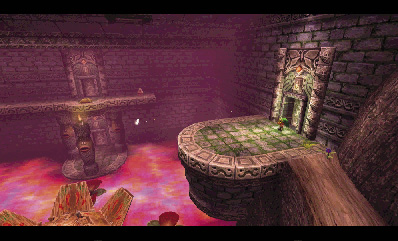
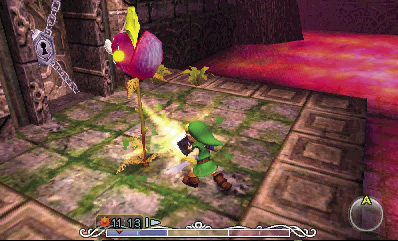
The stench of this room is overpowering, as the water here is foul and poisoned. Be careful not to fall in as you explore.
Defeat the entry ledge’s Deku Baba, then descend the nearby root ramp to reach the room’s west ledge. Slay another Deku Baba here to free the third Stray Fairy. Use the Great Fairy’s Mask to lure it toward you afterward.
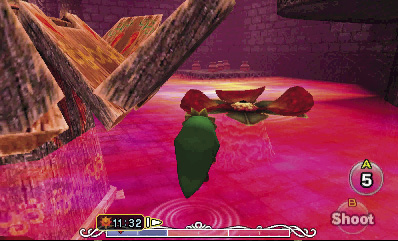
The west door is locked and requires a key to open. As Deku Link, hop eastward across the poisoned water instead, landing on the nearby flower. Continue jumping eastward along the water, landing on each flower to catch your breath as you circle around the big shrine in the room’s center. Keep going until you reach the room’s east ledge.
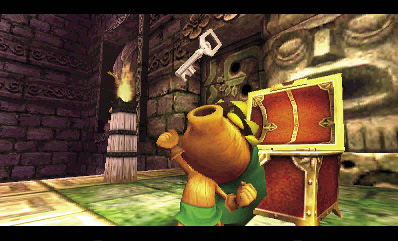
The east door is unlocked, but don’t go through it just yet. Instead, turn right and hop over to the southeast ledge, where you find five jars. Smash all five jars to find some bombs and other items, along with another Stray Fairy. Leap back over to the east ledge afterward, and this time, proceed through the east door to reach Room 3.
Room 3: Small Key Chamber
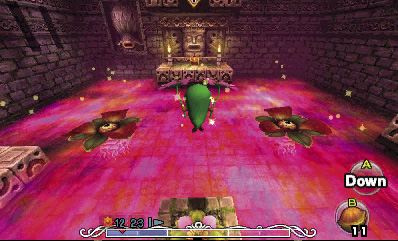
Steer clear of more poisoned water that fills this room. Hop across to the central Deku Flower, then use it to reach the gilded treasure chest to the north.
Open the chest to claim a Small Key. Nice! Now you can open that locked door you saw back in Room 2.
Small Key

You got a Small Key! Use it to open a locked door. You can use the key only in this dungeon.
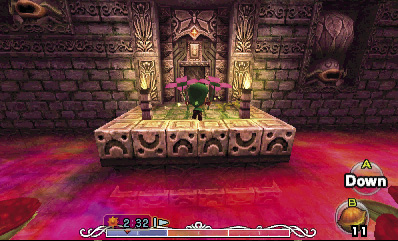
Before rushing back to Room 2, hop to one of the nearby flowers and then return to the central Deku Flower. Use the flower again to glide to the room’s east ledge, then go through the east door to visit Room 4.
Room 4: Snapper Lair
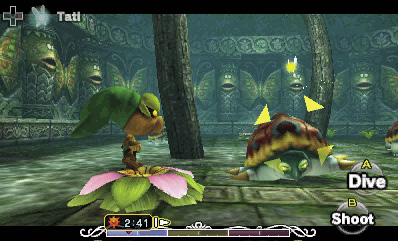
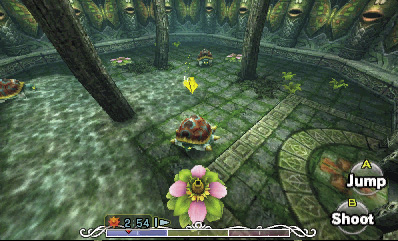
As you enter this small room, the door seals behind you, trapping you inside. The Snappers that reside here are just like the ones you encountered in the Woods of Mystery, and they have only one weak spot: their soft bellies. You could toss bombs at the Snappers to flip them over and expose their bellies, but there’s an easier way to handle them.
Quickly dive into the nearest Deku Flower, and allow a Snapper to come spinning toward you. Just as the Snapper passes over the flower, pop up, and you’ll strike its belly from below and defeat it. Repeat this trick with the other two Snappers to clear the room.
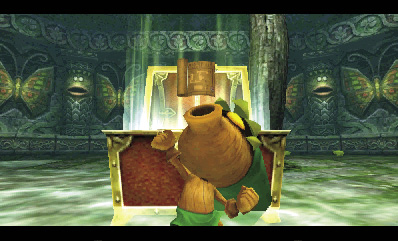
After you’ve slain all three Snappers, the room unseals, and a gilded chest appears in the room’s center. Open the chest to obtain the Dungeon Map.
Dungeon Map

You found the Dungeon Map! Tap the Map button to view the Map Screen. Tap the map to zoom in or out. When zoomed in, slide to check out different areas of the map. Select the floor you wish to view from the bar on the right.
Room 2: Shrine Chamber (Revisited)
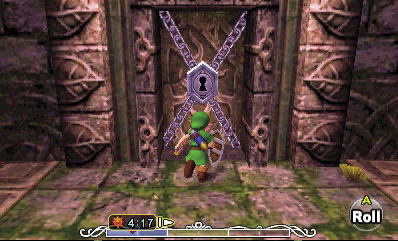
Now that you’ve found the Dungeon Map, backtrack to Room 2 and hop around the big flower again, heading for the locked west door. Slay the Deku Baba that pops up near the door, and then open the door with the Small Key that you found in Room 3. Link automatically moves through the door after unlocking it, entering Room 5.
Room 5: Stone Block Chamber
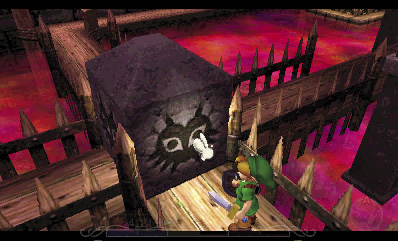
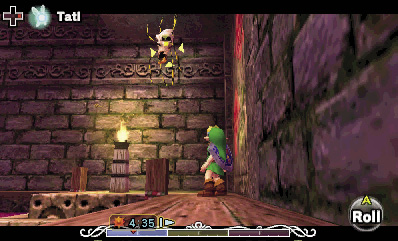
A unique stone block stands in the center of this room. Tatl thinks that the block might be light enough for Link to move. Press  to grab the block, and then shove it forward (westward) one time.
After moving the block out of your way, turn right and head north. Follow the wooden walkway around to a torch in the room’s northwest corner, but watch out for a Skulltula that drops from the ceiling as you near the torch. Target the Skulltula and approach slowly to entice it to drop down, then defeat it.
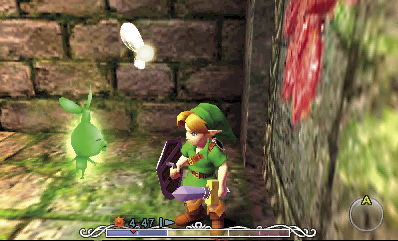
A Stray Fairy pops out of the Skulltula. Grab it to rescue your fifth Stray Fairy from this dungeon.
Continue following the walkway around the room, and you’ll return to the movable block. Shove it eastward twice to gain access to the room’s south door, then return to the northwest torch.
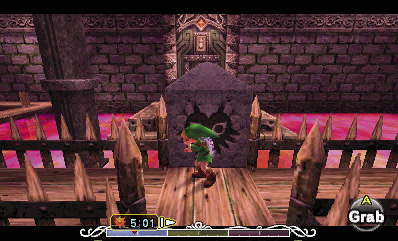
Open your Items screen and equip a Deku Stick, which you’ve surely obtained by now after defeating the dungeon’s many Deku Babas. (Slay the Deku Baba in this room’s southwest corner to find a Deku Stick if you need one.) Move the end of the Deku Stick into the northwest torch’s flame to set the Deku Stick alight, then hurry back across the walkway, heading for the unlit torch near the room’s locked south door.
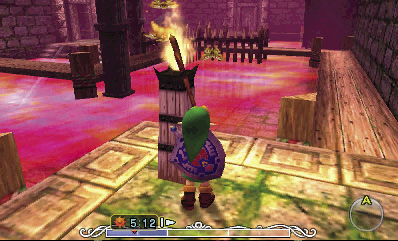
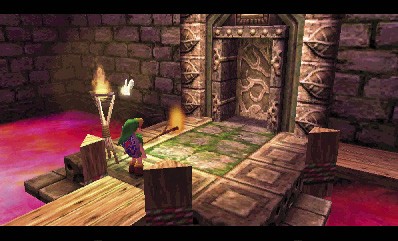
Use your Deku Stick to light the unlit south torch, and you’ll unlock the nearby door. After you’ve lit the torch and unlocked the door, swing Link’s sword to put away your Deku Stick and save it from burning up. Then, go through the south door to visit Room 6.
Room 6: Dragonfly Den
Link is sealed in this room, which is home to a pair of dangerous Dragonflies. These guys are exactly the same as the ones you encountered in the Southern Swamp and Woodfall areas. Lock on and slay them with Link’s sword or Deku Link’s bubbles, or dive into the room’s Deku Flowers and pop up to strike the Dragonflies from below.
After you’ve dispatched both Dragonflies, a gilded chest appears in the room. Flip its lid to acquire the Compass!
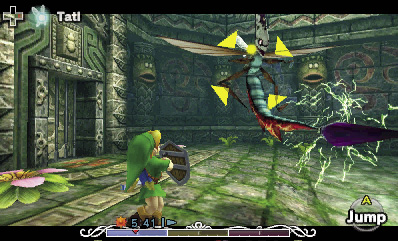
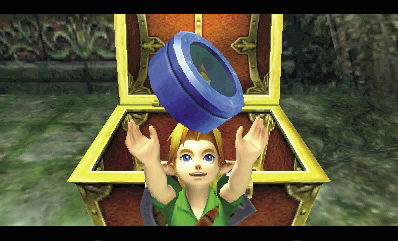
Compass

You found the Compass! Now many of the dungeon’s hidden things will appear on the map.
Room 5: Stone Block Chamber (Revisited)
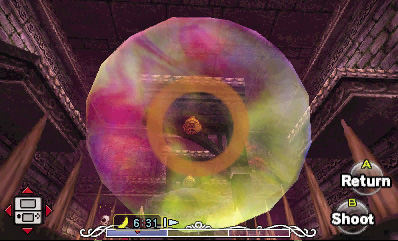
Return to Room 5, and as you enter, notice the two beehives up near the ceiling. Use Deku Link’s bubbles to knock down the nearest one, and a Stray Fairy pops out. Put on the Great Fairy’s Mask, shove the central stone out of your way, and move around to lure the Stray Fairy within your reach.
Giant Bee
Damage: 1/4 Heart

Knocking down beehives with Deku Link’s bubbles is fun and profitable, but some hives are home to Giant Bees. These bite-sized buzzers don’t take kindly to having their homes destroyed and quickly chase after Link, aiming to give him the business end of their sharp stingers. Quickly squish any Giant Bee that emerges from a beehive; this only takes one hit.
Slay the southwest Deku Baba for another Deku Stick. Then, light a Deku Stick using the torch near the south door, and hurry up the nearby stairs.
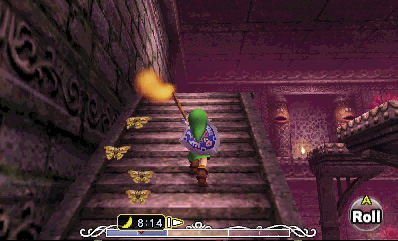
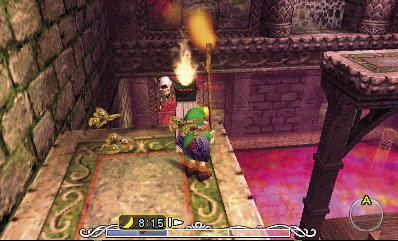
Use your Deku Stick to light the torch atop the stairs, then swing your sword to stash the Deku Stick and prevent it from burning up.
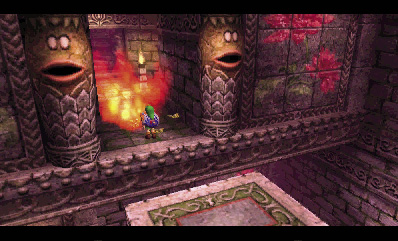
Pull your Deku Stick back out again, and use the torch that you’ve just lit to relight the stick anew. Quickly leap to the room’s high central platform, then turn left and jump over to the high north ledge. Run into the thick web that blocks the north passage to burn it away with your Deku Stick.
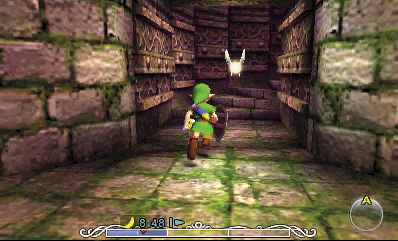
Slay the Deku Babas beyond the web, then head up the spiral stairs to visit Room 7 on the dungeon’s second floor.
Room 7: Black Boe Abode
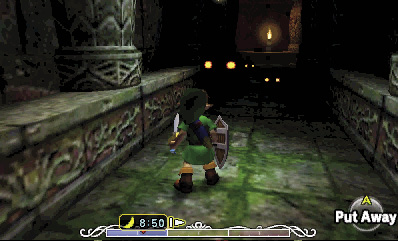
This room is pitch-dark, and Tatl warns Link that she senses great evil here. She’s right: the room is filled with Black Boes that blend into the darkness.
Equip the Deku Mask and spin all around the room, aiming to slay all of the Black Boes. They’re tough to see, but just keep spinning until you’ve vanquished them all. How can you tell when they’re all gone? A chest appears in the center of the room. Open it to rescue another Stray Fairy.
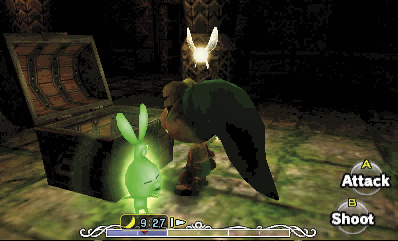
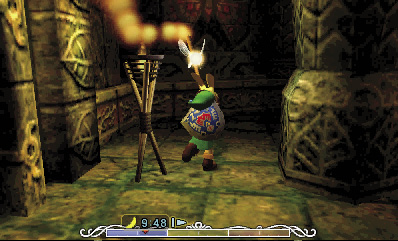
Take off the Deku Mask, put on the Bunny Hood, and whip out a Deku Stick. (Slay the nearby Deku Baba for one if necessary.) Light your Deku Stuck with the central torch, then run around the room and light the three unlit torches before the stick burns up. After you’ve lit all three torches, the east door unseals. Swing your sword to stash your Deku Stick, and then go through the door to visit Room 8.
Room 8: Deku Flowers and Dragonflies
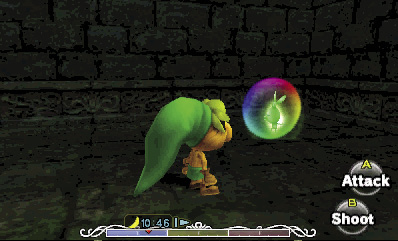
A few pesky Dragonflies buzz about this spacious chamber. Descend the stairs, defeat the Dragonflies, and then approach the Stray Fairy in the room’s northeast corner. This one’s trapped in a bubble, so it can’t heed the call of the Great Fairy’s Mask. Attack the bubble to break it, rescuing your eighth Stray Fairy.
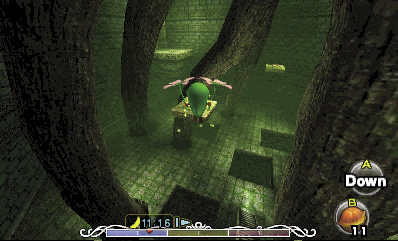
After you rescue the Stray Fairy, scale the stairs and return to the entry ledge. Use the ledge’s Deku Flower to glide to the floating platform ahead. Land on the platform, and it soon begins moving back and forth across the room. Use the platform’s Deku Flower to reach the next platform, and then use that platform’s Deku Flower to reach the high northeast ledge. Descend the stairs you discover up here to return to Room 2 on the temple’s first floor.
Room 2: Shrine Chamber (Upper Ledges)
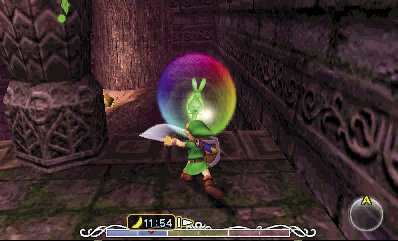
Entering Room 2 from Room 8 places you on a high ledge, so be careful not to fall. Turn right as you enter, and collect the Stray Fairy that hovers in a bubble to the west, breaking the bubble with any attack.
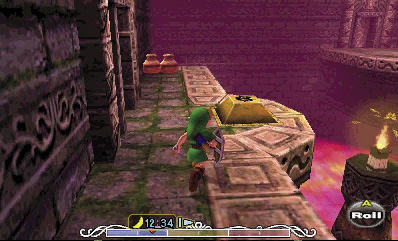
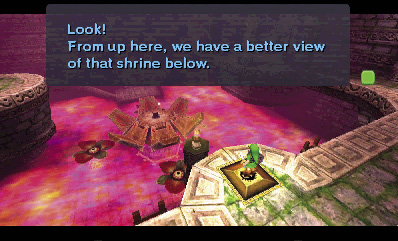
The north door is sealed, so backtrack around the ledge after collecting the Stray Fairy and head for the east door. Remove the Deku Mask if you’re wearing it, and move Link onto the nearby floor switch. In human form, Link is heavy enough to activate floor switches like this. The switch sinks into the floor, and ladders appear nearby. Now you can easily return to this high ledge if you fall.
After stepping on the floor switch, answer Tatl’s call to inspect the shrine down below. There must be something important about that shrine. You can’t solve this little riddle just yet, so proceed through the east door to visit the upper ledges of Room 3.
Room 3: Small Key Chamber (Upper Ledges)
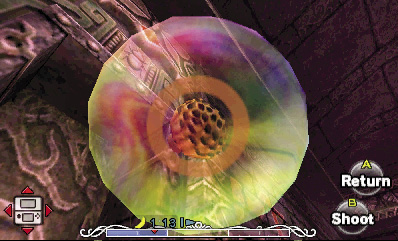
As soon as you enter Room 3, turn around and spot a beehive on the wall near the door you just came through. Use one of Deku Link’s bubbles to knock down the beehive, then grab the Stray Fairy that pops out. Next, go through the south door to enter Room 9.
Room 9: Dinolfos Den
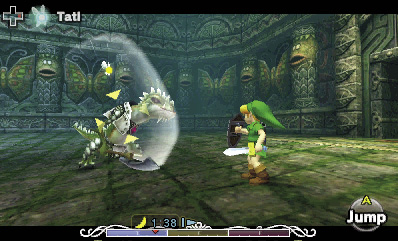
The door seals behind Link after he enters this room, which happens to be the home of a dangerous Dinolfos. Lock on to the monster with  -Targeting, raise your shield with
  , and use
  to avoid its attacks as you look for openings to counter with Link’s blade.
Dinolfos
Damage: 1/4 Heart (sword); 1/2 Heart (fire breath)
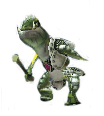
Dinolfos are dangerous, fire-breathing lizards armed with swords. They attack aggressively, so keep Link’s shield up to block their vicious sword strikes. When you’re ready, interrupt the Dinolfos’ attacks by striking just as it rears back to swing its sword. Interrupt its attacks with those of your own, then dodge to avoid being burned by the Dinolfos’ fire breath—an attack that you can’t block. Strike a Dinolfos four times with Link’s blade to slay it.
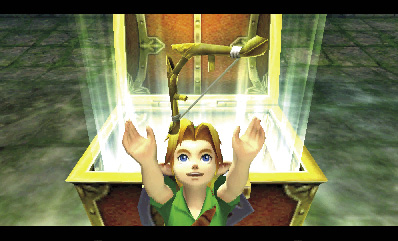
After the Dinolfos falls, a chest appears in the room. Flip its lid to claim a powerful new weapon: the Hero’s Bow. After claiming this prize, return to Room 3’s upper ledges.
Hero’s Bow

You got the Hero’s Bow! Equip it and draw it. Hold the button to aim, and release it to shoot. You can also use  to automatically aim at a target.
Room 3: Small Key Chamber (Upper Ledges, Revisited)
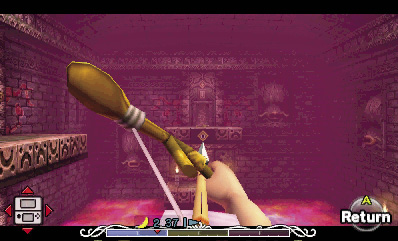
Back in Room 3, pull out the Hero’s Bow, and then press and hold the button to aim. Release the button to shoot an arrow at the distant eye switch on the north wall.
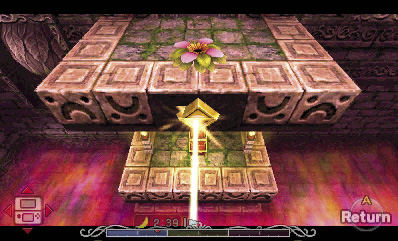
Striking the eye switch with an arrow causes the room’s central Deku Flower platform to rise and lower like an elevator. Slap on the Deku Mask, burrow into the nearby Deku Flower on the ledge, and then glide over to the central platform’s Deku Flower.
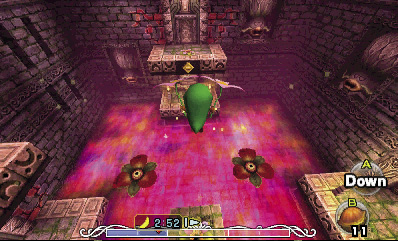
Dive into the central platform’s Deku Flower and launch out when the platform is at its highest point. Glide over and land on the high north ledge, then proceed through the north door to visit Room 10. (If you fall, use the ladders that you revealed back in Room 2 to quickly return to this room’s upper ledges and try again.)
Room 10: Gekko’s Grotto
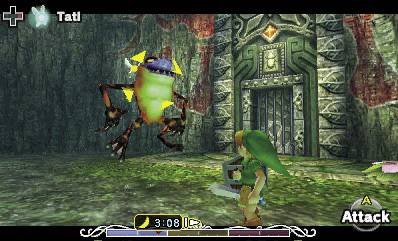
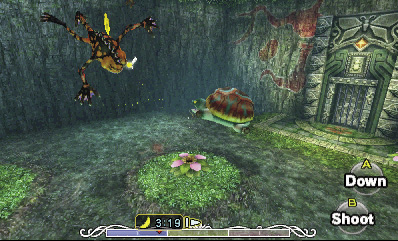
This room is home to a dangerous mini-boss called a Gekko. Don’t be afraid of this hopping menace: just lock on, and attack the Gekko three times with Link’s blade.
After suffering three hits, the Gekko calls for a Snapper, which it hops on and uses as a steed. Quickly put on the Deku Mask and burrow into one of the room’s many Deku Flowers, then pop up and strike the Snapper’s soft belly as it passes by, just as you did before.
Striking the Snapper from below knocks off the Gekko, which quickly flees to the walls. Take off the Deku Mask and pull out the Hero’s Bow, then lock on to the Gekko and strike it with an arrow.
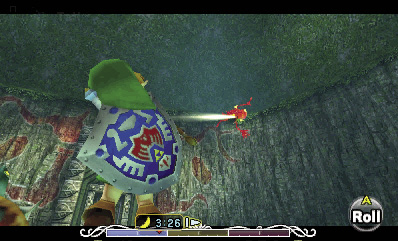
Hitting the Gekko with an arrow knocks it down from the wall. The monster quickly returns to its Snapper steed and begins chasing after you again. You know what to do. Put on the Deku Mask and dive into a flower, then pop up and knock off the Gekko again. Use the Hero’s Bow to knock it down from the wall afterward, and repeat this sequence once more to slay the Gekko.
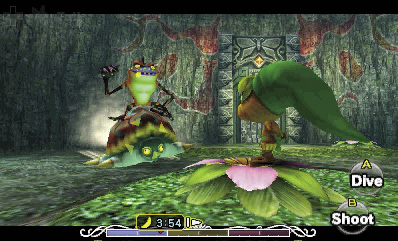
After being struck with three arrows, the Gekko falls and transforms into a cute little frog. You can’t do much with the little frog right now, but he’ll come into play much later in the adventure. For now, simply open the north door to reach a small storage room with four jars and an ornate chest. Open this chest to obtain a vital item: the Boss Key.
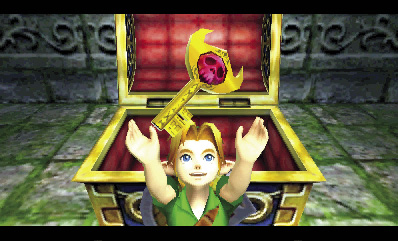
Boss Key

You got the Boss Key! Now you can enter the chamber where the boss lurks.
Shrine Time
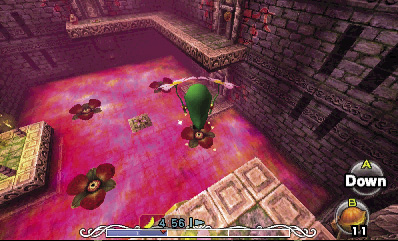
Exit the Gekko’s lair, and return to the previous room (Room 3). Use the Deku Flower outside the door to glide over to Room 3’s high west door. Go through the door to return to Room 2’s upper ledges.
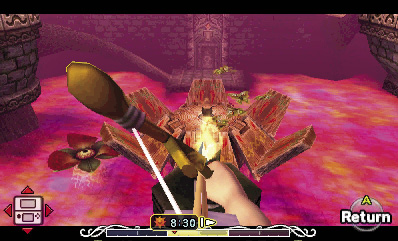
Back in Room 2, stand on the floor switch that you recently activated to make the ladders appear, and pull out the Hero’s Bow. Take careful aim at the brazier that sits atop the room’s central flower-shaped shrine. Fire an arrow at the brazier, lining it up so that the arrow passes through the nearby torch, catches fire, and lights the shrine’s brazier.
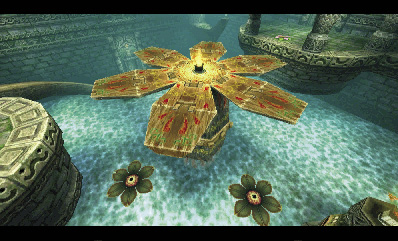
Once you’ve lit its brazier, the shrine rises and begins to spin. The temple’s poisonous water also becomes purified. How about that!
Another Stray
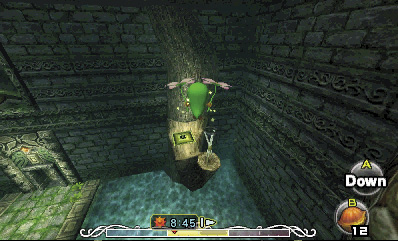
With the shrine active, run to the ledge’s north end, put on the Deku Mask, and then dive into the north Deku Flower. Pop up and glide to another floor switch that rests on a tree branch in the room’s northwest corner.
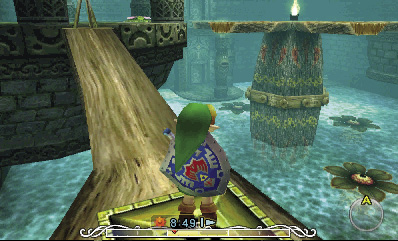
Land on the floor switch, and take off the Deku Mask to activate the switch with Link’s weight. Activating it causes a chest to appear on the room’s south ledge.
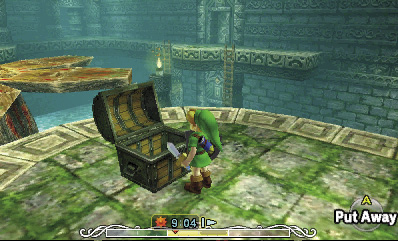
Dive into the clear blue water and swim to the west ledge. Scale the root ramp to reach the chest that you’ve just revealed. Open the chest to claim a Stray Fairy.
Opening the North Door
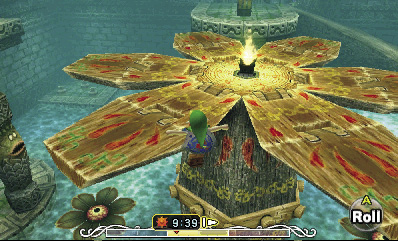
After rescuing the Stray Fairy, make a daring leap onto one of the central shrine’s spinning “petals.” You can also use a Deku Flower and glide onto the shrine. (If you fall, use the east ladders to return to the upper ledges and try again.)
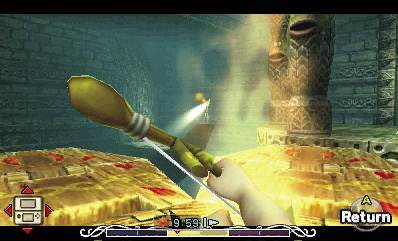
Move to the center of the shrine, and then pull out the Hero’s Bow. Aim at the northwest torch, which is unlit, and then fire an arrow so that it passes through the shrine’s brazier, catches fire, and lights the northwest torch. This is a tricky shot, so take your time with it.
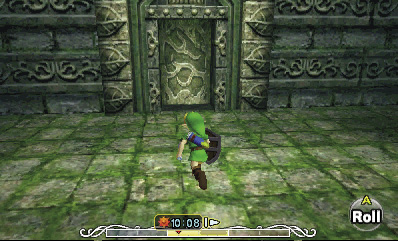
After you’ve lit the northwest torch, the room’s high north door opens. Leap over to the north ledge (or simply climb the east ladders if you fall), and then go through the north door to enter Room 11.
Room 11: Stray Fairy Chamber
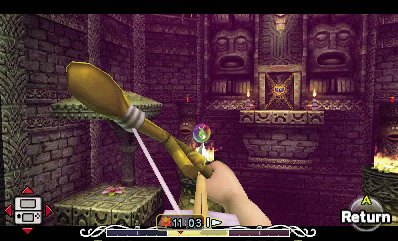
You can find all the last four Stray Fairies in this sizable room. Look for one floating in a bubble above a fiery column as you enter. From the entry ledge, pop its bubble with an arrow, then put on the Great Fairy’s Mask to draw the Stray Fairy in. Shoot additional arrows to down the hovering Dragonflies if you like (lock on to ensure that you find your mark).
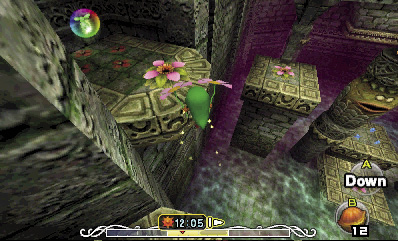
Climb down the entry ledge’s ladder after collecting Stray Fairy #12. Use the Deku Flower below to reach the ledge to the west, which also features a Deku Flower. Use that flower to reach the next ledge to the west, which features another Deku Flower. Use the next flower to reach a third ledge to the west. Hey, there’s a Stray Fairy way up there! Pop its bubble, and collect the little fellow.
Return to the first Deku Flower, and this time, use it to reach the ledge to the east. Collect another Stray Fairy in a bubble there. One more to go!
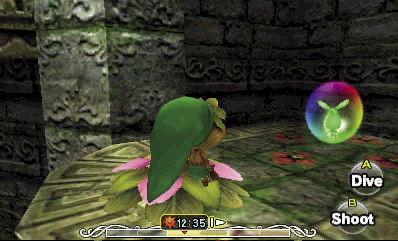
Use the ledge’s Deku Flower to reach the next ledge to the east, which features another Deku Flower and some tall grass. Chop down the tall grass for items, then use the Deku Flower to reach the ledge above the previous ledge (on your left), which hosts the final Stray Fairy. Nice work—you’ve found them all!
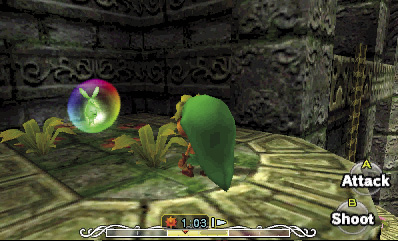
After collecting the final Stray Fairy, drop down to the previous platform (the one with the tall grass and Deku Flower), and pull out the Hero’s Bow. Fire an arrow at the crystal switch on the nearby platform to the north. This activates the crystal, temporarily quelling the flames atop the pillars in the room’s center.
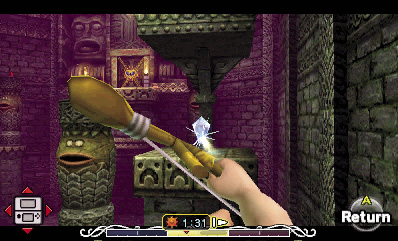
Quickly burrow into your ledge’s Deku Flower, and glide to the pillar with the Deku Flower on top. Dive into the pillar’s flower, and then glide onto the roof of the crystal switch’s platform, which also features a Deku Flower.
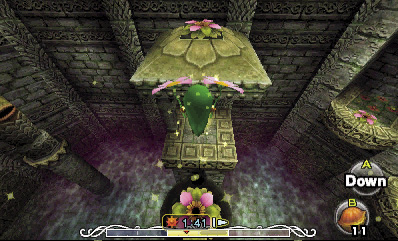
Use the Deku Flower atop the crystal switch platform’s roof to reach the high north ledge, which features a big locked door. Don’t bother gliding toward the Red Rupees on the pillars near the ledge: some Skulltulas will drop down and knock you for a loop before you can collect them. Smash the ledge’s jars for Recovery Hearts and Rupees instead, then use the Boss Key to open the big door and advance to the final battle.