The Legend of Zelda Majora's Mask 3D Guide Walkthrough Chapter 1: The Mischievous Skull Kid
Clock Town
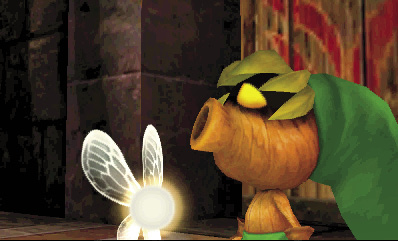
Tatl’s Plan
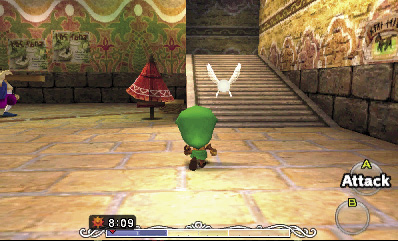
Exiting the Clock Tower, Link finds himself engulfed in the hustle and bustle of a busy village called Clock Town. Tatl suggests that Link pay a visit to the Great Fairy, who watches over everything and probably knows what the Skull Kid is up to. Tatl says that the Great Fairy has a shrine somewhere in town and advises Link to ask the locals about it.
Deku Flower for Rent
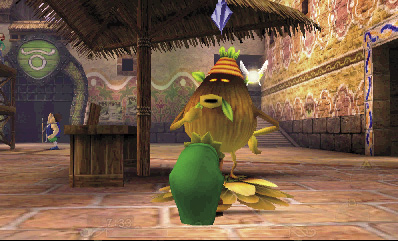
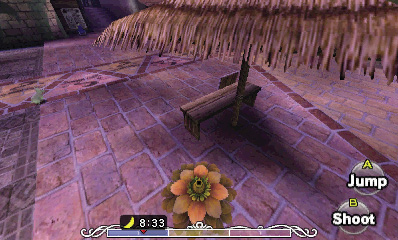
It’s your first time here in Clock Town, so you should see the sights. Head toward the nearby Deku Flower, and a fully grown Business Scrub soon flies in. The Business Scrub lands on the Deku Flower, and he won’t let you use it. Speak to the Business Scrub to learn that he’ll let you use his Deku Flower if you give him a special item called a Moon’s Tear.
Massive Moon
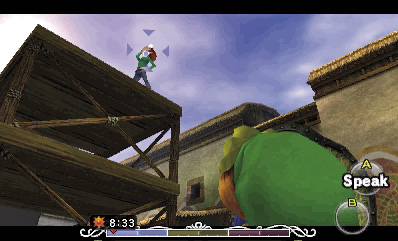
A bit farther ahead, workers are busily building something in the square. They don’t have much to say, but one of them is standing atop the scaffolding. Target this man with  -Targeting, and then speak with him to discover that he’s staring at the moon.
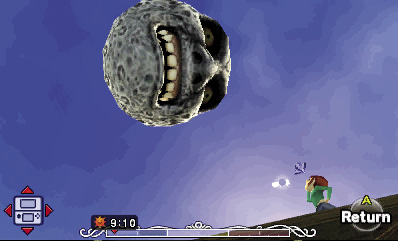
It’s broad daylight, but you might as well have a look. Tap the View button on the Touch Screen to view the world through Link’s eyes, then angle your 3DS upward to look up at the sky. Whoa, that’s one big moon! It would be hard to miss even in the daytime.
Guards at the Gates
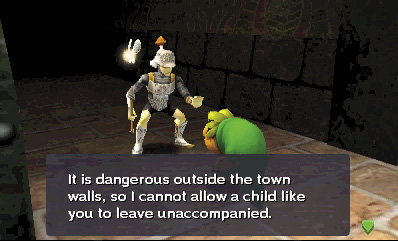
A soldier guards the nearby gate to the south. He won’t let you through because the swamp beyond is too dangerous for a little Deku Scrub. The soldier insists that you find a weapon before he’ll let you pass. Safety first!
Soldiers Wanted
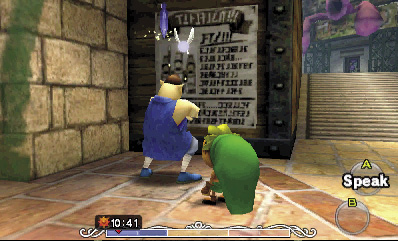
Another man is inspecting a large poster in the square, and he doesn’t seem to like the poster very much. Read it to learn that Corps Recruiter Viscen is looking for soldiers to help protect the peace here in Clock Town. Strange… aside from all of the activity, it seems pretty peaceful here.
Behind the Clock Tower
Before exploring Clock Town’s other sections, backtrack to the Clock Tower, and use the ramps to move behind it. You discover a curious statue of an owl. The owl statue magically activates when you approach, and you’re asked if you’d like to save your game. Go ahead and do so—there’s no reason not to.
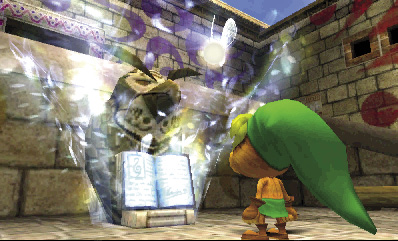
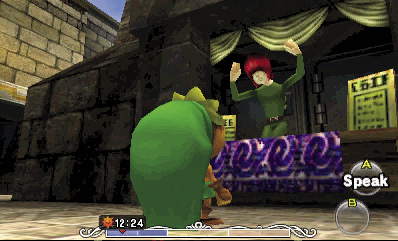
After saving your game, turn around and speak with the nearby man. He’s a bank teller, and he’d really like you to deposit some Rupees. The bank teller gives you special prizes if you deposit a lot of Rupees, so it pays to save. Don’t deposit any Rupees now, though—cash comes in handy here in town. Instead, pass through the dark tunnel behind the owl statue to enter North Clock Town.
North Clock Town
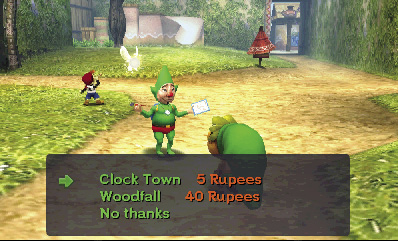
An unusual fellow dressed in green dances merrily in North Clock Town. Speak with him to learn that his name is Tingle. Tingle really wishes that he were a forest fairy, but such is not the case. Still, he offers to sell you maps of Clock Town and Woodfall. You likely can’t afford Tingle’s Woodfall Map yet, but the Clock Town Map is a steal at only five Rupees. Go ahead and buy it.
Clock Town Map

You got a map of Clock Town! Now you can find your way around town. The red arrow on the map shows where you entered, and the yellow arrow shows your current location.
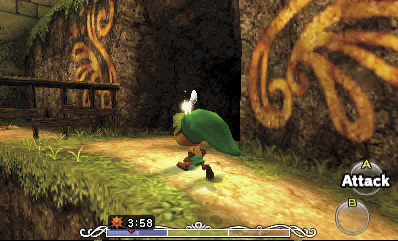
Now that you’ve purchased a map, getting around Clock Town becomes much easier. Take a look at the Touch Screen to see that you’re currently exploring North Clock Town. Tatl told you to speak with the Great Fairy, and as luck would have it, you’re very close to her shrine. Scale the west slope, and then go through the west tunnel to enter the shrine.
Fairy’s Fountain
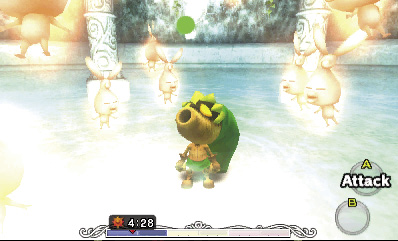
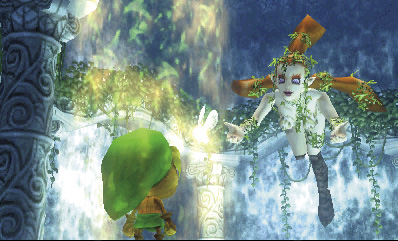
Alas, Link finds the Great Fairy in a state of distress. Move to the center of her soothing fountain, and speak with the Great Fairy to learn that she has been broken and shattered to pieces by the mischievous Skull Kid. The Great Fairy begs that you find the one Stray Fairy that’s lost in Clock Town and return it to her Fairy’s Fountain. Take your leave of the Fairy’s Fountain, and begin your search for the Stray Fairy.
Finding the Stray Fairy
Depending on the time of day, the Stray Fairy you seek is either in the Laundry Pool (if it’s daytime) or East Clock Town (if it’s night). Check the clock at the bottom of the screen. It’s daytime if the clock’s icon resembles a sun, and nighttime if it resembles a moon.
Stray Fairy — Laundry Pool (Day)
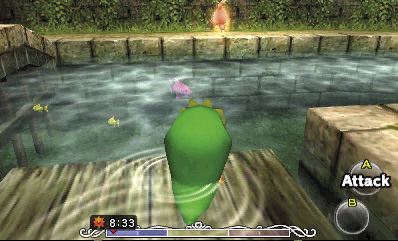
Assuming that it’s still daytime, go south to return to South Clock Town. Head toward the South Gate and scale the nearby ramp to the west, which leads to the Laundry Pool.
The Stray Fairy floats just above the water in the Laundry Pool. Hop across and collect it, then hurry back to the Fairy’s Fountain.
Stray Fairy — East Clock Town (Night)
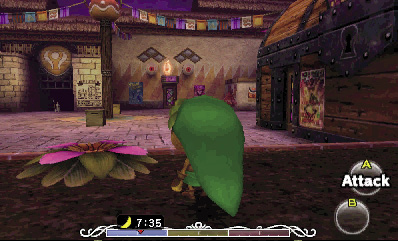
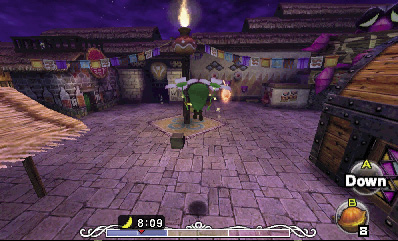
If day has turned to night, you’ll find the Stray Fairy in East Clock Town instead. It’s floating in plain sight, but it’s too high to reach. Find the nearby Deku Flower, which is located near East Clock Town’s west wall, and dive inside.
Aim for the Stray Fairy, then pop out of the Deku Flower and glide over. Collect the Stray Fairy, and then hurry back to the Fairy’s Fountain.
Restoring the Great Fairy
Once you’ve collected the Stray Fairy, return to the Fairy’s Fountain in North Clock Town. Grateful to be made whole again, the Great Fairy grants Link the use of magic power. Most excellent!
After empowering Link, the Great Fairy suggests that he speak with the astronomer who lives in the observatory just outside of town. The astronomer is wise, and he may know more about the Skull Kid. The Great Fairy also invites Link to see her again after he has returned to normal, for she can offer him even more help. This is definitely something to keep in mind.

Balloon Blaster
Leave the Fairy’s Fountain, and speak with the boy outside in North Clock Town. His name is Jim, and he’s trying to pop a balloon that bears a striking resemblance to the Skull Kid’s mask.
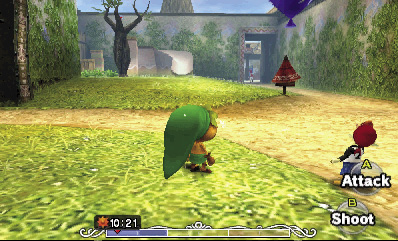
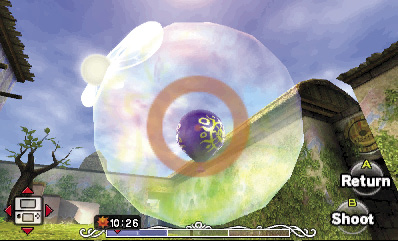
Now that you have magic power, you can really impress Jim. Move onto the grassy hill near the floating balloon, and tap  to aim. Look at the balloon, hold
  for a moment to blow a bubble, then release
  to shoot the bubble at the balloon and pop it.
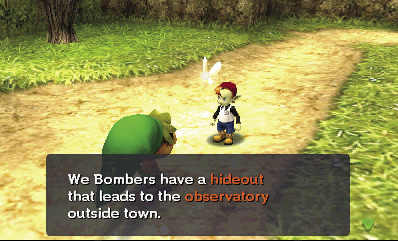
After you’ve popped the balloon, speak with Jim again. He’s impressed with your balloon-popping skills and says that his club of friends, the Bombers, has a hideout that leads to the observatory outside of town. If you can pass Jim’s next test, he’ll give you the code to enter the Bombers’ secret hideout. Sounds too good to pass up!
Jim’s Test
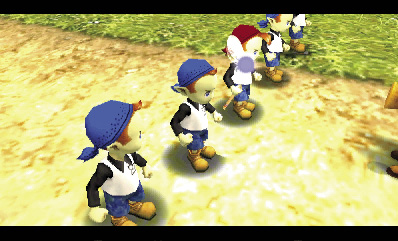
Accept Jim’s test, and he blows a whistle. Four of his fellow Bombers then line up. Jim challenges you to play a game of hide and seek with them. If you can find all five Bombers before morning dawns on the next day, he’ll tell you their club’s secret code.
North Clock Town Bomber
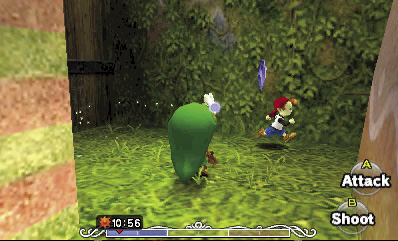
The first Bomber is hiding right in North Clock Town. Check behind the slide to find him, then chase him down and catch him, pressing  to spin and move a little faster during the pursuit.
East Clock Town Bomber
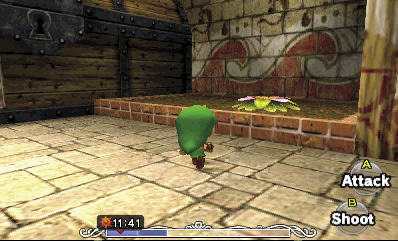
Take the east tunnel from North Clock Town to enter East Clock Town. Go south, proceed down some stairs, and locate a Deku Flower near East Clock Town’s west wall.
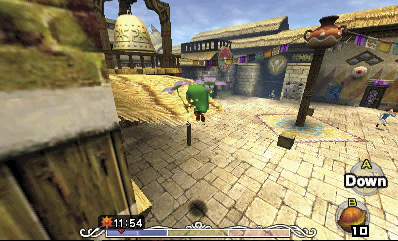
Dive into the Deku Flower and launch up, then glide onto the nearby straw roof to the north.
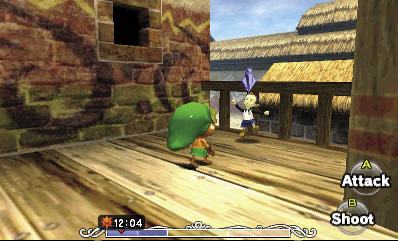
Land on the straw roof and go north. Loop around a big bell to find a hiding Bomber kid. Chase him down and catch him. Three more to go!
South Clock Town Bomber
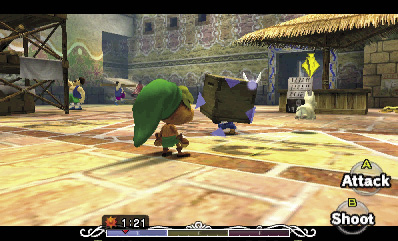
That’s it for East Clock Town. Go west into South Clock Town, and look for a box that wasn’t there before. Could it be…? Press  to spin, smashing the box to expose a hiding Bomber.
Laundry Pool Bomber
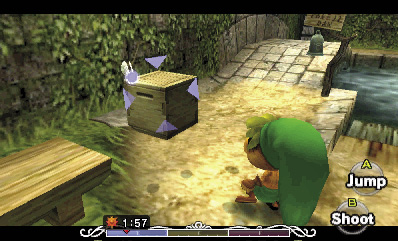
The Laundry Pool is your next stop. Scale the southwest steps, and enter the Laundry Pool. Another Bomber is hiding in a box here. Spin and smash the box to catch him. One more to go!
West Clock Town Bomber
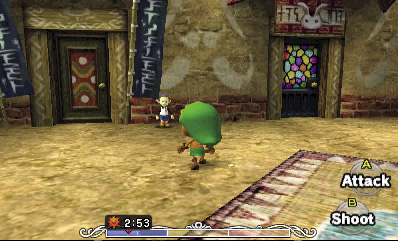
You can find the final Bomber in West Clock Town. Leave the Laundry Pool, and go west from South Clock Town to enter West Clock Town. The Bomber is standing out in the open up north; chase him down to finish the game.
The Bombers’ Code
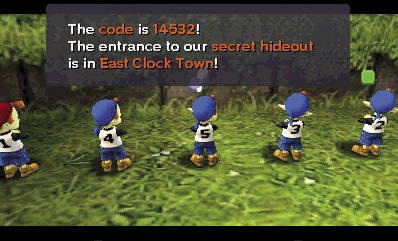
Jim’s challenge ends after you’ve found all five Bombers. He’s impressed with your moves, but he won’t let a lowly Deku Scrub like you join his club. If only you could break this curse, maybe you could join the Bombers. Still, Jim honors his word and teaches you the code that lets you into their hideout. The code varies each time you play, and it’s super important, so be sure to write it down. If you forget it, speak to one of the Bombers around Clock Town for a reminder.
Bombers’ Code: ______________
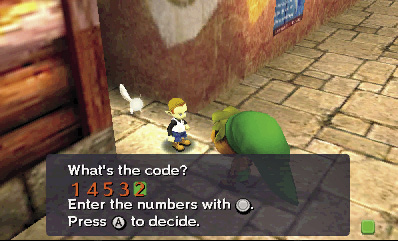
Race over to East Clock Town, and go north. Speak to the Bomber kid who guards the northeast alley—the entrance to the club’s secret hideout. Tell the kid the code that Jim gave you, and he’ll move aside, letting you enter the Bombers’ hideout. Hurry down the alley and check it out!
Clock Town Sewers
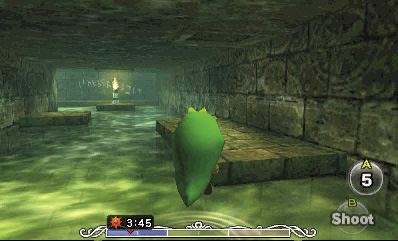
You’re not a full-fledged member of the Bombers, but at least you can explore their humble hideout. Don’t get too excited, as it happens to be Clock Town’s sewers. Hop across the murky water, using the side ledges to catch your breath as you make for the far torch.
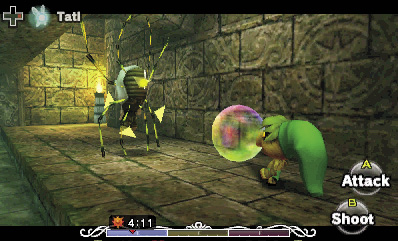
Go left from the torch to encounter your very first monster, a Skulltula! Be careful: this big, nasty spider hurts you if you touch it. Wait for the Skulltula to spin around, then blast its tender belly with a bubble from a safe distance.
Skulltula
Damage: 1/2 Heart

These giant spiders descend suddenly from their webs, trying to get the drop on Link. Their hard shells are too tough to penetrate, but their soft stomachs are totally vulnerable. Strike a Skulltula’s soft side after it spins around!
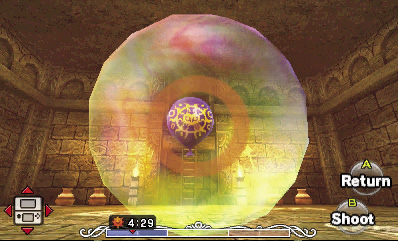
After slaying the Skulltula, advance forward. Another balloon that resembles the Skull Kid’s mask floats in the next room. Pop it with a bubble as you did before, holding  to charge up a shot.
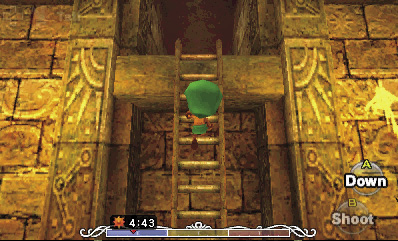
After popping the balloon, smash the room’s jars to discover Hearts, Rupees, and Magic Jars. The latter object restores your magic power. Climb the ladder afterward, and proceed through the dark tunnel beyond to reach the next room.
Astral Observatory
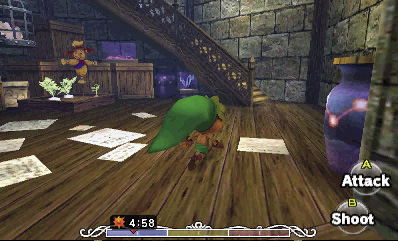
The sewers lead to a cluttered observatory. The astronomer must be close. Smash the jars, and then head upstairs to meet the astronomer that the Great Fairy told you about.
The astronomer is upstairs, peering through his telescope. Speak with him to learn that he has encountered the Skull Kid. He believes that the Skull Kid is causing trouble around the Clock Tower, and he invites you to look through his telescope.
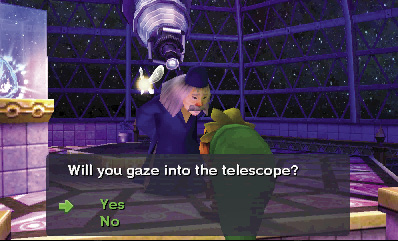
Agree to look through the telescope, then examine the top of the Clock Tower. Zoom in to see that the Skull Kid is indeed up there, gazing up at the giant, looming moon. The two seem connected somehow…

Suddenly, an object plummets down from the moon’s eye. It lands directly near the observatory. What could it be?

The Moon’s Tear
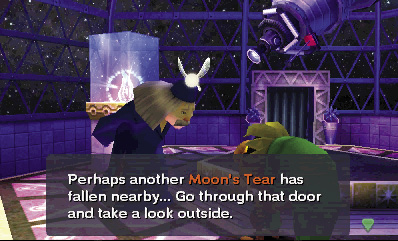
Speak with the astronomer again to learn that the object that fell from the moon might be a rare Moon’s Tear. He asks that you go outside and have a look.
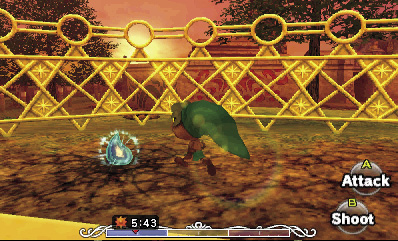
Circle back around the observatory, and exit through the door near the top of the stairs. Sure enough, the object that fell from the moon has landed just outside. Collect it to obtain the Moon’s Tear.
Moon’s Tear

You got the Moon’s Tear! Its sparkling beauty radiates rather strangely.
To the Clock Tower
Return to the observatory, and go downstairs. Backtrack through the sewers, returning to East Clock Town. Go south and then west, heading into South Clock Town.
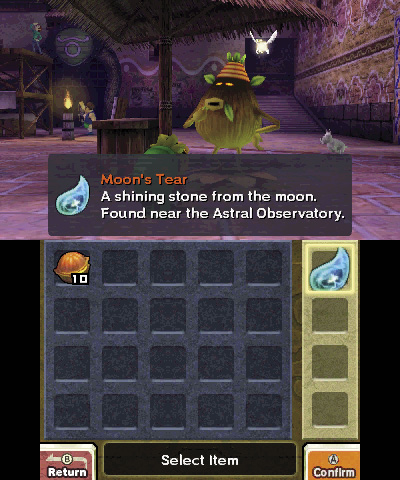
Remember the Business Scrub that wouldn’t let you use his Deku Flower before? Well, now that you have the Moon’s Tear, you can finally get him to leave. Speak with the Business Scrub, who asks to see your Moon’s Tear. When prompted, select the Moon’s Tear from your inventory so that Link can show it to the Business Scrub.
Town Title Deed

You traded the Moon’s Tear for a Town Title Deed!

Thrilled to at last have a precious Moon’s Tear, the Business Scrub gladly hands over his Town Title Deed in trade. The Scrub then sets off, leaving Clock Town for good. Now you can use his Deku Flower whenever you like.
Waiting for Midnight
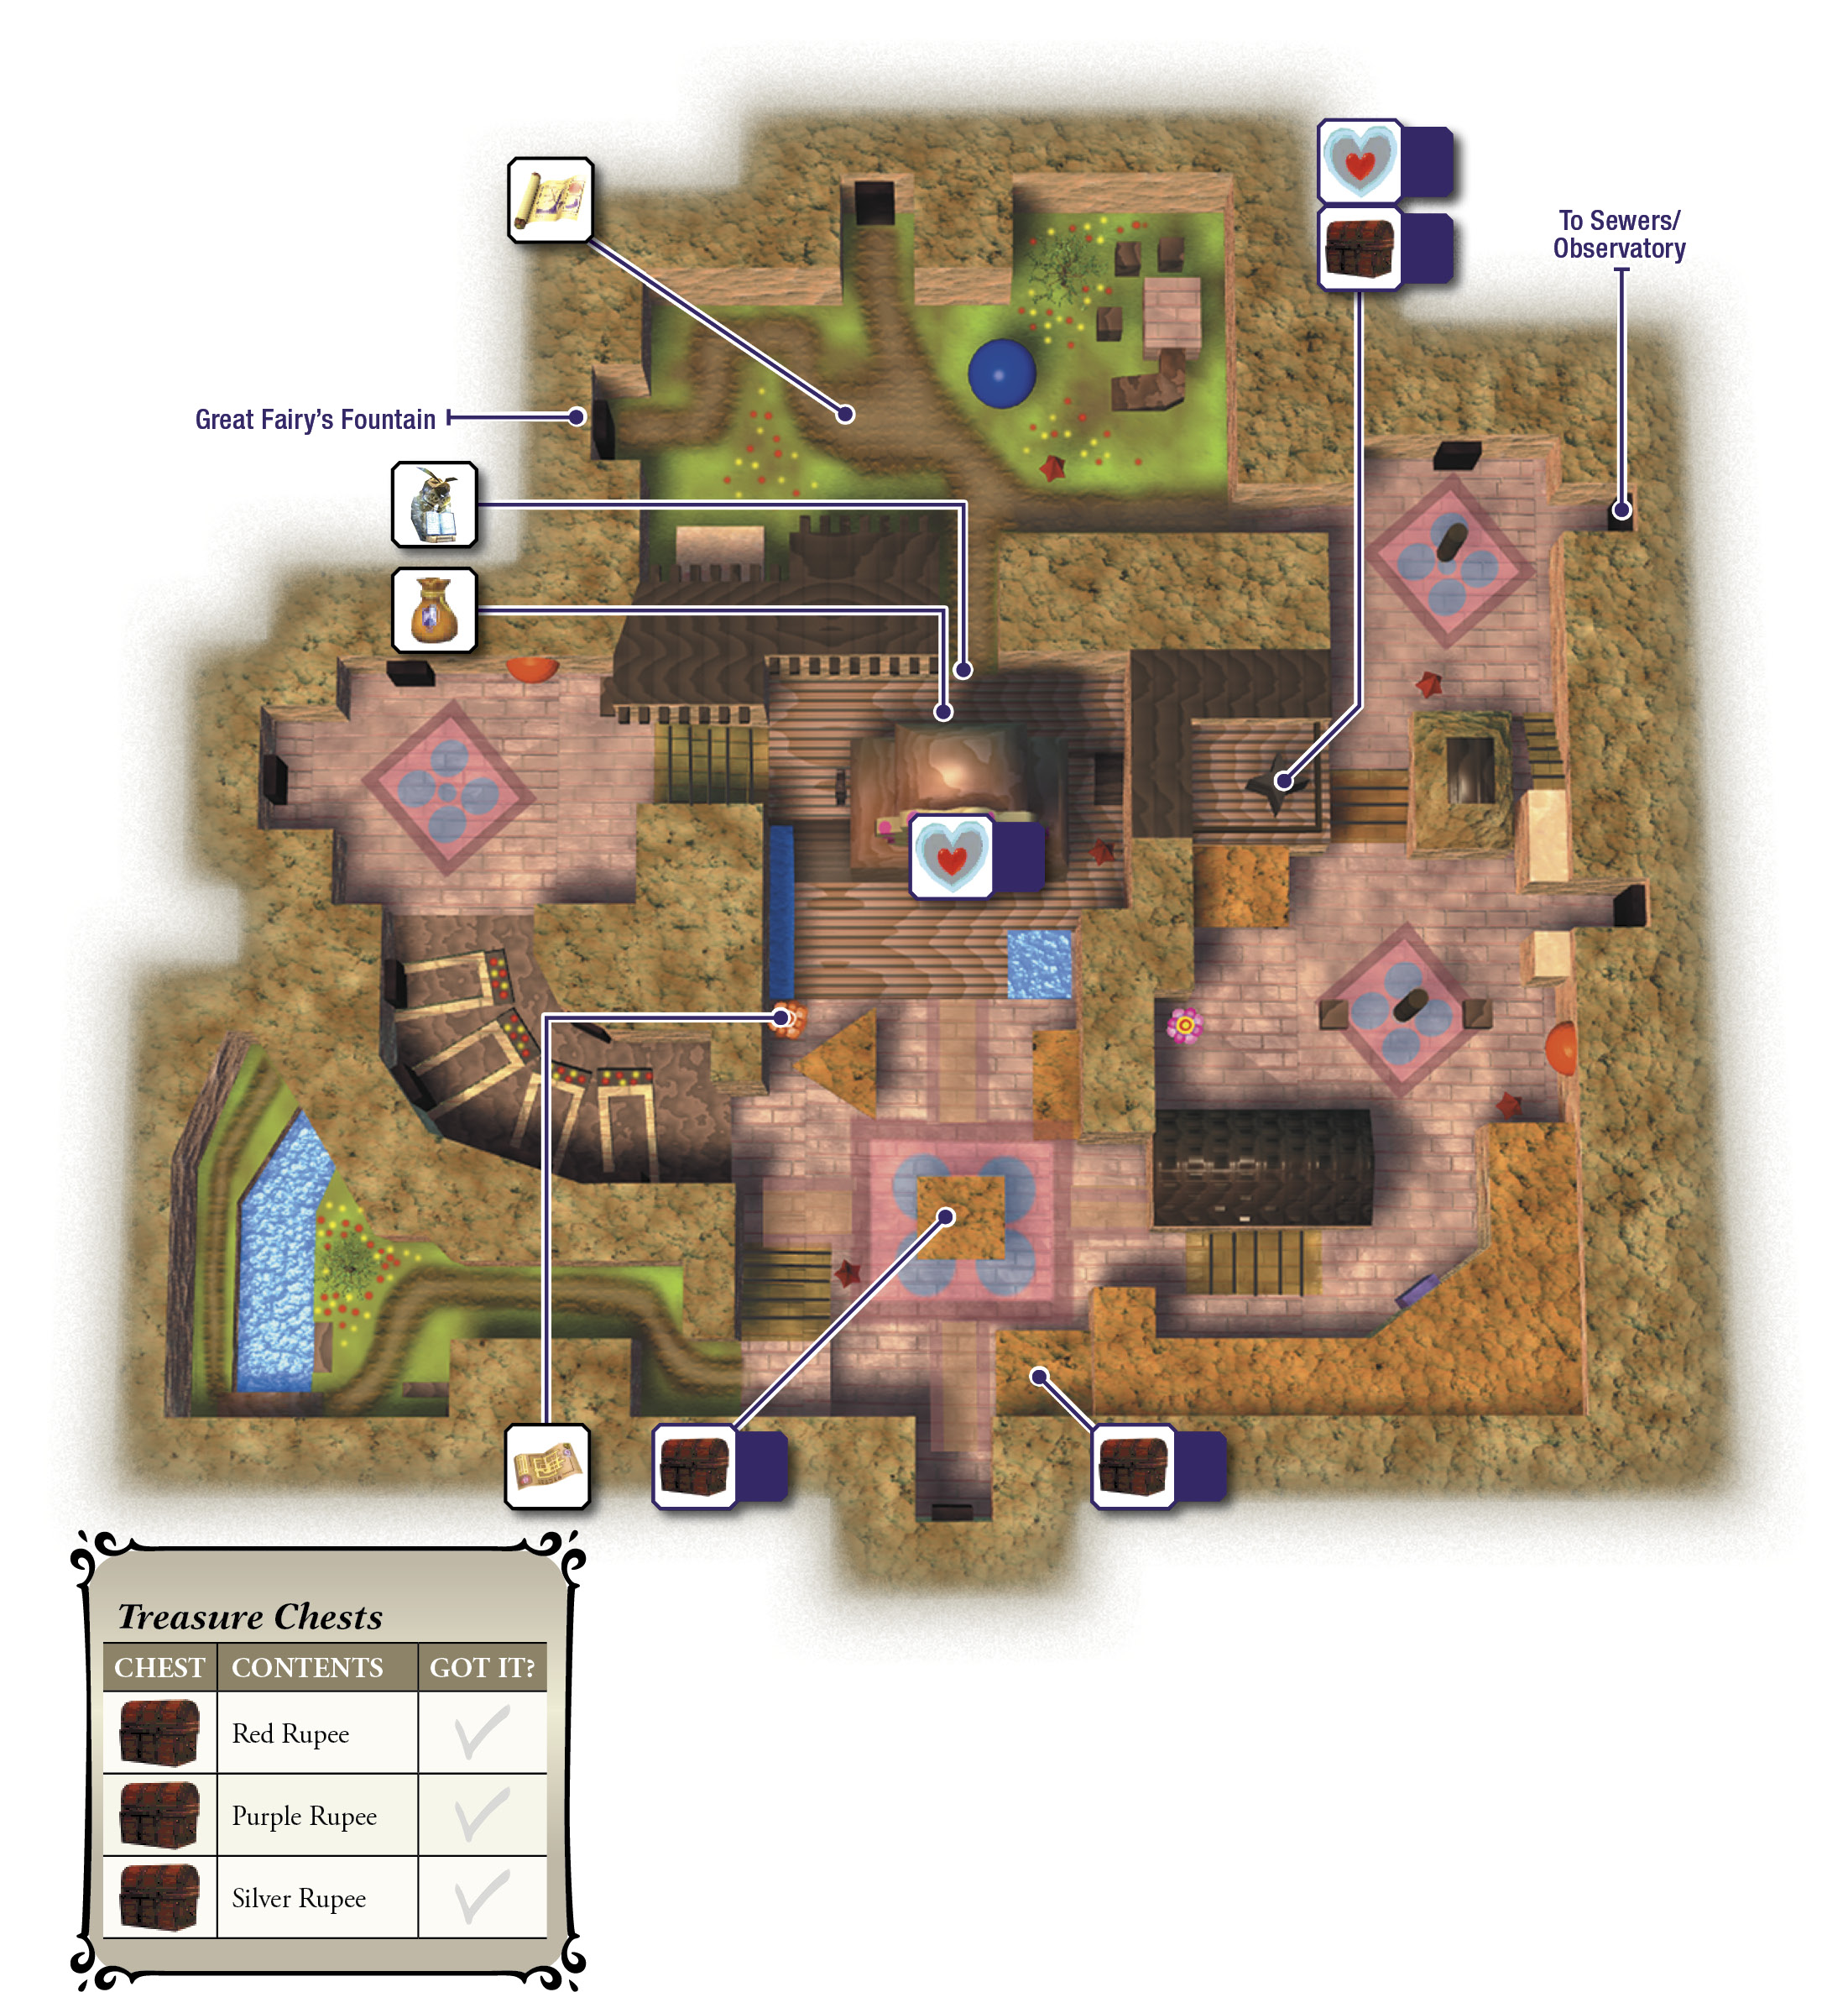
Good work! You’re now ready to approach the Skull Kid. The only catch is that you must wait until midnight of the Final (3rd) Day before you may do so. Spend your wait time as productively as you can. Begin by diving into the Deku Flower and facing southeast toward a treasure chest that appears as a red icon on your map.
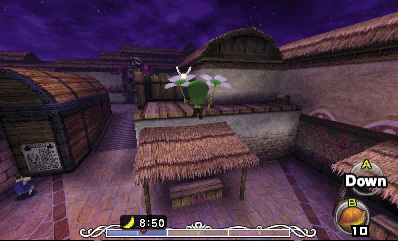
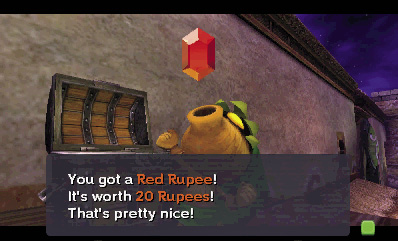
Launch out of the Deku Flower and make a long glide to South Clock Town’s southeast straw roof. Land there, and then climb up to a nearby chest. Flip the chest’s lid to claim a Red Rupee worth 20 Rupees!
Dancing the Days Away
Now, you should advance to the Night of the Final Day. The easiest way to do this is to dance with a scarecrow. Go to West Clock Town, and enter the middle of the three shops along the west wall near the stairs. This stained-glass door leads to the Trading Post.
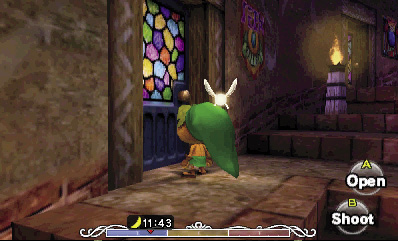
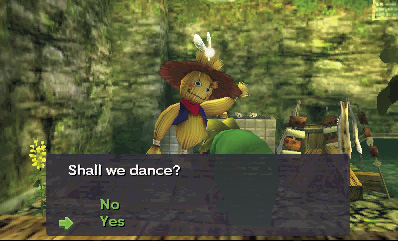
Inside the Trading Post, talk to the scarecrow and agree to dance. The scarecrow’s magic moves cause time to advance in the blink of an eye. Keep dancing with the scarecrow until the Night of the Final Day (6 p.m.), at which point the scarecrow gets spooked over the looming moon and flees town.
Final Day Chest
By the time the Final (3rd) Day rolls around, the workers in South Clock Town have built their tower up to its greatest height. At this point, you can use the Business Scrub’s Deku Flower (which you now own) to reach another chest that now appears atop the worker’s tower.
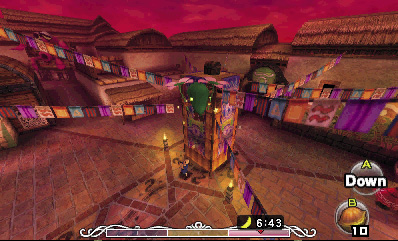
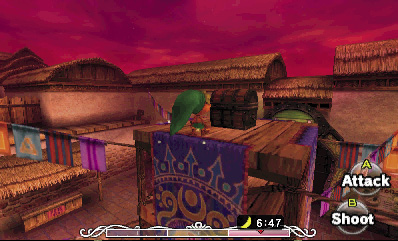
This lofty loot box only appears during the Final Day, and it contains a Purple Rupee. Just one of these is worth 50 Rupees, so you might want to make room in your wallet by making a deposit with the bank teller before gliding up and opening the chest.
Stock Pot Secrets
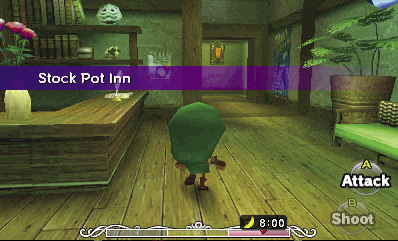
Ready for more Rupees? Drop from the tower, and deposit all of your Rupees into your bank account again. Go east into East Clock Town afterward, and locate the Stock Pot Inn. The inn is usually closed late at night, but not on the Final Day. Go inside and head upstairs.
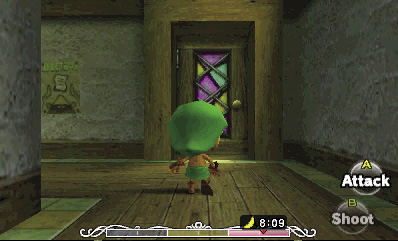
The door at the top of the stairs had always been locked, but you can open it during the Night of the Final Day. Open the door to enter a small room.
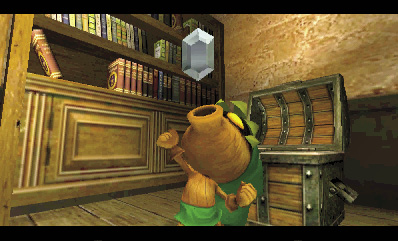
Ignore the room’s creepy mannequin (is that a bridal gown?), and open the treasure chest to score a Silver Rupee. Each of these rare Rupees is worth a whopping 100 Rupees—more than you can even fit in your wallet!
Adult Wallet Upgrade
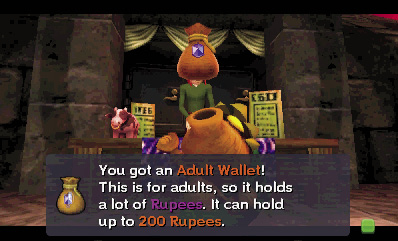
As you can see, Link’s current wallet just won’t do. It’s time for an upgrade. Deposit 200 or more Rupees into your bank account, and the bank teller will reward your savings patronage with an Adult Wallet.
Adult Wallet

You got an Adult Wallet! This is for adults, so it holds a lot of Rupees. Now you can carry up to 200 of them.
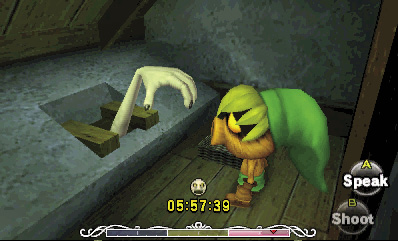
There’s one more thing worth doing before you hurry after the Skull Kid. Return to East Clock Town and reenter the Stock Pot Inn. Stay on the ground floor, and check behind the stairs to find the Stock Pot Inn’s bathroom. When the clock strikes midnight on the Final Day, a mysterious hand emerges from the toilet.
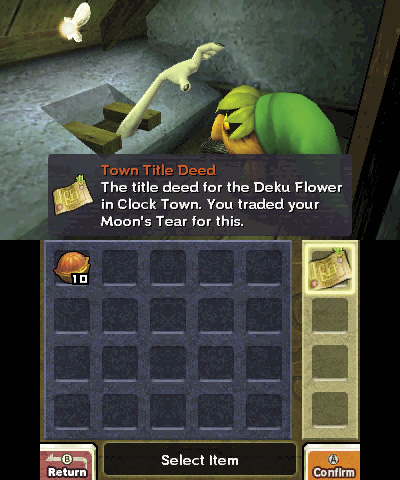
Talk to the hand to learn that it’s in desperate need of paper. Give the hand a… hand… by handing it the Town Title Deed that you recently acquired from the Business Scrub near the Clock Tower.
It worked! The mysterious hand’s troubles are over, and it rewards your kindness with a precious gift: a Piece of Heart. Collecting four of these most rare items completes a new Heart Container, extending Link’s life energy by one heart. Handy!
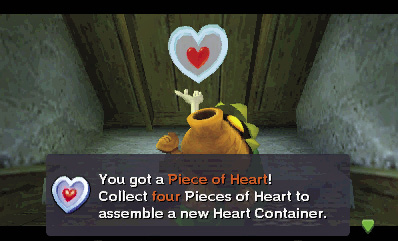
Piece of Heart #1

You got a Piece of Heart! Collect four Pieces of Heart to assemble a new Heart Container. Each new container you put together increases the amount of life energy you can have.
Midnight Madness
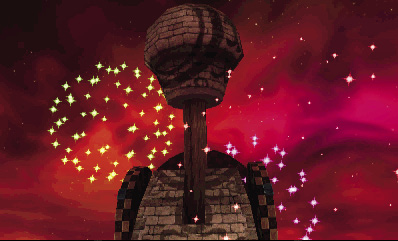
When the clock strikes midnight on the Final Day, the big celebration begins. Fireworks explode all around the Clock Tower, and the tower transforms, revealing a set of stairs that lead up to the roof. Now you can go after the Skull Kid.
Climbing the Clock Tower
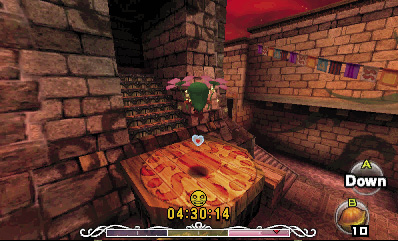
Time’s running out, so hurry and stop that awful Skull Kid. To do so, you’ll need to climb the Clock Tower. Leave the inn and go west into South Clock Town. Dive into the Deku Flower that you “bought” off of the Business Scrub in exchange for the Moon’s Tear. Launch up from the Deku Flower and glide over to the Clock Tower’s high ledge, which features a Piece of Heart. Collect this precious prize, and then hurry up to the Clock Tower’s apex.
Piece of Heart #2

You got a Piece of Heart! Collect four Pieces of Heart to assemble a new Heart Container. Each new container you put together increases the amount of life energy you can have.
The Skull Kid awaits you atop the Clock Tower, ocarina in hand. He doesn’t seem interested in giving up the Ocarina of Time, let alone the creepy mask that he stole from the mask salesman. Instead, the Skull Kid seems entranced by the plummeting moon, which is now dangerously close to impact. The sibling fairies, Tatl and Tael, exchange a few words that end up firing the Skull Kid’s ire.