
The Legend of Zelda Majora's Mask 3D Guide Walkthrough Chapter 3: Termina Field and the Southern Swamp
Termina Field
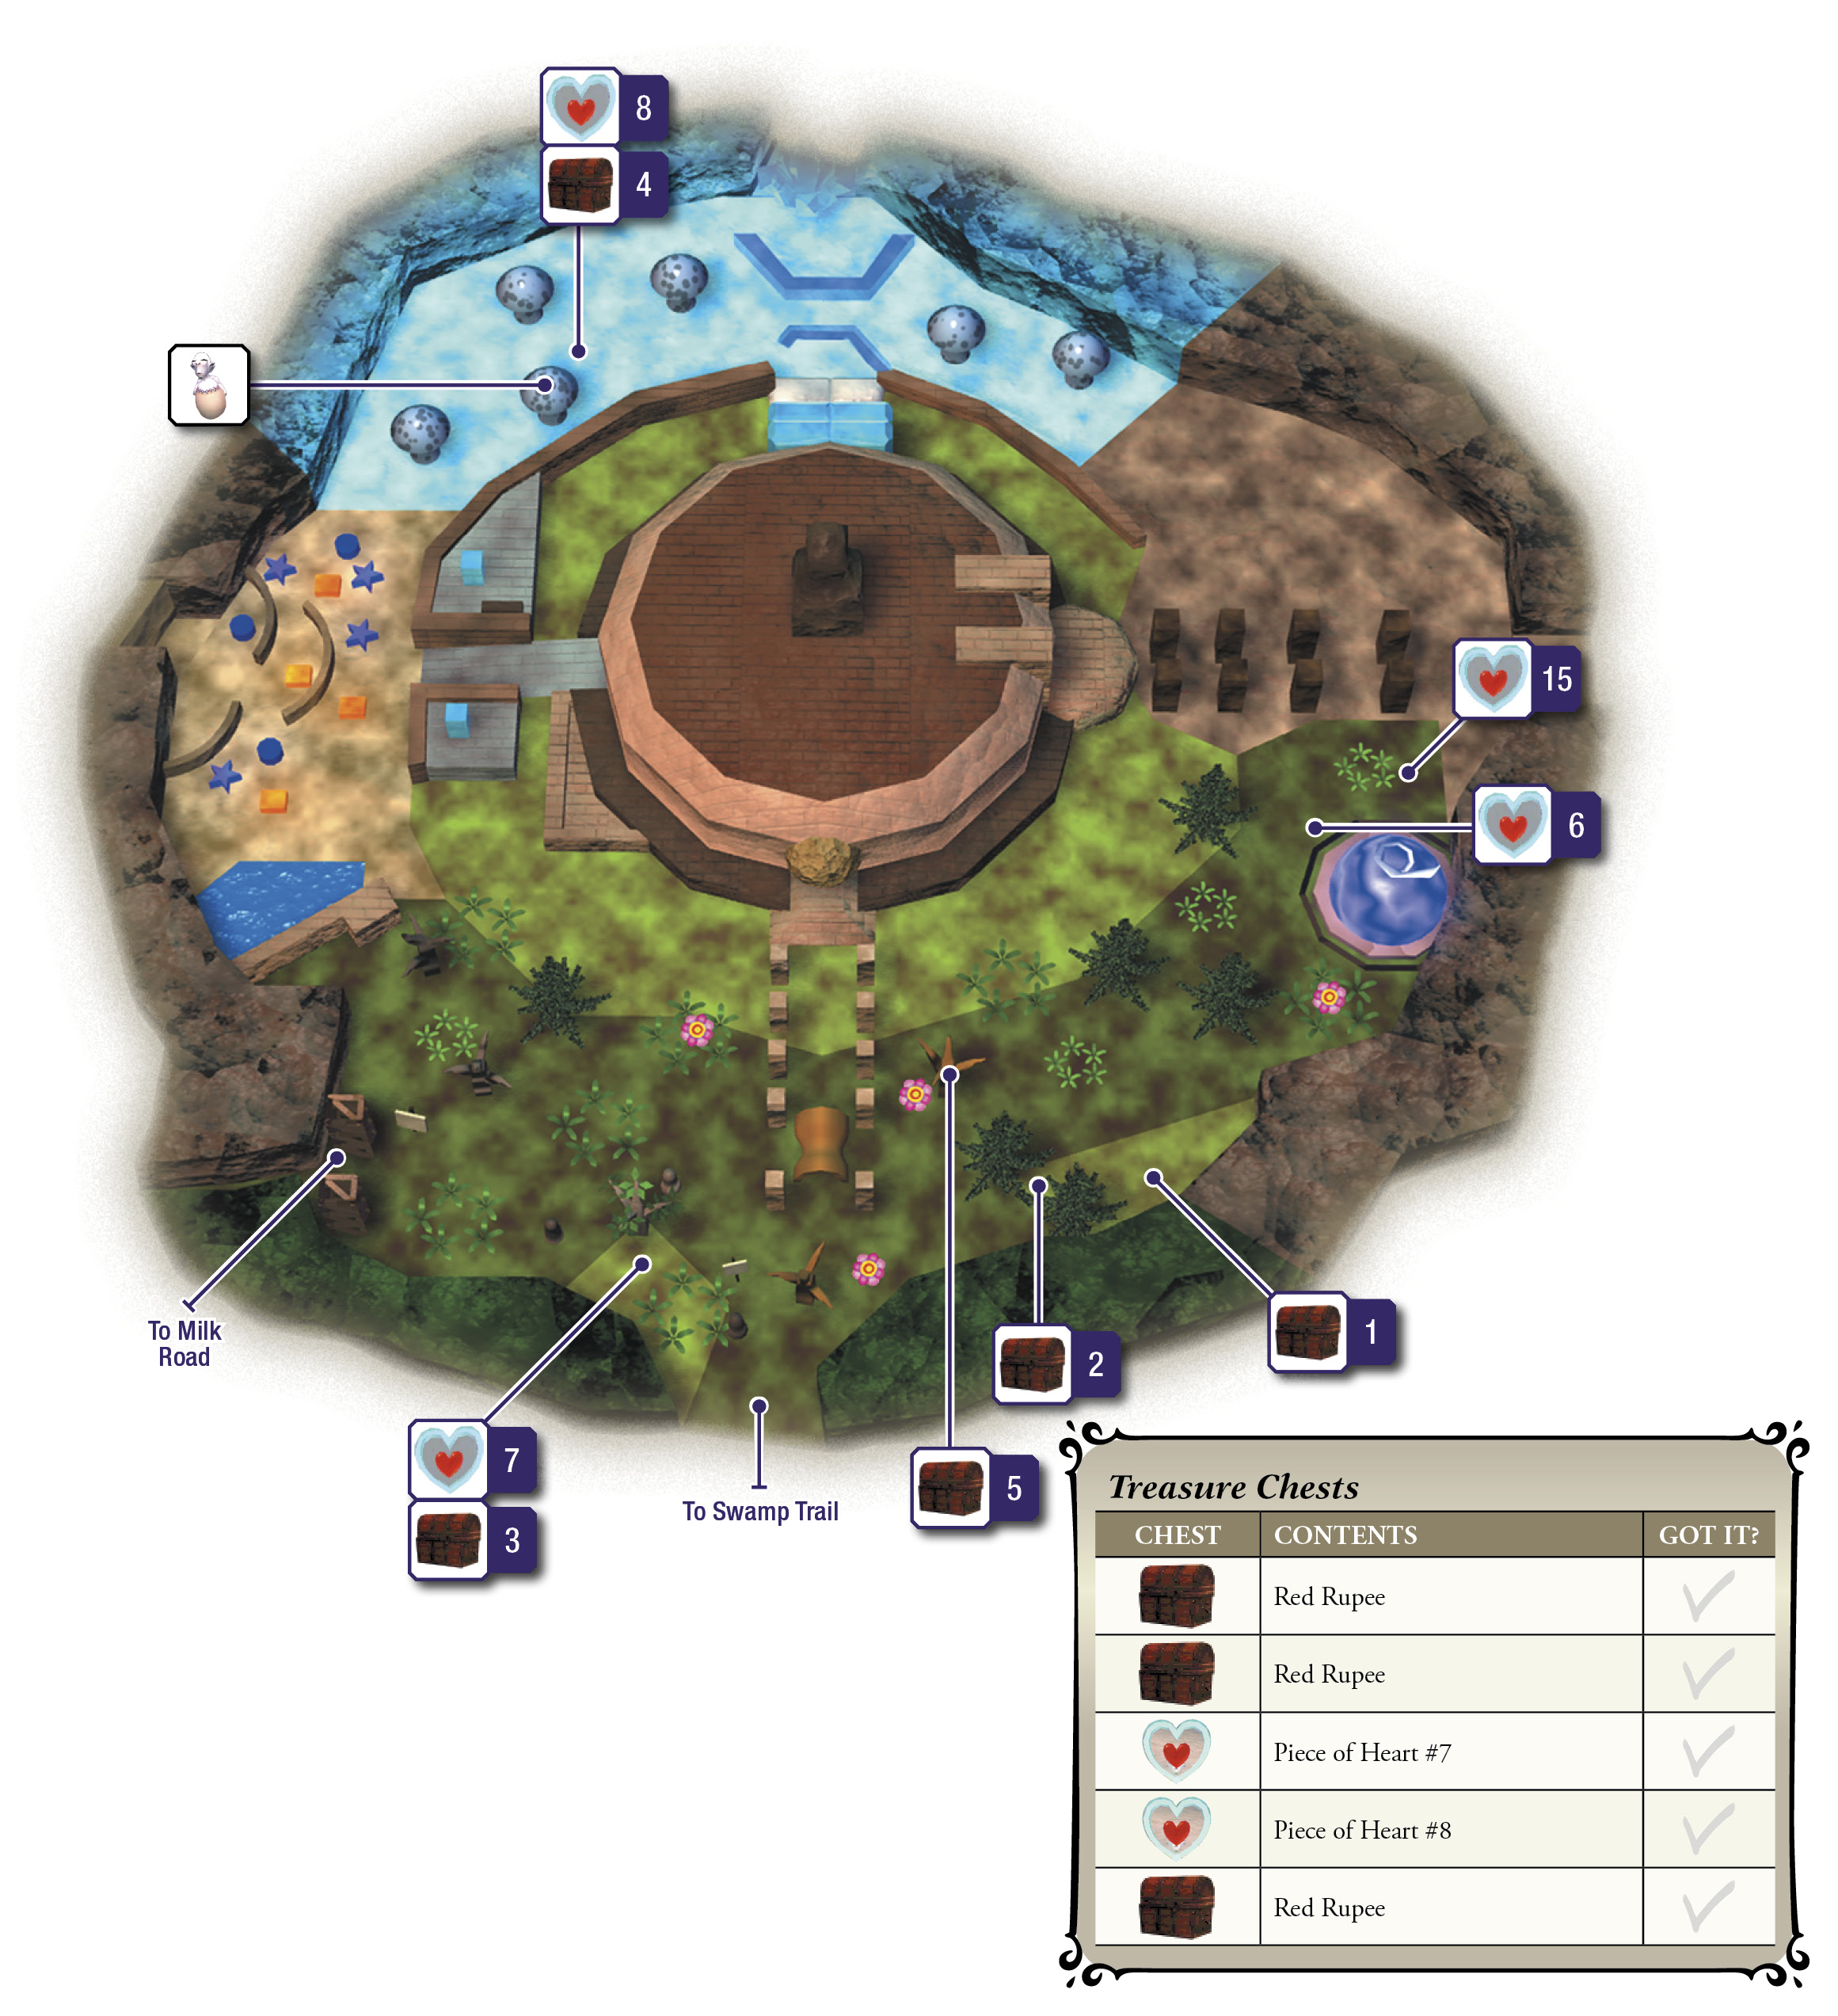
Hearty Haggler
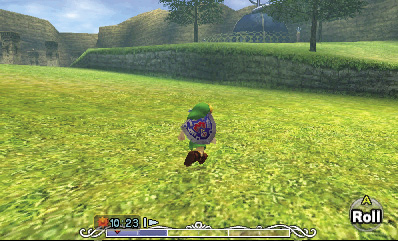
Remember the Business Scrub that you saw through the astronomer’s telescope? The one that dropped into the hole near the Astral Observatory? Go pay him a visit. As you exit Clock Town through the south gate, turn left and run east, heading toward the observatory (it’s the big blue dome-shaped building on the east hill). Depending on the time of day, you must either battle or avoid the common monsters noted below along the way. They’ll just keep coming back if you slay them, so it’s best to avoid these threats. Daytime (6 a.m. to 5:59 p.m.): Green Chuchus, Red Chuchus, and Real Bombchus
Nighttime (6 p.m. to 5:59 a.m.): Blue Bubbles
Green Chuchu/Red Chuchu
Damage: 1/4 Heart

These big blobs bounce toward Link, hoping to batter him with their bulk. They carry useful items in their gelatinous bellies, and a single swipe of Link’s sword easily defeats them. Block a Chuchu’s bounces with Link’s shield, and then counter with cold steel!
Real Bombchu
Damage: 1/2 Heart

Although you can buy imitation Bombchus at the Trading Post in West Clock Town, these ones are the real deal. These crazy rats carry bombs and race toward Link, aiming to blow him to heroic bits. Bombchus can be tough to defeat before they go boom, so simply block their charge with Link’s shield to avoid taking damage as they self-destruct.
Blue Bubble
Damage: 1/2 Heart

These foul, flying skulls are engulfed in an eerie blue flame. Blue Bubbles chase after Link and curse him if they bump into him. Once cursed, Link cannot use his sword for quite some time (about a minute of real-world time). Blue Bubbles are best avoided until you’ve acquired some form of effective ranged weaponry.
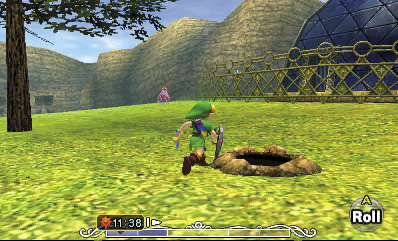
Locate the hole in the ground near the Astral Observatory, which is the same one that the Business Scrub slipped into. Go ahead and drop inside.
It’s a Secret to Everybody
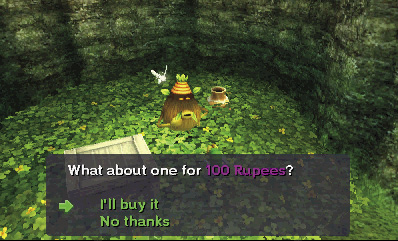
Sure enough, the Business Scrub is hiding in the underground cavern. It seems that you’ve found the Scrub’s secret storage. The Scrub is worried that you’ll tell people about his hideout, and in exchange for keeping his secret, he offers you a Piece of Heart for 150 Rupees. Don’t accept the Scrub’s offer, though—he drops his asking price to 100 Rupees if you turn down his initial offer of 150. That’s as low as he’ll bargain, so go ahead and buy the Piece of Heart for 100 Rupees.
Piece of Heart #6

You got a Piece of Heart! Collect four Pieces of Heart to assemble a new Heart Container. Each new container you put together increases the amount of life energy you can have.
Crazy Climber
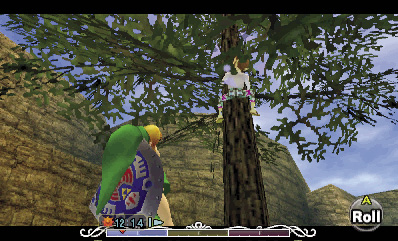
Emerge from the Business Scrub’s secret storage, and scope out the nearby tree. Hey, some guy is climbing it!
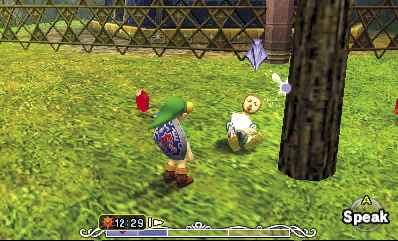
Run toward the tree, and press  to roll into it. If you do it correctly, you’ll knock down the climber, along with a pair of Red Rupees. The climber had been trying to snag those glimmering gemstones, but they’re yours for the taking now.
Chest in the Weeds
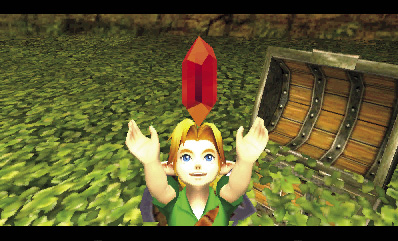
Travel southwest from the climber’s tree, keeping close to the field’s outside wall and using your map to track down a chest that’s partially covered in the southern weeds. Cut down the dangerous Deku Baba that sprouts up from the weeds, then flip the chest’s lid to pad your wallet with another Red Rupee.
Deku Baba
Damage: 1/2 Heart

These big-mouthed plants pop up from tall grass, hoping to make a meal out of Link. Evade a Deku Baba’s lunging attacks with Link’s shield causing it to miss Link completely, and then strike it with Link’s sword as it chomps at nothing to make it stand straight up. Strike a standing Deku Baba with Link’s sword again to slay it and make it drop a valuable Deku Stick. If you slay a Deku Baba while it isn’t standing straight up, it drops a Deku Nut instead.
Deku Stick

You got a Deku Stick! These sticks burn well. Pull one out, and you can swing it. You can carry only 10 Deku Sticks, so use them wisely.
Hidden Hole
Trudge westward through the weeds, heading toward another chest that’s shown on your map. Before you leave the weeds, drop into a hidden hole to reach a secret underground cavern.
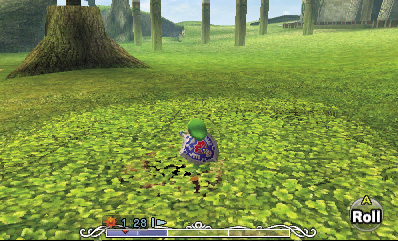
Two more Deku Babas guard another treasure chest down below. There’s a less-threatening Mini Baba present, as well. Chop down the monsters for Deku Nuts and Deku Sticks, and then open the chest to collect another Red Rupee.
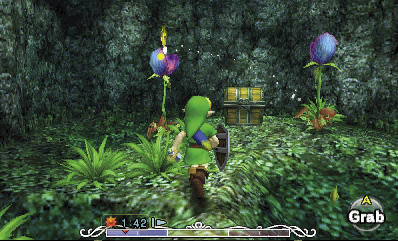
Mini Baba
Damage: 1/4 Heart

These bite-sized Babas are too young to lunge at Link. They pose little threat, unless Link stumbles into their ever-chopping jaws. Get close—but not too close—and slice up Mini Babas with a swing of Link’s sword. Like Deku Babas, Mini Babas often drop useful Deku Nuts.
Peahat’sHeart
Pop out of the underground cavern, and continue heading west. You can’t yet reach the chest atop the large nearby tree stump, so move past it and search the weeds to the west for another hidden hole that lands you in another underground cavern. (The hole is near the Deku Baba that pops up from the weeds.)
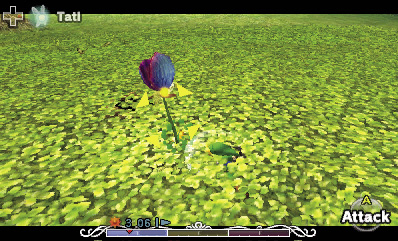
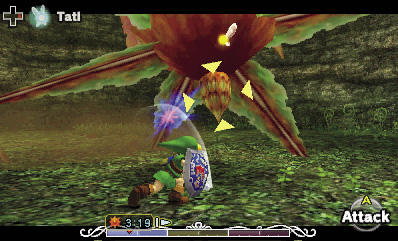
Head’s up: this underground cavern is home to a monstrous Peahat! Prepare for a long battle—it takes 15 hits with Link’s blade to down this dangerous foe.
Peahat
Damage: 1 Heart

These giant fliers remain burrowed in the ground until Link approaches, then they burst up and pursue him with their razor-sharp propellers. A Peahat’s only weakness is the small root on its bottom. Use Link’s shield to block the Peahat’s whirling propellers as you seek to strike its vulnerable root. Peahats can take a lot of punishment, so don’t give up the fight!
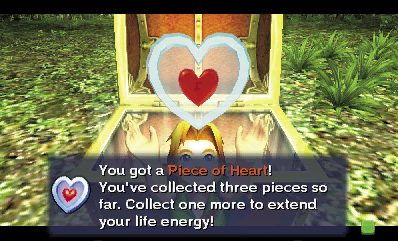
Fight hard to defeat the Peahat, and your heroism will be justly rewarded. A chest appears in the cavern; open it to obtain a Piece of Heart.
Piece of Heart #7

You got a Piece of Heart! Collect four Pieces of Heart to assemble a new Heart Container. Each new container you put together increases the amount of life energy you can have.
Dodongo Duo
That’s as far as you’ll go in this direction for the moment; the chest to the west is underwater and can’t be opened yet. Make your way north, heading for the snowfield to the north of Clock Town. Along the way, cut down the patches of tall grass just to the west of Clock Town to find some bombs.
Go directly north from Clock Town’s north gate to locate a snowy slope. Go down the slope to reach a lower snowfield.
After descending the snowy slope, sprint directly toward the large, oddly shaped rock formation. As you head for the hole in the ground near the base of this rock formation, beware the monstrous Dodongos that roam the frosty field. (If it’s nighttime, you may face Eenos here instead.) Equip your bombs, and drop into the hole.
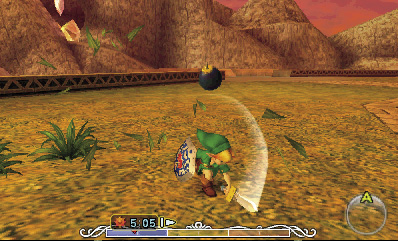
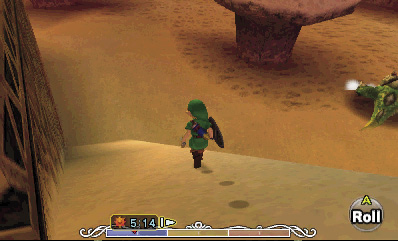
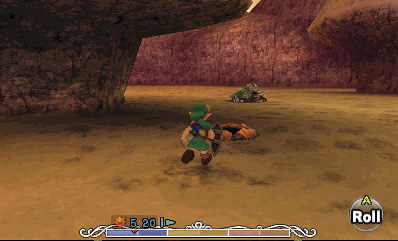
Dodongo
Damage: 1 Heart
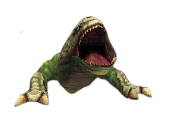
These large lizards are covered in thick scales that deflect Link’s attacks. Dodongos breathe searing fire that you can’t block, making them dangerous to approach from the front. Keep your distance, and toss bombs at Dodongos to blast them from afar instead.
If bombs aren’t an option, exploit a Dodongo’s slow movements by circling around the monster as it begins to breathe fire. Once you’re behind a Dodongo, strike its vulnerable tail only once, and then immediately raise Link’s shield to block the monster’s tail-whip counterattack. Keep it up until the great lizard finally falls.
Dodongos commonly leave precious Rupees behind, making them worthy (albeit dangerous) prey.
Eeno
Damage: 1 Heart (Big Eeno), 1/4 Heart (Small Eeno)

Take care when you notice snow shifting about, for a dangerous Eeno is likely lurking beneath the powder. Lock on to these frosty foes, and block the snowballs that they throw. Link’s sword can cut Eenos down to size, but only after they’ve emerged from the white. Avoid these dangerous foes until you obtain a long-range weapon—preferably one with some sizzle!
The underground cavern is home to a pair of giant Dodongos. Keep your distance, and toss bombs at these monstrous foes to obliterate them from afar. (Press  or
or  while moving forward to throw a bomb after pulling one out.) It takes several bombs to defeat Dodongos of this size, so just keep blasting away, rolling to escape the Dodongos as needed.
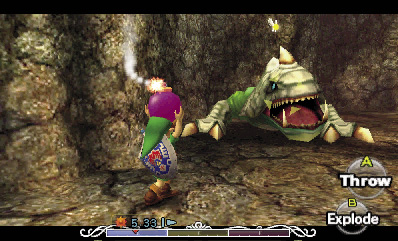
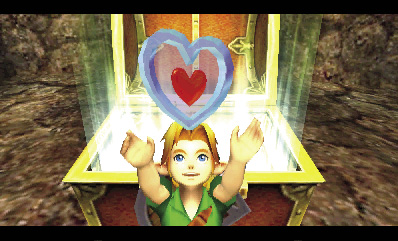
The battle becomes much easier after one of the Dodongos falls. Defeat the remaining Dodongo, and a chest will appear in the cavern. Flip its lid to claim another Piece of Heart.
Piece of Heart #8

You got a Piece of Heart! Collect four Pieces of Heart to assemble a new Heart Container. Each new container you put together increases the amount of life energy you can have.
Free Rupees
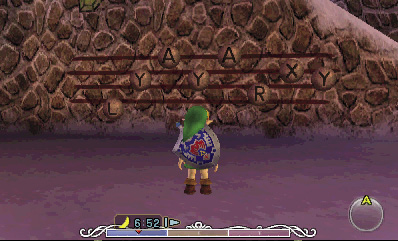
Giant Dodongos drop Purple Rupees, so your wallet is likely near bursting by now. If it isn’t quite full yet, exit the cavern and backtrack toward the snowy slope you used to get down here. See the notes that appear on the side of the slope? Play them to make a few Rupees pop out of the wall.
A Quick Deposit
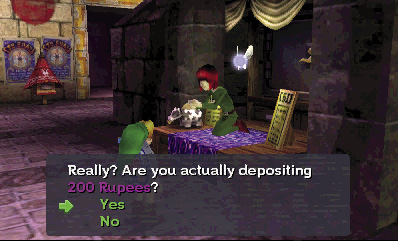
Trek back to Clock Town, and deposit your funds. You have some time to pass now, as the next event won’t occur until midnight. Feel free to play games around Clock Town or battle enemies in Termina Field to fill your wallet, making additional deposits into your bank account. You can never have too many Rupees in your savings.
Kamaro’s Mask
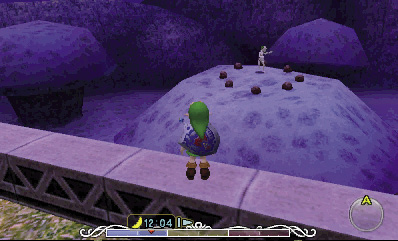
When the clock nears midnight, exit Clock Town through its north gate, and run toward the snowy slope. Don’t go down the slope, but remain on the high ground and follow the low stone fence around to the left (west). As you go, look for a circle of stones atop one of the snowy rock formations to the north. At precisely midnight, a dancing spirit will appear amidst this circle of stones.
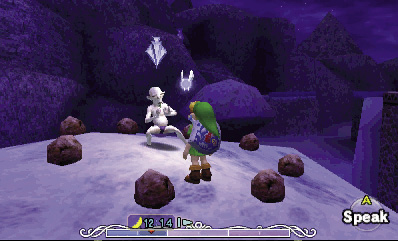
Climb onto the low stone fence and make a careful leap, aiming to land atop the snowy rock formation. Speak with the dancing spirit, whose name is Kamaro, to add him to your Bombers’ Notebook.
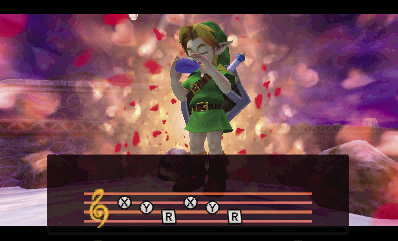
After speaking with Kamaro, whip out your Ocarina of Time and play the Song of Healing. (Tap the music sheet button on the bottom-right corner of the Touch Screen to look up the notes.) The song’s magical melody traps Kamaro’s spirit, transforming it into a mask.
Kamaro’s Mask

You got Kamaro’s Mask! Use it to teach his dance to the world so his moves can become as popular as he hoped they’d be.
Dance Master Link
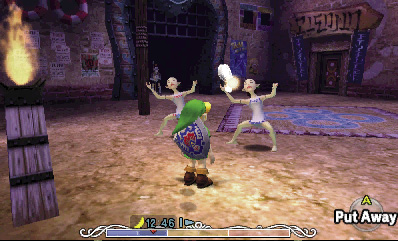
Drop from the snowy rock formation, and then ascend the snowy slope to return to the high ground. Enter Clock Town through the north gate, and head to the north end of West Clock Town. A pair of dancers known as the Rosa Sisters are practicing their act for the upcoming carnival.
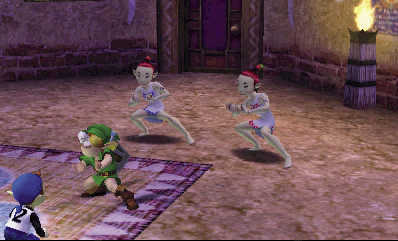
Put on Kamaro’s Mask, stand before the Rosa Sisters, and press  to perform Kamaro’s dance. Link’s hypnotic moves will steal their heart, literally. The Rosa Sisters part with a Piece of Heart as thanks for Link’s epic dance lesson.
Piece of Heart #9

You got a Piece of Heart! Collect four Pieces of Heart to assemble a new Heart Container. Each new container you put together increases the amount of life energy you can have.
To the Swamp!
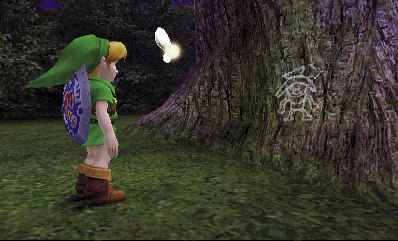
The time has come to delve a little deeper into the wilds. Save your progress at Clock Town’s owl statue, and then leave Clock Town via its south gate. Travel directly south, heading for the swamp. Tatl soon notices a curious drawing on the trunk of a tree. It seems that Tatl and her brother, Tael, drew this picture when they first met the Skull Kid.
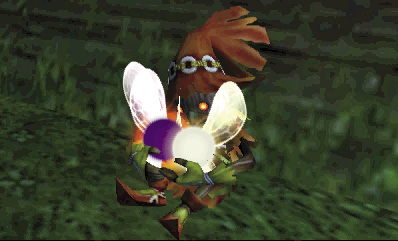
Tatl recounts her first meeting with the Skull Kid. The poor creature comes off as quite the outcast; it’s a sad story, to be sure. After Tatl concludes her tale, continue traveling southward, heading for the swamp.