The Legend of Zelda Majora's Mask 3D Guide Walkthrough Chapter 8: Hookshot Heroics
Swamp Spider House
The Spider’s Curse
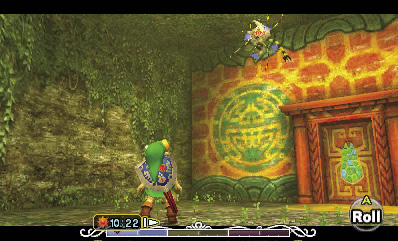
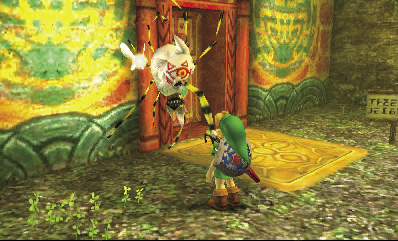
Beware of an ugly Skulltula that lurks near the ceiling of the Swamp Spider House. Wait a second, that’s no Skulltula. It’s just an unfortunate fellow who has found himself the victim of a curse.
The hideous creature begs you to find all of the cursed gold spiders in his house. He asks that you defeat all of the gold spiders and collect the special tokens that they leave behind, for only this can break his curse. As payment for your aid, the cursed creature says he’ll teach you “something good.” Sounds too good to pass up.
Bottle Some Bugs
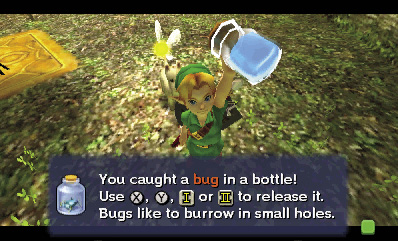
You’re here to find gold spiders, but bugs also come in handy. Equip all four of your Empty Bottles, then lift the small rocks in the cursed fellow’s room to find some bugs. Be quick to scoop them into your Empty Bottles. Catch as many bugs as you can, then proceed through the nearby door. (You can return to this room to bottle more bugs later if necessary.)
Gold Skulltula #1
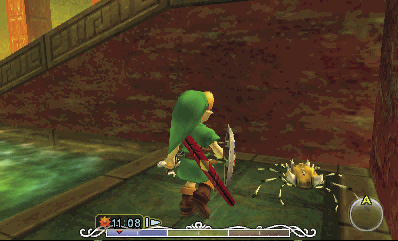
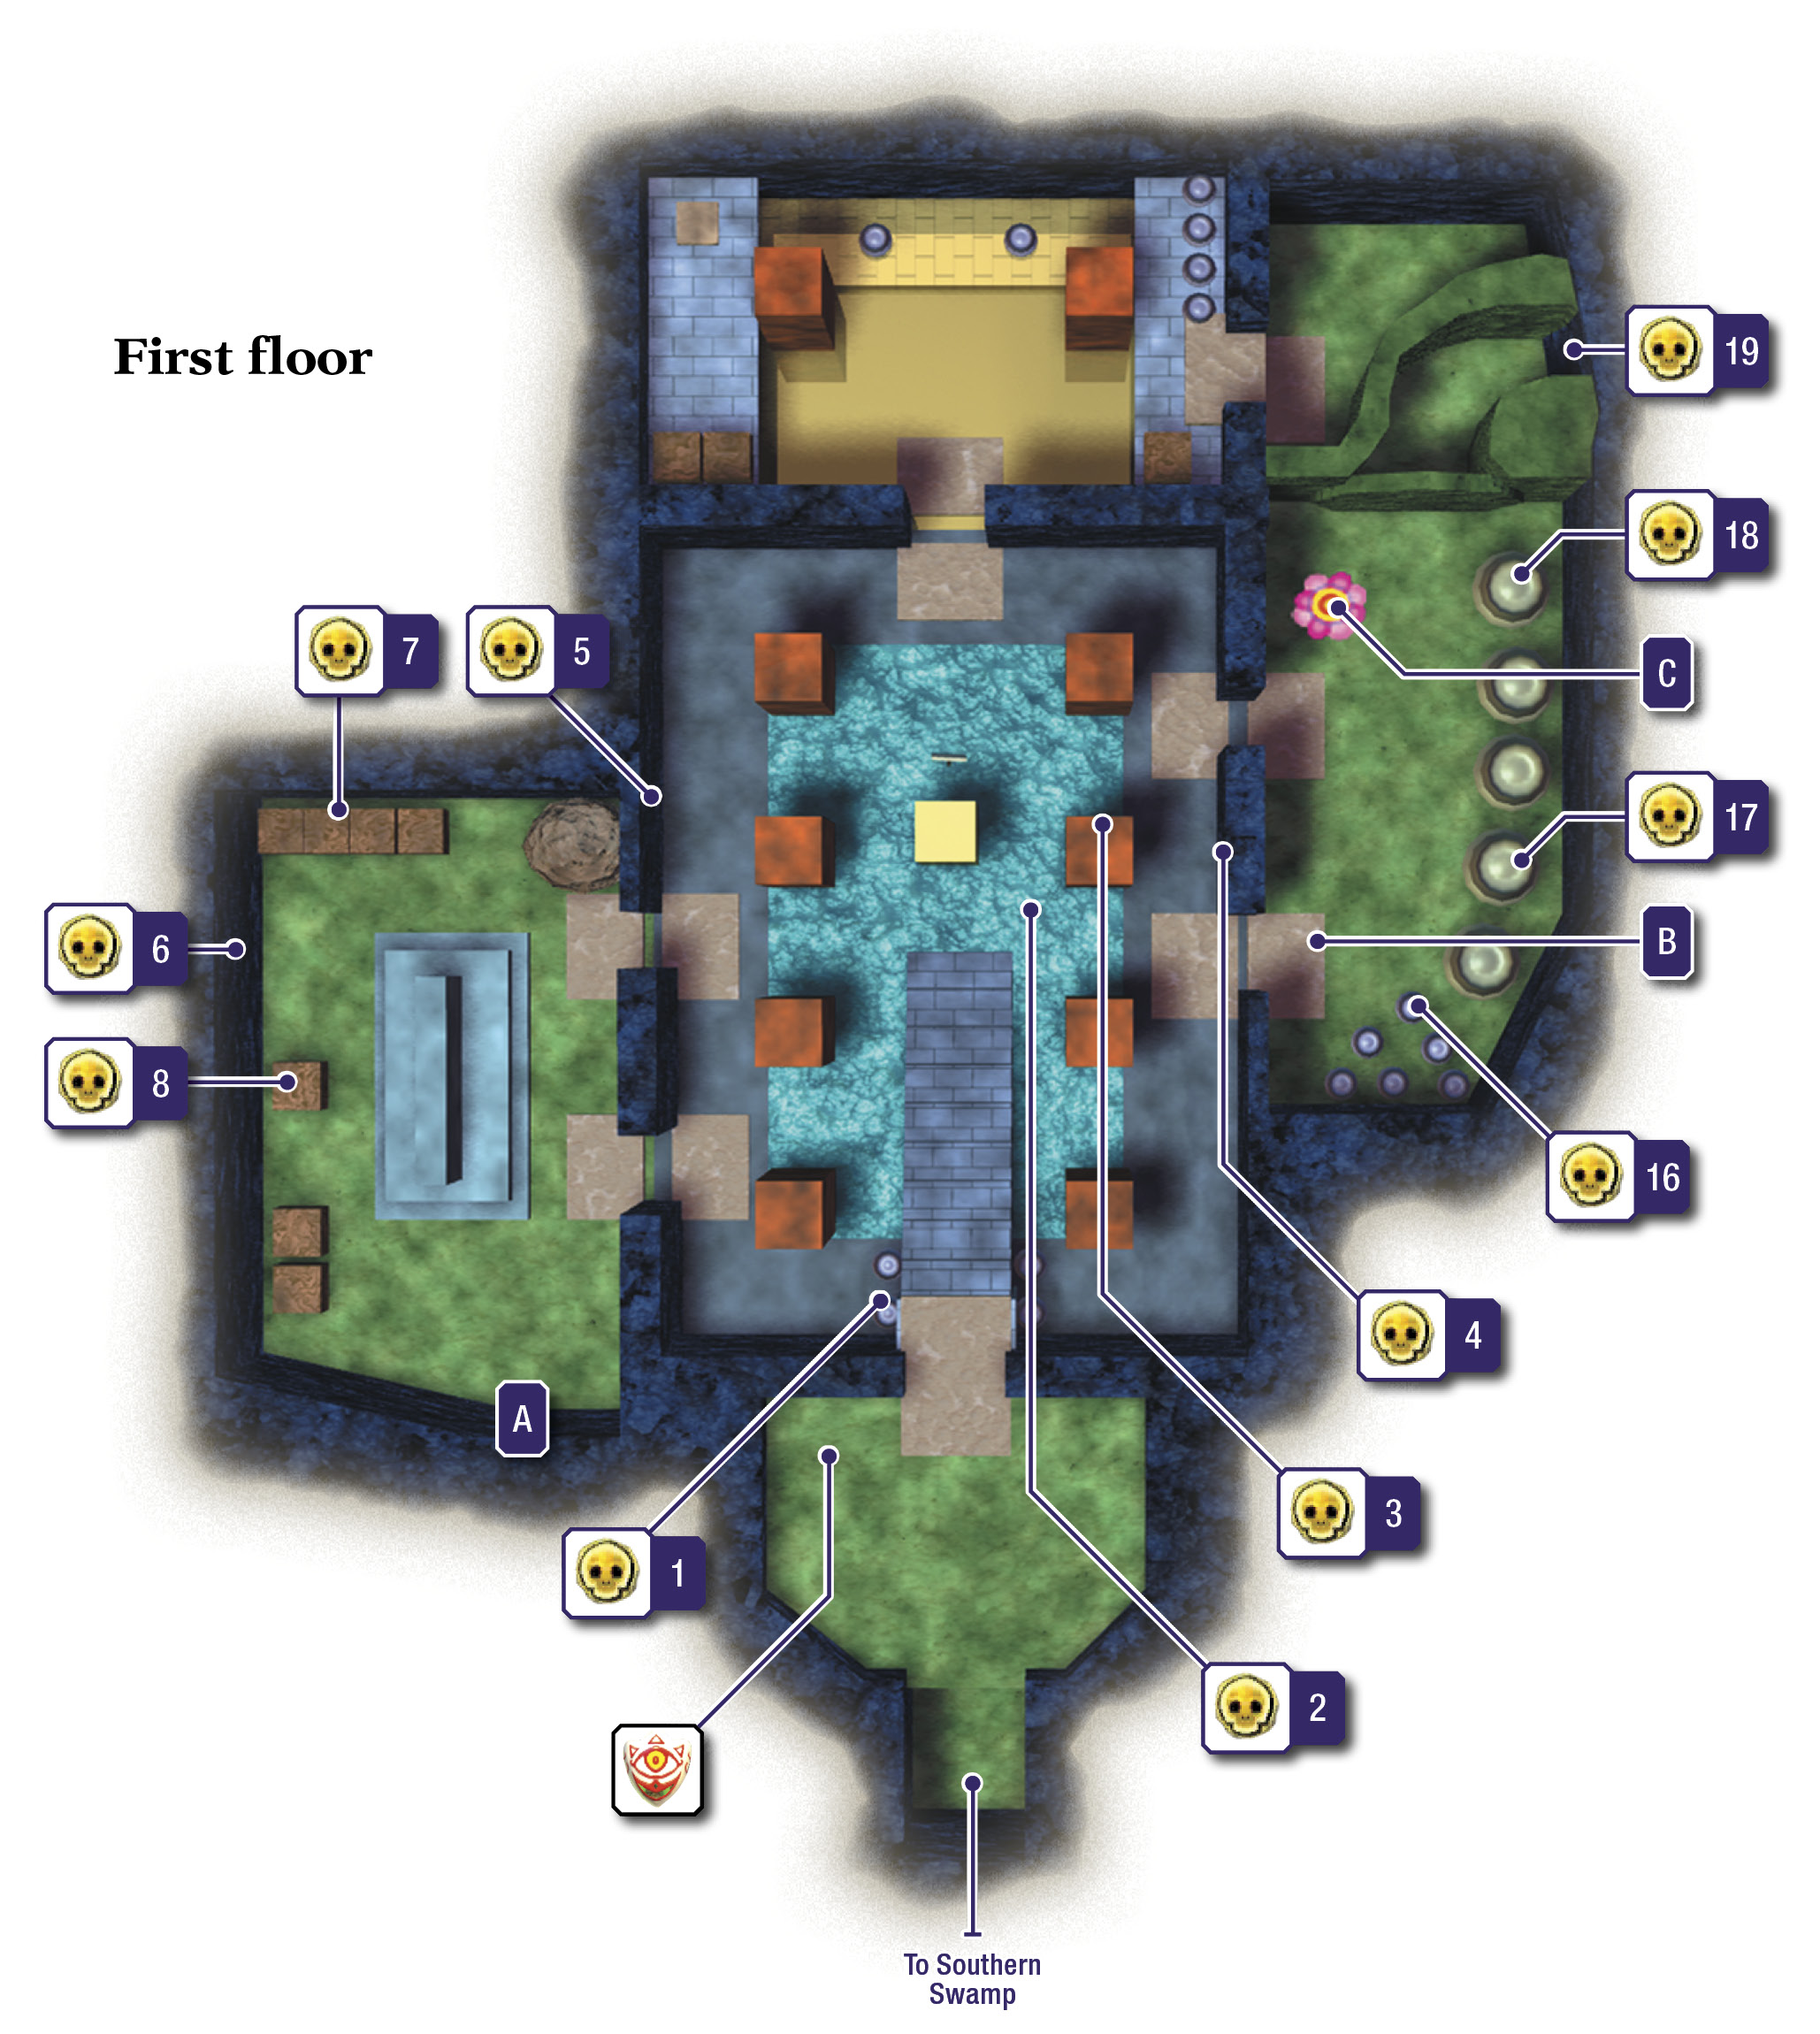
A great hall lies beyond the cursed fellow’s room. As you enter, turn left, and drop off the entry ledge. Smash the nearby jars afterward to discover the first of 30 Gold Skulltulas that you must slay in this creepy old house. Slice apart the monster with a swing of Link’s sword, then collect the Gold Skulltula Spirit it leaves behind. 29 more to go!
Gold Skulltula #2
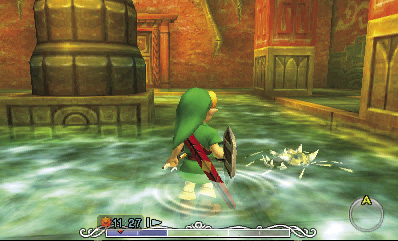
This one’s just crawling around in the great hall’s central water pool. Slay it to claim another Gold Skulltula Spirit.
Gold Skulltula #3
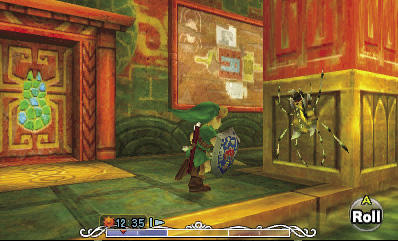
You’ll find this one crawling on the pillar to the east of the great hall’s central gold pillar. (It’s on the pillar’s north side.) Use the Hookshot or Hero’s Bow to slay it when it’s up high, or simply wait for it to crawl within range of Link’s blade. If you defeat it while it’s up high, use the Hookshot to snag its spirit.
Gold Skulltula #4
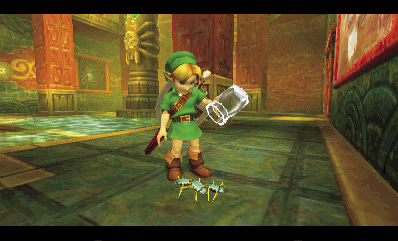
After slaying Gold Skulltula #3, look at the nearby wall, and spot a patch of soft soil (on the east wall). Release your bottle of bugs near the wall, and they’ll crawl into the soft soil, forcing out a Gold Skulltula. Defeat it, and claim your fourth Gold Skulltula Spirit.
Gold Skulltula #5
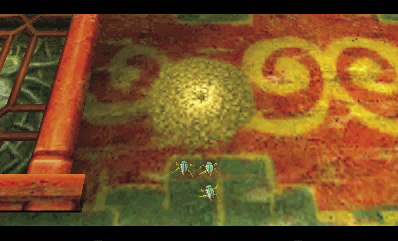
Cross the room, and locate another patch of soft soil on the west wall. Release more bugs near the wall to have them knock another Gold Skulltula from the west wall’s soft soil patch. (Return to the entry room and lift the rocks to bottle more bugs if necessary.)
Gold Skulltula #6
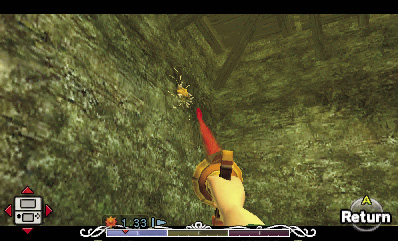
Ensure that you’re carrying one more bottled bug, then proceed through the nearby door (the great hall’s west door) to visit a small room with a giant stone tablet standing in its center. Move behind the tablet and whip out the Hookshot, then scan the west wall for a Gold Skulltula. Defeat the creature with the Hookshot, then use the Hookshot again to yank in its spirit.
Gold Skulltulas #7 and #8
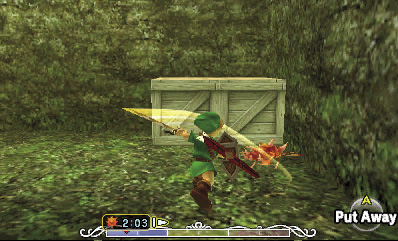
Roll into the tablet room’s crates to discover two more Gold Skulltulas. Slay them both, and collect their spirits. You’re getting there!
Gold Skulltula #9
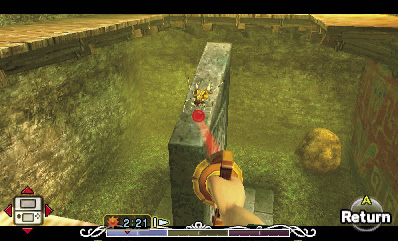
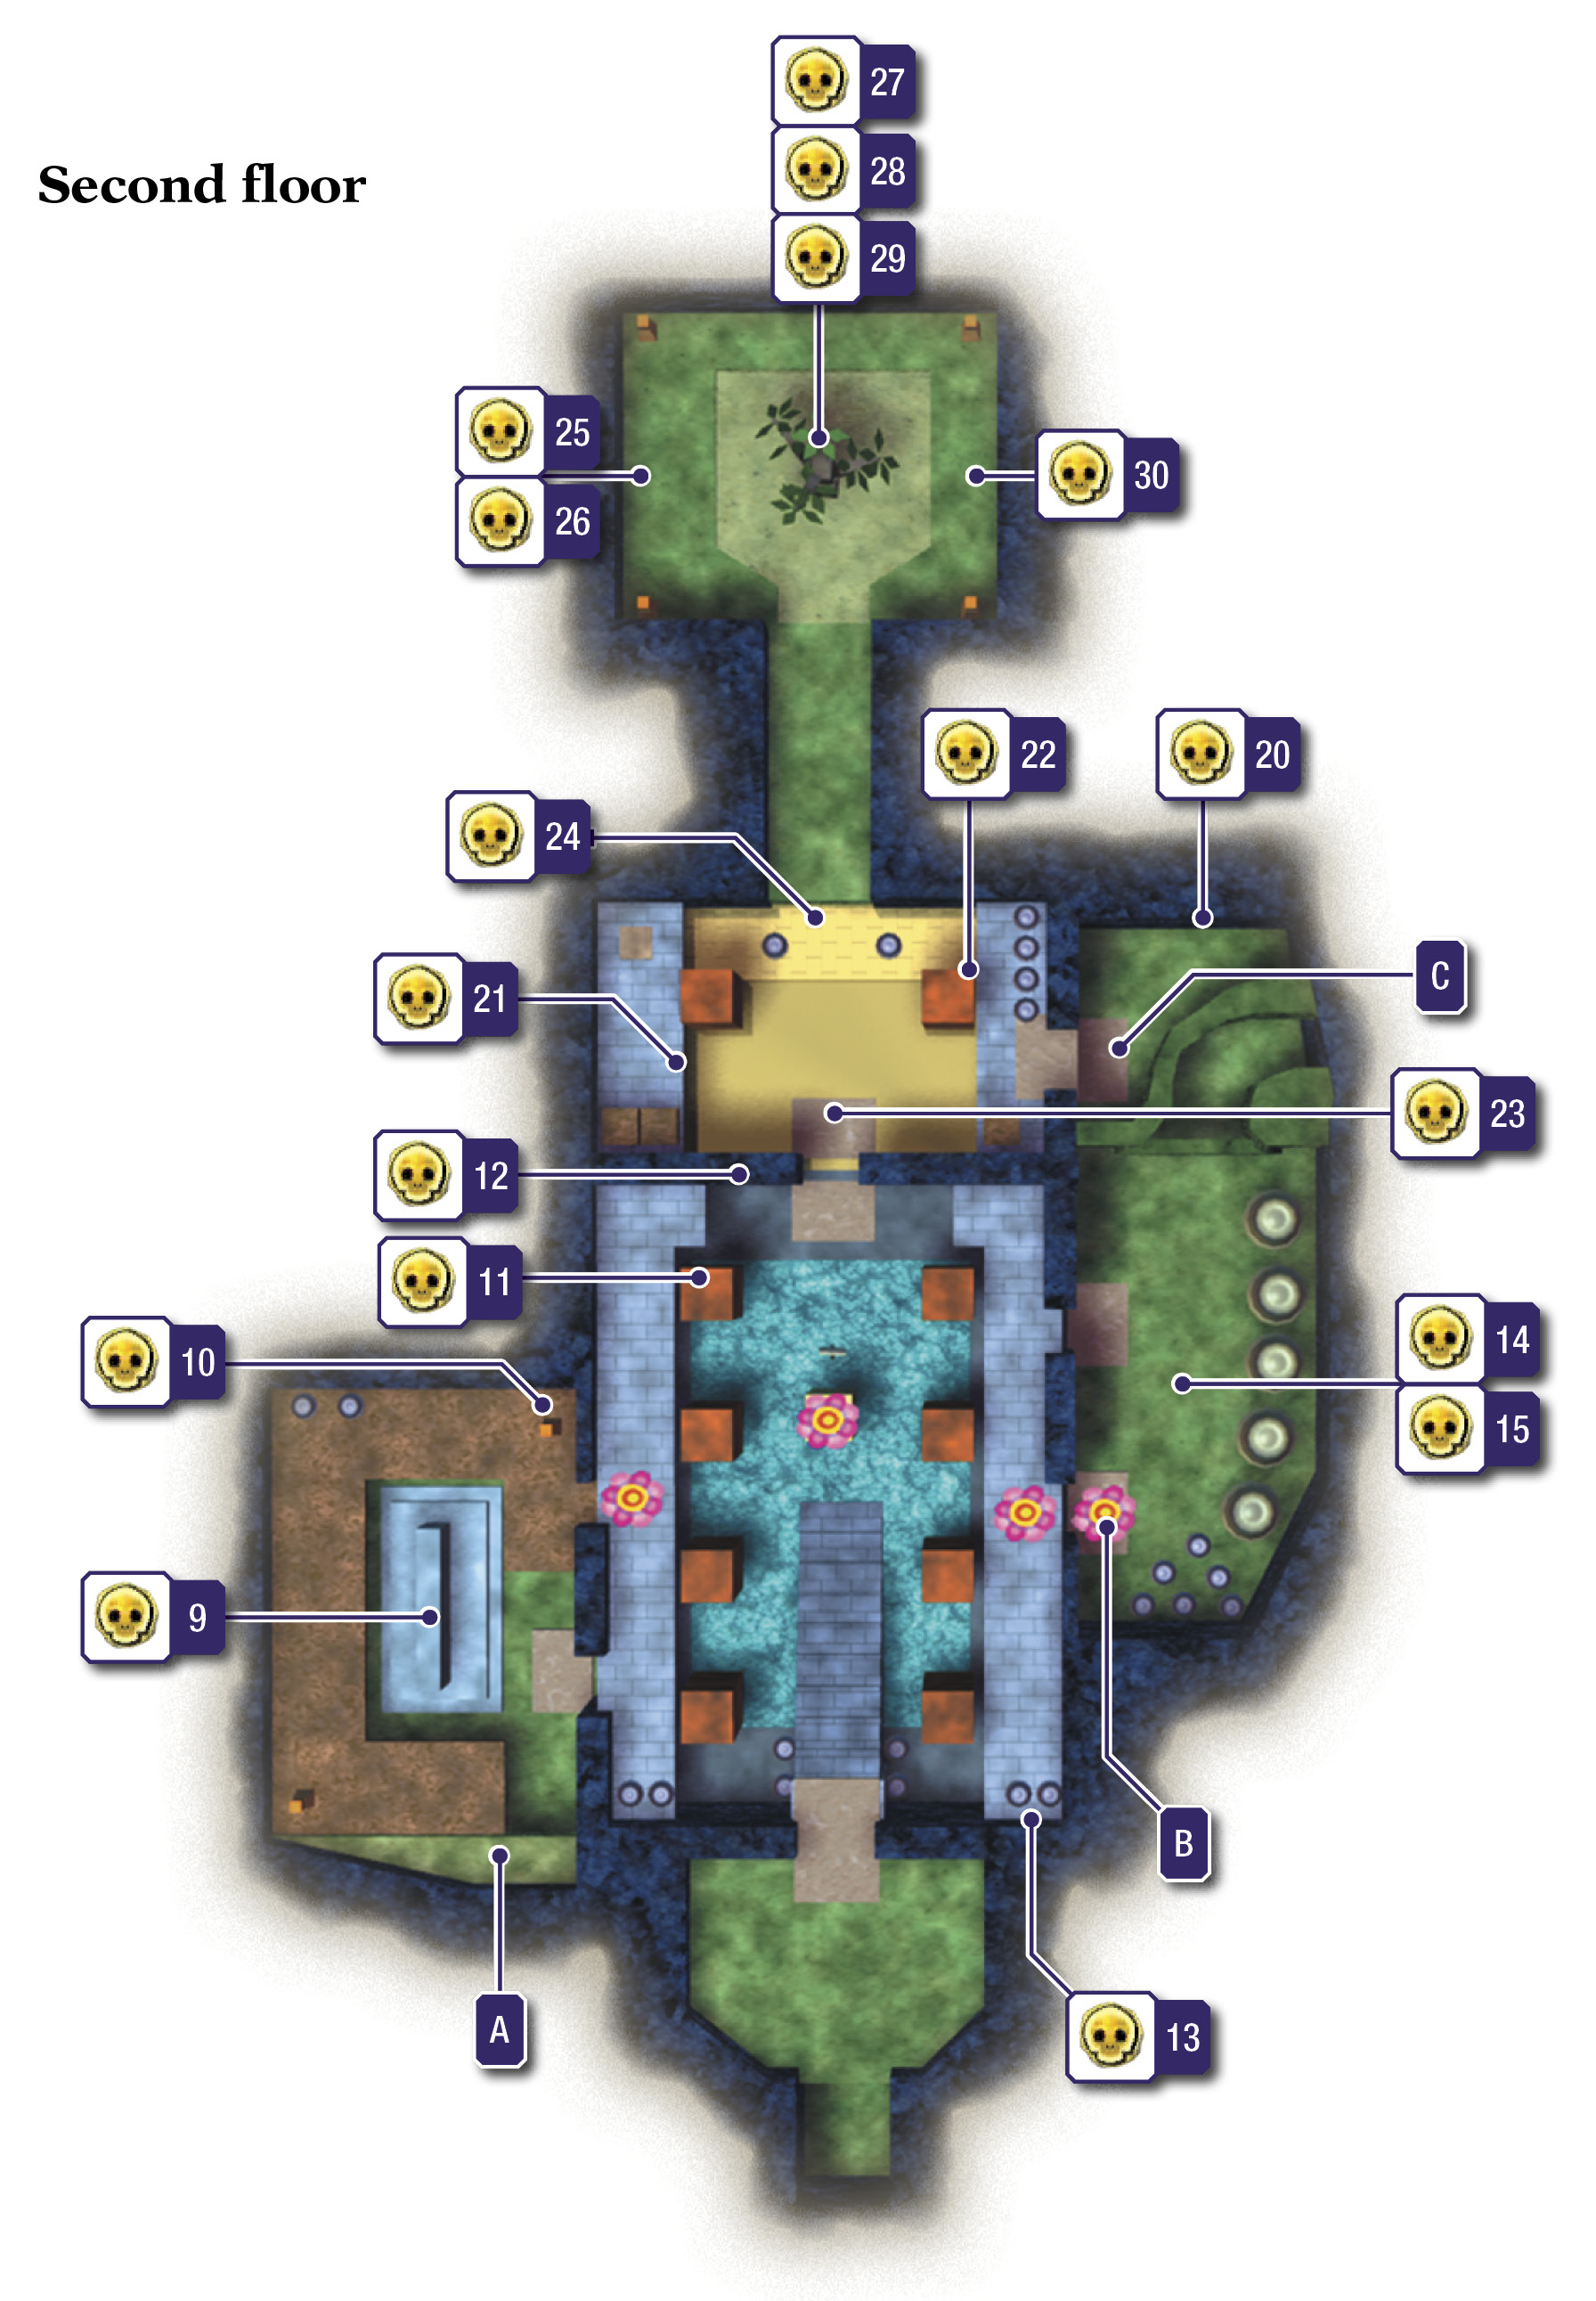
Climb the tablet room’s ladder, and spy another Gold Skulltula crawling atop the central stone tablet. Use the Hookshot to slay it, and then collect its spirit.
Gold Skulltula #10
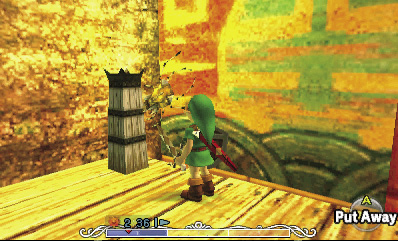
This one’s easy: it’s crawling around behind the torch near the door on the tablet room’s balcony. Slay it to add another Gold Skulltula Spirit to your growing collection.
Gold Skulltula #11
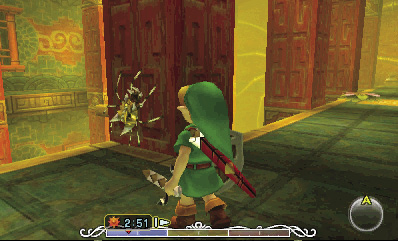
That’s a wrap on the tablet room. Exit through its upper east door to return to the great hall. You’ll find yourself on the great hall’s upper balcony; turn left and run to the balcony’s north end, then slay the Gold Skulltula that’s stuck to the northwest nearby pillar.
Gold Skulltula #12
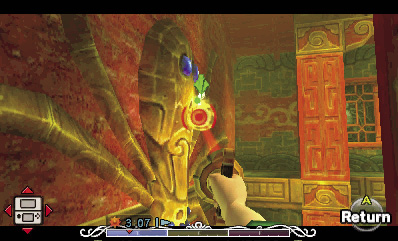
This one’s crawling way up high on the great hall’s north wall. Use the Hookshot to slay it, and then snatch its spirit.
Gold Skulltula #13
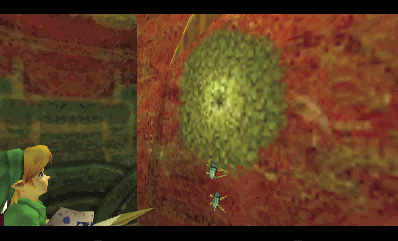
Slap on the Deku Mask, and use the balcony’s Deku Flower to cross over to the east balcony. After you land, turn right and smash the south jars, then dump out your remaining bugs near the soft soil patch on the nearby wall. The bugs do the trick, and another Gold Skulltula is revealed.
Gold Skulltulas #14 and #15
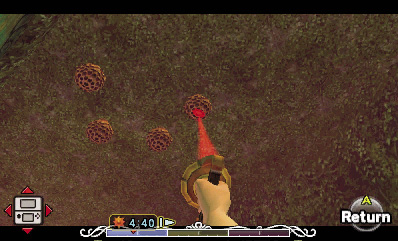
Go through the nearby door (the great hall’s upper east door) to visit a high platform in the Swamp Spider House’s east room. Use the Hookshot to drop the beehives on the ceiling, and you’ll knock down two Gold Skulltulas in the process. Though you should beware of the Giant Bees that may be released, don’t worry if they knock you off the platform. You can still hit the beehives with the Hookshot from the ground floor. Drop and slay the two Gold Skulltulas that were hiding in the beehives.
Gold Skulltula #16
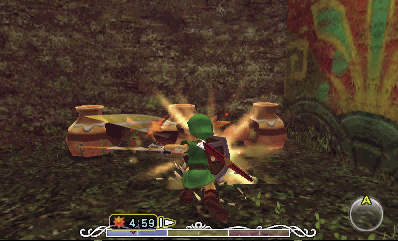
Afterward, smash up the room’s small jars to find another Gold Skulltula. You’re more than halfway there now.
Gold Skulltulas #17 and #18
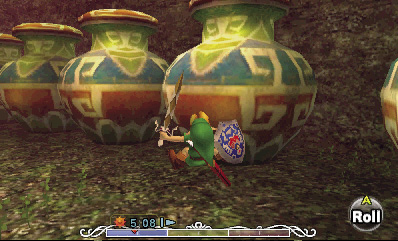
You can’t shatter the room’s large jars, but try rolling into them to release two more Gold Skulltulas. This place is infested.
Gold Skulltula #19
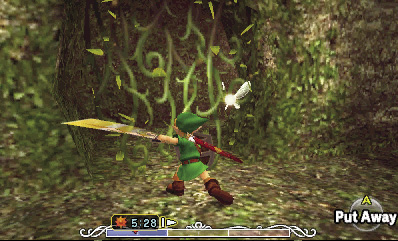
A Deku Scrub is slumbering in this room. Let him sleep for now, and slash through the thick vines on the nearby wall instead to uncover a tunnel that leads to another Gold Skulltula.
Gold Skulltula #20
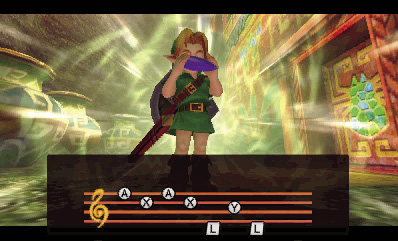
Return to the slumbering Deku Scrub, whip out the Ocarina of Time, and play the Sonata of Awakening. This wakens the Deku Scrub and sends him running off, letting you use his flower.
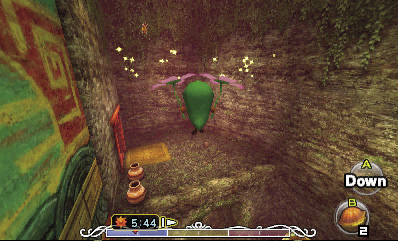
Don the Deku Mask, dive into the Deku Flower, and then launch up and land on the nearby ledge. Take off the Deku Mask, and use the Hookshot to defeat the Gold Skulltula on the nearby (north) wall. Go through the nearby (northwest) door afterward to enter a golden room.
Gold Skulltula #21
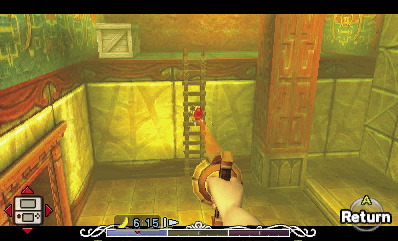
As you enter the golden room, strike the nearby crystal switch. A ladder appears on the far wall. Without dropping from the balcony, use the Hookshot to slay the Gold Skulltula that crawls on the ladder and obtain its spirit.
Gold Skulltula #22
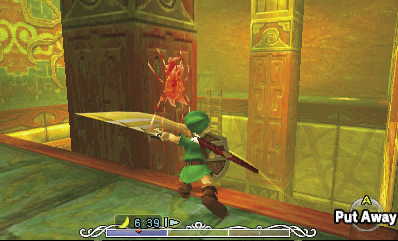
Move to the balcony’s other end, and spy a Gold Skulltula crawling up and down the nearby (northeast) pillar. Slay it with Link’s blade or the Hookshot, and claim its spirit.
Gold Skulltula #23
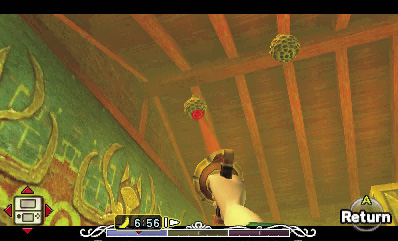
Look up and notice more beehives. You know what to do. Use the Hookshot to knock them down, along with another Gold Skulltula. This time, drop from the balcony, and slay the critter to claim its spirit.
Gold Skulltula #24
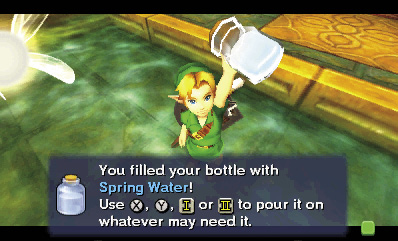
Go through the south door to return to the great hall. Fill one of your Empty Bottles with Spring Water from the central pool, then return to the golden room and climb the ladder on your left to reach the west ledge.
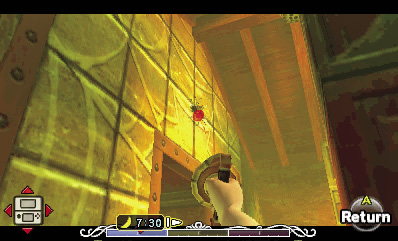
Approach the west ledge’s soft soil patch, but don’t use it just yet. Instead, look up at the north wall, and use the Hookshot to defeat another Gold Skulltula.
Gold Skulltulas #25 and #26
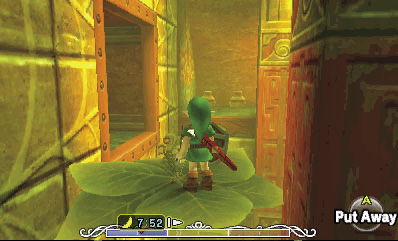
Now, plant a Magic Bean in the ledge’s soft soil patch. Water it to grow a leaf platform, then step aboard and ride over to the room’s north passage. Go through the door at the passage’s end to visit the final room.
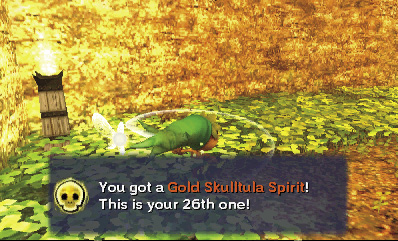
This lush room features thick weeds and a big tree. Put on the Deku Mask, and use Deku Link’s spin attack to easily defeat two Gold Skulltulas that are tough to spot as they crawl around the weeds.
Gold Skulltulas #27, #28, and #29
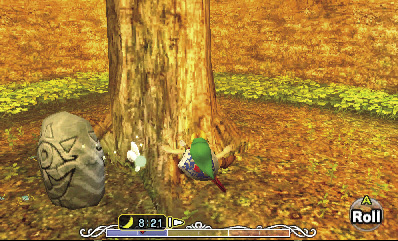
Remove the Deku Mask, and roll into the room’s central tree to knock down three more Gold Skulltulas. Some of them might land in the tall grass, so feel free to use Deku Link’s spin to help you slay them all.
Gold Skulltula #30
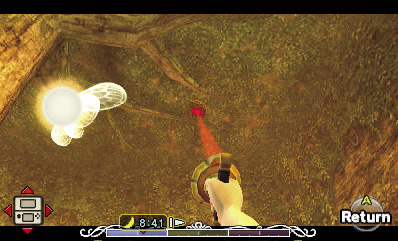
The final Gold Skulltula hides in a beehive near the tree room’s ceiling. Knock it down with the Hookshot, and collect the 30th Gold Skulltula Spirit. Nice work!
Breaking the Curse
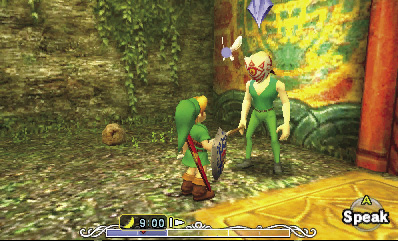
You’ve done it! Hurry back to the entry room to find that the poor fellow’s curse has indeed been broken. As thanks for your help, the man gives you the mask that got him into all of this trouble in the first place: the Mask of Truth.
Mask of Truth

You got the Mask of Truth! This mask was passed down by the mysterious Sheikah. Now it’s yours. This mask allows you to hear and understand the wisdom of Gossip Stones and the thoughts of animals.
Save and Reset
Now that you’ve found the Mask of Truth, new adventures are available, but there’s no reason not to save and reset to the Dawn of the First Day at this point. Soar back to Clock Town to deposit your Rupees and save, then play the Song of Time to reset to the Dawn of the First Day.