
The Legend of Zelda Majora's Mask 3D Guide Walkthrough Chapter 7: Fair Weather Explorations
Pirates Fortress
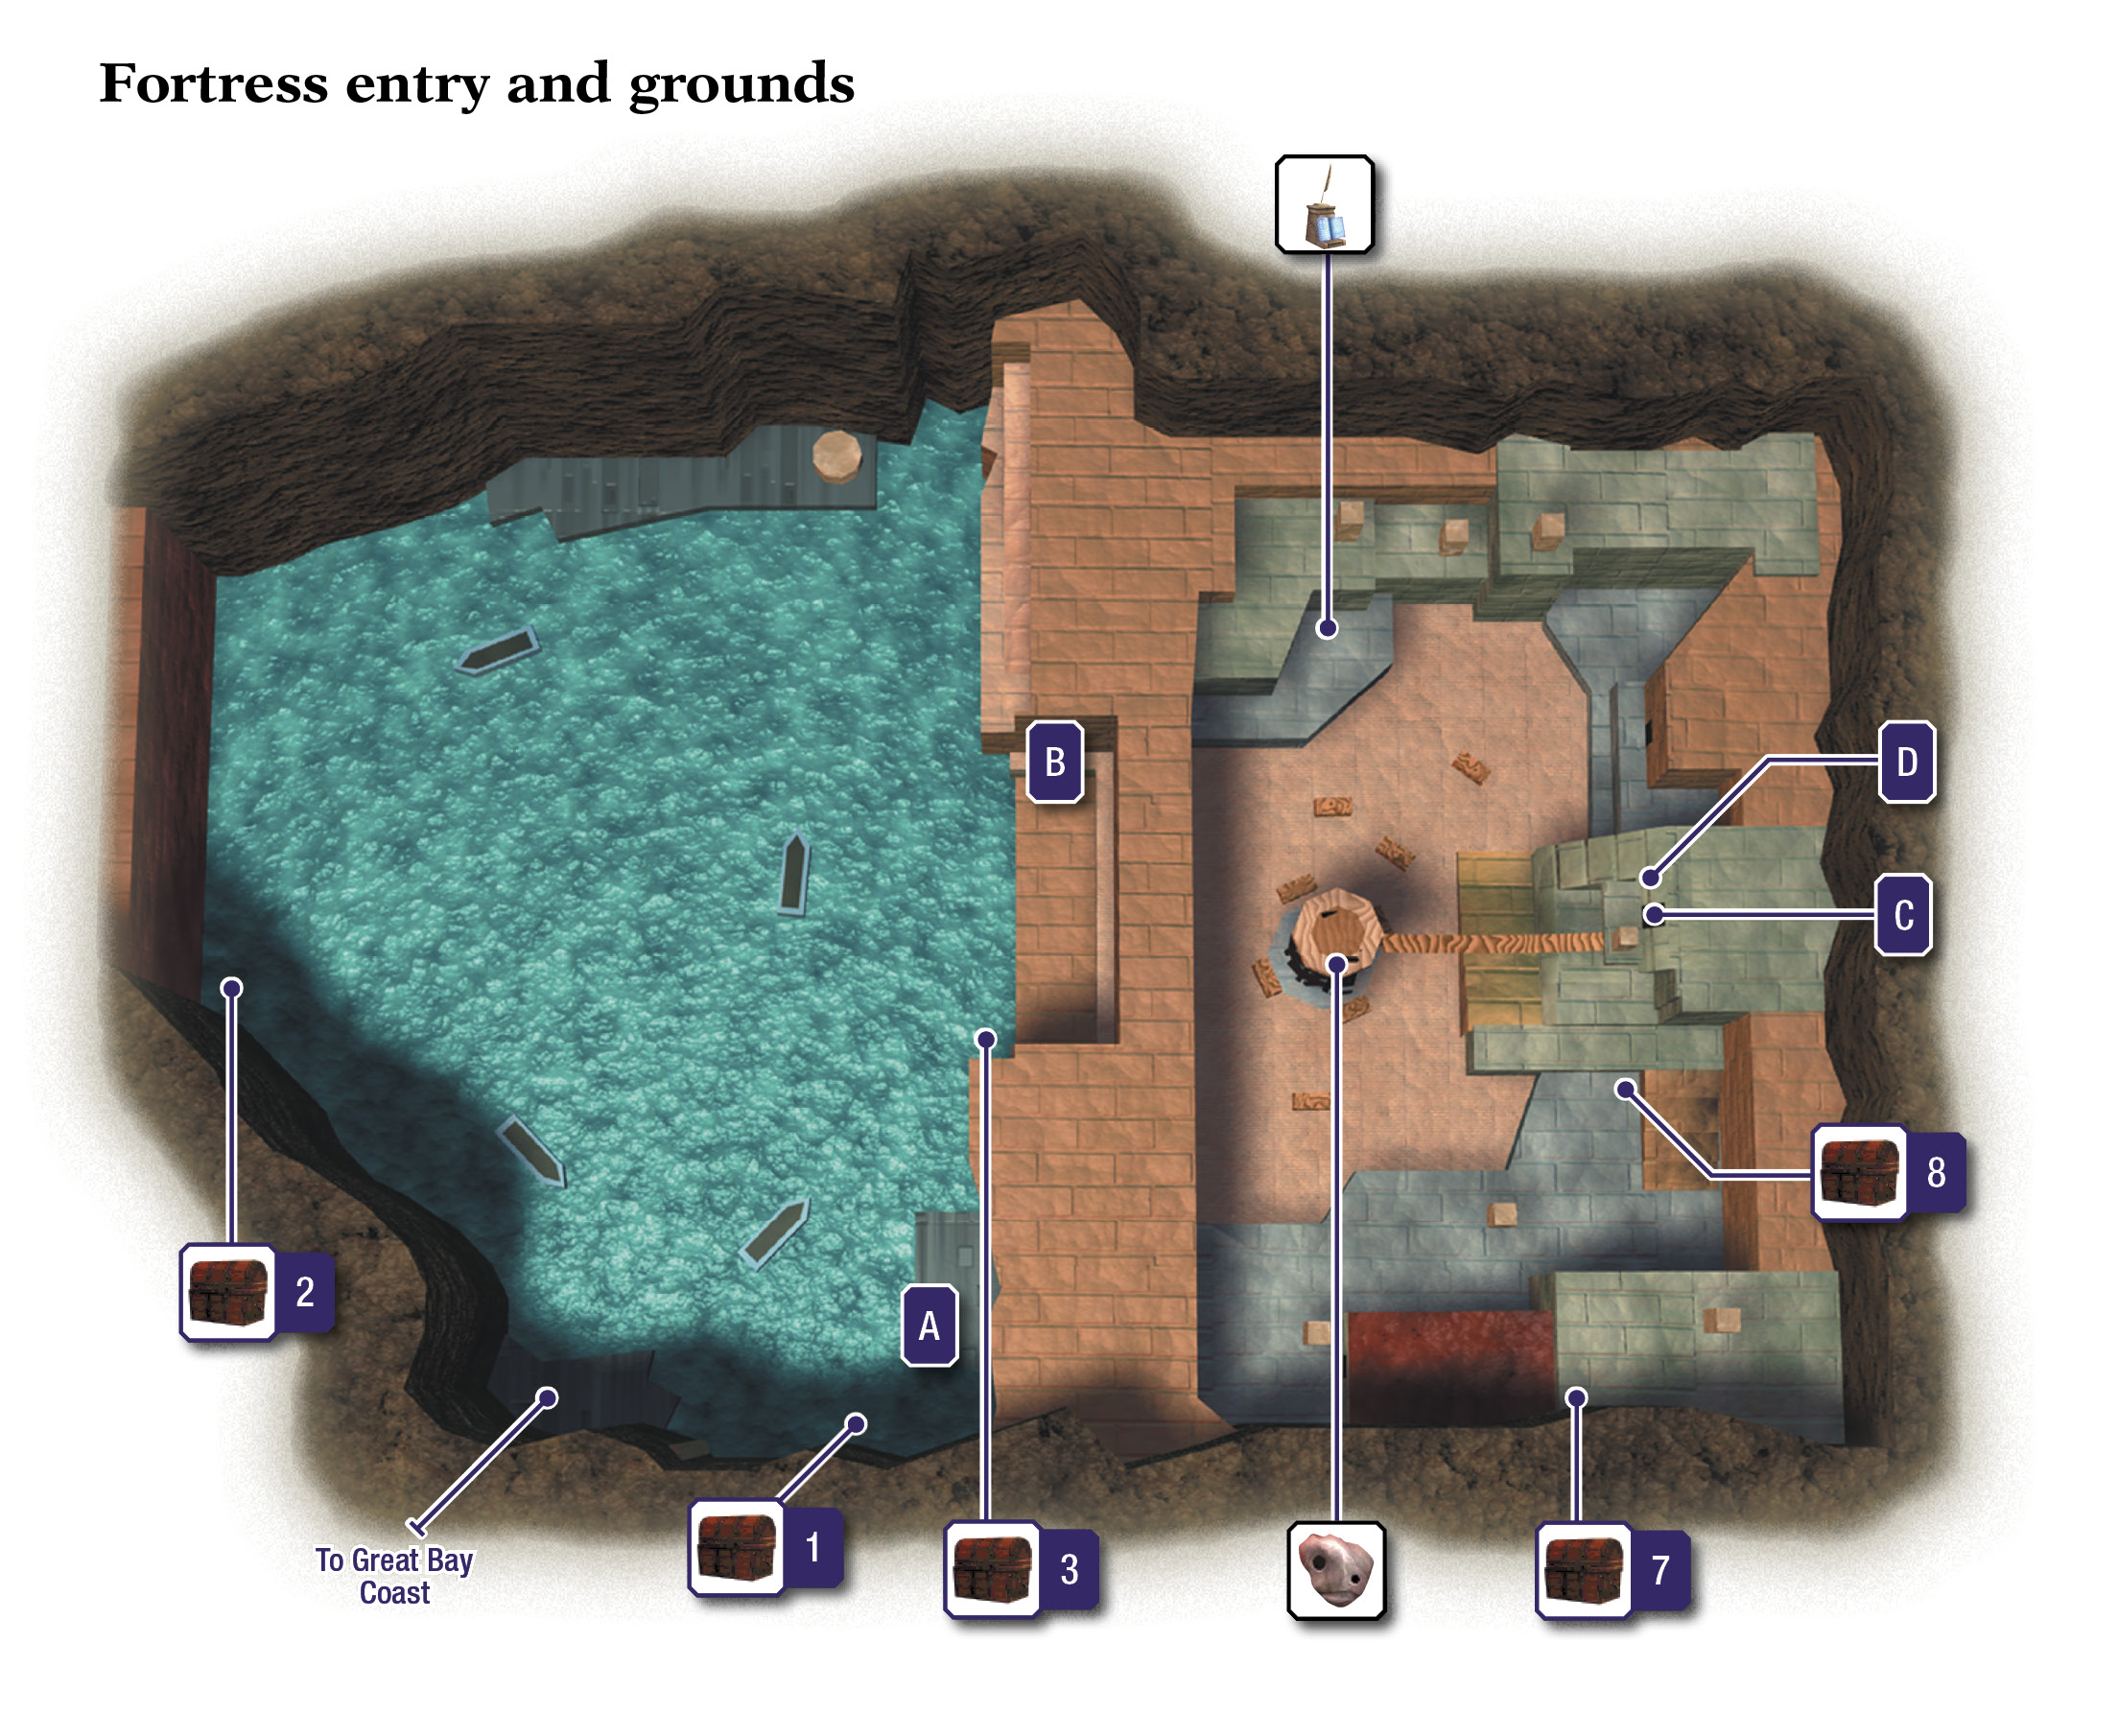
Fortress Entry
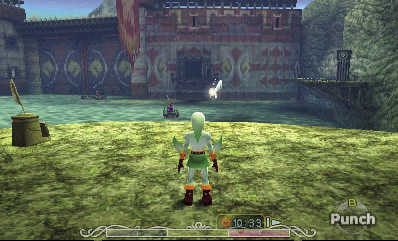
As you might expect, the Pirates’ Fortress is swimming with pirate guards. Fortunately, they can’t spot you underwater.
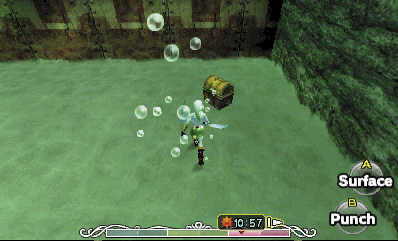
Drop into the lake as Zora Link, and press  to sink to the sea floor. As you head for the southeast chest, beware of the underwater Skullfish. Open the chest to claim a Red Rupee.
Skullfish
Damage: 1/4 Heart
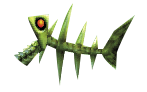
These freaky fish inhabit areas of deep water where Link can swim. Once they spot Link, they race toward him, aiming to take a bite out of his hide. Zora Link can slay them quite easily by holding  +
+  while swimming or
  +
+  while walking to raise his magic shield. To conserve magic power, sink to the sea floor, and then use Zora Link’s normal fin attacks to defeat Skullfish that draw near.
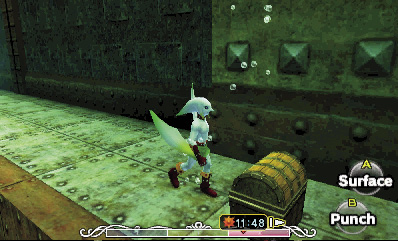
Head for the west chest next, which also contains a Red Rupee. Swim up and to the east afterward to find the final chest on an underwater ledge. Crack it open for a third Red Rupee. Cha-ching!
North Floor Switch
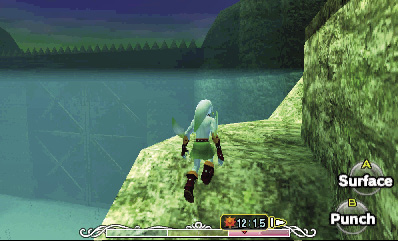
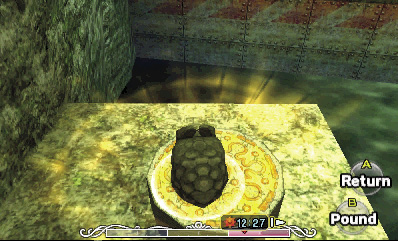
After looting all three underwater chests, check your map for the Gerudo guards’ locations. (They appear as pink dots that circle the area in a clockwise fashion.) Surface up north, and scale the long northern ramp when none of the guards is nearby (wait for the big gap between them).
The north ledge features a big floor switch. You’ve seen these before during your explorations of Snowhead Temple. Put on the Goron Mask, stand on the big switch, and then press  to curl up into a ball. Press
  afterward to pound the switch down.
Fortress Tunnels
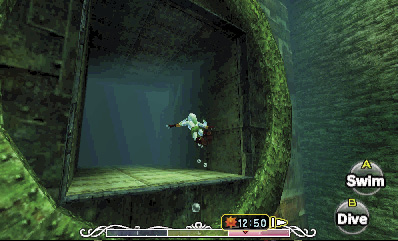
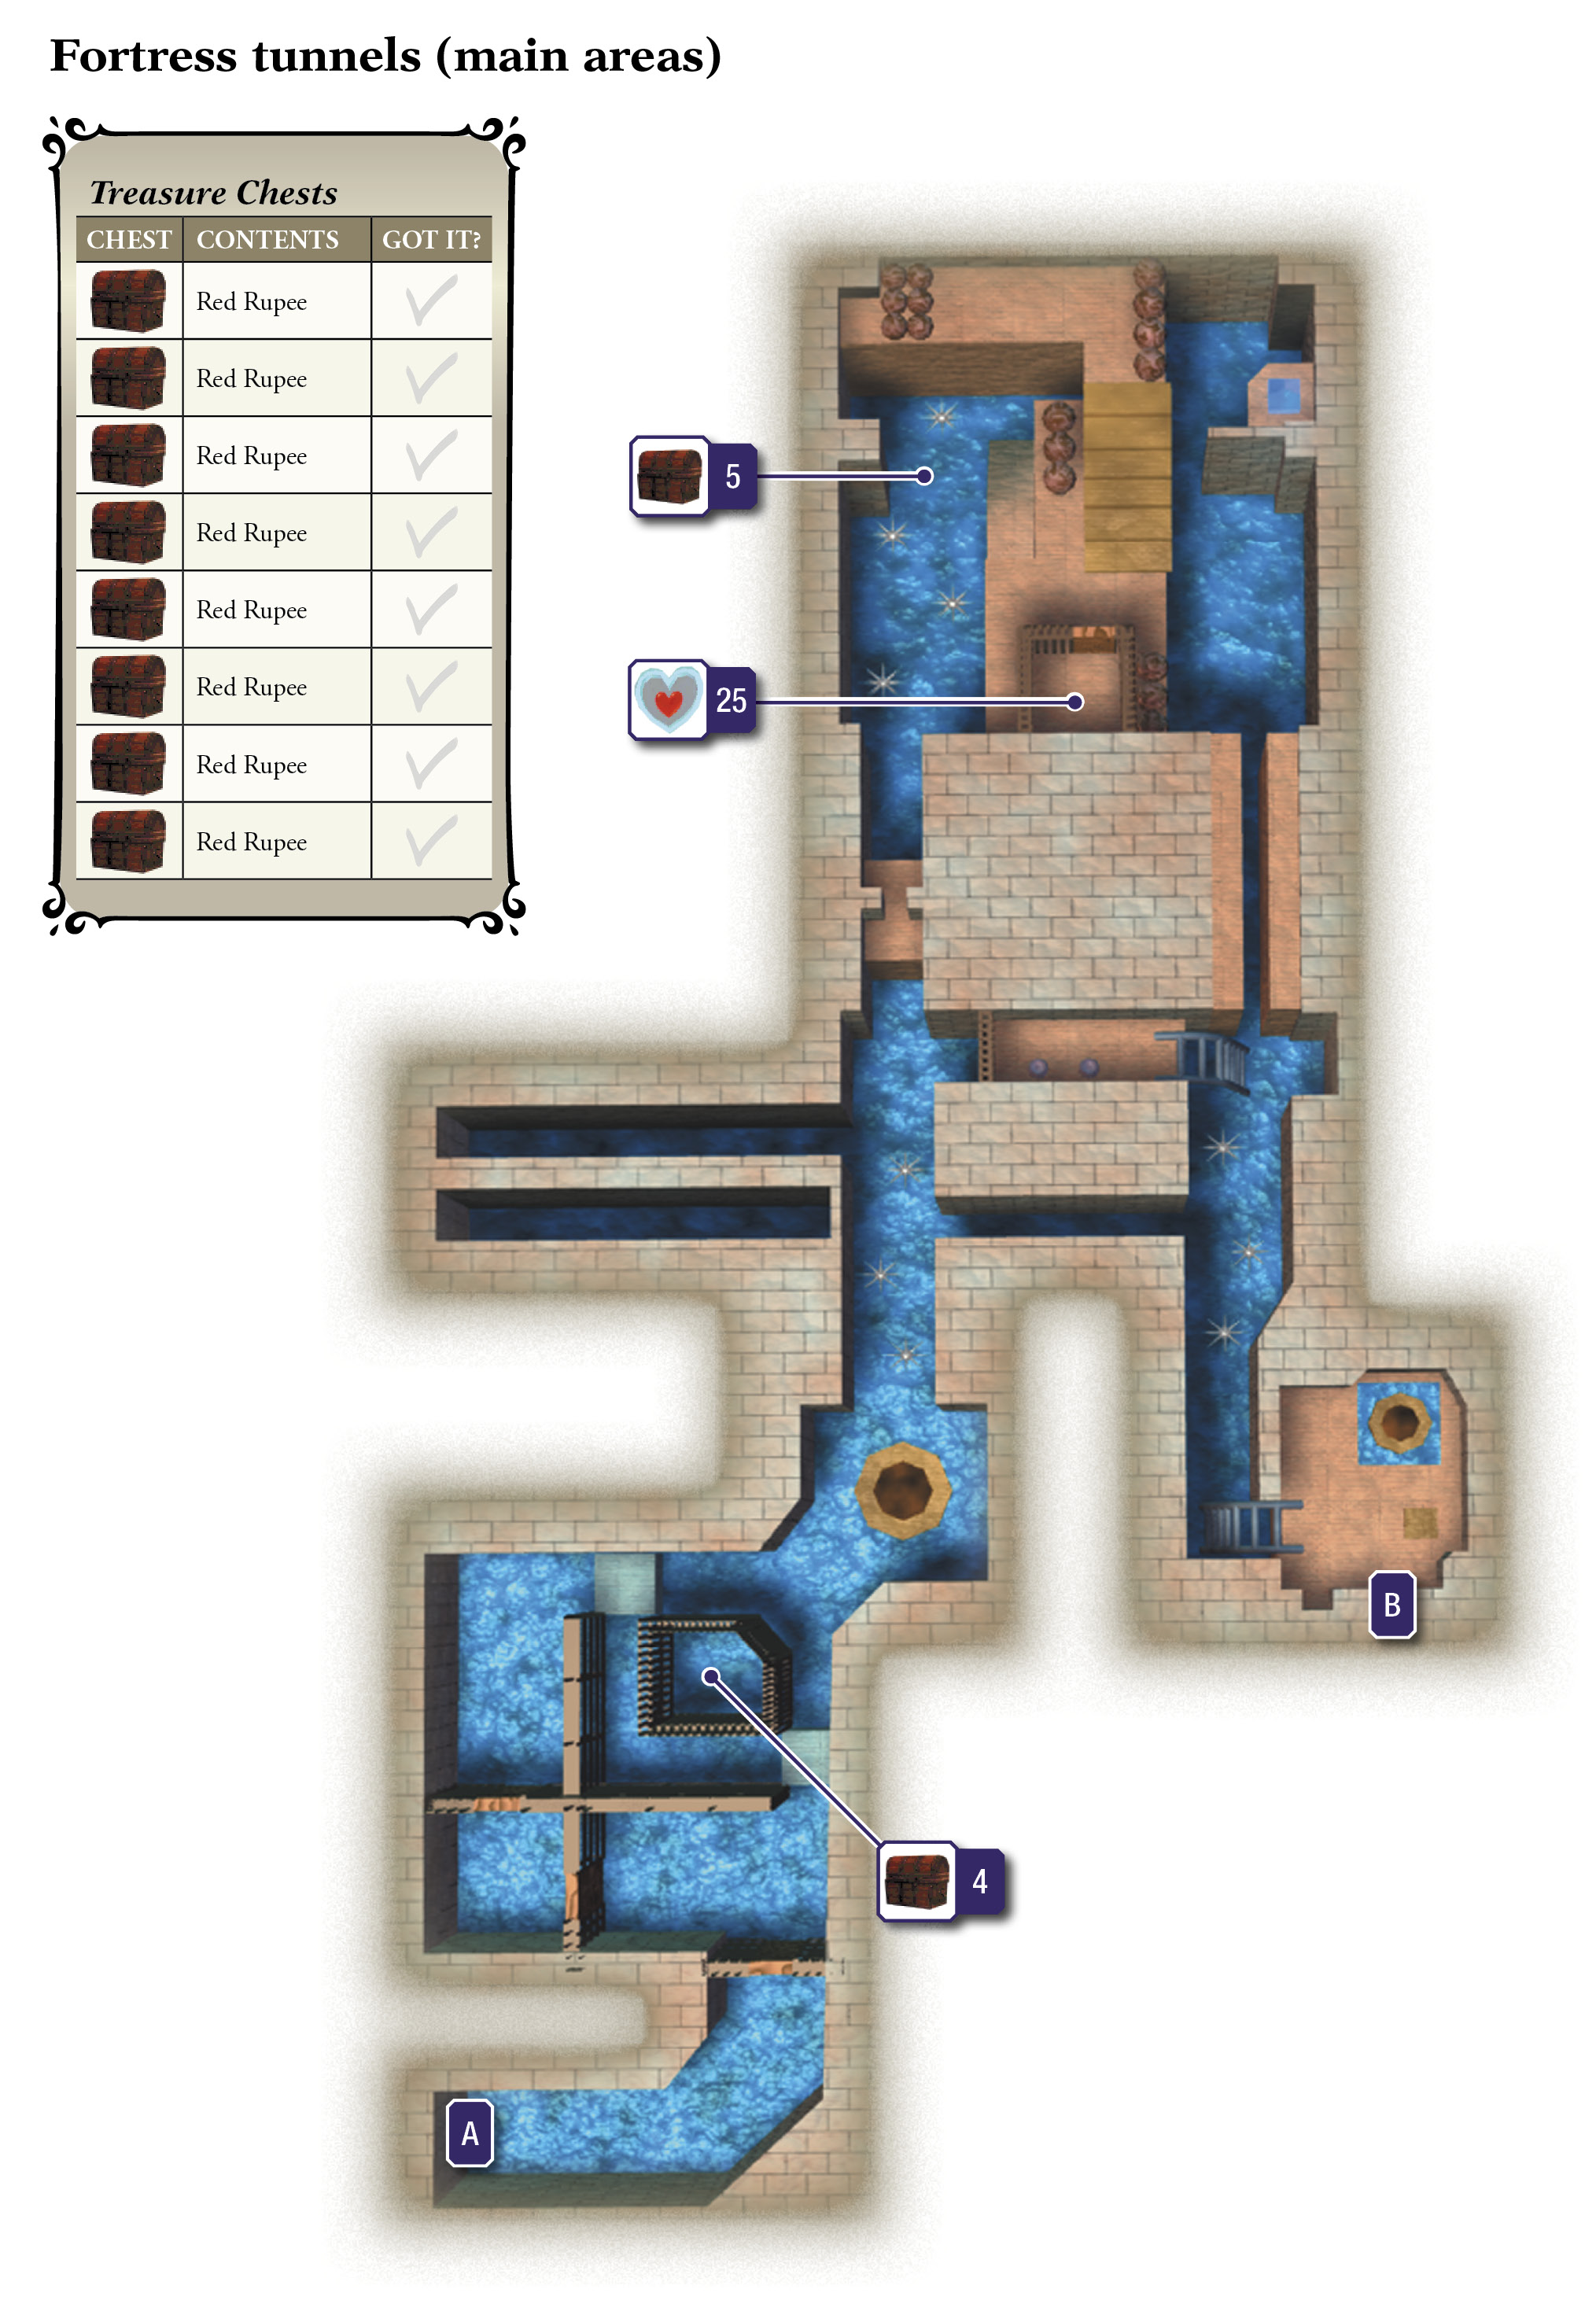
Pounding the big floor switch opens an underwater passage to the southeast. Put on the Zora Mask and quickly dive underwater before the pirates return, then swim into the southeast tunnel.
The First Tunnel
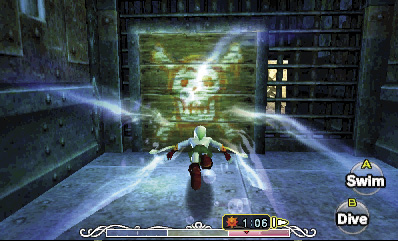
Hold  and
and  to swim quickly through the tunnel, and smash through the familiar wooden panel that gets in your way. Walk up to the stone block beyond the board afterward, and hold
  to grab the block. Pull the block out from the cage ahead.

Leave the block after you’ve pulled it, and ram through the next two wooden boards. You’ll then come to a second stone block. Before doing anything with it, tap  to surface, and then swim over to the nearby chest (follow the icon on your map). Open the chest for a Red Rupee.
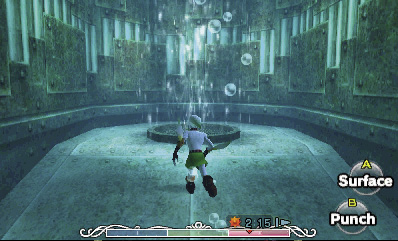
After looting the chest, swim back to the block, and push it as far as it’ll go. Then, move past the block, following a linear path around to an updraft.
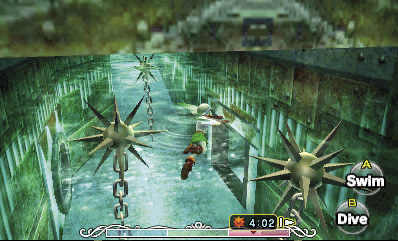
Move into the updraft to reach a higher passage. Carefully maneuver past the spiky mines without touching them. The mines explode, inflicting 1/2 Heart of damage if Link is touched.
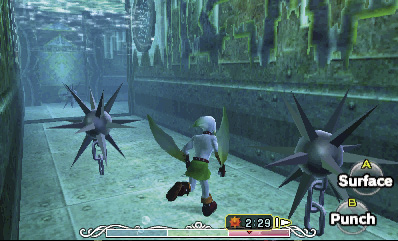
Once you’re past the mines, surface and climb out of the water. Go through the door to reach the next tunnel.
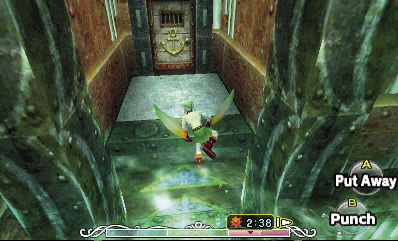
The Second Tunnel
Dive and carefully walk past the floating mines in the second tunnel, heading for another chest. Big surprise: it contains a Red Rupee.
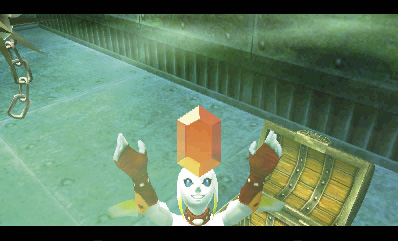
Scale the nearby ramp to climb out of the water. The nearby cage features a Piece of Heart, but you can’t reach it (not yet, at least).
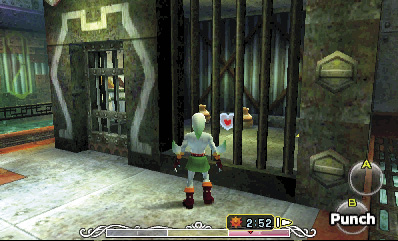
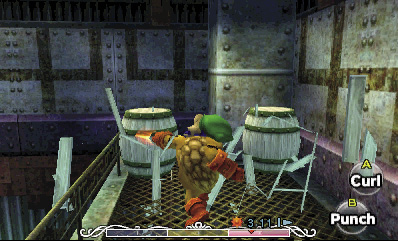
Trade your Zora Mask for the Goron Mask, and then go upstairs. Punch the barrels in the corner to smash them all and uncover a floor switch.
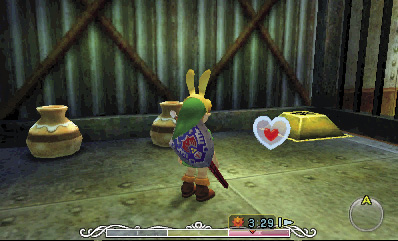
Put on the Bunny Hood, and step on the floor switch to open the door to the cage with the Piece of Heart. Run downstairs and enter the cage before the door closes again, then collect the Piece of Heart.
Piece of Heart #25

You got a Piece of Heart! Collect four Pieces of Heart to assemble a new Heart Container. Each new container you put together increases the amount of life energy you can have.
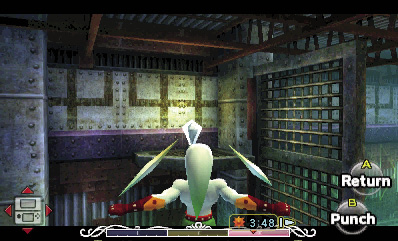
After collecting the Piece of Heart, use the nearby floor switch to reopen the cage door, then go back upstairs. Put on the Zora Mask, hold  , and aim the crystal switch on the far ledge. Release
  to throw your fins at the crystal switch and strike it.
Striking the crystal switch opens the nearby gate for a brief time. Run back downstairs, jump into the water, and swim through the tunnel before the gate closes. If you don’t quite make it through, hit the crystal switch, and try again.
The Third Tunnel
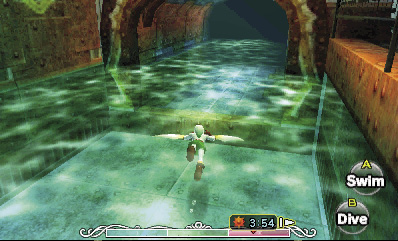
Carefully avoid the floating mines and the lower current as you navigate this tunnel. Keep going until you reach a ladder, then climb up to dry land.
Step on the floor switch that you discover above the ladder to briefly expose a crystal switch in the nearby wall. Quickly move onto the nearby circular floor grate, then toss Zora Link’s fins (or fire an arrow) at the crystal switch before it becomes covered.
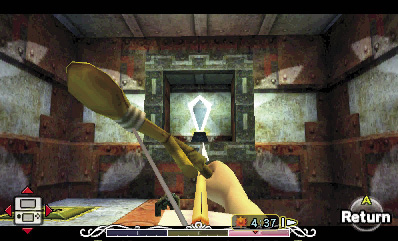
Triggering the crystal switch causes a jet of water to froth up from the circular floor grate, elevating you to a higher room. Jump off the water jet, and smash the room’s barrels for items, including some Deku Nuts that are going to be useful soon. Afterward, climb the nearby ladder to reach higher ground.
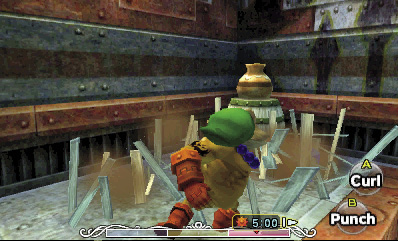
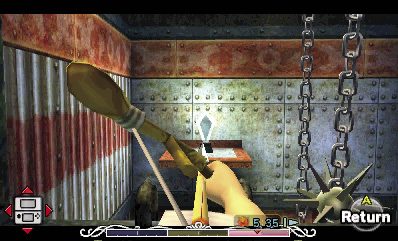
The ladder leads up to a high telescope. Look through to spy on the Gerudos that guard the fortress’ interior. That’s a whole lotta Gerudos!
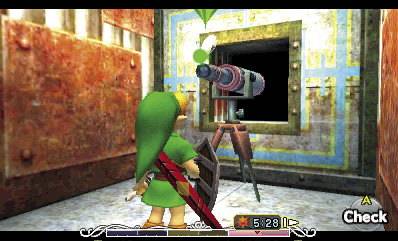
After looking through the telescope, turn around, and shoot a few arrows or toss Zora Link’s fins to destroy the nearby hanging mines. Once the mines are no more, you’ll have a clear shot at another crystal switch. Hit it to unseal a lower door, which remains unsealed. Drop down, and go through the door to reach the next area.
Fortress Grounds
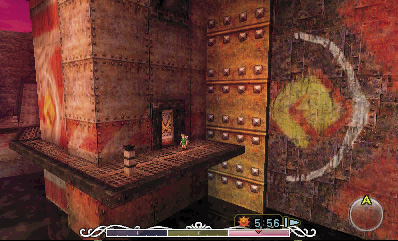
The door leads back outside to a walkway that overlooks the guarded entry lagoon that you recently explored. Go north without being spotted by the circling pirates, and scale a ramp to reach the fortress’ interior grounds.
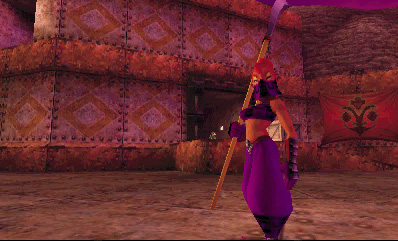
The Gerudos are on high alert around the fortress’ interior grounds. Sneaking past them won’t be easy, so make sure to use the nearby save statue and mark your progress in case anything goes wrong.
Stunning Success
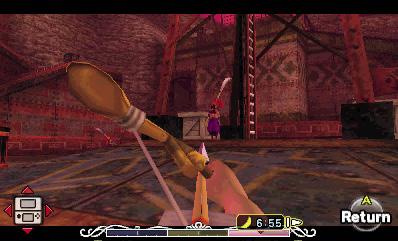
After saving your progress, turn your attention to reaching the central guard tower. To get there, you’ll likely need to get past one or more guards. You’ll be thrown out if they spot you, so you must avoid being seen. Slip behind the guards, or better yet, shoot them with arrows to stun them for a brief time.
Soldier of Fortune
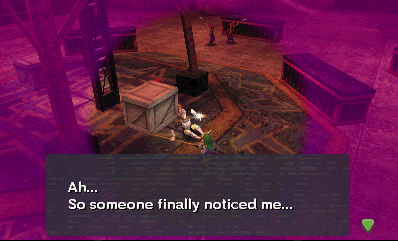
Get to the tower without being spotted, stunning guards with arrows and Deku Nuts as needed. Tatl gets a strange vibe once you’re under the tower. Pull out the Lens of Truth to discover an invisible Clock Town soldier sitting near the ladder.
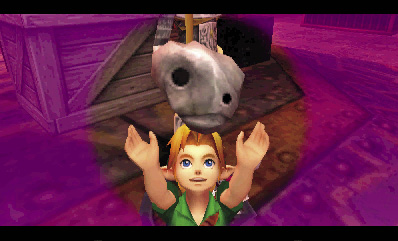
The soldier is weary, not dead—but for some reason, no one can see him lying here like this. Give the poor fellow the Red Potion that you bought back in Clock Town, and he’ll perk right up. The soldier then gives you a special mask as a reward, one that you’ll get plenty of use out of.
Stone Mask

You got the Stone Mask! Wear it to become as plain and inconspicuous as stone.
Climbing the Tower
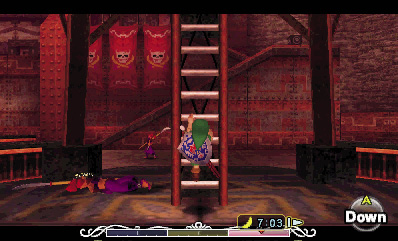
While wearing the Stone Mask, the Gerudo guards won’t take any notice of you. You can even walk directly in front of them, if you like. Just avoid bumping into them, and you won’t be caught. This trick works on many enemies, so you can avoid most confrontations from now on. Put on the Stone Mask, and climb the tower’s ladder to reach the overhead bridge.
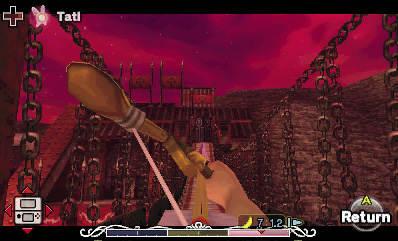
The bridge’s guard can be tough to sneak past, even with the Stone Mask, so hit her with an arrow or drop a Deku Nut to stun her for good measure. Then, sprint across the bridge, and circle around the far pillar to discover a door. Go inside to infiltrate the pirate leader’s room.
Fortress Interior
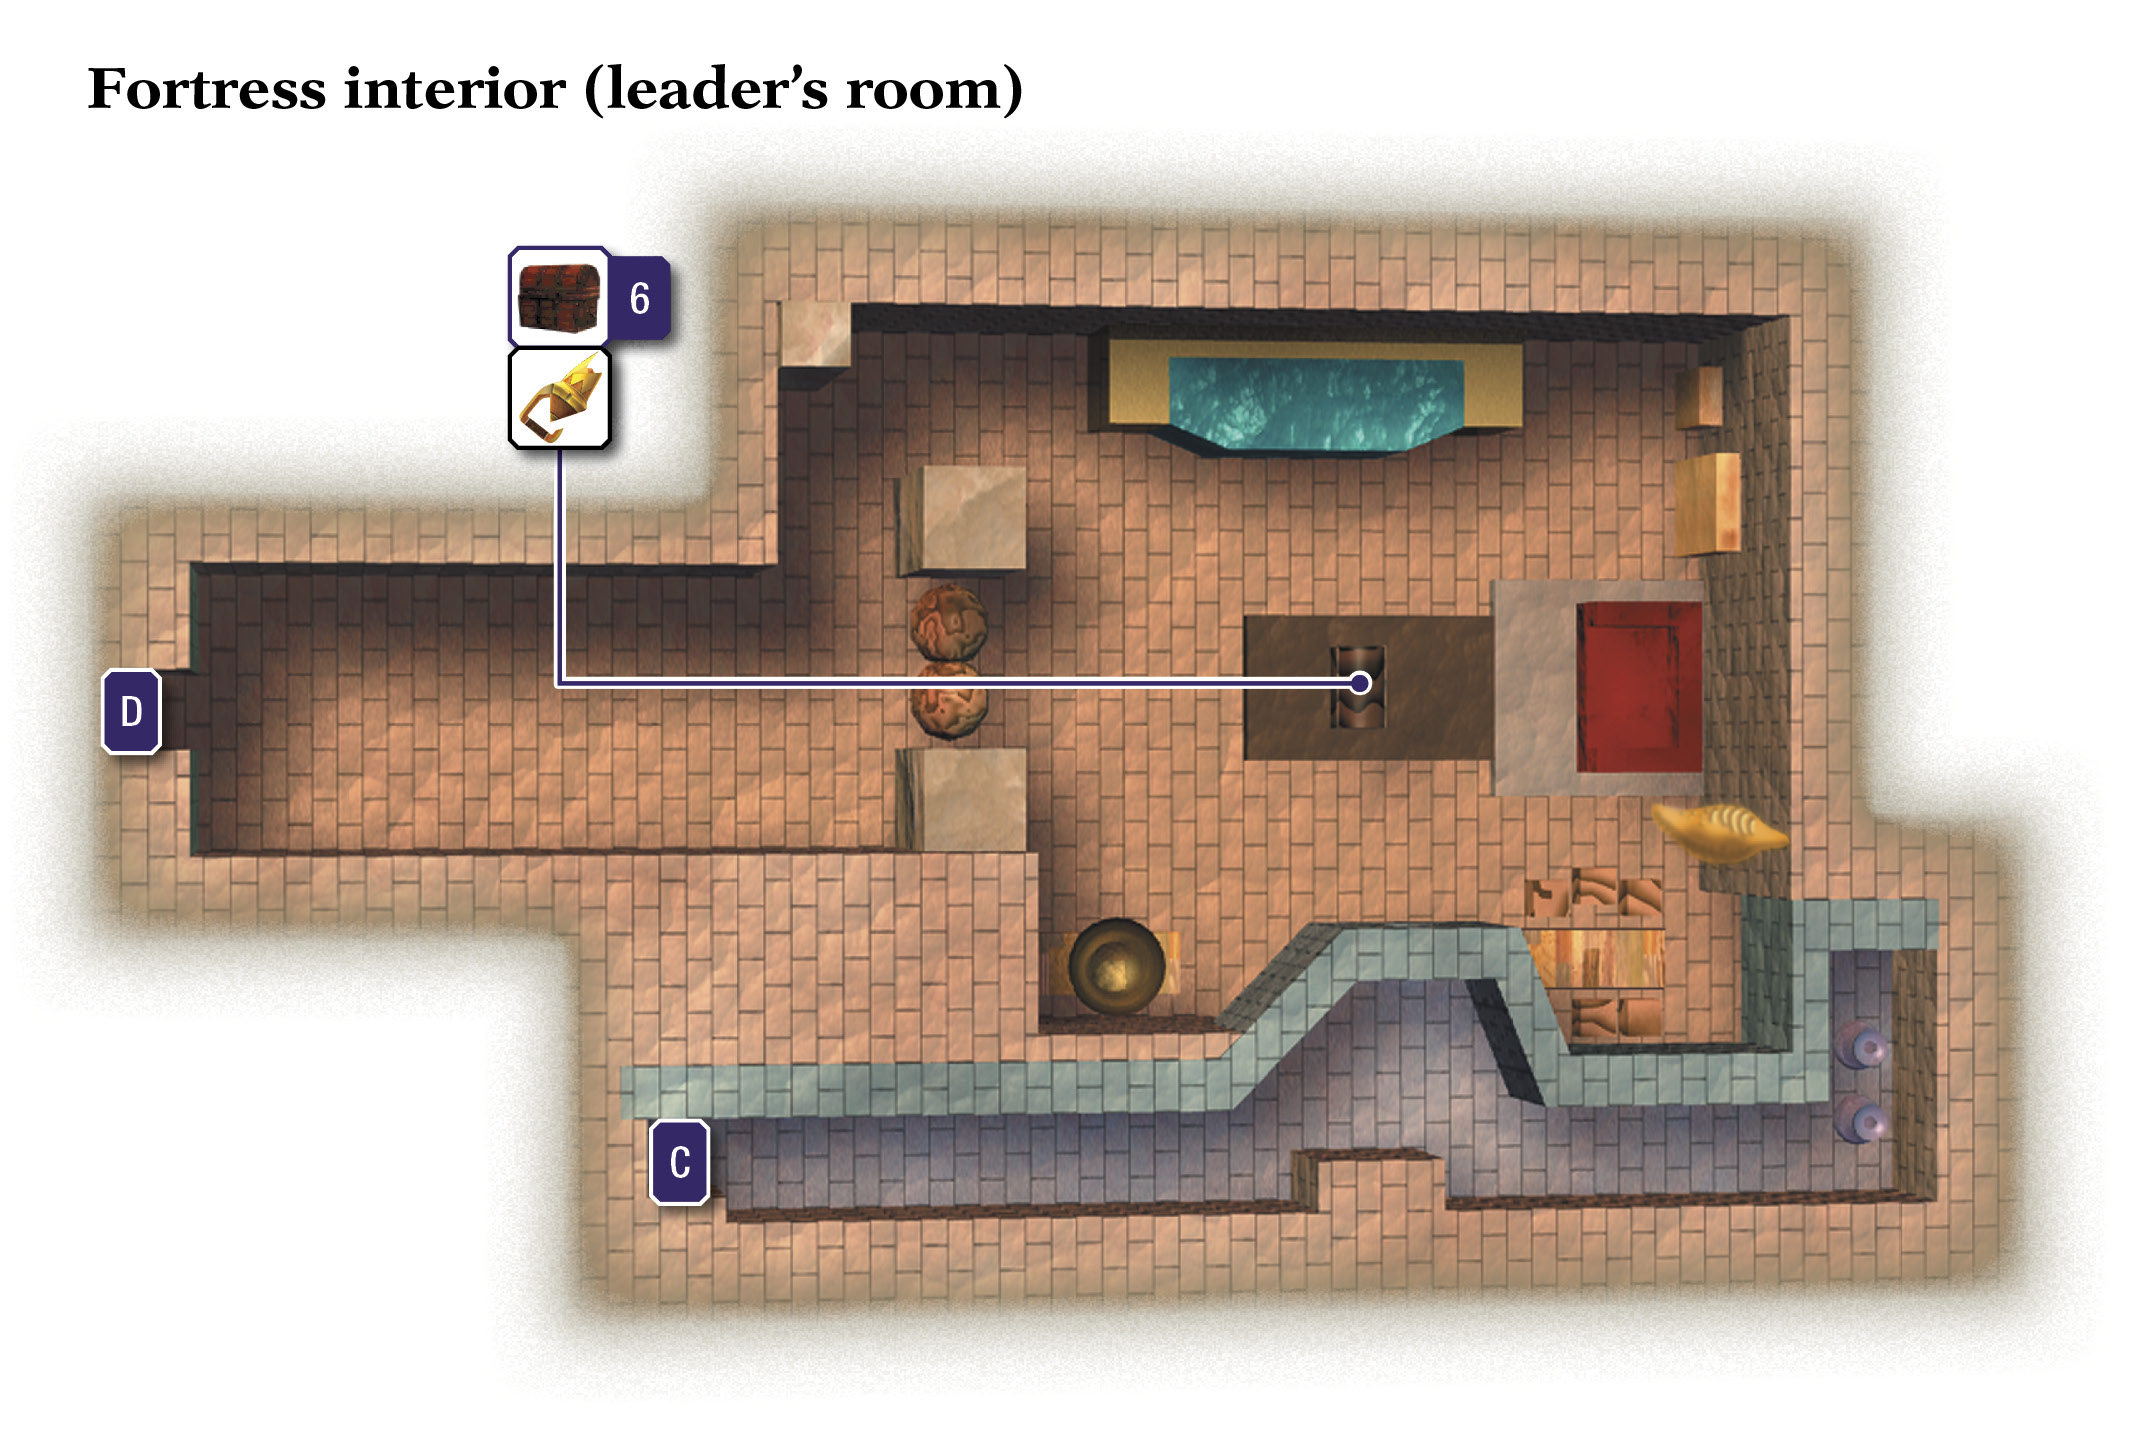
Inside the fortress, Link and Tatl eavesdrop on a pair of high-ranking Gerudos. One of them is identified as Aveil. It seems that the pirates have somehow lost the Zora Eggs that they’ve stolen due to an unexpected sea snake ambush.
The Gerudo identified as Aveil seems to be in charge. Unaware of Link’s presence, she lets slip that there are four Zora Eggs in the fortress, and that three more Zora Eggs have been lost. Aveil orders the other Gerudo to hurry and find the missing eggs. She goes on to say that the Zora Eggs are the only clues they have about the mysterious “dragon cloud” that’s floating over the bay, and that a precious treasure lies somewhere in the temple located within the dragon cloud.
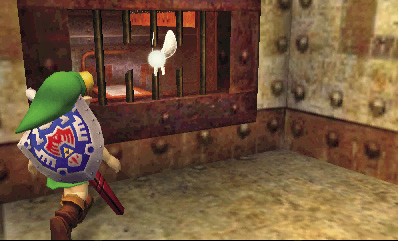
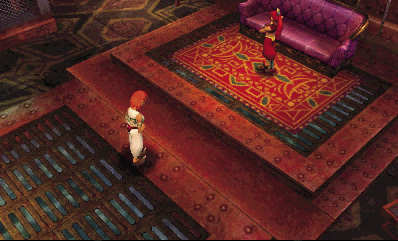
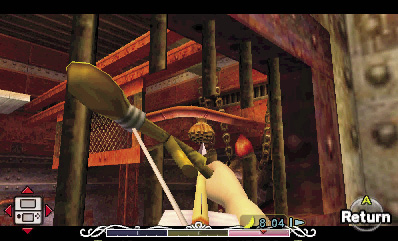
After the Gerudos’ conversation ends, chat with Tatl, and she’ll hint that you have a good view of the leader’s room through the barred window. Pull out the Hero’s Bow, aim carefully through the bars, and fire an arrow into the beehive on the ceiling.
Your arrow knocks down the beehive, which smashes on the ground, freeing a swarm of Giant Bees. The Gerudos flee the leader’s room in terror, leaving a large gilded chest unguarded.
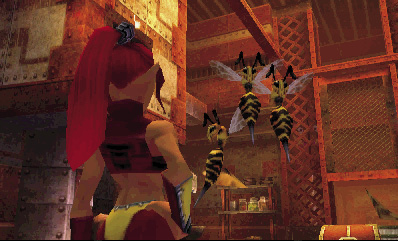
After knocking down the beehive, loop around to the east and drop into the leader’s room. It’s now free of guards—those Giant Bees really did the trick! They’ve flown off, as well, so stroll over and open the central chest to claim an invaluable tool: the Hookshot.
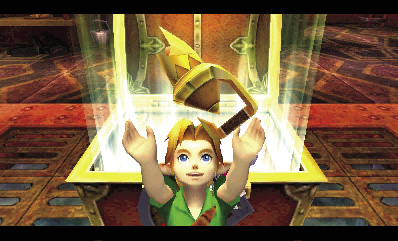
Hookshot
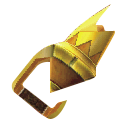
You found the Hookshot! Use it to grapple items so you can reel them in or pull yourself over to them.
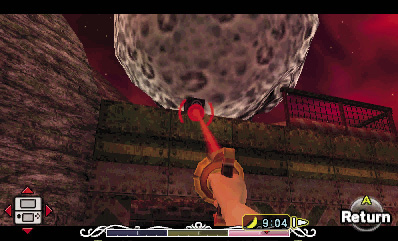
You’ve got what you came here for—for now. Take the west door out of the leader’s room, and once you’re outside, turn left and go down the south stairs. Move to the south edge of the ledge that follows, but don’t jump off. Instead, pull out the Hookshot, and target the anchor stone atop the south roof.
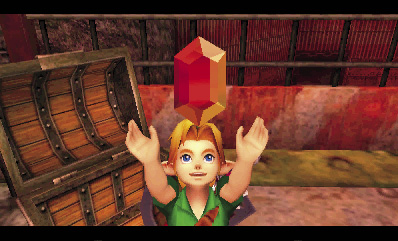
When the Hookshot’s red targeting dot appears on the anchor stone, you know that you’re within range. Fire the Hookshot at the pillar to zip up onto the south roof. Hey, there’s a chest in the corner way up there! Open it for a Red Rupee.
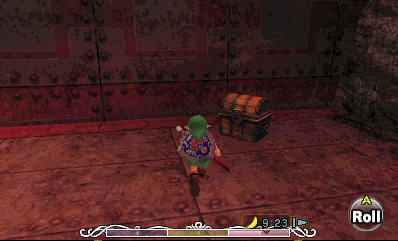
Now, drop from the roof, and open the chest on the ledge below for another Red Rupee. That’s all you’ll be doing at the Pirates’ Fortress for now, for time is running out, and there are many profitable ventures to undertake around Termina now that you have the Hookshot. You can also easily return to the Pirate’s Fortress using your Hookshot, so there’s no harm in stopping here. Play the Song of Soaring and soar to Clock Town.
The Scarecrow’s Song
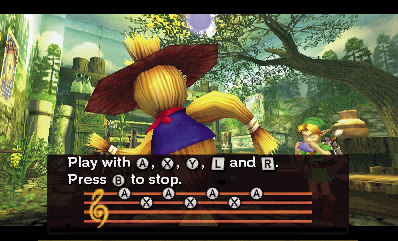
When you arrive at Clock Town, visit the Trading Post in West Clock Town. Stand before the scarecrow inside the shop, and pull out the Ocarina of Time. The scarecrow gets excited and asks you to play it a song. Play any eight notes for the scarecrow (a simple pattern of two different notes is easiest), and you’ll create a special song:
The Scarecrow’s Song:
______________________________