
Playing With Super Power: Nintendo Super NES Classics Guide Super Punch-Out
Confidential Information
Speedrunner zallard1
World Records Held:Punch-Out!! (arcade) – Loop 1 (2m 18s), Super Punch-Out!! (arcade) – Loop 1 (2m 55s) & High Score (1,917,800 points), Punch-Out!! (NES) – Nine individual fight world records, Super Punch-Out!! (Super NES) – All individual fight world records (16) & Any% (2m 43 seconds 370 ms), Punch-Out!! (Wii) – Seven individual fight world records & Credits High Score (1,040,500), Splatterhouse (13m 2s), Doc Louis’ Punch-Out!! – Any% (2m 2s), NES Remix 2 & Ultimate NES Remix (all Punch-Out!! world records)
If you think Super Punch-Out!! can be tricky, imagine doing it blind-folded live in front of over 100,000 people. Current world record holder, zallard1, has done exactly that, and made it look easy, too. But the IRL W.V.B.A. champion started from the bottom, just like Little Mac. “My initial runs were pretty bad when compared to where it is now, but that’s kind of the beauty of it. Your first run has no expectations to live up to; just finish the game as best as you can, and try to beat it faster next time.”
So how did the champ train for his shot at the title? “I tried to experiment with fights to find strategies that are both consistent, and require minimal luck while still being pretty fast,” says zallard1. “This is definitely the most fun part of the process in my opinion since the feeling of finding something useful for the speedrun is really satisfying. There’s never really an end to this part of the process because as far as this game goes, you could always find strategies that have different levels of risk associated with them.”
zallard1’s following tips reinforce the notion that Super Punch-Out!! has far more depth than its simple control scheme and cartoonish exterior would initially suggest. “The non-linearity of speedrunning this game is definitely a big part of the appeal for me,” explains zallard1. “The strategies to getting fast fights are not always obvious in this game. You often need to get a slower first phase and deal extra damage before delivering a knockdown punch to make opponents get up with less heath in order to get a faster overall time. The counter-intuitive solutions to some fights really keep things interesting.”
Basic
Guard Manipulation
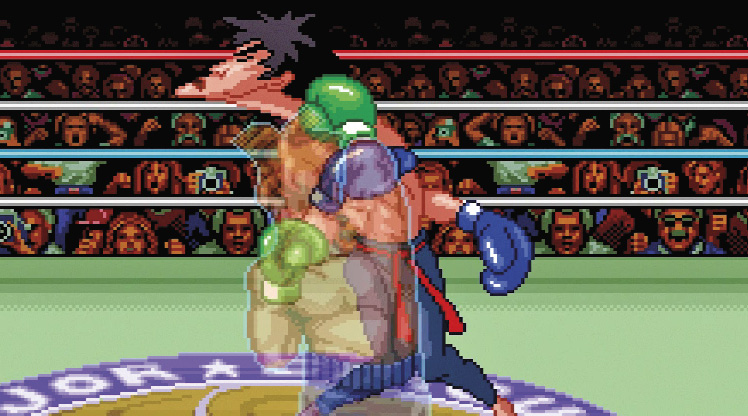
This is basically how you’re able to sneak punches through their guard while they’re just standing around in between attacks. At the start of a fight, as well as when someone gets up from being knocked down, the opponent reads where your gloves are during the very first instant that you are able to move, and puts their gloves there to protect themselves. For example, if you press nothing as a fight starts, the opponent’s gloves are down, whereas if you hold Up, their gloves protect their face.
Fortunately for us, they keep their guard in whatever spot you choose and leave the opposite spot completely unguarded. This is the most important part to understand for getting fast times, because if you just look at a video of a fight and attempt to replicate it punch for punch, you will find that the opponent will probably not let you land the first few punches that you want. Ideally for the fastest times, you want your guard to be in the opposite spot for the first frame of a fight, then the second frame you want your attack to start going off. It’s also worth noting that this technique cannot be used on Bear Hugger at all, and can only be used on Nick Bruiser after 25 seconds.
Buffering Inputs and Punch Damage
The Punch-Out!! games have a quirk to them that can be seen in some fighting games where you can chain attacks together by pressing the input of the next attack during a particular time window from your previous attack. This is known as a “buffered” input, although for the Punch-Out!! games, you can actually hold the button down during any part of the previous attack, making it easier than your typical buffered attack in other fighting games. For example, if you punch Gabby Jay in the face with a left jab, while that jab is connecting with his face, you can let go of the Punch button and re-press it. This makes your boxer throw another left jab on the first possible frame he is available to. This concept may seem really minor, but it just so happens to be the most useful tool that this game offers you!
All four of your normal punches have different speeds from each other, as well as your two super punches, and your two different types of super rapid punches! They also deal different amounts of damage. Your left jab is the fastest punch, but is also the weakest, whereas your right body blow is your slowest normal attack, but is the strongest normal punch you have. The other two punches are kind of in between as far as speed and damage go. The uppercut also deals more damage than your hook, but both are really powerful super attacks.
What’s also very useful is that in the Punch-Out!! games, you can buffer all of your dodges as well! There are three different set speeds that your dodges can reach depending on what you press on the D-pad, and when you press it. This may seem like a weirdly insignificant detail to spend so much time focusing on, but during the next section, I explain why all of these movements and attacks having different speeds is so significant.
Instant Knockdown Buffer Strategies
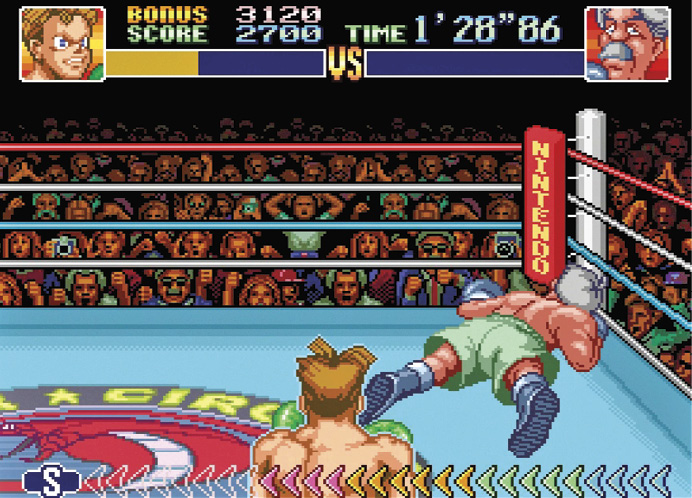
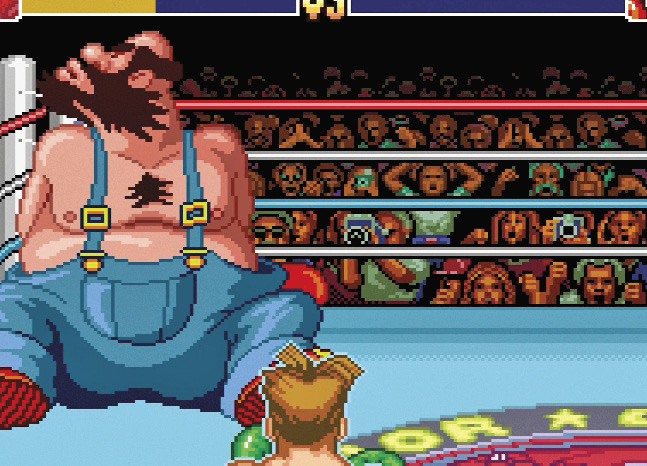
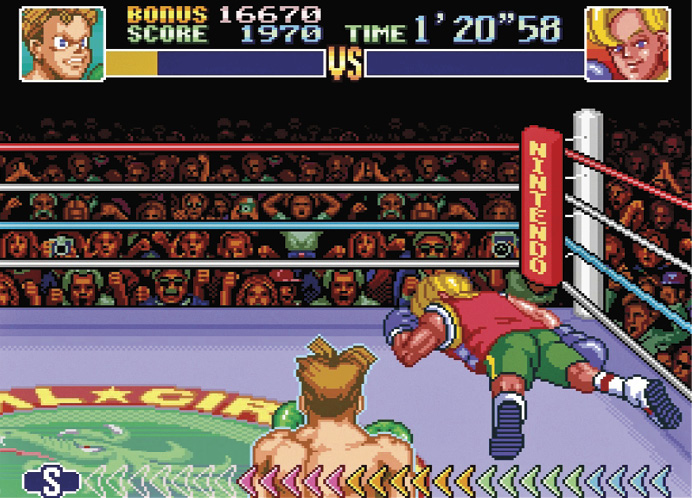
Opponents in this game can be put in a “dizzy state” when they are hit consecutively several times in a small timeframe. Their dizzy animation typically has the opponent “leave” the center of the ring as they’re reeling from the vicious assault they just received. During this moment, you can try to throw attacks, but every one of them will whiff due to the opponent not being right in front of you. As they approach you and regain their composure to resume the fight, there is a small frame window where, if a punch lands, they are instantly floored and their entire health bar is completely drained. That moment where they leave the center of the ring is key, because you can buffer a series of punches and/or dodges such that you can hit that very tight frame window. Every. Single. Time.
That’s right, if you find a buffered combination of movements and attacks that floors the opponent once, it will floor them forever. This is why it’s so incredible that all of your attacks and dodges take up different amounts of time, because that means you have so many options to find a solution for just about every instant knockdown in the game.
Counter Punches
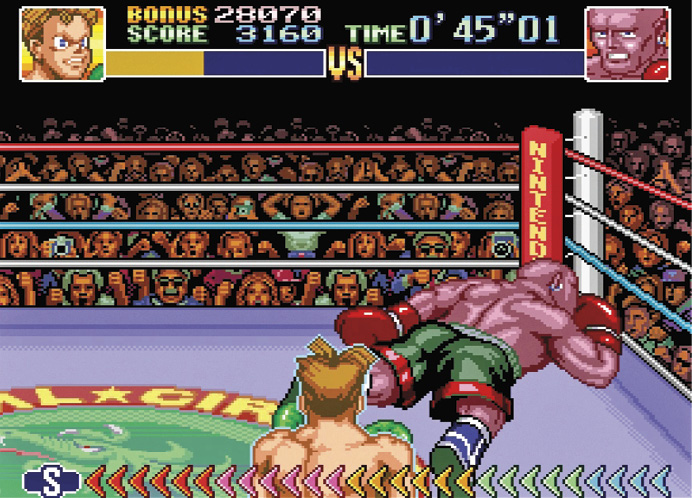
In the Punch-Out!! games, most people deal damage by dodging an opponent’s attack, then throwing an attack to stun them and following up with several more attacks while they’re stunned. For the most part, these strategies do something way more aggressive and risky than that. Instead, we counter the opponent’s attack head-on. This requires some knowledge of what the opponent is going to throw ahead of time, what timing you need to successfully counter an attack, and what types of punches will counter them. The reason countering attacks is so important is because it stuns the opponent just like a dodge would, but it’s also faster; it deals more damage; it gives you more arrows in your super meter to throw super punches faster; and it makes the opponent dizzy much sooner than any other punch in the game! With all of these advantages, it’s pretty obvious why counter punching is essential to getting fast fights.
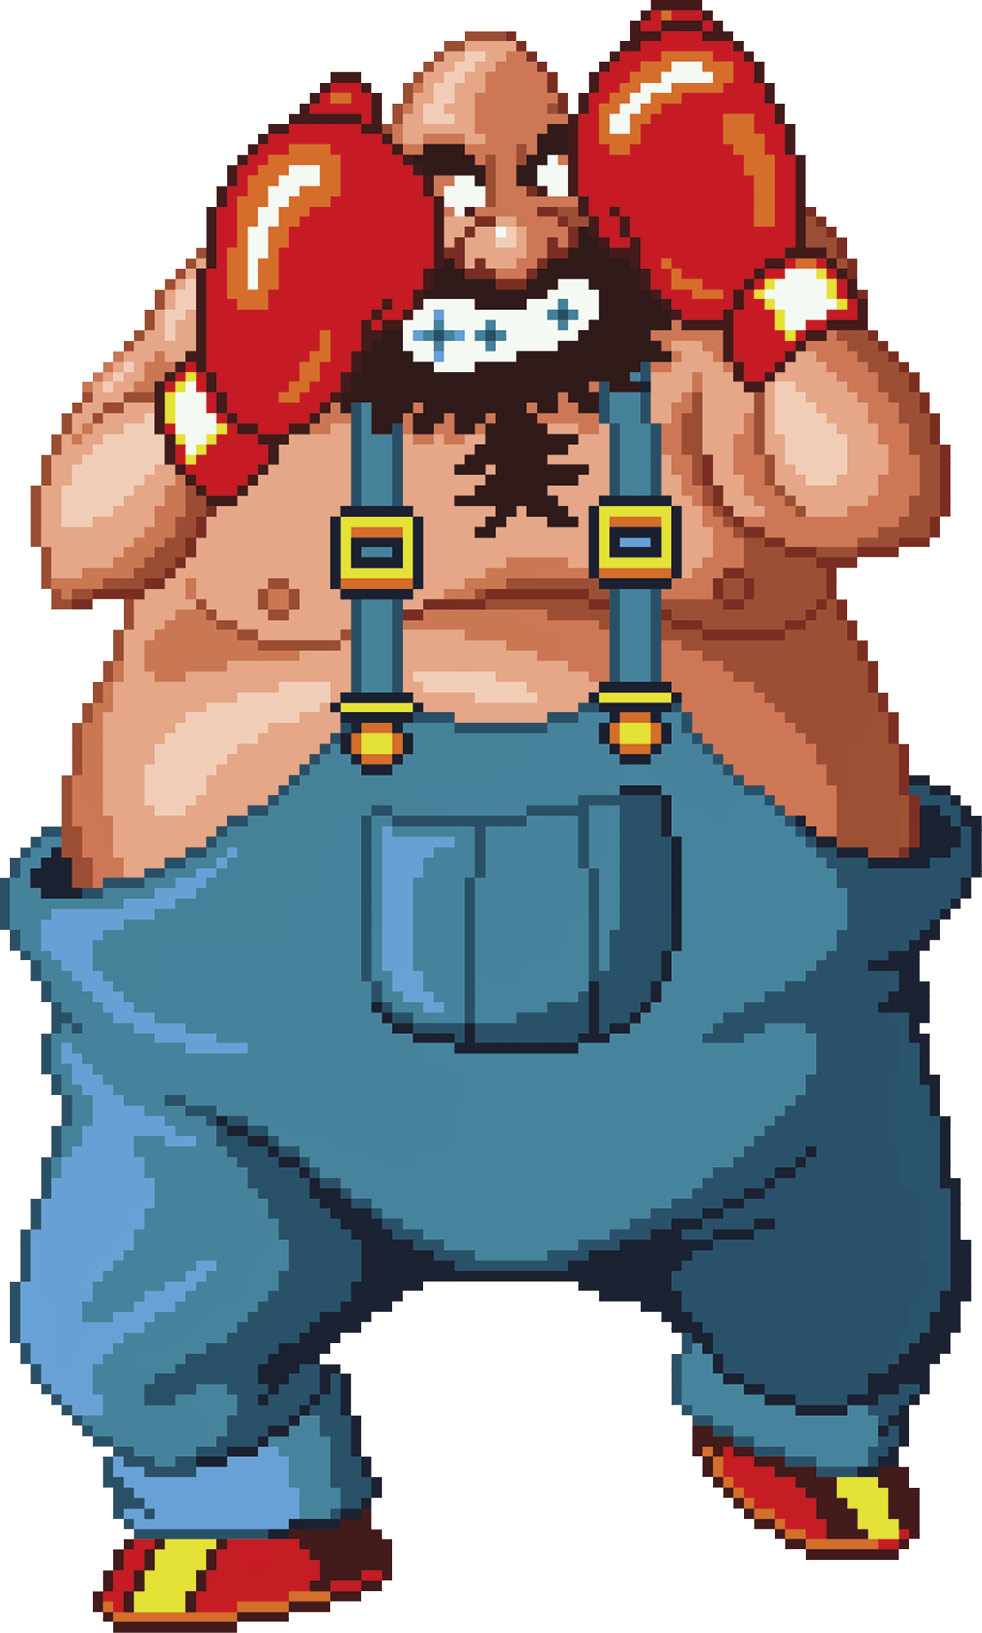
These are the most important concepts to understand before diving into the fight-by-fight strategies. Because of how complicated most of the later fights get with all of the luck involved, I’m going to just give general tips for those. However, for many of the early fights, this should be enough information to be able to do really nice speedruns up through the Minor Circuit. Let’s get into some fights!
Know Your Enemy
Gabby Jay
The first thing you want to do is to lower his guard and start throwing jabs at his face. If you’re fast enough on the first jab and buffer the rest, you should be able to fit five left jabs in before you see Gabby wind up for an attack. After that, you want to buffer two right jabs, then buffer an uppercut by holding Up+A. This makes him dizzy, so if you follow that by buffering the longest possible duck by holding Down, then hold B as your boxer nears the end of the duck animation, then buffer an uppercut, you should KO him in under seven seconds.
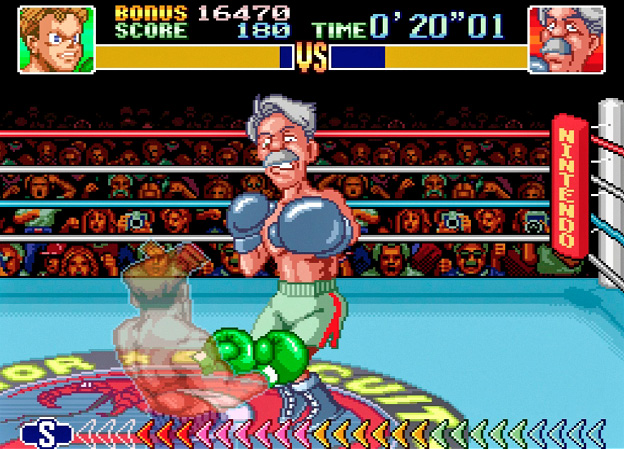
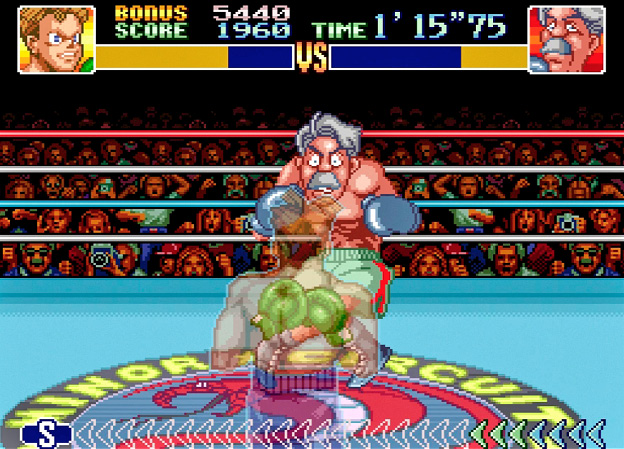
If you want a slightly more advanced strategy, you could start off with the same five left jabs, but instead, delay a right jab to counter his left jab. This punch gives you the rest of the arrows you need to fill the super meter, but it fills up really slowly, so you won’t be able to throw the punch immediately, which lets enough time pass and Gabby won’t get dizzy. However, if you pause the game as soon as the counter connects, you can let the arrows fill up during the pause, which lets you throw the super punch immediately once you unpause the match. This will dizzy Gabby even faster than the other method, so just pull off the same set of movements I mentioned earlier to deal with the dizzy knockdown, and you should get a low six second time.
Bear Hugger
This fight can get really difficult depending on how far you want to push it. The easiest method to get 17 seconds is to throw a jab to make him do a bear hug, then duck it and throw five left jabs. Do the same thing a second time, then on his third bear hug, just throw two left jabs and an uppercut. This makes Bear Hugger back off at about 13 seconds, so once he’s back in the center of the ring, just counter his jab with a right jab, then buffer two uppercuts back to back to make him dizzy. While he’s dizzy, buffer a duck and cancel it by throwing two left body blows immediately after the duck goes off, then buffer an uppercut out of that. You should have Bear Hugger down at a high 17-second time.

If you want to cut off even more time, then you have to counter his taunts by punching him in the stomach. This is only possible in the brief moment as Bear Hugger points at his belly, otherwise he’ll actually be completely invulnerable to gut shots. This won’t deal any damage, but it still makes him go dizzy pretty fast and stuns him. To time the gut counter so that the dizzy works, look at Bear Hugger’s feet and use that as a visual cue for your punch. He moves his feet two times, so once you see that second movement, that’s the instant you want to throw your punch. Start off the same way and get five left jabs after ducking his hug attack. Then you need to counter his gut with a left body blow as early as possible and follow it up with two left jabs. Counter his gut really early again and throw a left jab and an uppercut, then counter his gut one more time and immediately uppercut him. He will go dizzy immediately after this, so just use the same sequence I mentioned before to floor him.
One interesting thing about this strategy is that he actually gets up with a sliver of health, but any super punch keeps him from getting up again. If you time a rapid super jab to hit him as he prepares his own jab, you should get a KO at about 14-15 seconds on the clock, which is pretty sweet. There are faster times than this that you could get, but they require ridiculous luck and execution that’s incredibly difficult.

Piston Hurricane
This fight is not random at all as long as you don’t mess up anything. The easiest method to remember is to lower his guard, then throw eight left jabs to make him dizzy, then throw another left jab while he reels back. Then dodge/duck and hold A as soon as the dodge starts to cancel your dodge into a super punch for an instant knockdown. When he gets up, just buffer the A button and he goes down for good. If you want a faster time, you could rearrange the punches in the first part of the fight to be: three left body blows, three left jabs, and one left body blow to get him into a dizzy in under five seconds. Just hold the A button again, and you should have well under six seconds for this fight.

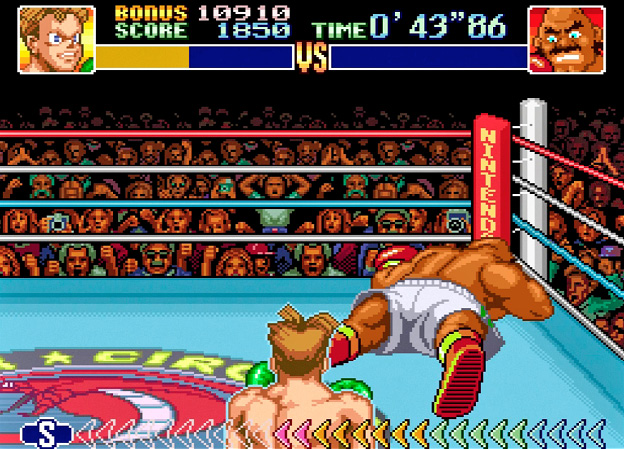
Bald Bull
The strategy for this fight is pretty simple, thankfully. Just raise his guard and throw two right gut punches, then counter his following attack with a well-timed right body blow to counter his next attack. While he’s stunned, throw a left jab then a right body blow. He’s going to throw a jab immediately after this, so counter it with a left jab of your own, then throw one left jab and then uppercut him and he should get dizzy. Buffer a left jab, right jab, and uppercut to get the instant knockdown on him. Because of the extra damage you dealt from the body blows, he gets up with a pretty low health refill. When he gets up, manipulate his guard up and just hit him with a right body blow and buffer that into an uppercut to take him down a second time. Because he’s scripted to throw a Bull Charge for the third part of the fight, he’s always going to get up a third time. Thankfully, even the Bull Charge doesn’t stand a chance against buffer strategies! Buffer a right jab, then do a duck and cancel out of it by pressing Y near the start of the duck animation to throw a left body blow. 50% of the time, Bull will get hit by that body blow. However, the other 50% of the time will have him do a small delay, but if you buffer another left body blow, then he’ll get hit by that one instead! Either way, this should net you a time well under nine seconds.

Bob Charlie
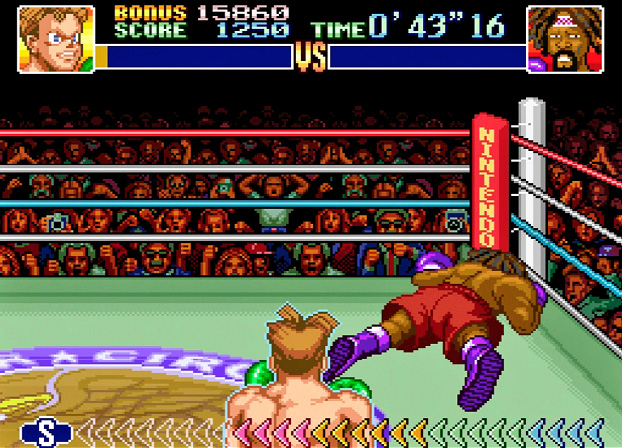
This is where the randomness in this game starts to get ridiculous. The general strategy you want to go for is to land several jabs in a row in order to dizzy him, so you just lower his guard and wail away at him and hope he reels to the back of the ring. If he does, you can buffer a left jab, right body blow, right body blow, and uppercut to floor him. Once he gets up, try to sneak in an uppercut after lowering his guard. To do that, just make sure you are not holding the Uppercut input before the ref calls “FIGHT” or throwing the punch too early. If all goes well, he should be KO’d if it connects.


Dragon Chan
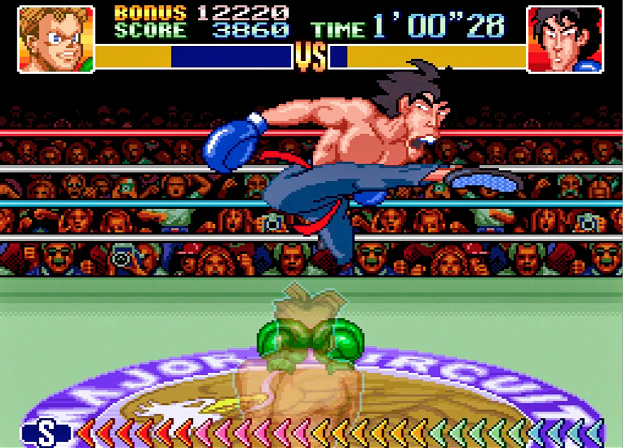
The punches for this fight can be tricky to time, just because of Dragon Chan’s animations being so long when he winds up to attack. Make it a point to wait a tiny bit longer when you throw punches at him if he’s attempting to attack you. Start by manipulating his guard up and throwing two left body blows. Then you want to throw two delayed right body blows to intercept his hooks as he’s backing up. He’ll attempt another hook, which you can counter with a well-timed left body blow. Now, buffer a right body blow, then while he’s stunned, do a duck and cancel it by holding the B button to do a delayed gut punch to dizzy him. Once he’s dizzy, you can just buffer a right jab into an uppercut for the knockdown.
One thing to mention, which is pretty rare, is the need for delayed punches when the opponent is stunned. If you land a delayed hit on the perfect frame, it actually gives you more arrows for your super meter than a normal punch would, and it’s also faster in some circumstances. Once he gets up, he’ll do one of three things: heal himself immediately, heal himself with a slight delay, or do three kicks that you have to dodge. To deal with all of these situations, you can do a quick duck into a left jab and react to what he does from there. If he blocks your punch, get ready to dodge the three kicks and do rapid gut punches to finish him off at about 12 seconds. If the punch doesn’t hit him, he’s about to heal, so follow that up with an uppercut. If it lands, it’ll either knock him down at a high seven-second time, or he’ll still be up since he healed a little bit. If this happens, then just buffer a long left dodge by holding down Left the entire time, but as your boxer is finishing his dodge animation, switch to holding the A button and you’ll finish him off at about 10 seconds with a hook.
Masked Muscle
This is the first fight where the opponent has a “random guard” which means even if you manipulate the opponent’s guard correctly, sometimes you will be blocked regardless. The general strategy here is to try to fit in three left jabs and a right one at the end, but if you get blocked anywhere, then you want to counter his hook and uppercut with well-timed right body blows, then use left body blows until the stun ends. If you do get all four jabs, then counter the uppercut and do two left jabs before throwing a super hook. Either way, once you counter the uppercut and follow up with a hook, he will get dizzy, so buffer a duck, but don’t cancel it with an attack or hold Down, just tap Down briefly. Once the duck animation is about to end, then you want to hold A to throw a hook; this knocks him down.

Phase two is really simple with this setup, because you should be able to just buffer a left body blow into a hook and he should take it 95% of the time. If he doesn’t, then he’s about to spit at you, so get ready to dodge it and punish his attack, or if you’re feeling confident, you can counter his spit directly with a really well-timed jab and finish him off that way.

Mr. Sandman
Thankfully this fight isn’t random at all if you don’t mess up. Drop his guard and buffer four left jabs, then a left body blow. Now, you have to do another left body blow, but you must delay it ever so slightly or else he blocks it, then buffer a left jab and he goes dizzy. Now, if you buffer a left jab, right jab, left jab into your super hook, he should go down. This buffer actually wastes a few frames, but it makes his next attack come out faster when he gets up, which simplifies things because now when he gets up, you just have to hold the input for an uppercut and he’ll immediately hit the mat again.

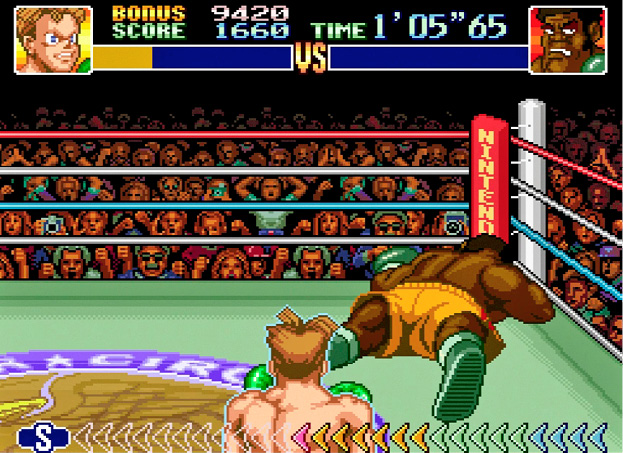
For the last phase, you want to throw a delayed uppercut such that it hits him as he tries to throw a hook at you. This timing is tricky, and the timing will vary wildly depending on what platform you play on (original Super NES, Wii VC, Wii U VC, and Super NES Classic all have different timings from each other). Once you hit that first uppercut, dodge his three Dreamland Express uppercuts and stun him with a right jab and follow up with an uppercut. After that, just do a quick dodge by pressing Left and then Up really quickly and do one more uppercut. That finishes him off at around 13 seconds!
Aran Ryan
There are a few ways to go about this fight, so I’m just going to give general tips beyond the first phase. Start off by manipulating his guard up and throwing two left body blows, then delay ever so slightly and throw two more in a row. He’ll respond by hopping to the left side of the ring, so once he lands in place again, hit him with a left jab and just throw left body blows until he gets dizzy. While he’s dizzy, do a duck and immediately cancel that into a left body blow by holding Y immediately after hitting Down, then buffer a left jab and super hook for a low five-second knockdown.
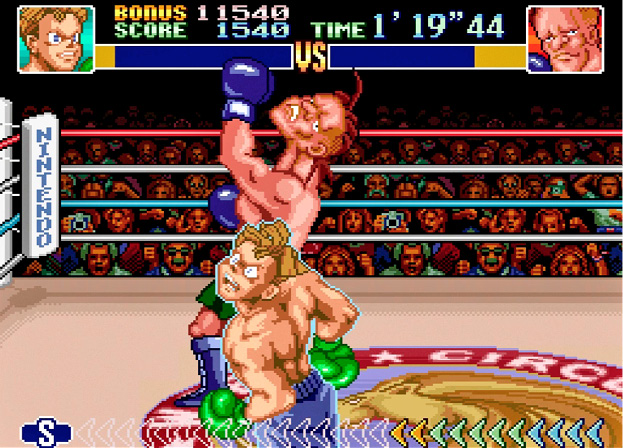
Once he gets up, buffer a super hook, then he’ll attempt to grapple you, but he has two different timings for it. Just do your best to guess which one he does; if you guess right, you get an eight-second KO on him, otherwise he grapples you, so shake out of it by hitting all directions and face buttons rapidly, then try to get your meter all the way full and attempt a super punch again. He’ll likely get up a third time in this situation, so if he does, just manipulate his guard down and go for an uppercut. The good thing about Aran Ryan is that, despite his high resistance to your normal punches, he’s extraordinarily weak to your super punches, so doing a little improvisation on the fight when things go sour isn’t too bad.

Heike Kagero
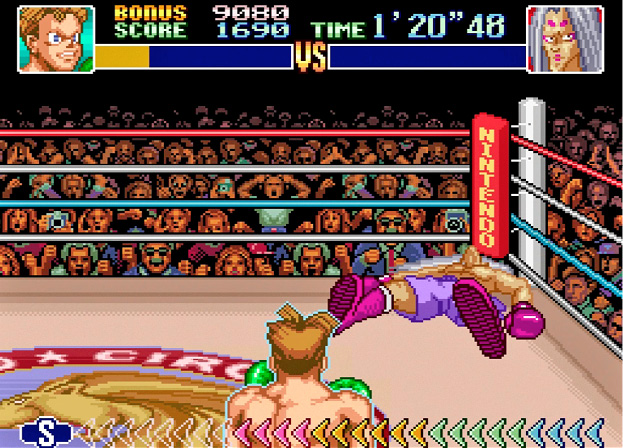
So, this fight requires very little luck when everything goes right, which is really nice, but it also requires some pretty strict timing on your rapid punches. By that, I mean, at the start of phases two and three, if your rapid punches are not coming out as soon as possible, you will get punched, so I’ll go over that in a bit. Start off by raising his guard and buffering six left body blows and one right jab to make him dizzy, then buffer a right jab into a duck, then cancel it with a hook and you should have a really good knockdown time of about five seconds.

For phase two, you need those quick rapid punches, but do not mash the A button, it will not work consistently at all. So what I do here is hold the A button, then once the fight begins, I let go of A very, very briefly and hold the button again. If you do it fast enough, the punches automatically execute as fast as possible. Once those are going off, just buffer a left jab and wait until it goes off, then buffer a hook and Heike hits the mat for the second time. When he gets up again, just do the same input for the start of phase three and the rapid punches finish the fight automatically.
Mad Clown
This is one of the most random fights in the game, so here’s a general game plan. You can sneak jabs in at the start if you’re lucky, but don’t count on it. If Mad Clown points at his stomach, you actually can’t hit him with the same timing that you used on Bear Hugger, and if you attempt to attack early, he counterattacks you, so be careful with that. If you want to stun him off of that, you have to wait until he points at his stomach the second time instead of the first. Clown is scripted to throw a jab, so counter that when you get the chance, then he follows it up with a hook which you can counter with a right jab. If you counter those two and follow each of those stuns up with left jabs, he should get dizzy. If you don’t have the super meter filled, then buffer a right body blow twice, then right jab for a knockdown. If you have the super meter filled, then the best option would be to throw a well-timed uppercut, but unfortunately, no consistent buffer exists for this yet, so good luck if you go for it. The timing for it is right before he starts drifting to the left if you want to try it.

For phase two, you want to cancel his next two moves; do that by buffering two left jabs and have him block both. Sometimes he likes to counterattack there because he likes taunting there too, so be ready to dodge and throw another left jab after if he does. After that, he goes for a backhand attack that you can counter with a left jab which is extremely weak to rapid punches, so follow up with rapid jabs once you counter him and he’ll actually go dizzy for a second time! Here, you need to hit his dizzy with an uppercut manually, so just try to go for it as best as you can. Once he gets up a third time, he goes into a “Show Time” pattern which is super aggressive, but buffering a right jab to counter him and following it up with an uppercut should put that show to an end pretty promptly.
Super Macho Man
This fight also has a random guard, so don’t worry if things don’t go your way for a speedrun here. This fight tends to be one of the most random in terms of successfully getting a KO, but that requires banking on a ton of luck. Try to start the fight with one right gut punch after raising his guard, then counter his first jab with a right jab of your own. The punches Macho Man throws come out really fast, so you pretty much need to know when he throws them ahead of time, so don’t feel discouraged if you can’t get the timing down immediately! Once you stun him, throw two left body blows. If you got the first punch in the fight, you can buffer a right jab and counter his hook with a left body blow then throw another left body blow into a hook to dizzy him. If you didn’t get the first punch to land, then after countering his first jab, you need to counter his second one and follow up with two more left body blows. Then counter his hook and do the pause trick that you did with Gabby Jay for your meter to fill up, then unpause and throw a hook immediately for him to go dizzy. Once he’s dizzy, throw three left jabs and a hook to knock him down.

When he gets back up, you can go for the KO by attempting to raise his guard and doing a super hook, then countering his hook with a left body blow and following up with one more hook to floor him. The KO has several factors in play, but the main one depends on how fast you are in phase two. If you can end that phase within four in-game seconds, then your opponent generally won’t be able to stand back up, but getting phase two quickly in many of these fights is tricky. To get such speedy phases, your opponents need to have as little health as possible, which is determined both by how many hits they took before they got instantly knocked down, and how quick the first phase was in general. This is a hard fight to get right; practice makes perfect!
Narcis Prince
This is the most random Super Punch-Out!! fight. The amount of potential situations this fight has is insane due to all the things Narcis can do in between scripted attacks, as well as what he dodges or blocks and what patterns he throws at you once you’ve landed a face punch. Covering all of the possibilities would be a futile effort, so I’m just going to discuss the scripted attacks. Narcis starts off by trying to do a hook at some point, which you can counter with a left body blow and follow up with a jab. The main goal of the fight is to get him mad by punching his face as soon as possible, because normally he protects his face very carefully and his guard doesn’t leave many weaknesses open for you to take advantage of.
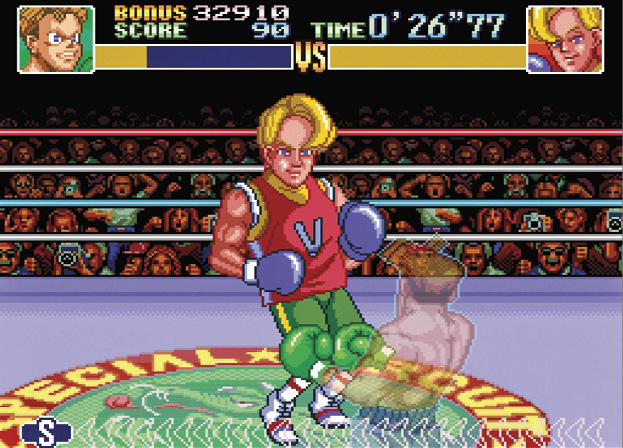
Once you land that jab, his pattern gets really reckless and he leaves his face completely unguarded, which lets you deal truckloads of damage if you try to do jabs, uppercuts, or even rapid jabs. Of those three options, go for the rapid jabs in order to get him dizzy. If you do get him to go dizzy, just buffer a quick duck into a hook and he’s down. I would adhere to this general approach for the rest of this fight, because the randomness that you have to deal with is pretty rough.

Hoy Quarlow
Hoy has a bunch of randomness associated with him as you would expect judging from the previous fights I’ve talked about, but he has a move that completely erases your progress on how “dizzy” he can get—the cane shove. If you attempt to sneak hits in, he can randomly block you, but if he blocks you, he counters your attack by shoving you to the side with his cane. If this shove move happens, then this strategy is pretty much going to be toast, so you’ll be on your own if that happens. Assuming he doesn’t get the shove in, try to sneak in two left jabs, then wait until he goes into a striking stance and throw a delayed jab. He’ll try to strike you low after that, so counter that attack with a right body blow and end the stun with a left jab. At this point, he can randomly change where his guard is, so hopefully he won’t do that when you throw your next couple of attacks. If you haven’t had any bad luck yet, try to sneak in one jab. If it lands, then just buffer a right body blow, left body blow, and he’ll go dizzy! For the instant knockdown, just buffer a right body blow into a hook, which is nice and easy.

When he gets up, try to manipulate his guard up and throw two super hooks at him. He may duck one or both of them, in which case you need to throw one into his next attack. For phase three, if you didn’t get any ducks from him, then time the last attack to hit him as he goes into a stance to start an attack. If you did get ducked, then try to raise his guard and land a hook, although prepare for a jab to counter if he ducks that too. This fight is arguably the hardest one in the game, so expect to practice this one a lot, even if you’re just going through the game for your first playthrough.
Rick Bruiser
This is probably one of the hardest fights in the game the first time you play it, just because Rick likes to fake you out and counterattack any sneaky punches that you attempt to throw. However, once you know what to do, there’s actually very little that’s random here. Start off with a left jab and be prepared to dodge his counter jab. Once you’re centered up from dodging the jab, counter his next jab with a right jab of your own, then buffer the following: right jab, right body blow, right jab, and two right body blows to get him dizzy. Follow it up with two left body blows and a hook for an easy knockdown on a pretty challenging fight!

Once he gets up, lower his guard and throw a left jab. He’ll counterpunch you since you landed a punch on his face, so dodge that and counter his hook with a right body blow. Just follow it up with a right jab and a super hook and he’s down for a second time. Now for this third time, there is a 5/8ths chance that he lets an uppercut hit his face, so lower his guard and attempt one. If it lands, then congratulations on beating Rick in 11 seconds! If it doesn’t, you can try to provoke him to elbow one of your gloves by throwing a body blow. If he shakes, then dodge and throw a hook for a 14-second time, otherwise he does a special attack that requires you to block low, block high, and dodge. Just tap Up once you block the first punch, then send him to the mat with a hook after you dodge the last punch for a 16-second time.
Nick Bruiser
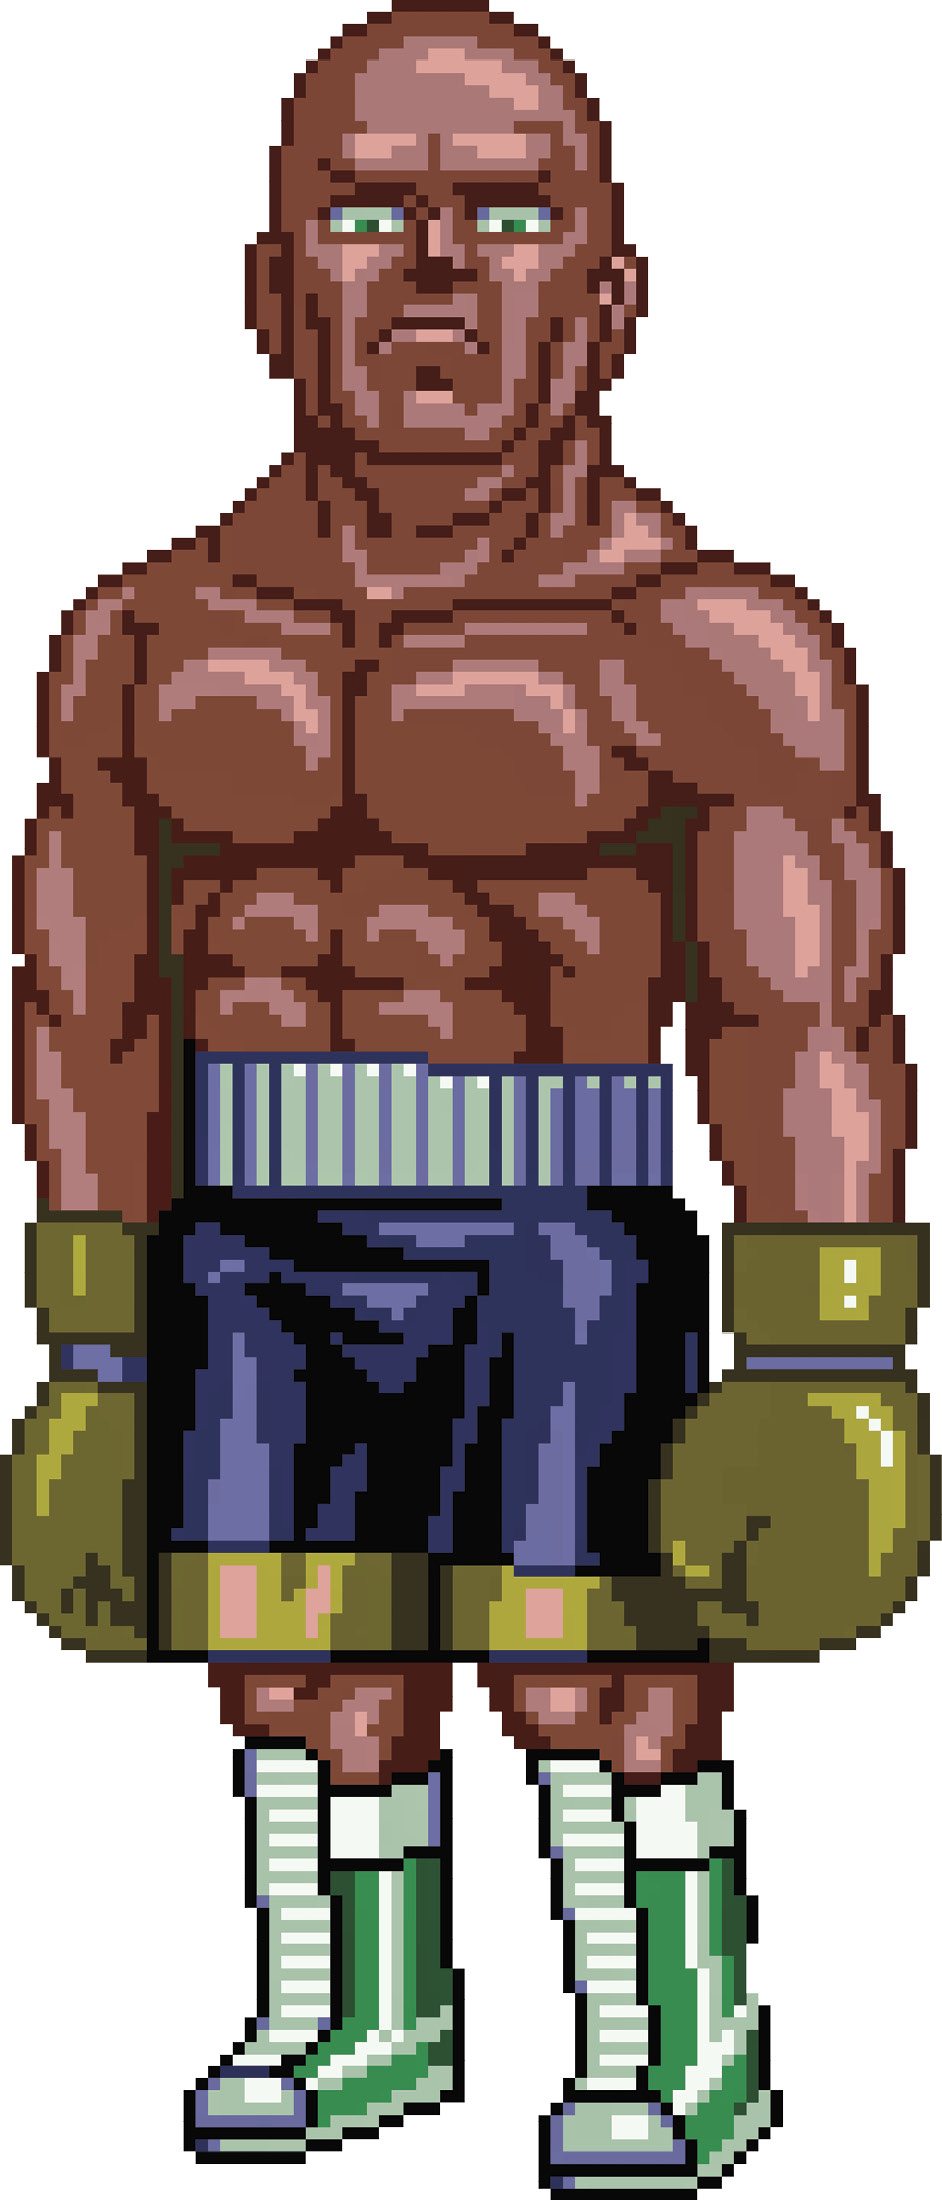
The way you approach the final fight of this game for a speedrun depends greatly on what platform you’re playing on. The speedrun for this fight requires you to hit a counter, but the type of counterpunch you throw entirely depends on what stance you see Nick take. Because of inherent input lag on Virtual Console and HD televisions, humans cannot react in time to counter this attack consistently. If you’re playing on Virtual Console or the Super NES Classic, then I would recommend just trying to guess what stance he takes and take a gamble. However, if you have an old SNES with the actual cartridge and a CRT television, then you are actually just barely able to feasibly react to him in time to counter him more consistently instead of banking on a 50/50 shot that could end your run.
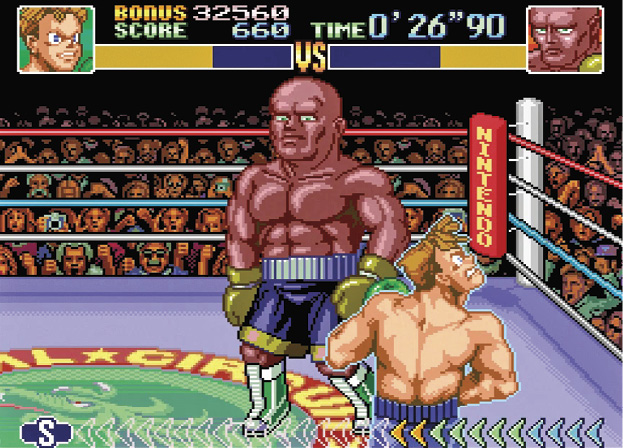
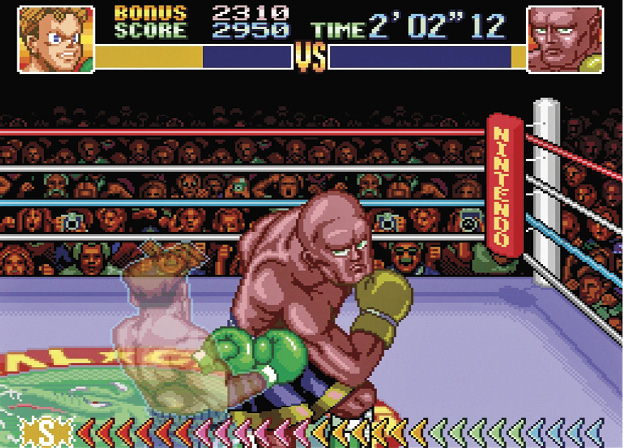

To start this fight, you can actually buffer two left jabs without any guard manipulation! Once you’ve done that, you’re at the moment of truth. Nick is going to either put his gloves near his face or near his torso. If his gloves are high, then a right jab is sufficient to counter him, but if they’re low, then a right body blow is the only thing that will counter him. If you don’t land the counter, you could attempt to try again, but Nick will attack from your left side if you do so. Once you hit the counter, follow up with a left jab, right jab, left jab, then do a “medium” duck, which is just like the one for Masked Muscle where you tap Down, but don’t hold it or cancel it with any other inputs. Near the end of the duck animation, buffer a right gut punch to get a delayed punch off of him for extra arrows, then buffer a left jab to finally get him dizzy.
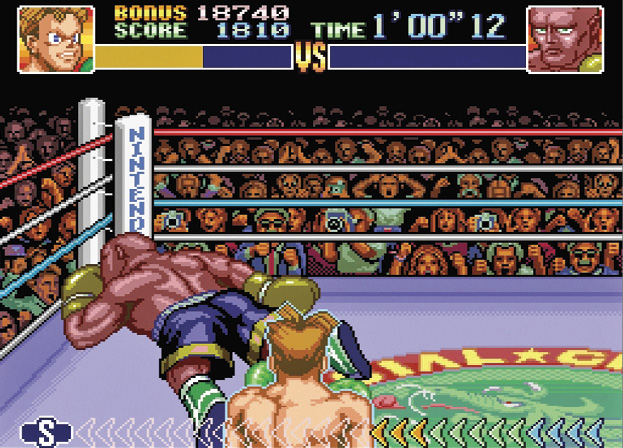
For Nick’s dizzy knockdowns, two right body blows and two hooks will take him out. When he gets up, you have two options to KO Nick. You can either wait for him and hope he attacks immediately, then dodge and stun him with the appropriate punch (body blow if he attacked low, jab if he threw a jab of his own). Once he’s stunned, buffer a hook and an uppercut and hope he takes the uppercut for the KO. The other option to KO him involves buffering a left jab at the start of phase two, then countering another attack of his on your left side. Once you hit that counter, just buffer a right jab into an uppercut for a slightly faster KO. The way the KO works on Nick is primarily time-based. If your timer is at 10”01 or earlier, then he’s down for the 10 count, but if you are even one frame later than that at 10”03, then he gets up. Those two strategies should meet that time threshold handily.