
Playing With Super Power: Nintendo Super NES Classics Guide Super Metroid
Confidential Information
Sebastian Haley
The size of the world, density of obstacles, as well as various strategies involving large amounts of risk and requisite nonstop precision make Super Metroid one of the most demanding speedruns among Nintendo’s 16-bit classics.
There are numerous categories available to speedrunners: The tried and true Any% and 100%. As with more popular games, speedrunners have introduced a variety of unique runs to keep the competition interesting. There’s Low%, which tasks runners with only collecting the minimum amount of items required to beat the game (the exact percentage is 14%), and Golden Torizo or GT Code, which utilizes a debug code that instantly grants Samus the majority of her items and upgrades very early in the game.
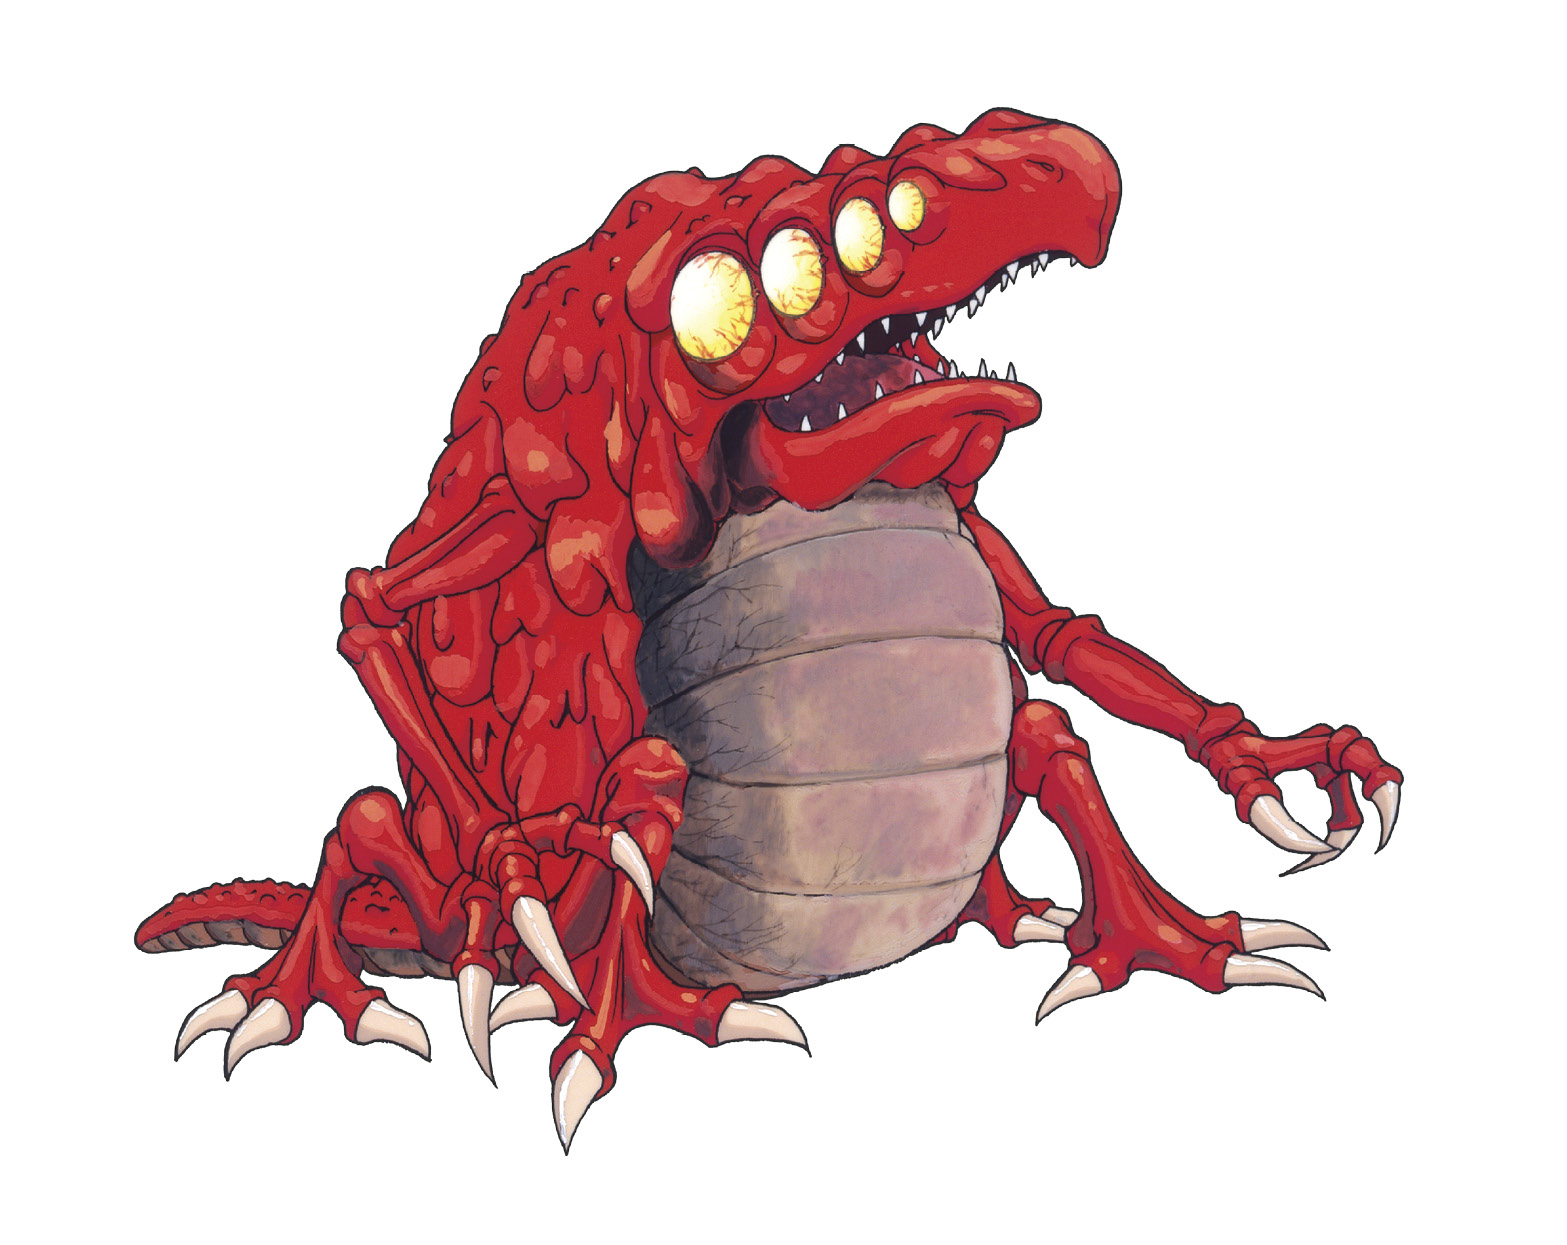
Perhaps the most interesting—and risky—category is referred to as RBO, or Reverse Boss Order. Reverse Boss Order makes heavy use of “sequence breaks,” meaning playing the game in a way that was not intended by the developers. To face Ridley first instead of last, Samus must navigate Norfair without the Varia Suit, causing her suit’s extremely low energy to rapidly drain. It’s an exhilarating run to spectate, as runners are constantly near death.
An immense amount of skill and determination is required to speedrun Super Metroid, but every Space Hunter must start somewhere! Below are a few of the tricks used to set world records.
Basic
Walljumping
Walljumping is a very simple technique that’s easy to learn, easy to overlook, and absolutely essential to speedrunning. To walljump, Samus must spin jump into a wall, then press a direction away from the wall and then press the Jump button almost immediately after. Chaining walljumps allows Samus to traverse tricky vertical areas very rapidly, as well as sequence break like crazy.
Bomb Jumping
Anyone who has played a Metroid game is familiar with Bomb Jumping. When using Bombs in morphball form, Samus is knocked upward or away from their blast. By chaining bomb blasts together, Samus can essentially travel anywhere she wants to, sequence breaking and gaining key power-ups very early. While not always as fast as other techniques, the sheer versatility of bomb jumping is worth the effort of learning it.
Arm-pumping
This one’s super simple but strangely would only ever be needed when you and your speedrunning rival are within a couple of seconds of each other’s records. Each time Samus aims up or down while running she is moved forward a single pixel. This is called “arm-pumping” and when done consistently over the course of an entire speedrun it adds up to a few seconds less than a runner who doesn’t pump.
Advanced
Mockball
Mockball may seem complex at first, but is one of the first exploits a new speedrunner should arm themselves with. Samus’ run speed is faster than her morphball speed. The Mockball trick lets her roll as fast as she runs. All that’s required is morphing at the exact moment Samus would touch the ground after a jump and moving in the direction of her jump. Some players prefer to use a Hadoken-style quarter-circle motion to swiftly press Down and then the direction.
Once mastered, the Mockball allows for faster overall speed in certain areas of the game, as well as allowing Samus to obtain the Ice Beam early or unlock Super Missiles without needing to fight Spore Spawn.
Damage Boosting
When Samus takes damage she is knocked back a set length, determined by the damage source (hazards such as spikes send her flying nearly twice as far as all other sources). By quickly pressing in the opposite direction after taking damage, Samus can redirect her trajectory. This can be used to expedite Samus’ movement through certain rooms or intentionally damage boost across areas that would normally require power-ups, like the spiked path leading to the X-Ray Scope. The only real concern is ensuring Samus has enough energy to sustain the damage, as well as any damage she may need to take on the way back.
Quick and Short Charging
Once the Speed Booster has been obtained, using its charged “blue suit” state to Shinespark becomes a near-constant staple of the remainder of any Super Metroid speedrun. Normally, there are only certain rooms with enough even ground to allow Samus to build up the Speed Booster and achieve the blue suit. By using a method called “Quick Charging,” Samus can charge the Speed Booster in a reduced amount of space, enabling the Shinespark in places it was never intended to be used in. This is done simply by holding the direction Samus needs to run and then holding the Dash button shortly after. Normally both are pressed at the same time.
There’s a more advanced version, called “Short Charging,” which further manipulates the Speed Booster mechanic to achieve Shinesparks in almost any room.
Zebetite Skip
The room that initially houses Mother Brain, known as the Zebesian Command Center, is a classic video game location, having appeared in both the original Metroid and Super Metroid. It’s also one of the more obnoxious parts of either game, as the defenses include a lava moat, turrets, targeted rings of energy called Rinkas, and Zebetite, a regenerative wall that acts as an energy source for Mother Brain. While you attempt to whittle down each of the several Zebetites, Mother Brain’s defense constantly assault Samus from all directions.
With a relatively simple trick, it’s possible to skip the Zebetites and cut down not only on time but frustration. Although it can be done a variety of ways (important as not all categories equip Samus with the same power-ups), the easiest is to freeze the Rinka that spawns underneath the first Zebetite. Samus should jump into the Zebetite, taking damage then spin jump back through it and out the other side. Doing this successfully prevents
the other Zebetities from spawning, giving Samus a clear path to Mother Brain. In case you’re wondering, the frozen Rinka is key to this trick, as landing on it moves Samus forward a pixel, technically putting her inside the Zebetite’s hitbox. Normally this would eject her backwards, but since she’s temporarily invincible from already taking damage, she can pass through it.
Easy Mother Brain
As part of a semi-interactive sequence during the final boss battle, Mother Brain fires a “rainbow beam” at Samus to reduce her health down to a critical state. Normally this would leave Samus is a kneeling position, helpless to defend against another rainbow beam that Mother Brain charges up before Baby saves the day. It’s possible to break out of the kneeling state and keep attacking Mother Brain while she is grayed out (sucked dry by Baby). It requires approximately 40 fully charged shots to defeat Mother Brain’s third phase, but with this method it’s possible to get her within just a few hits before she even starts attacking.
By mashing directional inputs, Samus breaks out of the kneeling position. However, if Samus has too much Energy, Mother Brain fires another, non-critical rainbow beam. To avoid this, Samus should have around 700 Energy when she first gets hit by the rainbow beam. Then break out of the kneel and run into Mother Brain’s legs to quickly bring Samus’ Energy down to a state that triggers the cutscene with Baby.
When Baby appears, and also when Baby is finished leeching Mother Brain, the game attempts to force Samus to kneel if she isn’t. This can be avoided by being airborne, or activating the X-Ray Scope. Once this has been accomplished, the scene where Baby heals Samus and ultimately dies progresses as normal, except Samus is free to move around normally (albeit with a giant Metroid on her head) and attack.
Expert
Baby Metroid Skip
When Samus finally catches up with Baby (the stolen Metroid hatchling from the prologue), it drains her energy to near death before realizing who she is. This is a time-consuming sequence that can be skipped entirely with a series of carefully timed jumps. Due to Baby’s odd movement pattern, which orbits Samus, eventually getting closer and closer, it’s possible to “jump-rope” over the massive Metroid all the way to the exit and escape untouched.
X-Ray Climb
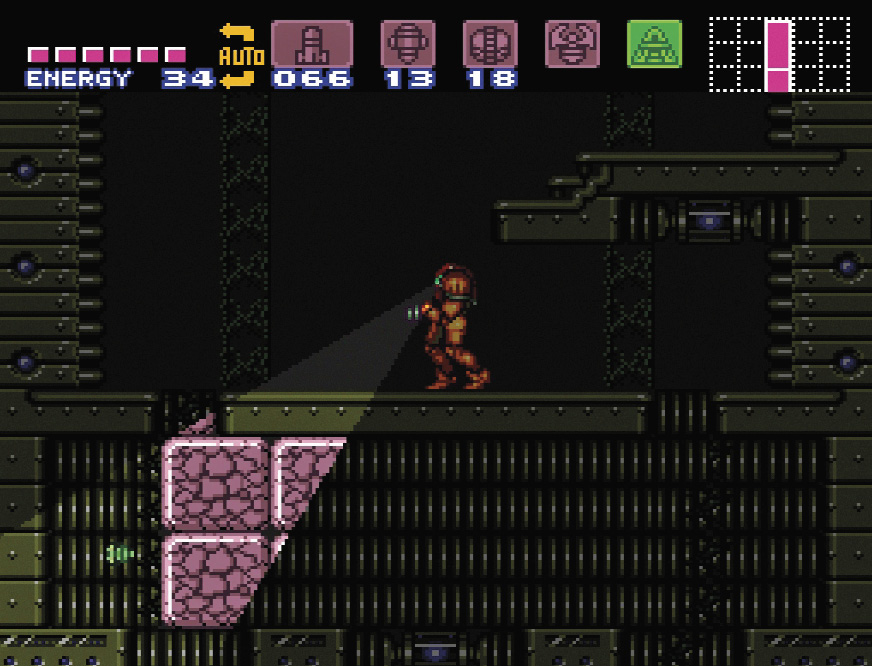
By getting “stuck” in a doorway, the X-Ray Scope can be used to climb out of bounds and “beat” the game. Once Samus is out of bounds she needs to blindly navigate numerous rooms, writing the game’s memory in a specific way before activating the X-Ray Scope again at a precise Y coordinate, triggering Zebes’ self-destruct sequence. By using a series of difficult damage boosts to obtain the X-Ray Scope, this glitch enables Super Metroid to be completed in under 13 minutes. More importantly, the animals are automatically saved!