
Playing With Super Power: Nintendo Super NES Classics Guide F-Zero
Confidential Information
Speedrunner Yazzo and Speedrunner WMJ
Origin: F-Zero Central
Yazzo and WMJ currently staff the F-Zero fansite, F-Zero Central. While the story behind the site and their contributions to it can be found in the Super Fans chapter of this book, Yazzo’s and WMJ’s decades of engrossment with the series have provided the pair with a comprehensive knowledge of the games. That extends to the mechanics used for speedrunning, which they have detailed here.
Basic
The Right Ship
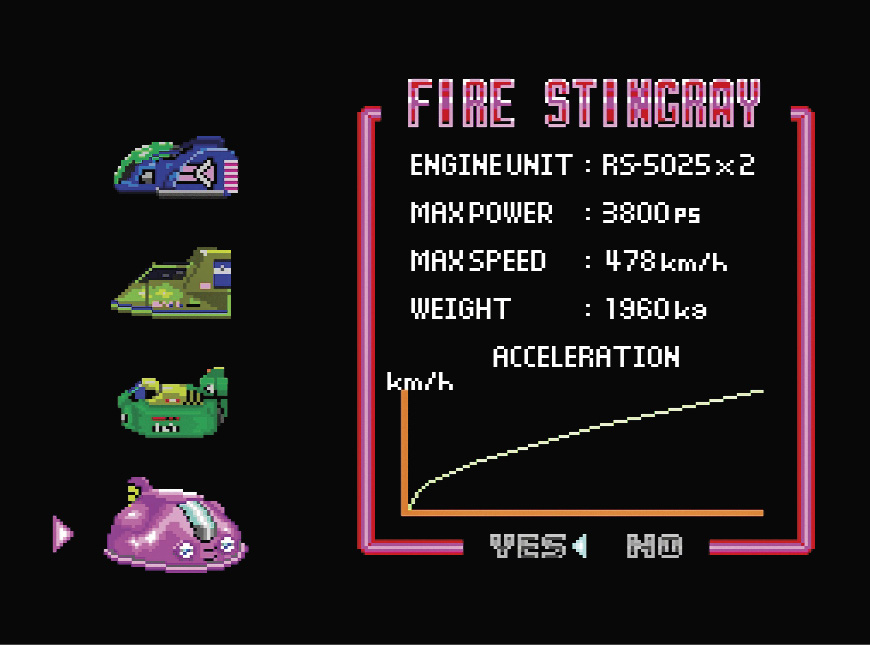
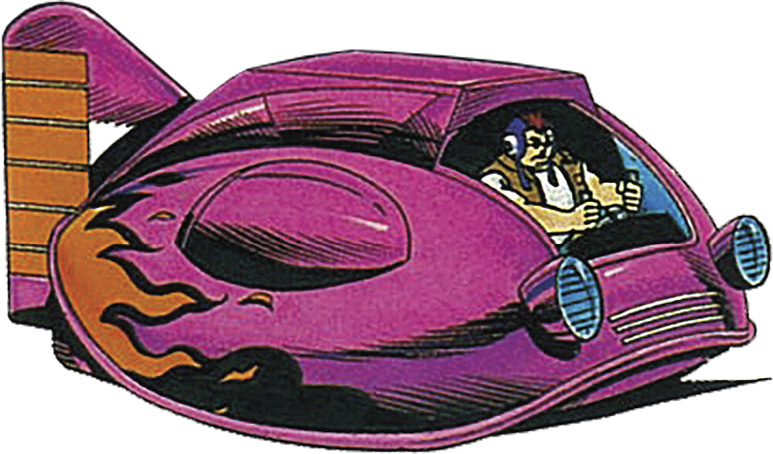
The first thing you have to know about this game is that the Fire Stingray (piloted by Samurai Goroh) is your only option when going for fast times. It has the best grip, best boost, and highest top speed of the four available vehicles. The three other ships don’t even come close to Fire Stingray’s performance. The only downside to the Fire Stingray is the slow acceleration, so you’ll have to get it at its 478 km/h max speed as quickly as possible and make it stay there.
Blast-Turning
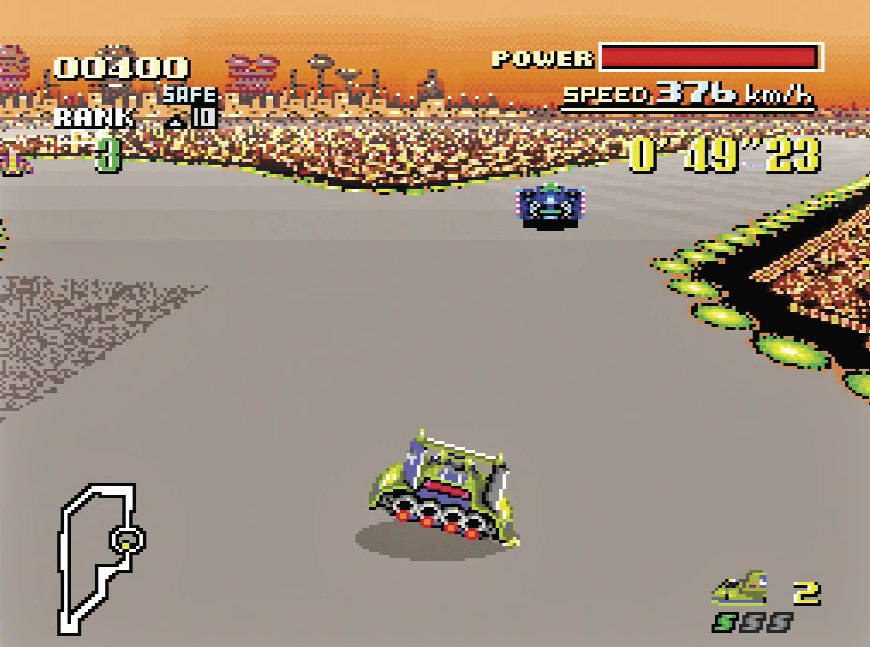
Once you’ve got a feel for Fire Stingray, the next thing to learn is blast-turning. This is the most important technique in the game. Blast-turning simply means tapping the accelerator very quickly while steering through a corner. Without it, Fire Stingray has a bad tendency to understeer and continue going straight, certainly at top speed. Use blast-turning constantly; it’s the best way to get around the track and speed through those corners like a pro while avoiding hitting the rails.
Leaning
Using the shoulder buttons makes your ship lean over and enables it to get through much sharper corners. Unlike later F-Zero games, drift-turning (steering into a corner while holding the opposite shoulder button) isn’t possible, so you’ll have to make do with a combination of leaning and blast-turning to get through the corners. Try to limit leaning as much as you can though, as it slightly decreases your speed when used in a turn.
Advanced
Start-Bumps
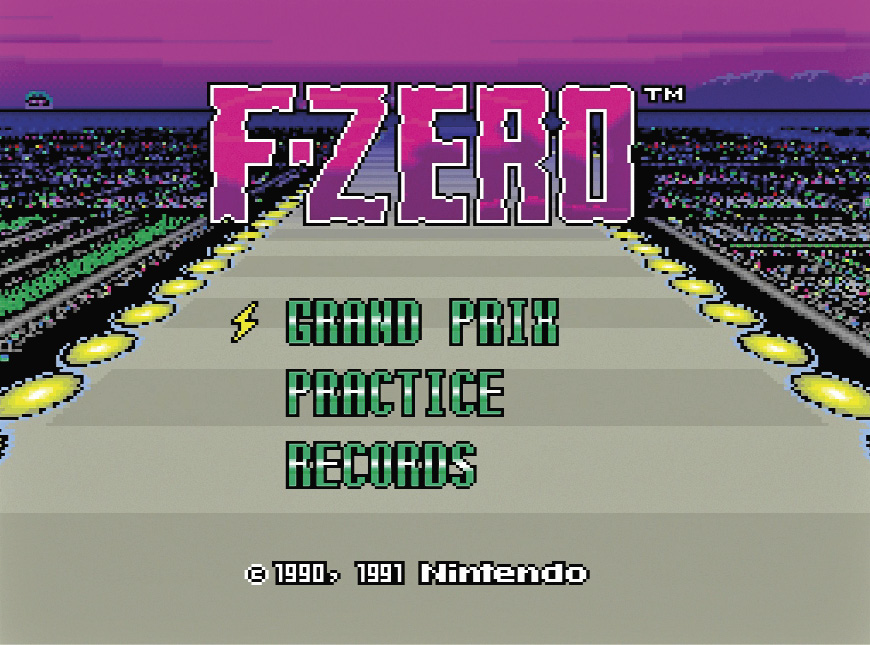
The opening lap is the most important of all. Lots of time can be gained (or lost) by overcoming Fire Stingray’s slow acceleration and getting to the 478 km/h top speed as soon as possible. At the start, hold down the accelerator as soon as the countdown for the race begins to make a small boost forward. Take advantage of the small lead and maneuver in front of the other vehicles to get a start-bump in the back of your ship and win valuable time. In Grand Prix Mode, first steer in front of the Blue Falcon and have it hit you on your left back side. If you do it correctly, Fire Stingray is pushed forward again. Now steer in front of the Wild Goose to get a second bump. Again, have it hit you on the left back side for the best speed gain.
In Practice Mode, choose the Golden Fox as your rival and have it bump you twice. Depending on where it hits you the first time, it catches up more quickly to give you a second bump. Just experiment to see what gives the best result on each particular track. The difference between a normal and a double-bump opener can be more than two seconds! Also make sure to play in the Master Difficulty of the game to get even faster bumps from the CPUs.
Boosting
Use your boost (called the S-Jet in the game) just after the slowest point of the track, or use it to travel over dirt patches or other speed-eating obstacles. When going for a lap record, stock up on S-Jets until the last lap. Boost just in front of the starting
line of the final lap because you can only carry three S-Jets at the same time.
Braking
These have little use, as blast-turning is a far more efficient way to get through the corners. However, there are a few tracks where you have to use braking when boosting through a twisty section to avoid an unfriendly collision with the rails. An example of this includes Sand Ocean, where you want to use your brake for a brief moment shortly after releasing your S-Jet, which allows you to stick closer to the upcoming hard right corner of the track.
Jump-Plates
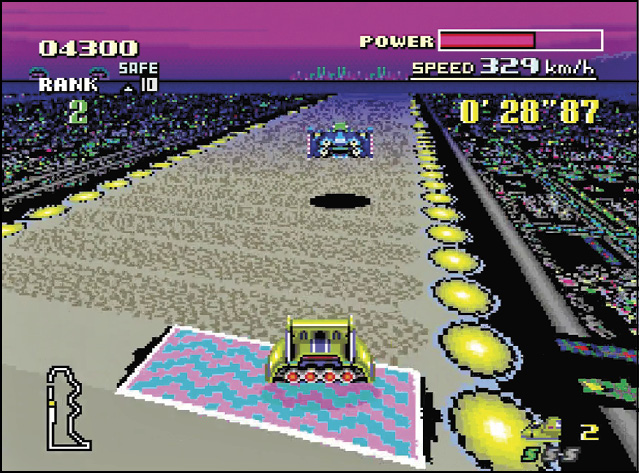
These are pretty handy in the opening lap as they give a quick 40 km/h boost. Avoid them when you’re using your S-Jet as they seem to bring your speed back down to 478 km/h. Always hold Down on the D-pad when landing or you’ll lose lots of speed! Holding down also allows you to fly farther in air, which is especially useful when attempting shortcuts. You can hold Up on the D-pad as well while airborne to quickly descend to the ground, which is also useful for certain shortcuts.
Dash-Plates
The dash-plates give you a huge boost in speed that puts your speedometer over 900 km/h. If you drive over them, make sure to not activate your S-Jet as you won’t be able to take advantage of it until you get back to normal speed again. You should also avoid using your shoulder buttons while driving over them, as that immediately has you lose control of your ship. However, sometimes it is good to use them to
quickly avoid the traffic in front of you.
Rail-Cutting
Sticking close to the inside rails and hugging the corners is always important. If you swerve wide you lose quite a lot of time when you add the five laps together. While your S-Jet is active you can gain a few hundredths by taking the corners extra sharp and cutting through the rails—but watch out that you don’t cut too much or you’ll bounce back.
Finishing Second
This is a strategy only viable for speedruns of the game and not individual track attempts. Before each finish line, slow down in speed and let the first CPU opponent pass you. Try to finish as closely behind him as possible. This allows you to shorten the credit screen after each track, which at best makes you save a few hundredths of a second for each time you do it. If you manage to do it well on each track in the game, however (except Fire Field since the timer ends once you cross that finish line), you could save up to a couple of seconds throughout the whole run.
Traffic
Since there are only seven tracks available in Practice Mode, you have no choice but to go for the other individual track records in Grand Prix Mode where you have to endure handling the Traffic of the game. Those include the brown, somewhat anonymous-looking ships, as well as the blinking pink ships—which occasionally also blow up in front of you, so watch out for that! They’re very slow, and have a tendency to often be in your way at the worst possible time. They are random in their nature; however, it’s still a legitimate skill to stay away from the traffic, so always try to keep an eye on them and avoid a collision as bumping into the back of one ruins your speed and your time.
Expert
Brake-Tapping
Brake-tapping is about keeping your average speed higher than normal when using an S-Jet. When an S-Jet is activated, your speed is boosted to 562 km/h and then it slowly decelerates to 478 km/h. When your speed reaches 478 km/h, it immediately (within the next frame) spikes back to 562 km/h, and then slowly decelerates to 478 km/h again. This cycle repeats until the S-Jet burns out. When you brake-tap, you are speeding up the rate of deceleration from the 52x-478 km/h part of the S-Jet cycle. When done correctly, brake-tapping means you spend more time going 52x-562 km/h, and less time going slow. This technique only saves about 0”01-0”02 per S-Jet and thus makes it one of the last techniques an F-Zero pilot should learn when trying to squeeze every last drop of time from their personal bests. To perform this technique, you want to brake when your speed hits about 520-523 km/h, and when you do this, it brings your speed back up to 55x-562 km/h. Six brake-taps per S-Jet should be done. Now normally your speed starts at 562 km/h when the S-Jet is activated and it takes about 13-15 frames before the first brake-tap can be executed. But if your speed happens to be in the 520-529 km/h range when you activate your S-Jet, it is possible to do seven brake-taps per S-Jet.
Rail-Bouncing
Rail-bouncing is more of an expert-technique when blast-turning + Leaning just aren’t enough. The rails in F-Zero have a “bouncy” quality, and on some tracks this can be used to your advantage. Crash into the rail at full speed when the corner is just too tight to clear normally and you’ll bounce right back at the same angle. You lose less speed this way when compared to braking and trying to avoid the rails. A good example where doing this technique is essential to setting fast times would be
Death Wind II where it can be taken advantage of multiple times on each lap.
Super Shortcuts
Most shortcuts in the game involve just activating your S-Jet while driving through dirt patches or rails, but there are also a few other very difficult “super shortcuts” that only an expert at the game should attempt.
The first one you encounter is on Mute City I where it’s possible to cut the dirt patches in the middle of the track on the inside and without activating your S-Jet, which allows you to keep your normal driving speed at 478 km/h as you go through it. This also means you can save your S-Jet and instead use it after the shortcut.
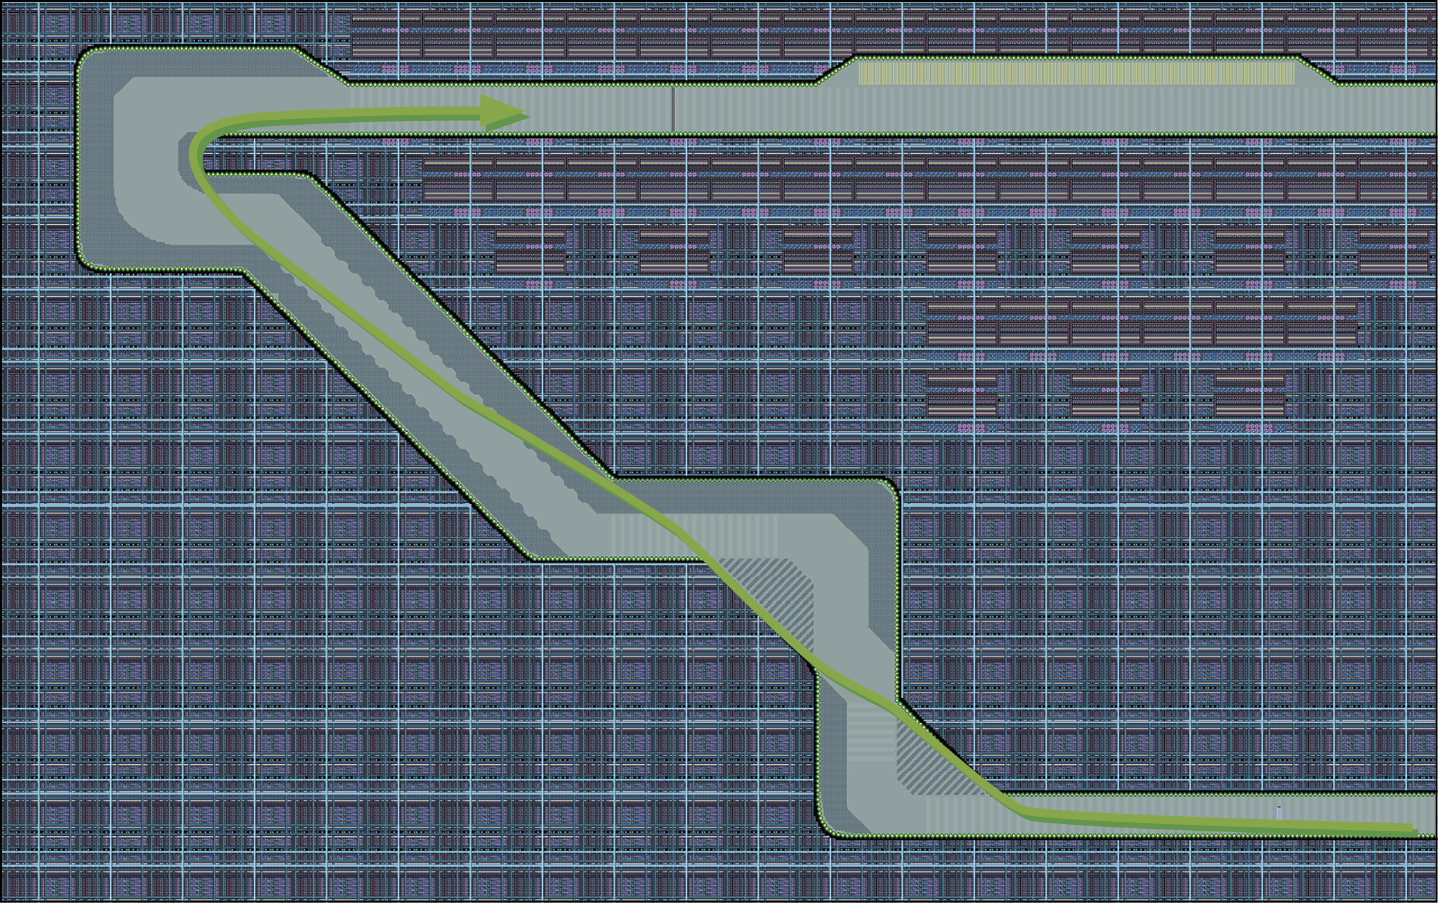
As you approach the jump-plate in the middle of the track, make sure you pass it on the left side and as close to it as possible without driving over it. Once you’ve passed it, wait for about two seconds and then quickly turn to the right while blast-turning at the same time. Try to aim for the small road gap between the dirt patch and the rails. If done correctly, you keep your 478 km/h speed as you cut the dirt patch. The next step is then to use your left shoulder button to quickly drift to the left and once again aim for the gap to keep your speed from dropping down. Once you exit the last gap, activate your S-Jet and drive over the dirt patch in front of you. The S-Jet should then last you long enough so that you can also drive over the small dirt patch at the final corner of the track. Try to aim for the rails here as you turn to the right; it makes it a bit easier getting through the turn while driving at full speed. If you can do it perfectly, this strategy saves around one tenth of a second compared to the normal strategy. Doing this strategy is extremely difficult as it requires an insane amount of precision, which is why it’s so impressive that the current world record on the track (1’57”96 by Legend) manages to pull it off on each lap. This strategy can also be attempted on Mute City III since it is nearly identical in its level design.
Another shortcut is the one on Port Town I (and also on Port Town II since the tracks share a lot of similarities). Here it’s possible to make a huge shortcut at the start of the track (excluding the opener).
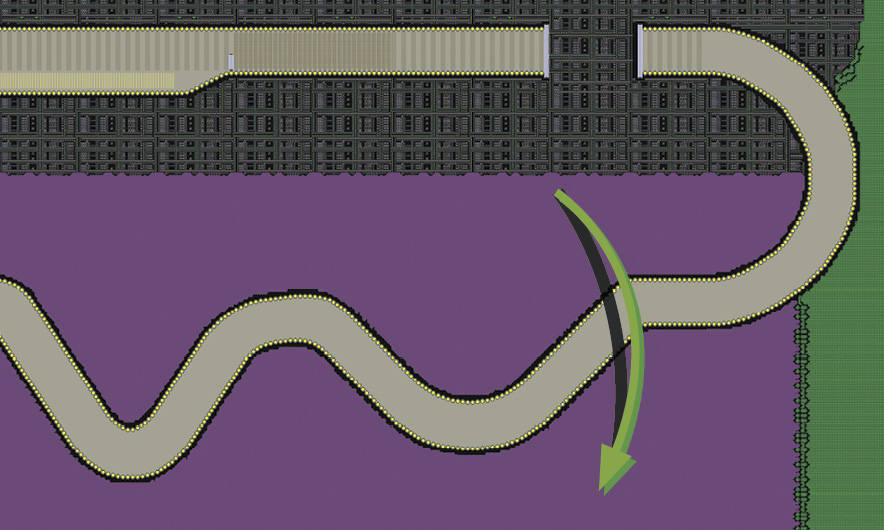
If you swerve hard to the right at the jump-plate in the beginning and hold Down on the D-pad, you can cross over to the other side of the track, as long as you have enough speed for it. If you manage to land on the other side, a machine picks up your ship and puts you down facing the correct direction. Then, make sure to activate your S-Jet just before the machine drops you down while holding Right on the D-pad; otherwise you start driving again with a lower amount of speed, or you hit the rails in front of you. This shortcut should save you about 1.2 seconds per lap.
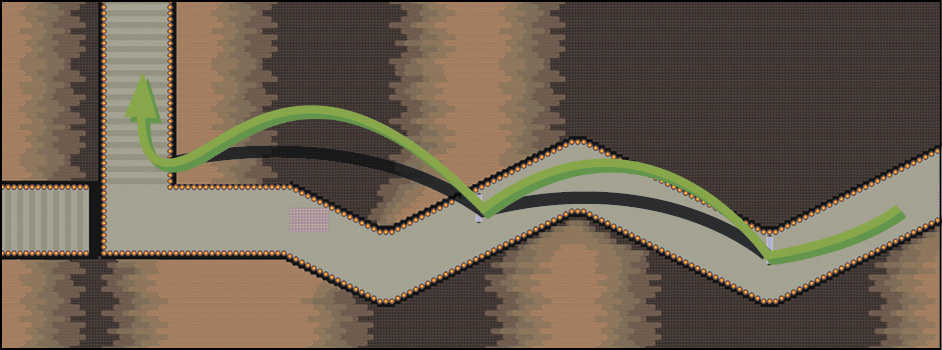
On Red Canyon I there are three big jump-plates located in the middle of the track where a shortcut is possible to perform. First, you have to make sure you take the second jump-plate and land directly on the
final jump-plate. This takes a bit of timing to get down at first, so don’t be discouraged if you can’t do it your first try. Make sure to hold Down on the D-pad immediately after you hit the last jump-plate, and also hold down the right shoulder button. Right before landing back on the track, swerve hard to the right to make sure you have the correct trajectory going into the next turn. If done right, this allows you to cut a small section of the track, and save a few tenths per lap.
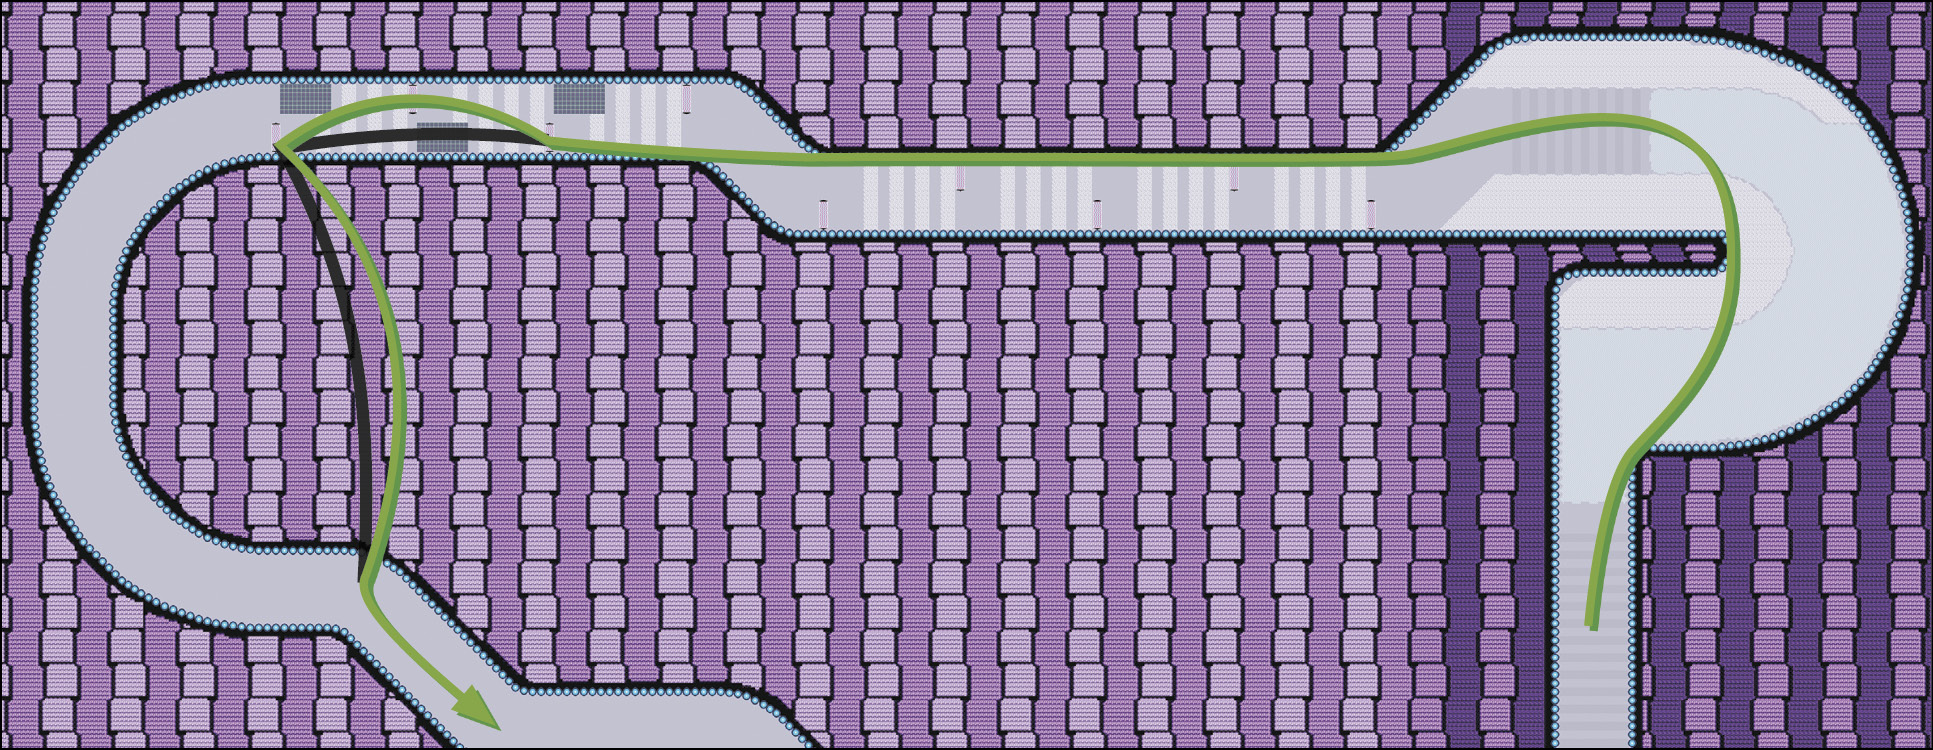
Next up is the shortcut on White Land I, which is also located around the middle of the track. At the U-turn there, swerve hard to the left and cut off the dirt patch. Right after you’ve done that, activate your S-Jet to get back up to speed, and drive through the rails on the right side of the track. This allows you to drive past the jump-plates to the left of you without them interrupting your speed. After you’ve done that, the next step is to slightly adjust your angle to the right and take the upcoming jump-plate in front of you. As you approach the next jump-plate in the air, swerve hard to the left
and now press Down on the D-pad as you hit the jump-plate. If done correctly, you should be able to cut off a big chunk of the track and save about half a second per lap. But be careful; if you swerve too much to the left, the game does not allow you to land back on the track, and a machine picks you up and places you farther back instead.
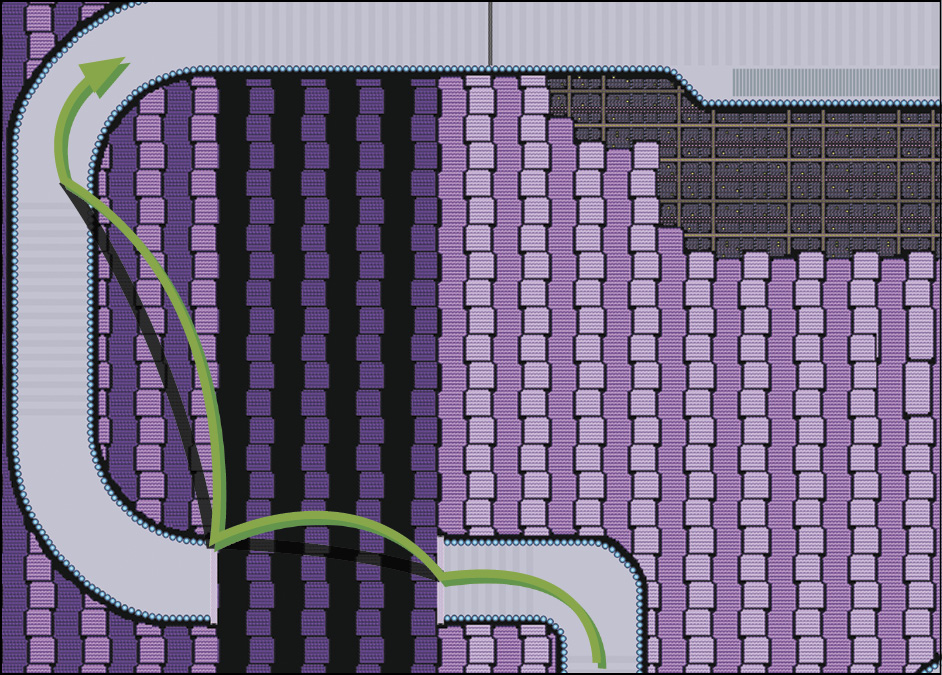
The last super shortcut in the game is the one on White Land II, which is located right at the end of each lap. As you approach the last corners of the track, there’s a wide jump-plate located there. On the opposite side of the jump-plate, another wide
jump-plate is also situated. To perform this shortcut, start holding Up on the D-pad just before hitting the first jump-plate to make sure you won’t overshoot the jump-plate on the other side. While in mid-air, switch to pressing Down on the D-pad instead, and at the same time start turning to the right to have your machine pointed in a direction that allows you to shortcut the track. Then, try to aim for the right corner of the jump-plate. If you hit the jump-plate and have the correct angle, you should be able to cut off a small bit of the track that’s ahead of you, saving you a couple of tenths per lap.