
Tom Clancy's Ghost Recon Future Soldier Guide Walkthrough Valiant Hammer
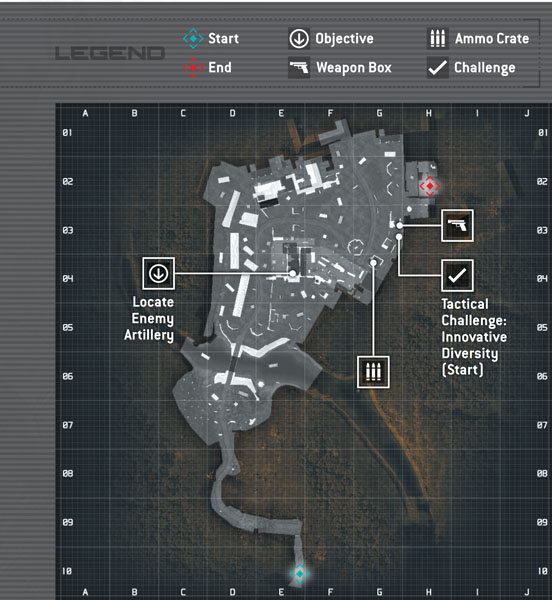
Gather Information on Artillery Location
Gather Information on Artillery Location
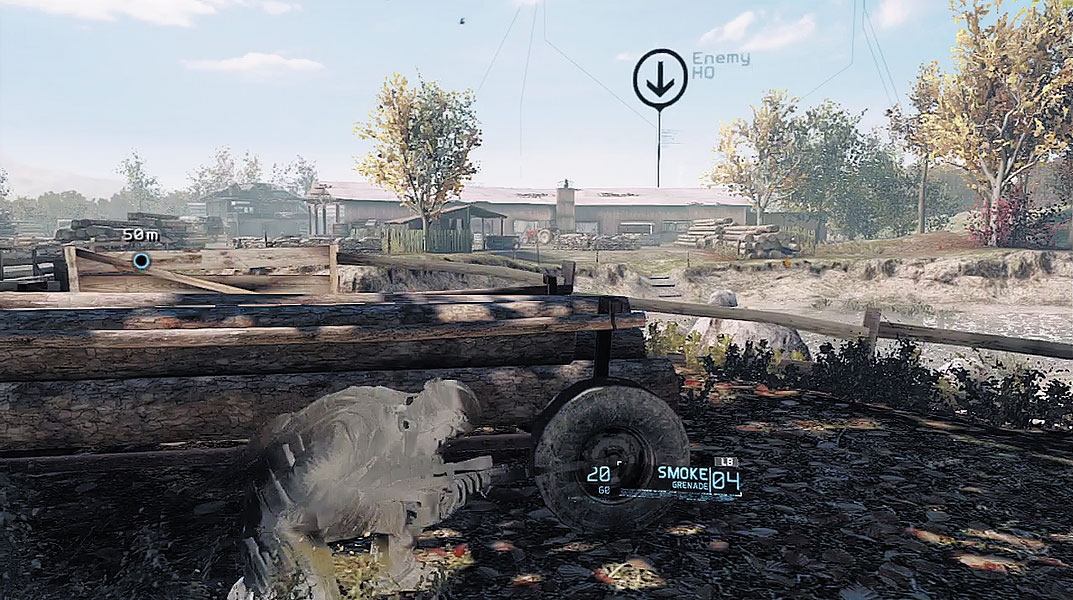
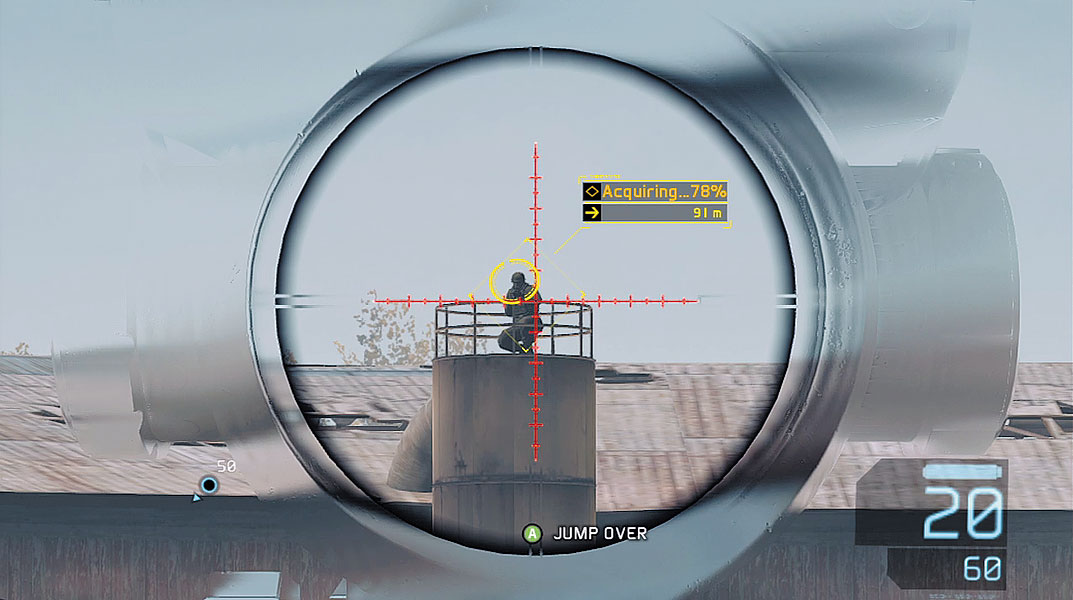
Follow the road down from the observation point toward the lumber mill. As you near the bridge leading into the lumber mill, assume a crouched stance to activate your Optical Camo—enemy troops are posted on the other side of the bridge, including one behind a mounted machine gun. Take cover behind one of the lumber piles near the bridge. Before you deal with the enemy troops near the bridge, locate a rifleman standing atop a cylindrical tower attached to one of the lumber mill’s main structures. Peek over your cover and take aim at this hostile through your sniper rifle’s scope. As long as your weapon is suppressed, you can take this rifleman out without alerting the enemy troops near the bridge.
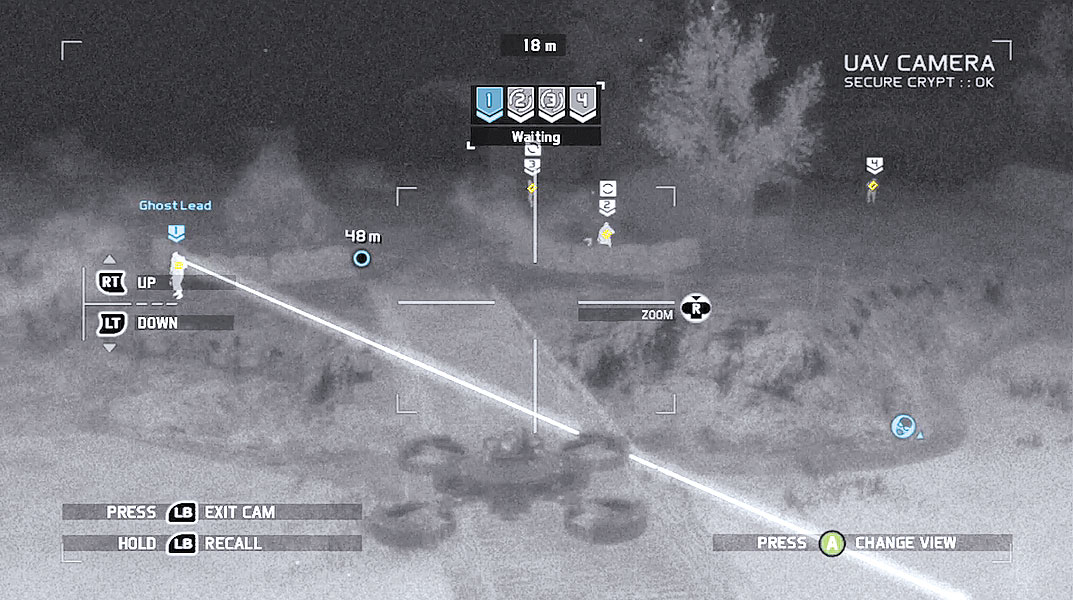
With the rifleman on the tower down for good, you can now clear out the enemies guarding the bridge. Deploy the UAV and start marking targets. In addition to the three riflemen positioned near the bridge, there’s also a fourth rifleman patrolling not far from the tower where you claimed your first victim—mark all four enemies and prepare a sync-shot. Exit the UAV view and take aim at any of the four targets while waiting for your team to line up their shots. When everyone is ready, squeeze your trigger to perform the sync-shot. You can now gain access to the makeshift enemy field HQ. But don’t let your guard down—the place is still swarming with hostiles. Cross the bridge and recall your UAV.
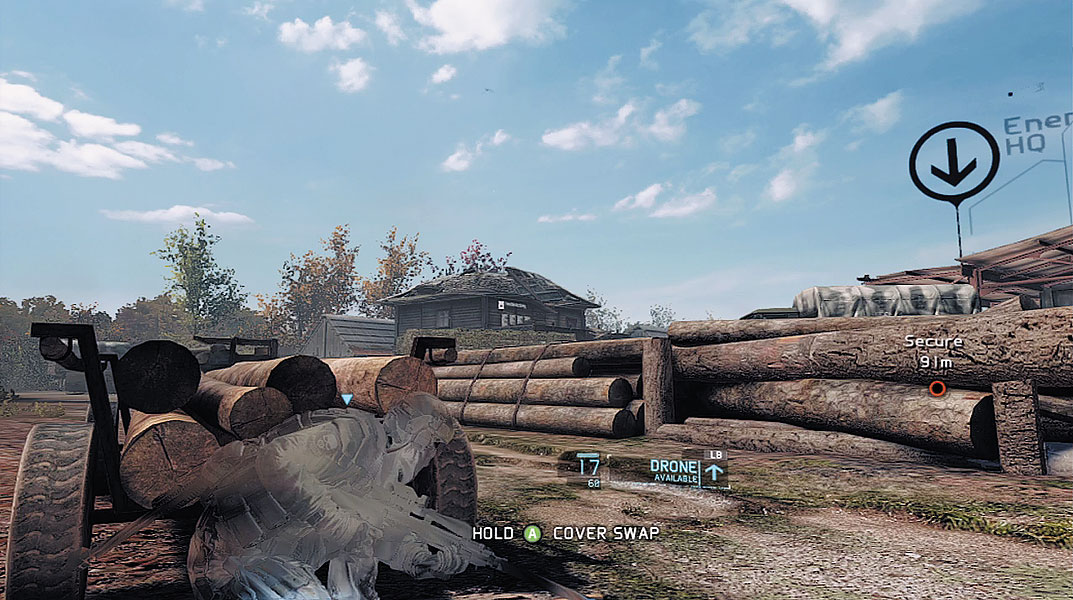
On the opposite side of the bridge, veer to the left and creep forward while using the large stacks of logs for cover. Just beyond a parked BTR-90 and UAV-66 is a house-like structure. A rifleman is posted on the roof of this building, standing behind a low sandbag wall. There are other hostiles in the area, too, but don’t worry about them just yet—as long as you keep your Optical Camo active and stay behind cover, you won’t be detected. Take aim at the rifleman on the rooftop and drive a suppressed bullet through the center of his forehead—alternatively, you can have one of your teammates take the shot.
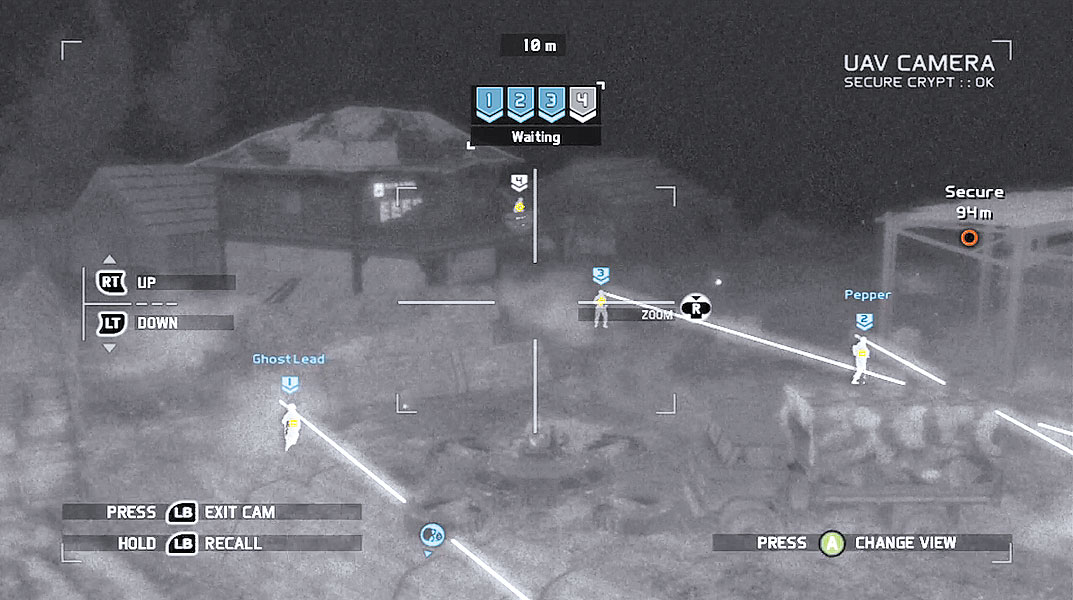
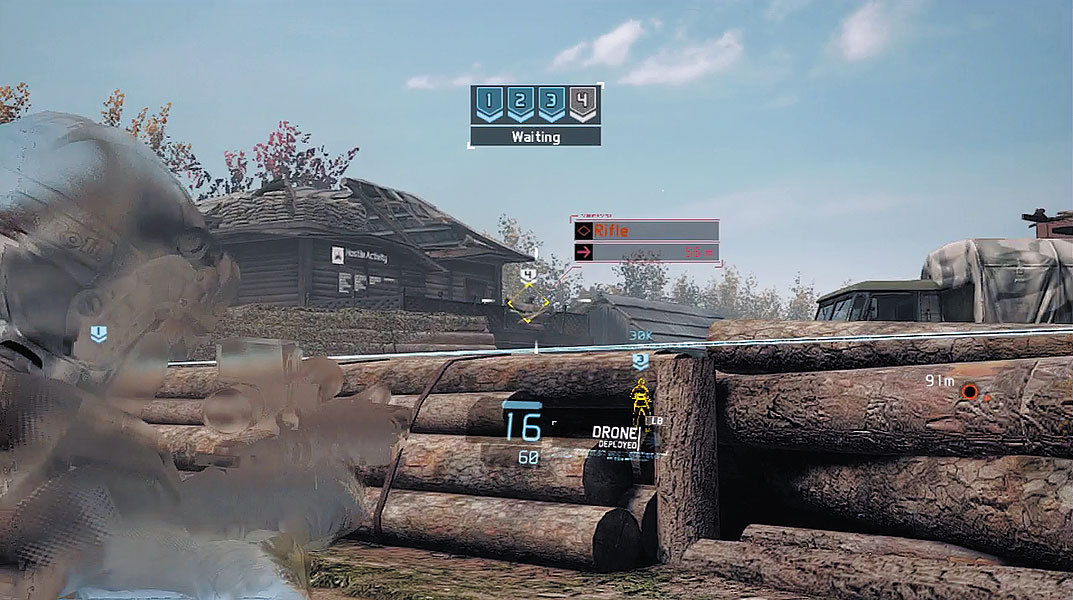
Now it’s time to deal with the four other riflemen posted nearby. Deploy the UAV and begin marking targets. There are three riflemen patrolling near the house-like structure, and a fourth rifleman stands on the house’s elevated balcony. Mark all four targets, then exit the UAV view. Take aim at the rifleman on the balcony while your teammates take aim at the three patrolling soldiers. When everybody is ready, squeeze your trigger to perform a sync-shot, instantly neutralizing all four threats. Recall the UAV, then creep toward the next waypoint marker. Be careful to avoid being spotted by the numerous enemy troops patrolling the large courtyard.
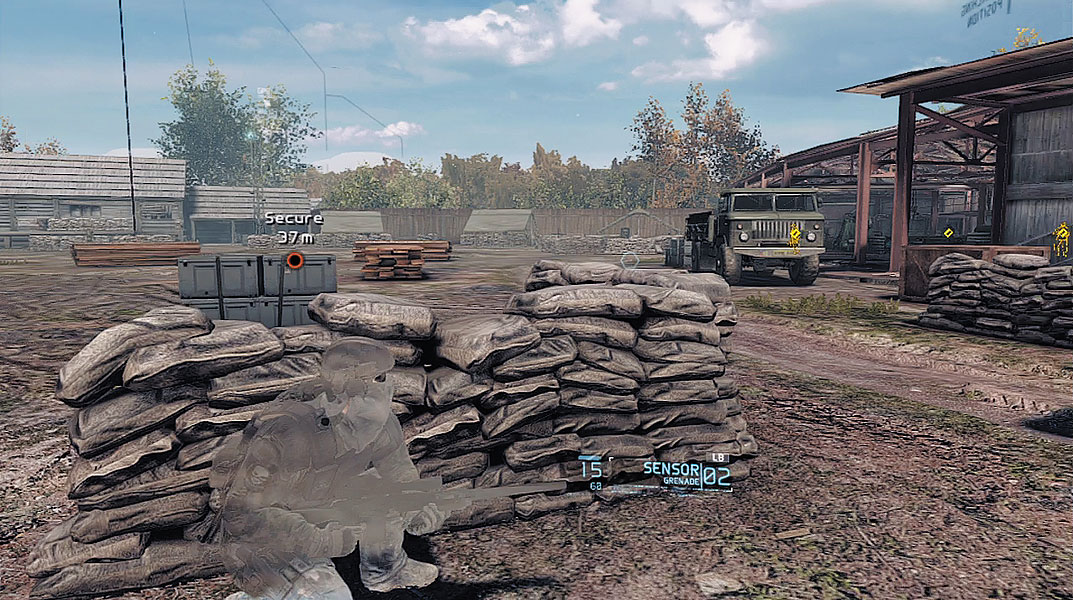
Take cover behind one of the sandbag walls on the perimeter of the large courtyard and monitor the enemy movements in the courtyard. There is no way to secure the field HQ without triggering a firefight. But before attacking, take a few moments to scout the area. Start by tossing two or three Sensors into the courtyard to land at varied distances so their detection radii overlap—take note of the two mounted machine guns, not far from the weapon box and ammo crate. Follow up by deploying the UAV and leave it hovering just above the courtyard so it can monitor the patrolling riflemen during the fight. In addition to the riflemen patrolling the courtyard, there are also multiple hostiles in the large shed and wooden structure to the right—don’t overlook these enemies.
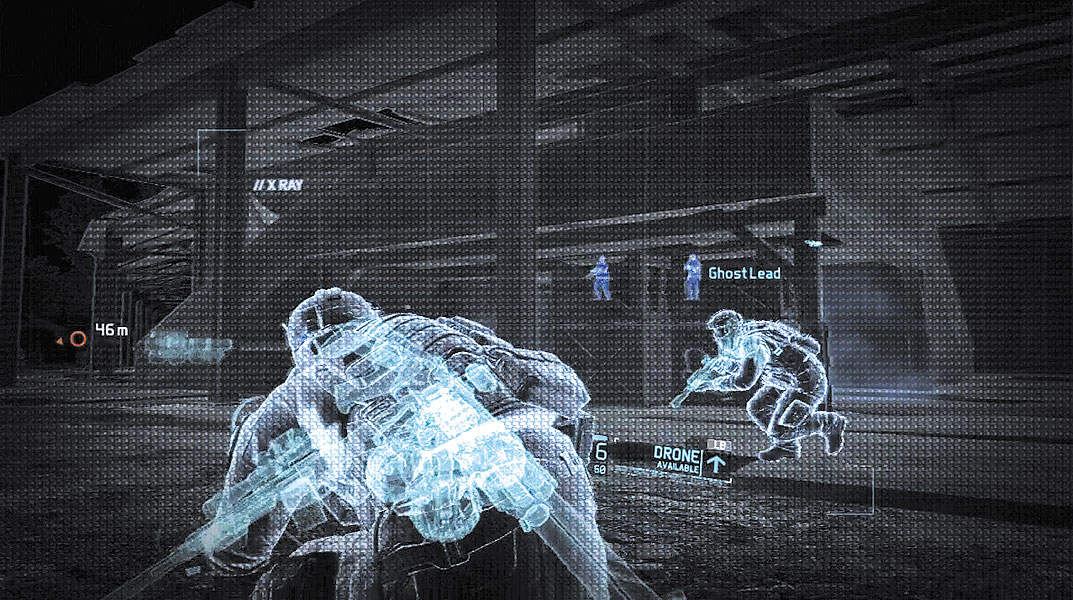
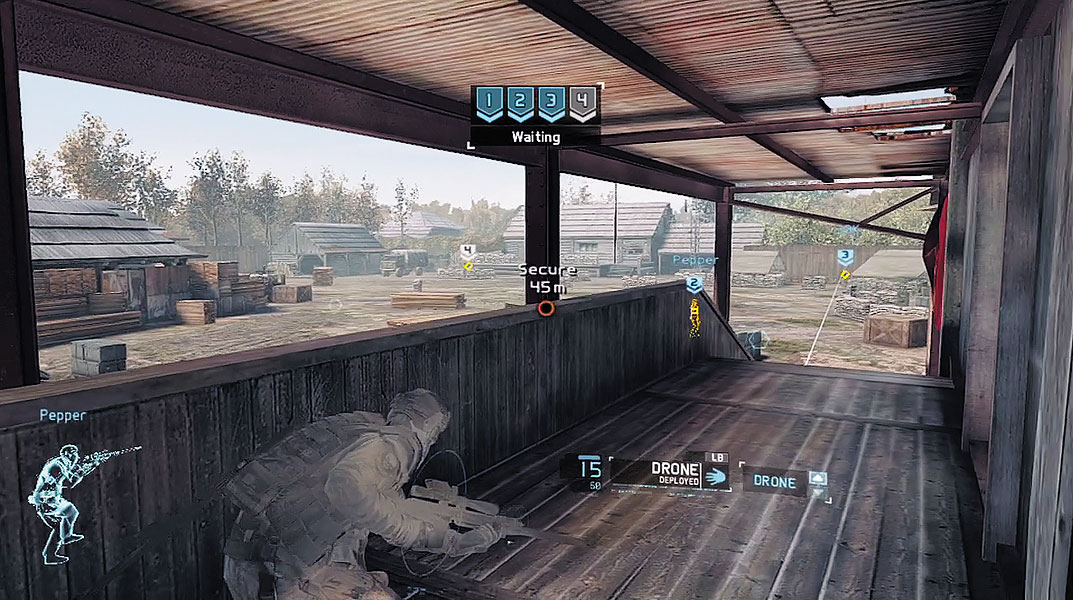
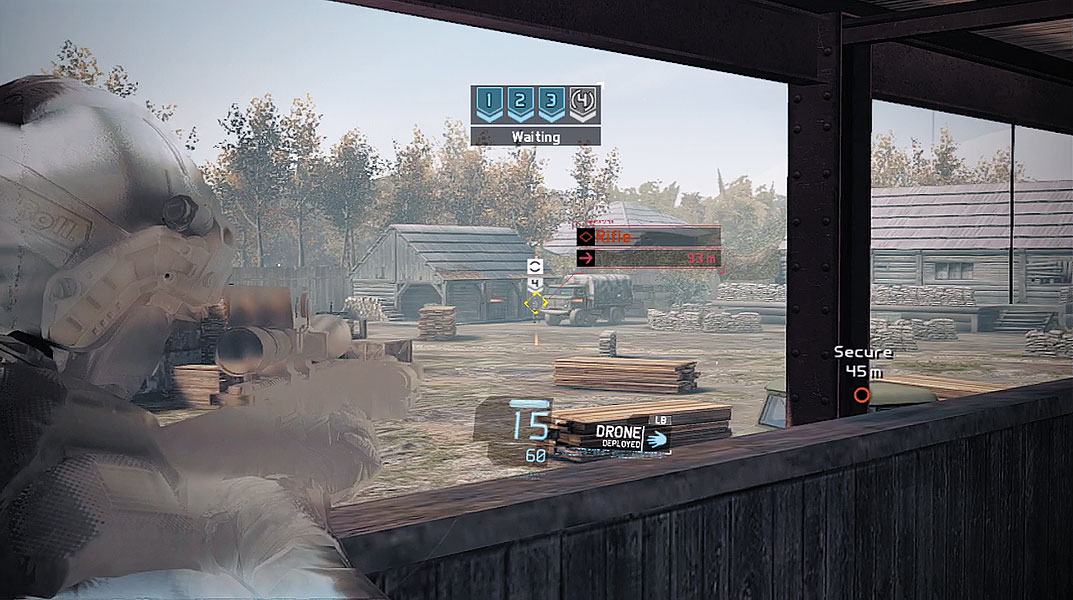
Once you have a clear view of the opposition, creep up to the elevated walkway of the building on the right. Stay clear of the doorway because there’s a rifleman inside—you’ll deal with him soon enough. But for now, focus your attention on the riflemen in the courtyard. You can’t mark them all, but pick out targets closest to the mounted machine guns, as they pose the biggest threat to your team. When you have four riflemen marked, take aim at one of the marked targets and prepare to initiate chaos—as soon as you initiate the sync-shot, all hell will break loose. You must act quickly and aggressively to eliminate the surviving troops. When you’re ready to begin the assault, squeeze your rigger to initiate the sync-shot.
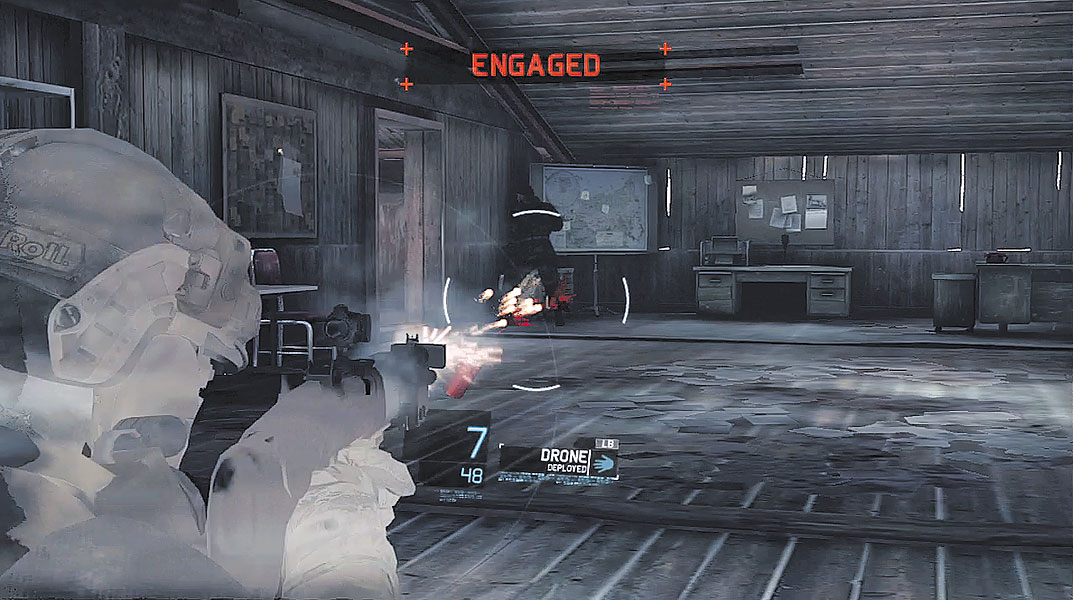
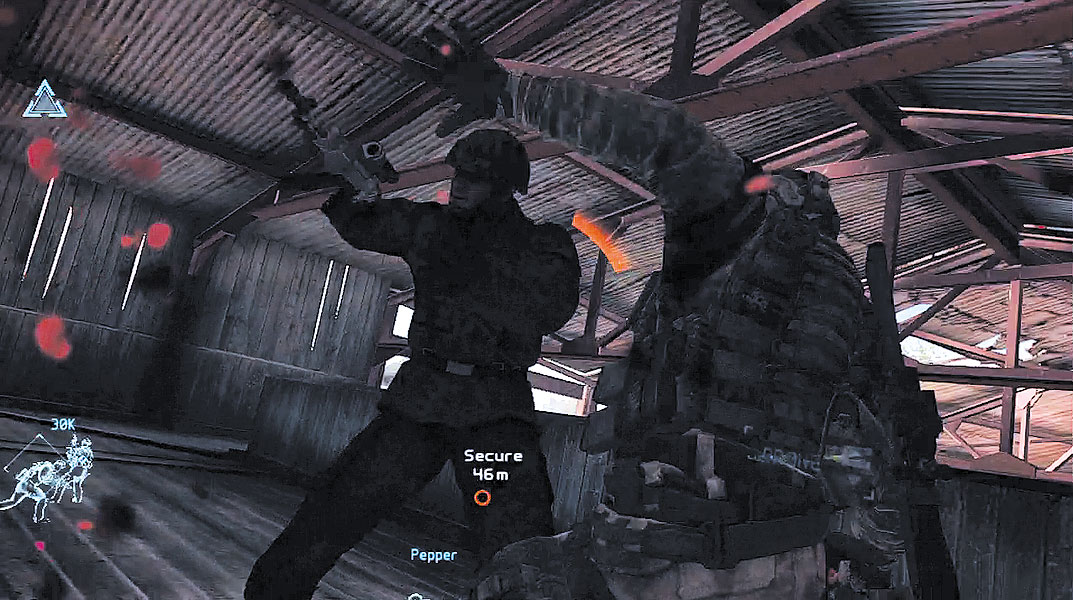
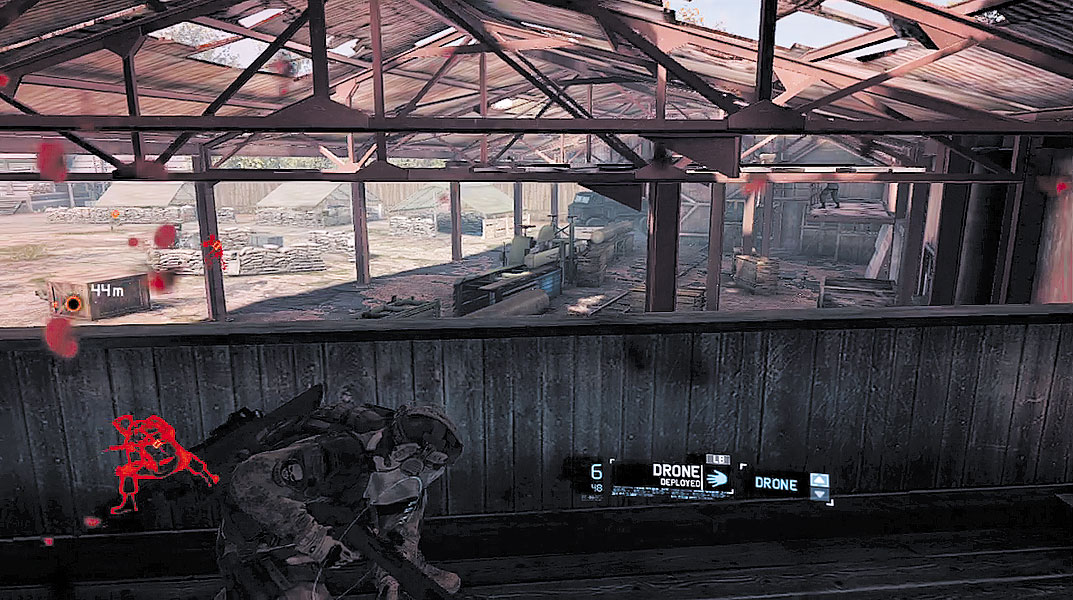
As four riflemen drop dead simultaneously, an alert is triggered and the remaining enemies in the courtyard to scramble for cover. Let your team deal with the enemies in the courtyard. Immediately following the sync-shot, equip your shotgun (or any other secondary weapon) and rush through the doorway on the right, gunning down the startled rifleman before he has a chance to react. As he falls to the ground, pass through the next doorway to the left and blast another rifleman posted on a balcony overlooking the large equipment shed—at this close range, a melee kill may be easier. Take cover on the edge of the balcony and begin engaging enemy troops in the shed. If necessary, deploy more Sensors to get a better view of their hiding spots. Issue focus-fire orders on the enemies in the shed, or take them out yourself using your sniper rifle or shotgun.
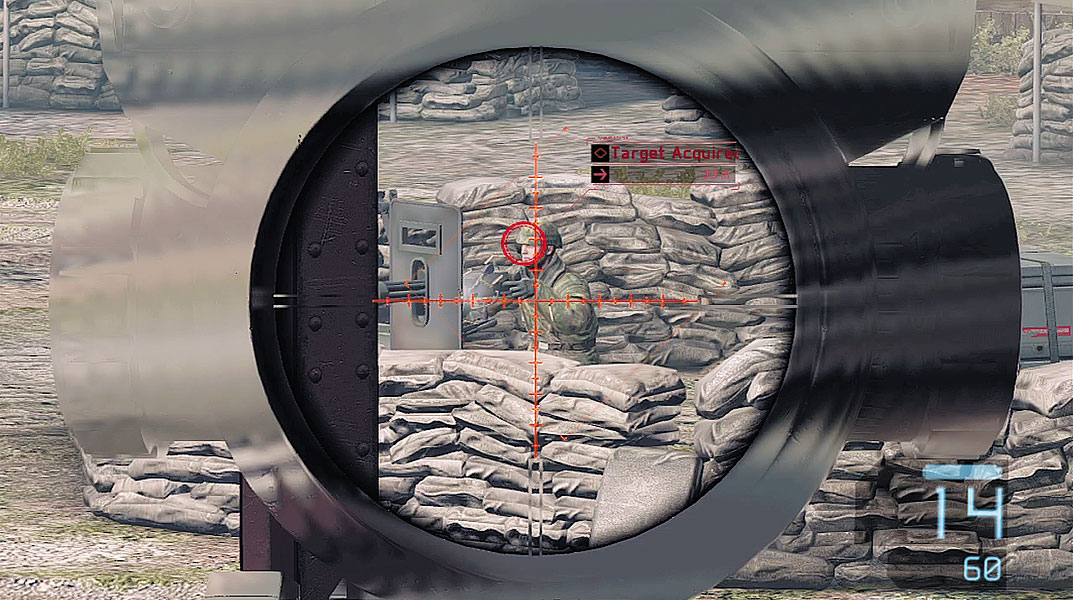
From the balcony within the equipment shed, you can also view the two mounted machine guns in the courtyard. Throughout the battle, riflemen will attempt to rush to these weapons and open fire on your teammates—don’t let that happen. Monitor the mounted machine guns and pick off anyone that tries to reach them. When you’re not targeting enemies behind the mounted machine guns, issue focus-fire orders on hostiles in the courtyard and within the equipment shed. Hold your position on the balcony overlooking the equipment shed and continue supporting your teammates until the field HQ is clear. You can now search the facility for intel on the enemy artillery locations.
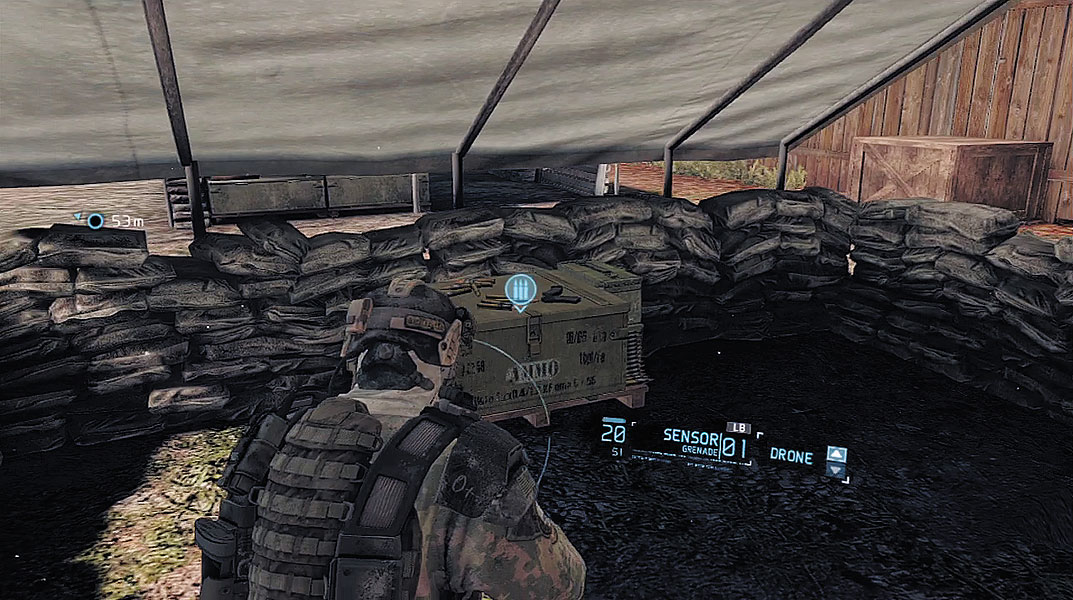
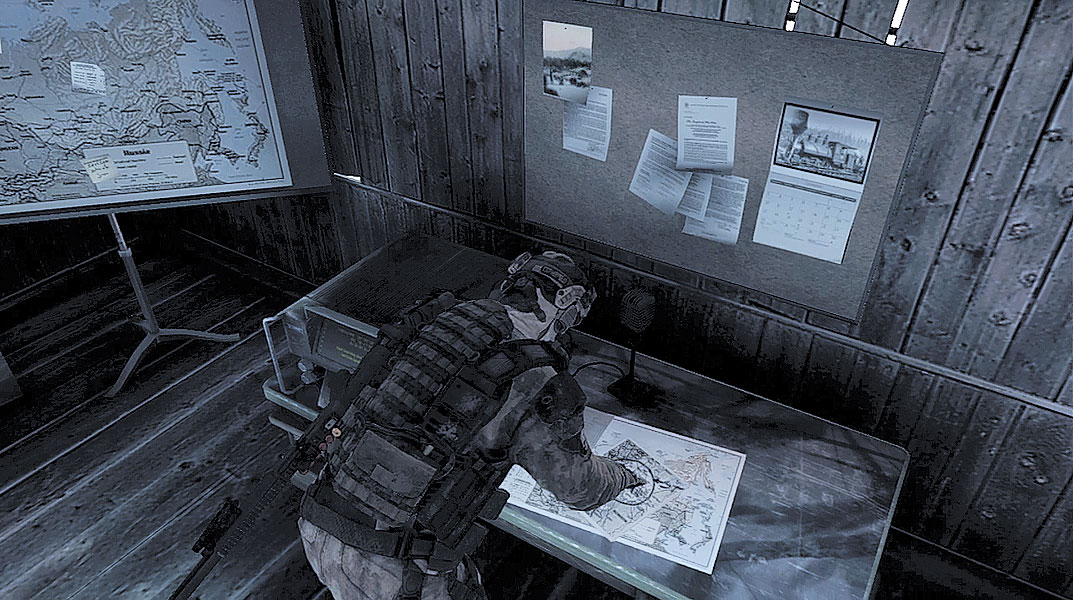
Regroup with your team in the structure where you began your shotgun assault. Approach the desk next to the large map and gather intel on the enemy artillery positions. Kozak discovers that General Douka is surrounded by enemy artillery. Douka needs some breathing room, and knocking out those artillery guns may give him the chance to break out. But before moving out, Ghost Lead wants to inspect another building.
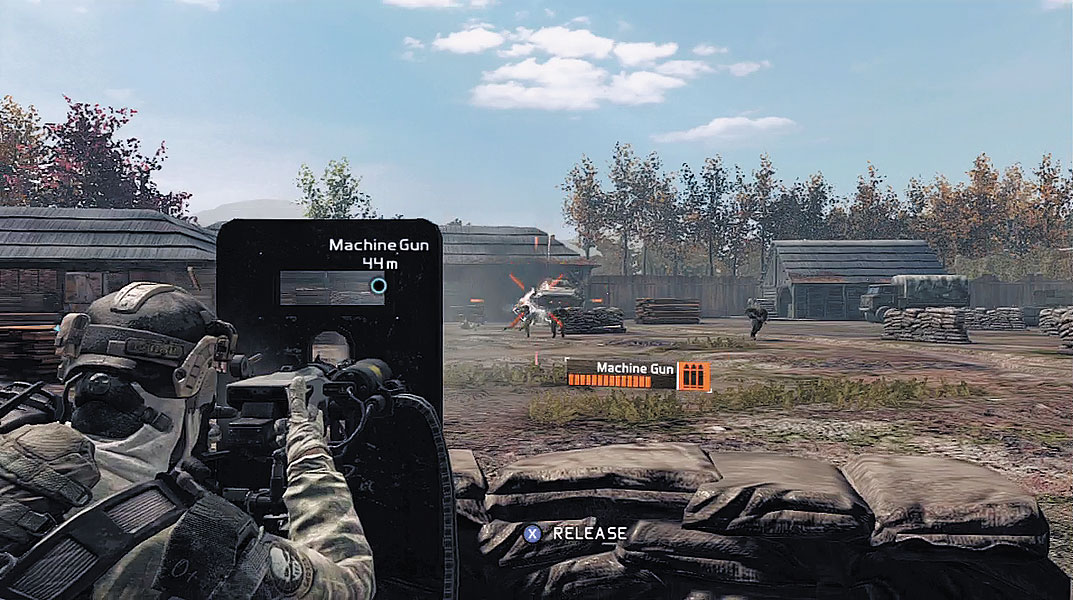
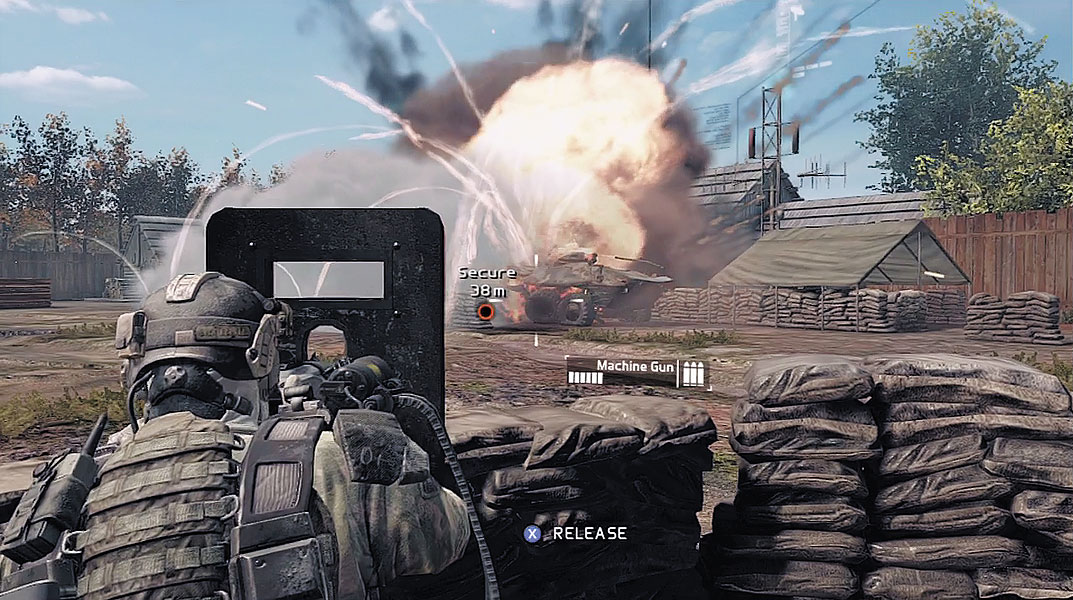
As you follow your team outside, deploy more Sensors in the courtyard and rush to the mounted machine guns—enemy reinforcements have arrived! Take control of the mounted machine gun on the right and aim it at the incoming BTR-90. The slow-moving APC is joined by a small group of infantry. Immediately open fire on the enemy attackers, focusing mostly on the BTR-90. This machine gun is equipped with a steel plate that protects you from incoming fire. However, watch out for enemy troops attempting to flank from the right. If you don’t, that steel plate won’t do anything for you. Go easy on the trigger, firing the machine gun in short bursts. If the machine gun overheats, it will become inoperable for several seconds while it cools down, leaving you defenseless. Keep an eye on the weapon’s heat meter, which is shown on the HUD. If the heat meter turns orange, release the trigger to prevent overheating. As the BTR-90 moves to the right side of the courtyard, continue tracking its movements and mow down the troops that exit the vehicle. Keep up the attack until the BTR-90s is destroyed and all enemy troops are down for the count. You can finally inspect that other building.
Tactical Challenge: Innovative Diversity
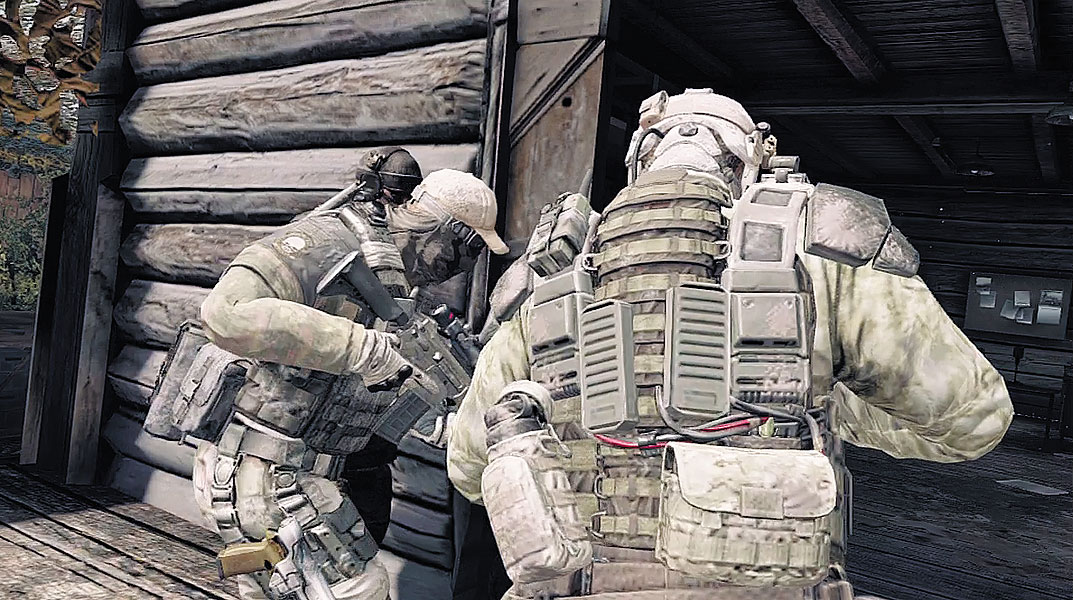
Regroup with your team at the wooden structure on the right side of the courtyard. There are no enemies inside, but there is a radio. Kozak translates the Russian chatter, reporting that Raven’s Rock reinforcements are approaching from the west, attempting to trap General Douka’s men. In an attempt to warn the General, Overlord patches Kozak in to Douka’s communication frequency. Careful not to identify himself or the Ghosts, Kozak speaks directly with General Douka in Russian, warning him of the enemy’s plan to encircle his position. Douka seems reluctant to accept information from strangers. Taking out Raven’s Rock artillery will certainly help earn the trust of the besieged general.