
Tom Clancy's Ghost Recon Future Soldier Guide Multiplayer Guerrilla Mode
Survival, Tom Clancy-Style
Survival, Tom Clancy-Style

Hold Your Ground
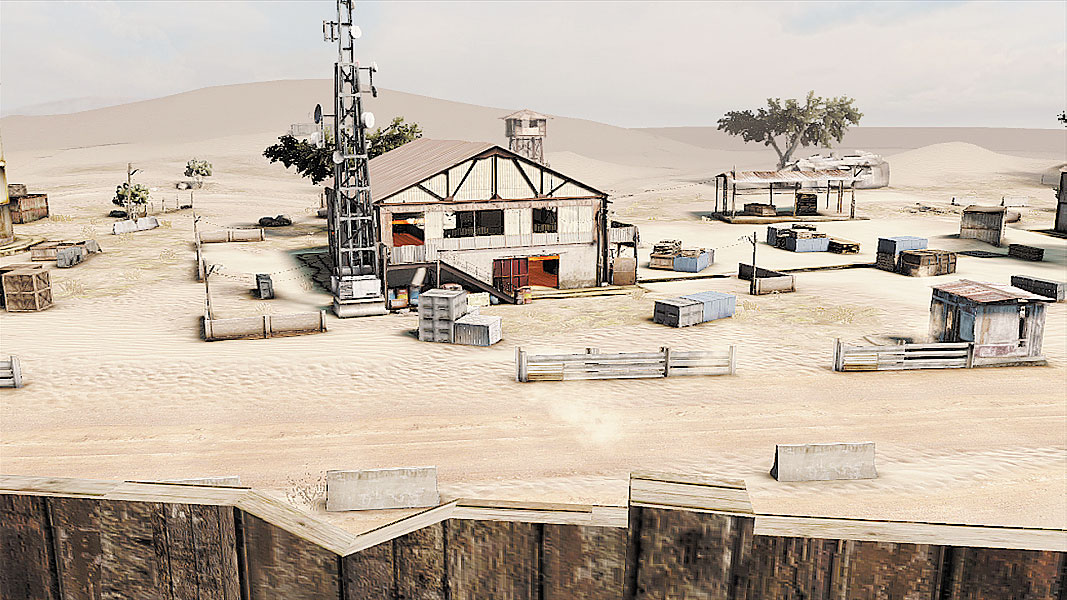
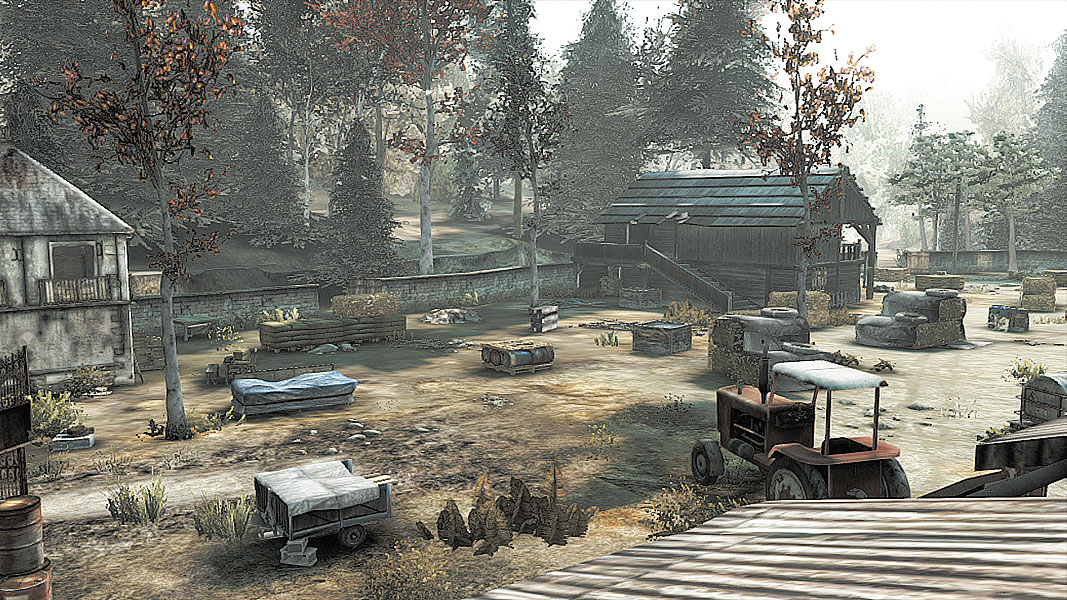
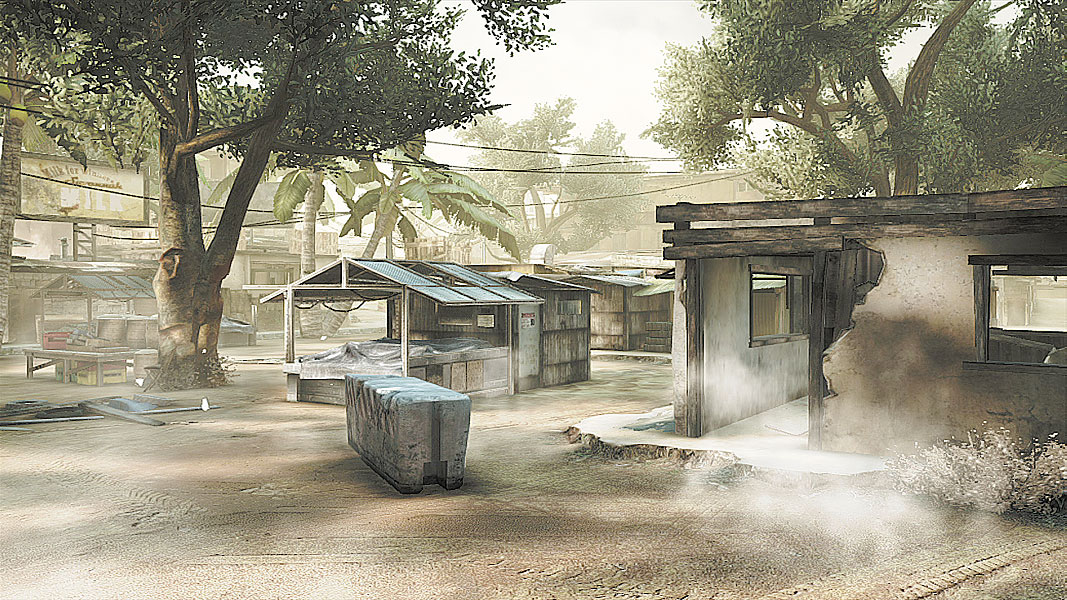
Guerrilla Mode offers a unique play style that piggybacks off the basics found in other parts of Ghost Recon Future Soldier but has a more tactical capture-and-hold approach. Multiple unique level layouts and styles pit you and your squad of up to three fellow Ghosts in a battle to stay alive through 50 waves of progressively more intense hostile opposition, from the steady march of riot shield-carrying foes to the disorienting suppression effect of light machine guns (LMGs) to the one-hit-kill danger of snipers, rocket-propelled grenades, and point-blank shotgun blasts. It will take every ounce of training developed in both the Campaign and Adversarial Modes to overcome the onslaught and make it to the end of all 50 waves.
Guerrilla Boot Camp
Unlike other horde-style modes found in other games, Guerrilla offers a strategic twist on the normal dig-in-and-survive mechanics of other games in the form of an infiltration wave. Starting with the first wave, and every tenth wave after it, you and your Ghost squad will have to capture the Headquarters occupied by progressively larger numbers of hostile guards. Successfully infiltrating without raising an alarm will net you a cool 5,000 points (not to mention bragging rights and a Trophy or Achievement), plus it provides a small break from the chaos of the other nine waves. The final wave of a particular phase is a “boss” battle, which features far more hardy threats like armored vehicles, tanks, and attack helicopters.
Infiltration
Just as in the main Campaign, you and your fellow Ghosts are protected by Optical Camo, which allows you to move through even brightly-lit environments with minimal detection. That’s important because avoiding detection is the key to successfully infiltrating and retaking the HQ. Available only during infiltration waves, the sync-shot can be used to strategically eliminate multiple threats simultaneously, but be careful; if an enemy sees one of their comrades go down or discovers a body on a patrol route or line of sight, they’ll go into an alert phase. While you’re technically still not spotted, your team will nevertheless have to deal with enemies falling back to the HQ. The second one Ghost is spotted, the enemy will open fire. The key, then, is to be silent as your namesake, slipping in, snapping necks or slicing throats with a surgeon’s precision, and then slipping out before the enemy ever knows you were there.
Combat
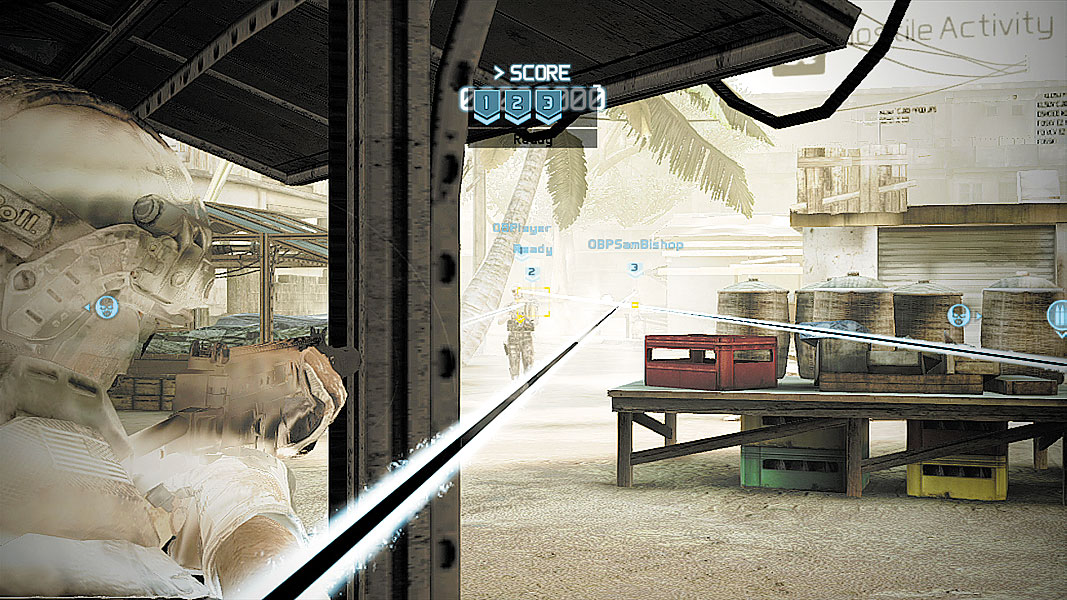
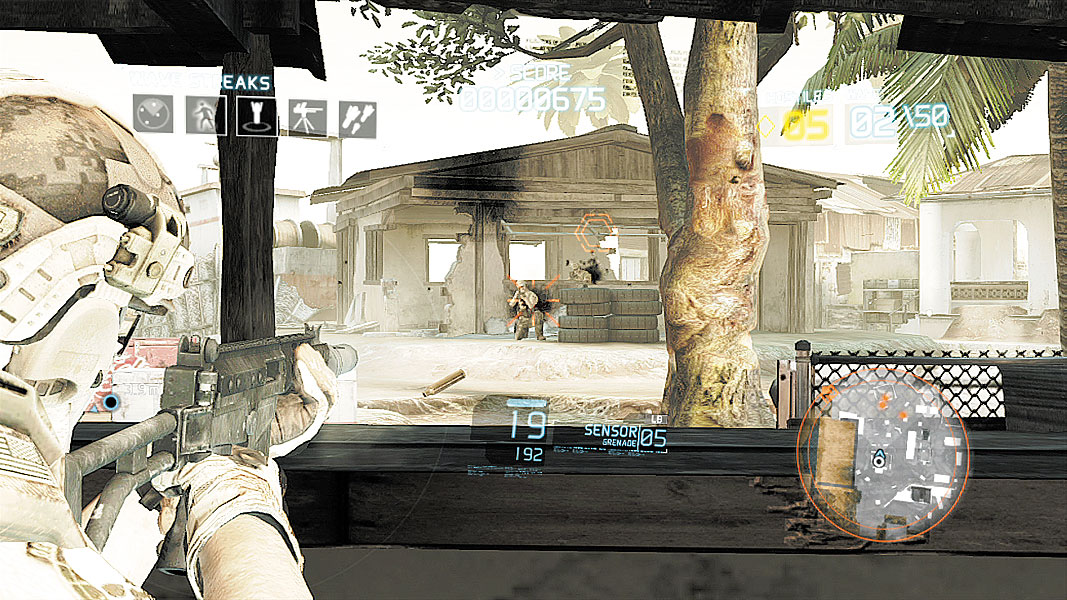
In the waves between infiltrations, you’ll have not choice but to fend off attacks from multiple waves of hostiles. Although their numbers and tactics start relatively small, each wave brings more danger and firepower. Management of ammunition is key here, because while there are ammo crates near the HQs, gearing back up can be lethal if enemies are present. Cover is essential during the combat phases, both for you and the hostiles you’ll be trying to eliminate. With multiple combinations of enemy types and AI that forces cooperation and communication, the single best weapon you and your fellow Ghosts have is experience and a steady aim.
Bleeding Out
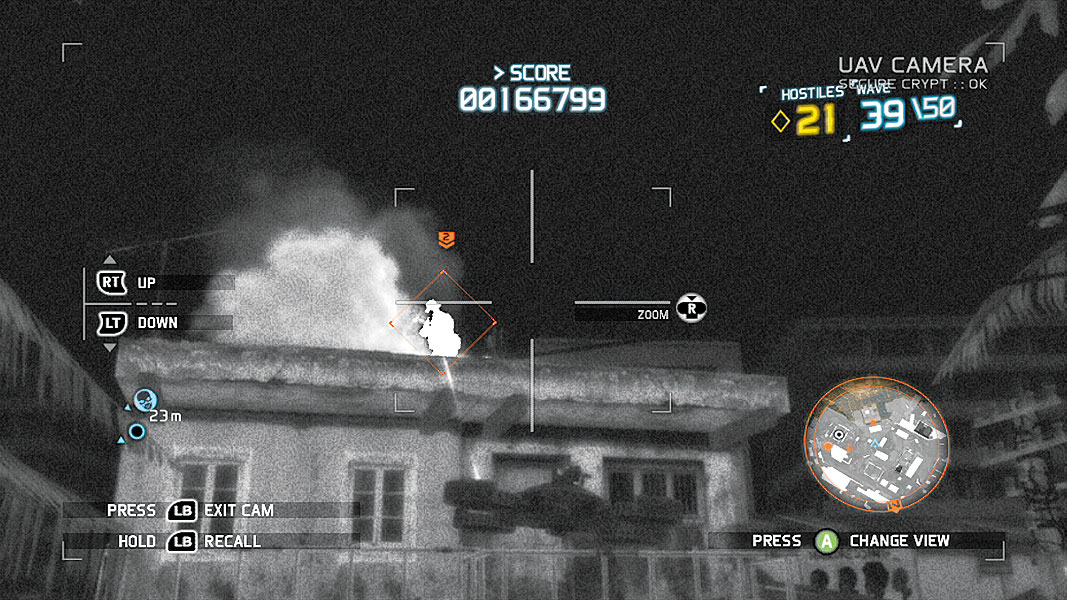
No matter how good a Ghost’s training, eventually an enemy can and will get the drop on him, which is precisely why Ghosts work as a squad. If you’re gravely wounded, you’ll begin bleeding out, and a circular gauge will start to deplete. So long as a fellow Ghost can get over to you and heal you, you’ll be back in the fight as if you never went down. If the meter fully drains, however, you’ll be out for the remainder of the wave. Though you can observe your remaining Ghosts in action, a far more strategically advantageous option is available: Jump into a UAV. By controlling this drone, you can not only provide overwatch, but can mark targets and provide valuable intel on enemy locations for the rest of the team. Even when you’re out of the fight, you’re not truly useless, and so long as a single Ghost weathers the wave, all other Ghosts will revive and head into the next wave ready to fight.
Supply Drops
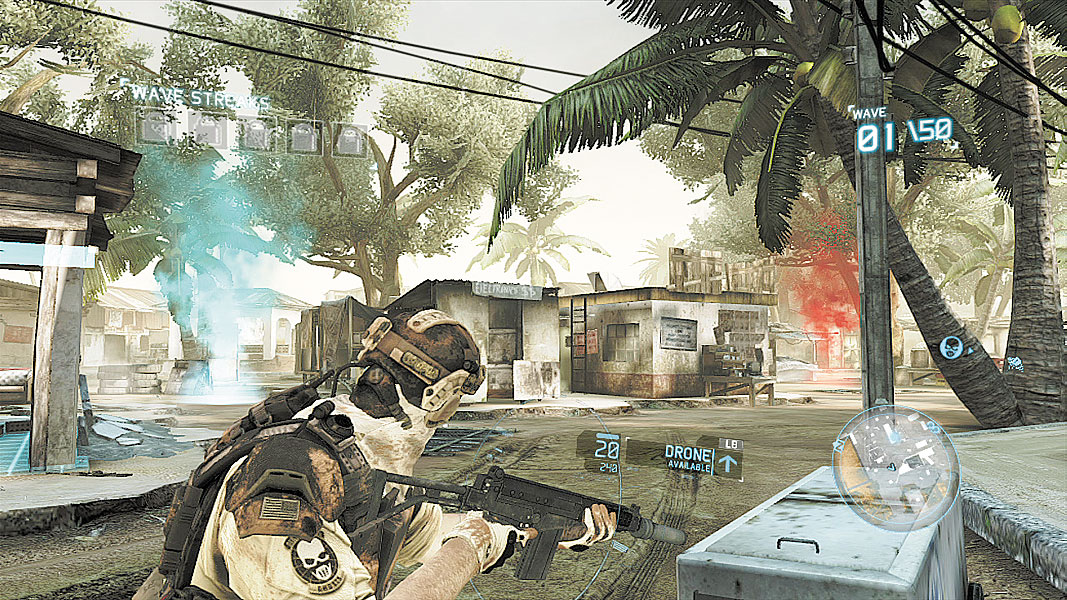
Between waves, a support helicopter will airdrop two different but equally valuable crates onto the battlefield. The first is a weapons crate with progressively more potent SMGs, sidearms, sniper rifles, shotguns, PDRs, LMGs, and assault rifles. Although these weapons are randomized, they can help augment your squad’s tactical options, providing long-range, suppressed, rapid-fire, and high-penetration advantages, just to name a few. The second crate, an item crate, allows access to Claymores, Frag and Incendiary Grenades, UAV Drones, and Sensors, and can be replenished every round or swapped out as needed. Although these drops will disappear shortly after a combat wave has started, ammo crates are always available. Weapon and item crates will also appear near the insertion point of every infiltration wave.
Wave Streaks
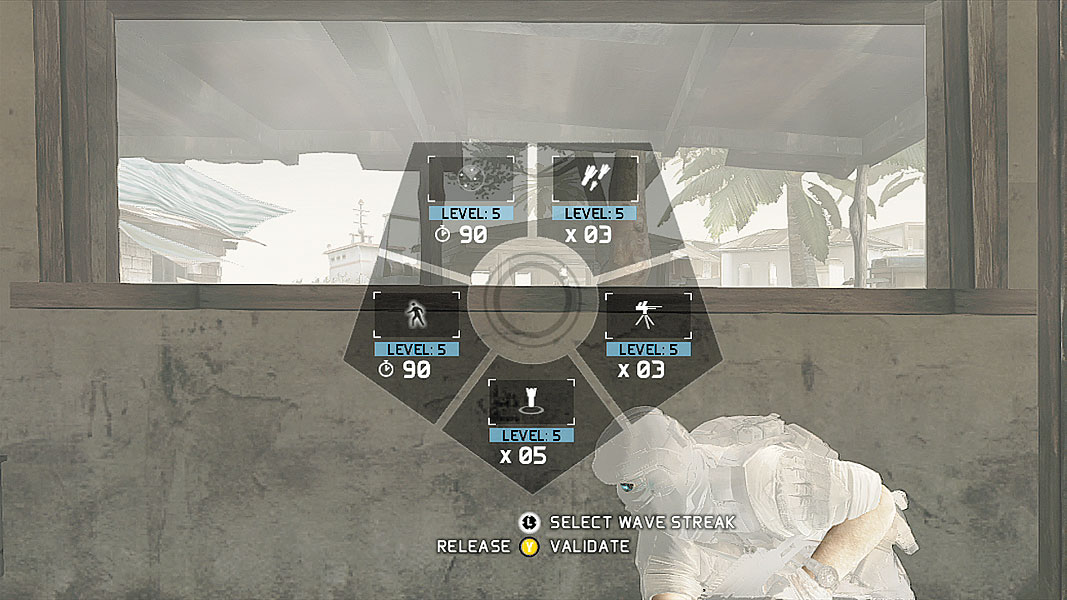
Survival is not without its rewards. For successfully living through multiple waves, you’ll be gifted unique and potent abilities that get progressively more effective. Better still, those abilities will level up if you earn them again (or stay alive long enough for the reward cycle to wrap back around), becoming more effective, longer-lasting, and with bonus effects.
Radar—Unlocked After Surviving Two Consecutive Waves
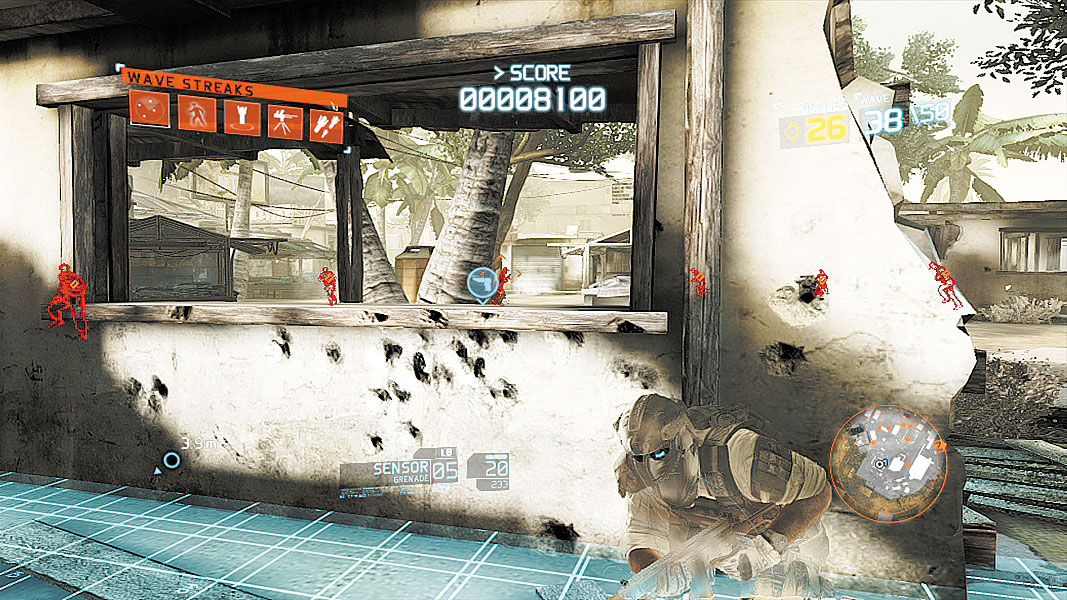
No mere ping, the Radar Streak lets you see every single hostile in the level at that time, even ones that have Optical Camouflage. Although it’s initially limited to just 30 seconds of quasi-omniscience, as the Streak levels up, you’ll gain more time with which to see and engage the enemy.
| Level 1 | 30 seconds |
| Level 2 | 45 seconds |
| Level 3 | 60 seconds |
| Level 4 | 75 seconds |
| Level 5 | 90 seconds |
Invisibility—Unlocked After Surviving Four Consecutive Waves
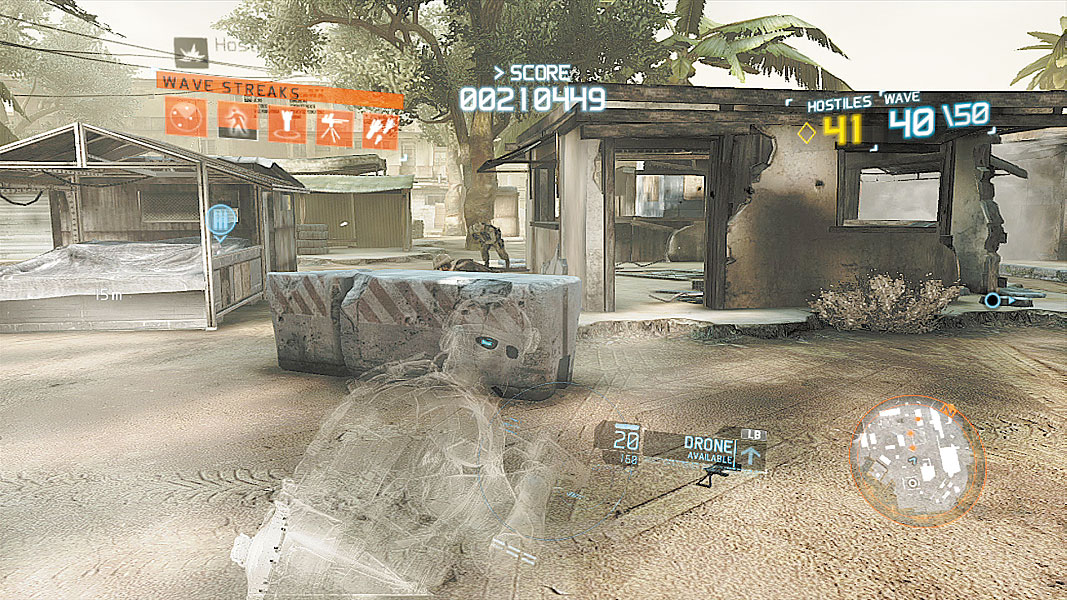
While a Ghost’s Optical Camouflage is fantastic for sneaking around, it breaks down when you’re moving quickly or while under fire. With the Invisibility Streak, you are completely invisible, even when standing in front of an enemy or firing. Invisibility lowers pressure from hostile attacks and allows for quick stealth attacks on targets that might otherwise be too dangerous to approach normally.
| Level 1 | 30 seconds |
| Level 2 | 45 seconds |
| Level 3 | 60 seconds |
| Level 4 | 75 seconds |
| Level 5 | 90 seconds |
Missile—Unlocked After Surviving Six Consecutive Waves
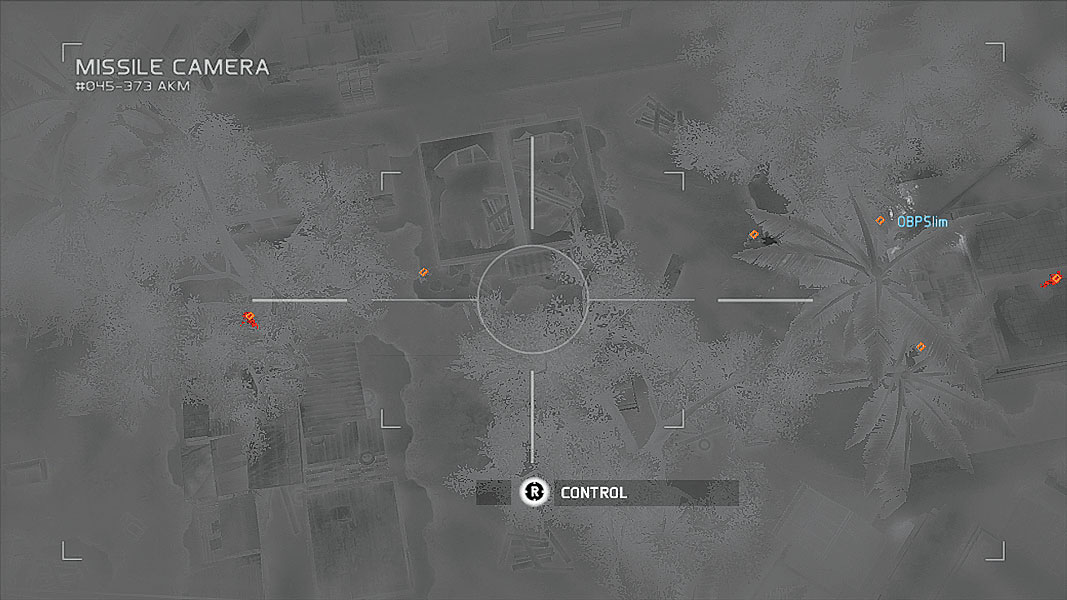
A guided missile strike with incredible power, calling down a Missile Streak is the single most effective way to deal with hardened enemies like vehicles. Maneuverable for the first two-thirds of its descent, the Missile eventually locks into position and will slam with overwhelming force into wherever it’s been pointed. Note that while Wave Streaks do not stack (in other words, having two missiles after it hits Level 3 will not afford you four total Missiles), they do fully replenish, so even after using all four of the Level 4 strikes, reaching Level 5 will give you five missiles to use.
| Level 1 | 1 Missile |
| Level 2 | 2 Missiles |
| Level 3 | 3 Missiles |
| Level 4 | 4 Missiles |
| Level 5 | 5 Missiles |
Turret—Unlocked After Surviving Eight Consecutive Waves
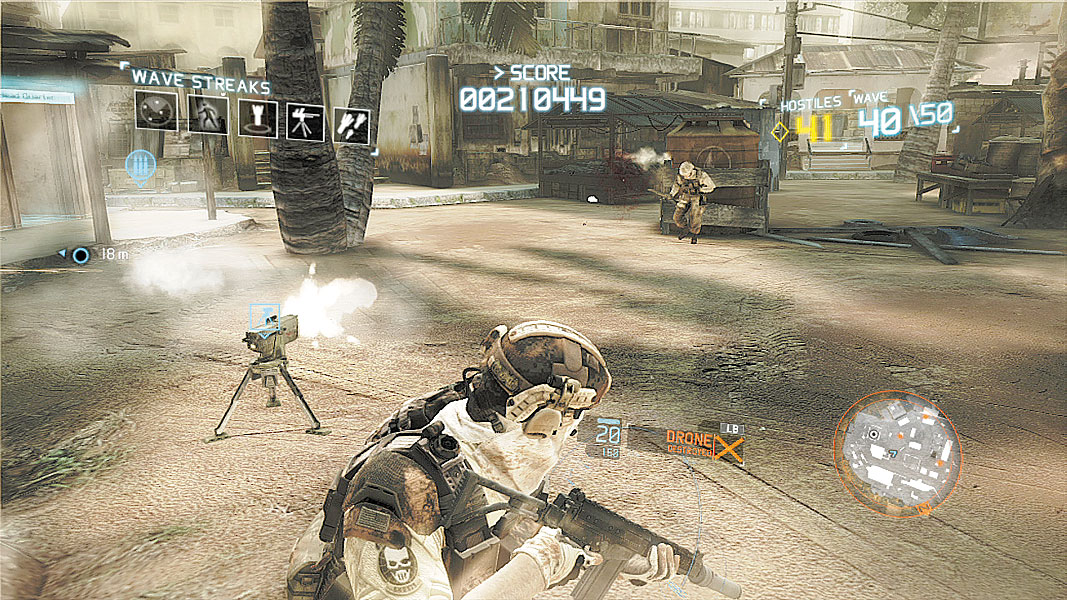
The automated defense turret is a set-and-forget means of controlling incoming hostiles with concentrated forward firepower. Although the turret has a small field of view (so it won’t swivel to attack targets behind, for instance), its ability to quickly target enemies and unload with rapid-fire bursts is great when multiple attack vectors need to be covered at once.
| Level 1 | 1 Turret |
| Level 2 | 1 Turret |
| Level 3 | 2 Turrets |
| Level 4 | 2 Turrets |
| Level 5 | 3 Turrets |
Airstike—Unlocked After Surviving Nine Consecutive Waves
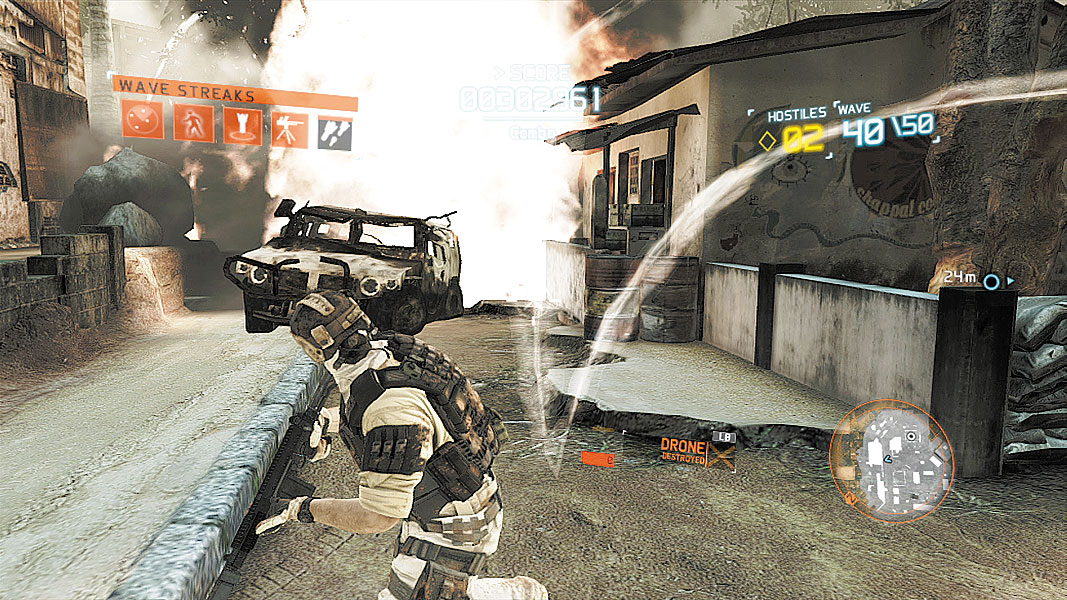
When specific targets aren’t important, the Airstrike is the ultimate form of hostile punishment. The targets chosen are random, but they are guaranteed one-hit kills with enough force to penetrate cover even Missile strikes could not. Once activated, an Airstrike will pound the level, systematically eliminating one target after another until exhausted. Note that like the Missile, Airstrikes do not stack, but replenish fully upon leveling up.
| Level 1 | 1 Strike | Hits 5 Targets |
| Level 2 | 2 Strikes | Hits 7 Targets |
| Level 3 | 2 Strikes | Hits 7 Targets |
| Level 4 | 3 Strikes | Hits 9 Targets |
| Level 5 | 3 Strikes | Hits 9 Targets |
All-Points Bulletin
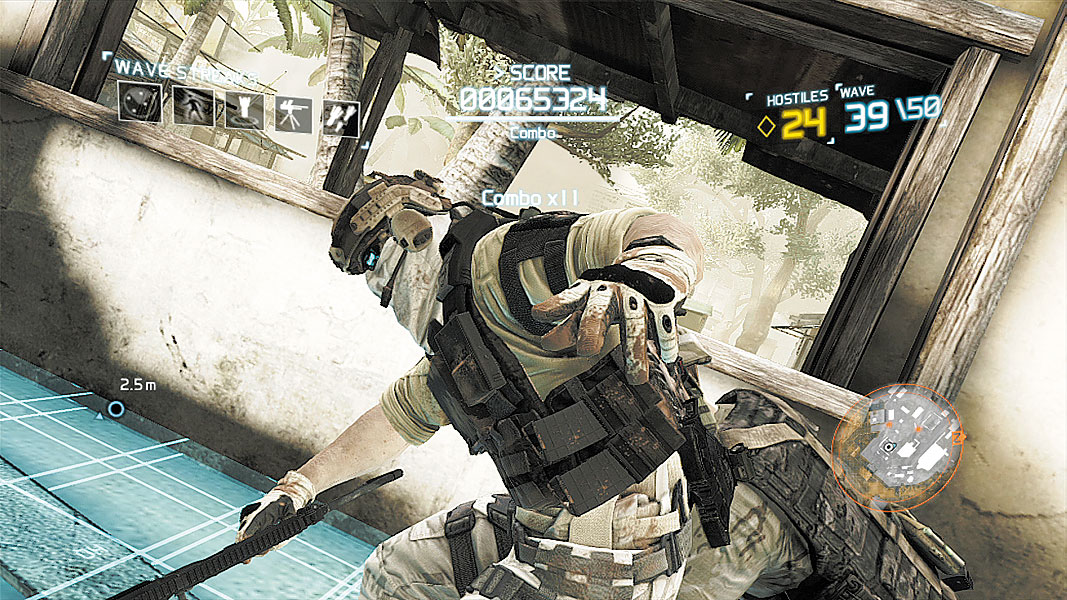
Although there is no experience or set of unlockables in Guerrilla Mode, there is most definitely a goal: points, and more of them than the other guys on your leaderboard. Working together isn’t just a recommendation, it’s the core of Guerrilla’s scoring system. By quickly taking out targets, you’ll contribute to an overall team combo. Keep dispatching hostiles and that combo will grow, adding to the overall pool of points. While a typical kill on the early levels will net you a scant 50 points, on later waves, that might climb to 100 or 150 (although enemies will be much better armored). Likewise, marking an enemy that is killed by a squadmate or reviving a downed ally will award 100 points.
Quality Kills
Where things get interesting is in how enemies are killed. Those base points are well and good, but they can be augmented by doing more than just plugging a hostile in their center mass:
| Turret Kill | 1.5x base score |
| Headshot | 2x base score |
| Sync-Shot | 3x base score |
| Missile Kill | 3x base score |
| Melee Kill | 4x base score |
| Airstrike Kill | 5x base score |
As you can see, isn’t just the quantity, although that’s a huge part of it. Notch a huge streak of normal kills and melee strikes, and then call in an Airstrike to polish off one of those armored vehicles like a tank or helicopter and you’re looking at hundreds of thousands of points, if you time it properly. And since the only thing separating the boys from the men on those leaderboards is the points they command, timing is everything.
Army of Four
The following strategies were designed with the idea that you would be taking on these waves with three other buddies, but we’ve tried to keep it central to you, the core player. In many instances, we’ve outlined how to get through the infiltration phases completely on your own—which is awesome for showing off your Rambo moments, but terrible for notching serious points. Remember that teamwork will always win over showboating, especially in Guerrilla. Gear up, Ghosts. This is going to get harder before it gets easier.