
Tom Clancy's Ghost Recon Future Soldier Guide Walkthrough Silent Talon
Destroy Weapons Cache
Destroy Weapons Cache
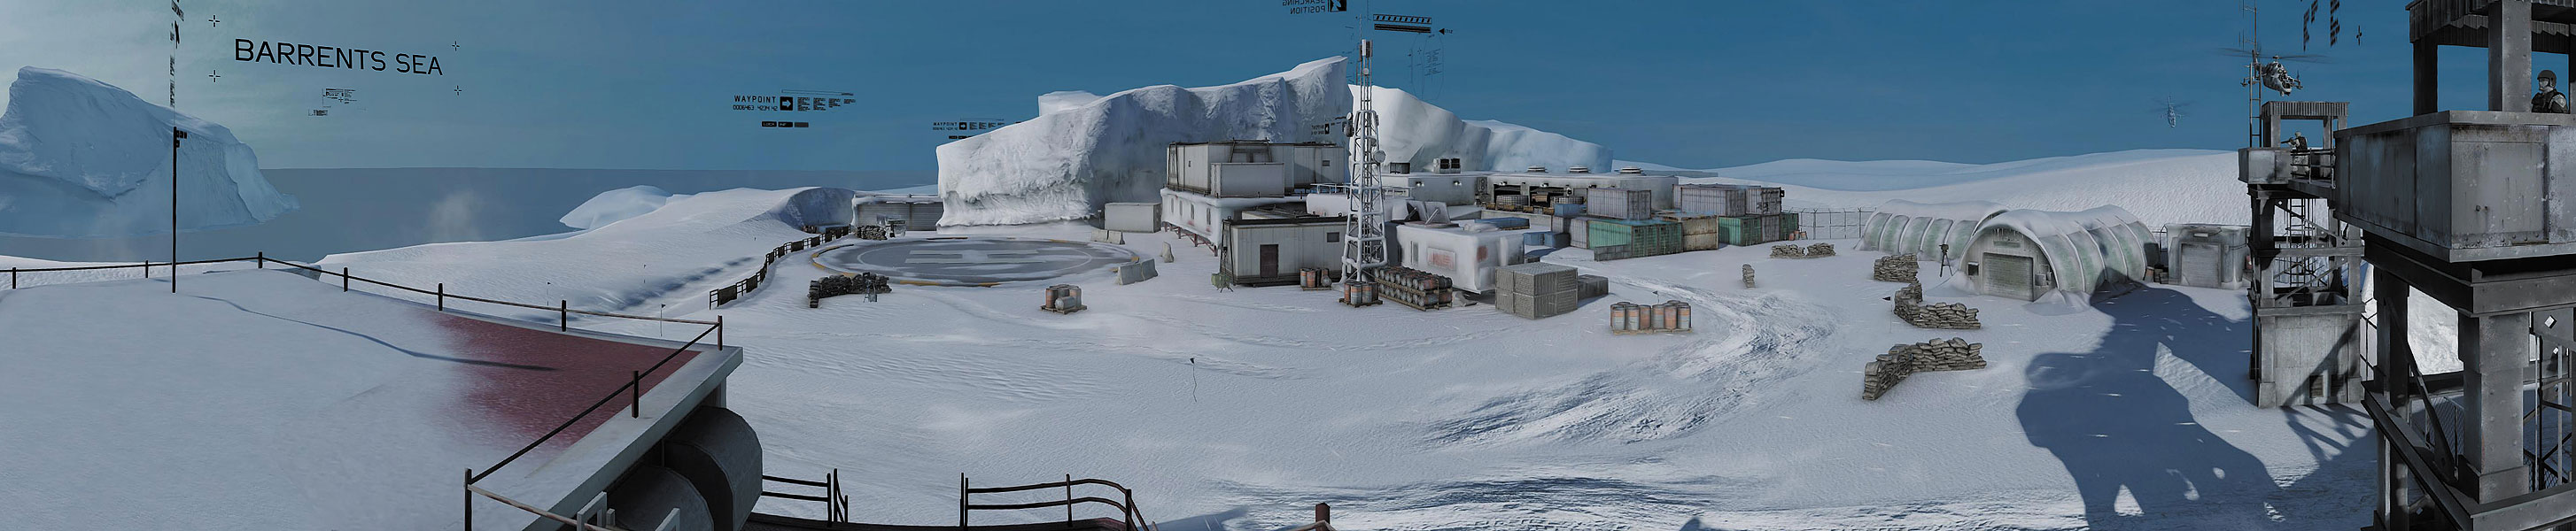
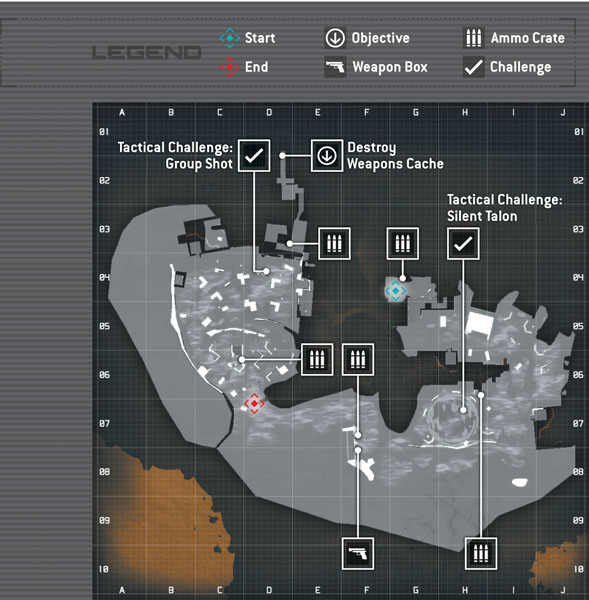
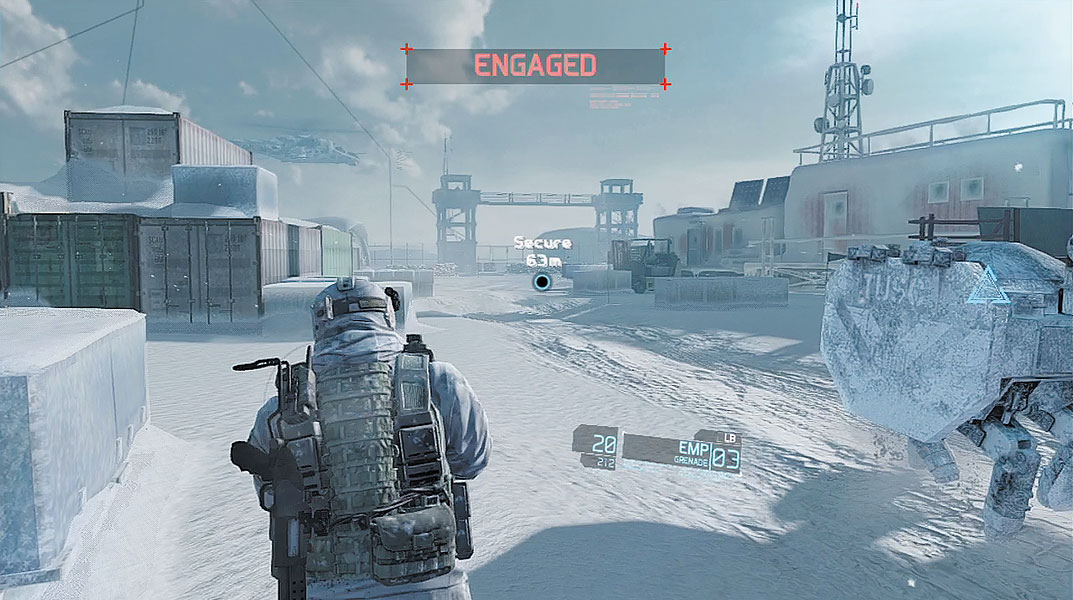
Upon exiting the elevator, you can access an ammo crate nearby. After stocking up on ammo and grenades, follow the Warhound out of the bunker-like facility. Your team emerges onto another base occupied by more hostiles. Immediately take cover behind one of the stacks of crates on the left to avoid getting hit by RPG rounds fired from the two guard towers connected by a catwalk. Once you’ve reached cover, access the Warhound and target the towers with mortar rounds—all it takes is one hit to bring the connected towers crashing down. Next, focus the Warhound’s fire on the enemy infantry blocking the path ahead.
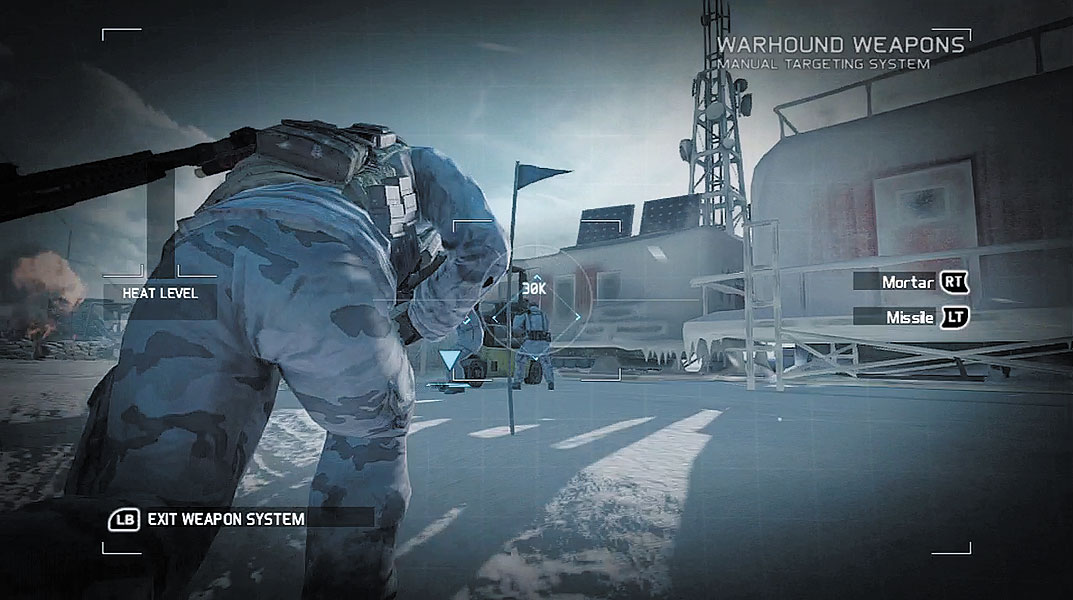
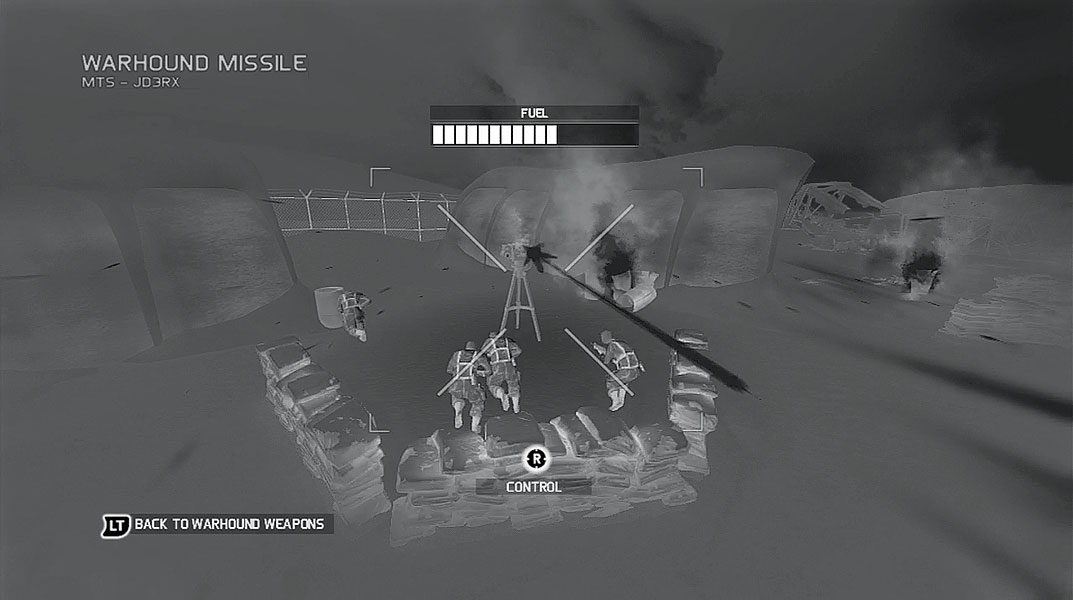
Just ahead, you can hear the sound of a mounted machine gun spitting rounds at your team. Using the swap cover method, dash to the right side of the path and take cover by the crates next to the forklift. Chances are the mounted machine gun will pin you shortly after you reach cover. Stay low behind your new cover and fire a guided missile from the Warhound. As the camera view switches, fly the missile toward the left side of the base. You’ll spot the mounted machine gun (along with other hostiles) behind a row of sandbags. Fly the missile into the ground at the base of the mounted machine gun. This not only silences the machine gun, but the missile’s large blast radius also takes out any hostiles nearly. With the machine gun out of the way, help your teammates clear out the remaining hostiles.
Tactical Challenge: Release the Hound
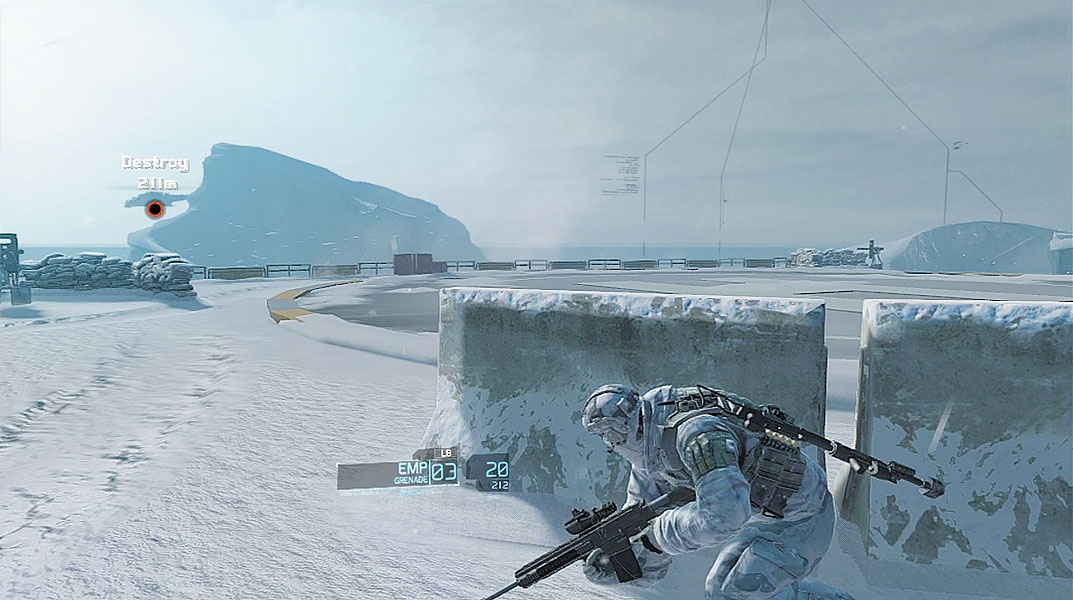
Next, follow your team (and the Warhound) toward the nearby helipad. But don’t let that ammo crate distract you just yet. Immediately take cover behind one of the concrete barriers on the helipad’s perimeter and peer out toward the sea. Two Mi-24 Hind attack helicopters can be seen in the distance. Quickly access the Warhound and launch a guided missile at the first enemy chopper that comes into view. Hitting a moving target with the guided missile isn’t easy. So lead the chopper slightly, flying the missile in the direction the chopper is traveling. It doesn’t matter where you hit the chopper, but aim for the fuselage to guarantee a hit. It takes two guided missile hits to bring down each chopper. So act quickly to bring down both threats before they lay waste to your team. There is a mounted machine gun on the opposite side of the helipad. If you’re playing this mission with a friend, ask them open fire on the choppers with the machine gun while you attack with the Warhound’s guided missiles. These weapons are your best shot at bringing these choppers down quickly.
Tactical Challenge: Silent Talon
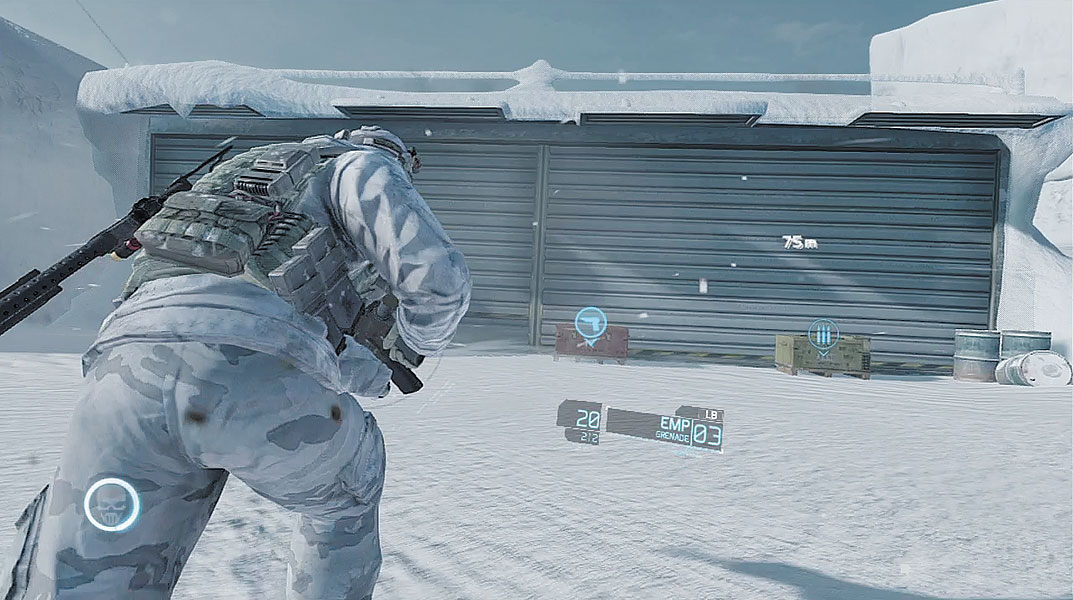
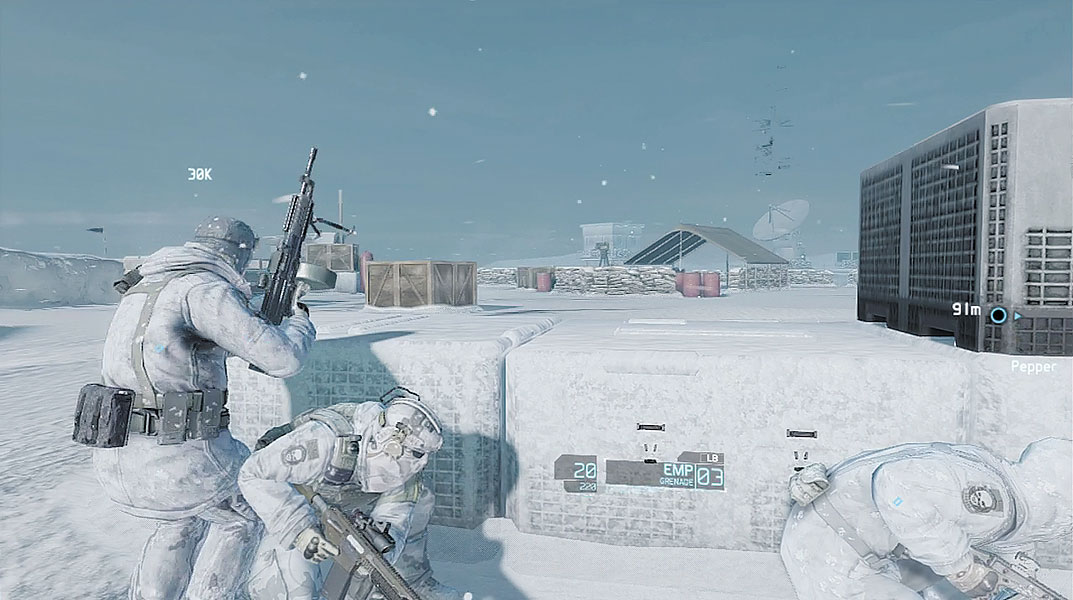
Follow the Warhound up the nearby slope, leading to the mysterious facility believed to contain the weapons cache. As expected, the facility is heavily defended. Your team is greeted by the ripping sound of an automated turret opening fire. Sprint to cover behind the crates on the outskirts of the facility to avoid being cut down by the incoming fire. Once you’ve reached safety, bring the Warhound online and fire a guided missile at the turret. In addition to the turret, several enemy troops are also nearby. Stay behind cover and use the Warhound’s mortar to engage all contacts. If you have trouble spotting enemies hiding behind cover, deploy Sensors or simply activate Magnetic view to uncover their positions.
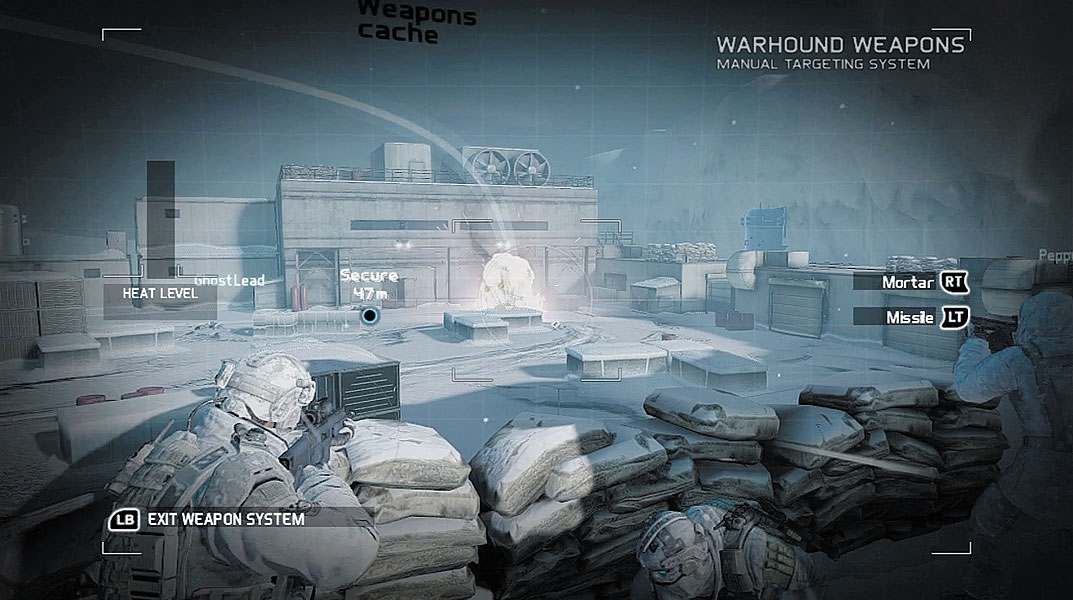
After clearing out the first layer of defenses, advance behind the Warhound as it marches fearlessly toward the facility. Swap cover, sprinting from one piece of cover to the next until you can make your way to the low sandbag wall overlooking the facility. From this position, you can bombard the enemy troops below using the Warhound’s mortar. Watch for enemy troops hiding behind cover as well as those positioned on the guard tower on the left and the rooftops on the right. During the fight, watch out for a GAZ-2330 light vehicle that approaches from the left—if you’re not careful, you’ll get flanked. When this vehicle arrives, immediately target it with a guided missile. Hold on the small hill overlooking the facility until you’re certain you’ve eliminated every threat. If necessary, lob Sensors toward the facility to reveal any enemies hiding.
Tactical Challenge: Group Shot
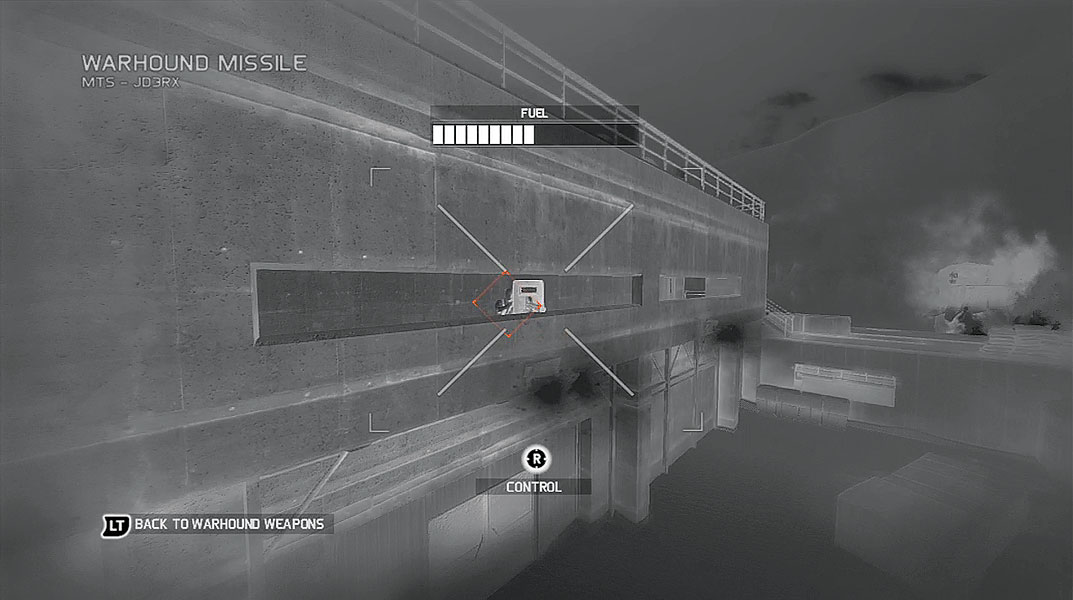
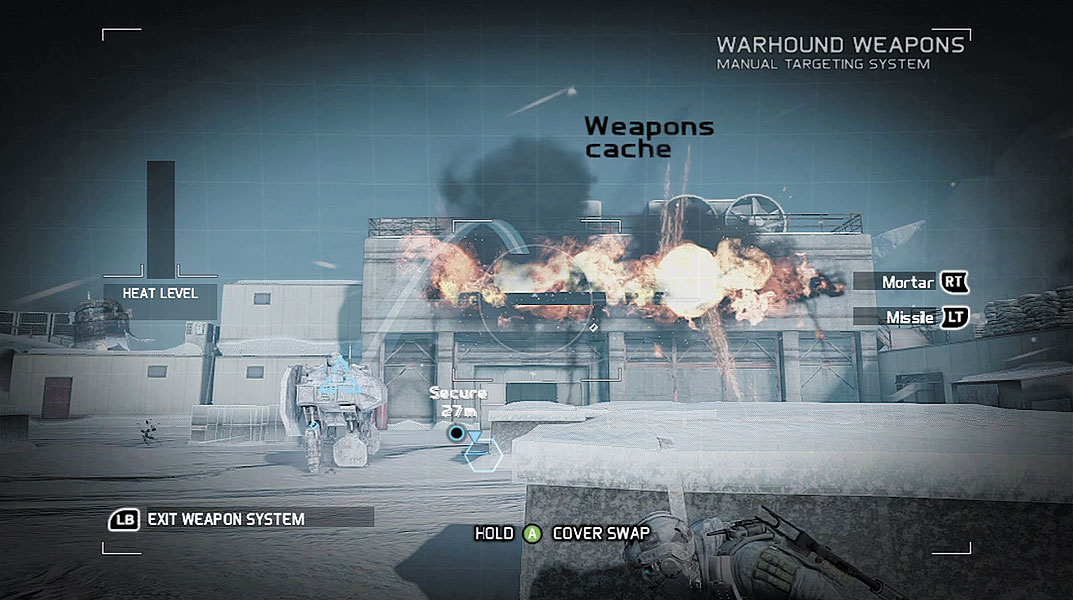
When you’re certain the area outside the facility is clear, rush down the nearby slope and take cover. Keep an eye on the large concrete structure on the right—a large door slides open and more enemy infantry rush out. Another group of enemies also occupy the second floor of the facility, firing at your team through the window slit. Take out the enemies on the ground first, targeting them with the Warhound’s mortar. Next, take aim at the hostiles on the structure’s second floor by launching a guided missile at the mounted machine gun. Stay behind cover and keep up the attack until the word “Clear” appears at the top of the HUD.
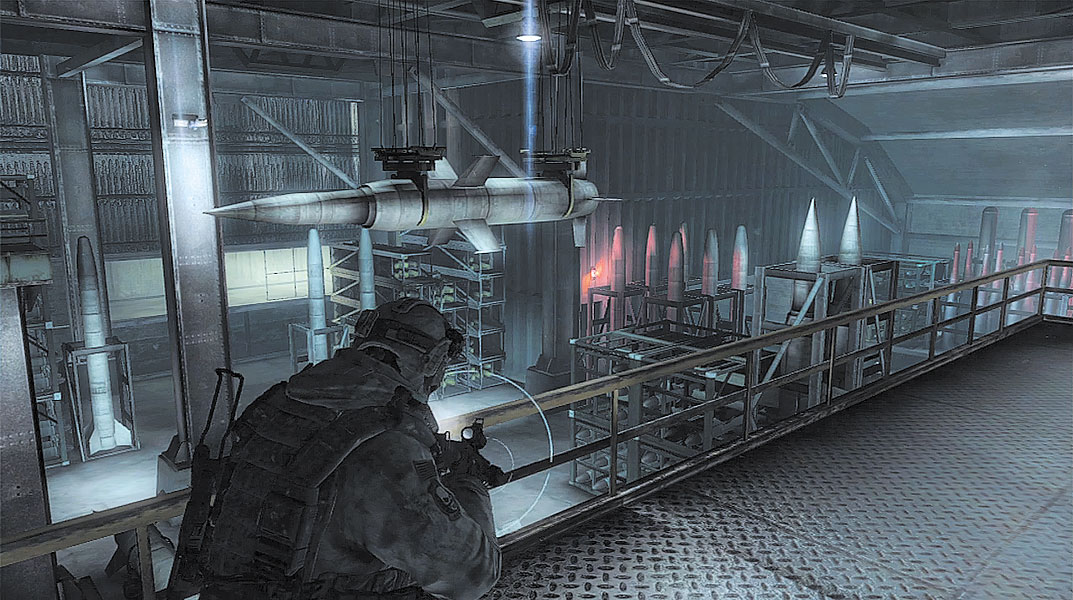
Regroup with your team and enter the now open doorway in the large concrete structure. Before moving toward the waypoint marker, interact with the ammo crate just inside the door—you won’t have much time to resupply later. Just beyond the ammo crate is a large blast door. Wait nearby while Overlord cracks the door, finally giving your team access to the weapons cache. What the Ghosts find inside is far more disturbing than they ever imagined. The bunker-like facility contains stockpiles of heavy weapons largely consisting of long- and intermediate-range missiles. What are these people up to? Overlord orders the Ghosts to take it out. Turn to the right side of the catwalk and located the white ring icon next to large missile. Move into the ring and press the button shown on-screen to place a C4 charge on the missile. The C4 charge is more than enough to trigger a chain reaction of explosions within the facility, wiping out the weapons cache. But do the Ghosts have enough time to get away before this place blows sky high?
Reach Extraction
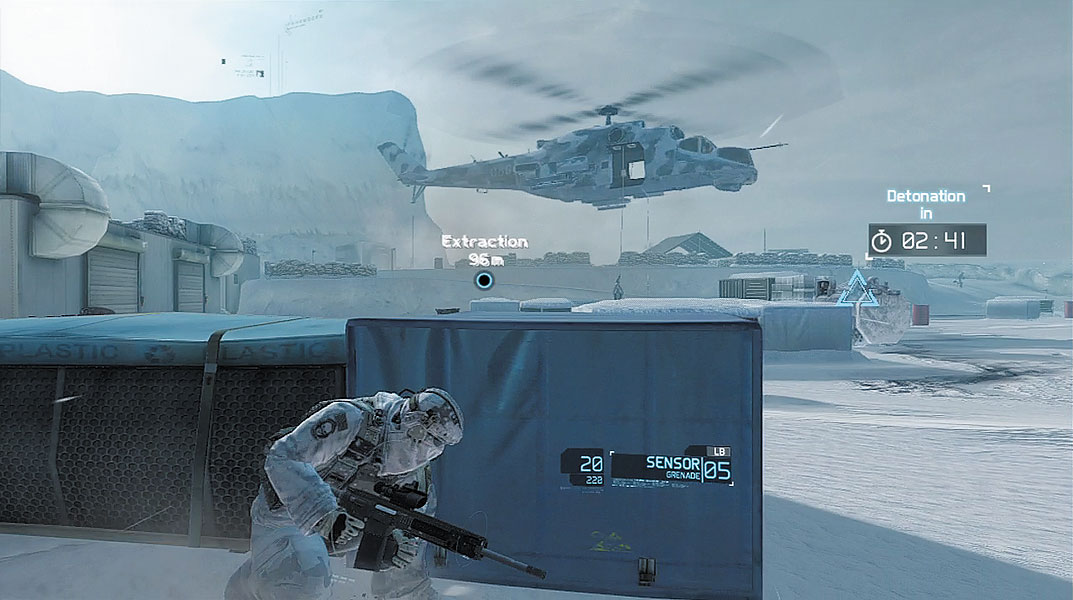
You have exactly three minutes to escape the facility before the C4 charge explodes—a countdown timer appears on the right side of the HUD. To make matters worse, an Mi-24 attack chopper appears outside, blocking your path to the extraction point. The chopper hovers overhead and drops off a new group of hostiles. Rush through the door and immediately take cover outside. Once you’re behind cover, access the Warhound and target the Mi-24 with guided missiles. All it takes is one hit to cause the chopper to spin out of control and crash into a nearby cliff. With the chopper out of the way, focus on the infantry by targeting them with the Warhound’s mortar. The infantry are eventually joined by a GAZ-2330 light vehicle—hit it with a guided missile before it can unload more troops.
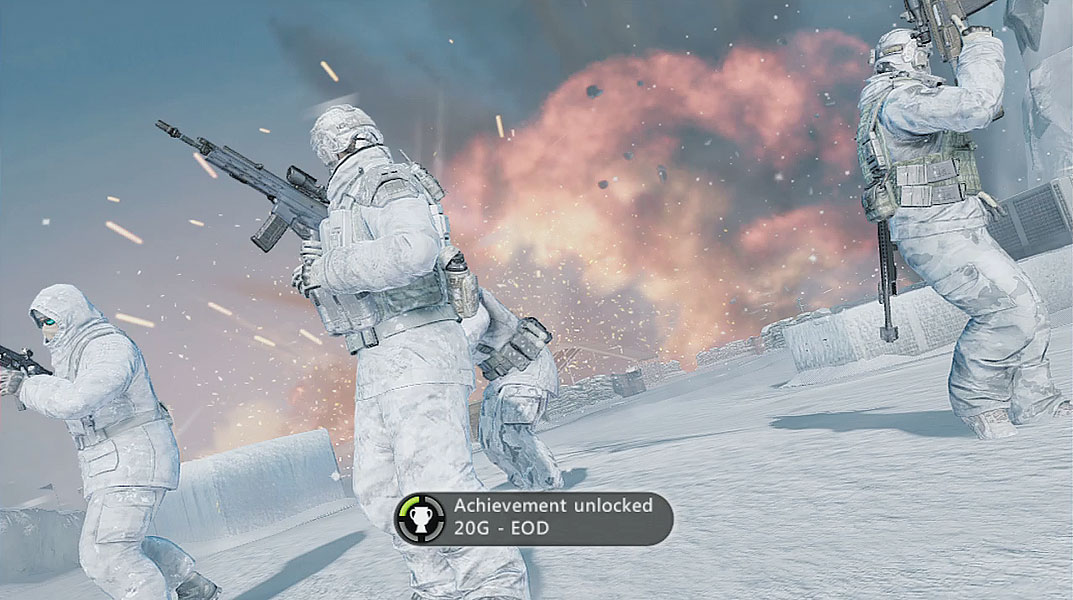
While engaging the hostiles outside the facility, keep an eye on the countdown timer on the right side of the HUD. If there’s only a minute remaining, you need to move out whether the area is secure or not. Swap cover while working your way toward the waypoint marker. Don’t worry if the Warhound lags behind—it will survive the weapons cache explosion, but you won’t. Shortly after you reach the extraction point, the weapons cache goes up in a spectacular explosion. It’d be nice to think this was the last of the weapons, but Ghost Lead has a feeling that this is just the beginning.