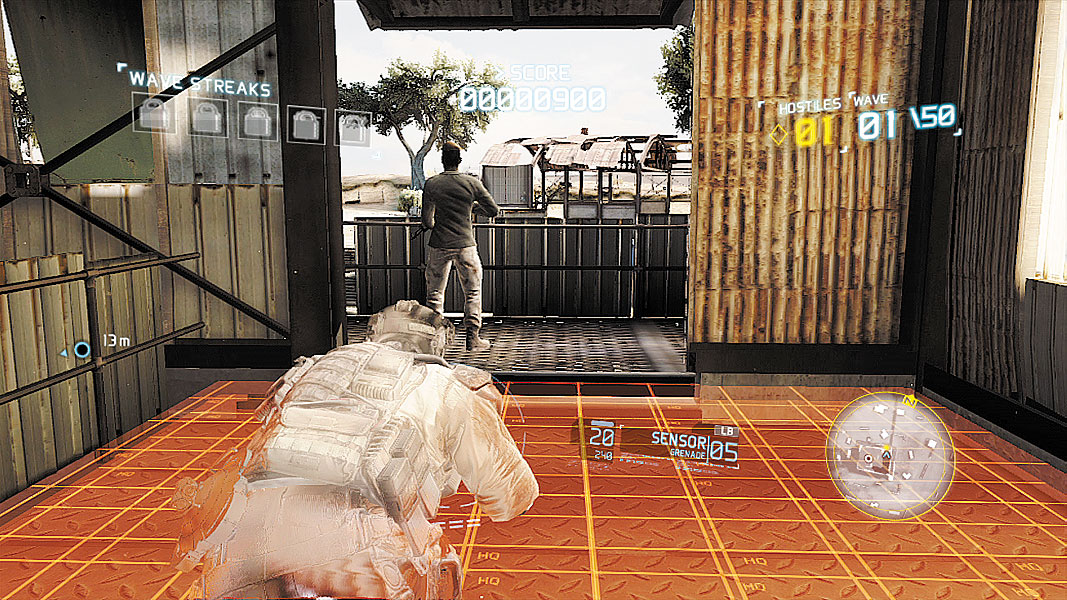
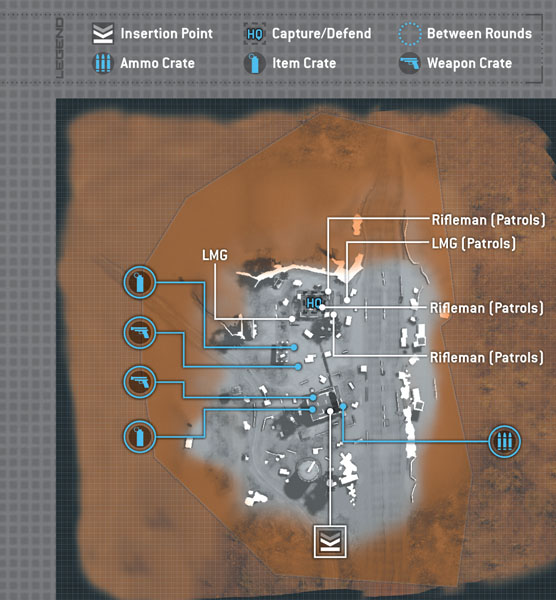
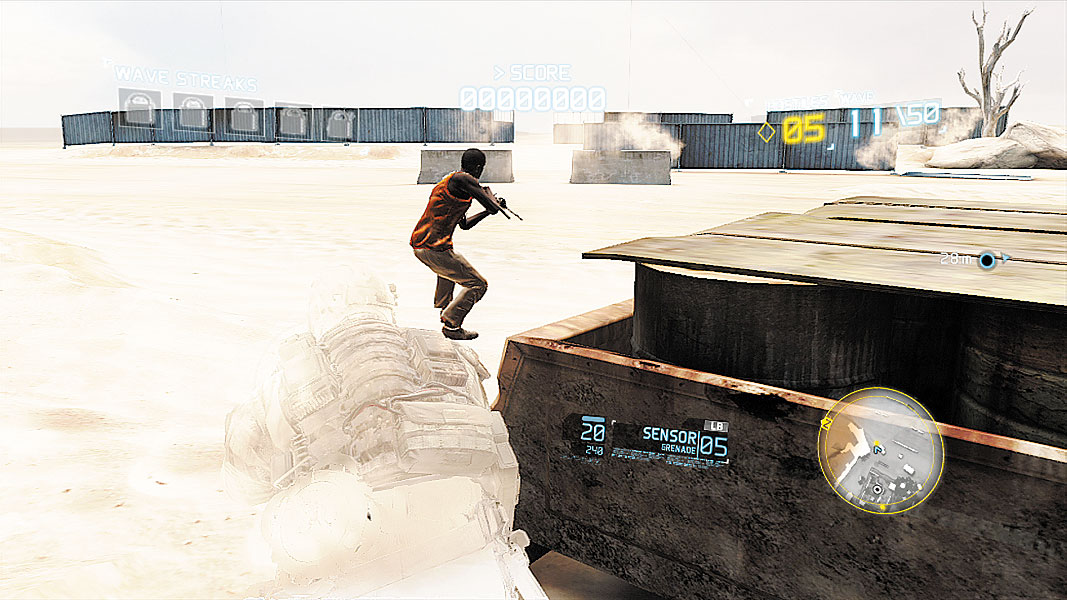
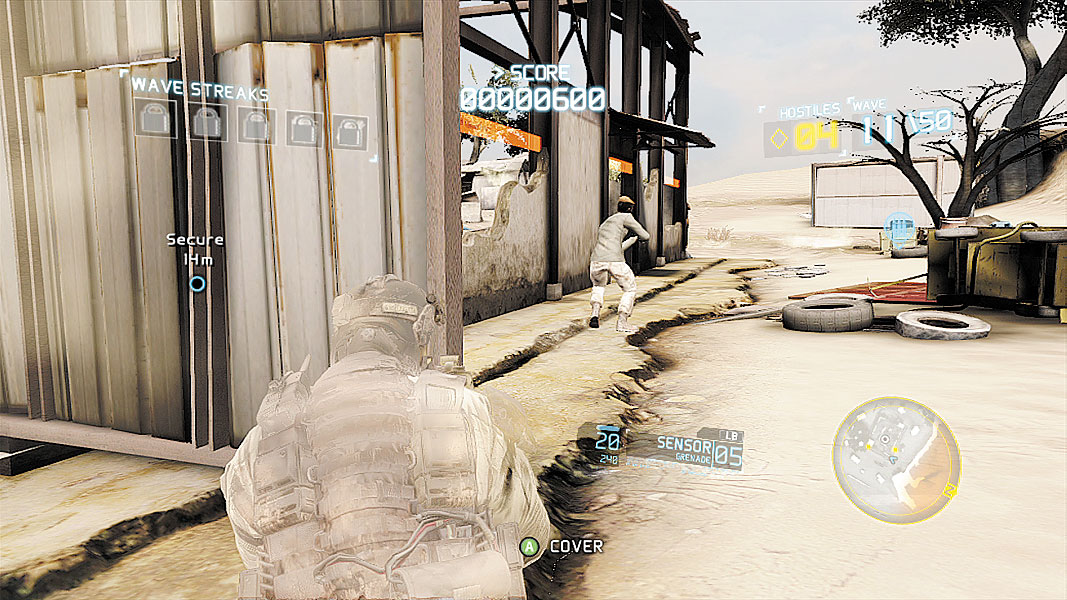
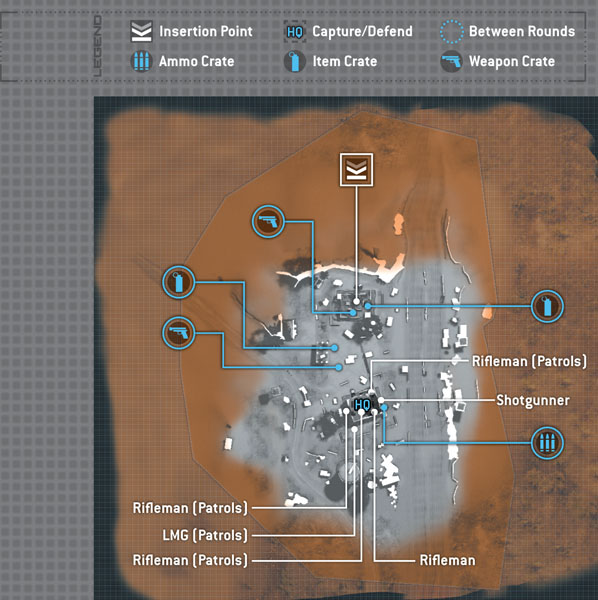
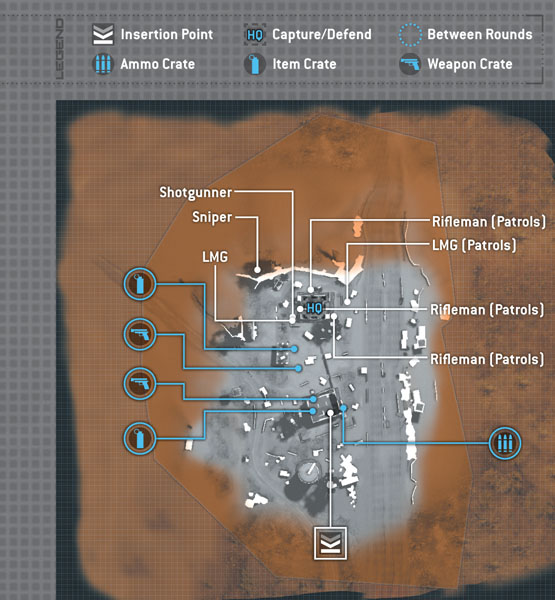
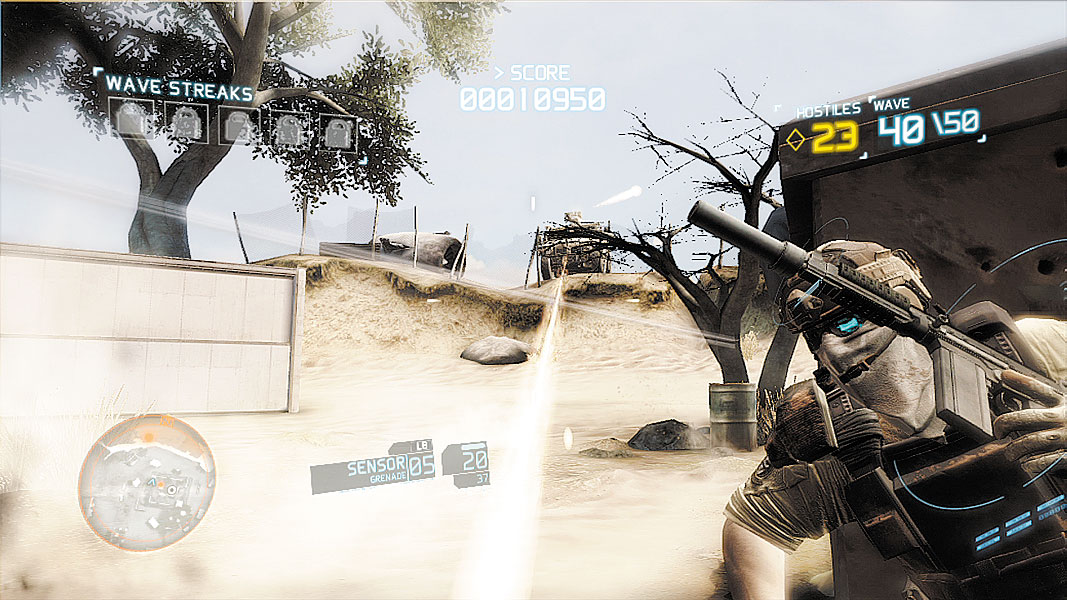
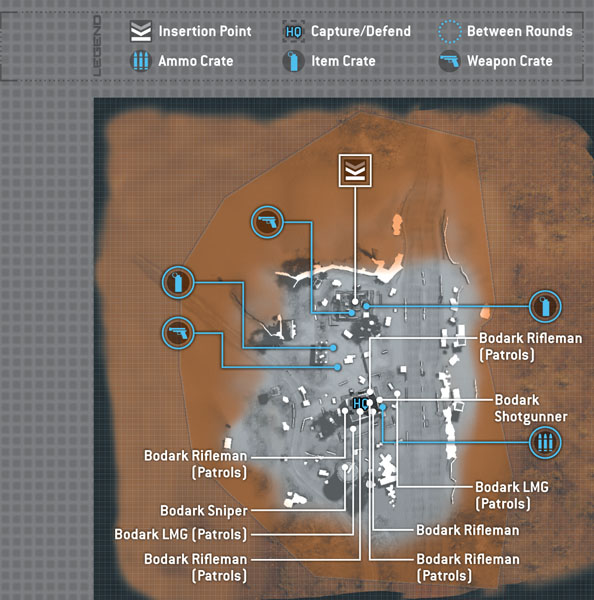
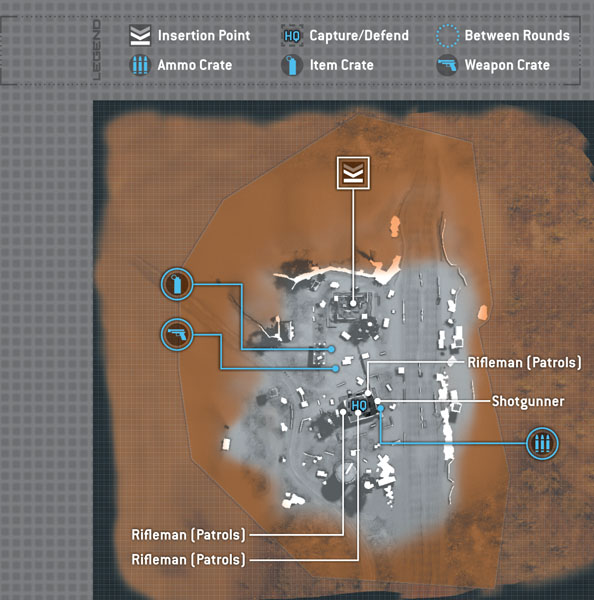
A sand-blasted airport overrun with hostiles is enough of a challenge, but when one factors in a looming sandstorm that threatens to destroy any semblance of visibility, things become even more fraught with danger. Nevertheless, your Ghost squad has no choice but to sneak in and secure the HQ, then hold off any rebels that attempt to retake it. The multitiered main structure makes maintaining control an issue, so spread out your squad to cover both routes of entry. Four entrances below and two ladders leading to the upper level mean that there are more points to cover than available Ghosts, but pay close attention to where enemies tend to enter most and prioritize those routes on a per-wave basis.
// Phases 1–10
Infiltration
With only four hostiles to eliminate, it might seem like this will be the quickest first-round infiltration yet, but the enemies’ placement means there’s plenty of opportunities for dead bodies to be spotted, so timing is as important as stealth here. Begin by sweeping right and heading toward the HQ. Shadow the rifleman patrolling outside the structure first, waiting until he’s almost around the corner to make your move. Double back and quickly dispatch the ground-floor rifleman while his buddy walking above heads to a lookout.
Push through the HQ toward the exit ahead, skirting the right side of the doorjamb to avoid being spotted by the shotgunner just on the other side. Take him out, slip up the staircase, hang a right, and dispatch the final guard while he looks out back toward where you began. Alternatively, with only four targets, your whole squad could fan out to attempt a four-way sync-shot, but with three different patrols, the timing will have to be perfect.
// Phases 11–20
Infiltration
The wind is beginning to pick up a bit, but there’s nothing yet in the way of cover from the storm. Because of this, you’ll want to give all five guards back near where you first inserted into this map a wide berth. Start by sweeping right, just as before, keeping plenty of distance from the guards patrolling in and out of the HQ. A lone LMG hostile patrols in a wide arc that takes him out near the airstrip. Wait for him to pass by a set of crates, then slip around their left side and take out the heavy gunner to avoid having his lazy patrol wreak havoc on the carefully timed movements to come.
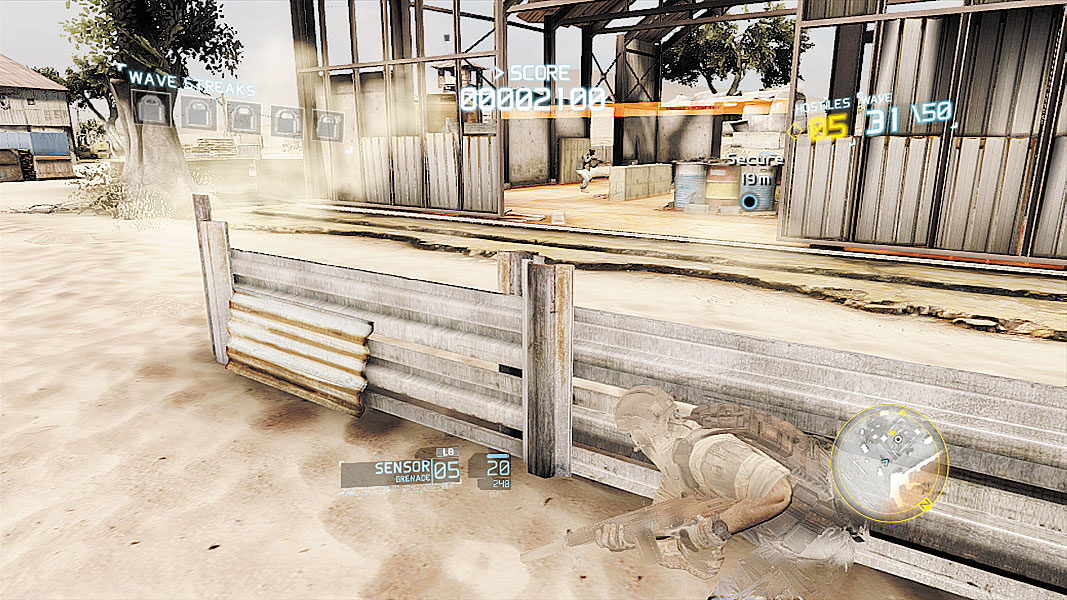
Quickly double back, grabbing cover along the strip of corrugated metal to let the patrolling guard to the left slip back inside, then push forward to the right corner of the wall ahead. A rifleman normally peeks out around this wall, then turns around and heads back into the building, but a quick melee strike when he’s near will prevent that. Hang back and wait for another guard to emerge from another doorway, then sneak up behind him and finish the job inside the building. Slip back out, hugging the wall of the HQ, to slip behind and finish off the stationary LMG hostile, then pause and wait for the final patrolling rifleman to emerge before stalking and killing him as he walks away.
// Phases 21–30
Infiltration
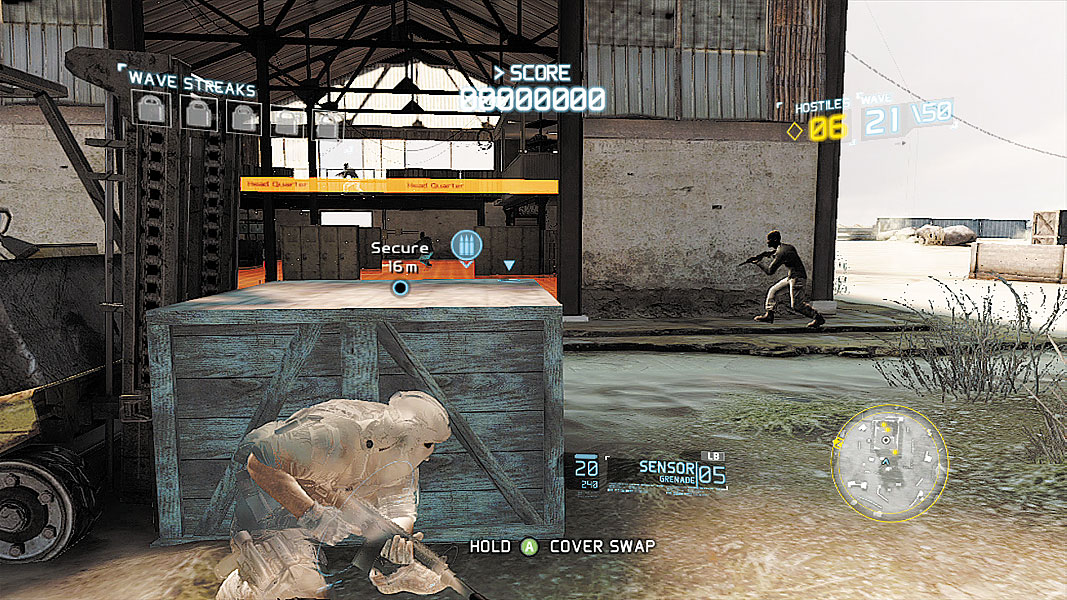
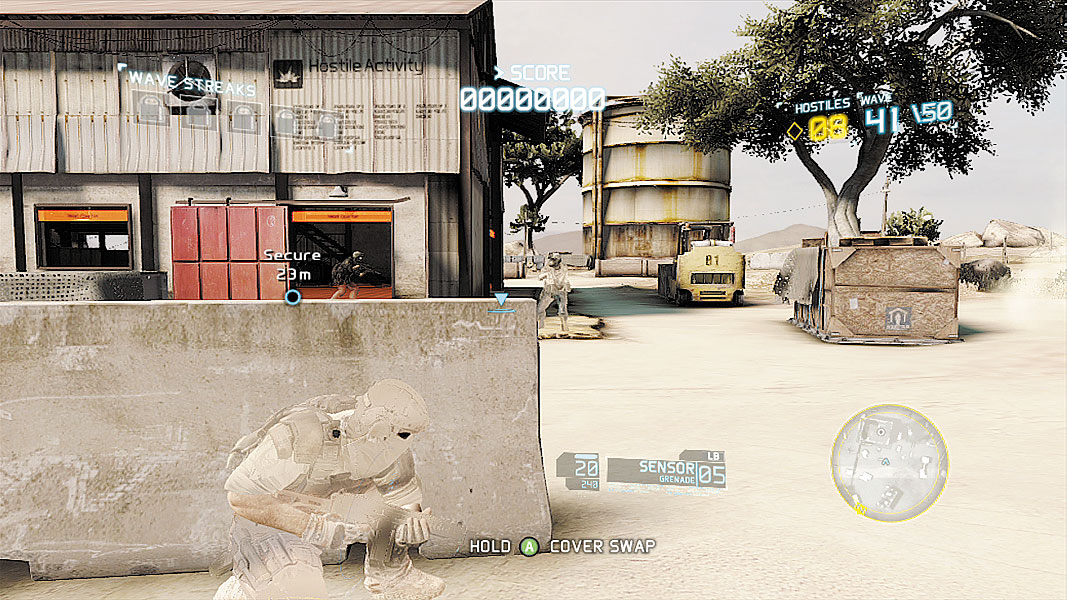
Time to head back into the first HQ, and yet more guards are patrolling various parts of the building. Sweep right, keeping a large crate and forklift between you and the HQ for cover. Hug the crate the forklift is holding and wait for the nearby patrol to move left before taking him out, then quickly return to the crate and look to the right corner of the building. Another guard peeks out, pauses, and turns around, while a second guard makes his rounds inside.
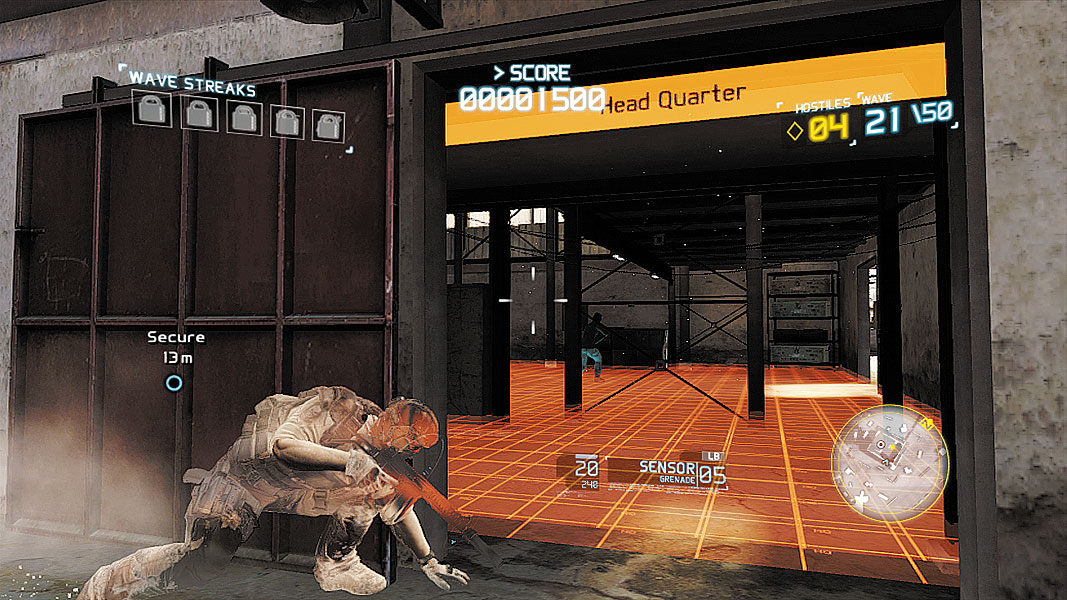
Dispatch the guard on the exterior of the building and continue to follow his route to an entrance into the building, pausing as needed to allow the patrolling guard inside to pass and taking care to avoid the gaze of the patrolling guard up above; the grating of his floor offers a glimpse if you’re exposed. When the coast is clear, slip through the HQ and dispatch the shotgunner just as before, by veering right past the doorjamb and quickly taking him out.
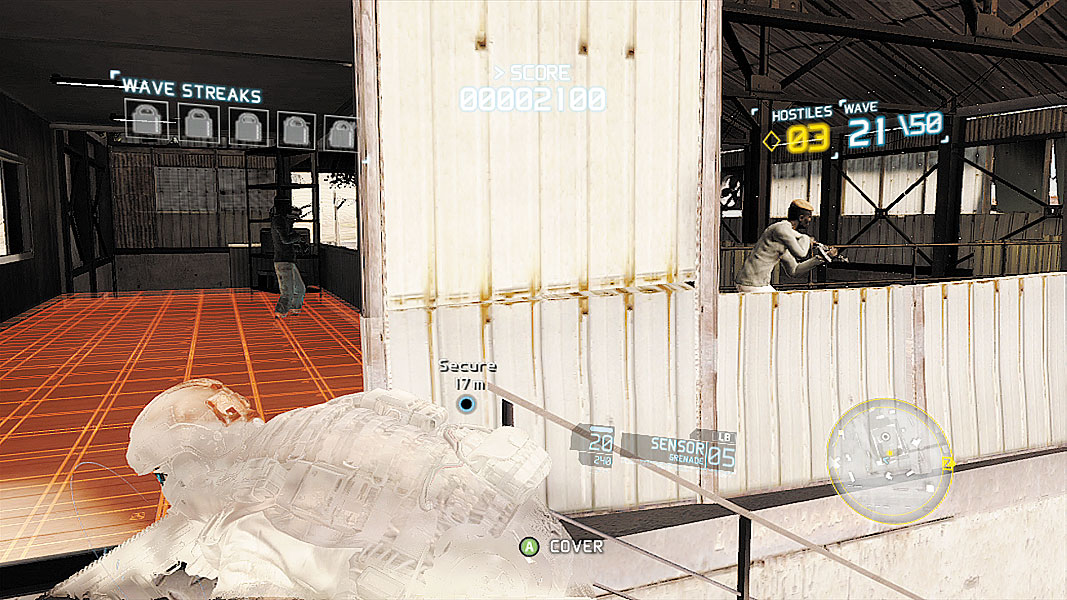
Head up the stairs and wait for the patrolling guard to start heading back to the right, then slip behind his stationary buddy directly ahead and take him out before sneaking up to kill the guard peering outside. Head down the staircase to the left, slip into the building and dispatch the final patrolling guard to turn that orange floor blue and finish the wave.
// Phases 31–40
Infiltration
The addition of two more guards means this infiltration will have be adapted a bit. Instead of moving to immediately eliminate the LMG patrol, instead cut in toward the HQ itself to dispatch the guard that’s walking near its right side. Then go after the LMG and return to the long strip of corrugated metal for cover to avoid the gaze of the soldier that pops out from the corner of the building.
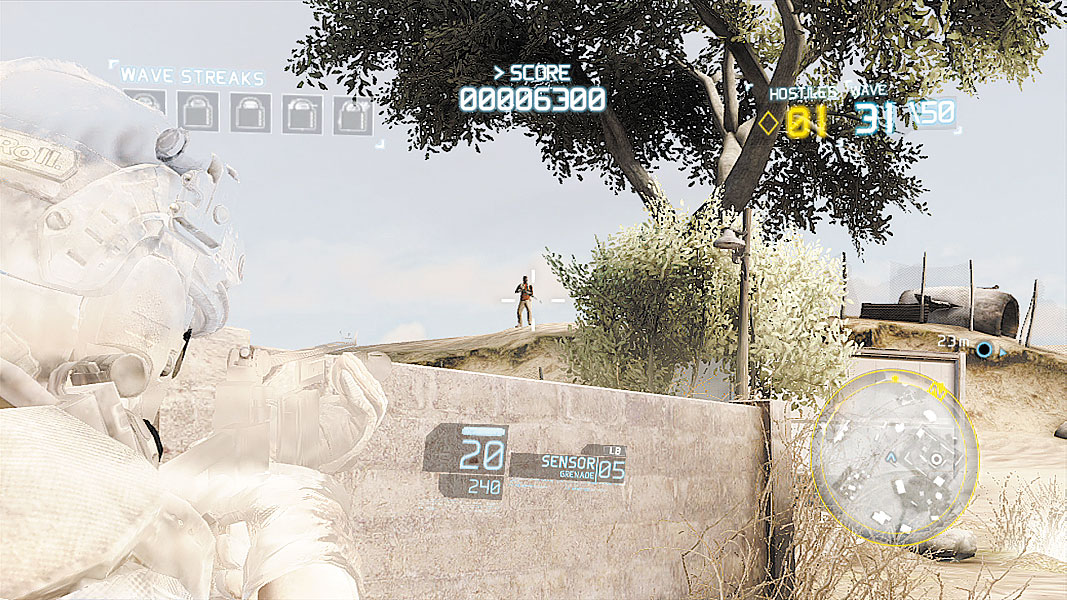
As soon as he turns around, move to cover along the wall he just peeked around and wait for another patrolling rifleman to emerge. Shadow the closest enemy and wait to attack until he stops and starts to turn around to give the rifleman ahead a little more space. Quickly move forward to take out that rifleman, then skulk back through the HQ to emerge from the front-left doorway. Directly to the right is a waiting shotgunner. Take him out, then creep up on and remove his equally stationary LMG friend before looking toward the trees to spot a sniper. Line up a clean headshot and dispose of the not-so-eagle-eyed defender (mark him if the sandstorm has gotten too intense) to capture the HQ.
// Phases 41–50
Infiltration
Sneaking though the myriad patrol routes of no less than eight cloaked enemies is a tall order, but it can actually be done by a single Ghost if everything is timed right. Begin by moving toward the HQ, but instead of skirting all the way right toward the forklift as before, grab cover behind the strip of concrete that faces toward the building itself. A rifleman patrols inside the building, while another pauses for a moment, then begins walking back toward you and your fellow Ghosts.
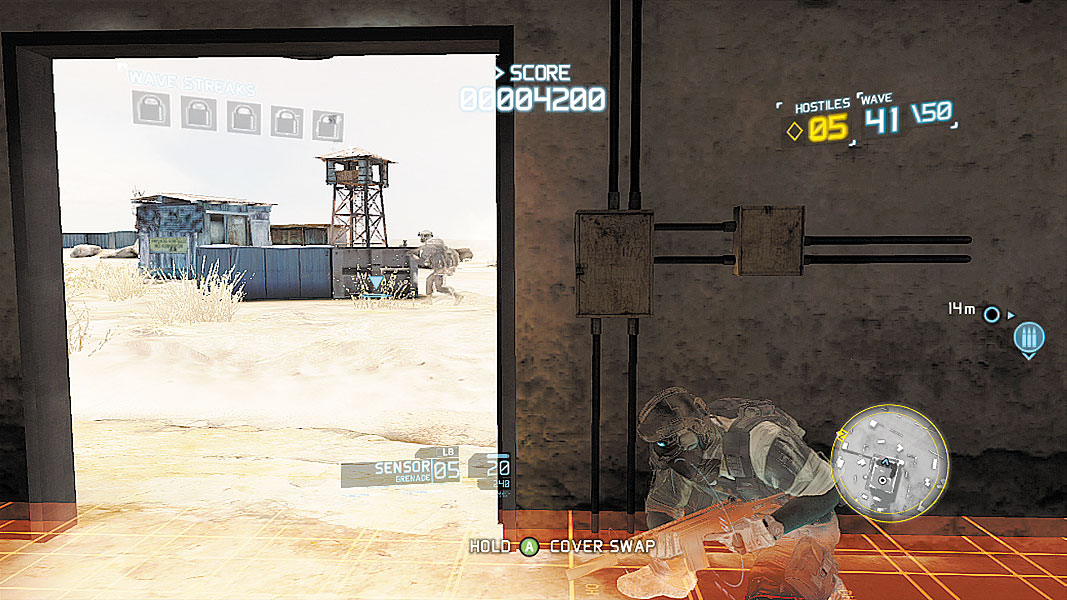
Wait until the outside patrol turns back around, then quickly slip out of cover and dispatch him as soon as the Stealth Kill prompt appears. Slip inside behind the patrolling hostile on the ground floor and take him out before slipping underneath the upstairs walkway and toward the entrance leading out to the right. Hang back for a few seconds (a slow five count will do), then pop out and stealth kill the Bodark LMG heading back toward the wide entrance to the HQ. Hold here again and wait for another cloaked LMG enemy to pass on patrol around a set of blue crates, then carefully head back inside through the HQ. When the LMG has his back to the shotgunner you’ve offed multiple times in the same way already, do it again, and then sneak up behind the LMG guy and take him out.
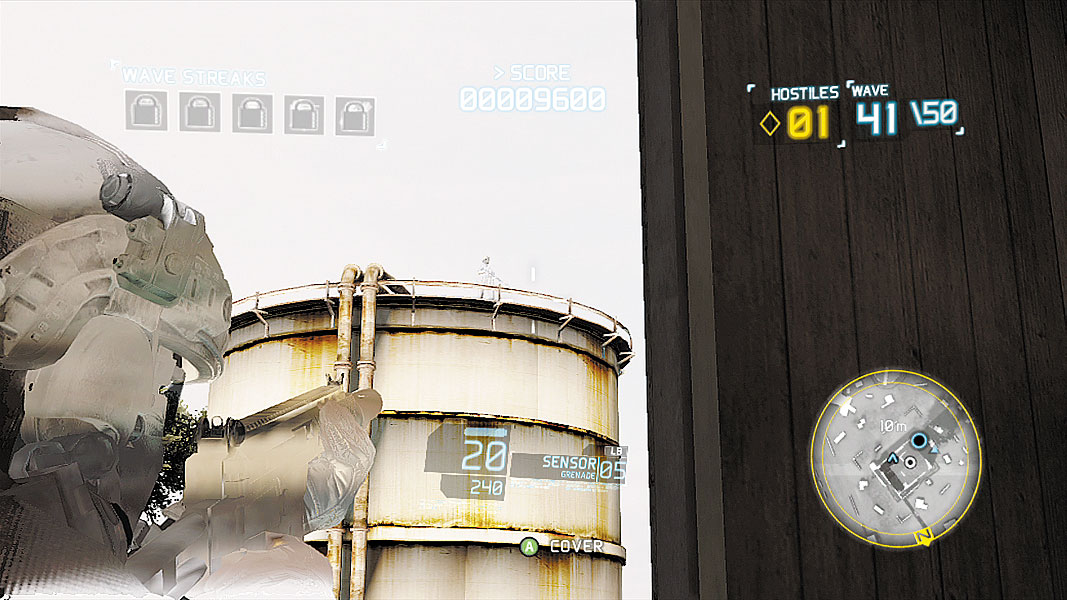
Head back toward the staircase the shotgunner was guarding, peek inside to make sure the patrolling rifleman is heading back to his outside perch, then kill the stationary guard and that outside threat just as you did the last time you infiltrated this HQ. The final remaining target is actually a cloaked Bodark sniper that is perched on top of the water tower. For a clean shot, head back toward the window that was behind the stationary trooper you just finished off and squeeze off a headshot to end the last infiltration round of the map.

.jpg)