
Prima Games eGuides
primagames.com Browse Redeem a code Help
Tom Clancy's Ghost Recon Future Soldier eGuide
Sign in My Guides

Sign in or create an account

We'll email you a link. No password needed, and if you don't have an account yet, the link makes one.

By creating an account or signing in, you agree to our Terms of Service and Privacy Policy.

Have a password?

Had an account on the old eGuides site, or a code from a printed guide? Help and troubleshooting

Sign in with a password

By signing in, you agree to our Terms of Service and Privacy Policy.

Check your email

A sign-in link is on its way. It works once and expires in 15 minutes. Open it and you're in, with an account if you didn't already have one.

Contents

  • Essentials
    • Introduction
      • Introduction
      • Ghost Recon: Legacy
      • Ghost Team: Hunter
      • Interface: The Ghost HUD
      • Controls
      • Campaign Scoring and Challenges
    • Weapons
      • Gunsmith
      • Assault Rifles
      • Light Machine Guns (LMGs)
      • Personal Defense Rifles (PDRs)
      • Shotguns
      • Submachine Guns (SMGs)
      • Sniper Rifles
      • Sidearms: Pistols
      • Sidearms: Grenade Launchers
      • Items
      • ULC Weapons
    • Compendium
      • Campaign Challenges
    • Concept Art Gallery
      • Concept Art Gallery
  • Walkthrough
    • Prologue
      • Prologue
    • Nimble Guardian
      • Briefing
      • Secure Gabriel Paez
      • Hold for Extraction
      • Reach Paez’s Hideout
      • Rescue Paez
      • Escort Gabriel Paez to Extraction
    • Subtle Arrow
      • Briefing
      • Reach Observation Point
      • Locate Dede Macaba
      • Follow and Assess Dede Macaba
      • Secure Arms Shipment at the Airstrip
      • Recover the Black Box
      • Recover the Black Box at the Crash Site
    • Noble Tempest
      • Briefing
      • Locate CIA Officer Sykes
      • Secure Officer Sykes
      • Extract Officer Sykes
      • Recover Sykes’s Data
      • Reach Extraction
    • Tiger Dust
      • Briefing
      • Locate Arms Dealer
      • Capture Arms Dealer
      • Destroy Escort Vehicles
      • Secure Arms Dealer
    • Silent Talon
      • Briefing
      • Disrupt Enemy Communications
      • Engage and Destroy Forward Base
      • Locate Weapons Cache
      • Destroy Weapons Cache
    • Firefly Rain
      • Briefing
      • Infiltrate Airport
      • Sabotage the Shipment
      • Leave the Area
      • Proceed to Extraction
    • Ember Hunt
      • Briefing
      • Reach Georgian Unit
      • Locate and Secure Osadze
      • Extract with Osadze
      • Wait for Instructions
    • Deep Fire
      • Briefing
      • Infiltrate Drilling Ship
      • Disable the System
      • Reach the Helipad
      • Secure Second Ship
    • Valiant Hammer
      • Briefing
      • Reach Observation Point
      • Gather Information on Artillery Location
      • Destroy Artillery Units
      • Reach Extraction
      • Eliminate Hostile Reinforcements
    • Gallant Thief
      • Briefing
      • Infiltrate the Prison
      • Enter Security Area
      • Place Four Targeting Beacons for Air Strike
      • Free Volodin
      • Escort Volodin to Extraction
    • Invisible Bear
      • Briefing
      • Protect the Crowd
      • Proceed to General Bukharov's HQ
      • Eliminate Bukharov
    • Shattered Mountain
      • Briefing
      • Enter Compound
      • Eliminate Raven’s Rock Leaders
      • Eliminate the HVTs Before They Escape
      • Epilogue
  • Multiplayer
    • Guerrilla Mode
      • Survival, Tom Clancy-Style
      • Shanty Town
      • Office
      • Airstrip
      • Mansion
    • Adversarial
      • Introduction
      • The Combatants
      • Pipeline
      • Market
      • Overpass
      • Harbor
      • Cargo
      • Rig
      • Sand Storm
      • Underground
      • Mill
      • Alpha

Tom Clancy's Ghost Recon Future Soldier Guide › Walkthrough › Gallant Thief

Enter Security Area

Enter Security Area
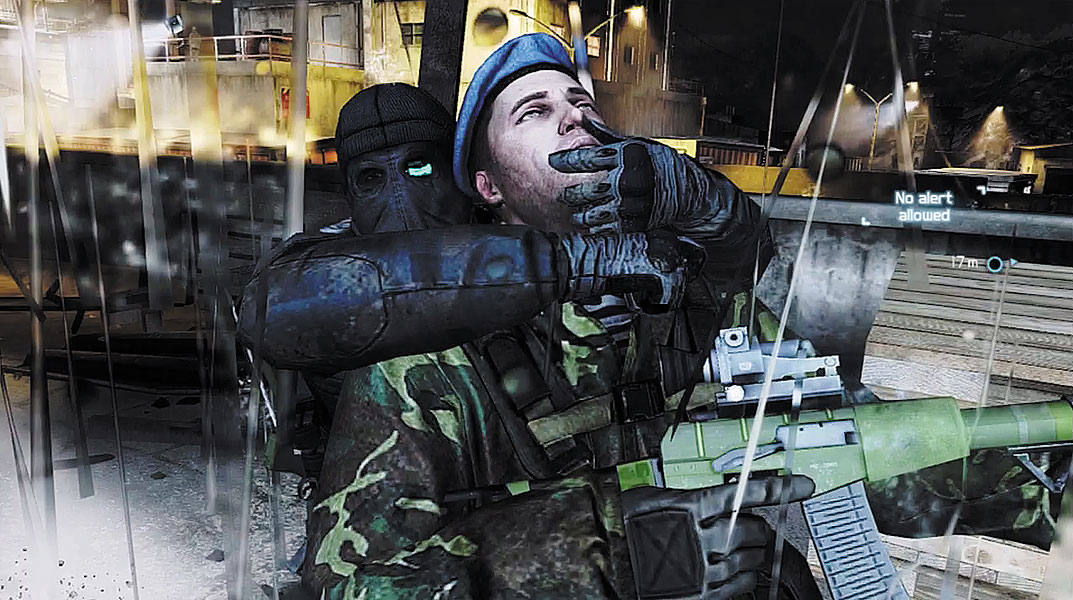
Upon exiting the administrative building, turn right to spot a sniper in the distance; his back is turned. Sneak up behind the sniper and take him out with a stealth kill—don’t worry, nobody will find his body. Beyond the sniper is a door marked with a waypoint. But Overlord reports that this door can only be opened through the security room—a new waypoint marker appears on your HUD. Before moving out, deploy the UAV in the direction of the new waypoint to identify several riflemen patrolling the nearby road. Activate your NVGs and creep toward the waypoint, being careful to keep your distance from the enemy troops. Stay along the left side of the road and pass through a small concrete structure containing an ammo crate. This allows you to bypass the troops near the parked GAZ-2330 parked in the center of the road.
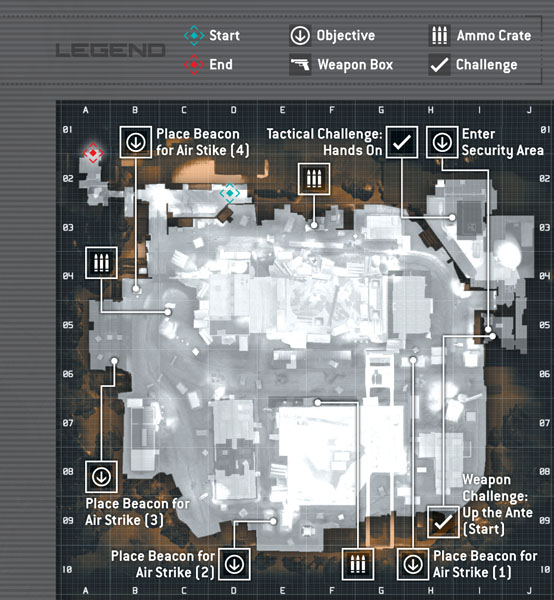
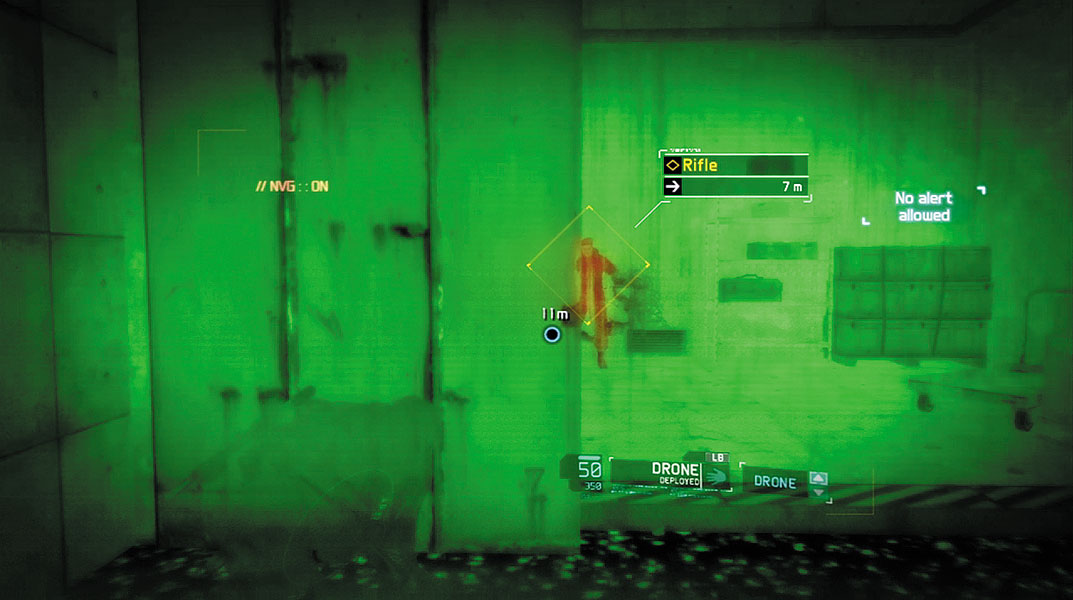
When you reach the door by the waypoint marker, you see it’s guarded by a rifleman. There is no way to sneak around this guy. While you can easily take him out with a suppressed weapon, doing so will make you fail the Hands On Tactical challenge. Get as close to the rifleman as possible without being detected. Moving to cover just outside the entryway is a good place to prepare your attack. While still crouched with Optical Camo active, move directly toward the rifleman and take him out with a stealth kill as quickly as possible. The rifleman will see you during the approach, but if you act quickly, you can kill him before he can raise an alert. It’s a somewhat risky move, but it’s the best way to get through this area without firing a weapon.
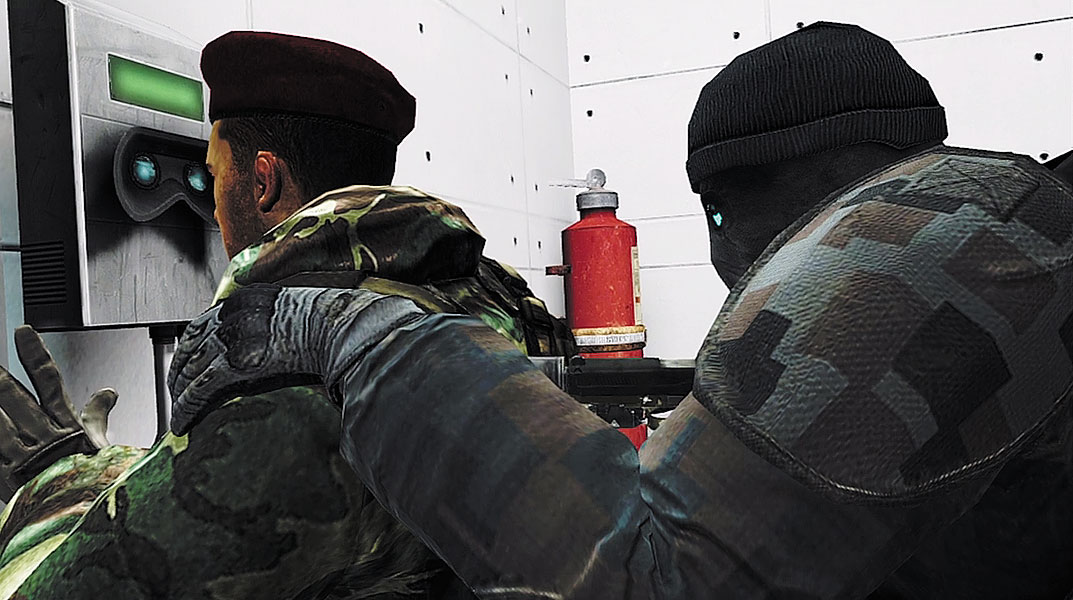
After eliminating the rifleman by the doorway, Kozak discovers that the next door is protected by a retinal scanner—it looks like you’ll need to borrow someone’s eyes. Follow a new waypoint toward the canteen. Move to the white ring icon outside the canteen’s window to trigger a cinematic. Kozak sneaks through the window and grabs a soldier from behind before guiding him back to the retinal scanner. Once the soldier has opened the locked door by using the retinal scanner, Kozak guides him into the next corridor and knocks him out with a choke hold.

Tactical Challenge: Hands On
Criteria: Reach the canteen without firing a weapon

This challenge is completed when you reach the canteen’s window. Of course, completing this challenge hinges on your success with infiltrating the prison without firing a shot. By simply utilizing your Optical Camo, you can make your way into the prison without being spotted, so there’s little need to open fire on anyone. Any hostiles that stand in your path can all be eliminated with melee stealth kills.

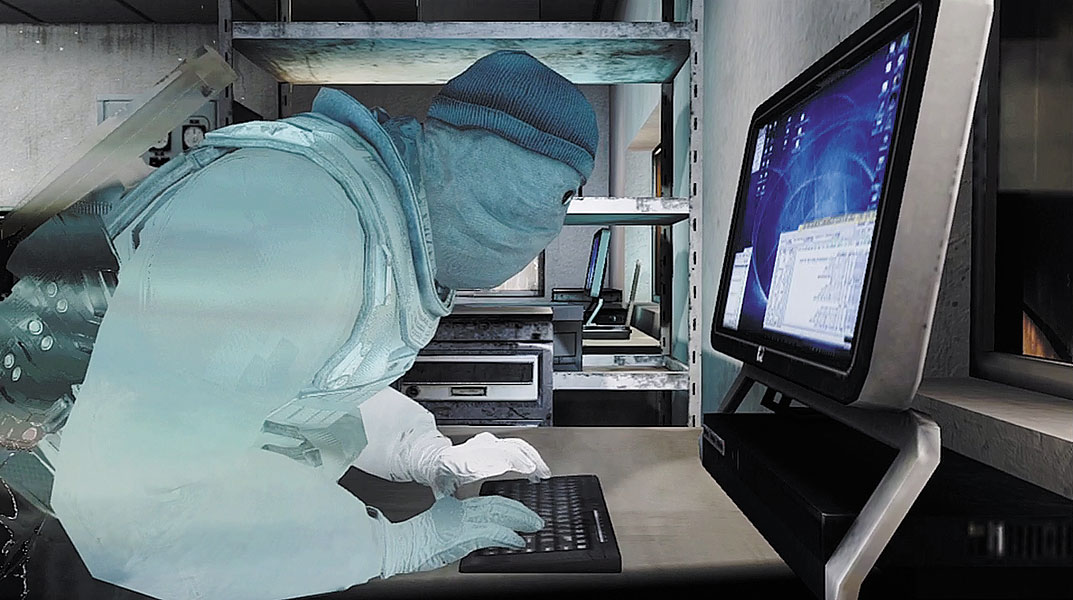
Advance down the corridor and enter the first doorway on the right to enter the security room. Here, you find two riflemen standing in front of a few computer terminals—both enemies have their backs turned. Given their close proximity to one another, it isn’t possible to stealthily kill both riflemen without triggering an alert. Your best option is your suppressed SMG. Take aim at one of the riflemen, centering the aiming reticle on the back of his head. Shoot the first enemy, then immediately swing your aiming reticle over the next rifleman and drop him before he can respond. With both enemies out of the way, approach the white ring icon in front of the center terminal. Kozak transmits the prison’s security data to Overlord. Overlord reports that they’ve received the data, but it will take some time to decrypt. In the meantime, Overlord advises Kozak to begin placing air strike targeting beacons around the prison in preparation for the escape.

Weapon Challenge: Up the Ante

Criteria: Take down 12 enemies with an SMG without reloading

Gunning down the two riflemen in the security room is a good place to start this challenge. Just make sure you have your SMG equipped before opening fire—and don’t reload. The P90’s 50-round magazine capacity gives your plenty of ammo to spare, but always go for headshots at relatively close range to ensure a kill while expending as few rounds as possible. SMGs have incredibly high rates of fire when fired automatically, so consider fitting your SMG with a semi-auto trigger group. This will guarantee you fire only one round with each pull of the trigger. This makes it much easier to manage your ammo while completing this challenge. From the security room, you have many opportunities to kill unalerted enemies at close range with your SMG while sneaking around the prison grounds. But remember, every body you leave behind could potentially lead to an alert. So choose your victims carefully.

Keep reading with a free account

The first 3 sections of Tom Clancy's Ghost Recon Future Soldier are open to everyone. An account opens the rest of it, and every other guide in the archive. It's free, and there's nothing to buy.

Bought guides on the old Prima Games site? Your account and every guide you own moved here, so there's nothing to buy again. Sign in.

Create a free account Or browse our free guides

PreviousInfiltrate the Prison NextPlace Four Targeting Beacons for Air Strike