
Tom Clancy's Ghost Recon Future Soldier Guide Walkthrough Valiant Hammer
Eliminate Hostile Reinforcements
Eliminate Hostile Reinforcements
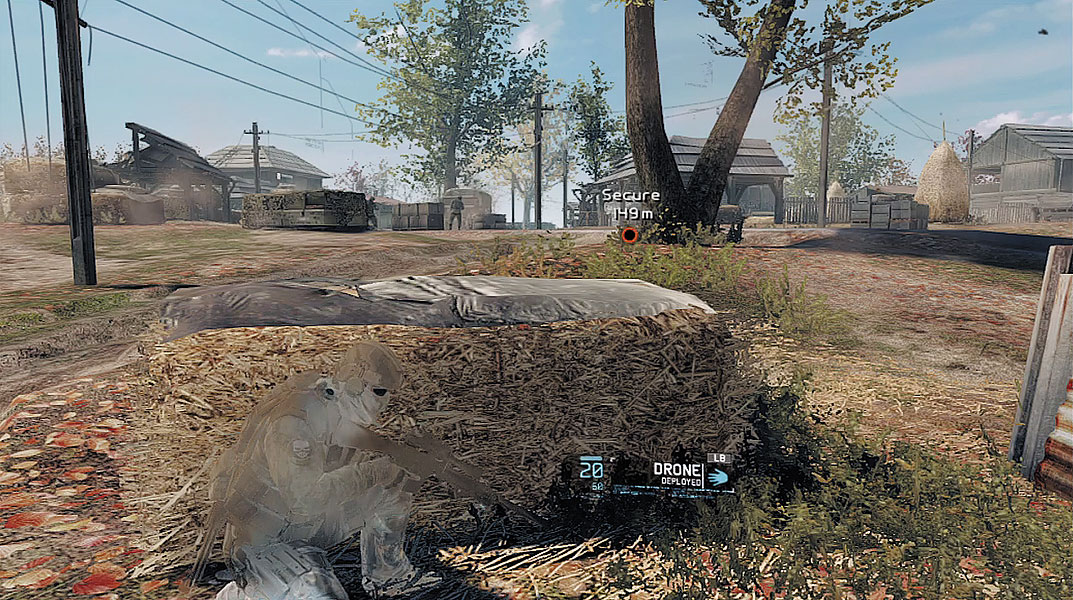
Instead of proceeding to the arranged extraction point, the Ghosts decide to stick around a bit longer. Creep out of the river and approach the next waypoint. As you detect enemy troops nearby, take cover behind one of the hay bales and deploy the UAV. There are several enemy troops here, all within eyesight of one another. This makes a stealthy attack nearly impossible. However, you can whittle down the enemy’s numbers before launching a full-on assault. Start by marking the hostile armed with an LMG on the upper-floor balcony of the building on the opposite side of the road. You can pick this guy off without anyone noticing.
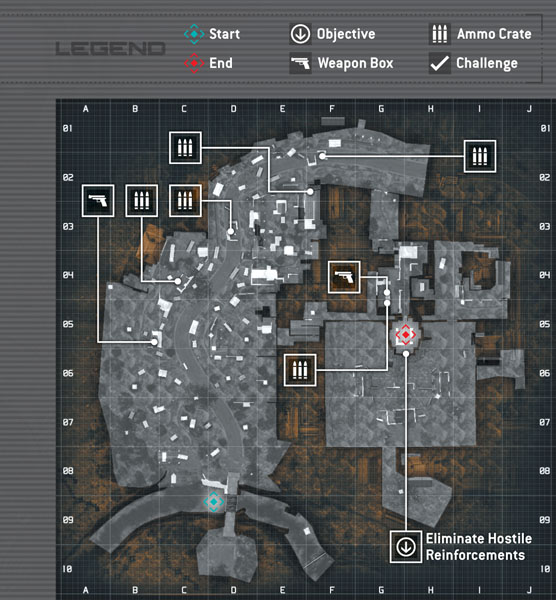
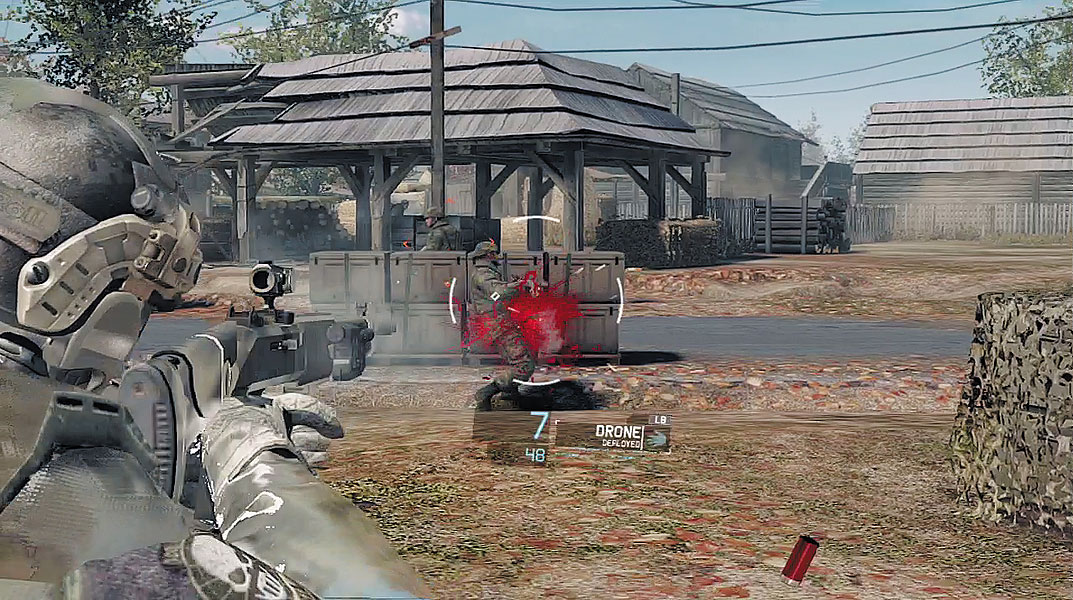
Next, set up a four-way sync-shot, targeting a selection of the eight remaining enemy soldiers. While it makes little difference which enemies you target initially, be sure to take out the hostile carrying the LMG patrolling the field on the opposite side of the road to the right. Once you have four targets marked, take aim and initiate the sync-shot. As expected, the remaining enemy soldiers go on alert when they see their buddies drop dead. But your team has eliminated half of the hostiles, making it easy to wipe out the remaining troops—especially if you attack quickly before they can reach cover. If you haven’t completed the Shotgun Master weapon challenge yet, this is a good spot to rack up three quick kills. Immediately following the sync-shot, equip your shotgun and blast three of the riflemen patrolling the road before they can run to cover. By starting the assault with a sync-shot and following through with an aggressive attack, you can clear out this group of enemies within a matter of seconds. But don’t pat yourself on the back just yet. Prepare to engage reinforcements approaching from the town. From the UAV view, locate and mark these incoming enemies.
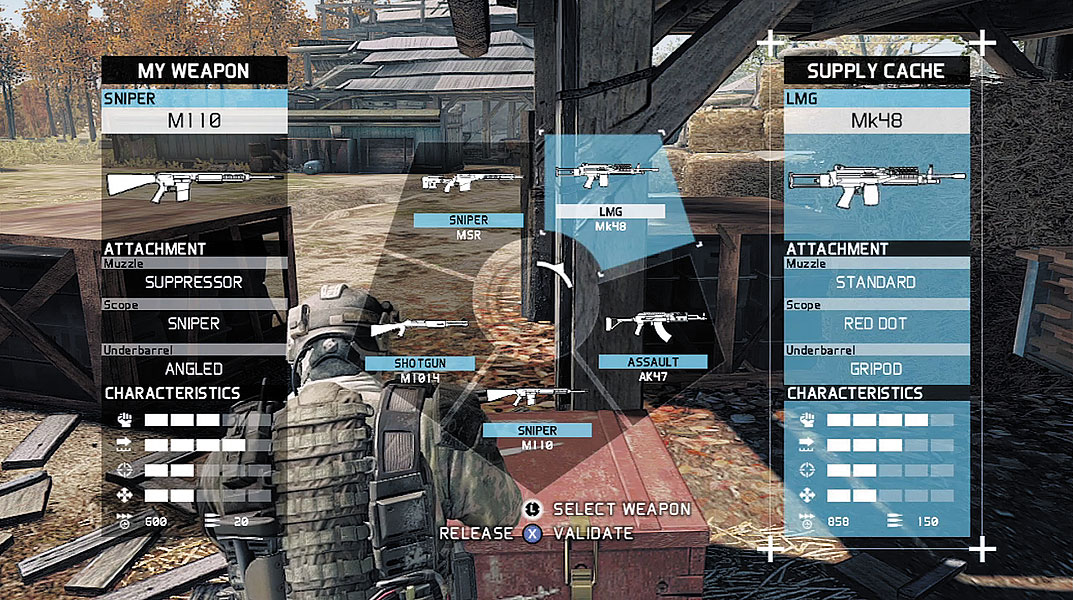
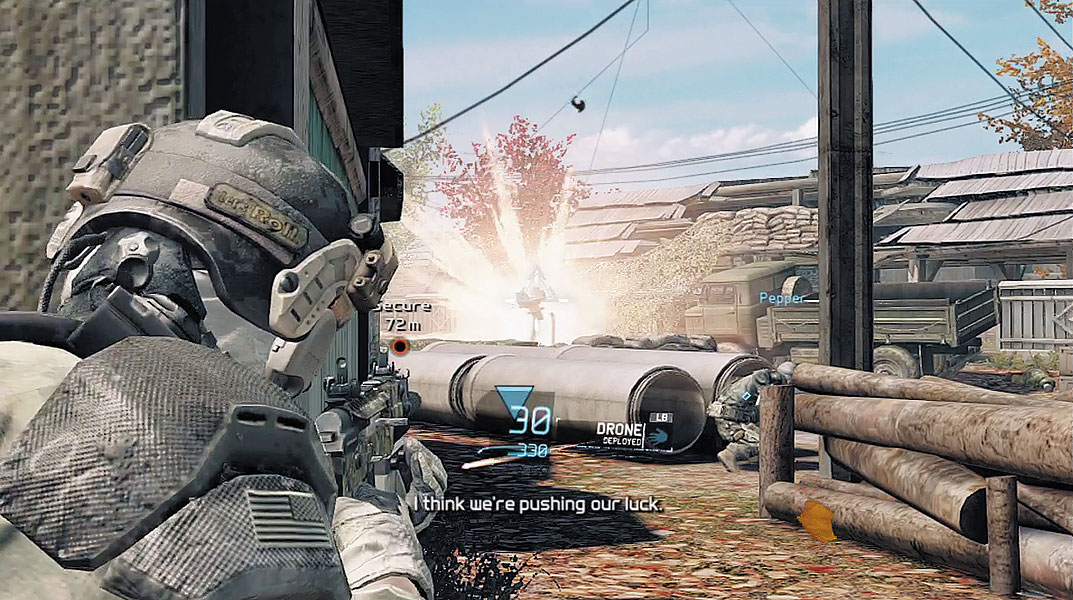
Cautiously advance along the left side of the road while engaging enemy troops. The enemy has deployed an automated turret in the center of the road and it begins firing as your team approaches. The turret can be easily destroyed with EMP or Frag Grenades. But if those weapons aren’t available, it can also be destroyed with small arms fire. Issue a focus-fire order on the turret and let your team handle the dirty work. Or if the turret isn’t firing at you, peek out and fire a quick burst to take it out—these things aren’t very durable. A second automated turret is positioned farther down the road. Stay behind cover while approaching this threat and issue a focus-fire order on it as soon as possible. With the turrets out of the way, mop up the remaining hostiles. If you’re having trouble spotting them, use Sensors and the UAV to locate them. Keep up the fight until the word “Clear” appears at the top of the HUD. Before regrouping with your team, resupply from one of the various ammo crates in the area—there’s one right next to each automated turret.
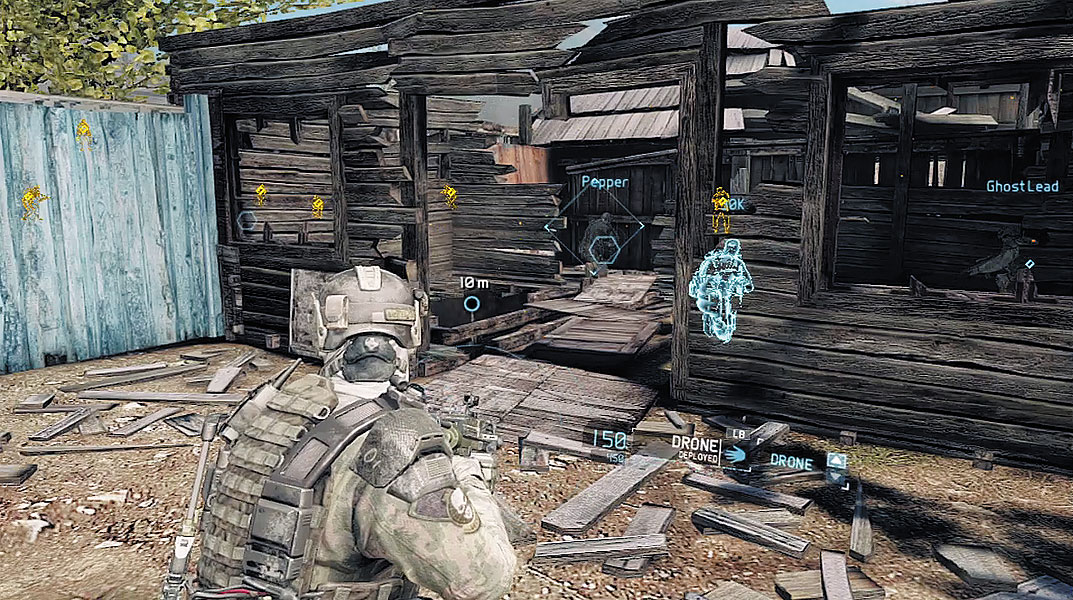
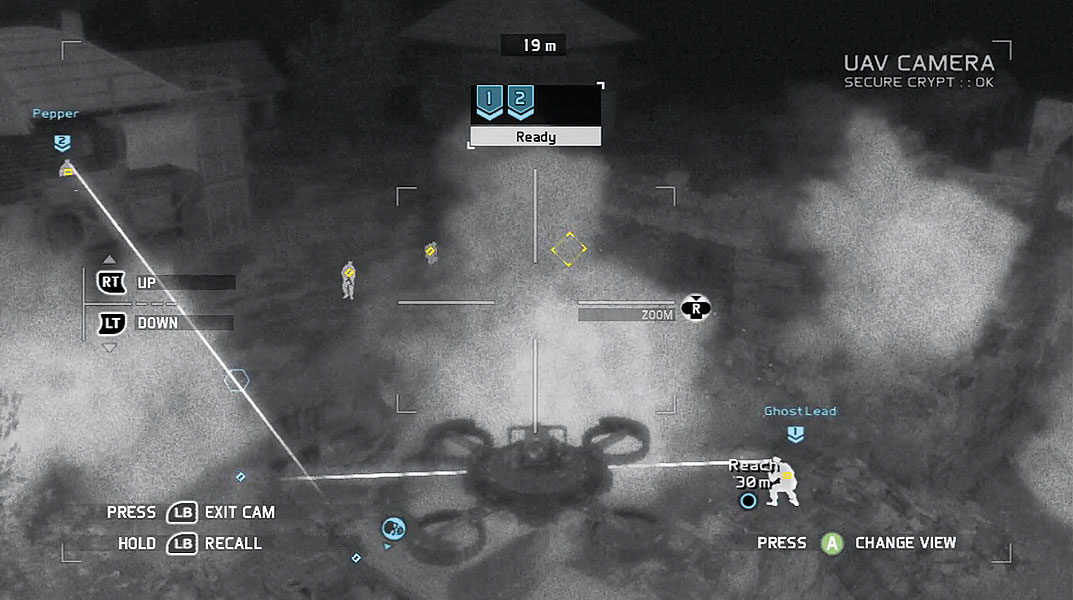
Regroup with your team at a gate (marked with a waypoint), and prepare to breach. Just inside the gate is a damaged cabin structure blocking your path. But there’s plenty of trouble waiting behind this building. Toss a couple of Sensors over the cabin’s roof to detect a few hostiles on the other side. Deploy the UAV and fly it over the roof to get a better view. Due to limited sight lines, you can mark only two of these enemies—the one patrolling near the cabin and the one on a distant balcony to the left. Before issuing the sync-shot order, exit the UAV view and drop down into the crawl space beneath the cabin. Once you’re in position, give the sync-shot order to initiate the attack.
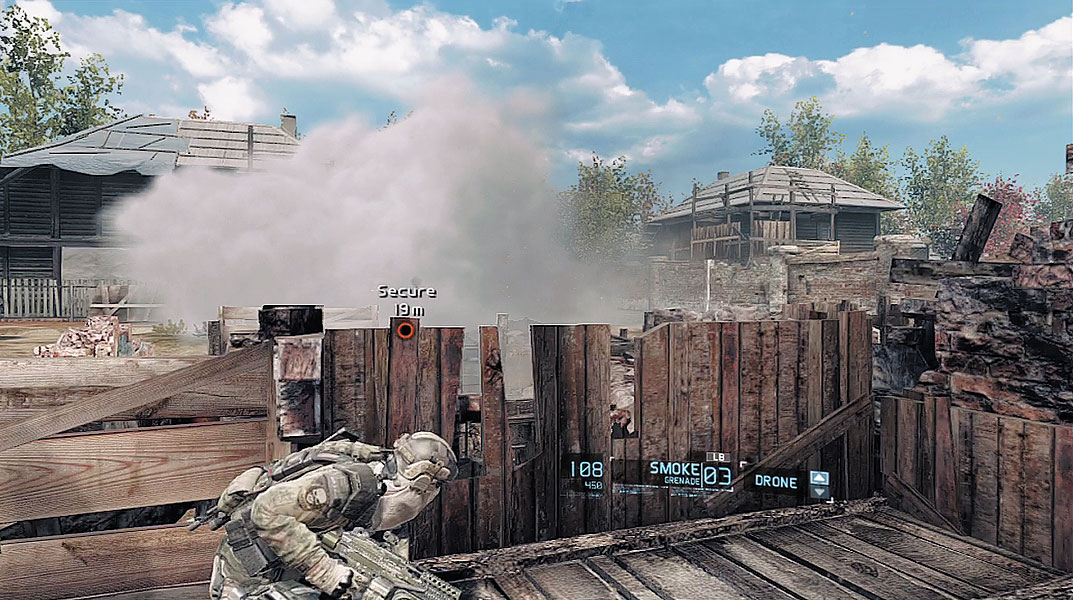
There’s an ammo crate and weapon box beyond the crawl space, but for now, turn your focus to the remaining hostiles. After exiting the crawl space, turn left and take cover behind a low wooden fence. This fence won’t last long so toss a smoke grenade in front of your position to limit the amount of incoming fire. With the smoke screen in place, activate your Magnetic view and begin engaging hostiles through the smoke. Reinforcements continue streaming into the area, so stay focused and deploy Sensors to keep tabs on enemy movement.
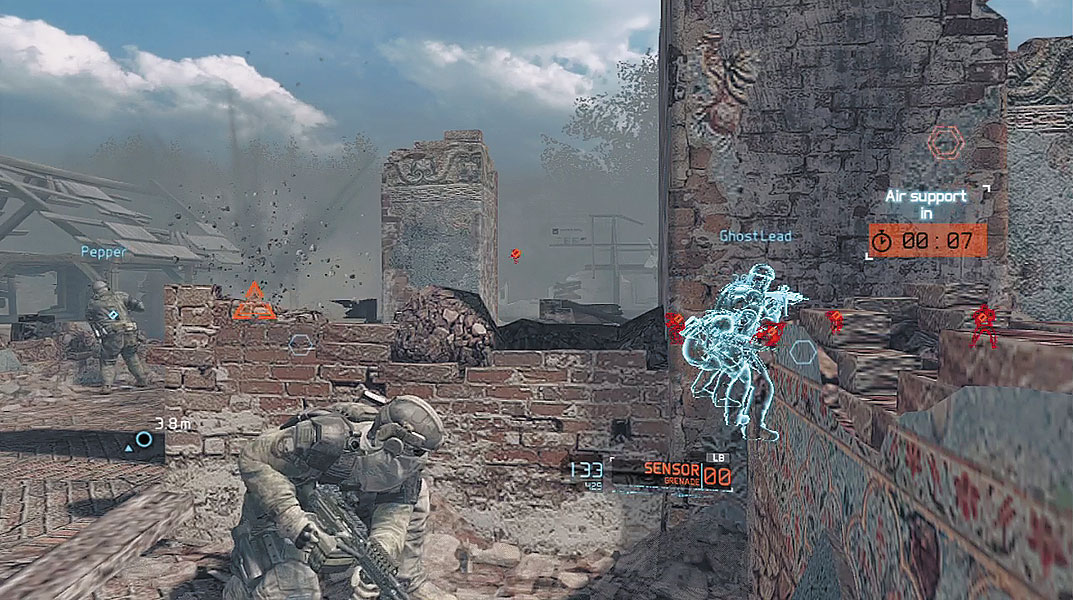
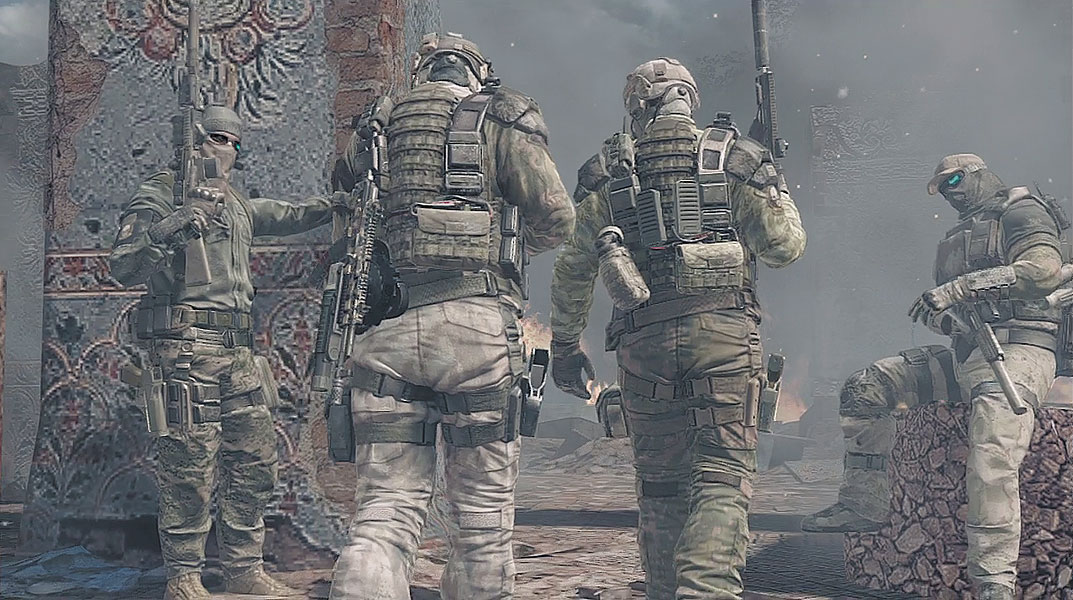
Eventually a T-90 tank arrives on the nearby road—you need to find better cover fast! Ghost Lead suggest moving into the ruins of an old church on the right. Sprint into the church and seek cover among the interior walls. There’s not much left of this church except for a few crumbling brick walls. But it will provide your team with life-saving protection until Overlord can come through with an air strike. You’ll need to hold out at this location for a while. Start by deploying smoke around the church. This will help reduce the amount of incoming fire, allowing you to engage hostiles around the perimeter by using Magnetic view. Deploy Sensors around the perimeter of the church, too. This helps you spot enemies attacking at close range. Throughout the attack, hold near the center of the church, as you’re less likely to be injured by tank shells slamming against the exterior walls. When Overlord reports the air strike is ready, initiate it by pressing the button shown on screen. The camera then switches to the view of an incoming missile. Guide the missile toward the tank to save your team and complete the mission. The air strike destroys the tank and kills all remaining hostiles. The Ghosts walk away from another close call.
Valiant Hammer: Completion Unlocks
| Type | Category | Item |
|---|---|---|
| Weapon | SMG | Vector |
| Weapon | LMG | Ultimax Mk.5 |
| Attachment | Optic | Thermal Optic |
| Paint | Weapon paint | Danish T90 |
| Paint | Weapon paint | Iraqi Urban |