
Tom Clancy's Ghost Recon Future Soldier Guide Walkthrough Subtle Arrow
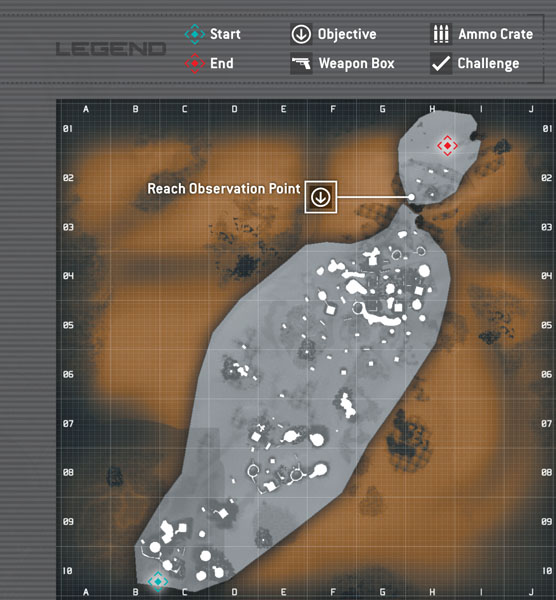
Reach Observation Point
Reach Observation Point
Mission Map
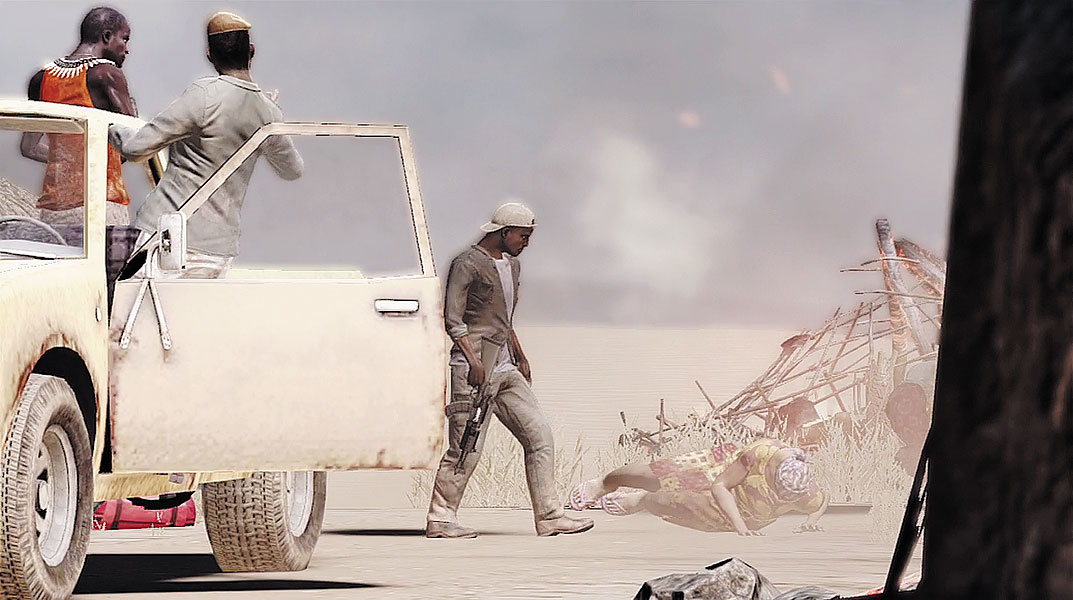
The Ghost team is on the ground in Zambia, not far from the refugee camp where warlord Dede Macaba has been spotted. Macaba’s men are little more than opportunistic thugs, preying on the weak for their own gain and amusement. One such incident plays out in front of the Ghosts, not far from the insertion point. A thug singles out a refugee woman and begins harassing her. But when she fights back and runs away, the thug takes aim with his assault rifle. Fortunately for the woman, she has guardians nearby.…
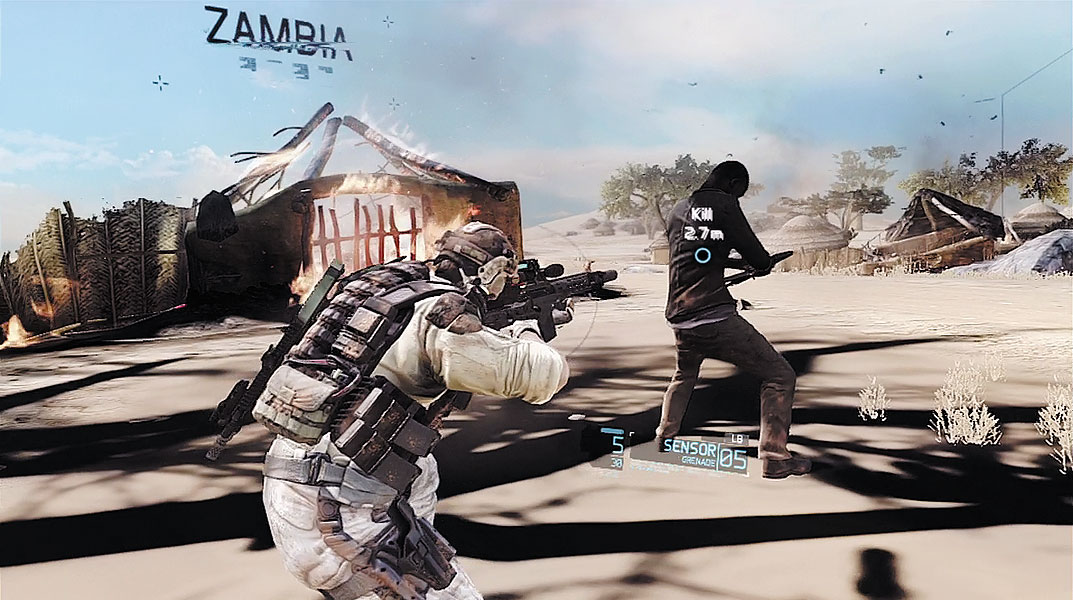
Sporting the new Optical Camouflage, you blend into your surroundings, remaining unnoticed while monitoring the situation. Sneak up behind the thug as he attempts to clear his jammed assault rifle. When you’re close enough, perform a stealth kill, pressing the button shown on-screen. Having averted a tragedy, it’s time to focus on the mission. You must reach an observation point several hundred meters away. From there, you can monitor the refugee camp and locate your contact tasked with driving you in.
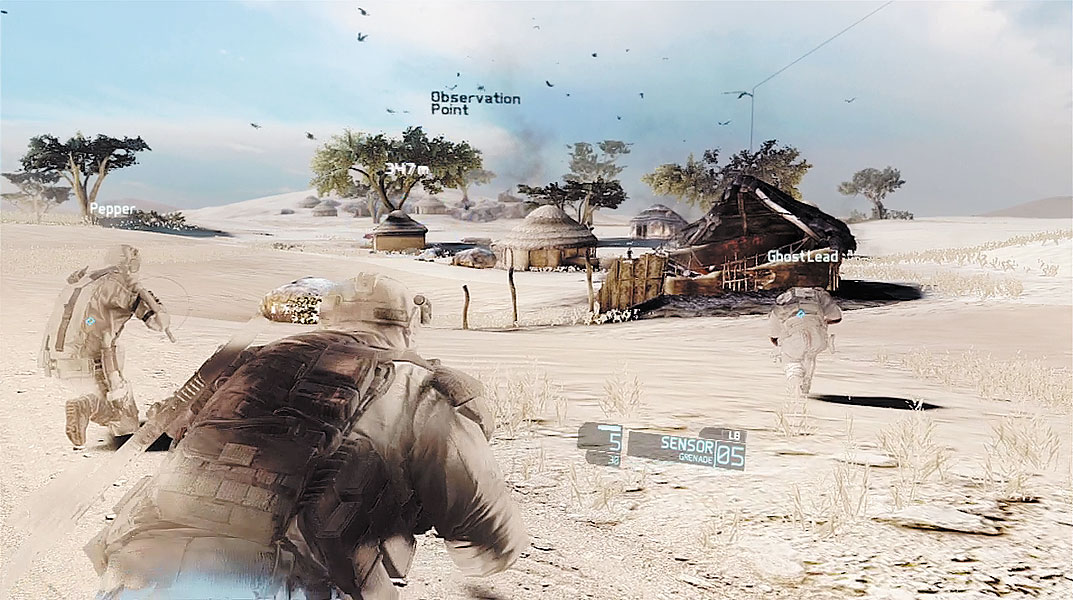
After eliminating the first thug, move out with your team. Several enemy contacts are detected in the village ahead. Follow your team’s lead by assuming a crouched stance. While crouched, the Optical Camo is activated, making you difficult to spot. Optical Camo allows the Ghosts to live up to their namesake, causing them to virtually disappear into the background and significantly reducing their visual signatures. While Optical Camo doesn’t make you invisible, it decreases the range at which enemies can detect you—if you get too close, they’ll spot you! When equipped, Optical Camo is automatically activated whenever you crouch or drop prone. This makes it easy to sneak up on hostile units and perform stealth kills. However, if you stand up, start moving quickly, or are hit by a bullet, the Optical Camo is deactivated.
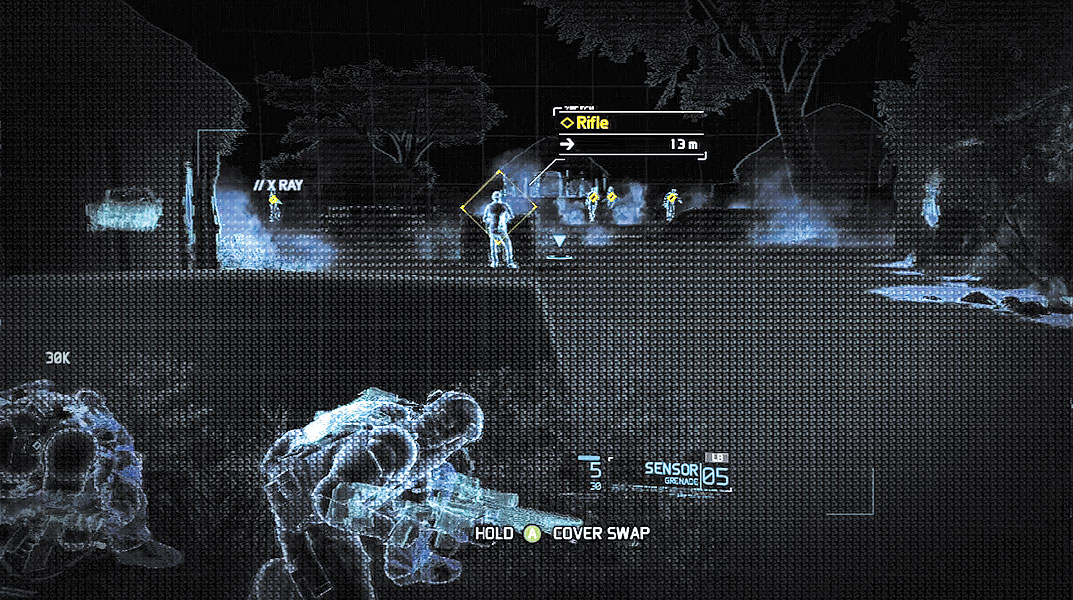
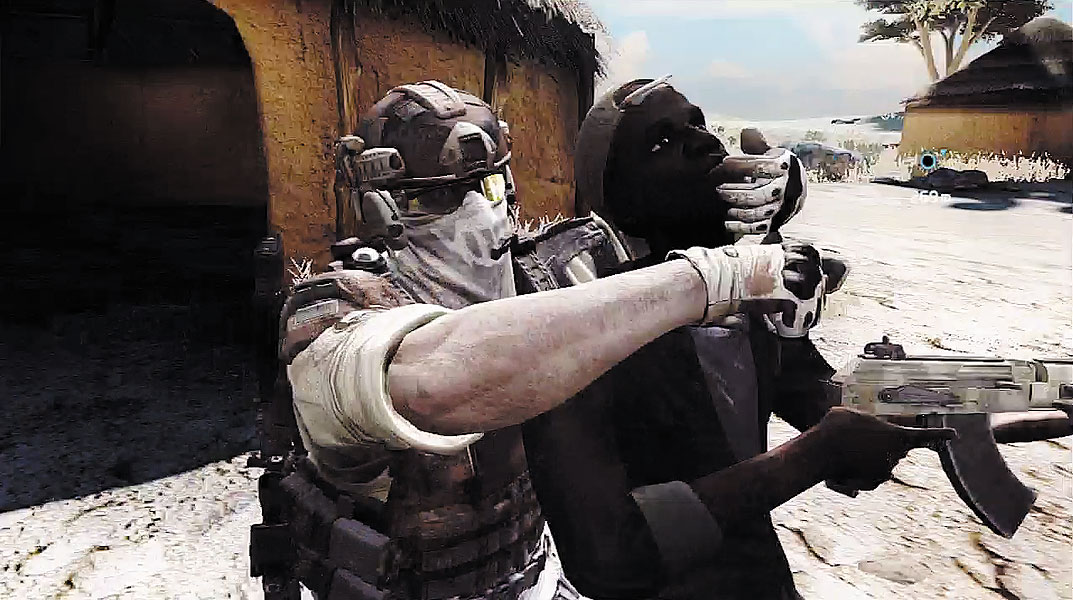
As long as you remain crouched, with the Optical Camo active you can move close to the village without being spotted. Find some cover on the outskirts of the village and activate the Magnetic Goggles—another piece of new technology available during this mission. Like the hand-thrown Sensor, the Magnetic Goggles are another way to identify gun-toting hostiles in a crowd. Think of this optical device as X-ray vision that is capable of detecting magnetic objects such as firearms, regardless of line of sight. The ability to see through walls and other solid objects makes this device extremely useful in close-quarter situations. However, the Magnetic Goggles have an effective range of only 30 meters, so limit their use when operating in larger, open environments where your own eyesight is more effective.
In this situation the Magnetic Goggles view identifies five hostiles, each carrying rifles. If you can take out one of these guys quietly, you can eliminate the other four with a sync-shot. Sneak up behind the gunman standing by the well and perform a stealth kill—one down, four to go.
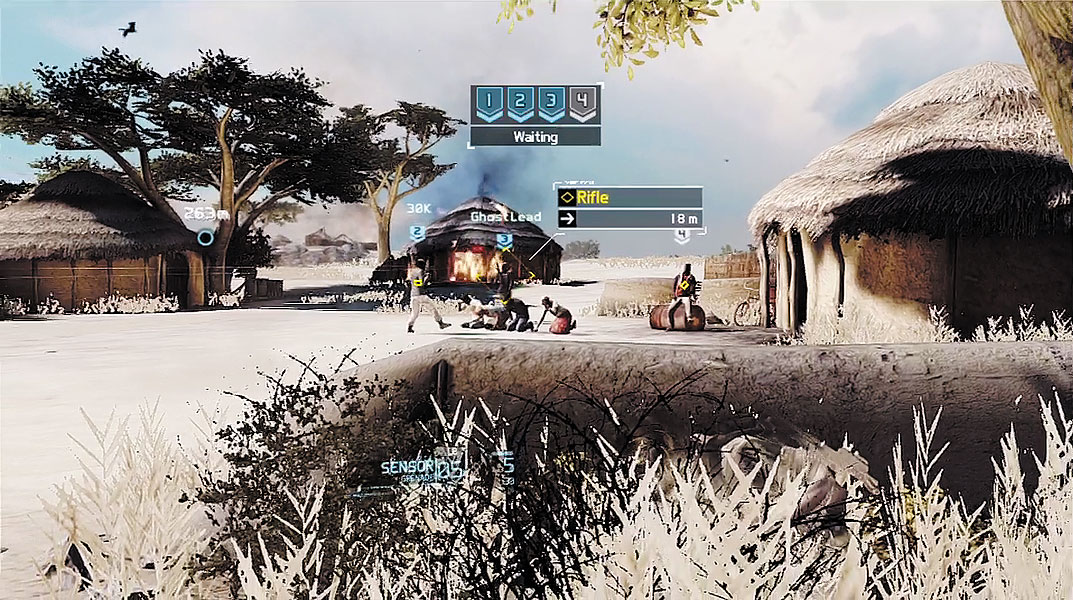
Now it’s time to drop the other four hostiles in the village. Sometimes it’s necessary to neutralize multiple enemies simultaneously—this is where the sync-shot comes in. Sync-shots are best used in situations where your team must remain undetected to avoid jeopardizing a mission’s objectives. The stakes aren’t so high here, but this is a good opportunity to practice this effective tactic. Before you can pull off a sync-shot, you must first mark your targets. Aim at an enemy and press + or R to mark them—mark all four of the enemies in the village. As you mark targets, your teammates take up positions around the village to ensure they can hit each marked target. Every target with a blue icon above his head indicates that a teammate has established a line of sight and is ready to fire. Since four targets are marked and you only have three teammates, you must take out the fourth enemy yourself. Locate the target with a white icon above his head—this icon indicates he hasn’t been targeted by a teammate. Alternately, you can target any of the marked enemies and your teammates will adjust their aim so that all four targets are covered. When you’re ready to perform the sync-shot, aim at your target and squeeze the trigger. Your teammates automatically follow your lead, neutralizing all four enemies simultaneously.
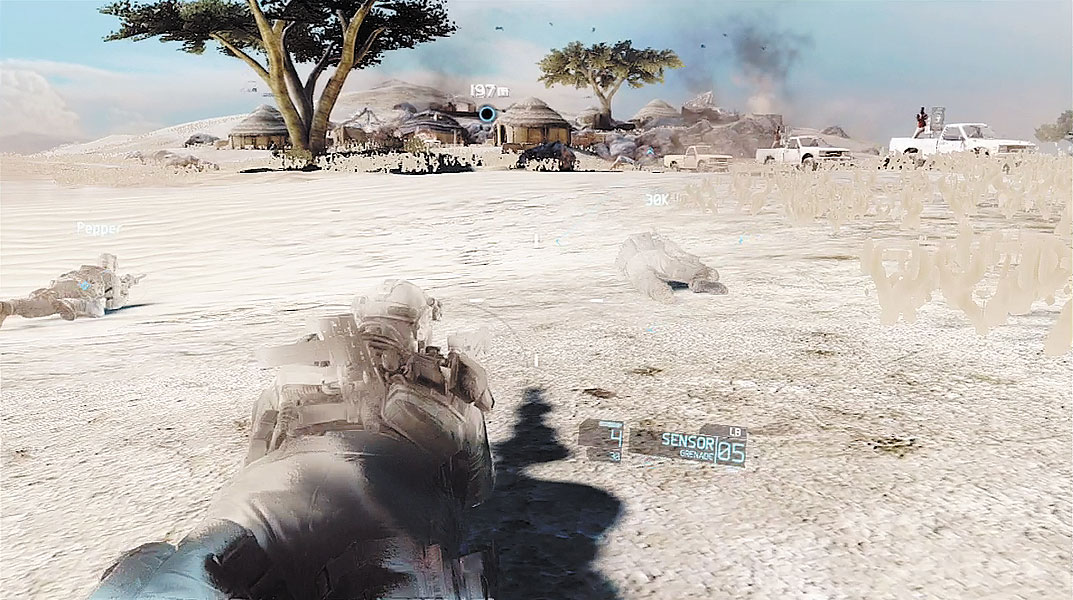
Following the sync-shot, resume the advance to the observation point. Along the way, a convoy of three hostile pickup trucks moving in your direction appears near a small cluster of huts. Do not engage these enemies. Instead, drop prone to reduce your visible profile and continue crawling toward the waypoint. The Optical Camo remains active while you’re prone, making you extremely difficult to detect. As long as you stay low, the three trucks will pass your position without stopping. When your teammates raise to a crouched stance, follow suit and resume the advance toward the huts ahead.
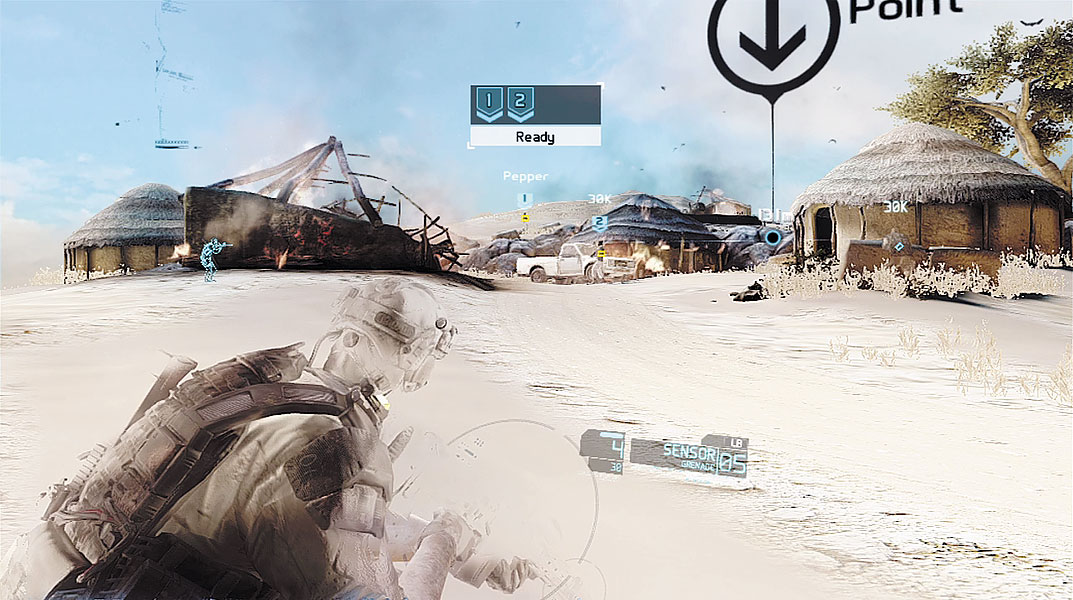
As you near the huts, a couple of enemy rifleman come into view. One is standing near the dirt road leading into the cluster of huts. The other rifleman is patrolling the hill in the distance. Mark both enemies, then order your team to perform a sync-shot. You don’t have to target four enemies to perform a sync-shot. In fact, it’s often faster to eliminate enemies in smaller groups. However, make sure the bodies fall in a position where they can’t be spotted by other hostiles. If dead bodies are discovered, enemies will go on alert and you’re likely to have a firefight on your hands.
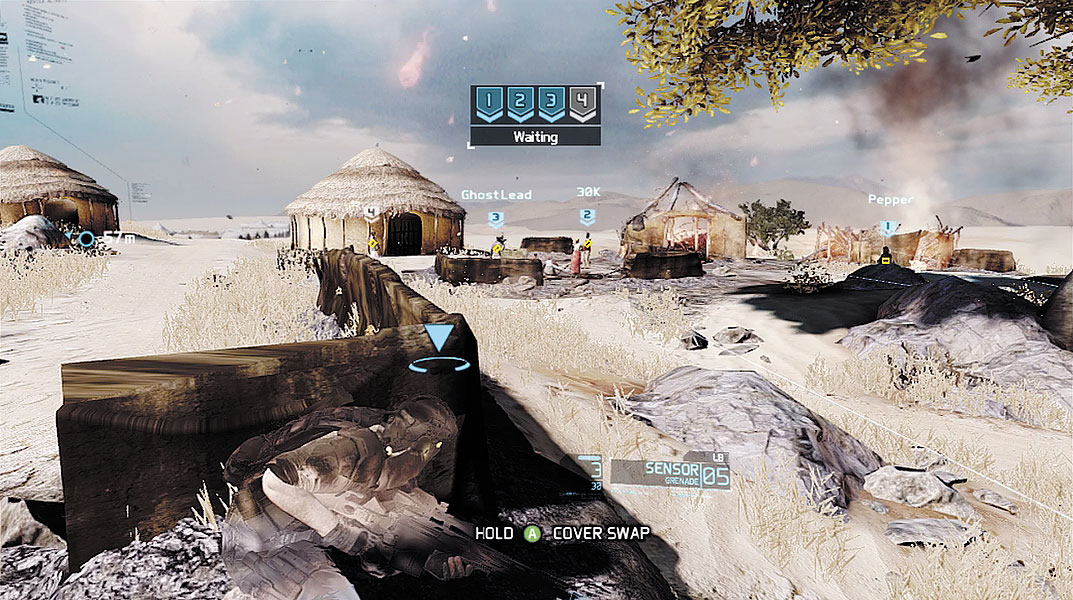
There are five more hostiles located in this small village near the observation point. While you can sneak past them without being seen, this is a good opportunity to practice another sync-shot. Four of the hostiles are gathered near a village courtyard while the fifth patrols around the perimeter. Deal with the patrolling rifleman first. You can either drop him yourself or mark him for a teammate. Just make sure his body falls outside the line of sight of his friends. Next, deal with the four hostiles in the courtyard. Mark all four targets, take aim at one, then drop all four with a sync-shot. The village is now clear of threats. You can now proceed to the observation point without being spotted. Regroup with your teammates on the hill overlooking the refugee camp to receive an intel update from Overlord.
Overlord Intel Update:
New Luenda Refugee Camp
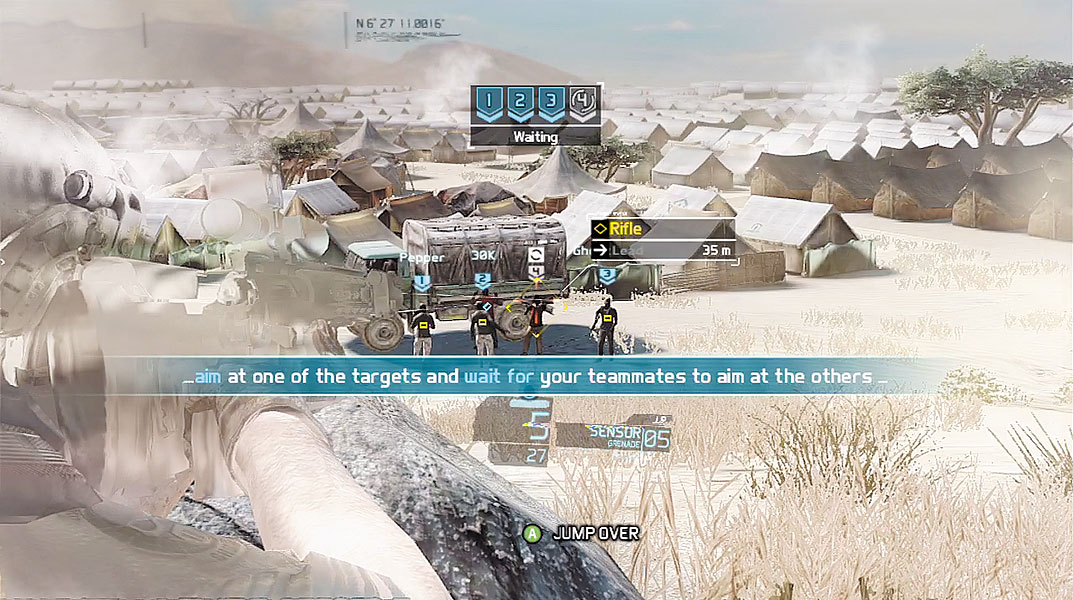
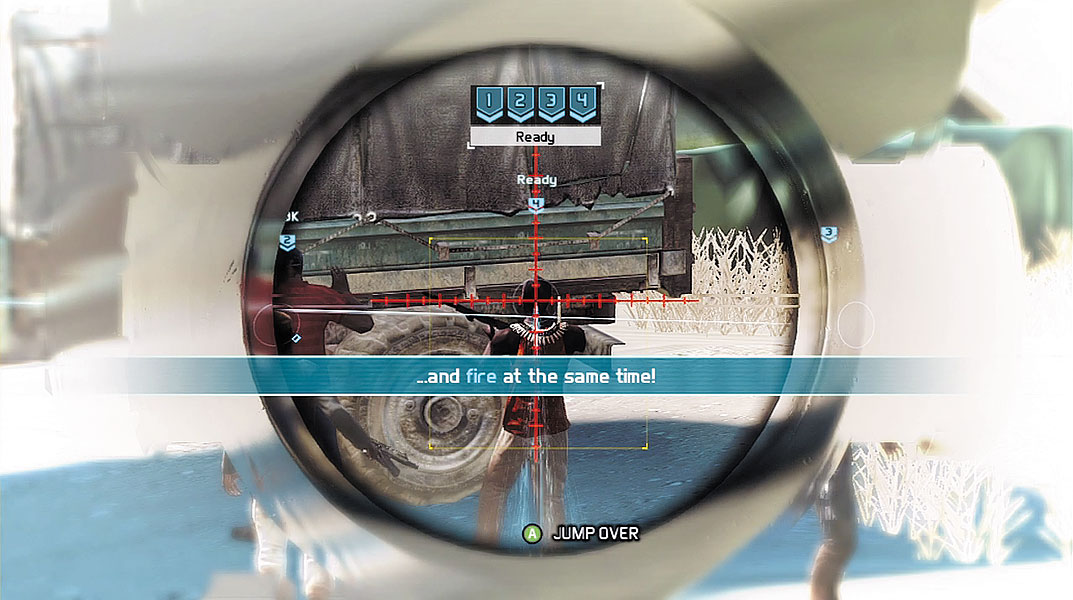
Your contact is located at the next waypoint, sitting in a truck outside the refugee camp. But there’s a problem. Your contact is being harassed by four of Macaba’s thugs—time for another sync-shot. Creep down the hillside until you have a clear view of the truck and all four enemy riflemen. This is the perfect opportunity for a sync-shot; you can kill all threats in an instant, minimizing the danger to your contact. Take cover behind a rock along the hillside and begin marking targets for your team. Once you have all four hostiles marked, take aim at one of them and perform the sync-shot—at this range you may want to use the scope view. All four riflemen drop to the ground in an instant, prompting your contact to hop in his truck and prepare for your arrival.
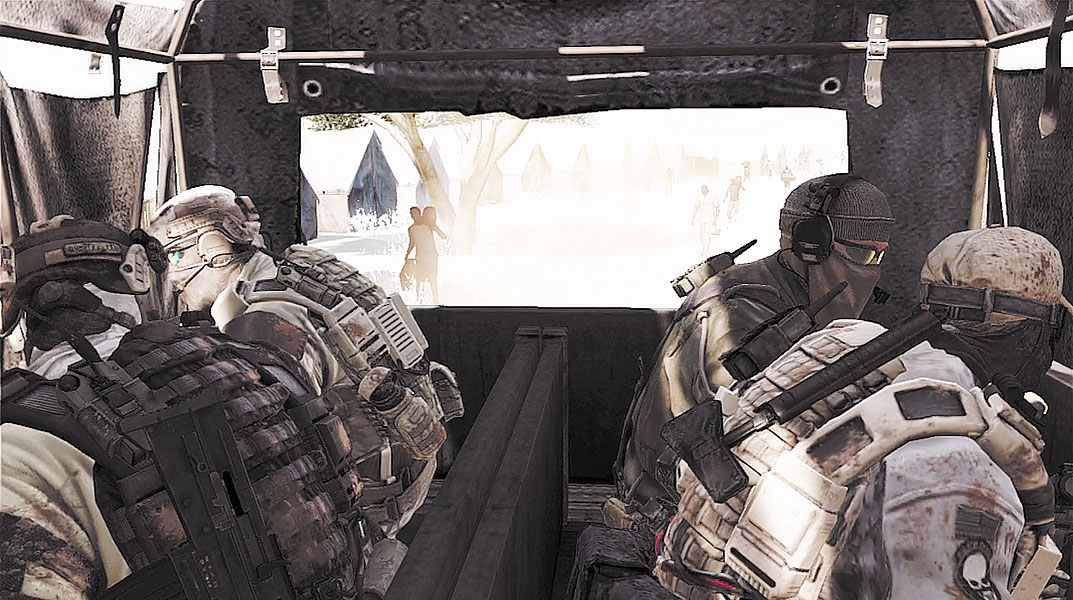
Follow your team toward the waypoint marker by the truck. As you near the truck, the driver urges you to hop in the back—this is your ride inside the camp. During the ride, Ghost Lead briefs the team on the tricky rules of engagement. Your team is clear to engage hostiles, but you can’t afford to set off any alarms. He advises to get in close and make each shot count. You’ll also want to make use of sync-shots when engaging multiple targets. Your Optical Camo will help you avoid detection, so you can get close to Macaba without spooking him. Overlord advises that a storm is heading toward the camp. It’s best to take care of business before the storm hits.