
Tom Clancy's Ghost Recon Future Soldier Guide Multiplayer Adversarial
Alpha
Alpha
Situation Report
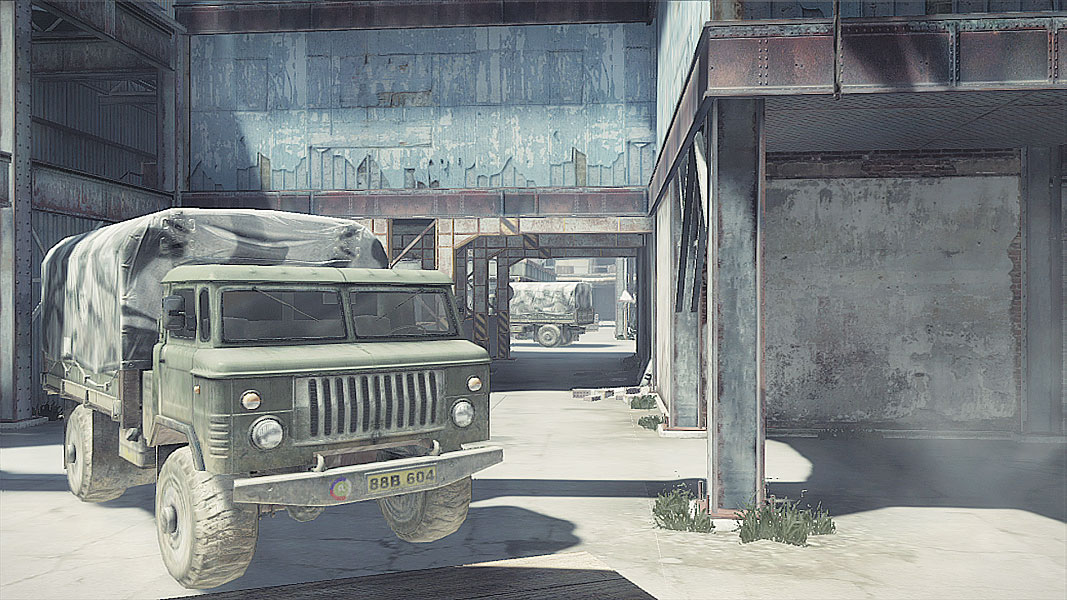
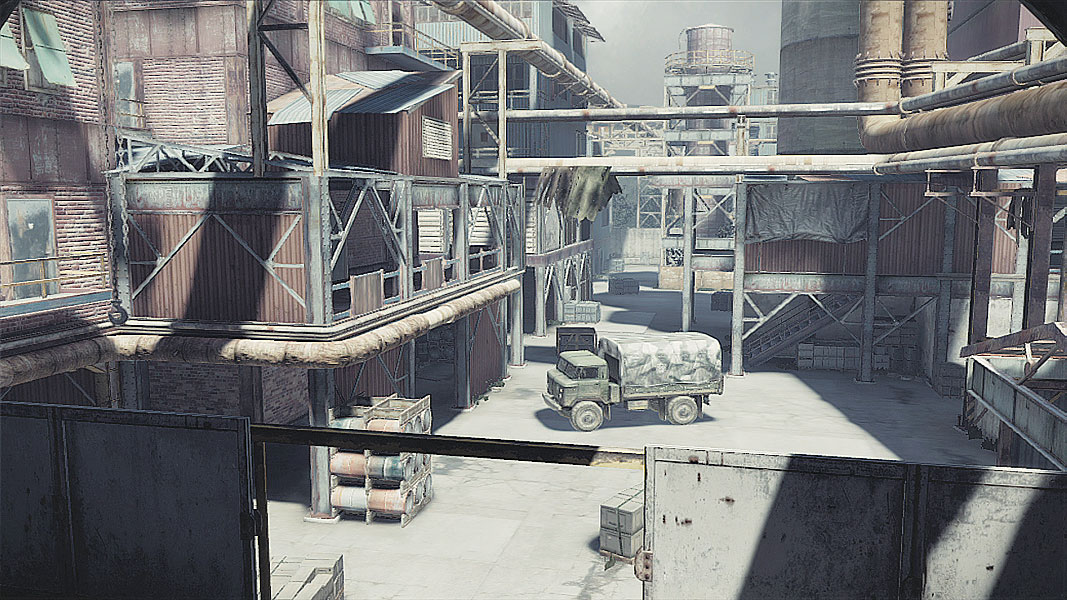
Alpha must have at one point been a particularly efficient factory, but those days are long since past. The result is an area that startlingly wide open. Snipers have some of the longest sight lines of any map, and the multitiered walkways and routes through the center of the factory mean this is a level with far more vertical shoot-outs than anything except maybe Rig. Scouts will have a great time sniping here and Riflemen with LMGs have a chance to really pin down enemies. Get ready for some long-range shoot-outs.
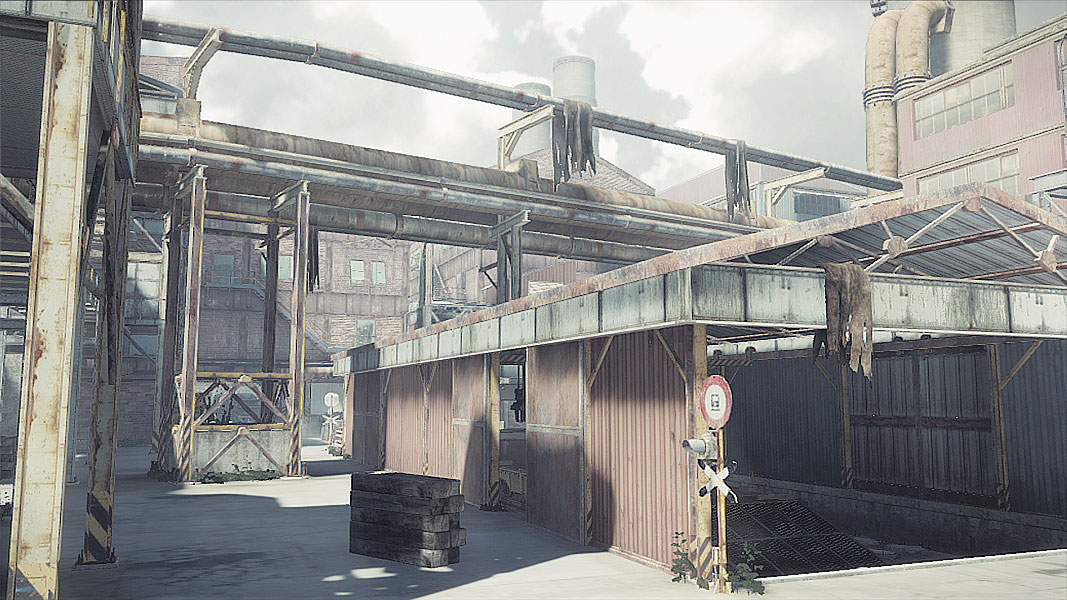
// Spawn Points (Conflict, Decoy, and Saboteur)
Ghosts are dropped in, starting near a towering Warehouse that gives a perfect indication of the kind of multilevel engagements that will be possible in this map. Snipers can very quickly get into overwatch positions to monitor the longer open areas and catwalks above them, while engineers will have a field day with all the little nooks and crannies that UAVs can be parked in. Riflemen that went the AR route over LMGs can do a little sniping of their own, so if you decide to navigate the lower area, be damn sure you’re grabbing cover wherever possible.
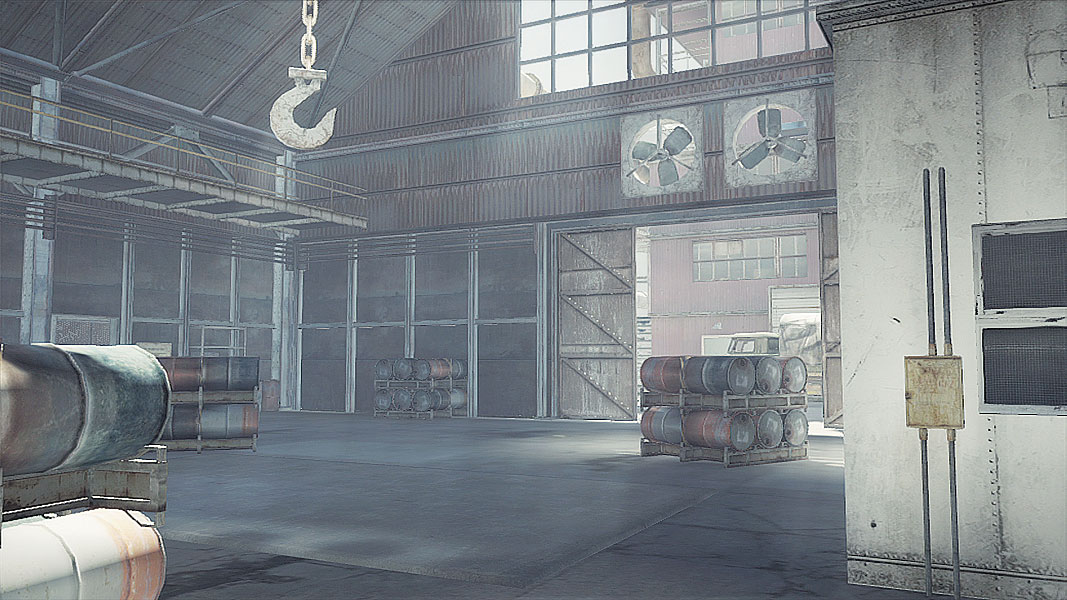
The Dome area that Bodark forces spawn in is easily one of the coolest starting areas of any of the maps. It opens out into a handful of side alleys and a Back Lot that make approaching the Trainyard both varied and dangerous. Cover is common, as are opportunities to get some elevation, so start exploring, but keep an eye out for Ghost snipers.
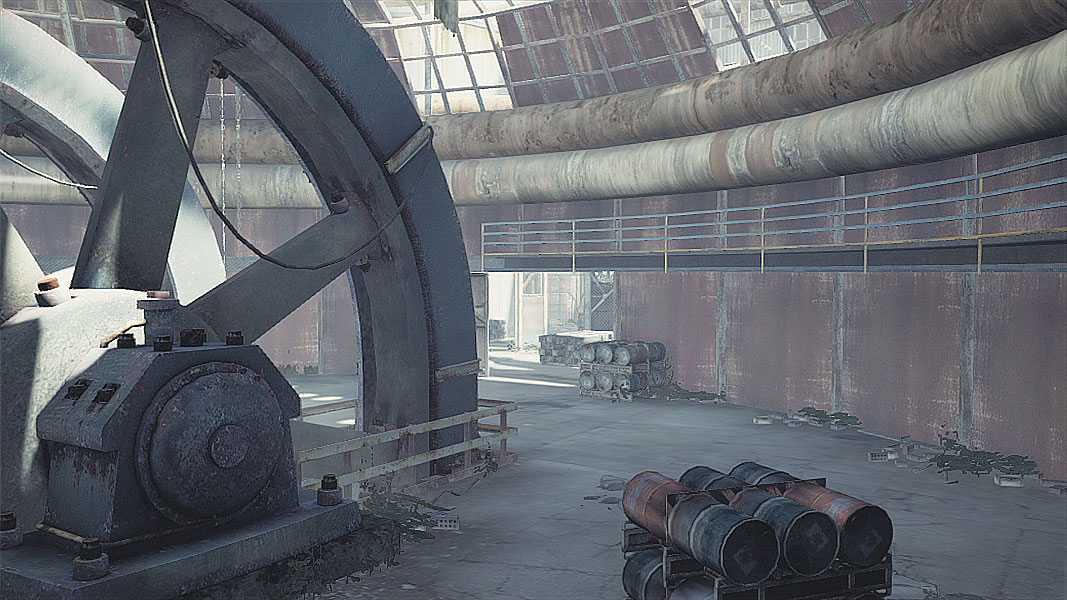
// Points of Interest
The Trainyard
Central to multiple objectives and even modes unto itself, the Trainyard is a long, covered swath at the dead center of the map. With high perches on either side and multiple spots to duck in and out of the covered structure, the Trainyard will doubtlessly be the beginning and end of plenty of shoot-outs.
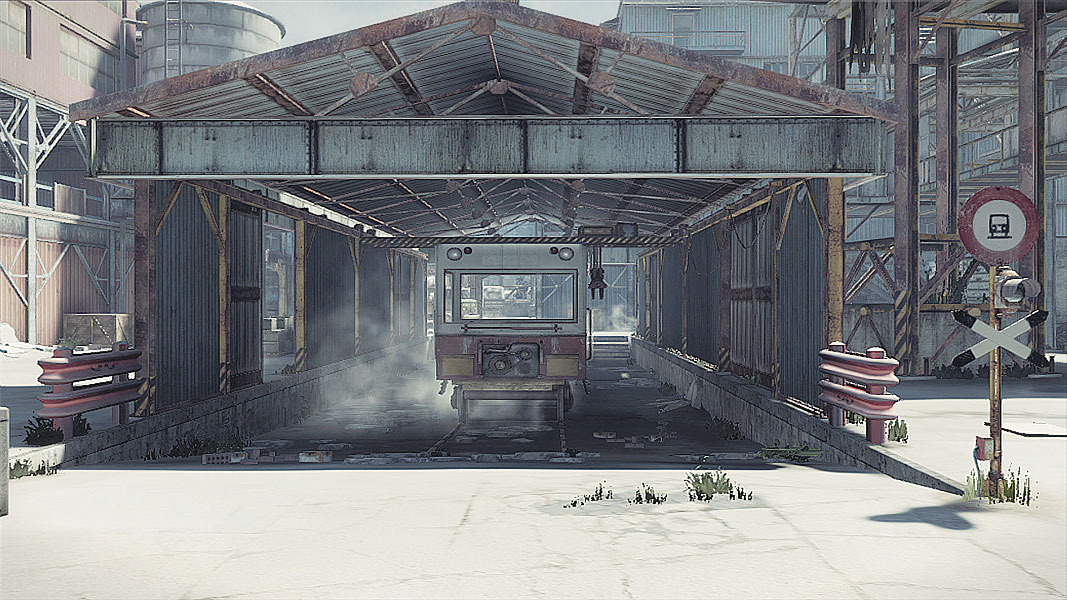
Thunder Alley
Take a good, hard look at the layout of the map to see why the lengthy horizontal and vertical areas that meet at the Trainyard are so dangerous. Properly set up, a Scout can snipe from one end of the map to the other—something that’s almost never possible in other maps. That’s not to say there’s no cover—in fact there’s tons of it, which means if you get sniped while running down one of these long hallways, you are probably doing something foolish and are paying the price.
The Walkways
At the end of nearly every major hallway is a set of stairs that leads up to a second floor that’s perfect for sneaking in shots at the guys down below, or skulking around out of sight of those below. Keep in mind that these walkways almost always have a complementary version on the other side of the map, and there are plenty of areas where one can see over toward the other. This can actually make for some interesting firefights on a different plane from the ones below. Just don’t forget to look down. Or up if you’re already on the ground.
// Conflict
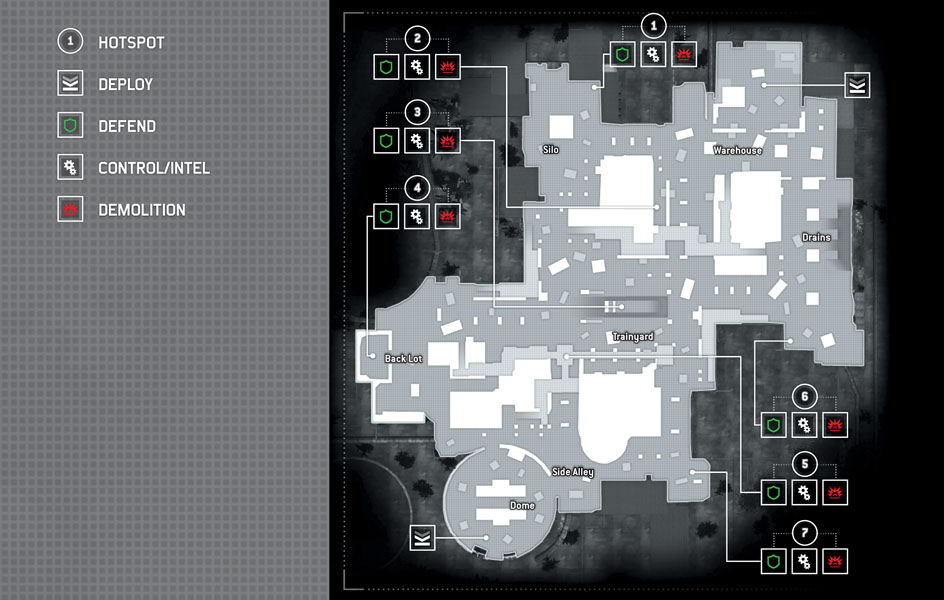
With very little cover (aside from a set of crates a ways away from the actual objective), the breezy Silo area is an ambush just waiting to happen. Make heavy use of UAVs to provide some early warning about angles of attack that can’t easily be covered from concealment. The hardest part is actually capturing the location first. If you can do that, there’s a good chance you’ll be the only one to do so. Just hold back any attackers that try to usurp your ownership of the objective and those team points are all yours.
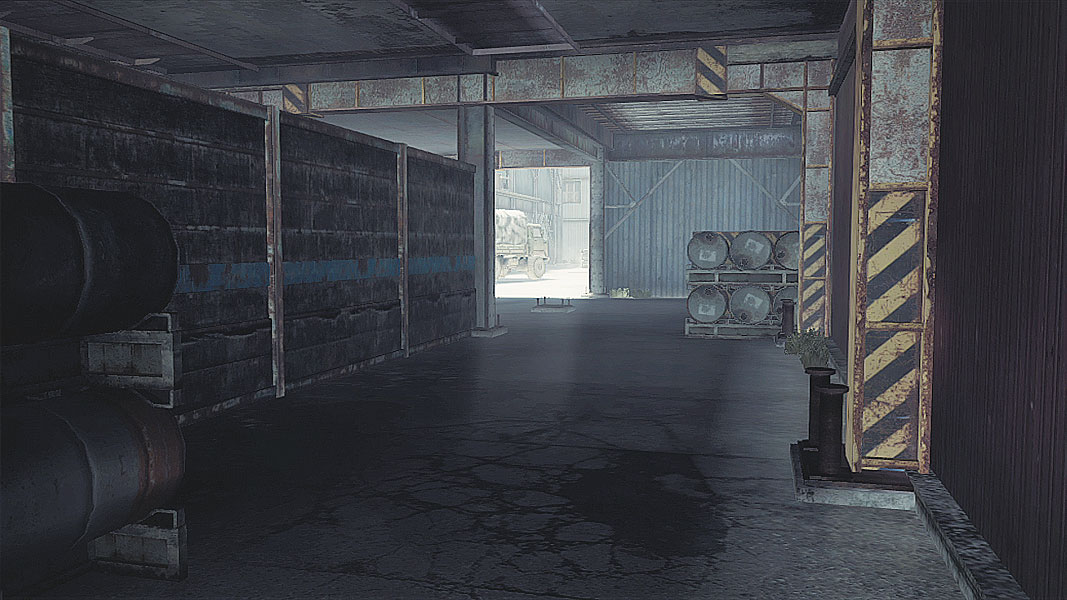
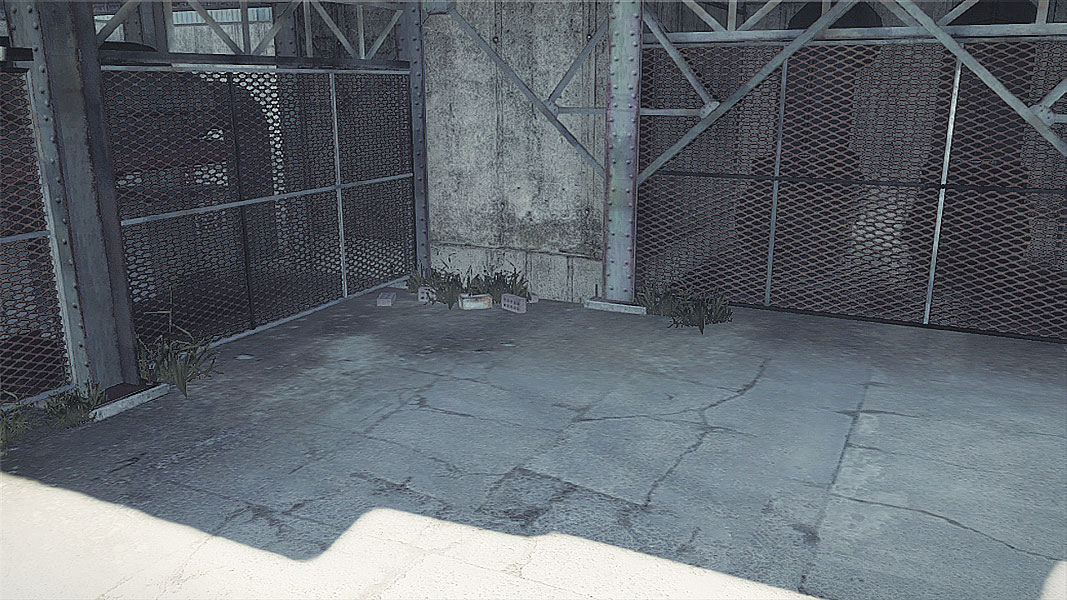
Just off the main Trainyard is a small alcove with just a few drums to use for cover when you’re trying to defend. Make sure you are using those drums as much as possible because the clear sight lines make even medium-range weapons incredibly dangerous. It’s easy to get ambushed here, so stay as fluid as possible, shifting cover to avoid an attack from one end of the hallway or the other.
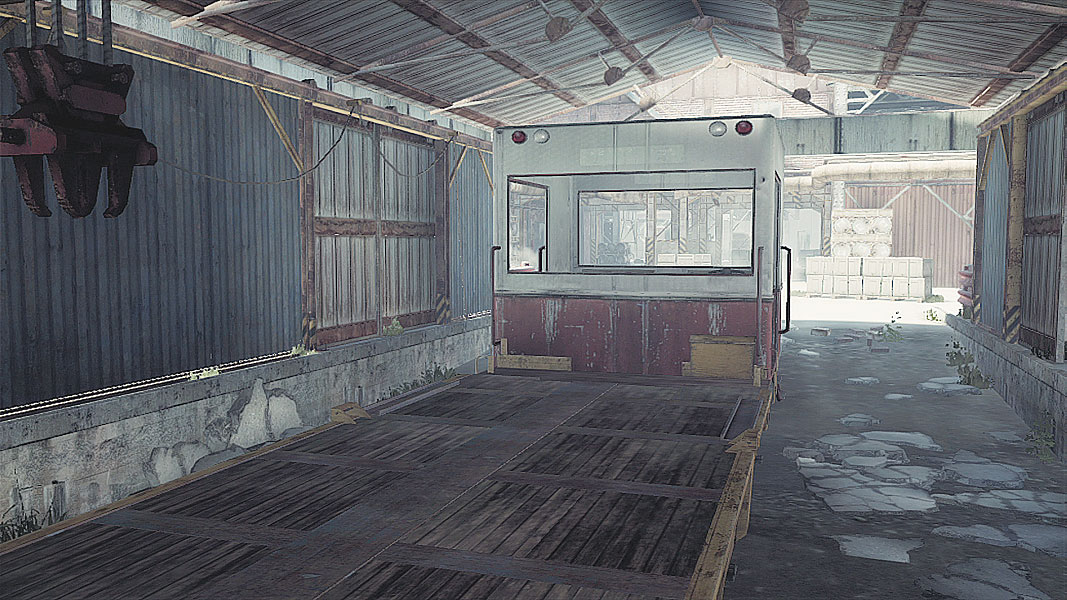
You’ll come to know (and possibly hate) the train inside the Trainyard quite well after just a few rounds, as this central location is core to most of the modes in Alpha. Trying to take cover on the train itself is difficult because of how open the area is to incursion and long-range shots. If possible, hop down and use the flatbed of the train for cover to push back would-be attackers, and watch for surprise attacks as you exit the covered building; there are plenty of crates that make great places to wait for clueless enemies.
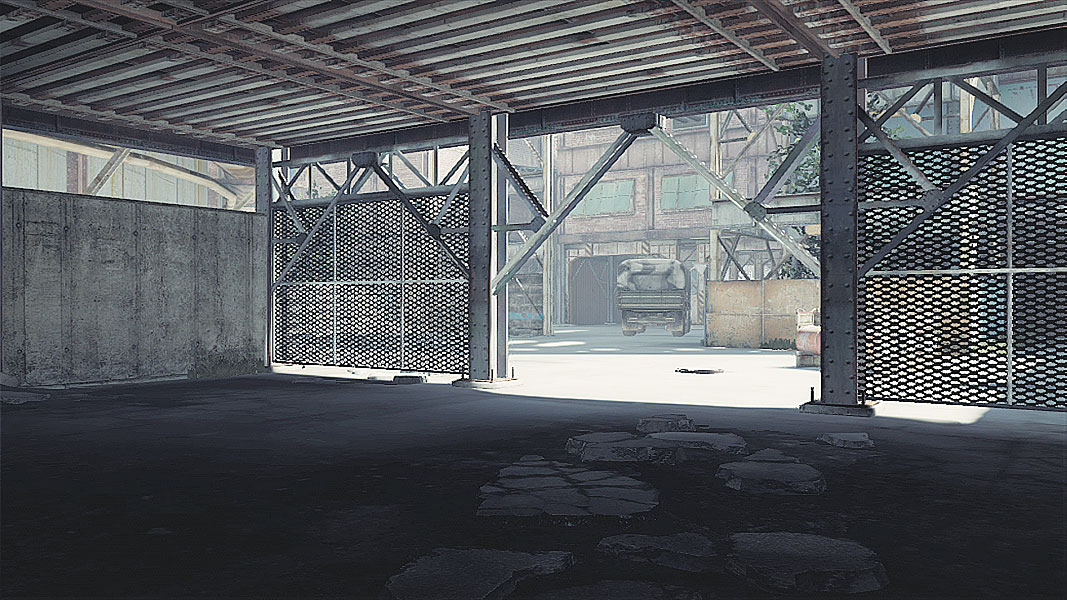
The Back Lot is one of those places that’s deceptive. It’s open so grenades aren’t as dangerous as one would hope when throwing them; it’s dark, so it’s not immediately obvious who is inside if you’re looking in; and it’s the spot of quite a few objectives. The thing is, there’s only one way in and out of the objective room, which makes it a bottleneck (albeit a rather big one), and one-way exits mean getting pinned in by LMG fire. Don’t spend too much time dawdling here, or these moments could be your last.
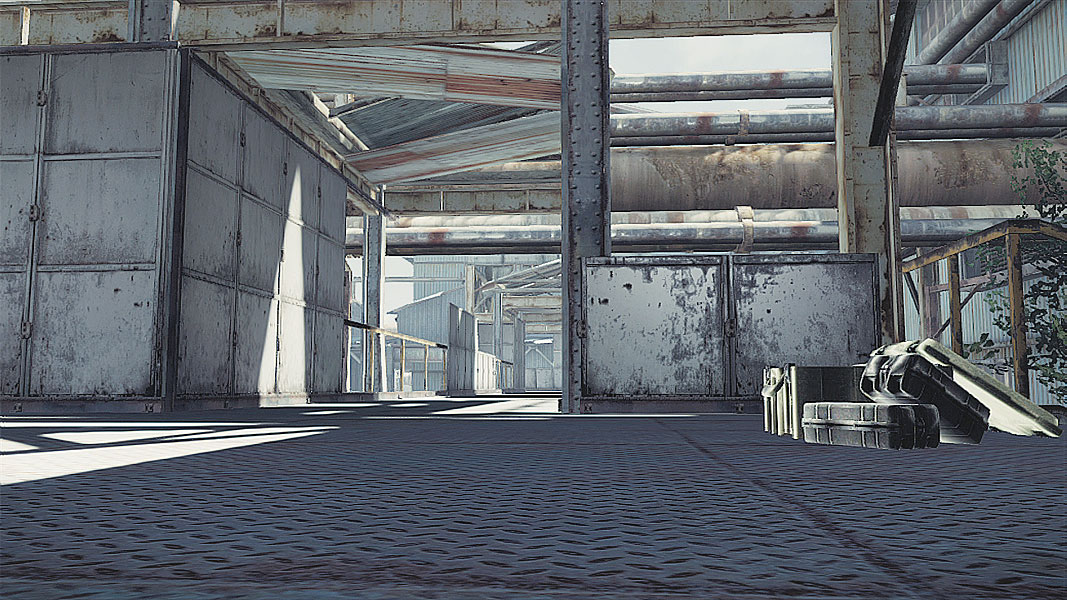
One of the more secure hot spots on the map, this L-shaped area offers just two routes of entry. However, running directly toward the objective through the open areas of the map is foolhardy, as there’s simply too many sight lines into the courtyard area. When capturing, be sure to cover both entrances; enemies in the Admin building can make their way down the ramp and sweep around the corner to take out a would-be capturing enemy with a well-placed grenade, so stay agile.
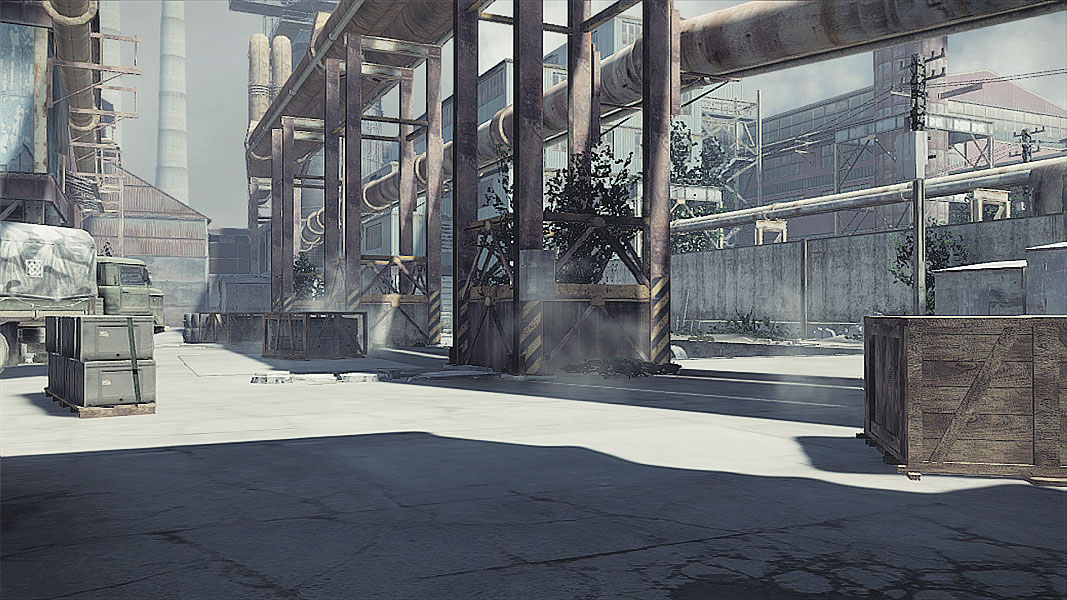
A sort of yin to the first objective’s yang, this similar hot spot has a bit more cover—particularly the columns that support the pipelines stretching overhead. Squadmates can set up behind the columns or nearby crates to catch enemies trying to come down the stairs with an ambush, but the Drains behind them are equally rife with ambush possibilities for those that swing wide and down into the murky divot. So be sure to check your six while providing backup for that squadmate that decides to capture the objective.
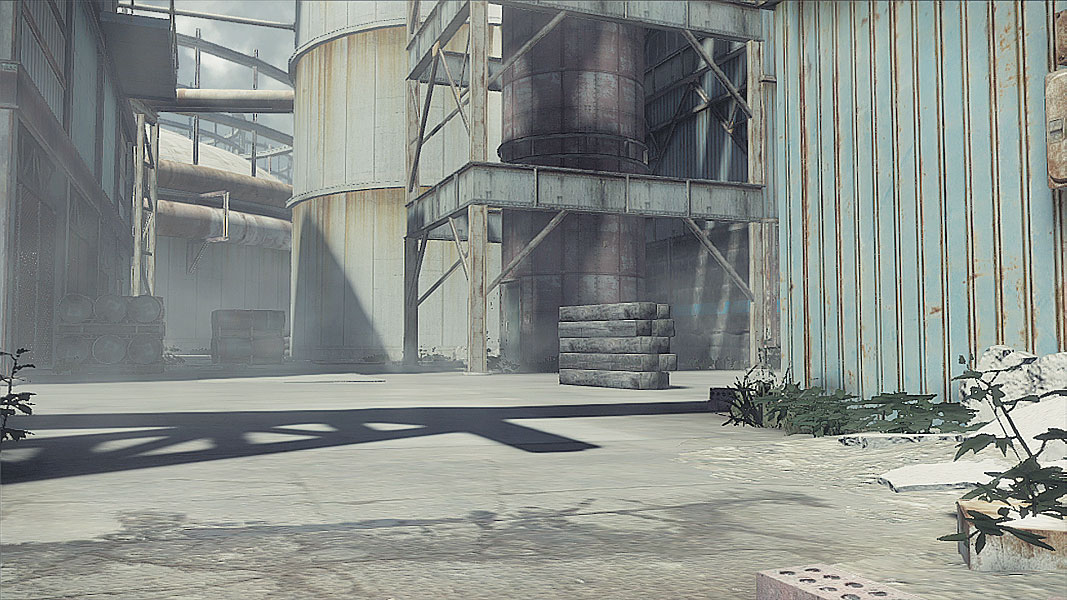
The final hot spot can be rather dangerous if it’s attempted during a Bodark respawn wave. Of course if you’re part of that Bodark reinforcement effort, it’s one of the easier spots to grab. Because it’s not quite tucked around the corner in an alcove looking out toward the Trainyard and the Bodark Dome, the long sight lines mean sniping a squadmate trying to the capture the objective can happen more often than you’d like, and the Scouts’ Optical Camo can make them hard to spot while they line up the shot if prone. Keep your eyes peeled.
// Decoy
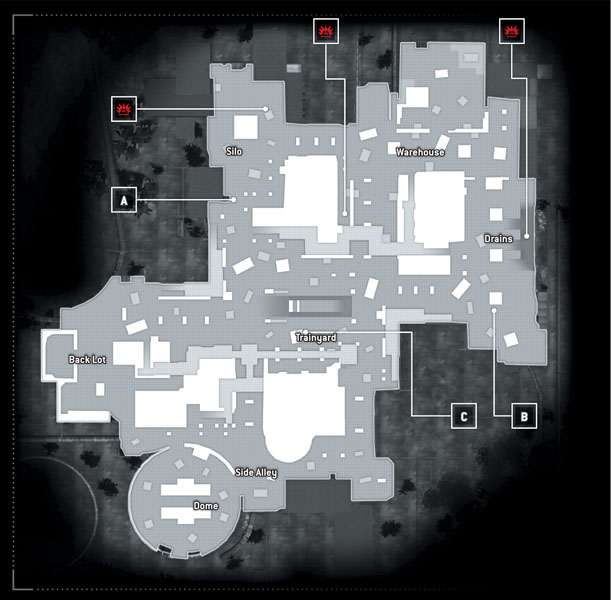
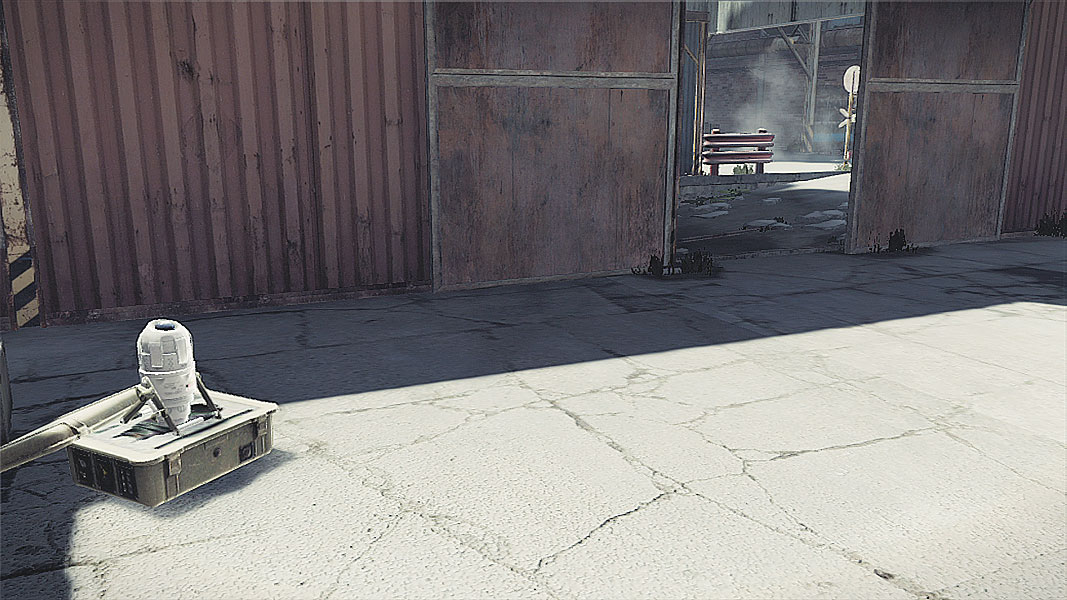
The first potential key point near the Trainyard is protected well enough from attacks actually coming from the Trainyard, but the left flank and rear can be quite hard to protect. UAVs do a good job of providing some early alert, but the key here is Confidence captures. After all, once the objective has been taken, it’s either a trip to the bomb plant location or on to the next objective. No need to hold this position for long.
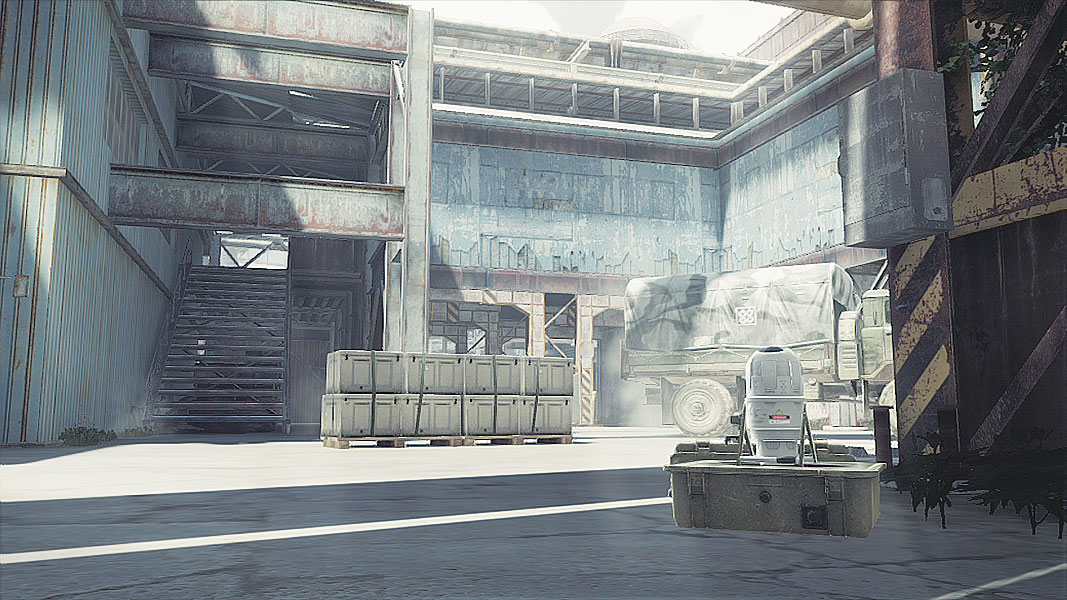
The second of the three possible opportunities for picking up the actual bomb location is back near the columns supporting the pipelines by the Drains. Just as before, those Drains are a deceptively good place to hide while waiting for someone to start capturing, and the staircase leading down from the walkways above leads right to a set of crates that make for a great firing position. Move as a group if securing the objective, then keep sights aimed toward the direction of the Drains, past the truck and near the stairs and open walkway next to it.
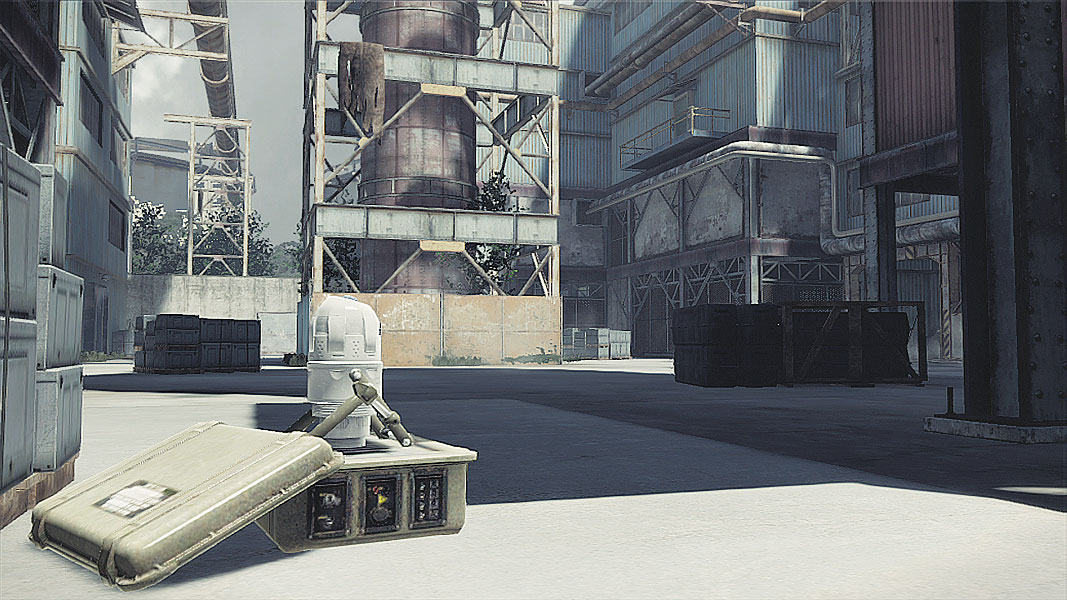
There aren’t many places more dangerous than the crate with the third and final objective location. Snipers can fire down from above, the Trainyard itself provides a place to fire from cover, and the long areas to the left and right are prime real estate for long range shots. Masking the location of the crate and the objective is a good way to quickly start capturing the locale, but be on the lookout for Frags dropping in from above. After grabbing this, it’s time to make somewhere go boom.
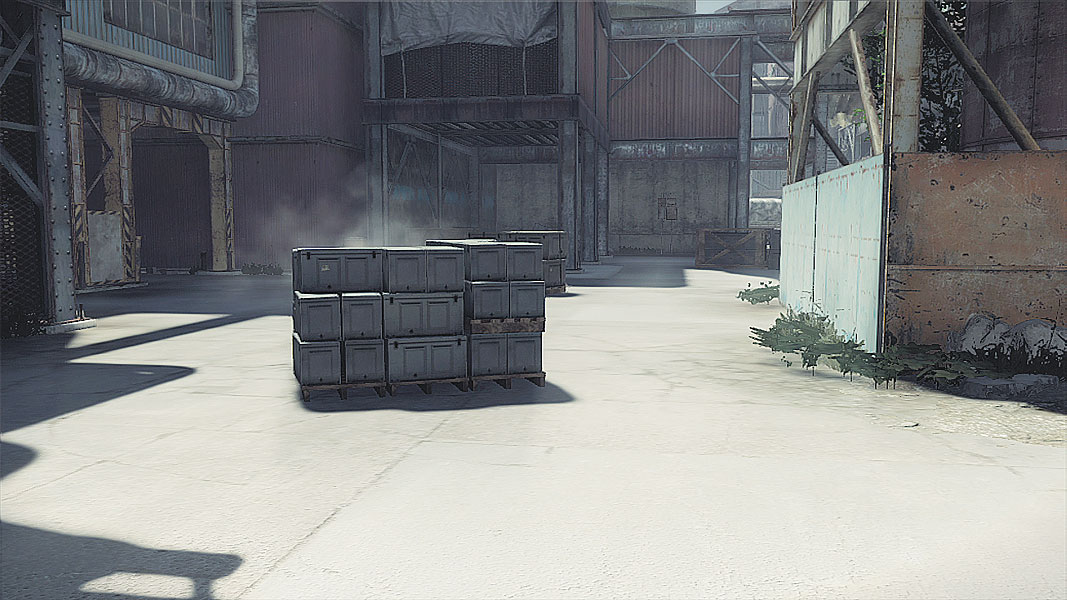
Boom number one is the wide-open space up near the Silo and the Ghosts’ spawn point. The Silo provides cover enough to pop out and take down a potential bomb planter, so be sure to deploy Cameras and Sensors when entering the area (or use specialized scopes like the Backscatter to peer through bits of cover). Defenders should hang back and let the attackers group together, then lob a grenade to end the party early.
Remember that dangerous little alleyway with only those piddly barrels for cover? It’s one of the bomb plant areas most hated for the fact that ambushes are so common. Dropping a Camera before attempting to place the bomb can help to mitigate that to some degree, but clear-eyed teammates are even better.
The final location waits back over in the actual Drains themselves. The mucky water seems to have no problem accommodating a bomb. But having to settle into an area that’s literally lower than almost anywhere else in the map and with plenty of nearby columns for an ambush means that a sweep of the area first isn’t just a good idea, rather it should be mandatory policy before starting the plant operation.
// Saboteur
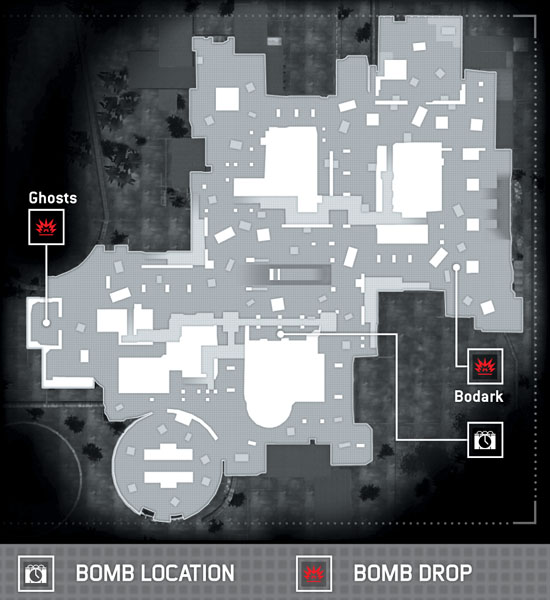
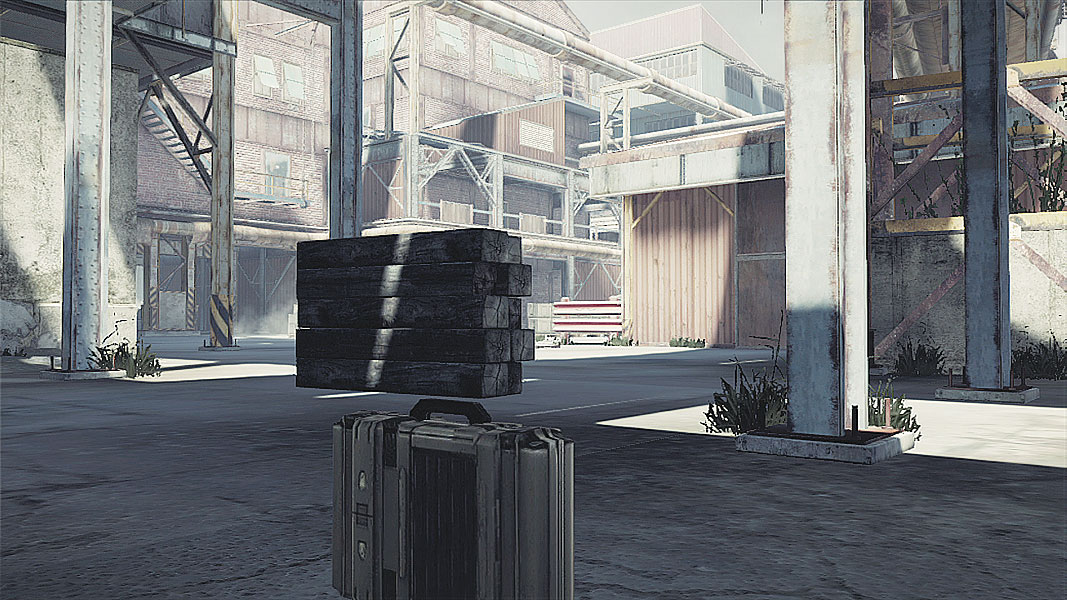
Sunk under the long upper walkway, the bomb waits, ticking patiently while firefights rage all around it. Between the Trainyard that offers cover for those that would try to take the bomb and long sight lines that will make snipers squeal with glee, there’s not a whole lot of safety here. That’s precisely why Alpha is a great test of teamwork, for it’s only a combined, concerted effort that allows one team to overpower the other and start moving the bomb to one of the two end destinations. Make no mistake, though, this is going to be one of the hardest-fought trips toward the eventual end plant area.
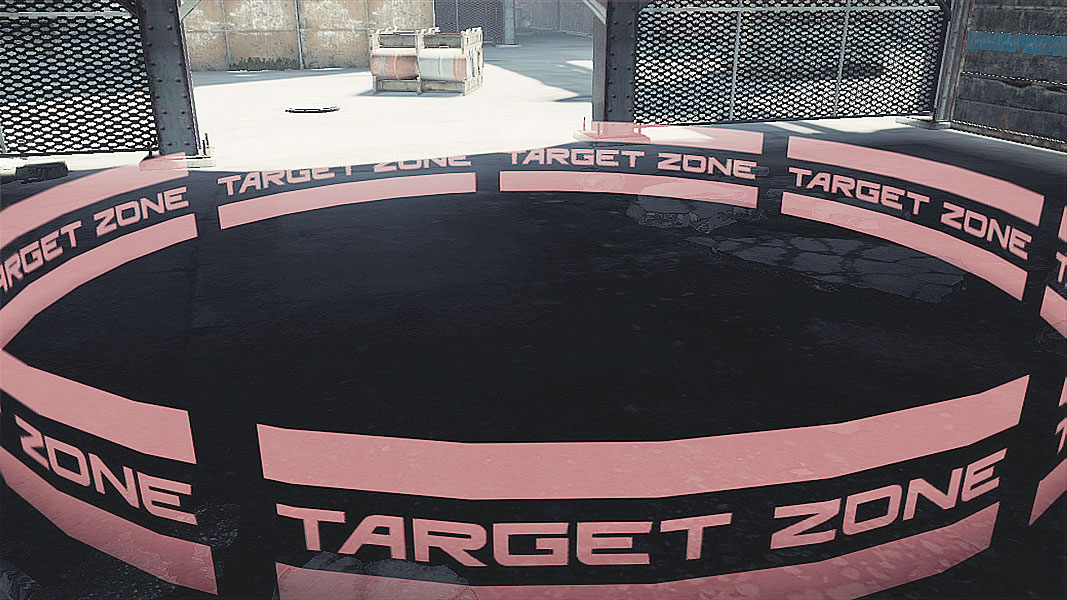
Ghosts must work their way toward the Back Lot, placing the bomb inside the enclosed area. Along the way, snipers, LMG fire and plenty of lobbed explosives will do everything they can to slow the Ghost team’s movement. Keep eyes turned upward to avoid being ambushed from above and move steadily. If you’re having trouble with cloaked enemy Scouts, remember that an EMP will completely short out their Optical Camo for a good 30 seconds.
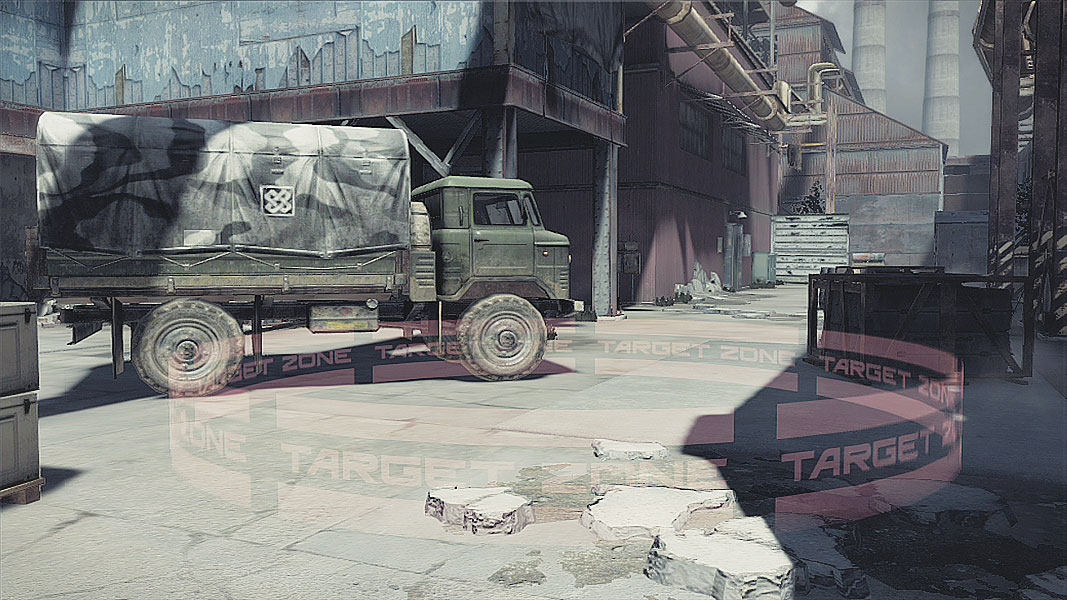
Bodarks don’t exactly have an easy time of it either. They must make the same long walk toward the Drains to place the bomb near the support pillars. And the same issues abound: snipers with clear long range views, threats from above, and plenty of flanking fire along the way. Teamwork and communication, marking targets as soon as they’re seen, and practice are the best tools in the Bodark arsenal. Ghosts, too, come to think of it.
// Siege
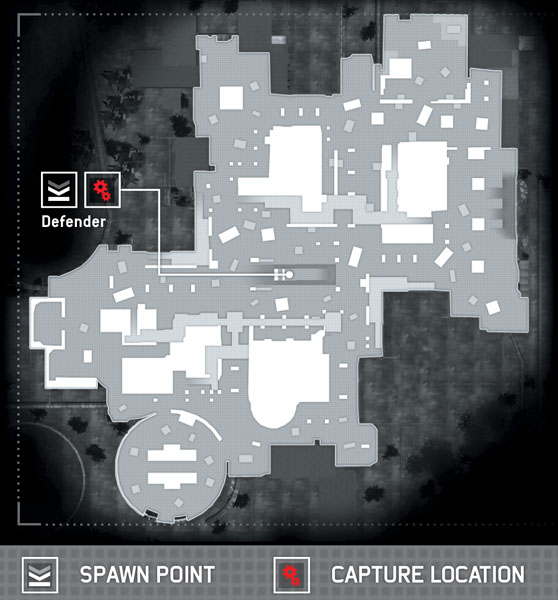
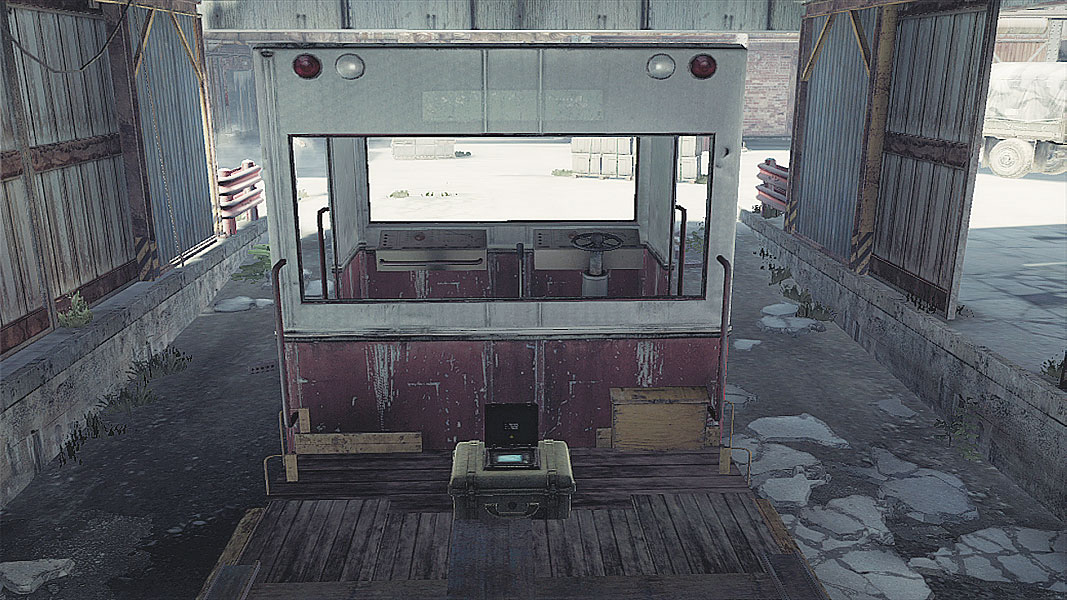
All hail the mighty Trainyard and its dangerous payload. Defenders have just enough time to send some overwatch up into the upper walkways and take up positions both in and outside the Trainyard building. The name of the game here is detection, so luring in an enemy and stunning them, then quickly getting a data hack can end this match with authority. Otherwise, watch for snipers on the other upper walkways and stay out of sight as much as possible.
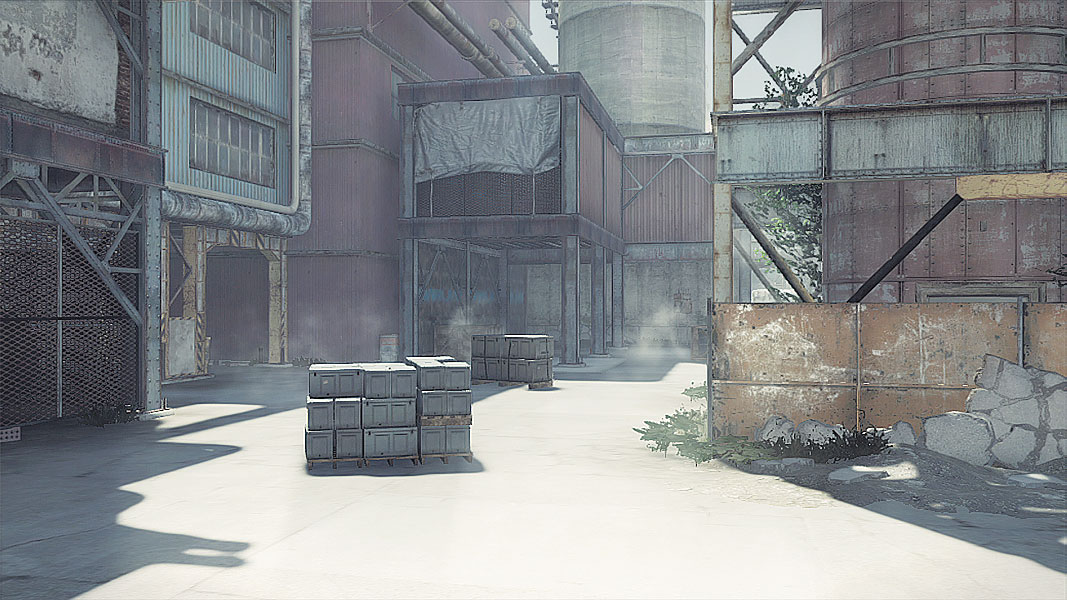
One of the better parts about having these upper walkways is they can be prime sources of data hacking targets. For the same reason that the defenders would benefit hugely from having access to your whole team’s whereabouts, you’d do well to try to find out theirs. The usual trifecta of UAVs, Sensor throws, and Camera placement will certainly sub in if a data mugging can’t take place in time. Be wary of defenders waiting alongside the train itself, and try to scan the upper walkways as much as possible to avoid getting sniped so close to the prize.