
Tom Clancy's Ghost Recon Future Soldier Guide Walkthrough Ember Hunt
Wait for Instructions
Wait for Instructions
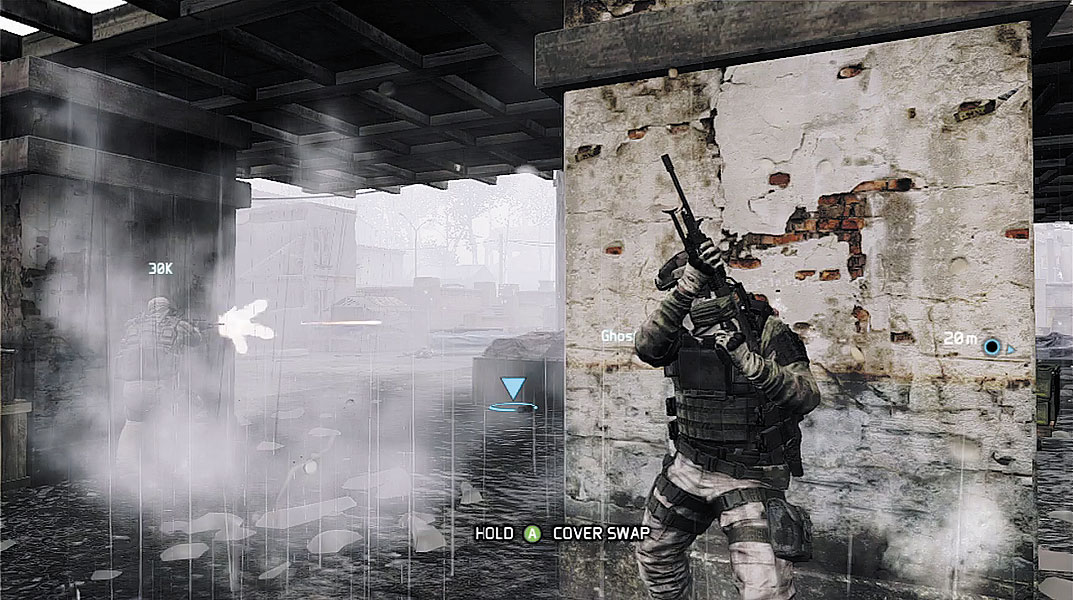
The destruction of the Georgian helicopter triggers the arrival of another wave of Bodark attackers. These enemies attack from the direction of the downed helicopter. But if you’re not careful, they can encircle your team, attacking from the plaza’s perimeter. In an effort to spot the Optical Camo-enabled attackers, activate your Magnetic view. Also, retreat within the shelter at the center of the plaza and take cover behind one of the large stone pillars. These pillars will help protect you against incoming tank rounds when a T-90 rolls into view near the helicopter’s wreckage. Always keep a solid piece of cover between yourself and the tank. There’s nothing you can do to take out the T-90, so just stay out of its line of sight. If you must move, do so with the cover swap method.
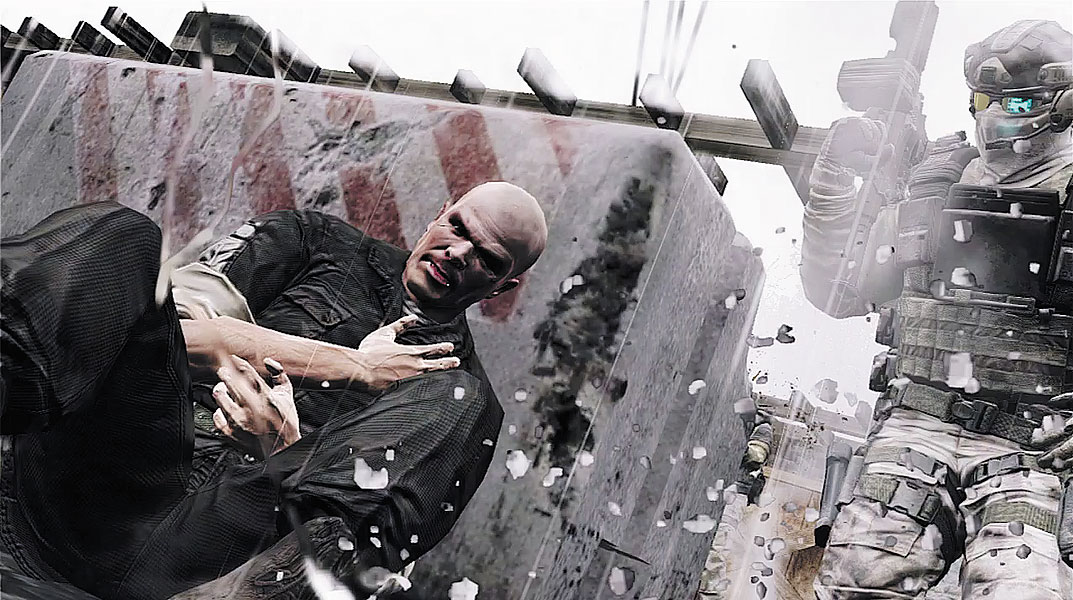
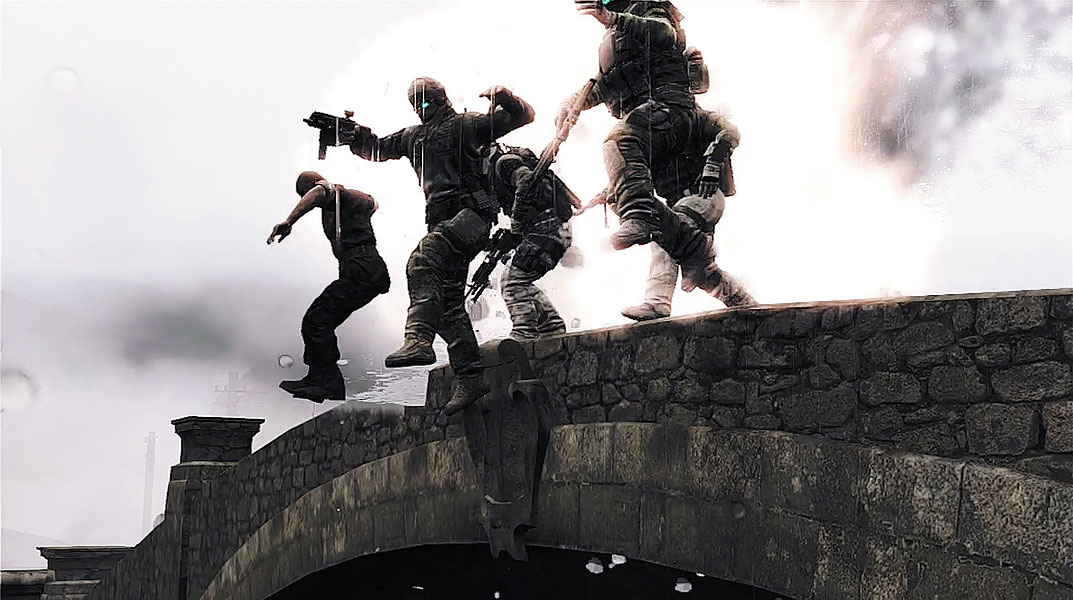
Soon after the T-90 attacks, your team seeks shelter on the opposite side of the plaza, putting as much distance as they can between themselves and the tank. At this point, Osadze is struck by enemy fire—he’ll survive, but he needs help. Osadze is down in the street, next to a concrete barrier. Swap cover until you can get close to his position. Once you’re within view, swap cover to the concrete barrier he’s lying next to—this move completes the mission. In the concluding cinematic, the Ghosts retreat from the plaza, only to come face-to-face with another T-90. With no other options, the Ghosts and Osadze leap off the side of a stone bridge, escaping with only seconds to spare.
Ember Hunt: Completion Unlocks
| Type | Category | Item |
|---|---|---|
| Weapon | Sniper Rifle | KSVK |
| Weapon | LMG | LSAT |
| Attachment | Magazine | Incendiary Ammo |
| Attachment | Optic | Backscatter Optic |
| Paint | Weapon paint | Chinese Type 07 Oceanic |
| Paint | Weapon paint | Canadian Cadpat |