
Tom Clancy's Ghost Recon Future Soldier Guide Walkthrough Deep Fire
Disable the System
Disable the System
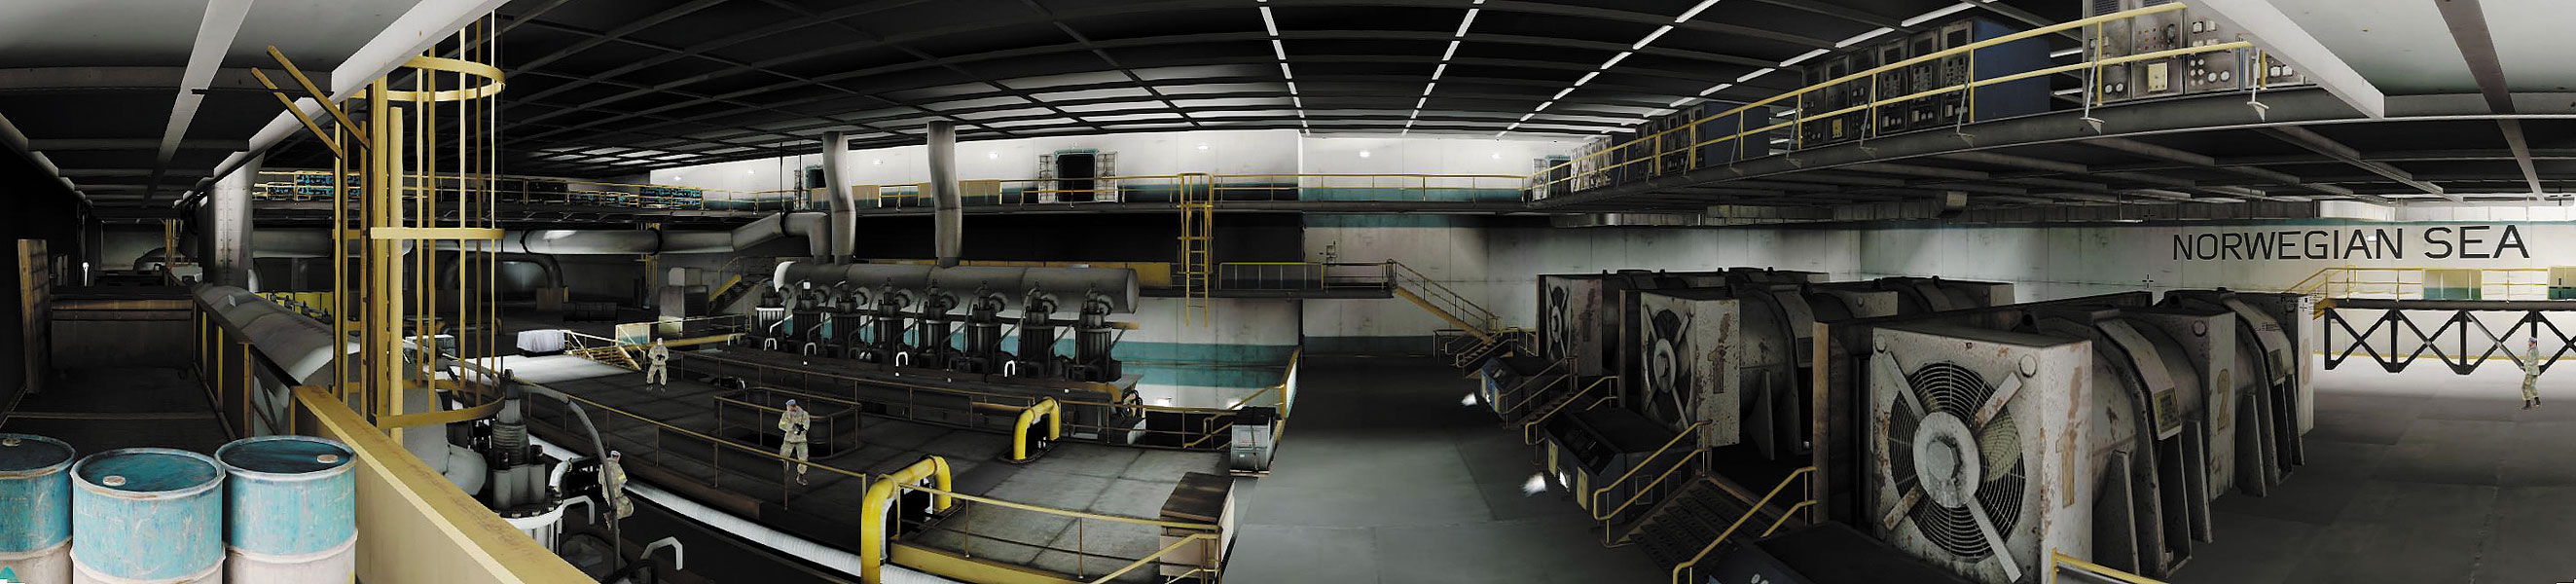
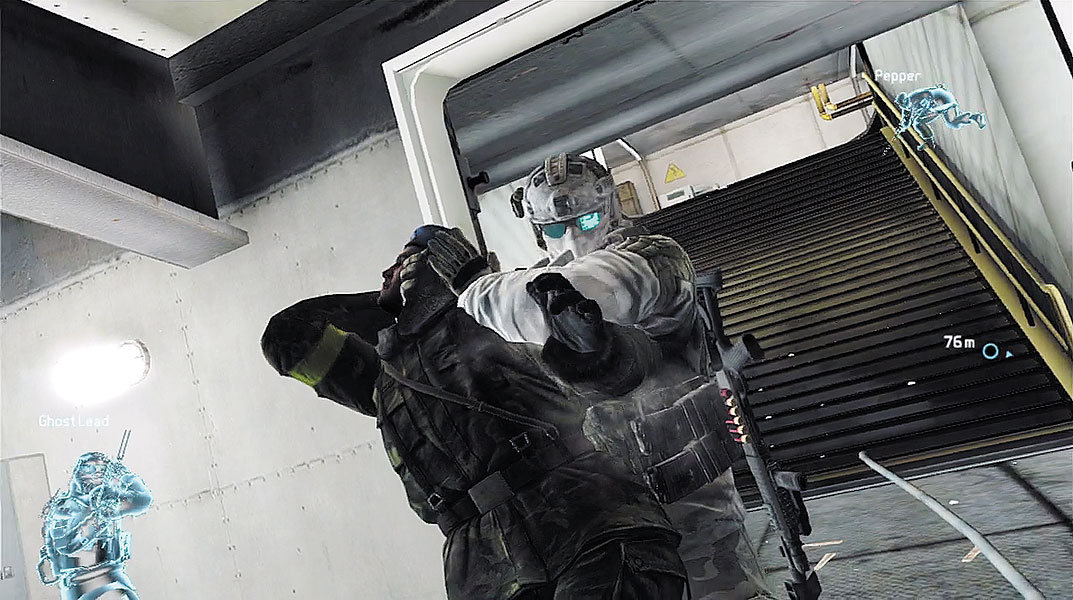
After passing through the doorway, creep down the corridor while crouched and descend the short flight of stairs to the right that lead to the generator room. A rifleman can be seen through the doorway at the bottom of the stairs with his back turned to you. Sneak up behind him and take him out with a stealth kill. A second rifleman patrols the floor below. While still crouched, creep up behind the patrolling rifleman and perform another stealth kill.
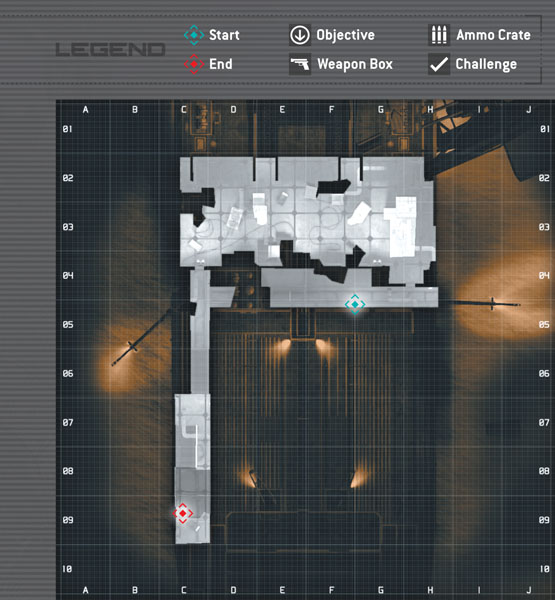
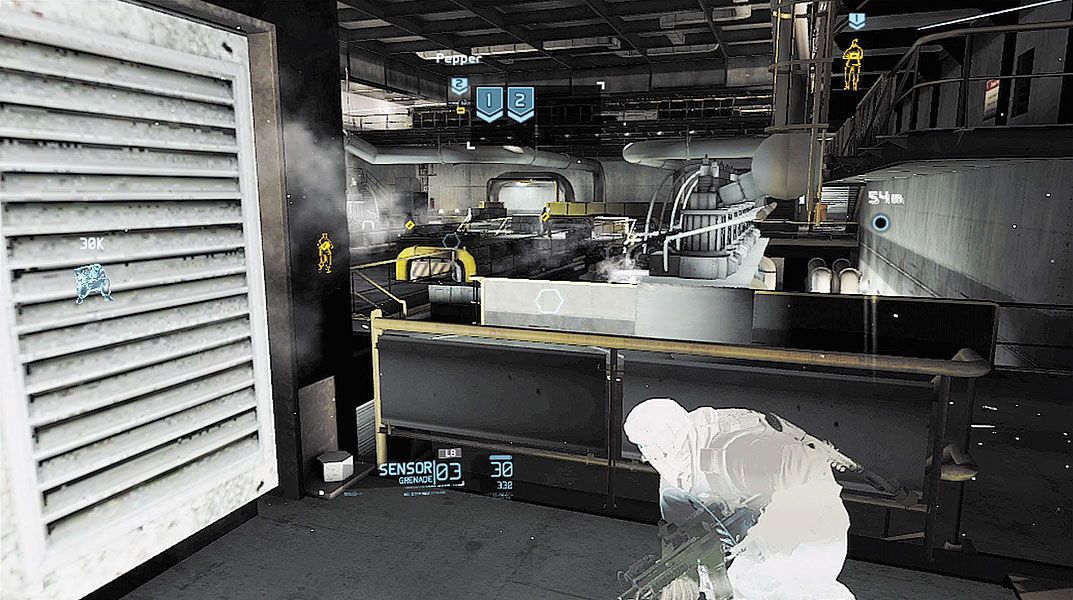
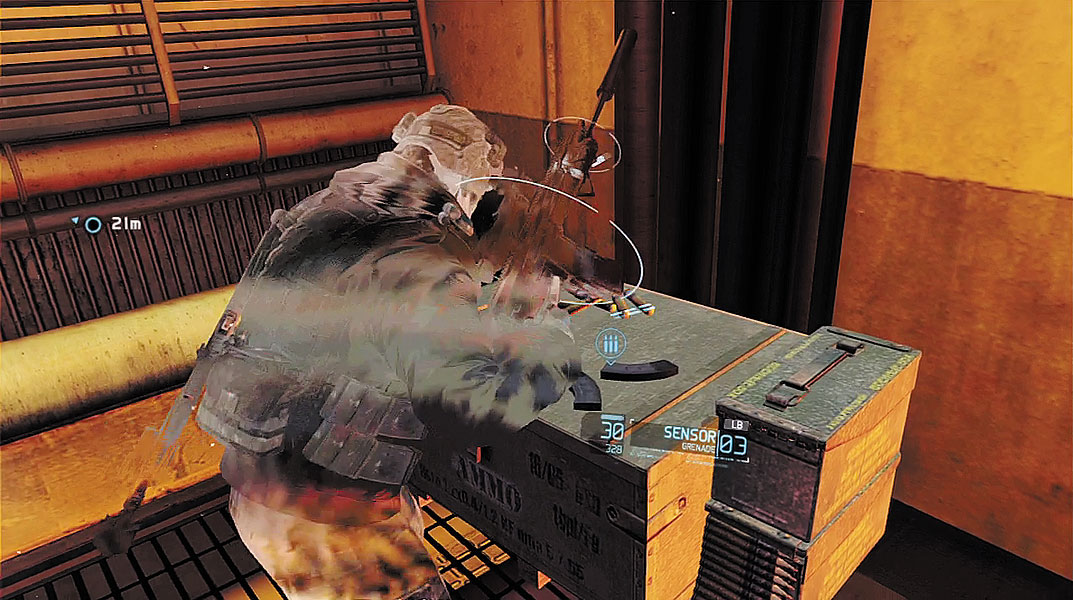
Next, toss a couple of Sensors along the perimeter of the generator room. The Sensors detect five more riflemen—two patrol a catwalk above the room, and three more are on the generator room’s floor. Mark the two rifleman on the catwalk as well as two of the three riflemen on the floor. Next, move to the far right side of the generator room and climb a set of steps to reach a perimeter catwalk—this catwalk is below the one patrolled by the other hostiles, so utilize cover and keep your Optical Camo active to prevent being detected. While your teammates set up their shots on their targets, take aim at one of the marked enemies on the floor. Since there are five enemies and only four marked targets, you’ll need to take down your marked target as well as the unmarked enemy on the floor. Wait until your two targets are close together then perform the sync-shot. During the sync-shot, time slows for a couple of seconds. This gives you just enough time to take aim at the unmarked rifleman and shoot him before he realizes what’s happening. If things go well, all five hostiles will be dead within a couple of seconds. The generator room is now clear. Regroup with your team in the adjoining corridor, which is marked with a waypoint marker. Just inside the corridor, turn right to resupply from an ammo crate.
Hack the System
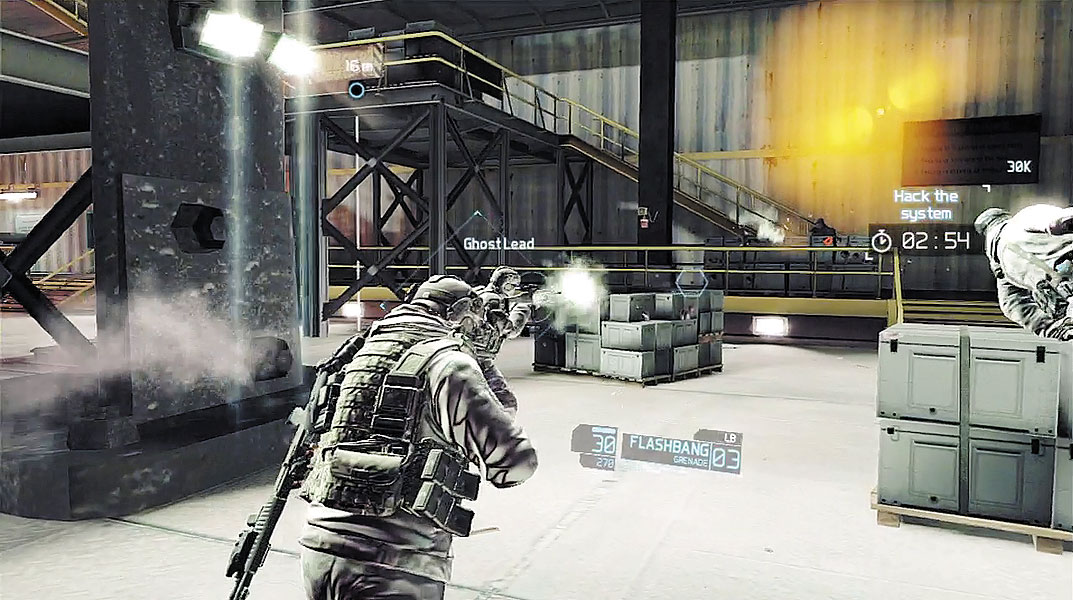
As you enter the corridor beyond the generator room, Overlord warns that the hostiles have initiated a lockdown sequence. You must reach the control room before the lockdown is complete. Otherwise you’ll be locked out of the control room, which results in a mission failure. As you advance through the corridor toward the drill room, a timer appears on the HUD, giving you three minutes and 30 seconds before the control room is sealed. There isn’t time for a quiet approach any longer. Toss a Sensor through the doorway on the left, then rush into the drill room and begin opening fire on all enemy troops. Multiple enemies are near the drill room’s entrance, including a couple on the catwalk to the left. You can drop most of them before they have a chance to scramble for cover. As you move in and open fire, issue focus-fire orders on enemies that are outside your line of sight.
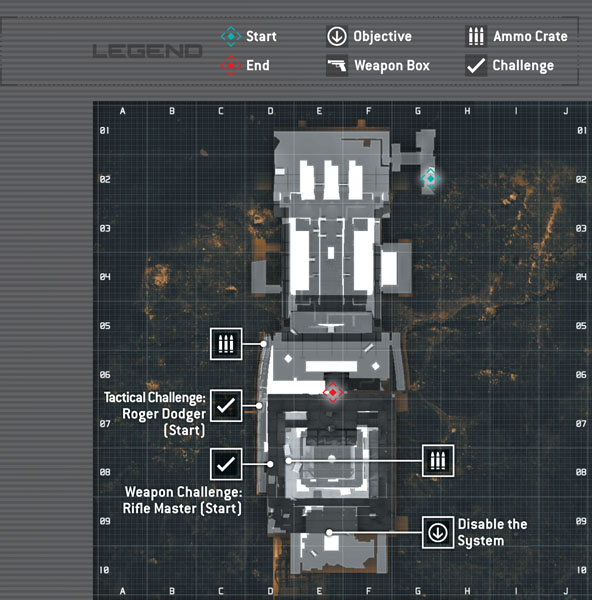
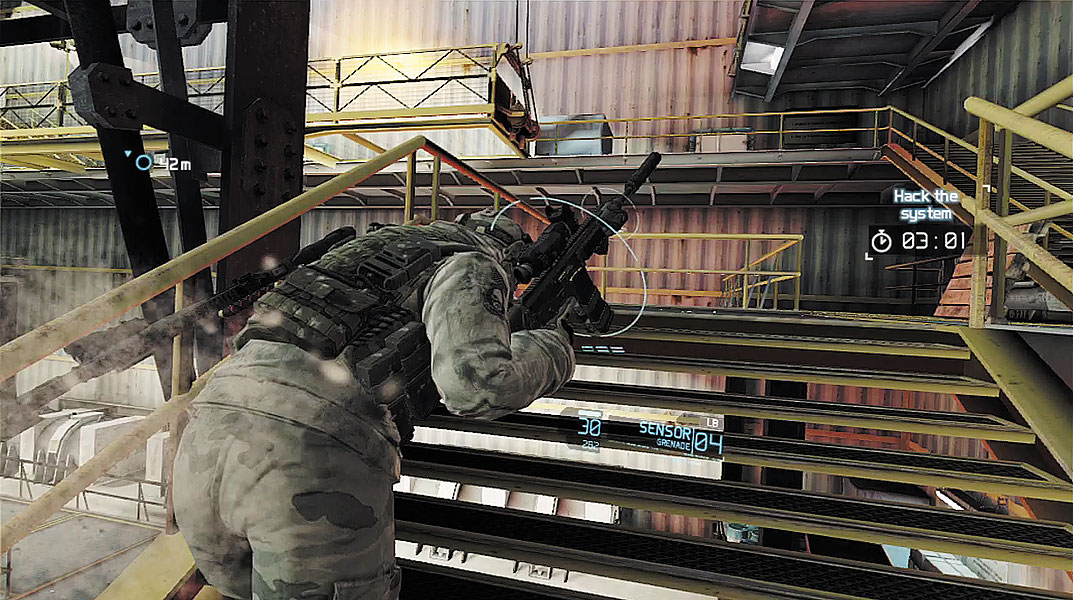
After eliminating the first group of enemies, race up a series of staircases to reach an elevated perimeter walkway. While moving up the stairs, sprint. Every second counts and there’s no enemies in this area to worry about. If you fail to sprint when not engaging enemies, you cannot complete the Roger Dodger Tactical challenge When you reach the next walkway, take aim at a lone rifleman in the distance and drop him with a quick burst from your assault rifle.
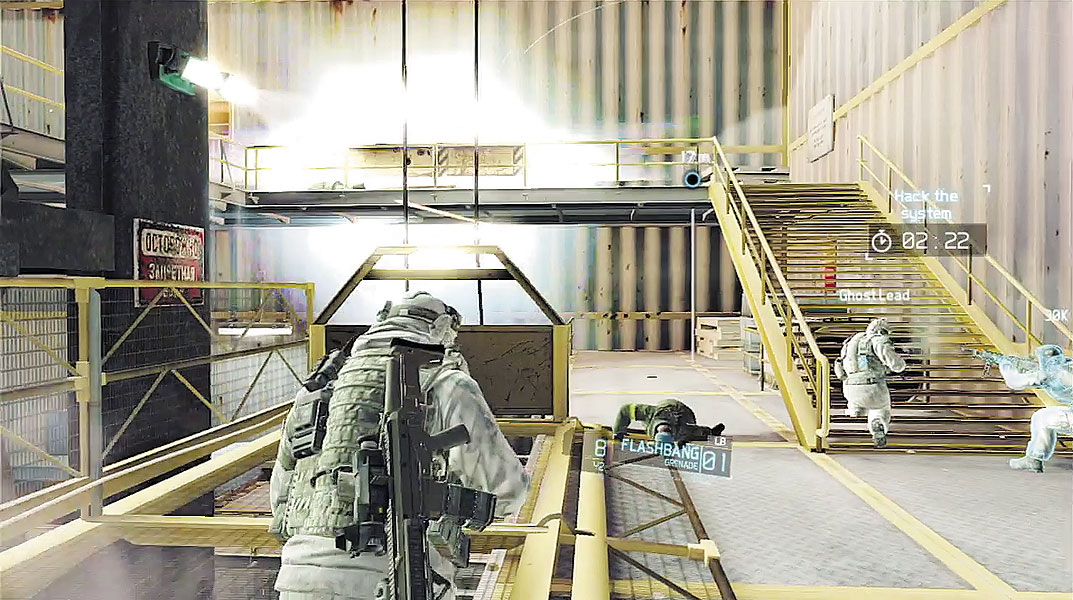
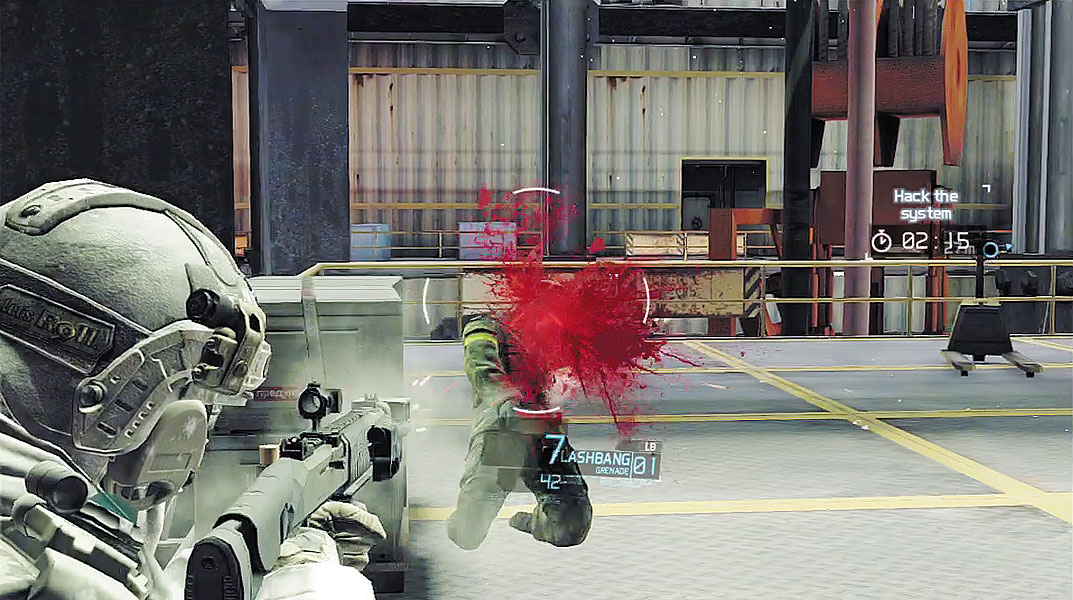
You’re soon attacked by three rifleman on the catwalk above. Toss a Flashbang in their direction to stun them, then race up the nearby steps to flank them, mowing them down while they’re still stunned. A shotgun works well when engaging stunned enemies at close range—all it takes is one shot. Flashbangs stun enemies for several seconds, making it easy to close the distance and attack at point-blank range. This is particularly useful if enemies are hiding behind cover. Stun them with a Flashbang, then flank them at close range before they can return fire.
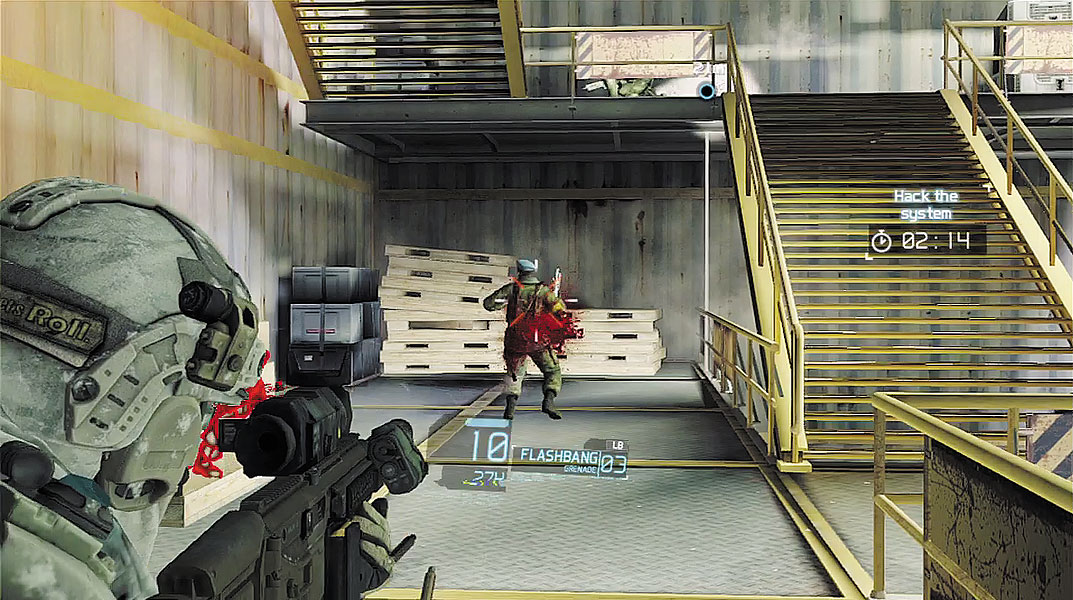
Race up the next set of stairs to reach another catwalk. Here, you encounter three more riflemen, along with more on the distant stairway landing. As you race up the stairs, toss a Sensor and a Flashbang to detect and stun these enemies. Some enemies may not be stunned by the Flashbang, depending on their proximity to the device when it detonates—stunned enemies usually drop to their knees and rub their eyes. So don’t assume every enemy is stunned. In such cases, prioritize the enemies who are not stunned, as they pose the biggest threat. Once you’ve dealt with the active threats, neutralize the stunned enemies before moving on.
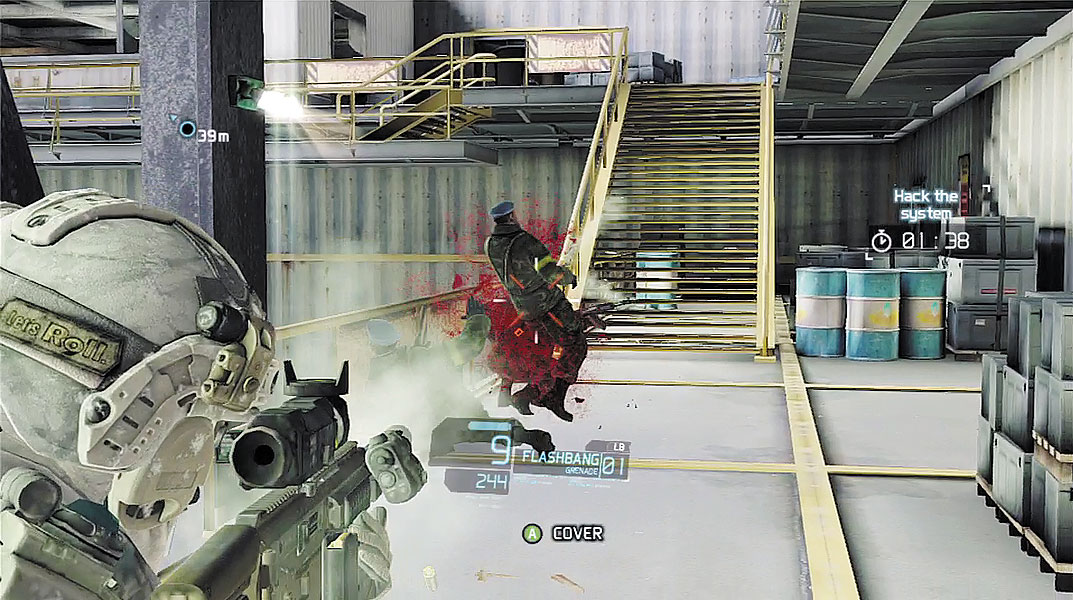
Once again, deploy a Sensor and Flashbang toward the next walkway as you rush up the stairs. There are only two riflemen on the this platform, but four more are firing at you from the catwalk ahead. Mow down the two riflemen on the platform while moving toward the ammo crate by the next stairway—chances are you’re running low on Sensors and Flashbangs. Once you have resupplied, toss a Flashbang toward the four riflemen on the next catwalk, then flank them while they’re still stunned—this is a great way to score four assault rifle kills within a few seconds, putting you closer to completing the Rifle Master Weapon challenge.
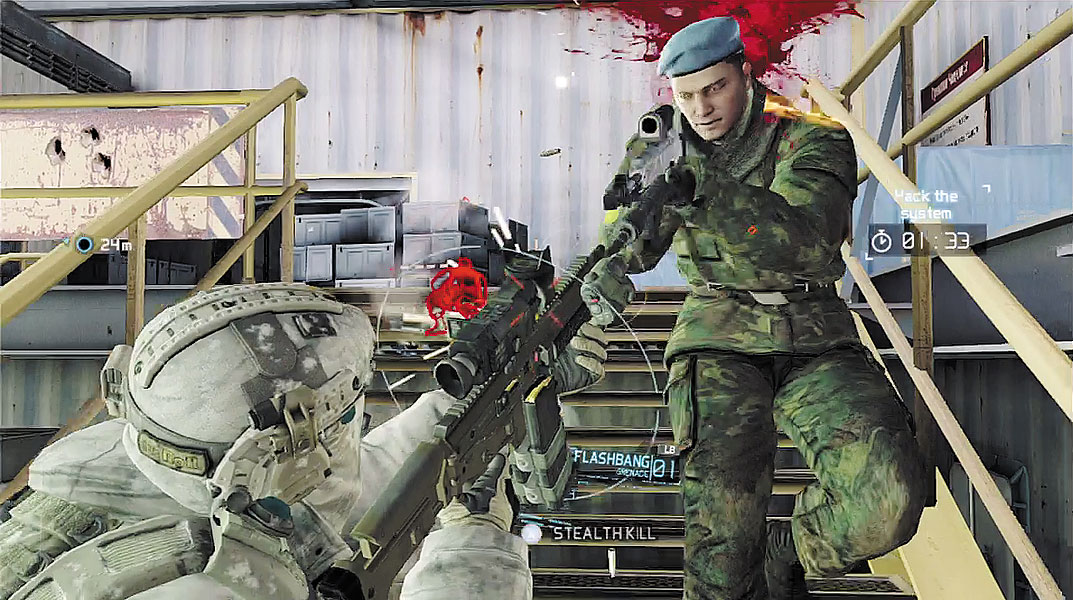
You’re not far from the control room now, and only two more riflemen stand in your way. Before rushing up the next set of stairs, lob a Sensor and Flashbang up toward the next platform. The Flashbang should stun at least one of the riflemen, but one may escape the blast by running down the stairs in your direction—be ready to gun him down at point-blank range. Alternately, press the stealth kill button to perform a quick melee attack. Clear out the second rifleman on the platform, then race to the nearby control room.

Tactical Challenge: Roger Dodger
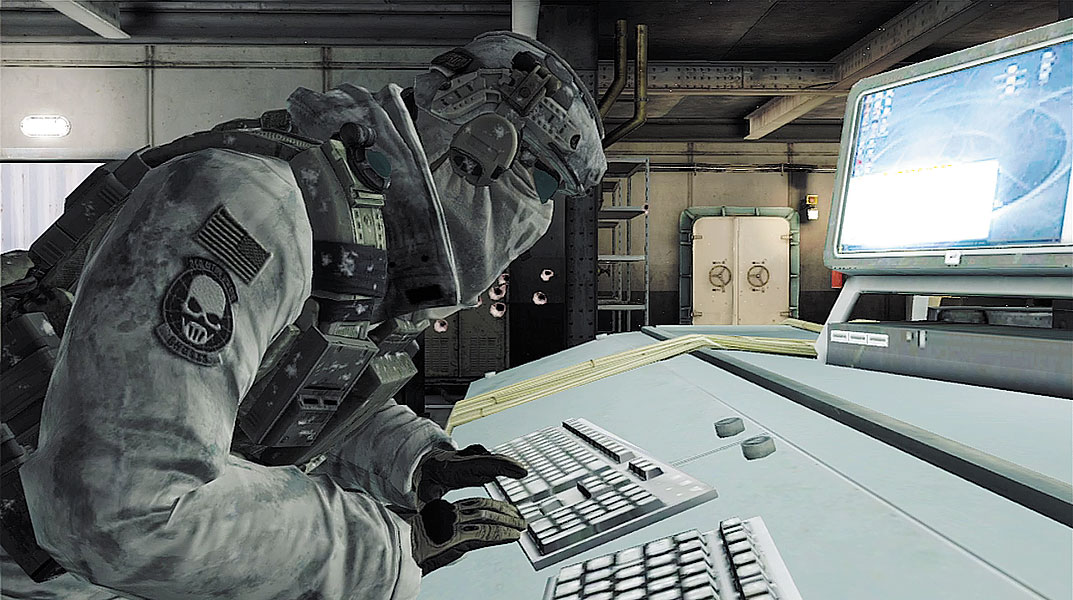
Before entering the control room, lob a Sensor and Flashbang through the doorway—there are four rifleman waiting inside, gathered around the central console. The Flashbang may not affect all of the enemies, so stay on your toes. As you enter, side step to the left and circle-strafe around the console, picking off riflemen as you move laterally. Once you’ve mowed down all four riflemen in the control room, approach the waypoint marker next to the console and interact with the terminal. Kozak hacks the ship’s terminal, uplinking data to Overlord—the techs back home will crunch the data and see what they can find. Meanwhile, Overlord advises the Ghosts to reach a helipad on the upper deck. It’s time to secure the second ship.
Weapon Challenge: Rifle Master