
Tom Clancy's Ghost Recon Future Soldier Guide Walkthrough Noble Tempest
Recover Sykes’s Data
Recover Sykes’s Data
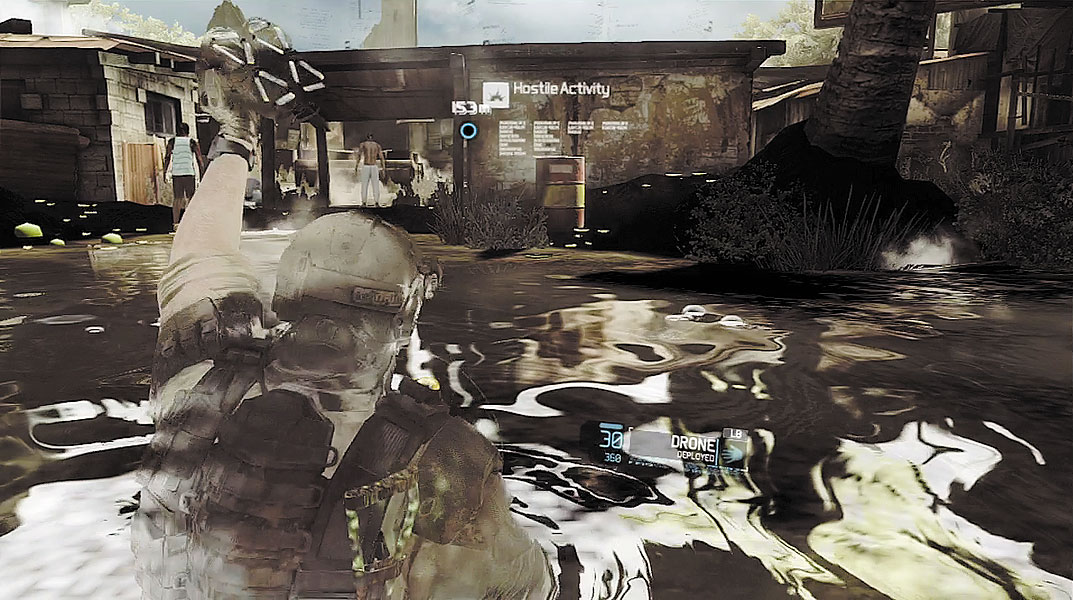
Follow a waypoint marker through another drainage tunnel leading toward a shantytown. As you near the exit of the tunnel, drop to a crouched stance to activate your Optical Camo—there are hostiles patrolling the shantytown. Creep out of the tunnel and deploy your UAV to take a look around. Near the exit of the tunnel are four mercs patrolling. Some are equipped with shotguns. Instead of trying to take out all four mercs with one sync-shot, mark only two mercs at a time, preferably when they’re isolated and out of sight from any nearby hostiles. By setting up two separate sync-shots, you can easily clear this part of the shantytown without triggering an alarm.
Enemy Profile: Shotgunner
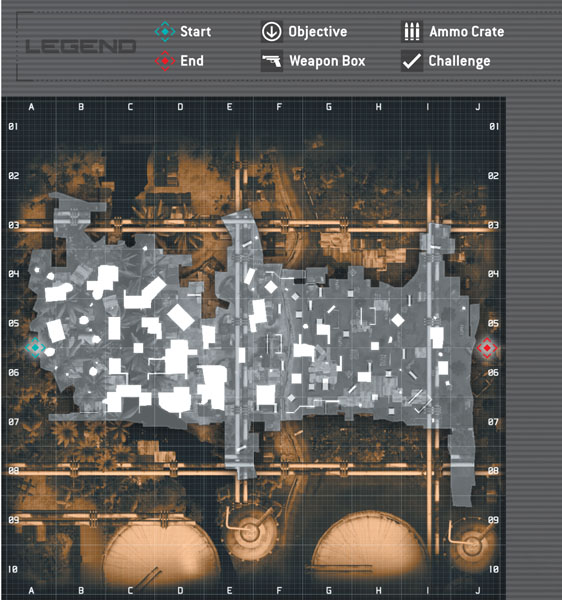
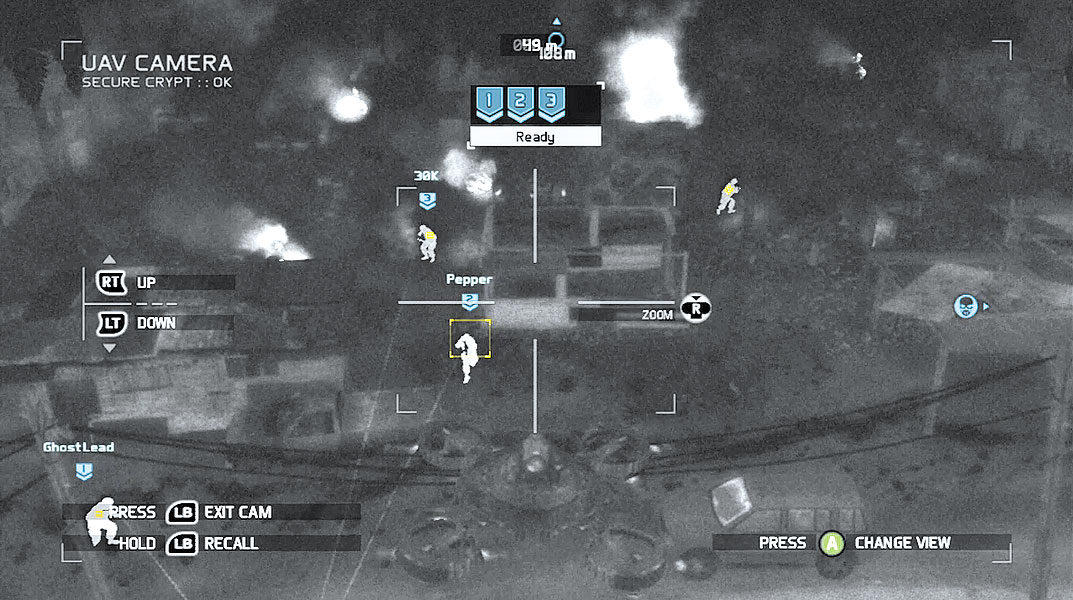
After taking out the first four mercs, do not move from your current position by the drainage tunnel. Instead, fly the UAV toward the road that cuts through the shantytown. Four more mercs are patrolling this area. Once again, don’t worry about taking out all of these mercs simultaneously. Instead, mark two or three at a time and pick them off with sync-shots as they become isolated from each other.
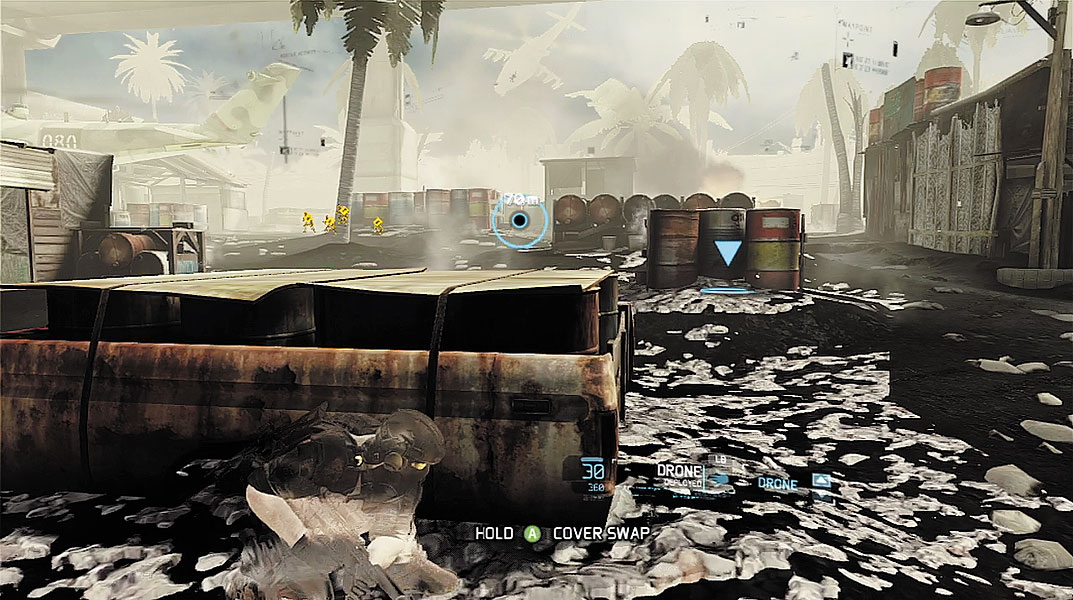
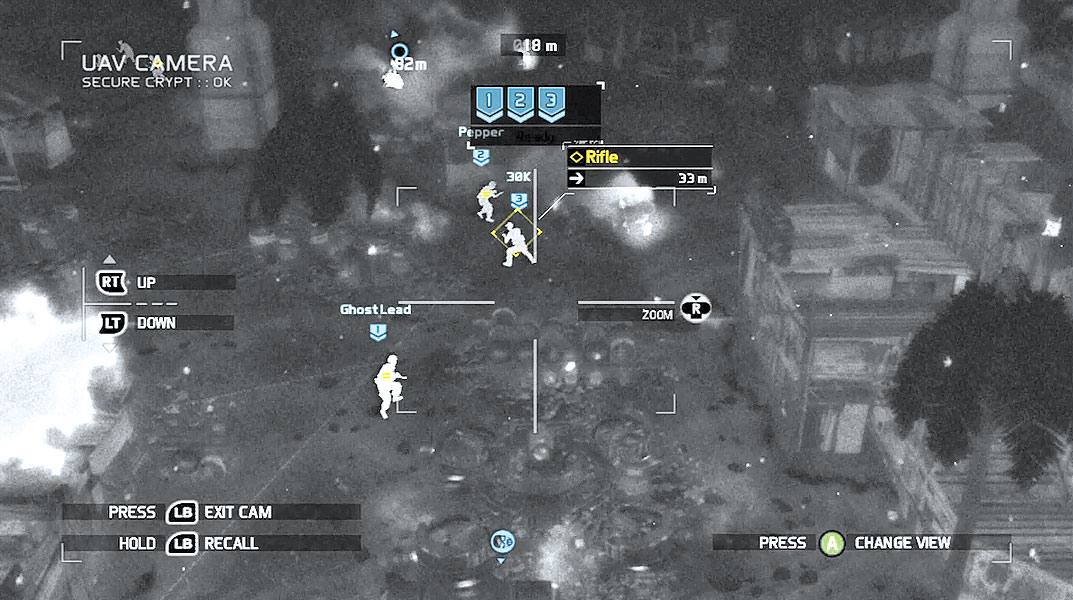
With the area near the road secure, move forward through the shantytown. As you move out, two enemy choppers fly overhead and drop off more reinforcements in the distance. Keep pushing forward and seek cover near one of the shacks by the road. Once again, deploy your UAV to locate the nearest group of reinforcements. Monitor the nearby group of four mercs from the air and wait for them to spread out as they begin patrolling. As they separate from each other, begin marking and picking them off with sync-shots.
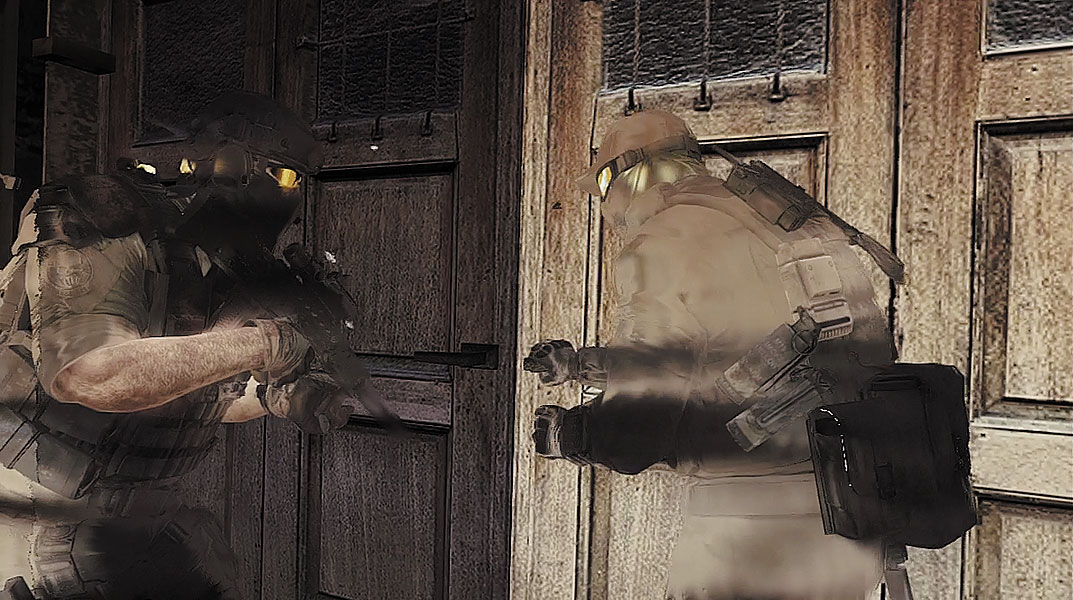
Just ahead, there is a large group of eight mercs gathered around a truck. These guys are stationary and don’t move around, making it impossible to isolate them and whittle their numbers down with sync-shots. But since they’re stationary, you can slip right past them without being spotted. While crouched, sneak along the right side of the shantytown while making your way toward the waypoint. At the waypoint, you come to a set of double doors. Move into the white ring icon in front of the door and wait for your team to catch up. You team will follow your lead, slipping right past the large group of mercs undetected.
villa
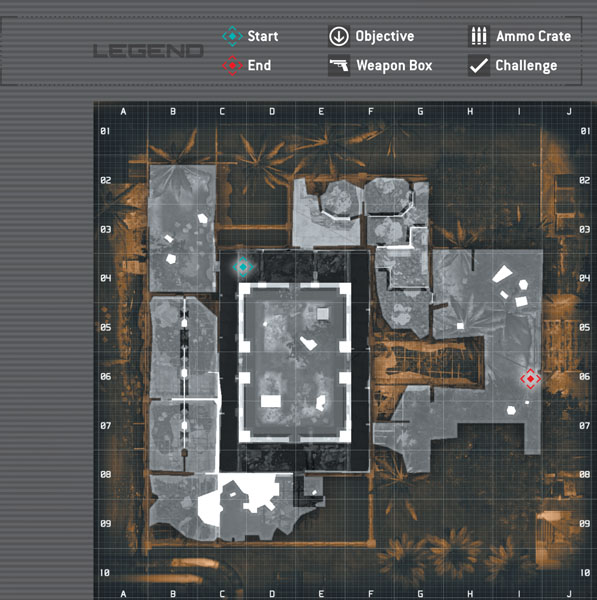
coastal town
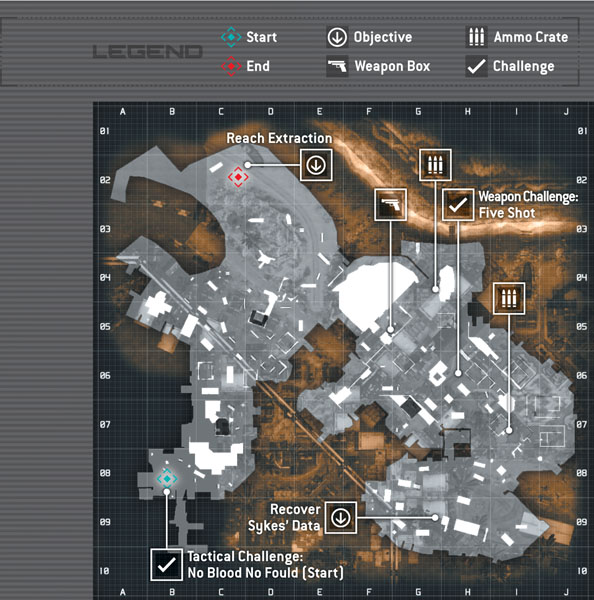
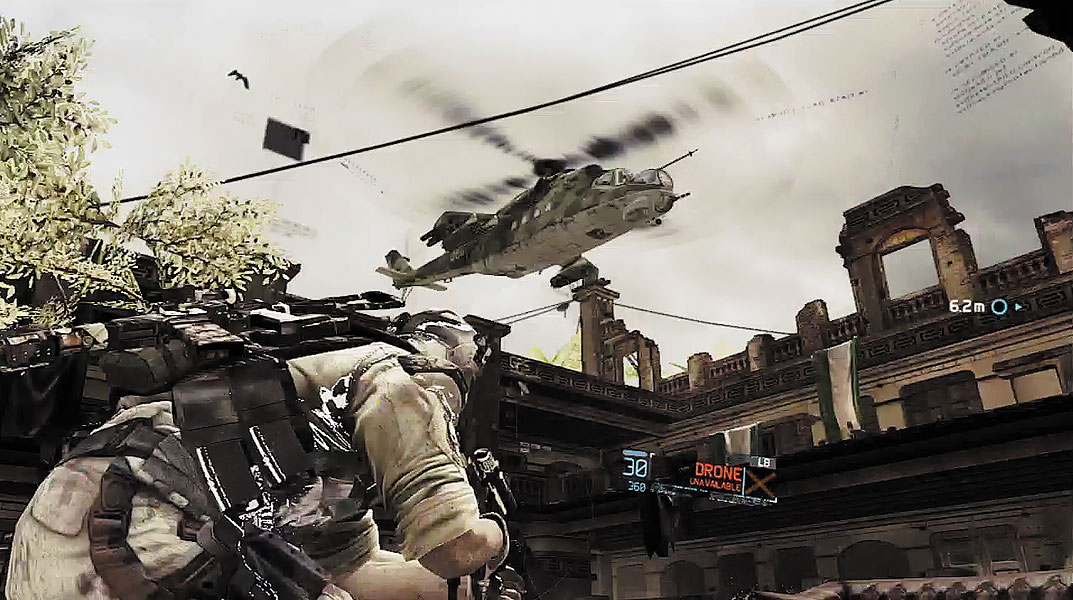
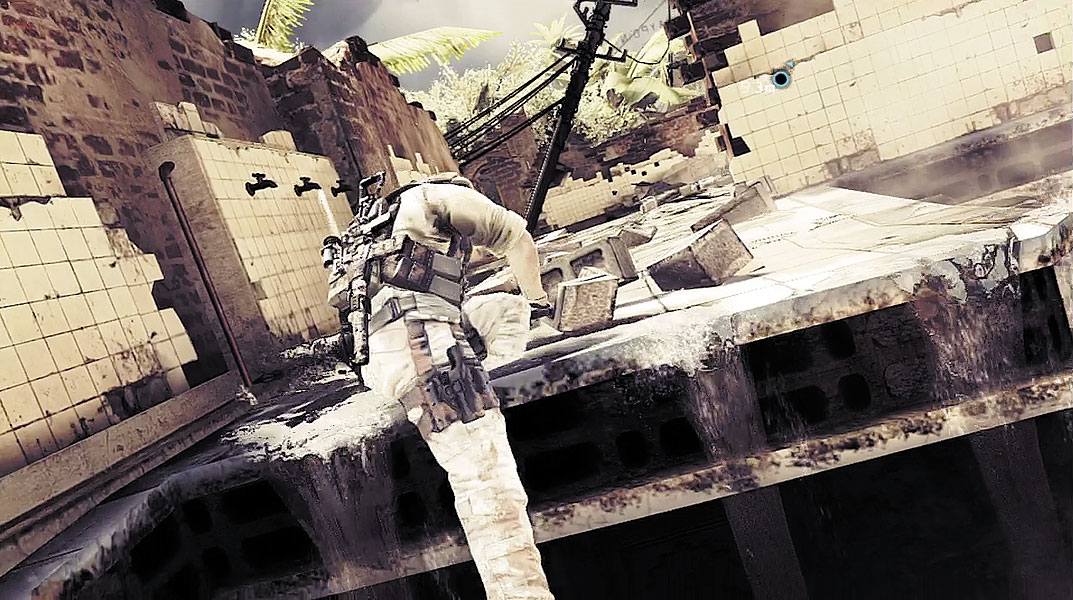
Once inside the villa-like structure, you don’t need to worry about running into any mercs. However, the enemy chopper overhead is a sign that your team isn’t out of danger just yet. A series of waypoint markers guides you through the villa. In multiple areas, you must hop over low walls to proceed through the debris-filled structure. To hop over these walls, take cover at the base of the wall by pressing the cover button. While in cover, press the cover button again to hop over the wall. On the upper level, wait for your team at a set of double doors that lead out onto a promenade overlooking a courtyard. It looks like some machete-wielding locals are taking revenge on a merc below—too bad for him. Climb over the low walls on the left side of the promenade and make your way to the villa’s exit.
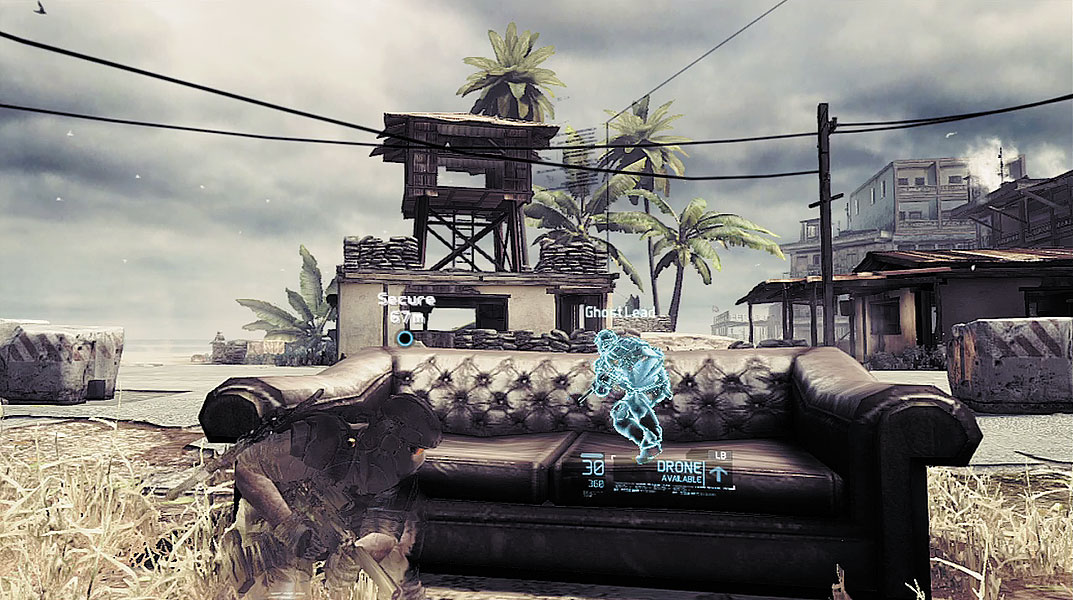
The villa exits onto a coastal town filled with a few civilians—so hold your fire. Cautiously advance through the town while moving toward the next waypoint marker. When enemy contacts are detected, drop to a crouched stance to activate your Optical Camo and creep toward a large guard tower near the shore. Take cover near the guard tower and deploy your UAV. One rifleman is in the guard tower and seven other hostiles are patrolling nearby. Mark the rifleman in the guard tower first and order one of your teammates to take him out. Next, set up sync-shots to eliminate the remaining hostiles on the ground. With the exception of one merc standing next to the guard tower, all of the hostiles conduct patrols in pairs. During the patrols, each pair of hostiles is frequently outside the line of sight of one another. This makes them easy to pick off, two at a time, using sync-shots. You must eliminate all of these enemies before advancing deeper into the town. When the area is clear, recall your UAV.
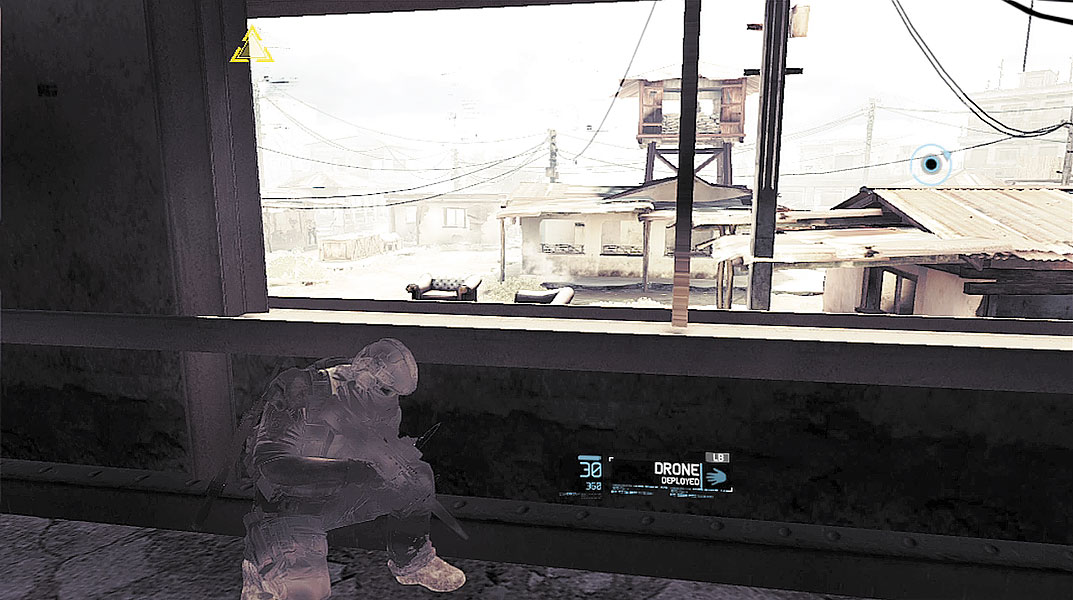
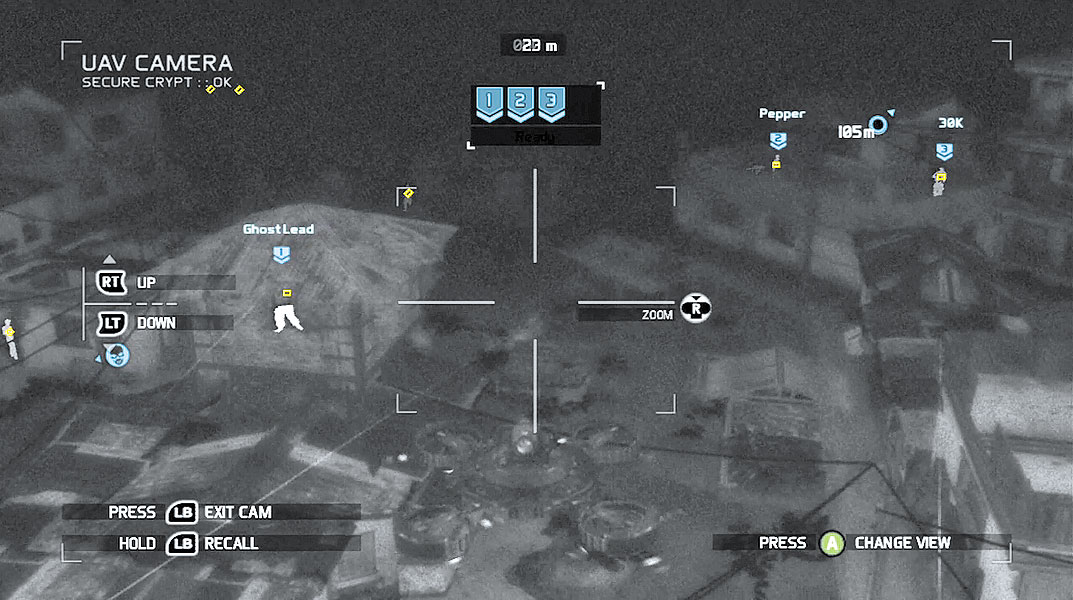
After clearing the area along the shore, follow your team up a nearby set of steps to enter a building containing a weapon box. If things go well, you won’t need any of the weapons offered in this box. However, take cover beneath the window next to the box and begin scouting the area outside for more hostiles. This part of town is patrolled by multiple mercs as well as an attack chopper flying overhead. Deploy your UAV and focus on eliminating the hostiles in elevated positions first. Taking out these guys is important because they have a clear view of the area and may spot dead bodies on the ground. Mark the merc in the guard tower, then mark the two riflemen standing on a rooftop next to a mounted machine gun. Wait for your team to get into position, then use a sync-shot to eliminate all three threats in an instant.
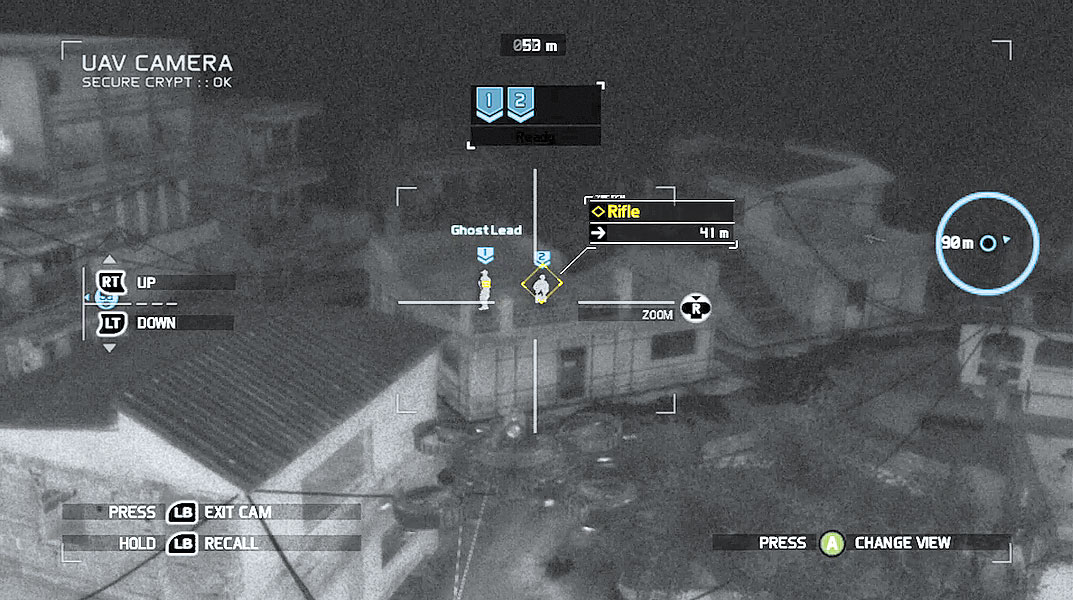
Before you start picking off the mercs on the ground, there are two more hostiles you need to eliminate on a distant rooftop. Fly the UAV past the guard tower and veer left to spot these two riflemen. Mark both of them and take them out with another sync-shot. Now that the you’ve eliminated all of the hostiles in elevated positions, you’ll have any easier time of clearing out the town without raising an alert. There are five mercs on the ground. Monitor their positions and patrols and set up sync-shots to pick them off in groups of two or three.
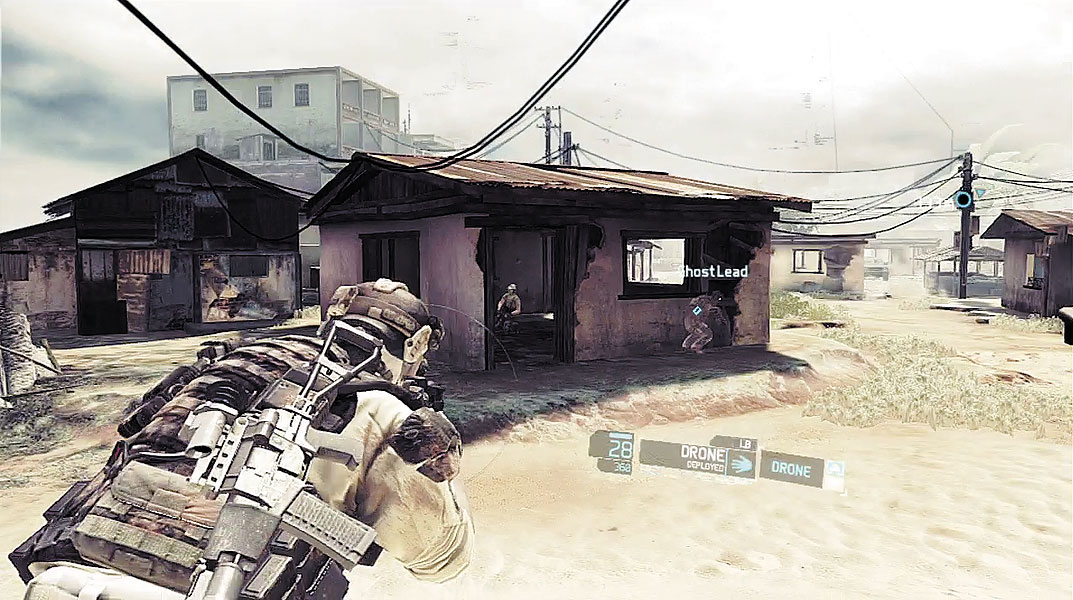
Weapon Challenge: Five Shot
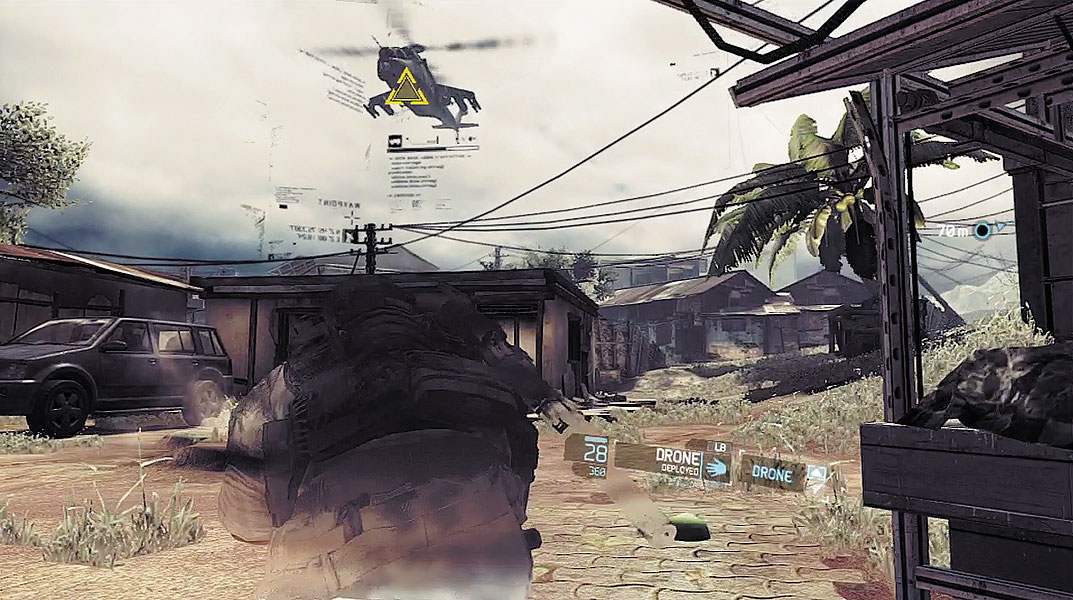
After clearing out the mercs in the town, don’t let your guard down. There’s still that enemy chopper flying overhead to worry about. Remain in a crouched stance to keep your Optical Camo active. As long as your Optical Camo is active, the chopper can’t see you. The path to the gas station is now clear. Just as Sykes described, an SUV is parked at the gas station. Make your way to the back of the SUV and retrieve the data from the trunk. It’s time to get out of here.