
Tom Clancy's Ghost Recon Future Soldier Guide Walkthrough Shattered Mountain
Eliminate the HVTs Before They Escape
Eliminate the HVTs Before They Escape
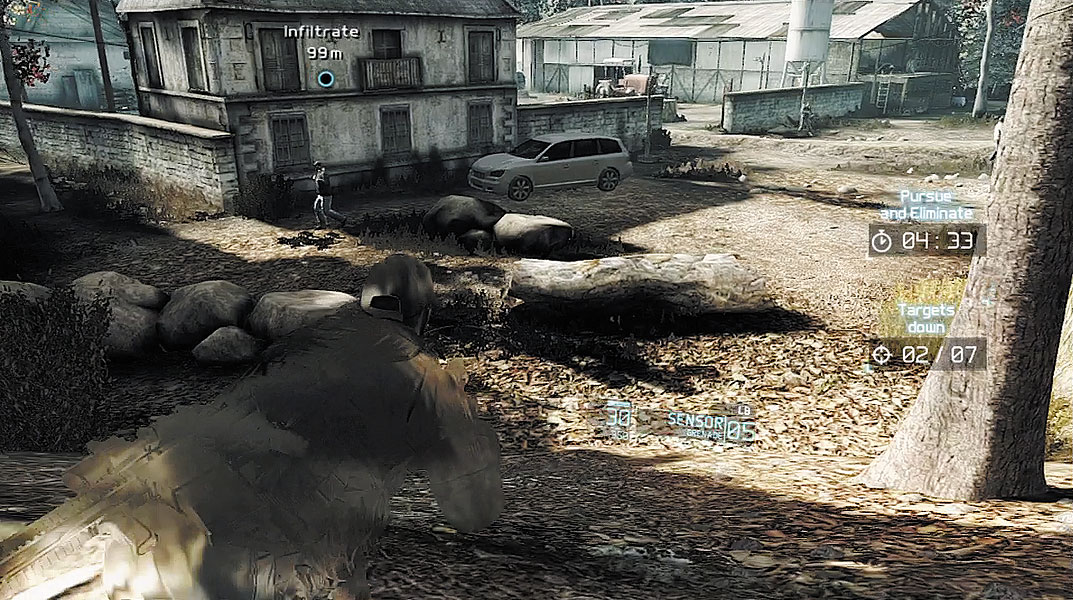
Drop to a crouch to activate your Optical Camo and creep toward the next waypoint. Descend the nearby hill and approach the walled compound ahead, which is occupied by multiple hostiles and three high value targets. The clock is ticking, so there isn’t much time to observe the surroundings. Upon your arrival, one rifleman walks along the perimeter wall to the left, out of sight from his comrades. Sneak up behind him and take him out with a stealth kill. A helicopter can be heard in the distance, preparing to transport three high value targets out of the area. You need to locate and take out these targets before they can board the chopper and escape.
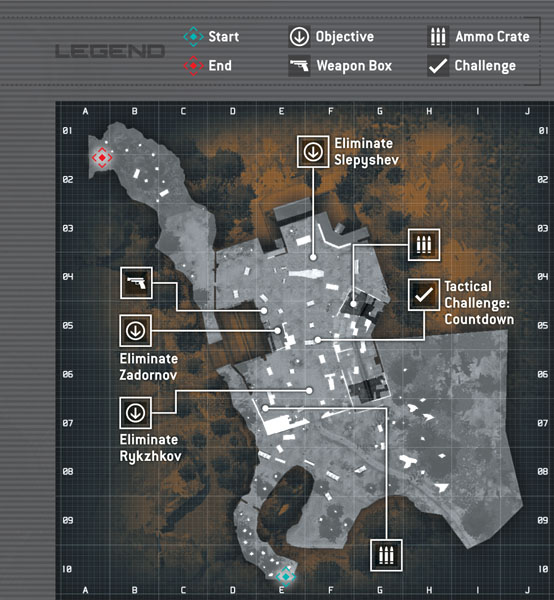
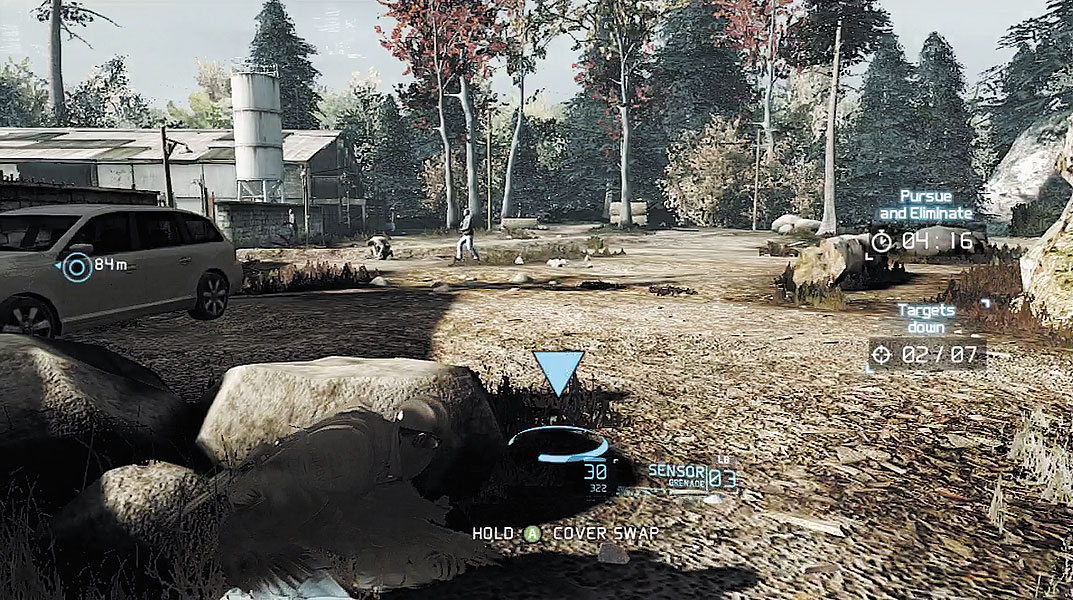
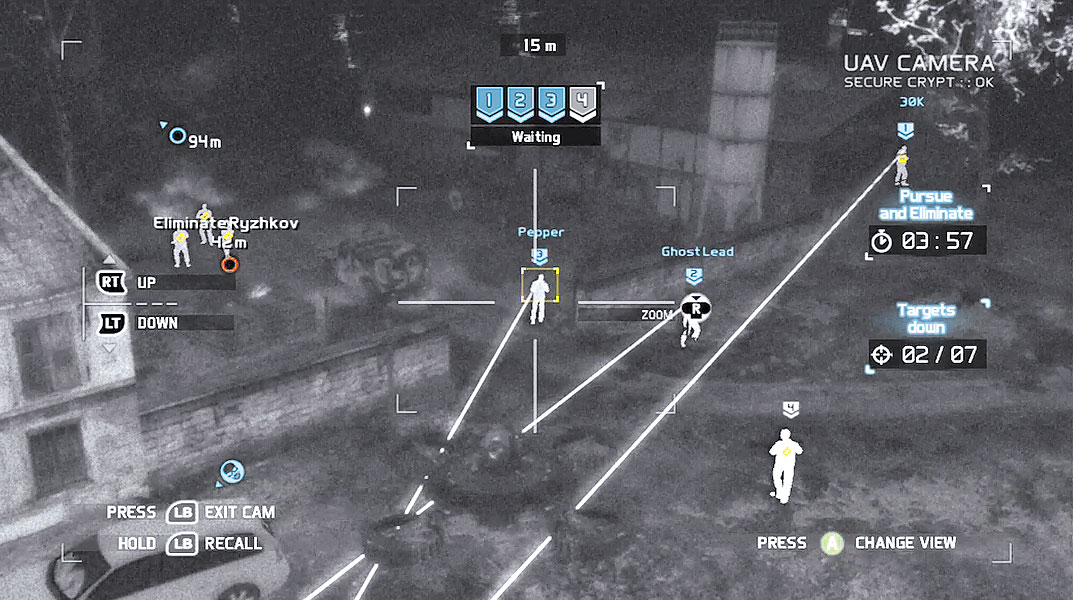
Take cover behind one of the rocks outside the compound’s entrance and deploy the UAV. After ascending a few feet, the UAV detects Admiral Rykzhkov just inside the perimeter wall, standing in an courtyard among several guards. Don’t worry about Rykzhkov just yet—if you want to complete the Countdown tactical challenge, you need to take out all three high value targets within three seconds of each other. Instead, focus on the four hostiles outside the perimeter wall and mark them—one stands on a platform in the distance, near a large barn. But don’t perform a sync-shot just yet. One of the marked riflemen wanders into the compound’s courtyard and eventually stops behind a tractor—if you shoot him before he’s behind the tractor, his body will be spotted by the enemy troops near Admiral Rykzhkov. Once the marked rifleman in the courtyard is concealed behind the tractor, exit the UAV view and perform the sync-shot.
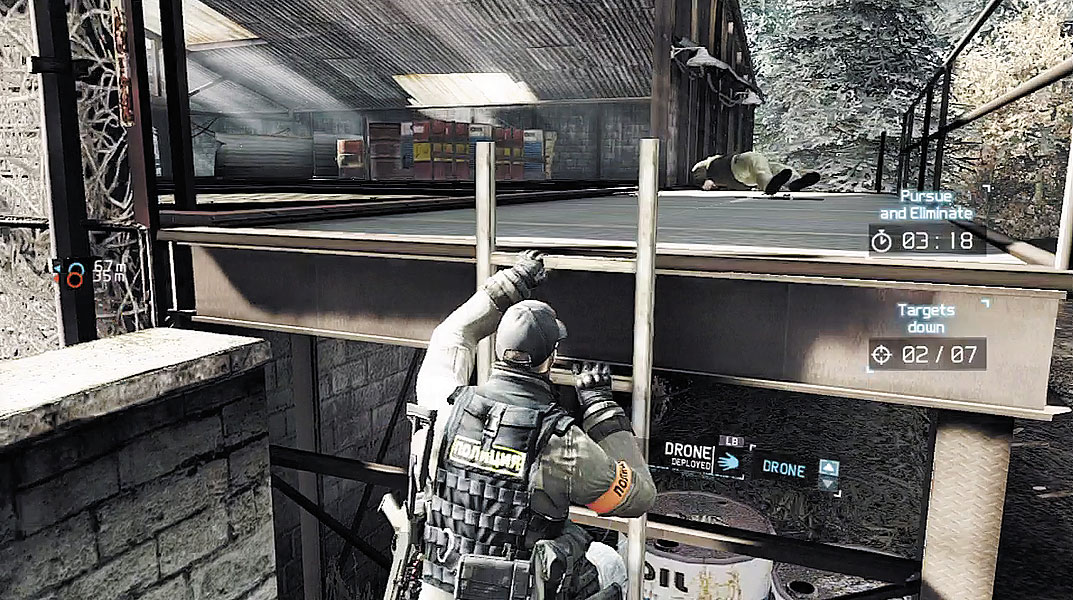
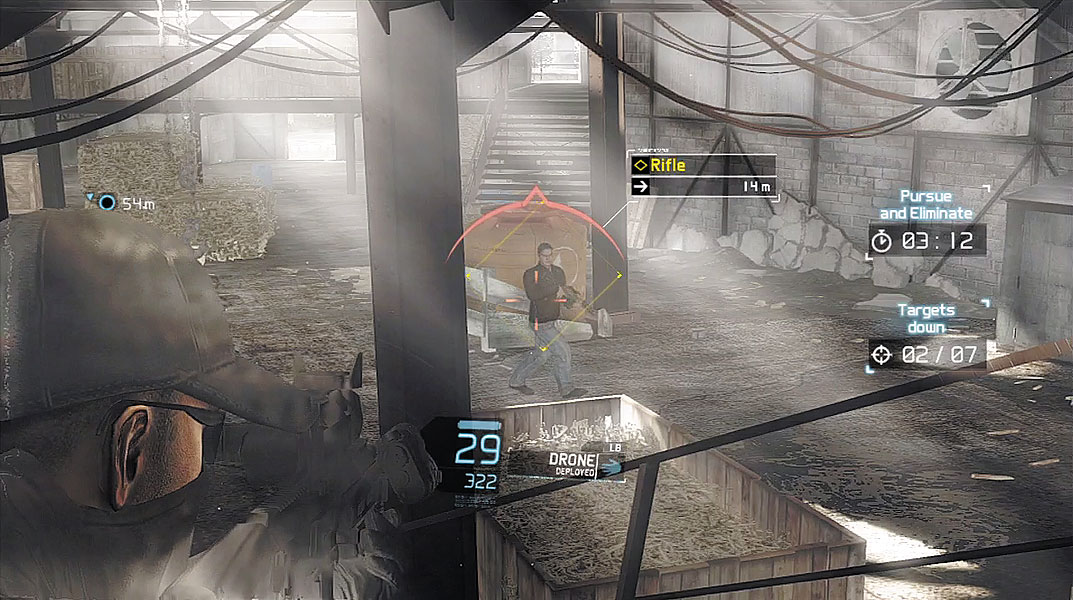
With the perimeter cleared, approach the barn and climb the ladder to reach the platform where you just eliminated a rifleman. From the platform, enter the barn and activate your Magnetic view to spot one rifleman patrolling the floor. This guy is isolated, so you can simply gun him down with your suppressed weapon. Next, move to the back of the barn and climb the stairs to the loft, where there’s an ammo crate. Wait in the loft for one more rifleman to appear, entering through the doorway—you can monitor his movements outside with Magnetic view, watching as he climbs the stairs leading up to the loft’s doorway. Once he steps into the loft, gun him down. The barn is now secure and can serve as an observation point.
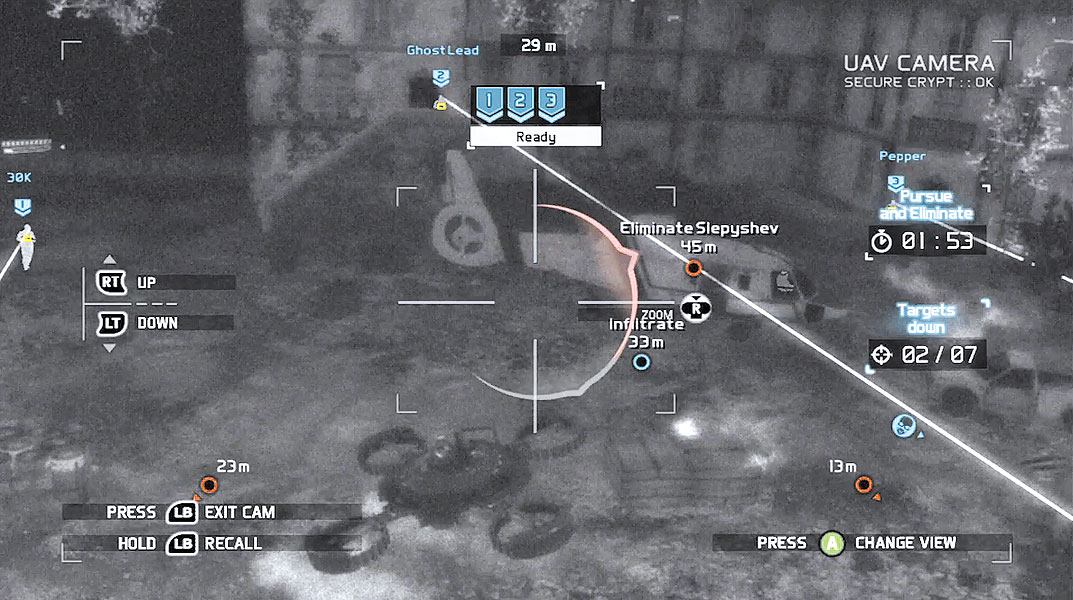
While hiding in the barn’s loft, return to the UAV view and quickly scout the rest of the compound. Two more high value targets are spotted during this pass—Zadornov is in a shed and Slepyshev is standing next to the KA-60 transport helicopter. Once again, ignore the high value targets for now and focus on eliminating three guards positioned near the large mansion-like Anichkov dacha. There’s a hostile with a shotgun patrolling in the distance as well as a guy with an LMG posted on a staircase near the helicopter’s tail. Pan the UAV view toward the nose of the chopper to spot another guard with an LMG standing behind a low wall outside the dacha. Mark all three of these targets and have your team eliminate them.
Enemy Profile: KA-60
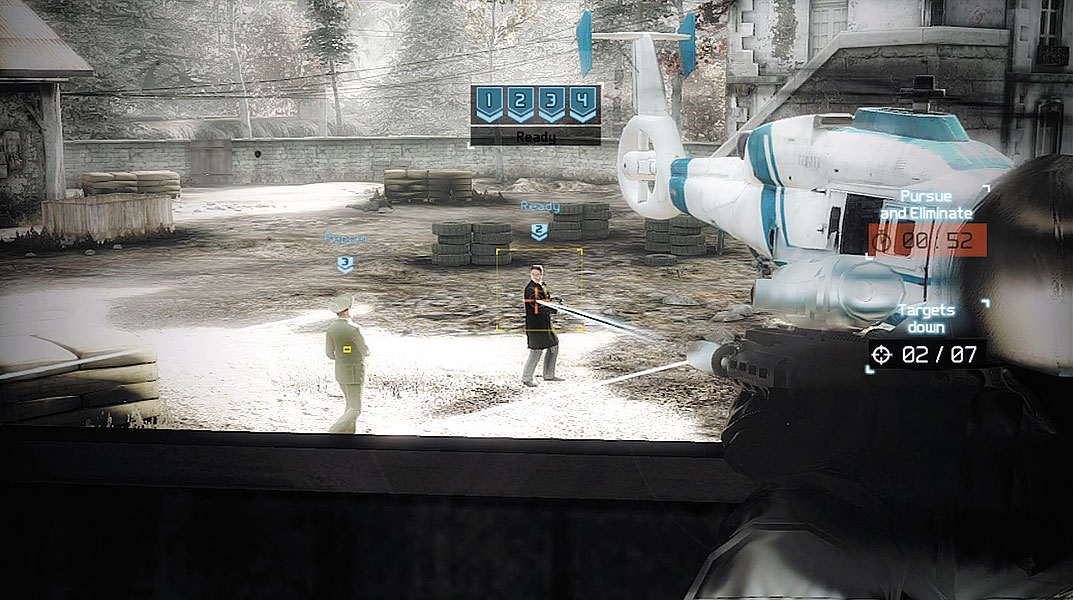
Now it’s finally time to take out the three high value targets. While still in the UAV view, mark Zadornov, Slepyshev, and Admiral Rykzhkov. By now Admiral Rykzhkov should be walking toward the helicopter, along with Zadornov. When Rykzhkov leaves the courtyard, only one of his guards accompanies him. The two other guards remain in the courtyard. Mark the guard accompanying Rykzhkov to round out the four targets for your sync-shot. Exit the UAV view and take aim through the window in the barn’s loft (near the ammo crate) so that you have a clear view of the helicopter. From this perspective you can’t see Slepyshev, but you can target Rykzhkov or Zadornov as they walk toward the chopper. Aim at Rykzhkov or Zadornov and make sure your team has the remaining targets in sight before initiating the sync-shot—the helicopter takes off as soon as Slepyshev is killed. Immediately following the sync-shot, return to the UAV view and find the two remaining guards in the courtyard. Mark them and take them out before they spot any of the bodies near the helicopter. If time allows, you can eliminate these two guards before taking out the high value targets. You don’t have to worry about reinforcements if an alert is triggered. But an alert makes it impossible to complete the Swamp Fox tactical challenge.
Tactical Challenge: Countdown
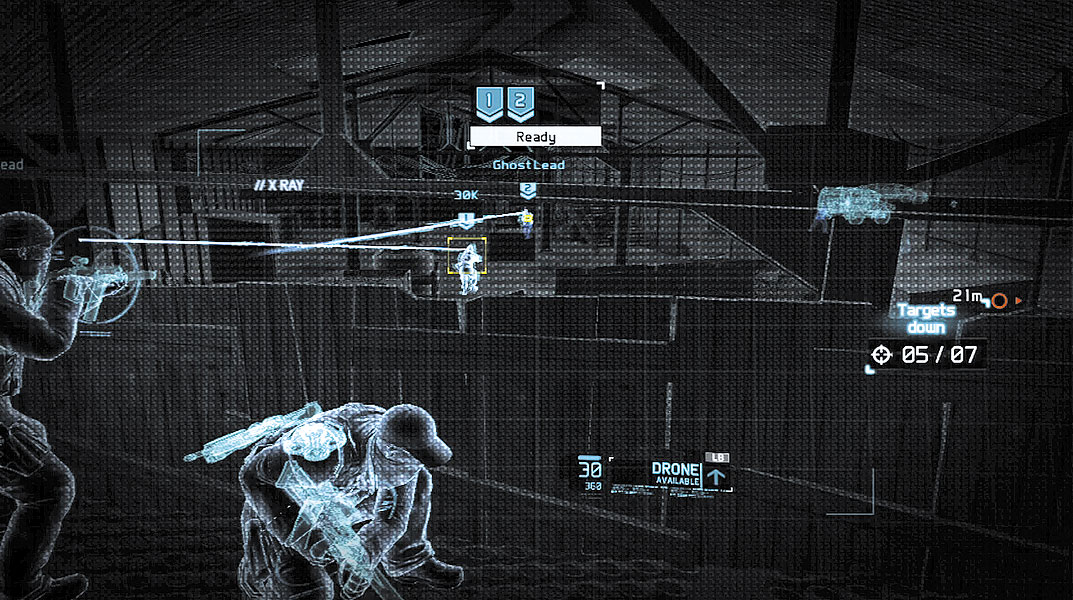
Soon after taking out the three high value targets and clearing the area around the dacha, Kozak intercepts another radio transmission—more enemies are inbound. Hold tight in the barn’s loft and prepare for a team of nine Bodark spec ops units to arrive—if necessary, resupply from the ammo crate while you’re waiting. A smoke grenade on the barn’s floor announces the arrival of the Bodark units. Within seconds, a couple of Bodark soldiers creep into view on the floor below, with their Optical Camo active. Activate your Magnetic view to see through the smoke and mark the two Bodark units. These two guys are isolated from their buddies outside and can be eliminated with a sync-shot without risking an alert. Give your teammates the shoot order as soon as possible.
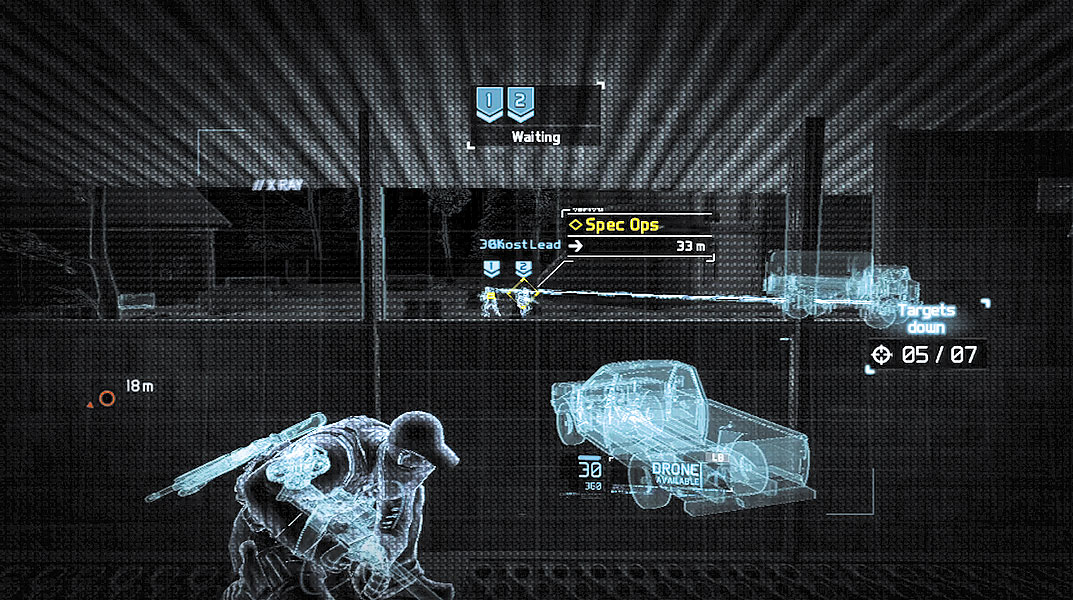
Now move to the window in the barn’s loft (by the ammo crate) and locate two more Bodark units patrolling near the dacha, not far from where the helicopter was. You need to mark and eliminate these two guys quickly, before their patrols converge with those of their comrades in the courtyard. If you’re having trouble spotting these Bodark units, activate your Magnetic view. Mark both Bodark units and order your team to take them out quietly.
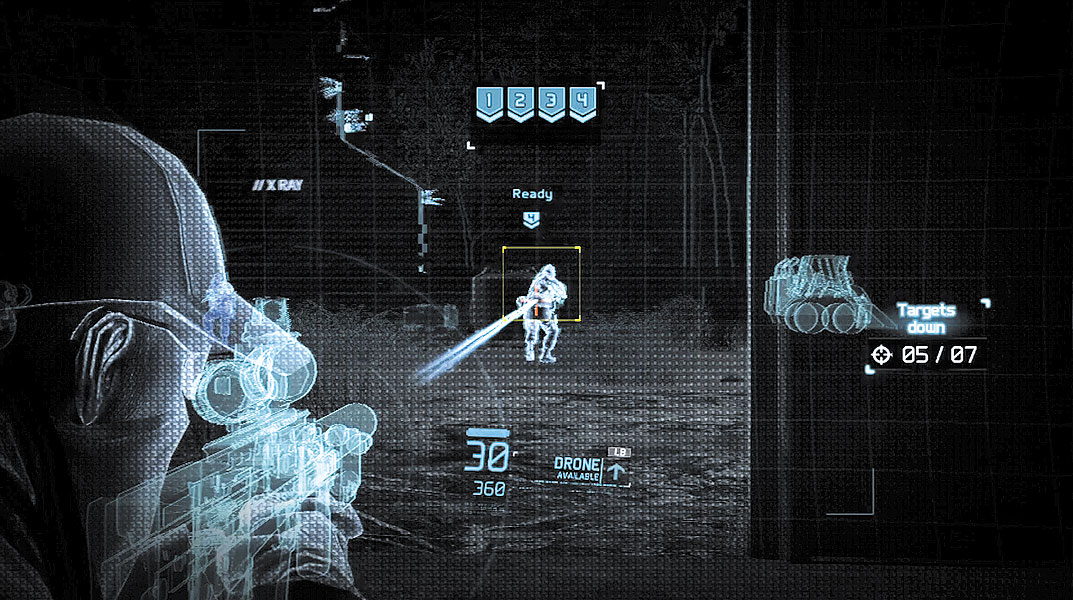
There are five more Bodark units, mostly centered around the courtyard. Descend to the barn’s floor and keep your Magnetic view active so you can mark the enemies outside. Mark four of the enemies, then locate the fifth unmarked Bodark. For the upcoming sync-shot, take aim at one of the marked enemies closest to the unmarked Bodark unit—you’ll need to take both of these guys out yourself. When your team is in position and ready to fire, squeeze your trigger to initiate the sync-shot. Immediately after dropping your target, pan your aiming reticle over the surviving Bodark unit and mow him down while time is still slowed. When all nine Bodark units are down, the area is clear. Resupply from one of the ammo crates, recall the UAV, and then regroup with your team at the next waypoint in the swamp.
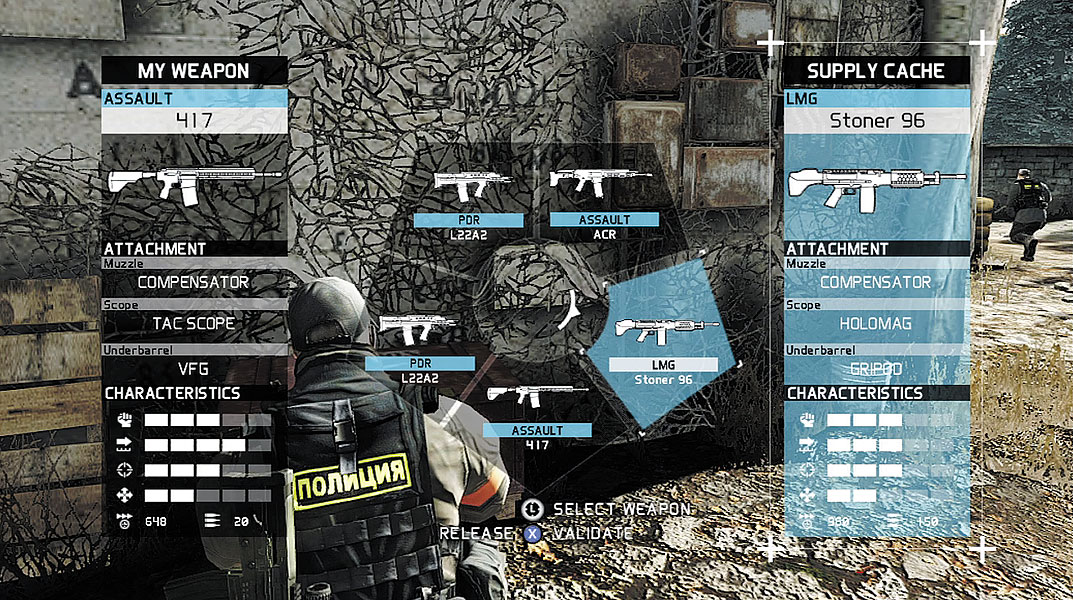
Swamp
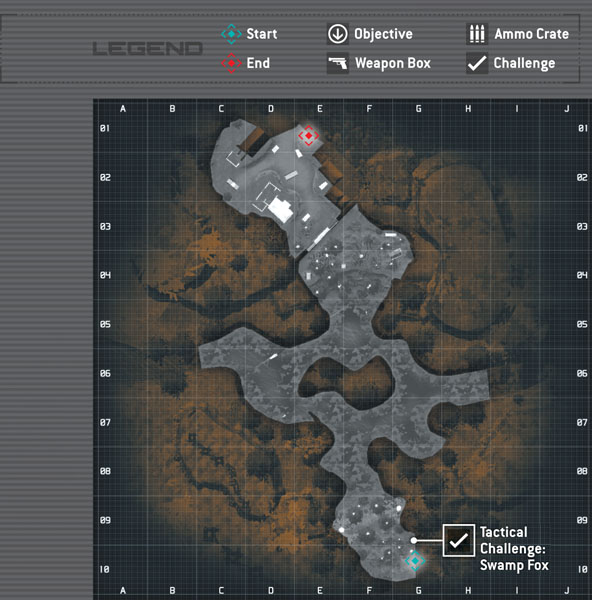
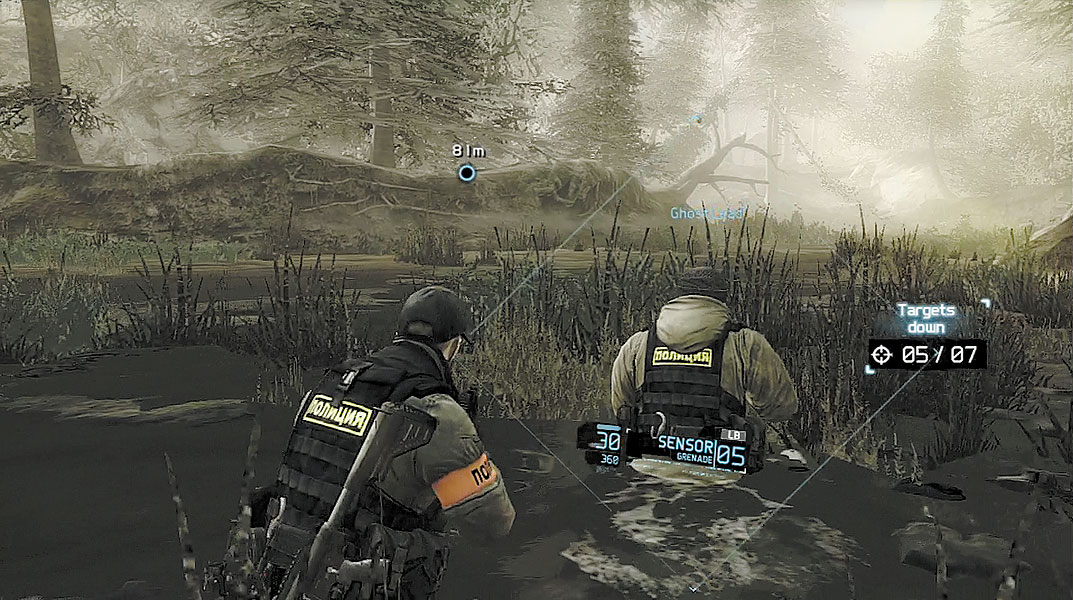
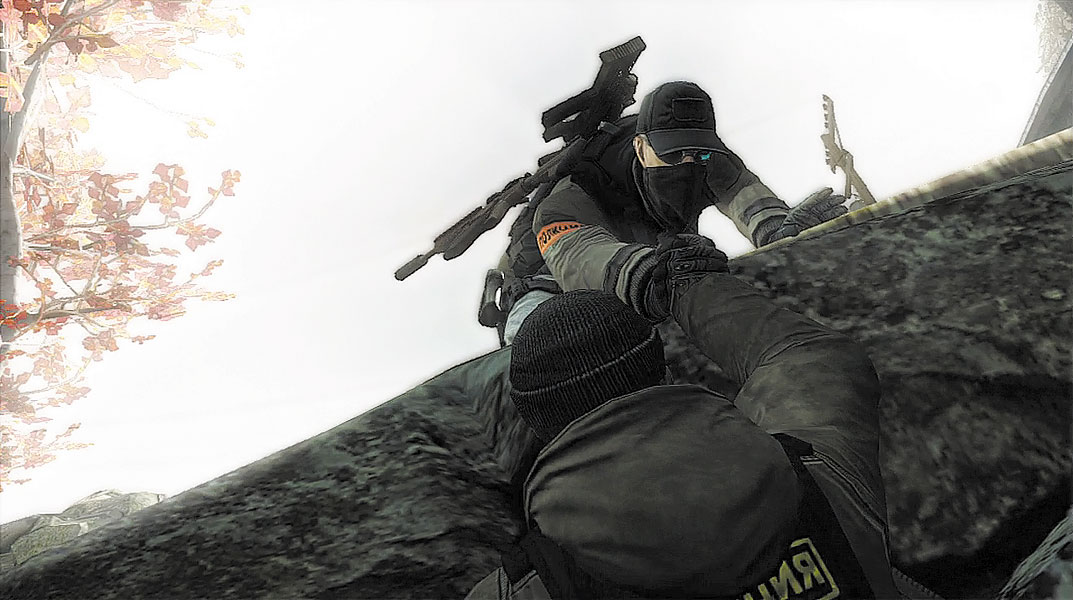
Upon entering the swamp, Kozak hears more radio chatter. Apparently the remaining Raven’s Rock leadership are on edge, a direct result of your team’s success. They announce they’re planning to pull out soon and won’t wait for anyone else. Little do they know, all their friends are dead. There are no hostile units in the swamp, so a cautious advance isn’t necessary. Unfortunately, a speedy advance isn’t possible either. The shallow water prevents you from sprinting. So simply follow your team through the swamp until you reach the waypoint at the base of a rocky ledge. Step into the white ring icon to get a boost up from your teammates.
Tactical Challenge: Swamp Fox
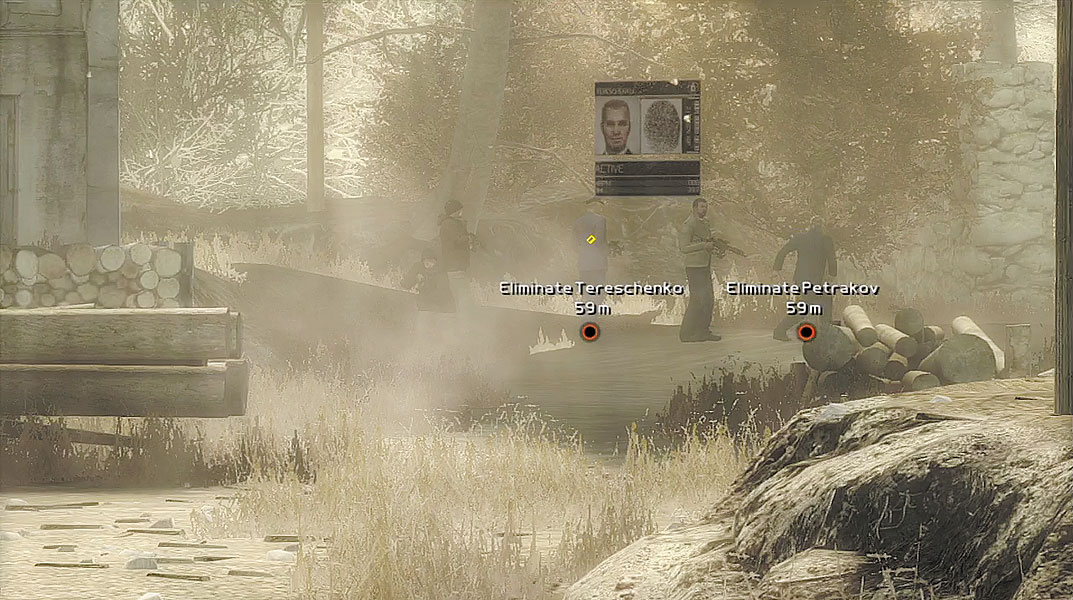
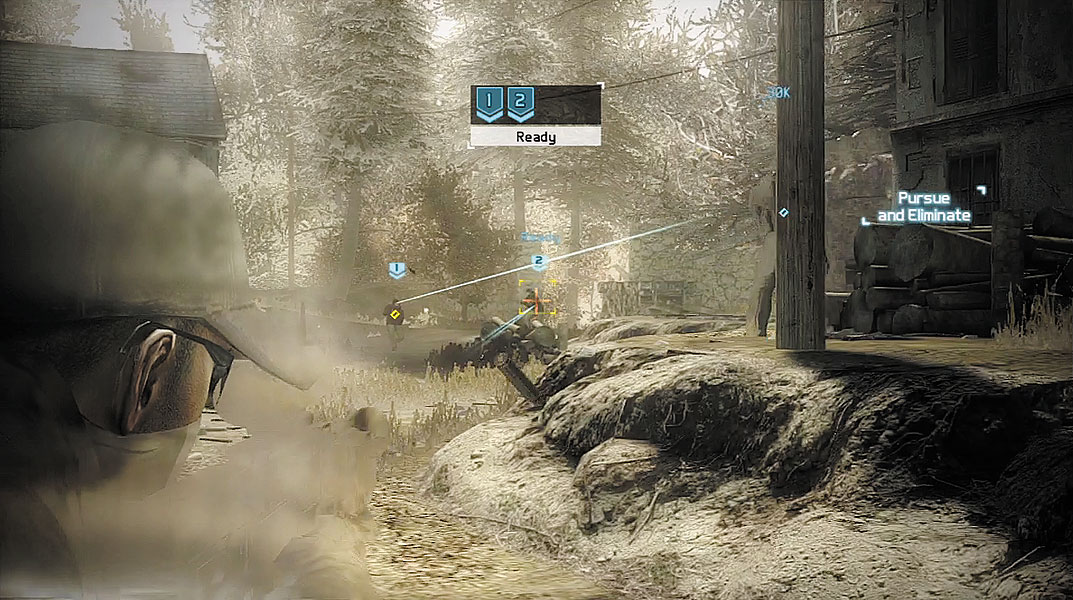
As soon as your team climbs out of the swamp, a brief cinematic shows the final two high value targets, Petrakov and Tereschenko, leaving the area on foot and accompanied by armed guards. From this point forward, these two targets are marked on your HUD as orange waypoint icons. Petrakov and Tereschenko leave behind a couple of riflemen to cover their escape. Immediately following the cinematic, creep forward and mark the two riflemen. Don’t waste any time taking them down with a sync-shot. Once the riflemen are out of the way, sprint ahead and chase after the high value targets. At this point, suppressed weapons don’t matter, so feel free to go loud.
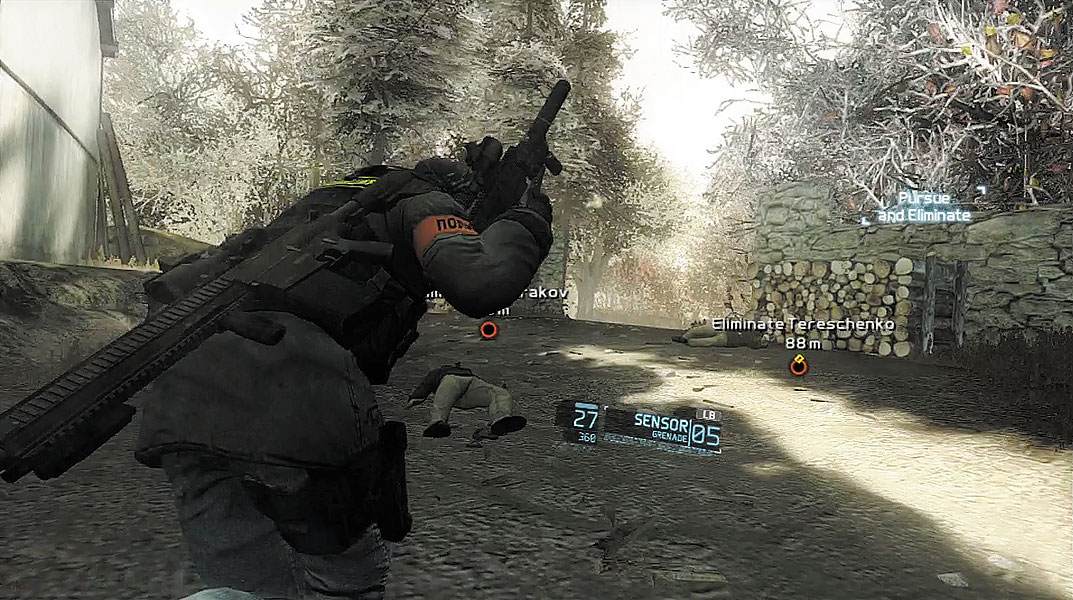
Final Pursuit
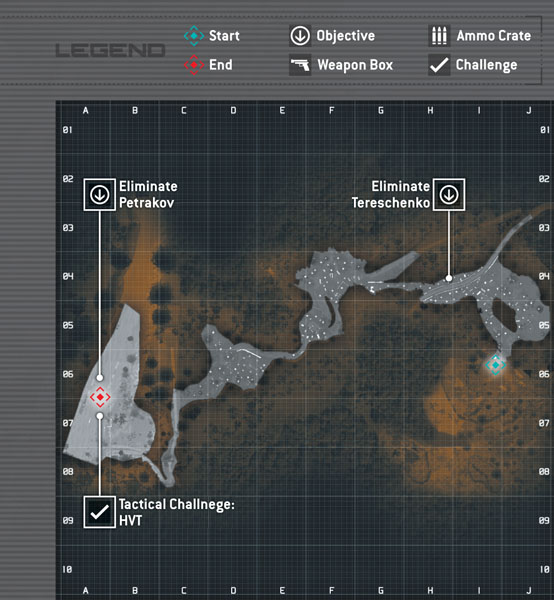
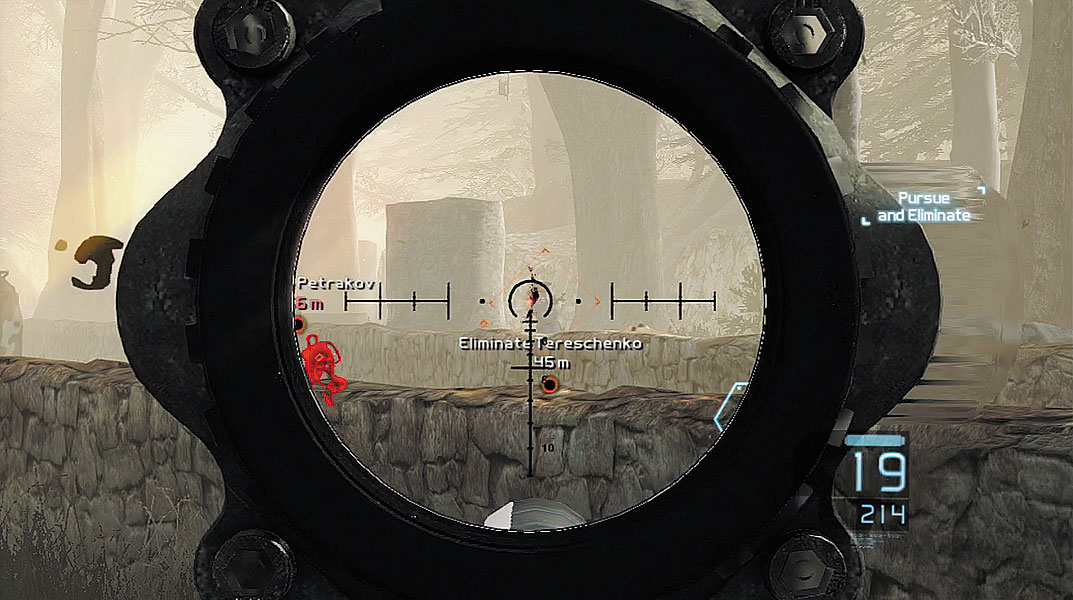
Using the two orange waypoint markers on the HUD, chase after Petrakov and Tereschenko as they advance through the woods. Spotting enemies in the woods can be difficult while moving at fast speeds. Therefore activate your Magnetic view during the chase. This allows you to spot enemies, such as the rifleman posted near a rickety wood shed. Just beyond the shed, expect more resistance as Tereschenko pauses near a road and has his security detail assume defensive positions. There isn’t much time for a back-and-forth exchange. With your Magnetic view still active, eliminate the nearby hostiles. But your Magnetic view may not have the range to spot enemy units posted on the opposite side of the road, so switch it off when engaging at range. Most of these enemies, including Tereschenko, are hiding behind a stone wall running parallel with the road. Lob a couple of Sensors in the direction of Tereschenko to reveal all the enemies in this area and begin attacking. If necessary, seek cover yourself, using stone walls or tree stumps to avoid getting hit by incoming fire. When Tereschenko stands up and begins to run away, take aim and shoot him before he can escape.
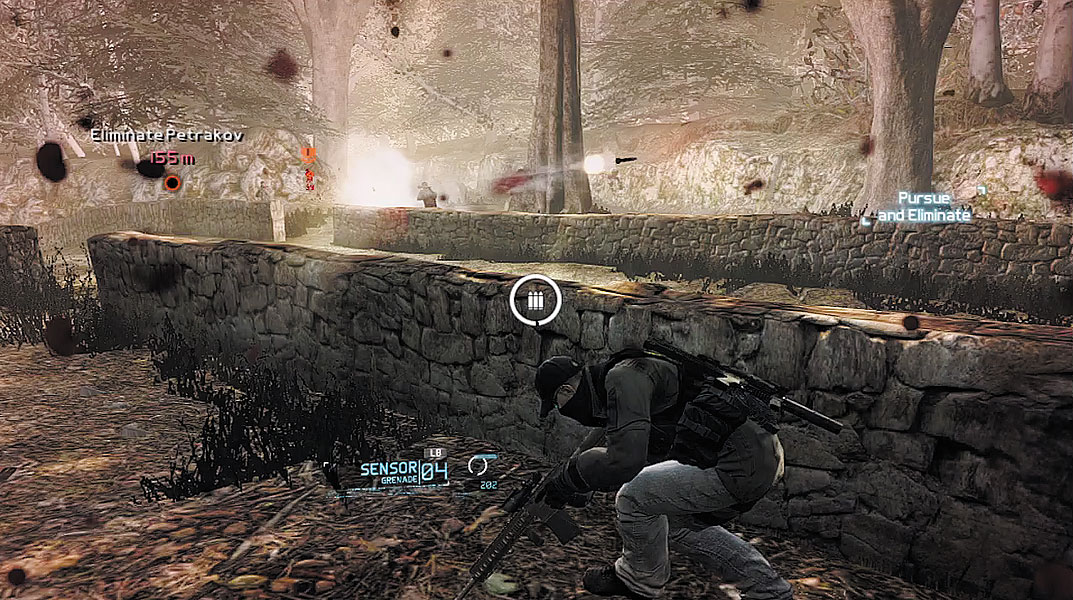
While engaging Tereschenko and his men, Petrakov continues to run. Finish off the remainder of Tereschenko’s security detail at the road (including a couple of guys armed with RPGs) then immediately chase after Petrakov. Issue focus-fire orders for your teammates to quickly cut through the resistance.
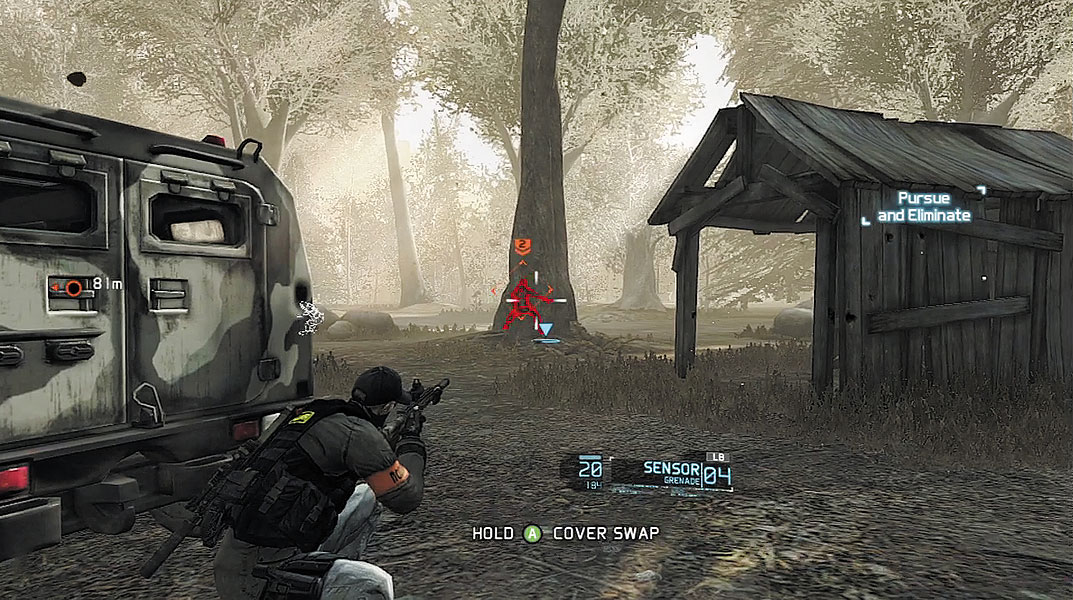
A few meters ahead, a GAZ-2330 pulls into view and two riflemen get out. Don’t worry about taking out the vehicle, and instead focus on the riflemen. Issue focus-fire orders on both enemies and take them down. Take cover behind the GAZ-2330 as a few Bodark units creep into view—toss EMP grenades in their direction to disable their Optical Camo, then engage them. At this point, Petrakov pauses near a ruined brick structure on a nearby hill, so there’s no need to rush. Stay behind cover and eliminate the Bodark units with your team’s support. An LMG soldier near Petrakov also attacks from the hill, raining down automatic fire on your team. Issue a focus-fire order on him to silence his weapon for good. Once the enemies are down, advance through the brick ruins and activate your Magnetic view. A couple of enemies are waiting to ambush you as you exit the ruins, so be ready to take them down.
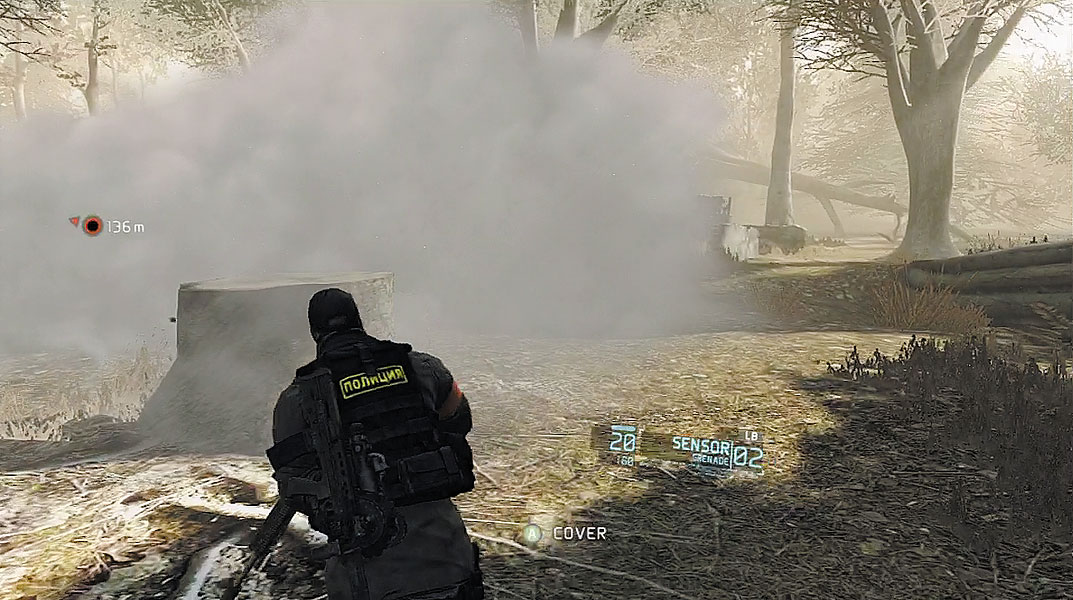
In the clearing ahead, your team is ambushed by more Bodark spec ops units. The attack begins with the deployment of multiple smoke grenades that greatly reduce visibility. Immediately switch to Magnetic view and begin engaging the hostiles through the smoke screen. Issue focus-fire orders on the enemies, then toss EMP grenades in their directions. These guys are dangerous, so don’t forget to take cover. The stone walls of ruined structures offer great cover and concealment, as do tree stumps. Petrakov continues running away, but don’t let his advance force you out of cover before the path ahead is clear. If you get shot, there’s no time for healing—you’ll simply have to restart from the previous save checkpoint.
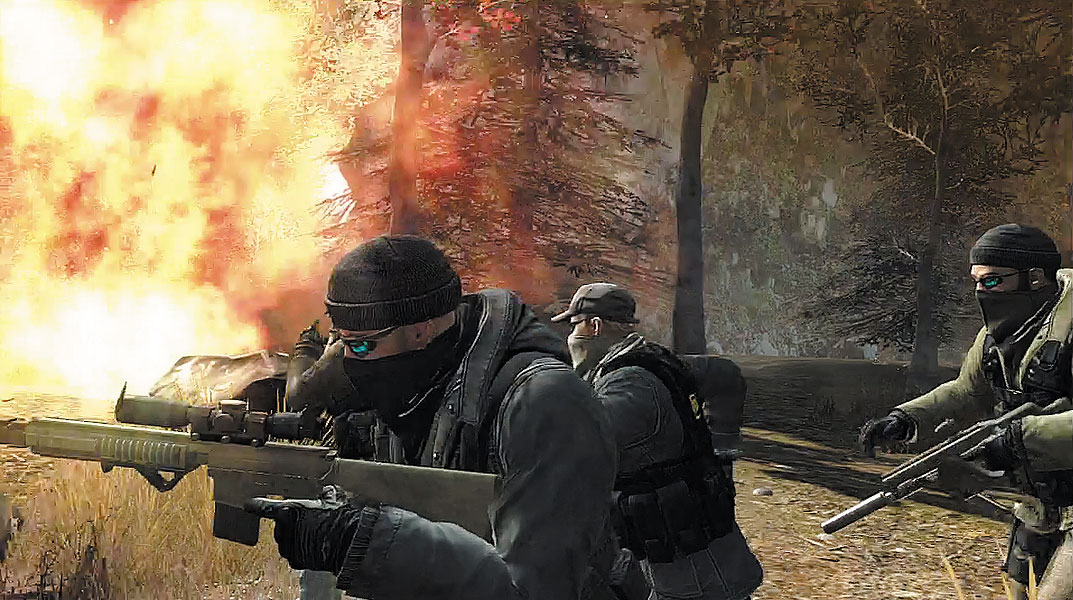
When the Ghosts reach a train yard, they spot Petrakov surrounded by numerous Bodark spec ops troops. There’s no option for a stealthy approach.—Petrakov is making his way toward an arriving train. The Ghosts advance on the train yard in diamond formation. During this sequence, take aim at the enemies scattered throughout the woods. The Ghosts narrowly escape being hit by an incoming GAZ-2330. After killing the driver, the vehicle slams into a nearby boulder and flips over their heads.
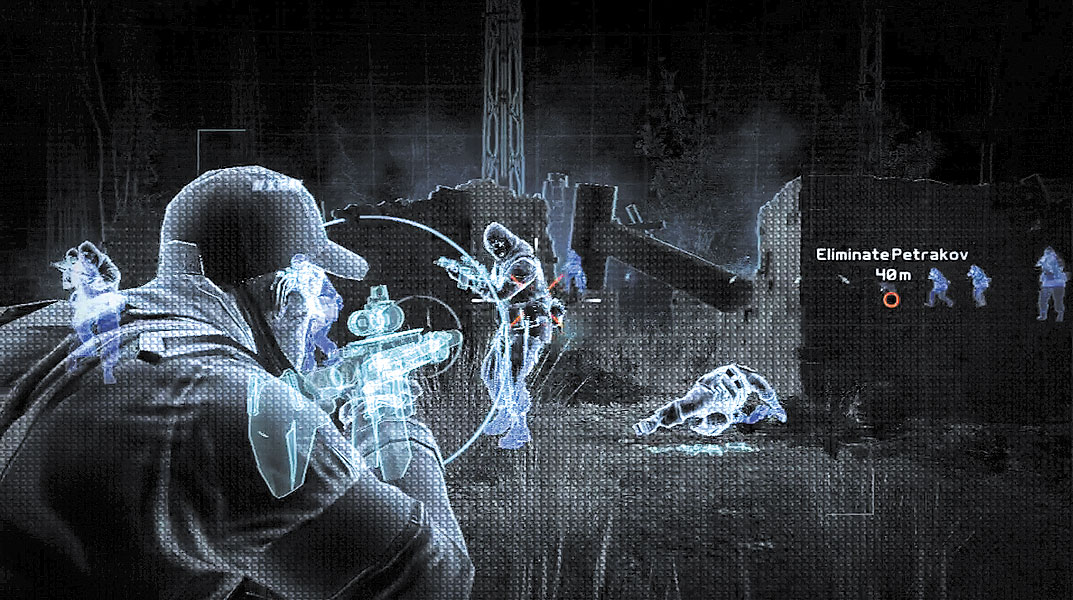
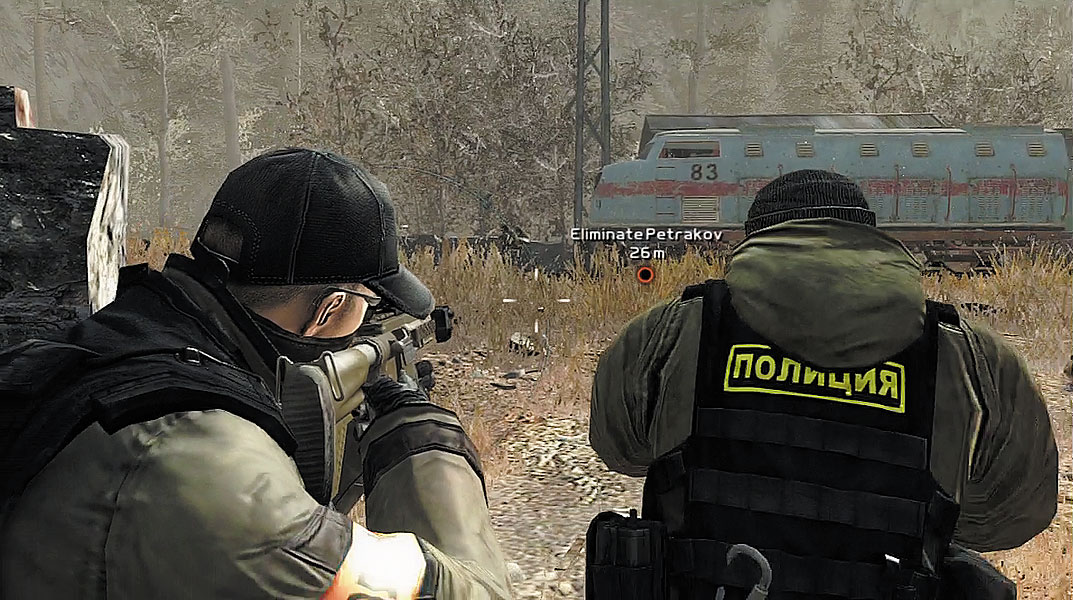
Following the close call with the GAZ-2330, Ghost Lead calls out an incoming RPG. Activate your Magnetic view and target the enemies hiding behind the stone wall ahead. After passing beneath an obstacle, Kozak flips a Bodark unit with a well-timed Judo throw, then shoots him after he hits the ground. The train is straight ahead, along with Petrakov. But there’s plenty of targets left to engage. Open fire on the enemy troops lined up along the train tracks. Petrakov is cowering behind a train, so don’t bother trying to target him. Instead, focus your fire on the enemies who are shooting at you.
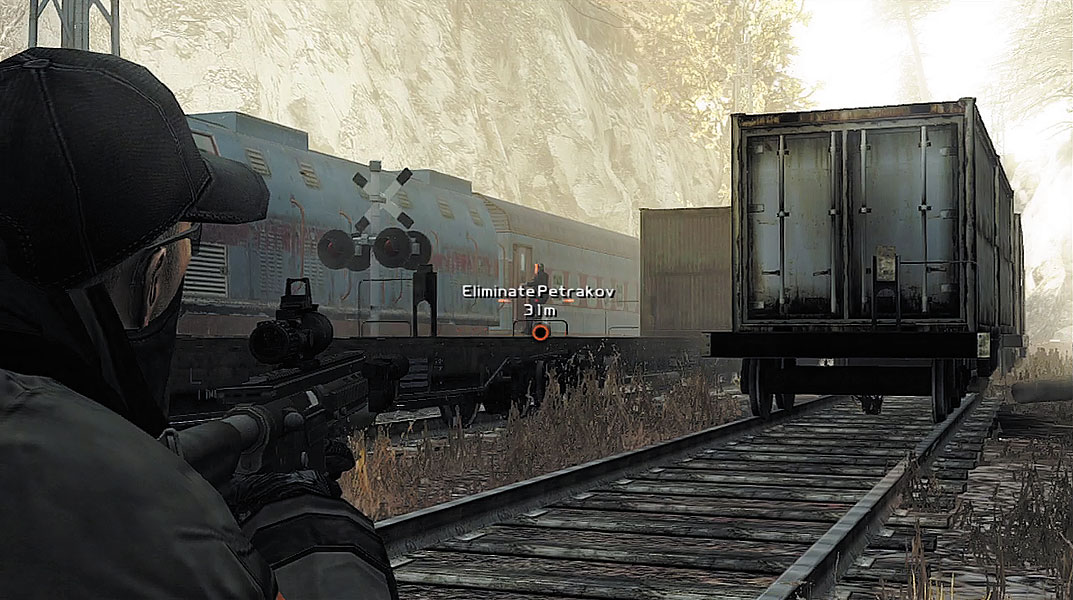
As the Ghosts near the train tracks, Petrakov can be seen climbing onto a slow-moving passenger train, clinging to the side. But before you can get a clear shot, a passing cargo train obstructs your view. During this sequence, use the orange waypoint marker on the HUD to line up your shot. As the cargo train zooms past, you can catch glimpses of Petrakov between the shipping containers on the train’s flatbed cars. Keep the aiming reticle lined up on the orange waypoint marker and open fire when there’s an opening. If you don’t score a hit soon, Petrakov will get away, forcing you to restart from the previous save checkpoint.
Tactical Challenge: HVT