
Tom Clancy's Ghost Recon Future Soldier Guide Walkthrough Shattered Mountain
Eliminate Raven’s Rock Leaders
Eliminate Raven’s Rock Leaders
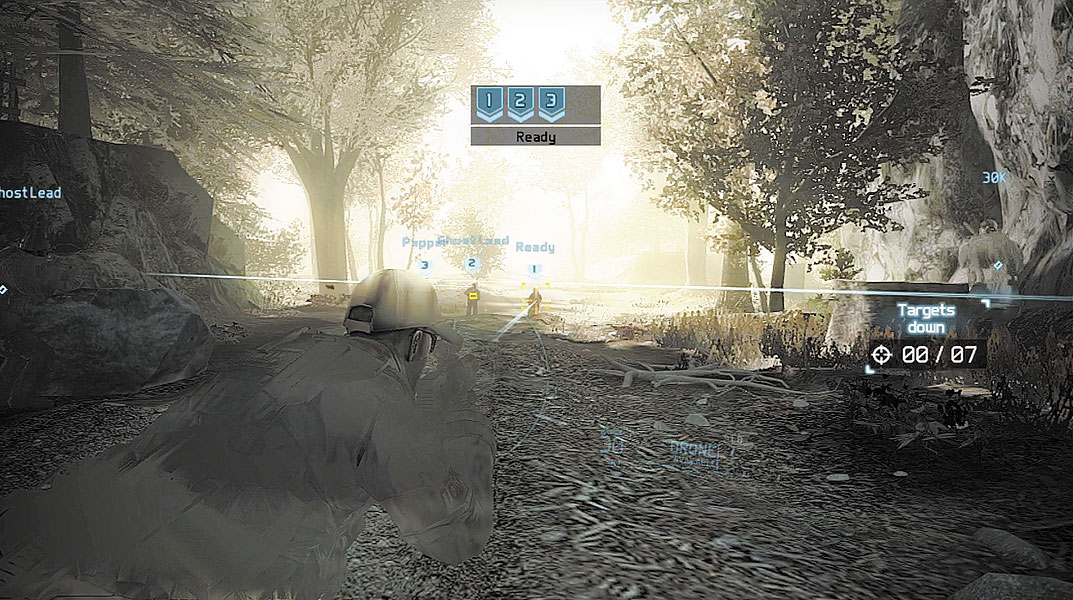
Upon entering the compound gate, Overlord reports that they’ve cracked the enemy’s comm relay. Kozak’s in charge of monitoring the radio traffic—it may yield an advantage. In the meantime, Overlord is severing all communications with the Ghosts. You’re on your own beyond this point. A new counter appears on the right side of the HUD, indicating how many targets your team has eliminated. There are seven Raven’s Rock leaders in the compound. Time to go to work. With your Optical Camo active, proceed along the dirt road. Just ahead, there are three enemies, one armed with an assault rifle, and the other two with shotguns. Mark all three targets, and participate in a sync-shot to eliminate them, firing your suppressed PDR.
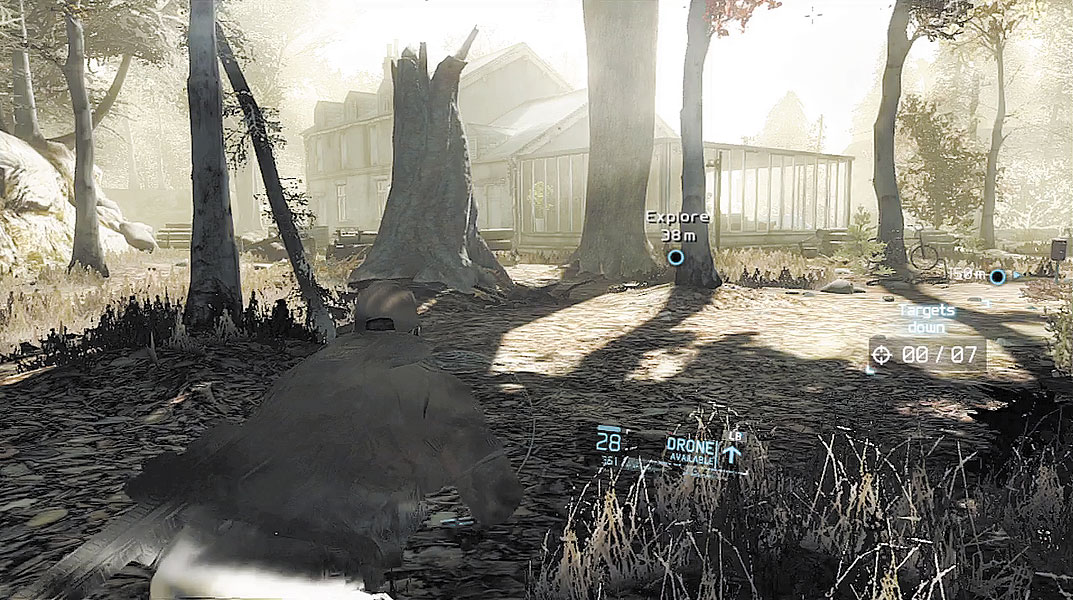
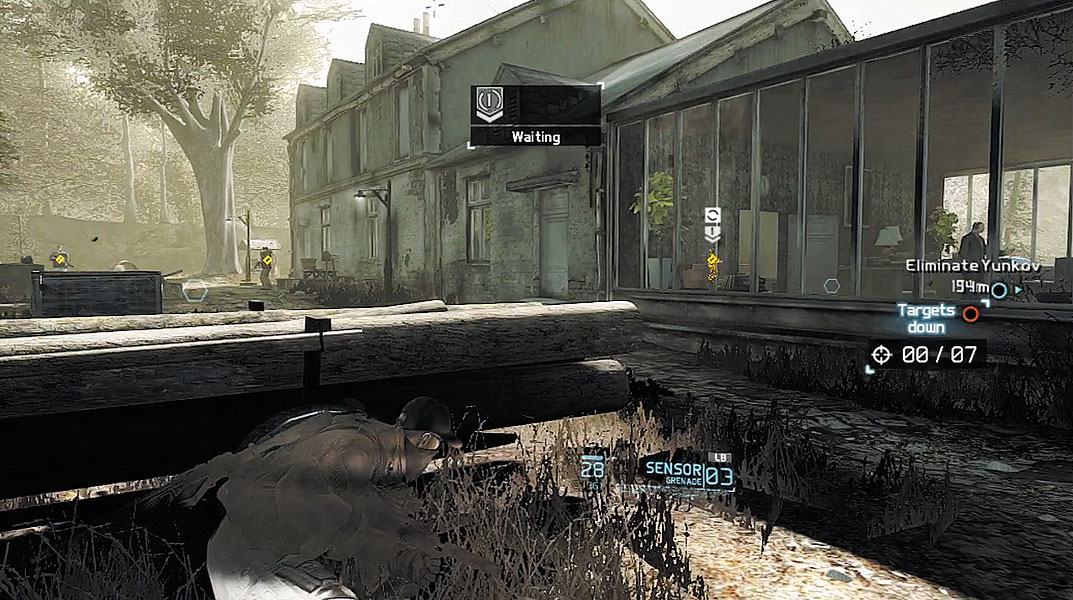
Stay low and out of sight as you approach a dacha on the left side of the road. Take cover behind the trailer filled with logs, to the left of the dacha’s sun room. While waiting for your target to appear, toss a Sensor over the roof so it lands on the opposite side of the dacha. Then toss a second Sensor toward the back of the dacha. Together these Sensors reveal four guards posted around the perimeter of the house. While you’re deploying Sensors, one of Raven’s Rock leaders, Yunkov, steps into the sun room and begins arguing with a woman. Ignore Yunkov for now. Instead, mark the lone rifleman patrolling the opposite side of the dacha. Wait for a teammate to acquire the target, then give the shoot order.
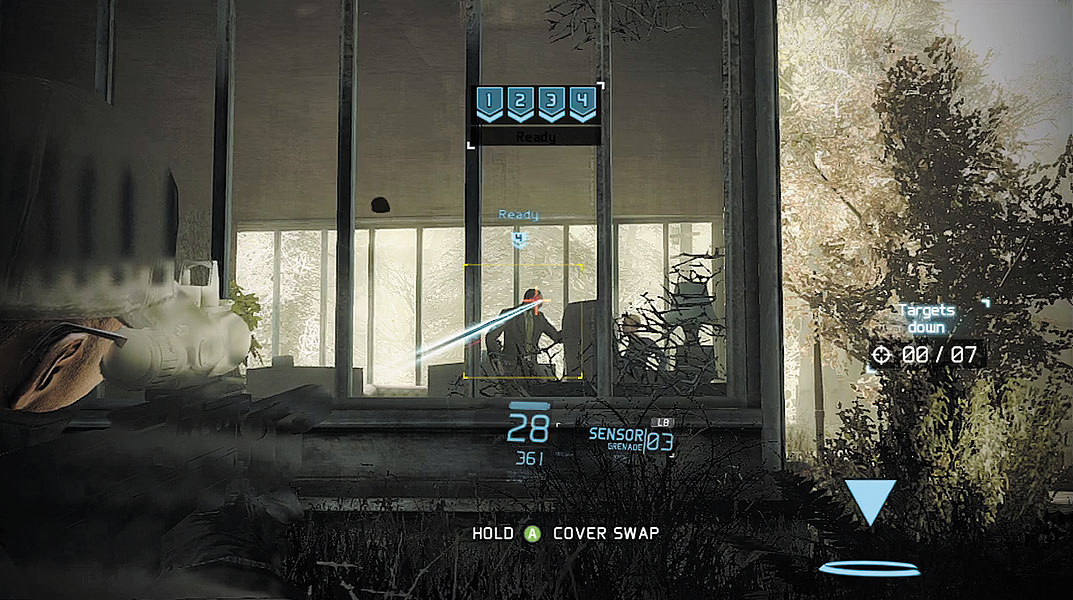
Now it’s time to eliminate the rest of the hostiles, including Yunkov. Mark the three remaining guards, including the one patrolling the back side of the dacha. As your team moves to target the hostiles, mark Yunkov and take aim through the sun room’s window. Wait for your teammates to move into position, and prepare to fire. Yunkov is very animated during his argument with the woman in the sun room. Track his movements and wait for him to stand still before initiating the sync-shot—make sure the woman isn’t in the way. When everyone is ready, fire your suppressed PDR at Yunkov’s head to simultaneously eliminate all targets with a sync-shot. The woman in the sun room becomes frantic at the sight of seeing Yunkov drop dead in front of her, but she won’t raise an alert—let her live and move on.
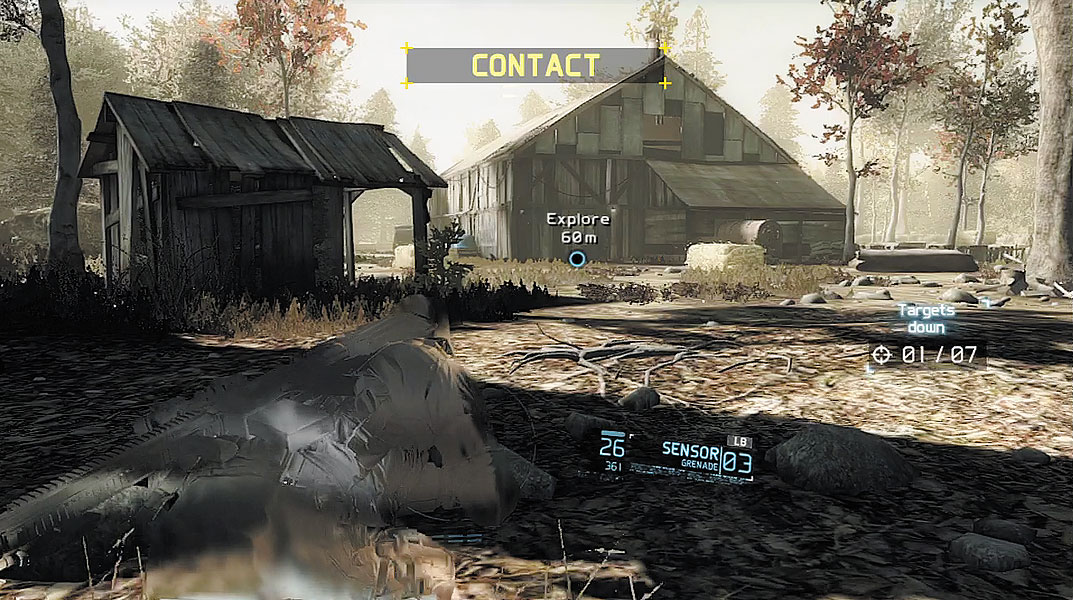
From the dacha, move toward the next waypoint marker to reach the site of a large barn—contacts are detected ahead. Creep directly toward the barn and activate your Magnetic view to take a peek. There are multiple hostiles inside the barn, including General Grigoryev, one of Raven’s Rock military leaders. The general is in the middle of interrogating a man bound to a chair. But Grigoryev loses his patience, and executes the captive. At the moment, the general is surrounded by riflemen, so don’t think about attacking now. Instead, fall back and conduct a thorough reconnaissance of the area around the barn.
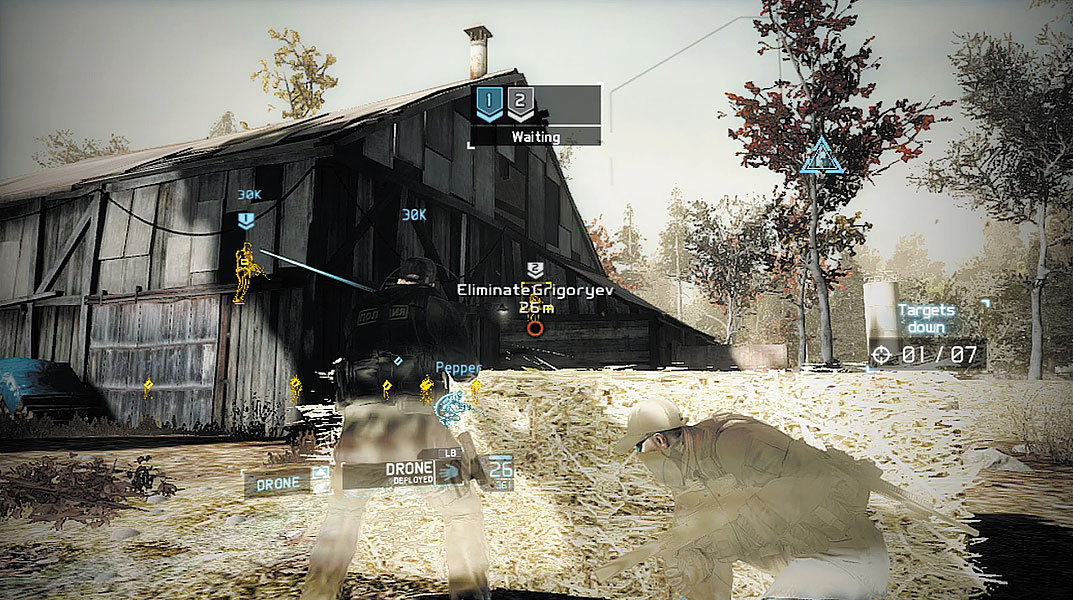
Take cover behind the large bale of hay outside the barn and deploy the UAV. Fly the UAV around the barn’s perimeter to locate numerous hostiles armed with a mix of assault rifles, shotguns, and LMGs. Triggering an alert here will lead to a bloody firefight. But if you take out the hostiles quietly, in small groups, you can avoid a bloodbath. Leave the UAV hovering over the barn so it can monitor the movements of patrols outside. Exit the UAV view, and turn your attention to what’s happening inside the barn—activate Magnetic view. By now General Grigoryev has moved to the barn’s loft and is only within view of one guard that is armed with an LMG. This is the right time to attack. Mark the guard with the LMG and mark Grigoryev. While the barn’s wooden exterior offers concealment, it makes for lousy cover. This allows your team to fire through the barn’s exterior walls to hit targets inside. While a teammate targets the guard with the LMG, take aim at Grigoryev with your suppressed PDR. When you have a clean line on the target, squeeze the trigger to perform the sync-shot. If all goes well, both Grigoryev and the guard drop dead. Nobody notices.
Weapon Challenge: Personal Offense
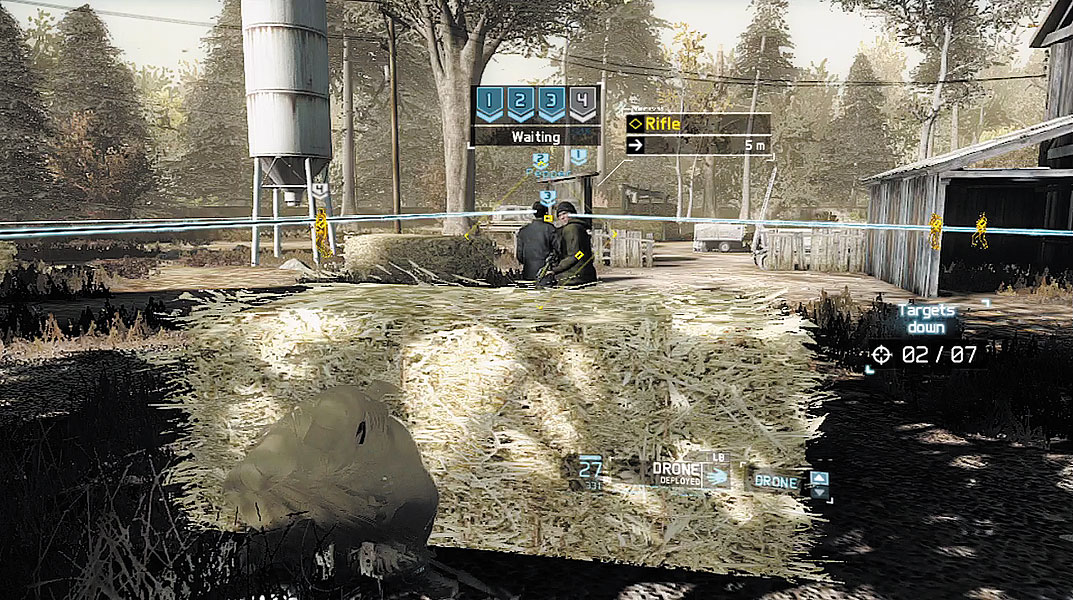
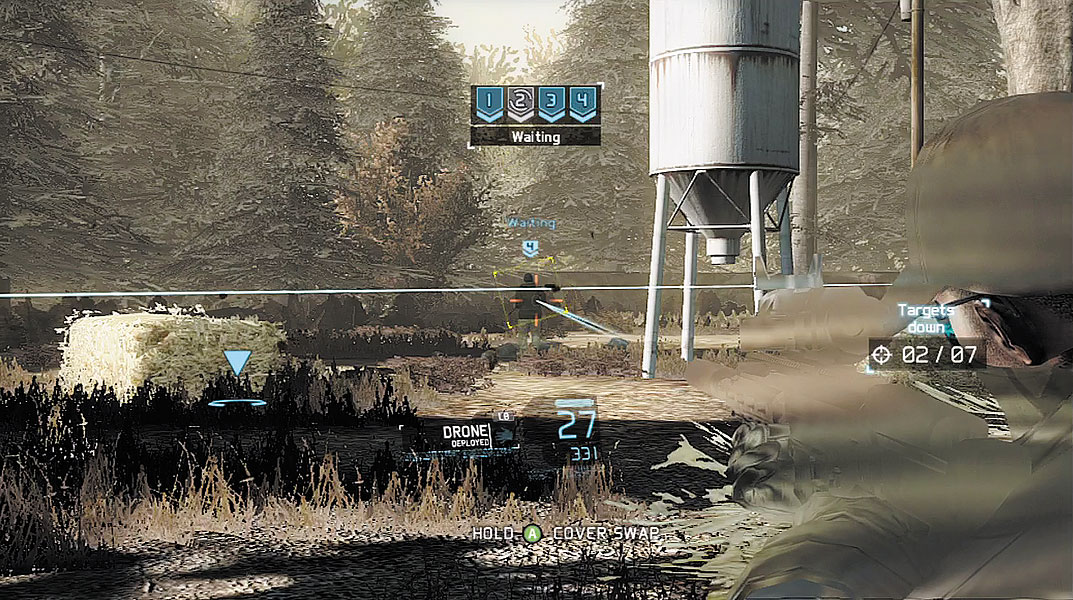
Killing Grigoryev isn’t enough. You now need to eliminate all the hostiles at the barn. There are 12, but all of them can be taken out with three carefully orchestrated sync-shots. Start by circling around to the back of the barn. Here you spot two riflemen standing next to a large bale of hay—mark them. Next, locate a hostile with a shotgun patrolling nearby and mark him. Finally, look for one stationary rifleman standing next to a GAZ-2330 on the far corner of the property—mark him, too. But don’t issue the sync-shot yet. Watch the patrolling hostile armed with the shotgun. Wait until he moves near the large white, cylindrical silo before taking aim and initiating the sync-shot. As long as the patrolling guard falls dead near the silo, he won’t be spotted by other hostiles outside the barn.
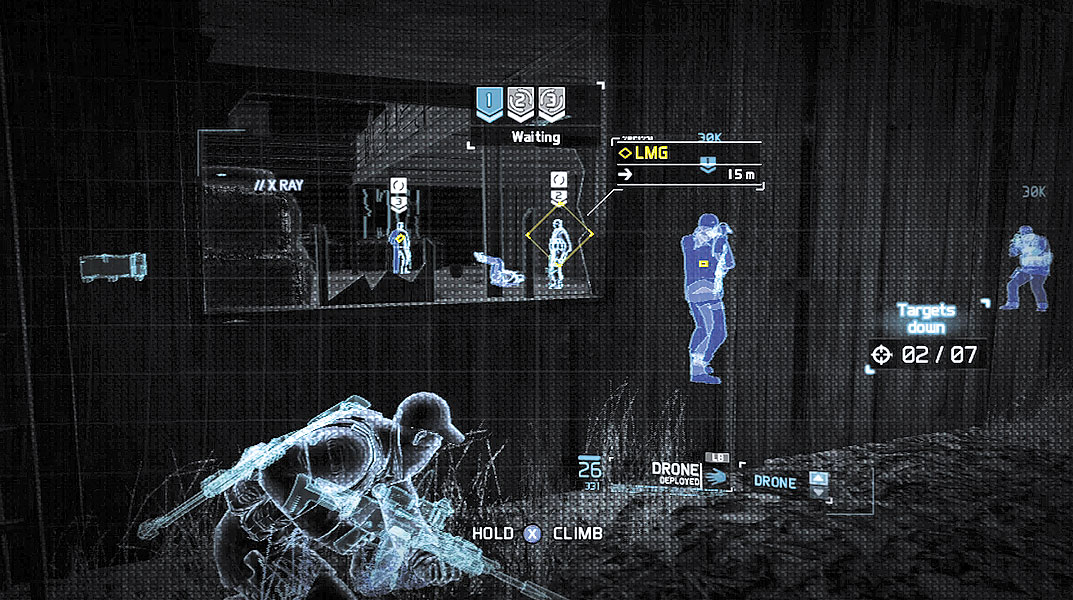
Now deal with the three enemies inside the barn. Activate Magnetic view to peek inside and mark the three hostiles. You can participate in this sync-shot by aiming through the nearby window or by simply firing through the wooden walls. But it’s best to monitor the hostiles outside the barn while your team eliminates the guards inside. One guard armed with an LMG patrols outside the barn, pacing back and forth in front of the barn’s large open doorway. Make sure this guy is walking away from the doorway when you give your team the shoot order. If he’s walking toward the doorway, he may see his buddies fall to the ground and trigger an alert.
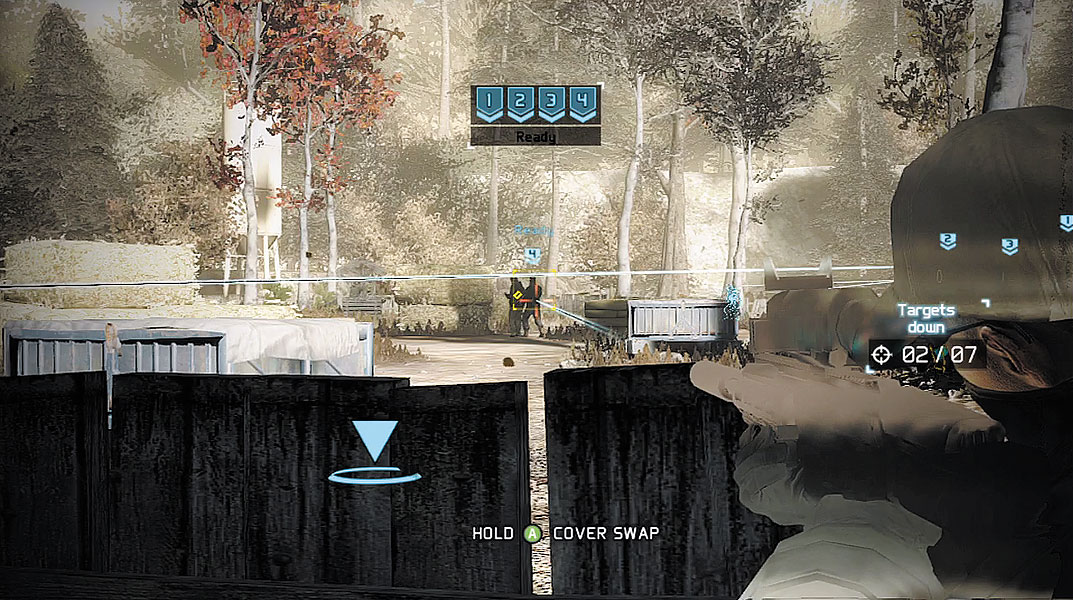
Once the three hostiles in the barn are dead, focus on the remaining five outside the barn. You can only mark four of these guys, meaning you’ll have to take out the fifth immediately following the sync-shot. Mark the two stationary guards by the barn door as well as the guard with the LMG pacing near the door. Next, take aim at one of the two guards patrolling farthest from the barn and mark one of them—these guys are your targets. When everyone is ready, squeeze your trigger to perform the sync-shot. Immediately after firing and killing your target, swing your aiming reticle over the fifth, unmarked guard and gun him down while time is still slowed. The barn is now clear. Consider resupplying inside the barn, where you can find an ammo crate and weapon box. The weapon box contains two L22A2 PDR variants, two 417 assault rifle variants, and an MSR sniper rifle. When you’re finished resupplying, recall the UAV and regroup with your team at the nearby waypoint.
Forest Path
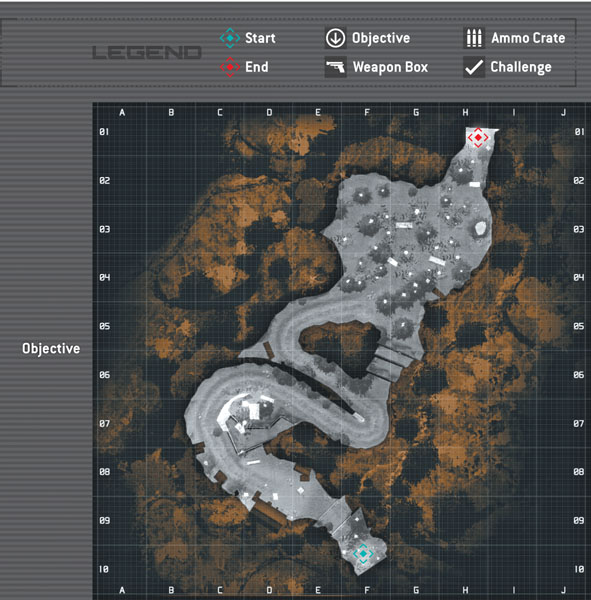
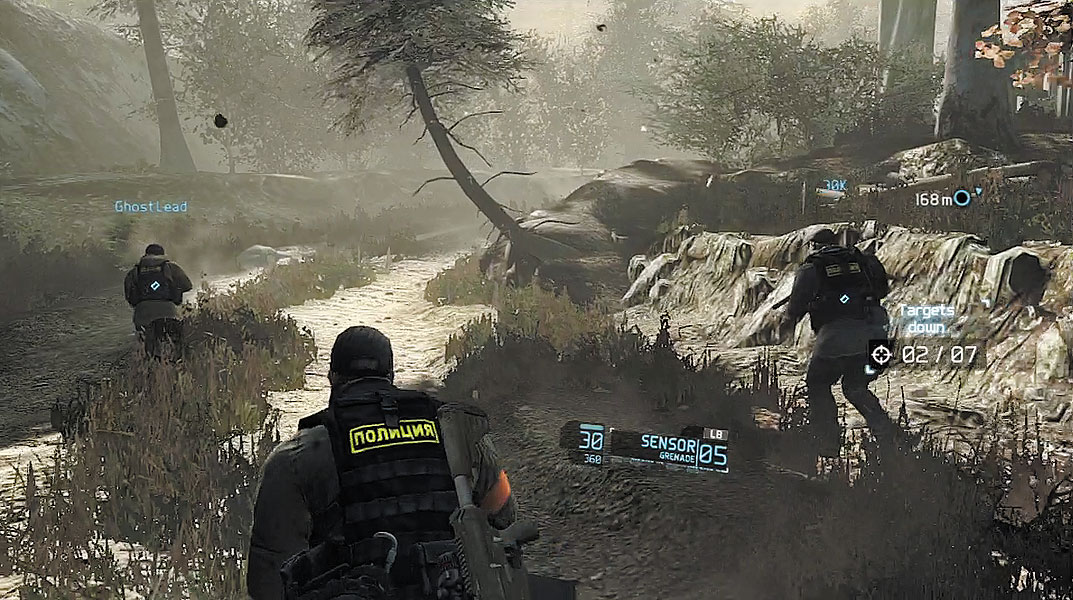
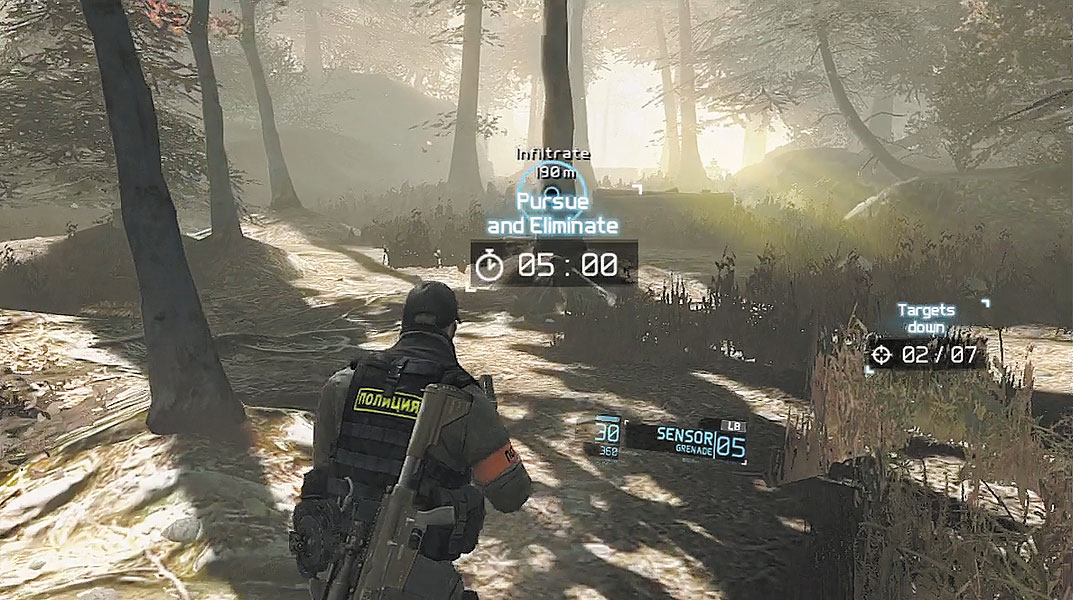
Soon after descending a couple of ledges, Kozak picks up an enemy radio transmission. Someone is checking in with a compound security team, but gets no response. Chances are, the security team was killed by your team. With no contact from their security team, voice on the radio becomes suspicious. Kozak reports that the enemy is securing their positions and are preparing to evacuate a group in a few minutes. There are no hostiles along this path, so there’s no reason to advance slowly with Optical Camo active. Stand up and follow the winding path. A shortcut just ahead allows you to advance by climbing up a series of three ledges. As you enter the forest beyond the ledges, a timer appears on the HUD, giving you five minutes to eliminate the next three targets before they’re evacuated. When the timer appears, sprint toward the next waypoint until the word “Contact” appears across the top of the HUD.