
Tom Clancy's Ghost Recon Future Soldier Guide Multiplayer Adversarial
Cargo
Cargo
Situation Report
A hijacked cargo ship lies nearly silent on the open waters. Only the intermittent sound of gunfire interrupts the briny pall. With sight lines broken regularly by tall shipping containers, Cargo means plenty of close-quarters combat both inside the bowels of the ship and around the various parts of the deck. Stick with weapons made for quick firing. And learn the layout of the ship as completely as possible in modes like Conflict before attempting to brave the blind corners and cramped corridors in Siege, or get used to watching the action unfold from the sidelines.
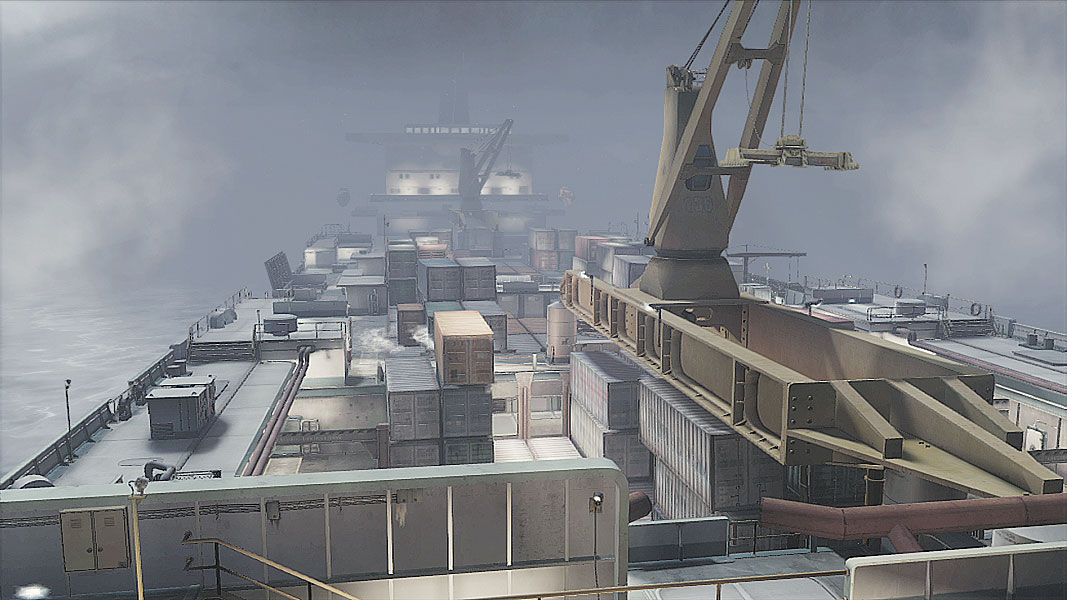
// Spawn Points (Conflict, Decoy, and Saboteur)
Ghosts deploy from the Stern of the ship, leaping down from shipping containers at the rear of the boat to join the fray as it erupts toward the middle. Despite the size of the ship, making one’s way along the sides is a relatively speedy affair. Just remember to stick to cover along the way and transition from one cover position to the next. There are multiple routes down into the ship’s hold, and it behooves the entire team to learn them quickly.
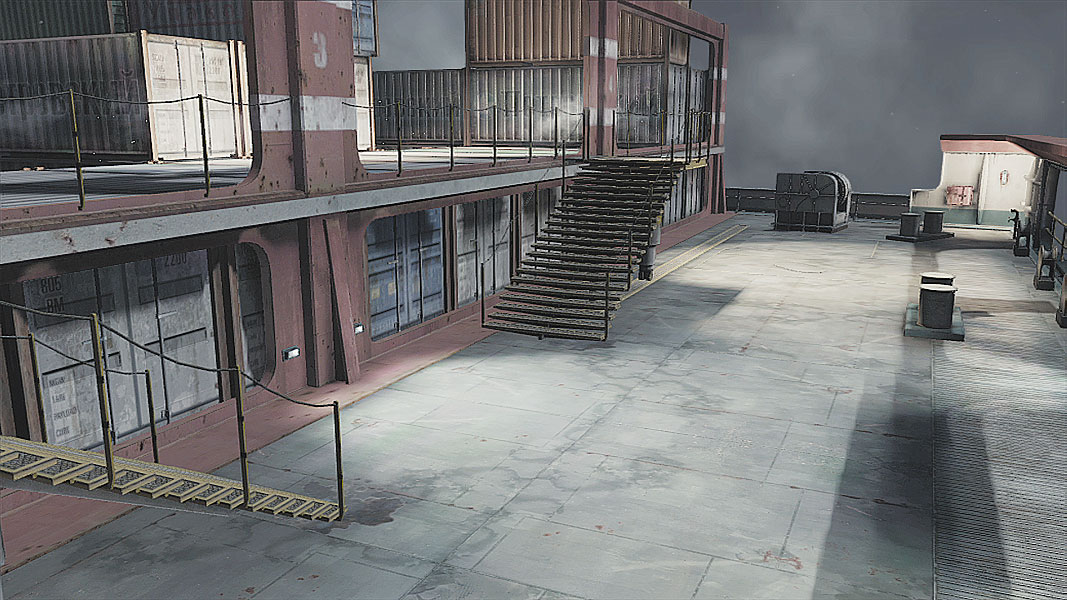
The Bow is Bodark territory, and like the Ghosts’ spawn, there is ample opportunity to move both across the deck and down below. Cover—much of it quite high—is everywhere, so there’s no reason to go charging through an area without sticking to something. Watch your flanks and move as a group, leapfrogging as needed between bits of cover to avoid detection on the way to the objectives.
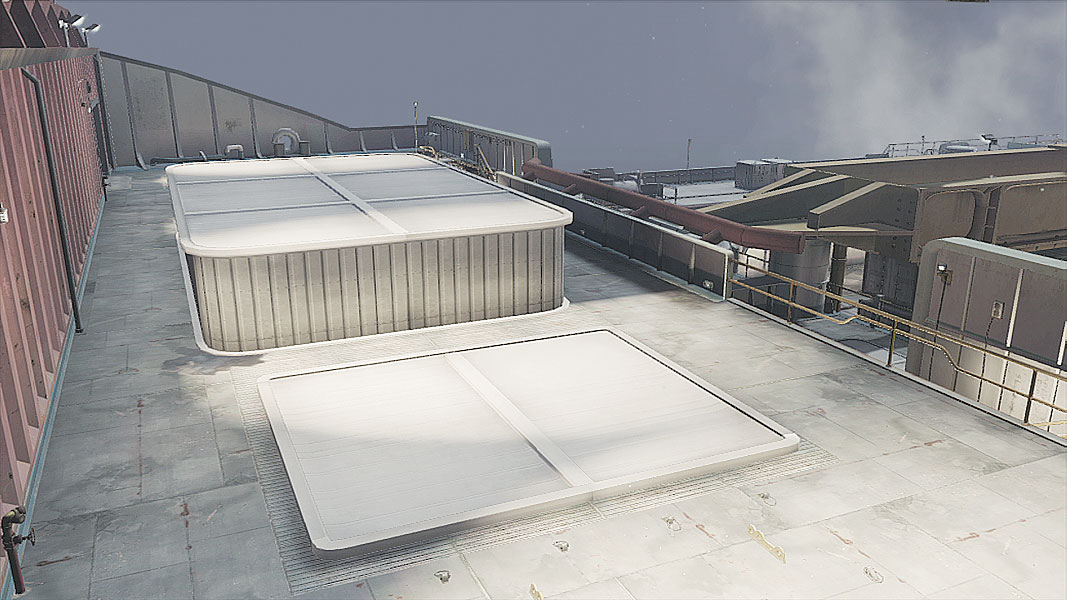
// Points of Interest
Port and Starboard Decks
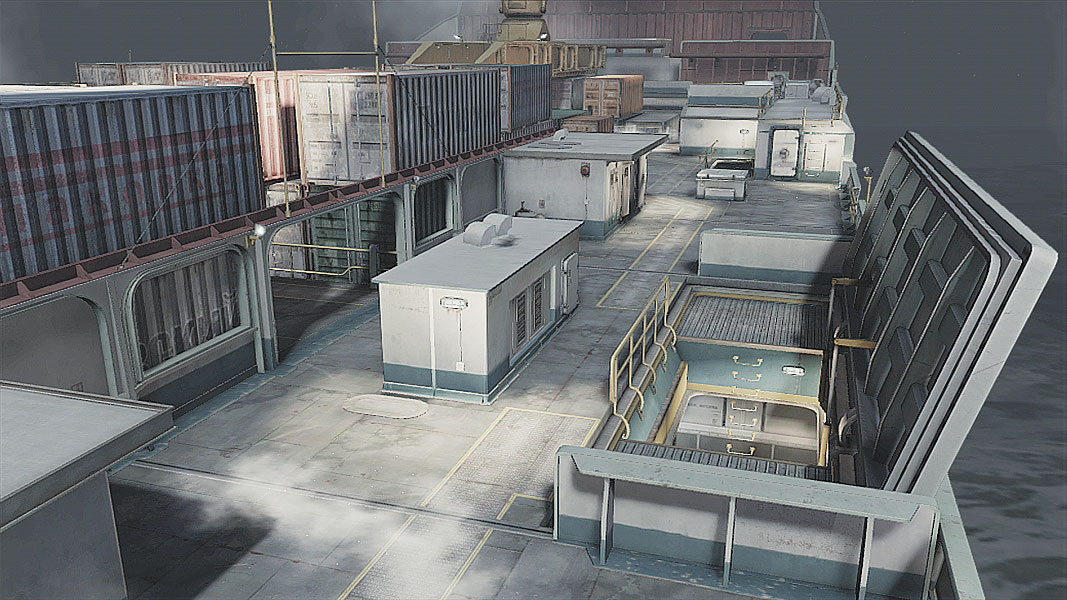
The left and right sides of the ship are flecked with bits of heavy cover, which is good because the Stern of the ship has plenty of height and well-covered spots for snipers to take shots at anyone foolish enough to be waltzing along outside of cover. With all those chunks of metal, there’s no reason not to be pushed up against them at all times.
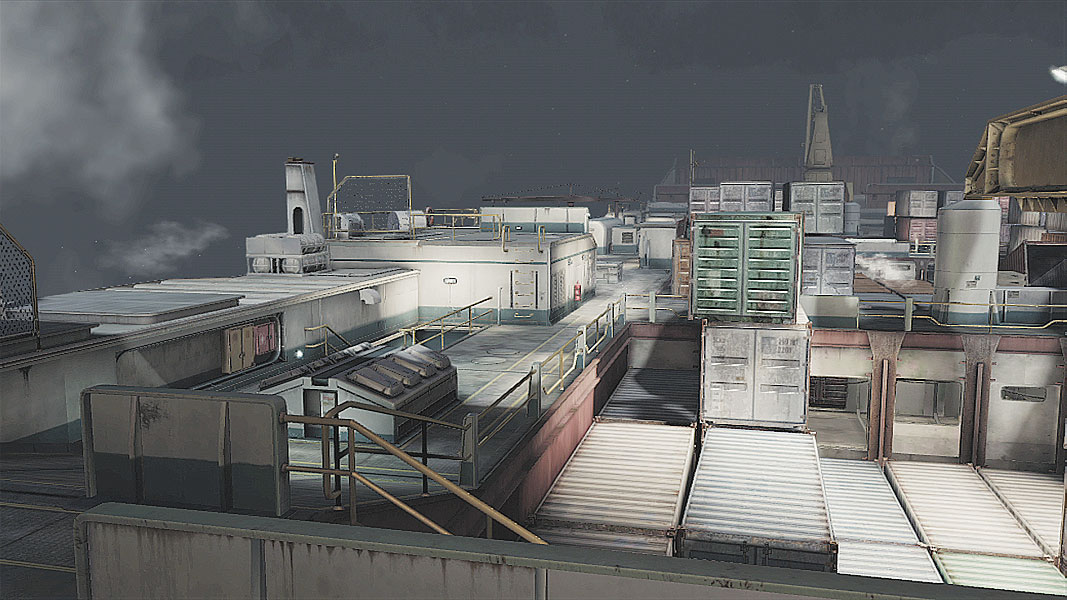
Below Deck
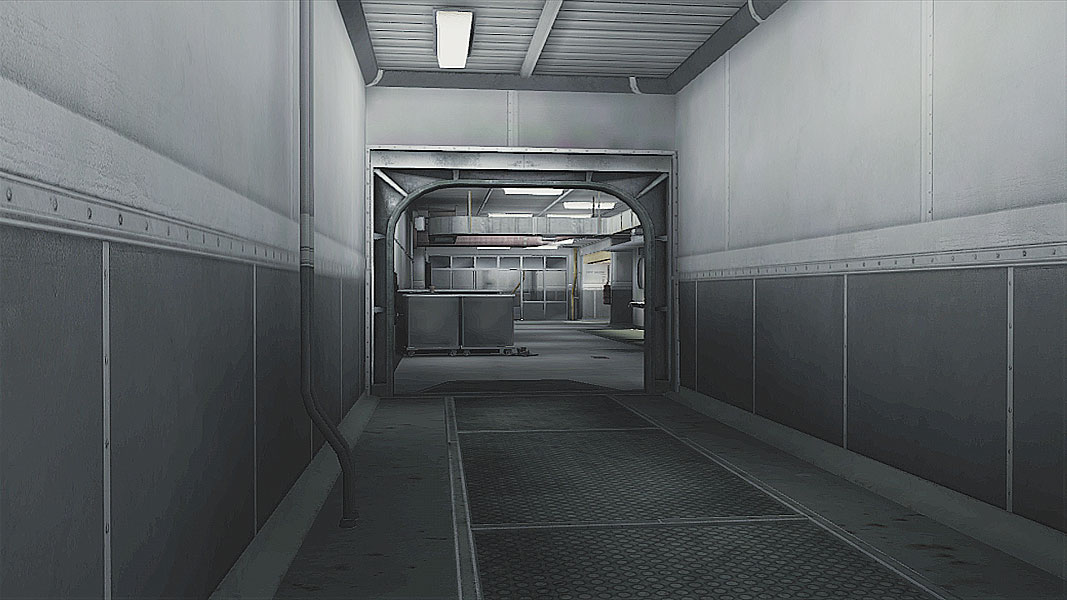
Not many maps in Ghost Recon Future Solider are as symmetrical as Cargo, but the simple layout below deck can help make learning it all much easier. Memorize where long sections without cover are, and what exits lead to sections of the hold that will allow quickest access back into firefights. With so many ladders, staircases, and corridors, it can be a bit overwhelming, but the combatant that knows the map layouts best is often the one that will arrive at an objective first, or know the best way to ambush an enemy if they aren’t.
Walkways
Six walkways connect the two sides of the ship above deck, with one walkway each on the Bow and Stern protected by a respective team’s safe zones (save for in Siege Mode where there are no safe zones). Learning which of these is the closest to your current position can speed movement between Port and Starboard locations, or facilitate a hasty retreat when coming under fire.
// Conflict
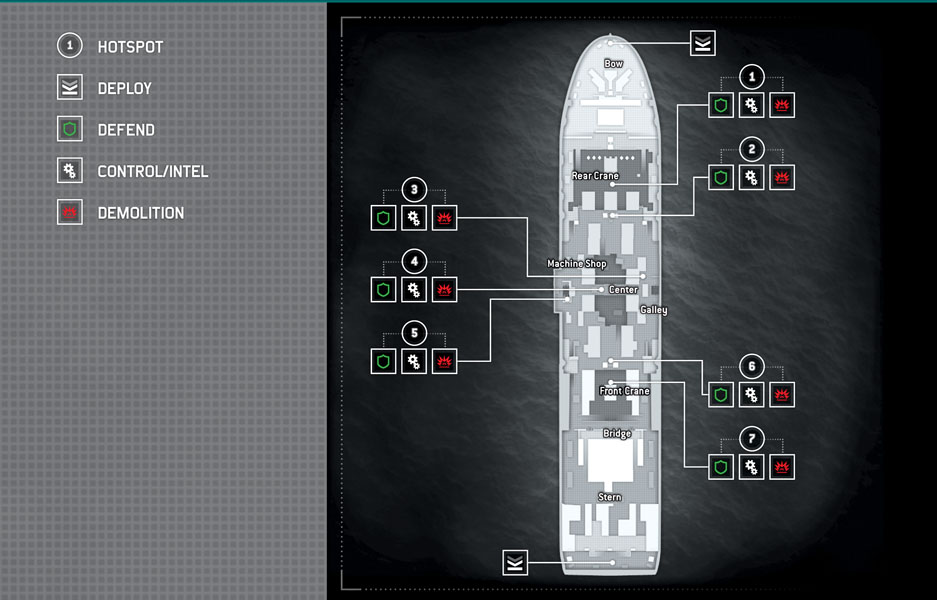
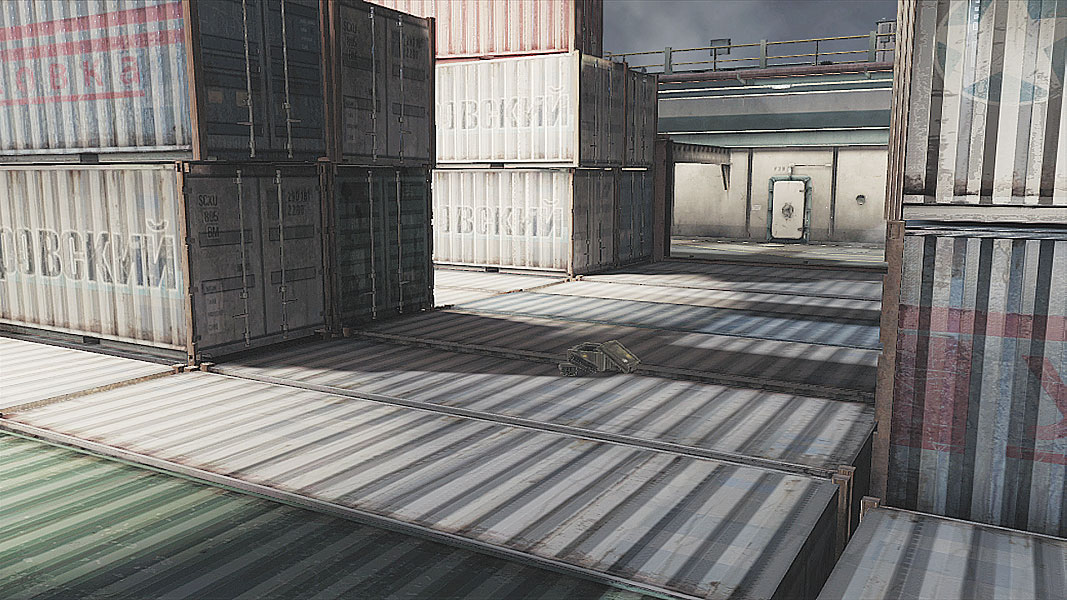
Swaddled in nearby containers, this objective hot spot has multiple routes of entry, which can make defending a bit of a chore. Keep an eye on the stairs leading down into the hold area, as well as the exits from below the nearby bridge. The latter has plenty of cover to fire from, making it a favorite direction of attack and recapture.
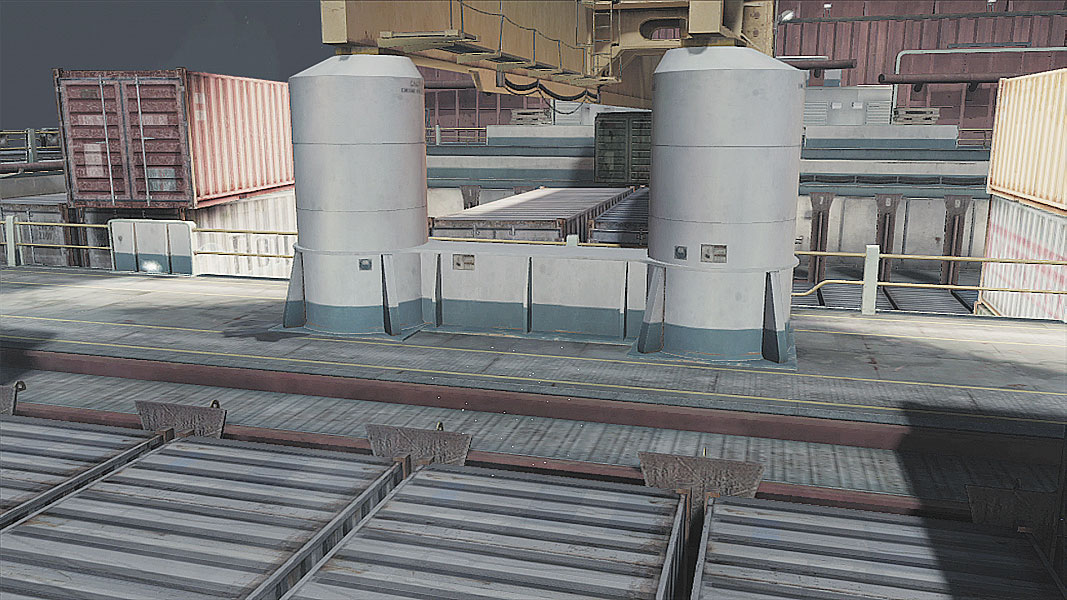
The two routes of approach on either side of the smokestacks containing the second objective are common routes of attack, but don’t ignore the ramp leading up from the other section of the cargo hold ahead. All three present quick means of getting in or out, but keep one eye trained on either of the elevated sections flanking the area. A placed, cloaked sniper is easy to spot, but they have no cover from return fire, so spotting them quickly is key to removing the threat.
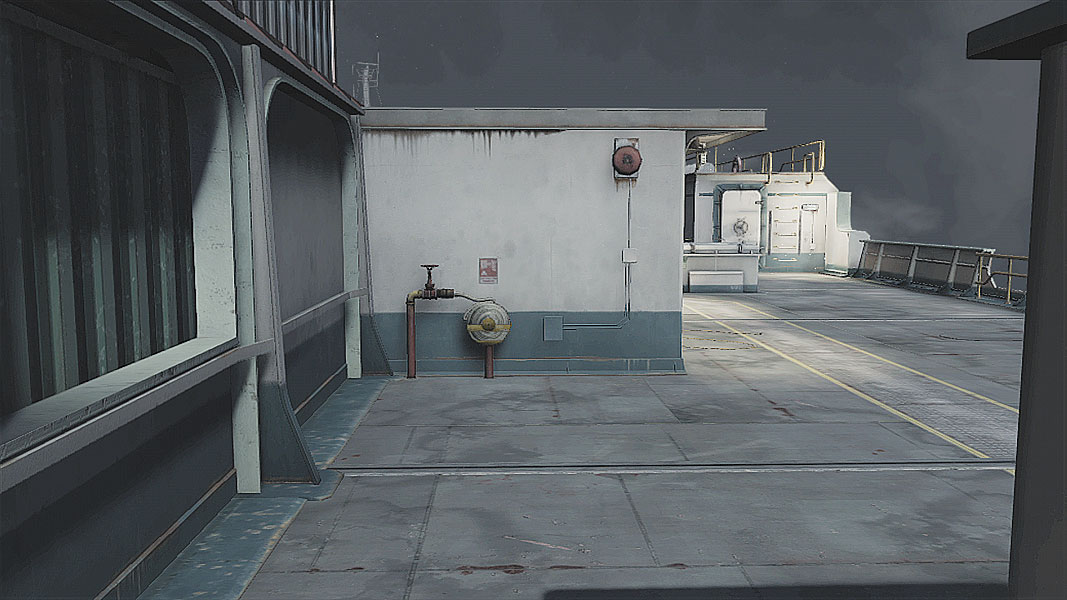
The corner cover surrounding this objective makes it fairly easy to defend it from ground troops, but snipers from the back of the ship can sneak in potshots, so keep necks craned for incoming shots and the odd grenade being tossed from afar.
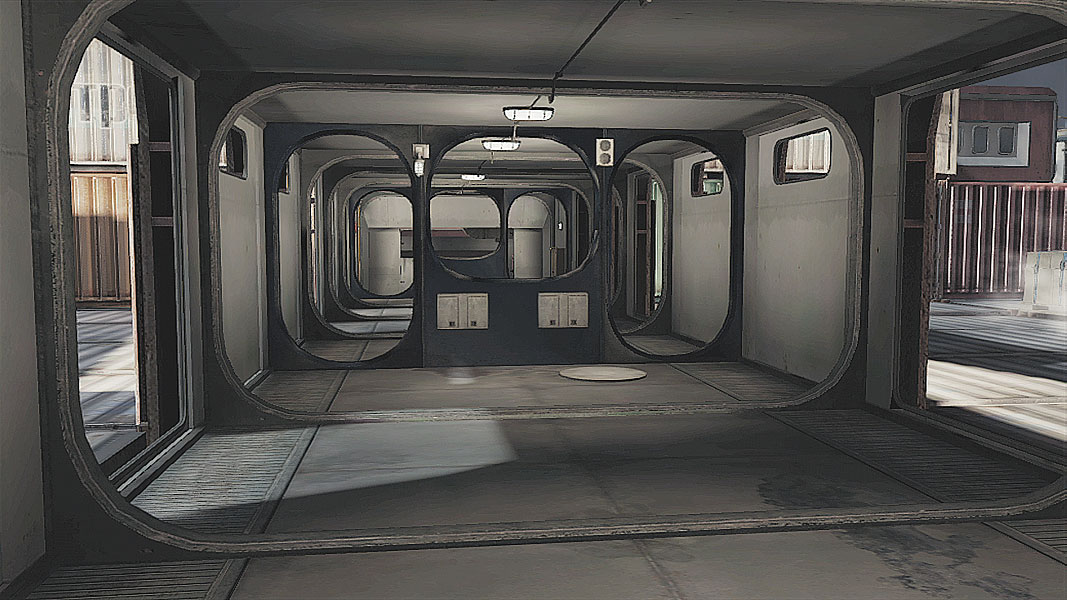
Digging in with all the bits of cover available underneath the bridge means holding this area isn’t especially tough, but trying to take it certainly is. The cramped quarters make grenade tosses especially dangerous for anyone trying to capture the objective, though setting up the right angle for a grenade throw isn’t exactly easy either. Once it’s captured, be ready for attacks from both sides of the hold area and try to stay low to avoid enemies shooting through the holes in the cover.
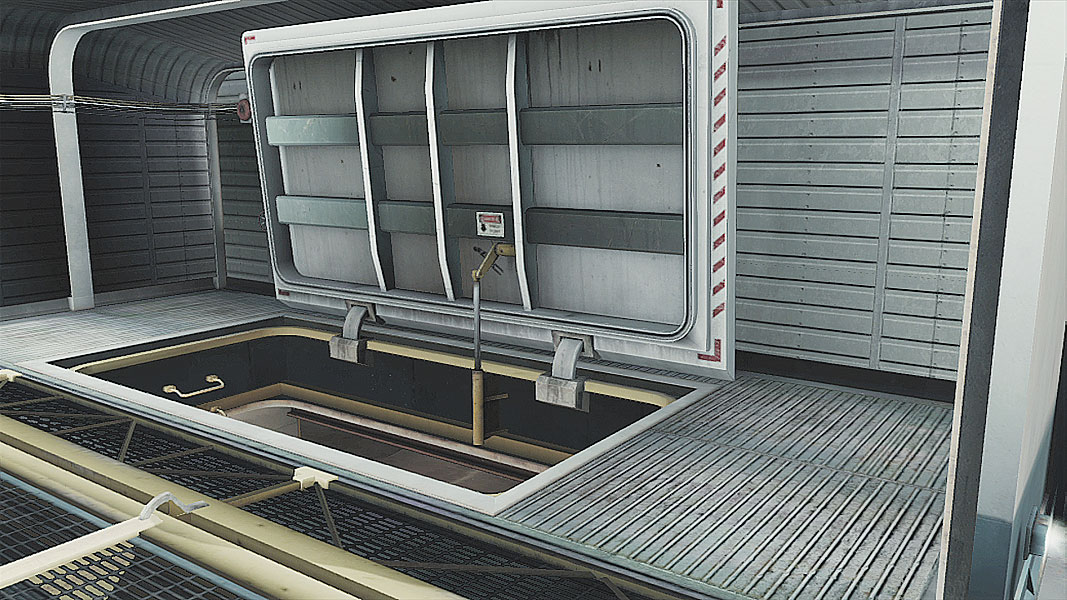
Tucked into a little alcove just above a set of ladders, this objective requires close-quarters combat to clear out any hostiles. Grenades can flush out potential enemy players trying to capture, and attacking from down below toward the top of the ladders can work well—so long as defenders aren’t looking down at you.
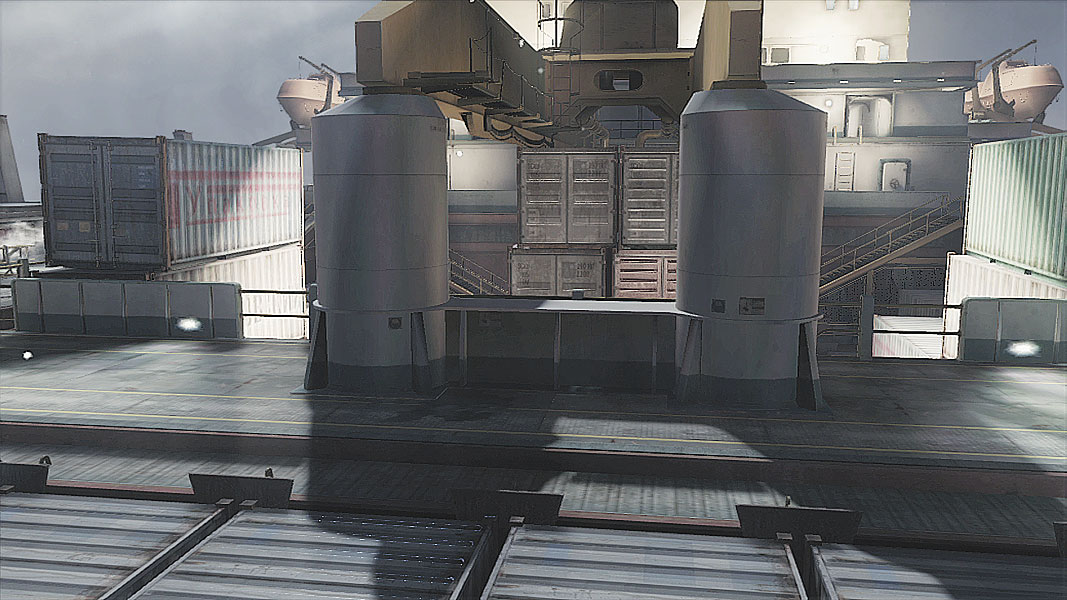
A mirror of the second objective, the dangers here are more or less identical: entry routes from the left and right, elevated platforms where shooters can get the drop on those trying to capture, and a ramp up from the hold area—this time in the form of a covered shipping container.
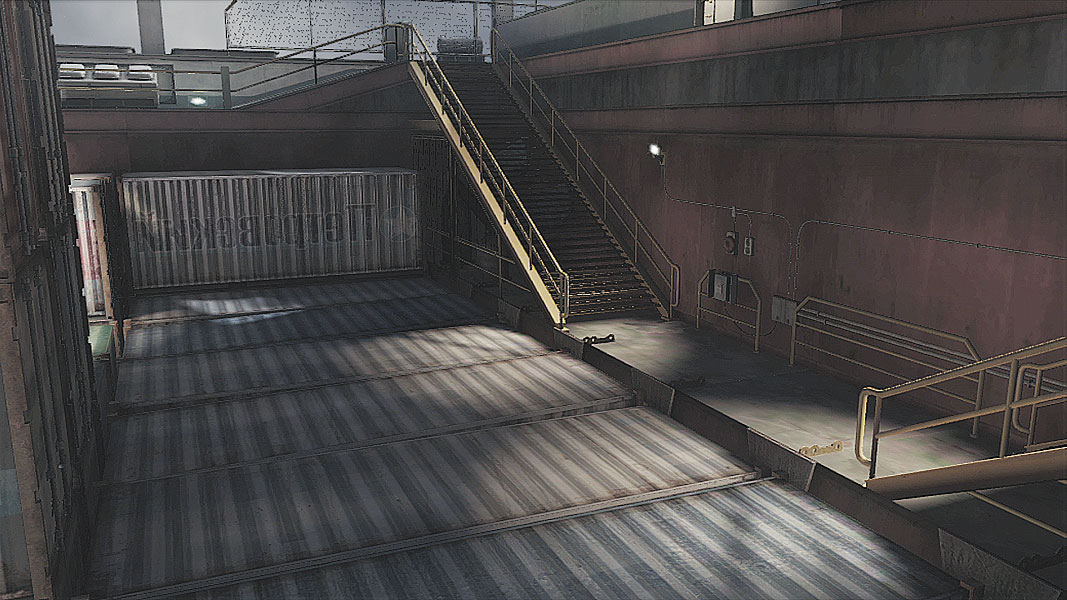
Much like the first objective, this hold area hot spot lets enemies fire down from above, enter by way of a pair of staircases and slip in from the innards of the ship. Use Sensors to track movement from below decks, UAVs to watch from the skies, and Confidence captures to speed things up.
// Decoy
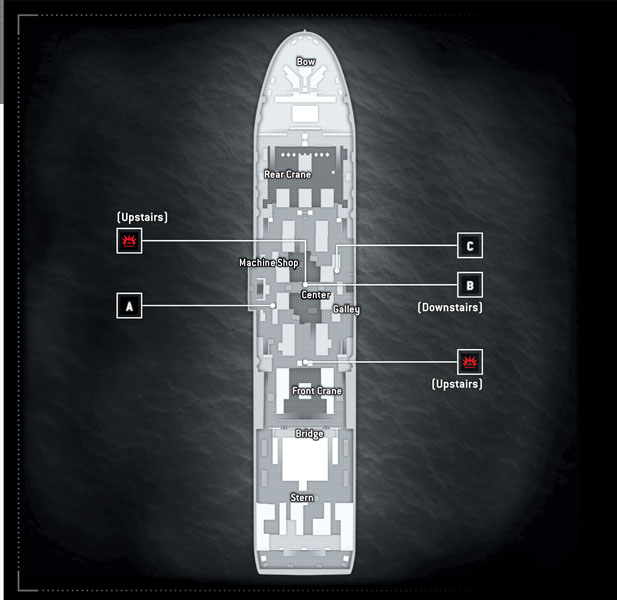
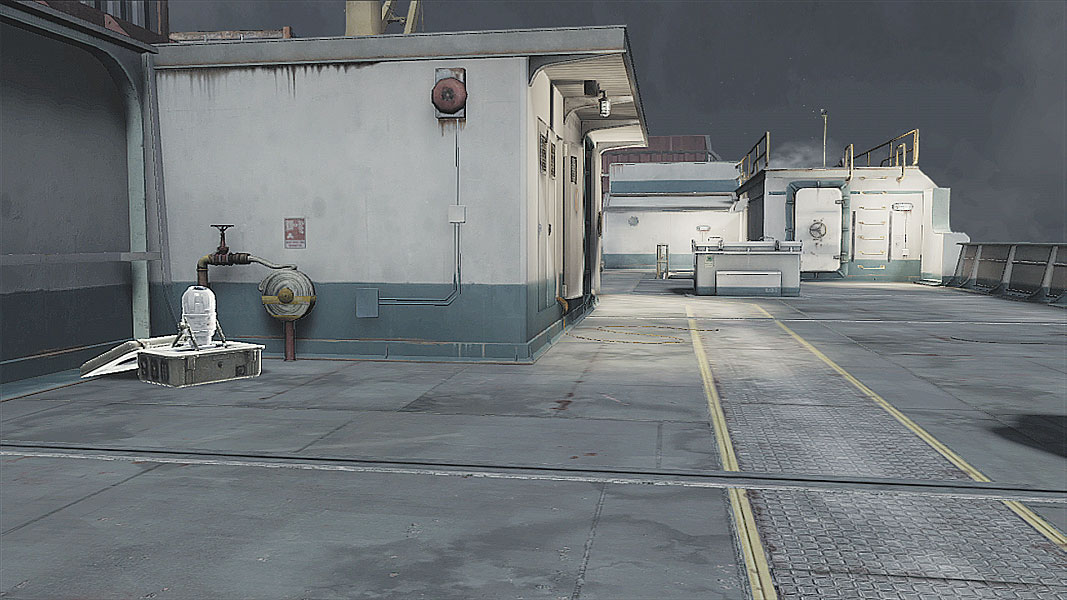
For once, the capture and defend locations are purely symmetrical, offering the same kind of loose cover for the first of the possible true objectives next to a bunch of shipping containers. Watch for snipers from the Bow, and move quickly to capture the point or repel attackers if you’re defending.
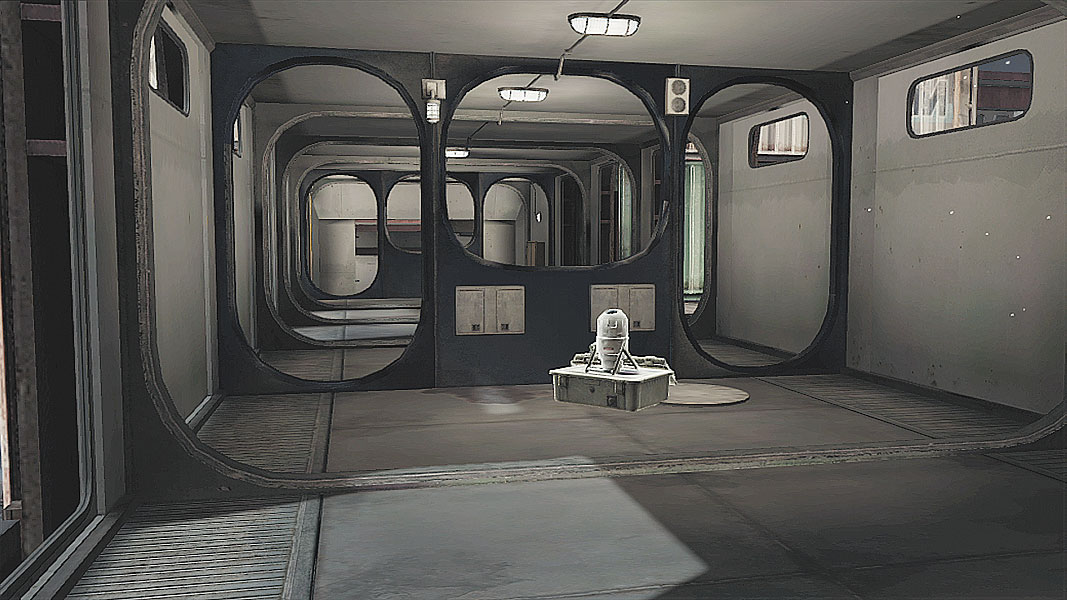
Much as it was during Conflict objectives, the multiple covering walls that surround the below-bridge capture location make it a great place for grenade kills and a hardy place to stick in when repelling attackers.
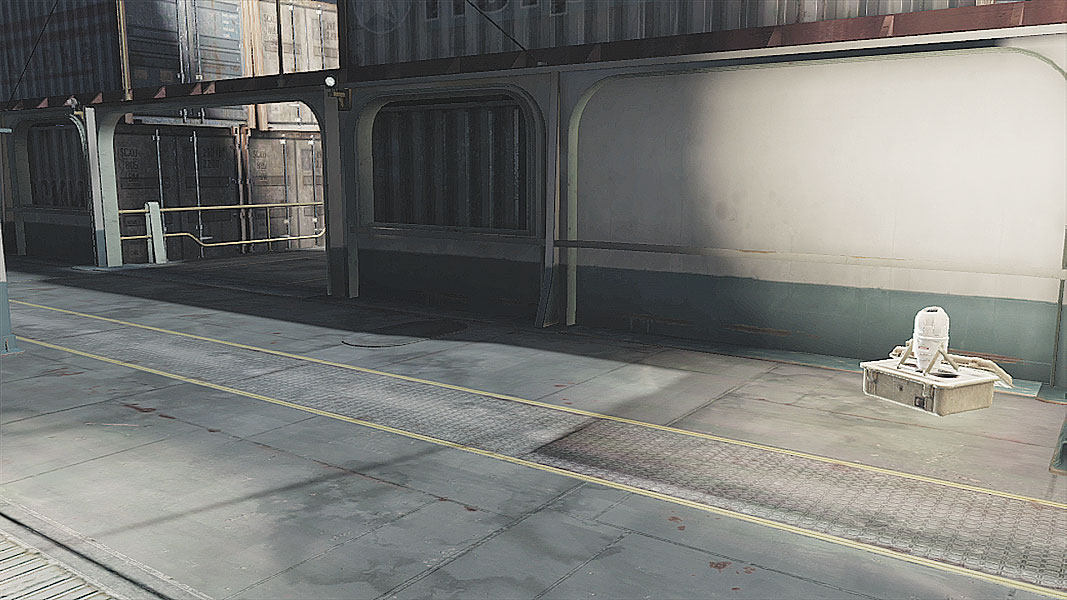
The mirror image of the first objective, this potential objective requires eyes trained toward the Stern to avoid sniping shots and solid corner cover while you’re defending.
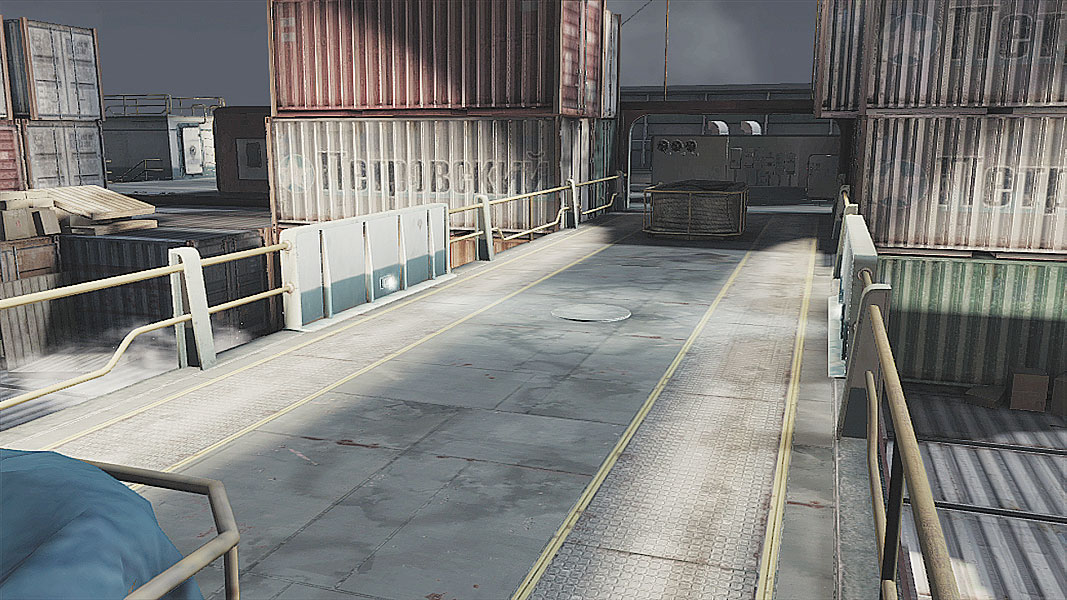
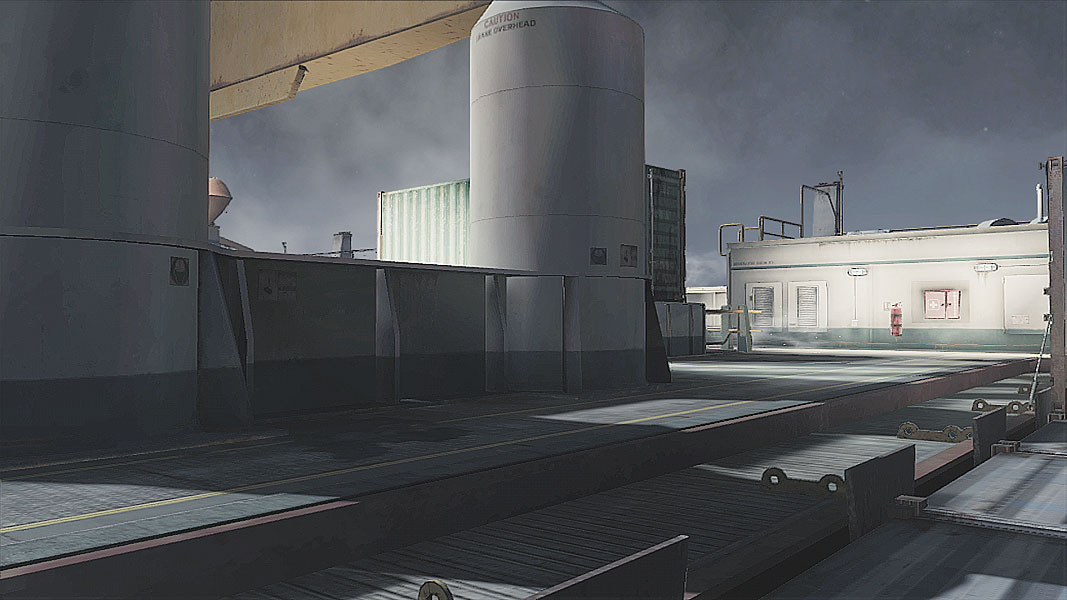
The first of three bomb planting locations sits in the dead center of the ship. Unprotected and vulnerable to plenty of crossfire, the bridge is a formidable challenge. Scout with intel-gathering equipment first before leaving the safety of the container cover on either side.
The second option will be familiar to Conflict vets: the twin smokestacks in all their hair-raising glory. Three routes of entry and those infernal sniping spots on either side without cover mean all escorts should be looking left and right as much as possible, while another squadmate keeps an eye on that shipping container route up from the hold below.
// Saboteur
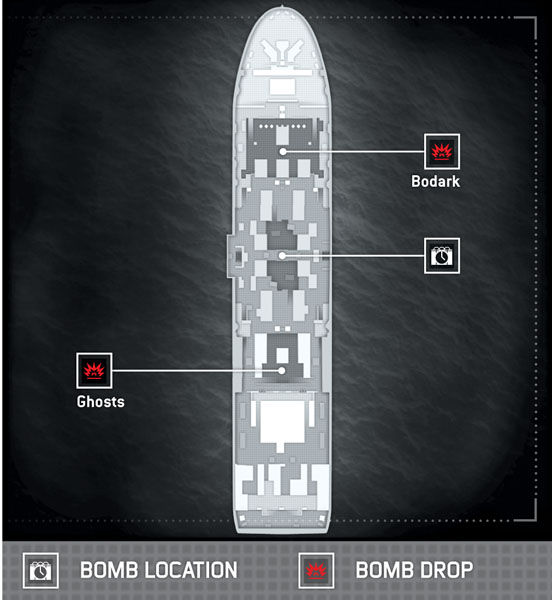
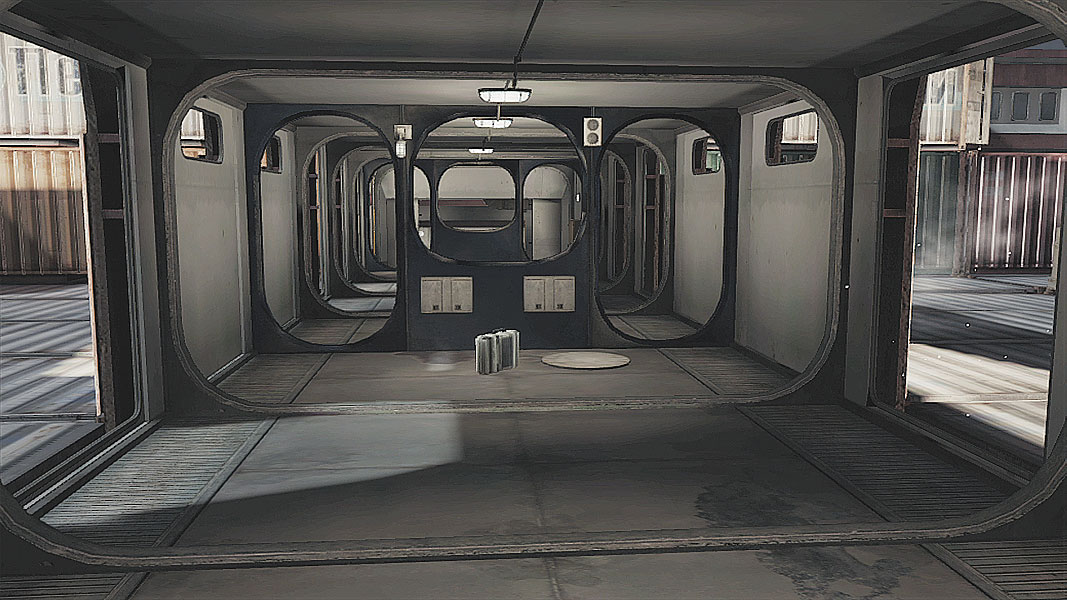
Tucked down below the main walkway cutting across the middle of the ship, the bomb must be carried to hold area farthest from each team’s spawn—a harrowing journey that starts by first securing the area and then moving the carrier as quickly as possible toward some more solid cover.
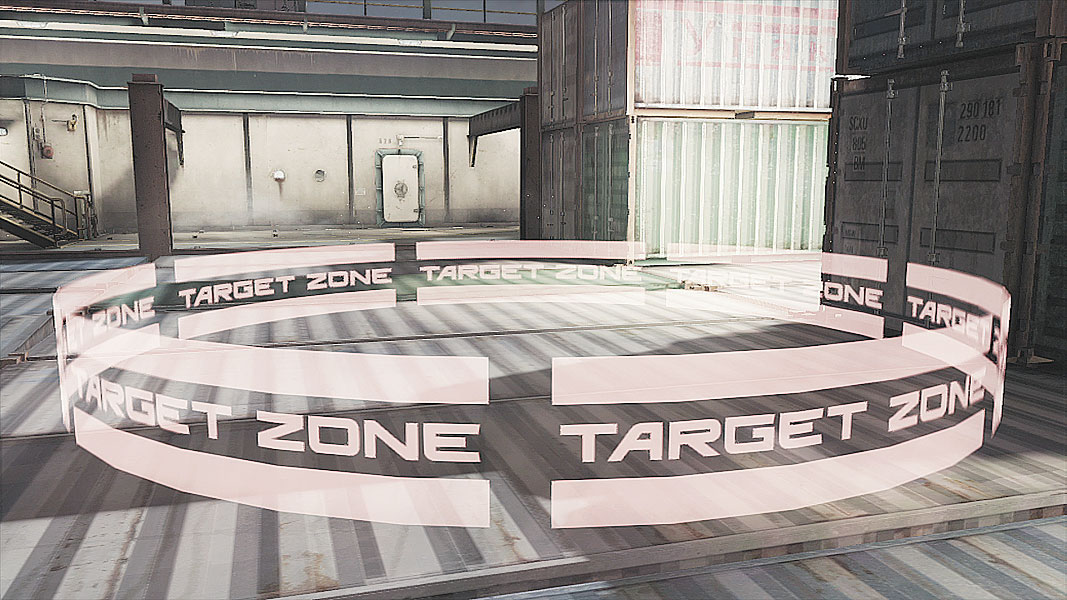
The Ghosts need to bring the bomb to the hold area closest to the Bow, which can mean a trip through the hallways of the ship below or a scramble to get there by way of the deck. Whatever the route, make sure to send scouts ahead to watch for enemy forces as they stack up in and around the hold. Only after deploying UAVs or Sensors should the group with the bomb carrier make their way toward the objective. And whatever you do, keep an eye out for snipers looking to take out carriers above deck.
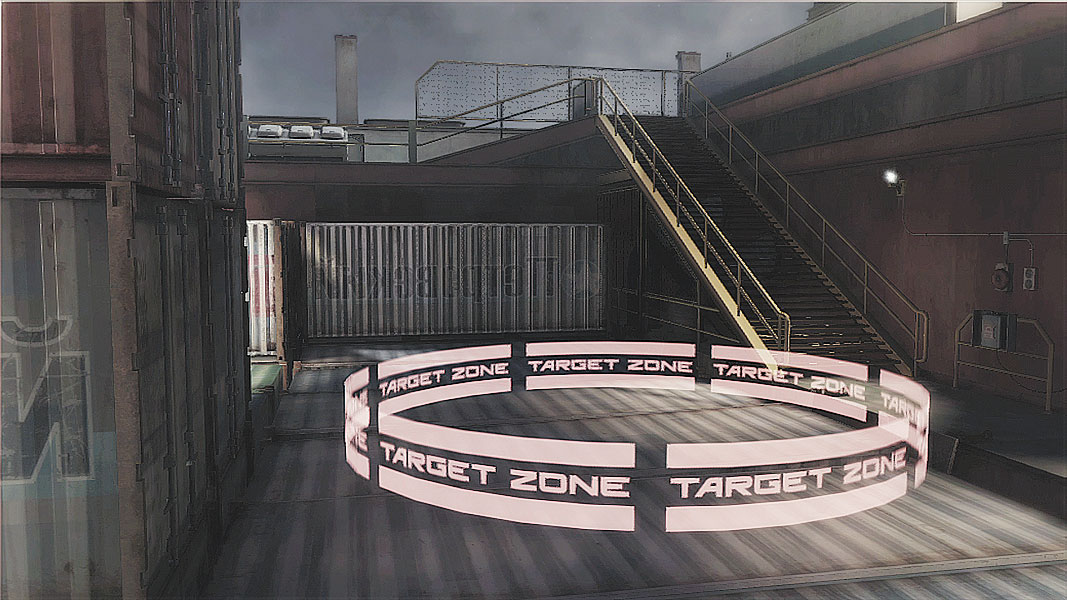
Bodark’s have largely the same trip back toward the Stern, though there’s more in the way of cover leading through the corridors below. The crane at the Stern end of the ship can make sniping difficult, but not impossible, so use UAVs where possible to spot and mark potential threats before heading out of the ship’s underbelly.
// Siege
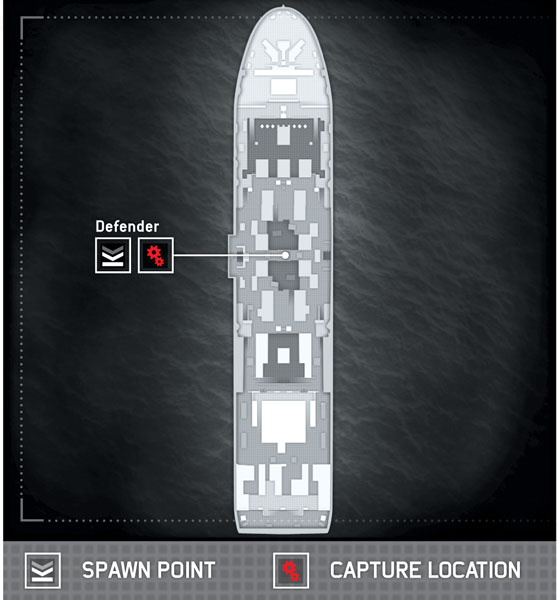
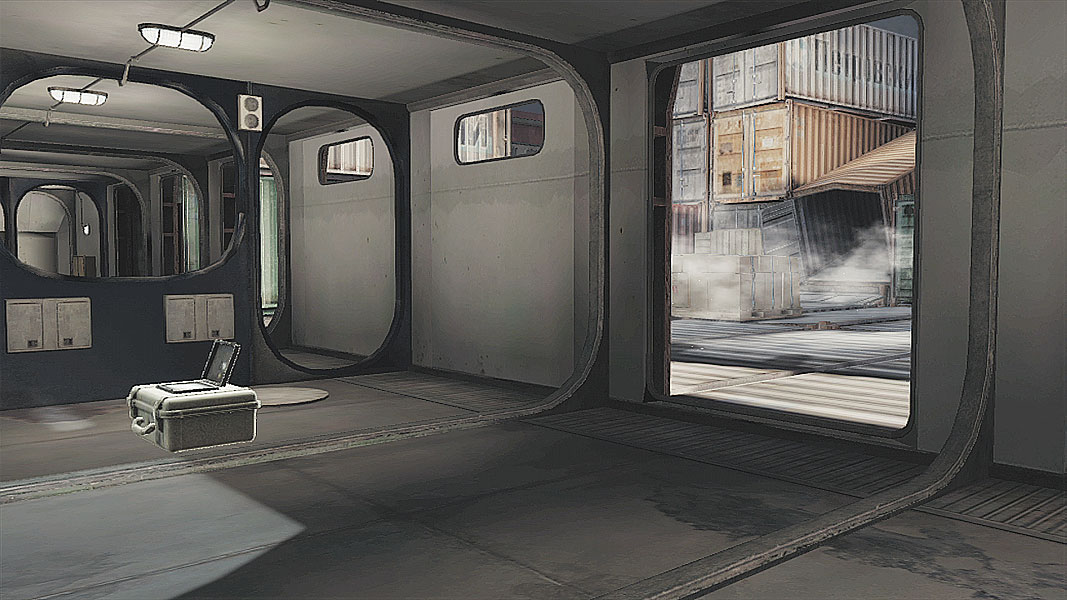
Once again, semi-encased in a metallic cage, the objective and spawn point for the defenders offers multiple routes of entry, but a fairly difficult inner sanctum to crack. Keep an eye out for intrusions from the corridors below, as well as attacks from the hold areas fore and aft. Snipers can and will take shots at those that choose to stand with their faces showing through the holes in the cover surrounding the bomb location itself, so stay low whenever possible.
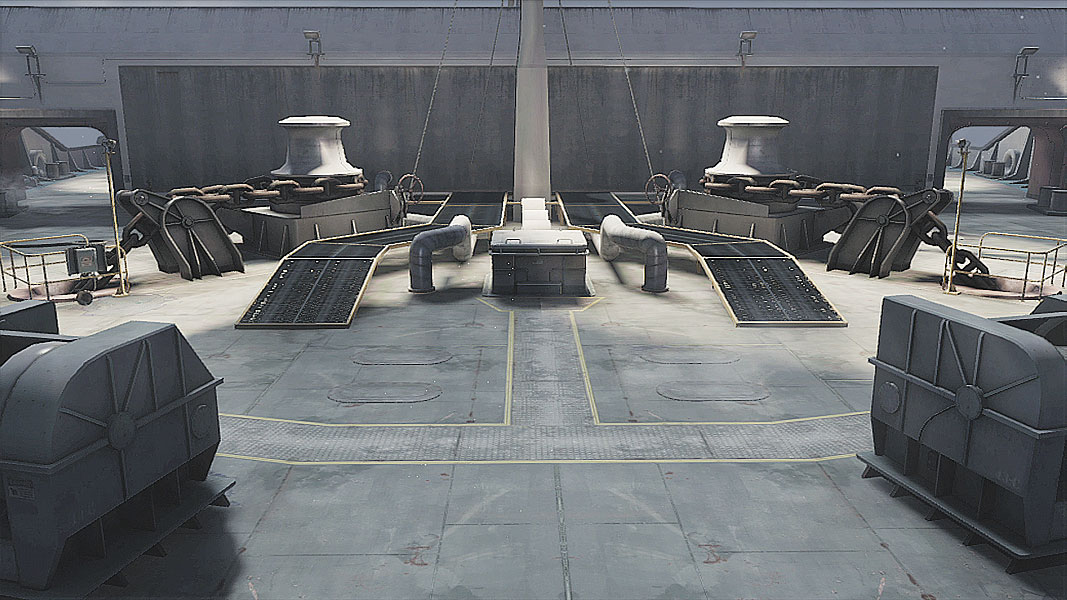
Imagine the chaos that would happen if a Flashbang were thrown into the area surrounding the bomb. Now imagine if it were followed up with a frag or EMP grenade. Attackers actually have a pretty solid means of dealing with the defenders, but the single life offered for the entire round means gung-ho antics aren’t advised. Work slowly around the perimeter of the ship, taking shots where possible at the defenders and luring them out into the adjoining corridors or out into the hold where they can be taken out. In a pinch, remember that the walkway on top of the bomb does allow those above to jump down, but doing so with defenders present and aware is suicide.