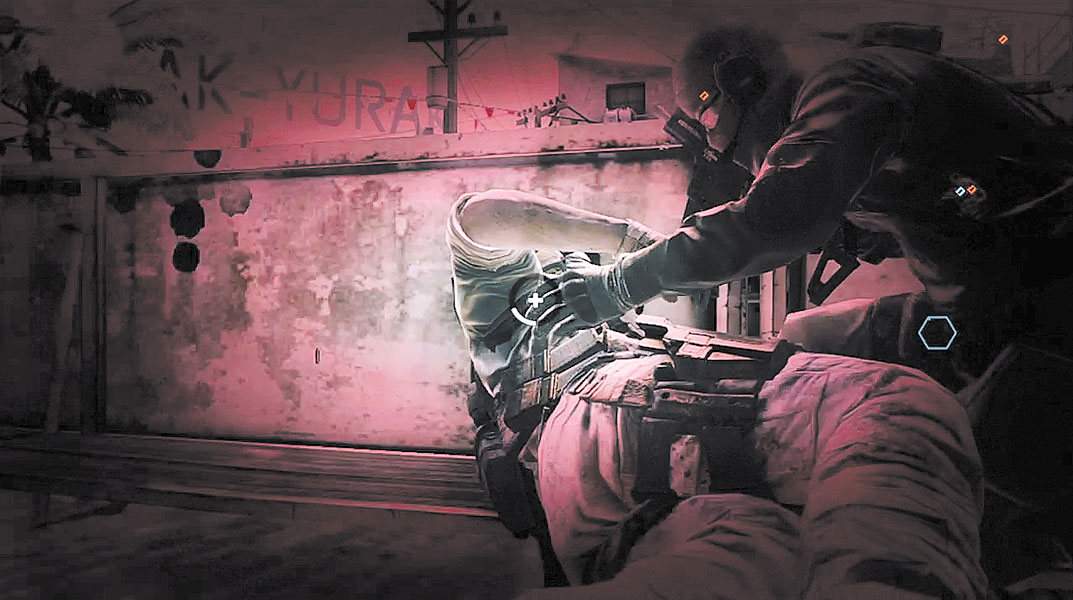
Tom Clancy's Ghost Recon Future Soldier Guide Walkthrough Nimble Guardian
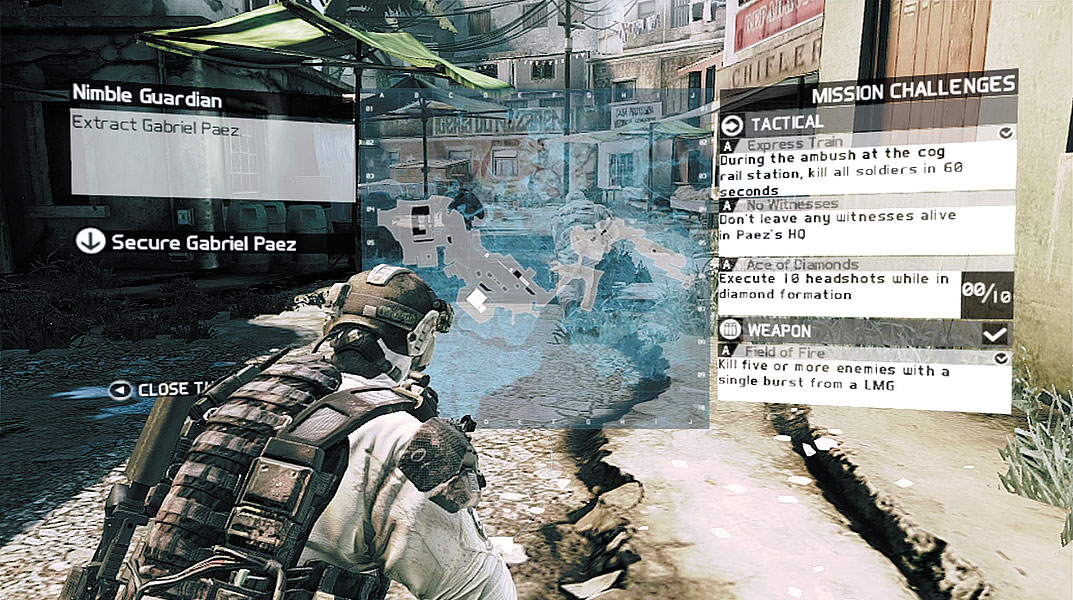
Secure Gabriel Paez
Secure Gabriel Paez
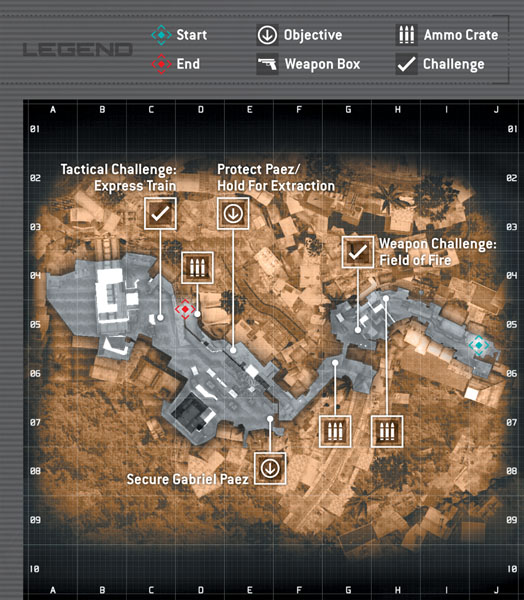
Mission Map
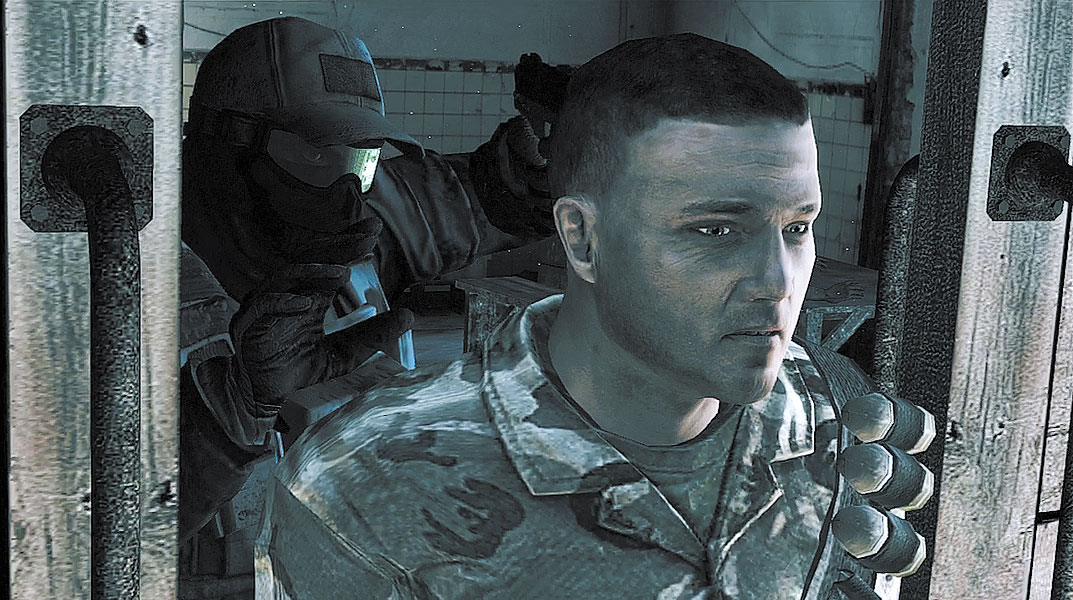
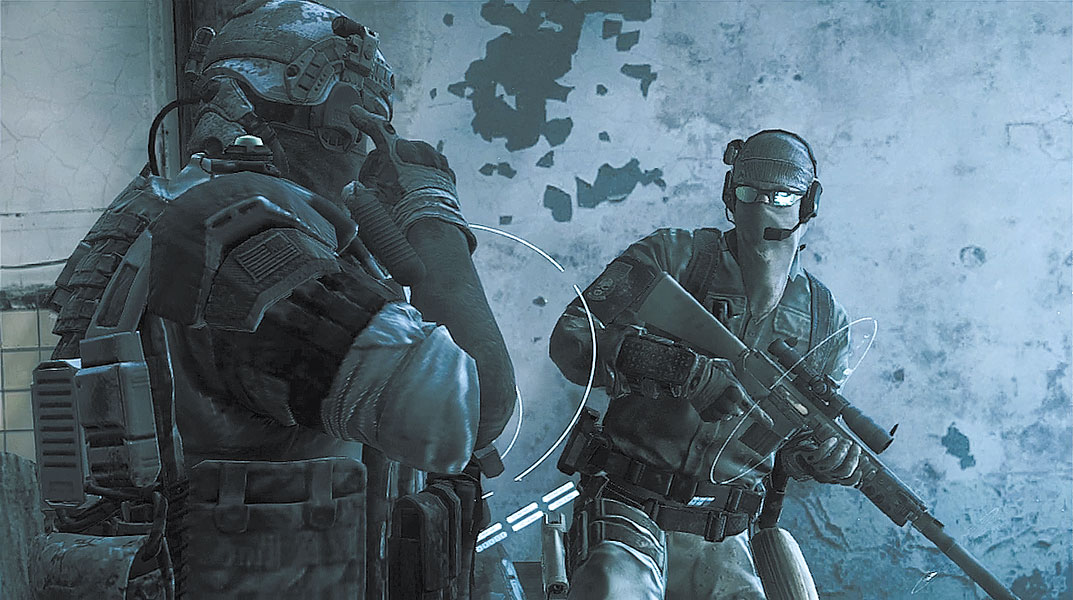
The Ghost team, designated Hunter, is on the ground in Bolivia, ready to bring in Paez. Ghost Lead, 30K, Pepper, and Kozak gather in a small home on the outskirts of the favela while consulting with Paez on his whereabouts. Paez has agreed to rendezvous with the Ghosts in a nearby market. But the neighborhood is far from friendly. Paez’s associates won’t take kindly to armed strangers poking around their lucrative business. However, not every contact is hostile. In addition to a few gun-toting thugs, the streets and alleys of this favela are also filled with civilians. Bystanders respond as expected when spotting your team—they run and scramble to safety. But they won’t alert the hostiles, so don’t worry about hiding from civilians.
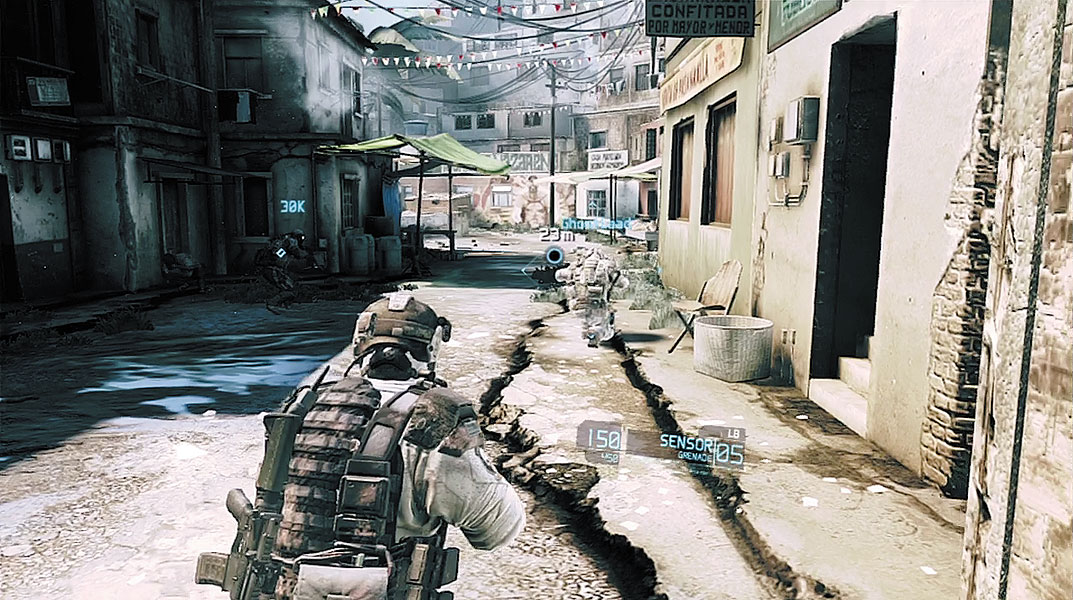
As your team advances down the alley, follow them. Along the way take note of the round waypoint marker on the HUD. This icon shows you where you need to go to reach the current objective. The number beneath the icon represents your distance to the waypoint, measured in meters. If you ever get lost, look for one of these waypoint markers to get your bearings. From insertion to extraction, waypoints will get you where you need to go. In most instances, reaching a waypoint simply causes a new waypoint to appear on the HUD, acting like a trail of virtual bread crumbs guiding you through the mission. But certain events (or cutscenes) can also be triggered by reaching a waypoint. So don’t get too far ahead of your team. Either let them lead the way or make sure they’re close behind you.
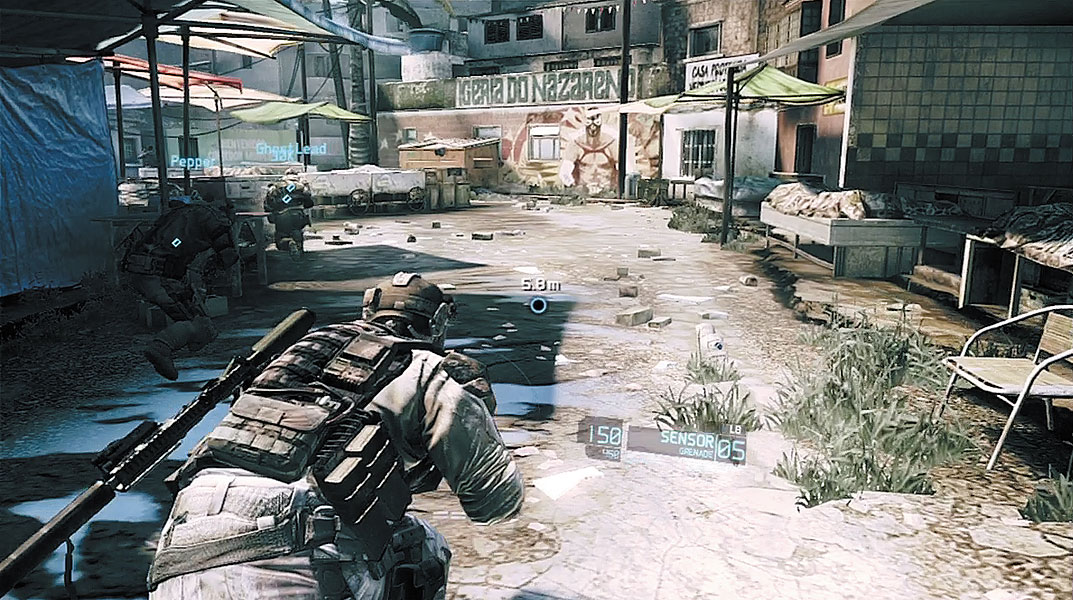
While moving through the alley, the word “Contact” appears at the top of the HUD, indicating that hostile units are nearby. By default, your Ghost operative moves in a upright position. While upright you can move quickly, but you also increase your chances of being spotted. Drop down to a crouched stance to reduce your visible profile. While crouched, your movement is slower, but also quiet, making it easier to sneak up on unsuspecting hostiles. When an enemy contact has been detected, make a habit of dropping into a crouched stance. This is the best way to maintain the element of surprise.
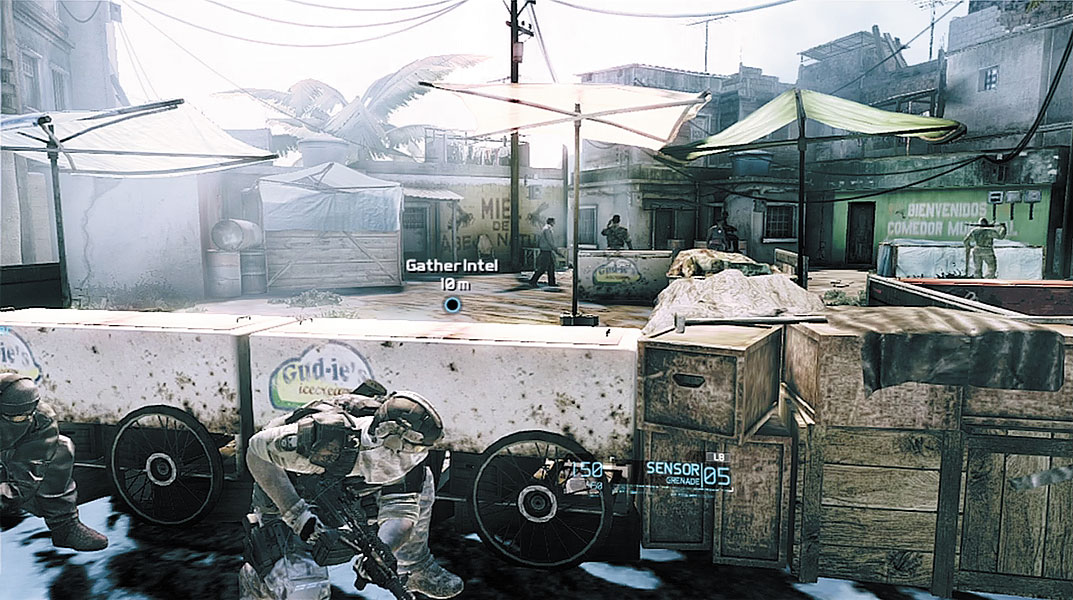
The alley opens into a small courtyard occupied by several armed men. There is no way to slip past these guys undetected. But before you plan your attack, find a suitable piece of cover. Your team has taken cover near a row of crates and ice cream carts. Move next to one of the ice cream carts and press the cover button (as shown on-screen) to automatically transition into a covered position. Cover not only increases your concealment, but it also offers protection once the bullets start flying. However, not all cover is equal. For instance, the wooden crates on the right will splinter and fall to pieces quickly. The metal ice cream carts offer the best protection here. While in cover, you can take aim and deploy items such as Sensors or grenades.
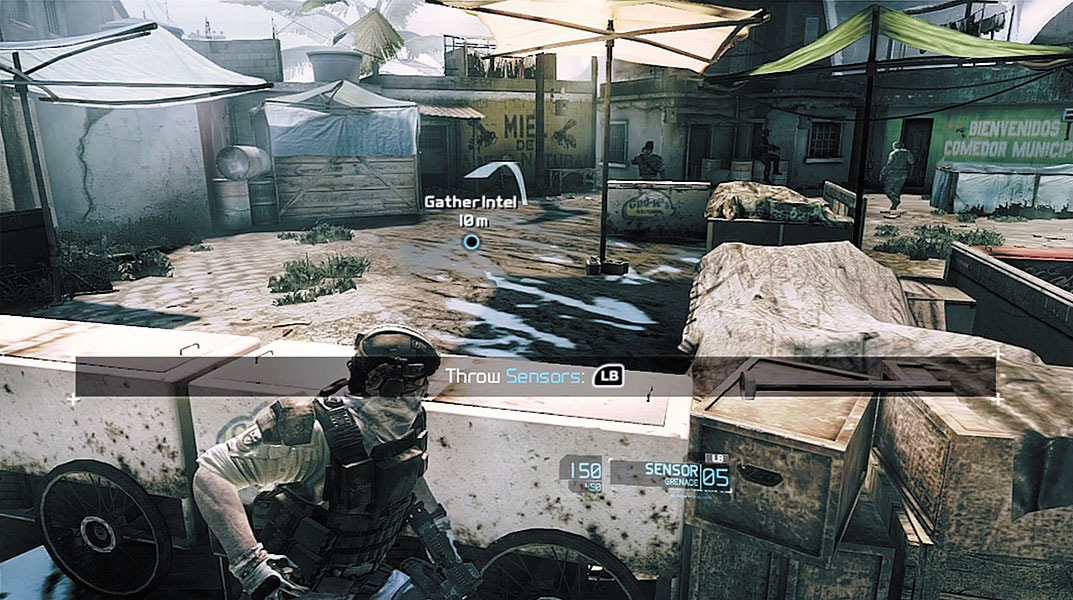
Once behind cover, you’re prompted to toss a Sensor toward the group of armed men in the courtyard. This baseball-sized device is tossed by hand and can detect all enemy contacts within a 20 meter radius. The data is automatically relayed to each Ghost’s HUD through the use of augmented reality. This allows each member of the Ghosts to see all detected threats, even if they’re hidden behind cover or within buildings. Threats outside your line of sight are shown as a silhouette on the HUD. Enemies outlined in yellow are unaware of the Ghosts’ presence and will not attack. However, enemies outlined in red are on alert and will return fire.
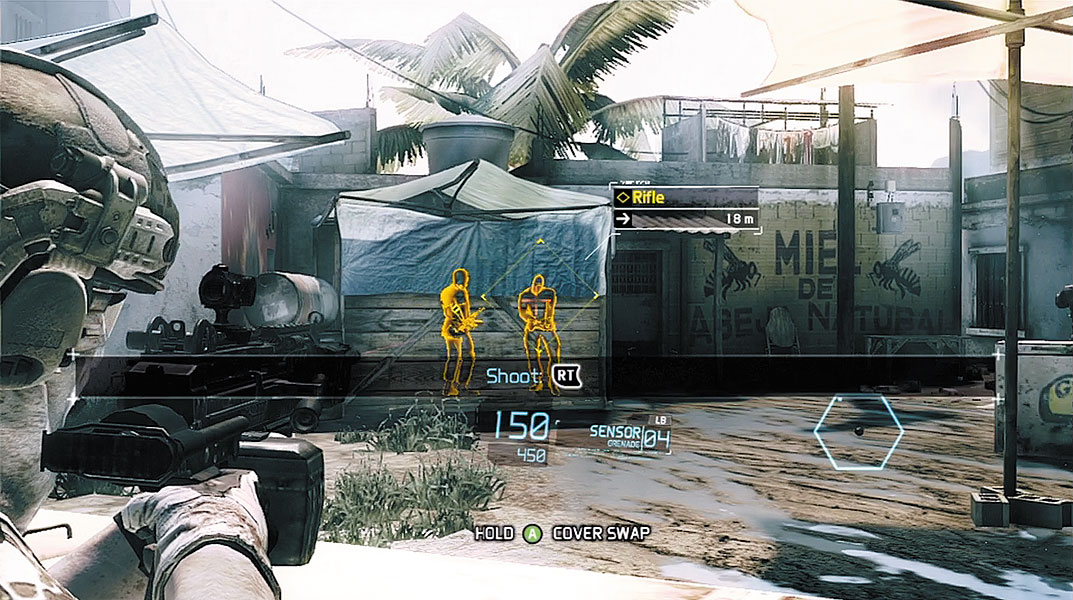
In this case, deploying the Sensor reveals two hidden enemies armed with rifles on the left side of the courtyard, standing behind a stall. If you hadn’t deployed the Sensor, you’d have no idea these enemies were there. So now instead of the three visible enemies in the courtyard, you’re tasked with taking out five enemies total. Take aim at one of the two enemies hiding behind the stall. As you aim at the silhouetted figure, notice the small pop-up box that appears, displaying what type of weapon the enemy is carrying as well as their distance from you. Quickly pan your aim across all enemies to reveal what type of weapon each is carrying. In this case, all the hostiles are carrying rifles. But sometimes enemies may be carrying more powerful weapons such as shotguns, sniper rifles, or light machine guns (LMGs). Before attacking, always aim at each enemy to determine the threat level and prioritize your targets accordingly.
Enemy Profile: Rifleman
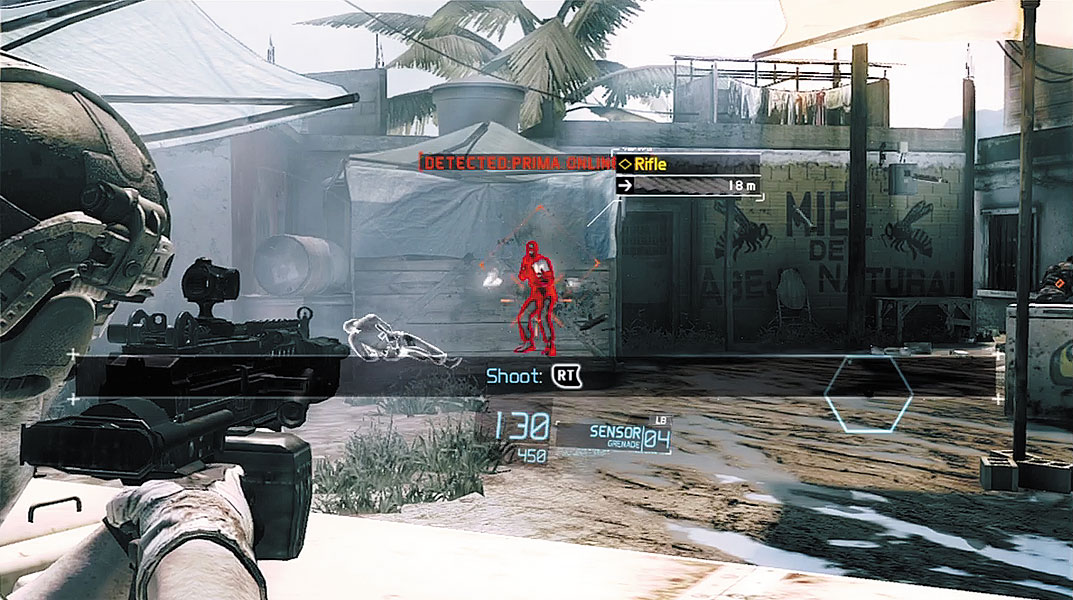
Once you have an enemy in your sights, open fire. Even the two enemies behind the stall are not safe, as your bullets slice through the flimsy wooden stall. Your team follows your lead and opens fire on the enemy units. If you start taking incoming fire, release the aim button to drop back down behind cover. If you take too much damage, you may become incapacitated, requiring a teammate to heal you before you can get back up on your feet. This is why cover is so important. When engaged in a firefight, only peek out of cover momentarily to fire a few shots, then release the aim button to slip back behind protection. In this fight, after shooting the first target, drop behind cover and locate a second target before taking aim. Continue peeking out of cover and firing until all hostiles are eliminated. The word “Clear” appears at the top of the HUD when all the enemies are down.
Weapon Challenge: Field of Fire
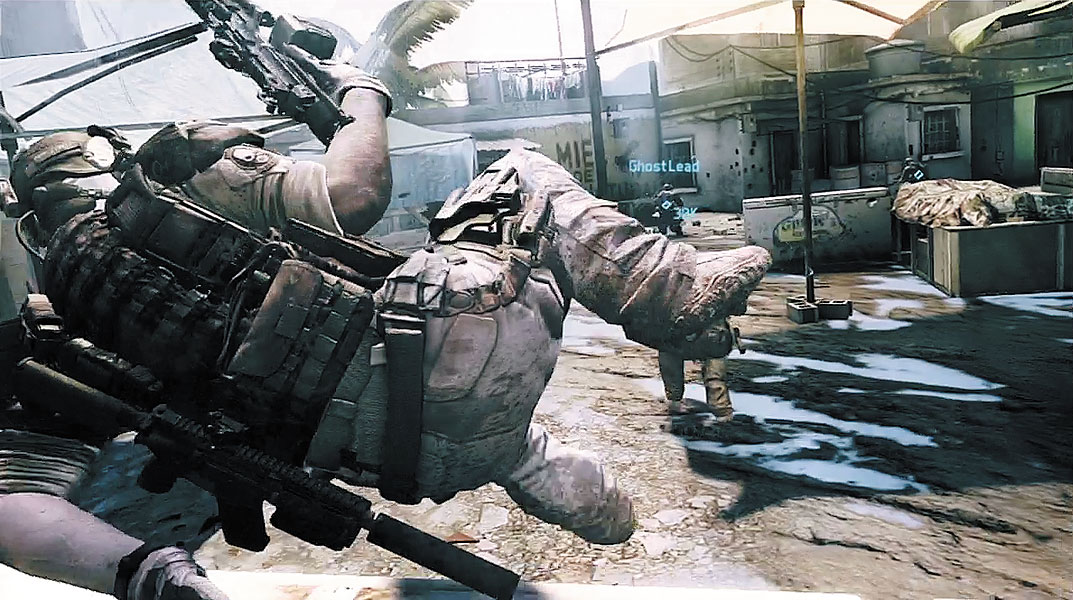
After eliminating all the enemies in the courtyard, stay behind your cover and press the cover button while pushing up on the left control stick. This causes your operative to hop over your cover. This is the only way to jump over low obstacles such as crates or the ice cream cart you were hiding behind. But remember, you must first take cover behind an obstacle before you can jump over it.
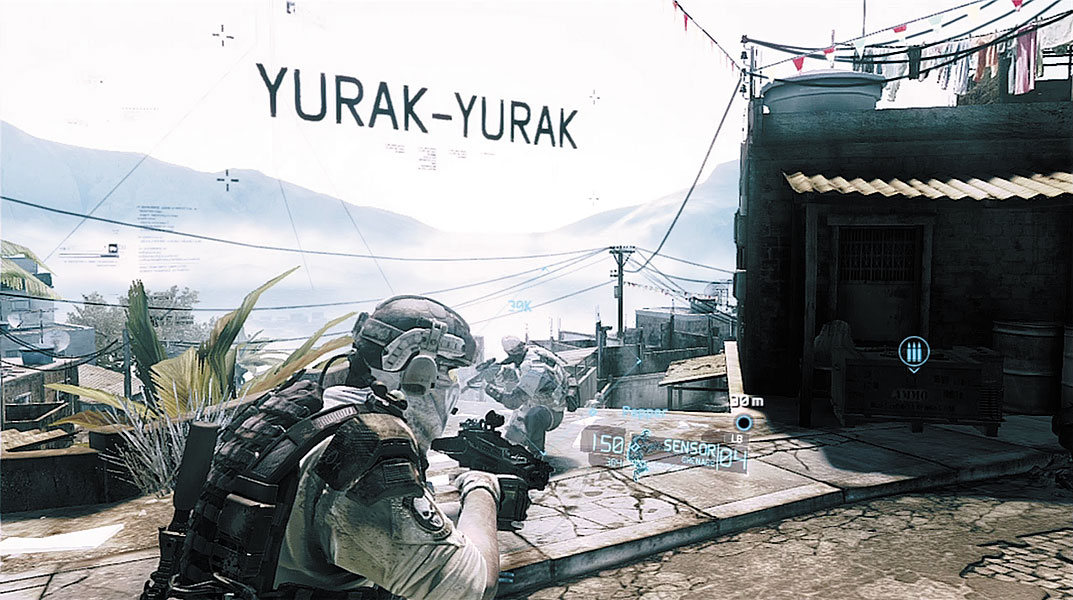
Follow your team toward the next waypoint marker. Along the way, stop and interact with a ammo crate on the right side of the path. Ammo crates allow you to top off your ammo as well as replenish all Sensors or grenades. Stand next to the ammo crate and hold down the button shown on the HUD to stock up. You can only carry five Sensors at a time, so ammo crates are essential for replenishing these effective, intel-gathering devices.
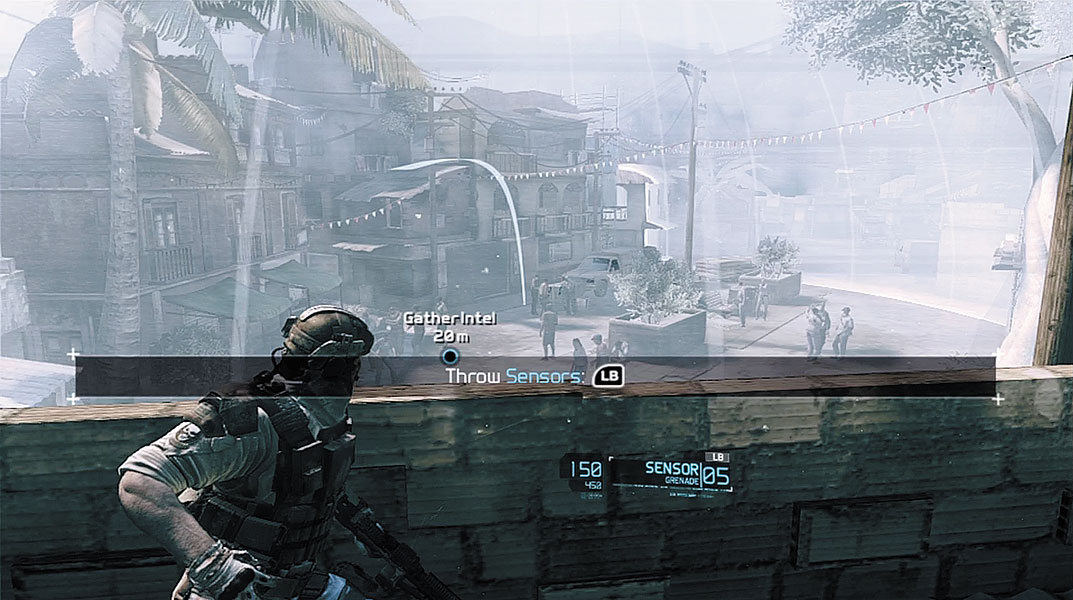
Paez is supposed to be somewhere ahead, in the market. Take a covered position behind the low wall straight ahead. From here, you can monitor activity in the street below. Paez is hidden somewhere among the crowd of civilians in the market. Cut through the clutter by deploying a Sensor. While still behind cover, lob a Sensor as far as you can, tossing it toward the parked pickup truck on the left side of the street. When the fight starts, this will help identify enemies in the adjoining building.
Protect Paez
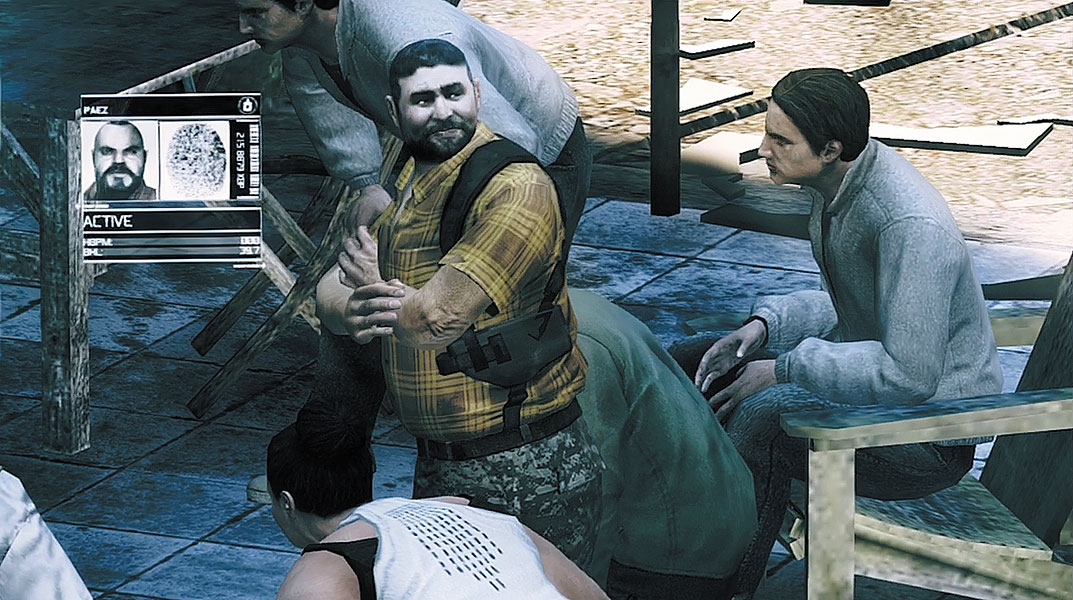
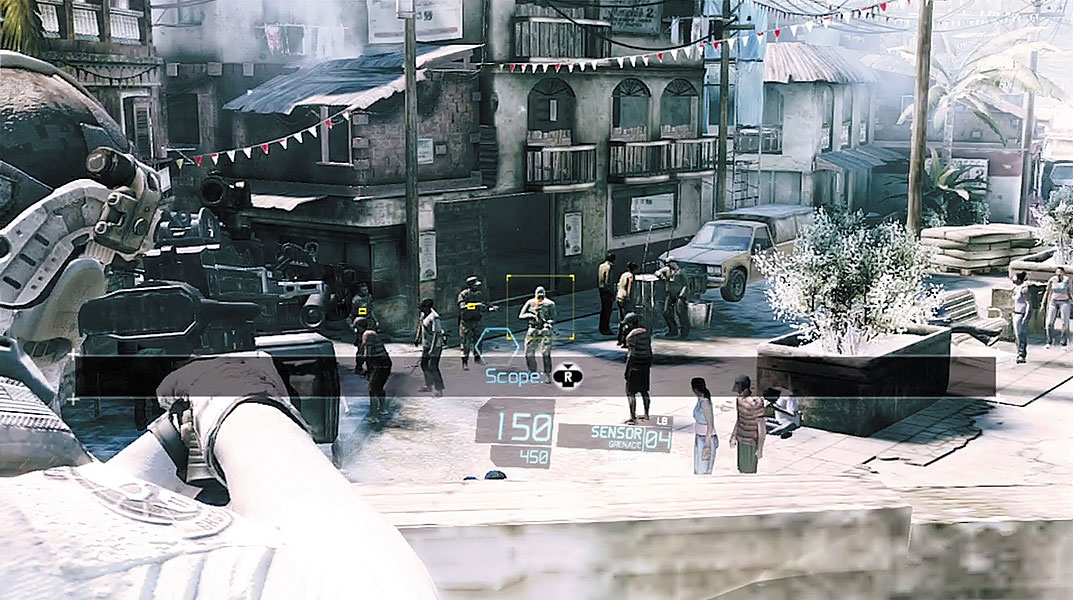
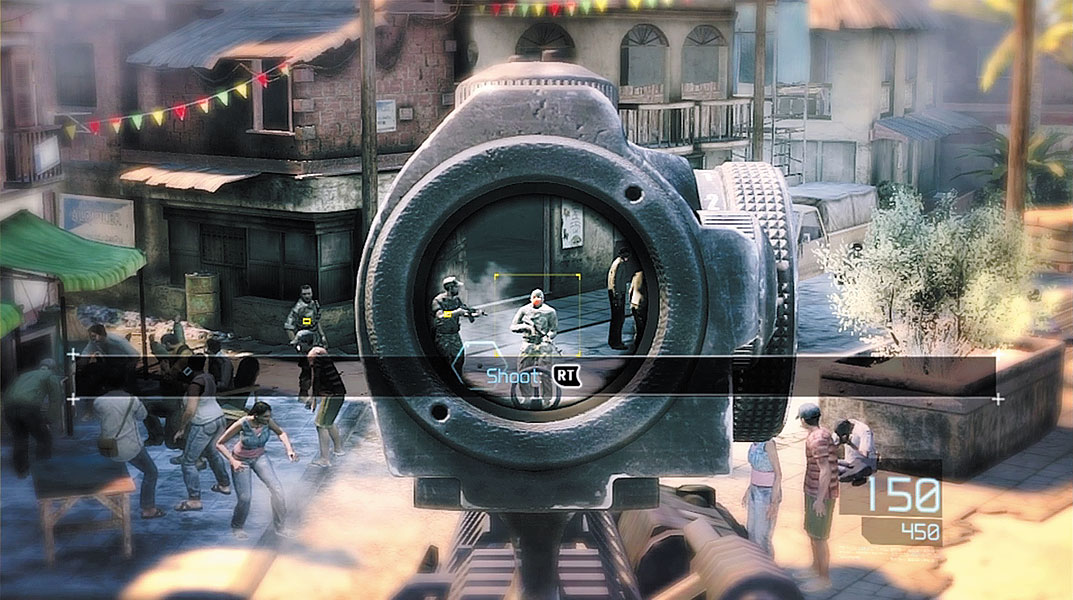
Once the Sensor is deployed, a cutscene plays, showing Paez in the street below—he looks nervous. The Sensor also identifies a few gunmen patrolling nearby. While still behind cover, take aim at one of the patrolling enemies. At this range, it’s best to use the scope view. While aiming, click down on the right control stick to enter a first-person view, aiming through your weapon’s sight or scope. The scope view allows more precise targeting, which is ideal for scoring lethal headshots. So, center you scope on an enemy’s head and squeeze the trigger. As soon as you open fire, your team joins in. After dropping your first target, release the aim button and duck behind cover while scouting for a new target. As chaos erupts in the street, Paez seeks cover. Don’t worry too much about protecting Paez—he’ll be fine. Instead, focus your attention (and firepower) on the hostiles scattering for cover.
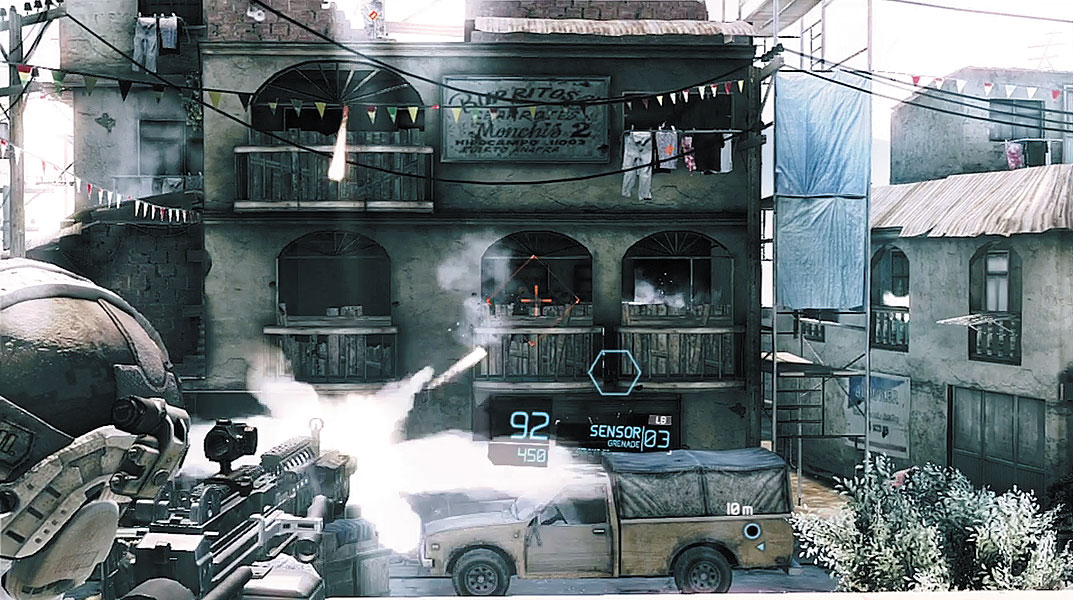
The sound of gunfire attracts more enemies to your location; some take up positions in the three-story building across the street. The Sensor you deployed earlier may not detect these enemies, as Sensors can detect enemies for only a limited time after being deployed. So toss a second Sensor toward this building to identify new contacts. If you’re having trouble getting a clear shot at these enemies, follow your team to the right while remaining crouched. Take cover directly across from the building and engage the hostiles inside. Remember, your bullets can pass through light cover, so don’t let the enemies hide. When they duck behind cover, simply take aim at their silhouette on the HUD and open fire. There may be a few enemies on the building’s rooftop. Take out enemies on the rooftop as soon as they appear. Their height advantage may allow them to see over your cover and score hits.