
Tom Clancy's Ghost Recon Future Soldier Guide Multiplayer Adversarial
Harbor
Harbor
Situation Report
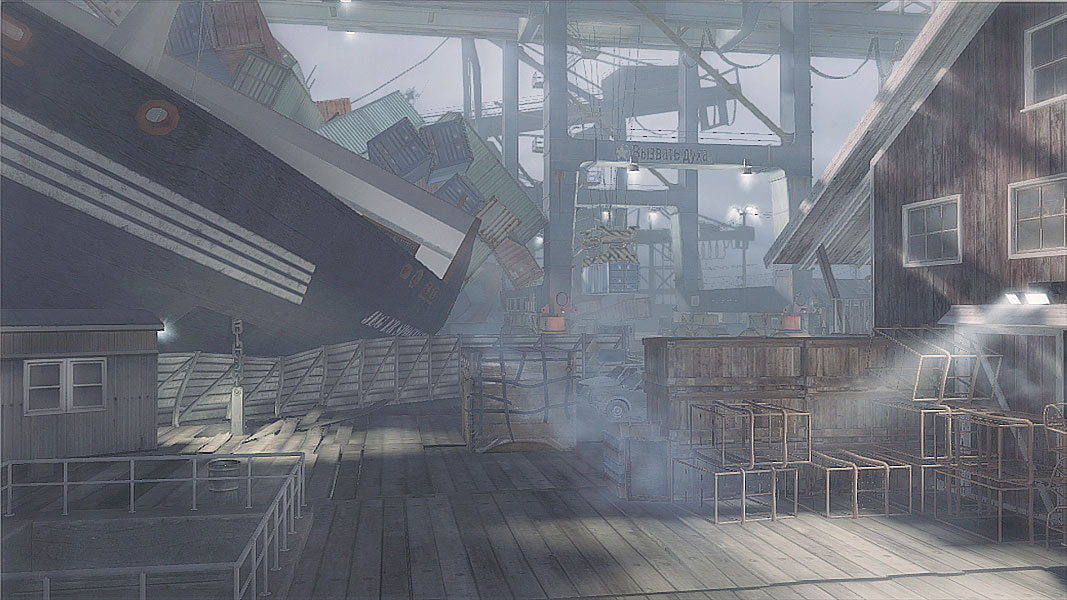
Clearly there was some very clever infrastructure planning that went into making this harbor a major source of industry. Massive boats pull in, then cranes off-load the shipping containers and load them directly onto rail lines that speed the contents off to parts unknown. All that metal, both from machinery and containers means lots of safe cover free from the usual ballistics worries of lighter cover like wood or thin masonry. The deep channel cut into the middle of the level by the train tracks offers long sight lines for those foolish enough to try to enter from the bridge above. Instead, stick to the side routes unless the coast is clear. And it’s never clear.
// Spawn Points (Conflict, Decoy, and Saboteur)
The docks serve as the Ghosts’ place of refuge and respawning, allowing for a few entrances into the greater Boat House area. At the far end of the cranes is a Container Spill rich with bits of long cover. There’s also a small side route down and into the Trainyard on the right end of the docks that offers a sneaky way to move around the map. The dual-level nature of Harbor means shoot-outs can come from nearly any angle down in the Trainyard, so keep your head on a swivel.
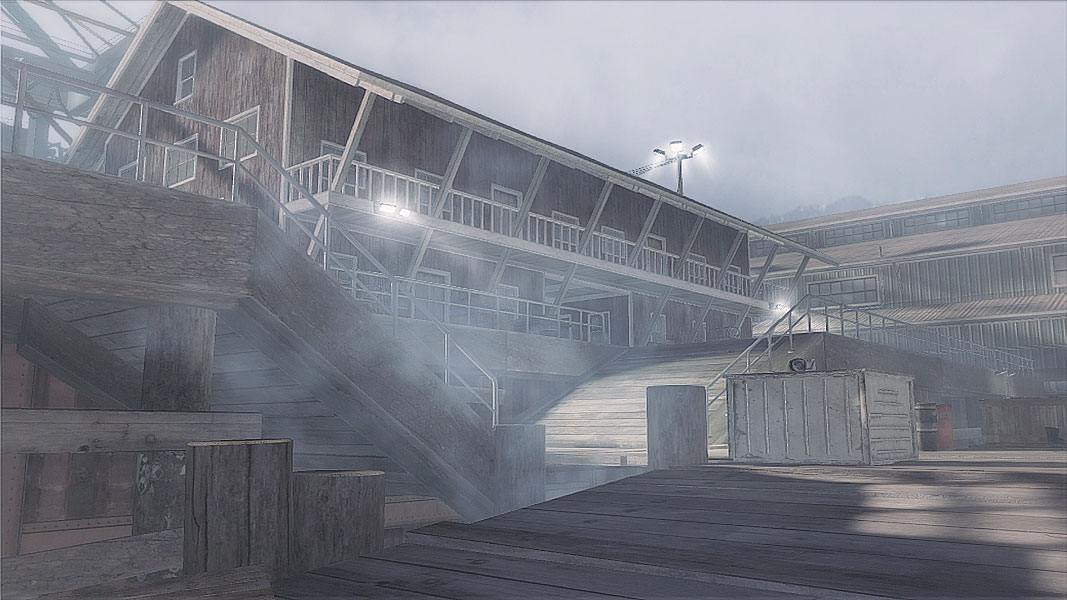
A huge Warehouse allows Bodarks to deploy out into the area of a giant Gantry Crane that also overlooks the central Trainyard. Like the Ghosts, they have an entrance down into the yard itself so they have the same sneaky routes throughout the map. Although the long shipping containers loaded onto and around the trains mean plenty of cover, the upper area can offer a few areas from which to fire down on enemies. Keep an eye out for conflicts breaking out around the Crane area, as there’s a fairly wide-open section that should only be traversed when the coast is clear.
// Points of Interest
The Longest Yard
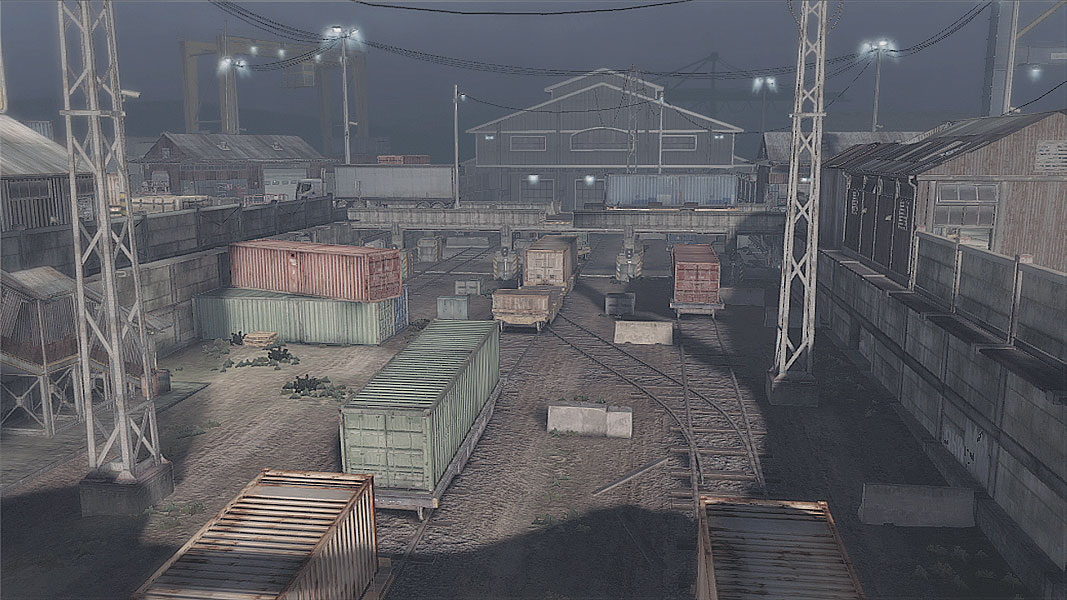
With its series of lengthy corridors framed by the various train cars and shipping containers, the Trainyard offers plenty of sniping possibilities if hostiles are dumb enough to try to move around this area without taking cover. Sharpshooters would do well to take up positions at either end and watch for approaching enemies. UAVs will have great success peering out over the level. Just remember not to let them hang out for too long up above, as they can be easily targeted and taken down with longer-range weapons.
Cranes
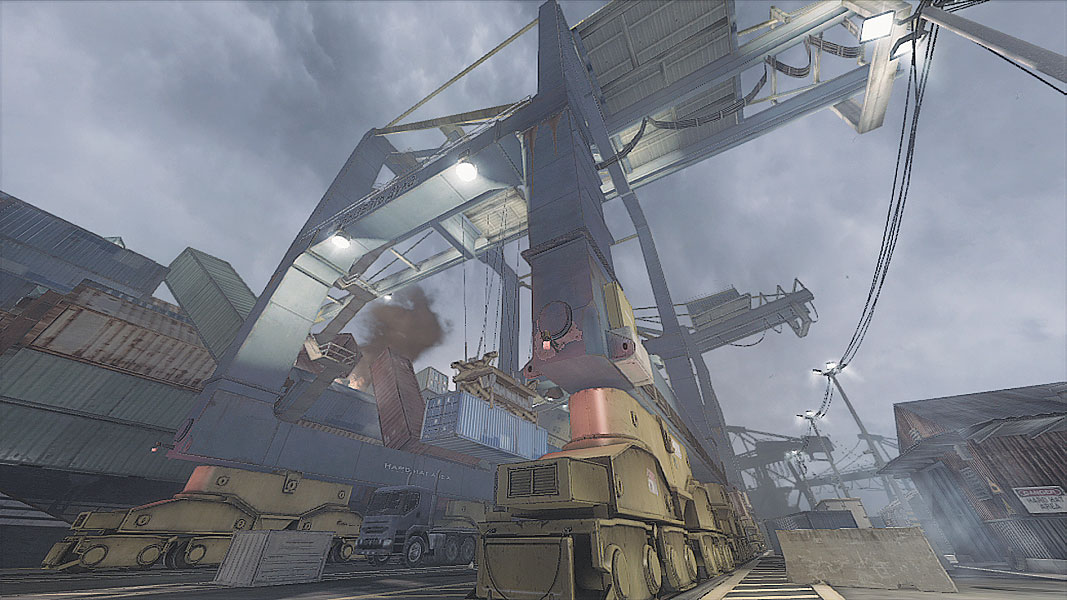
Both sides of Harbor are littered with massive cranes that serve as the source of multiple objectives. Their wide bases and lengthy metallic feet are great for sneak attacks and flanking maneuvers, but bear in mind that the length has its own disadvantages: Should an enemy slip around the feet to your position, there’s very little in the way of immediate cover to avoid getting gunned down.
Bridge
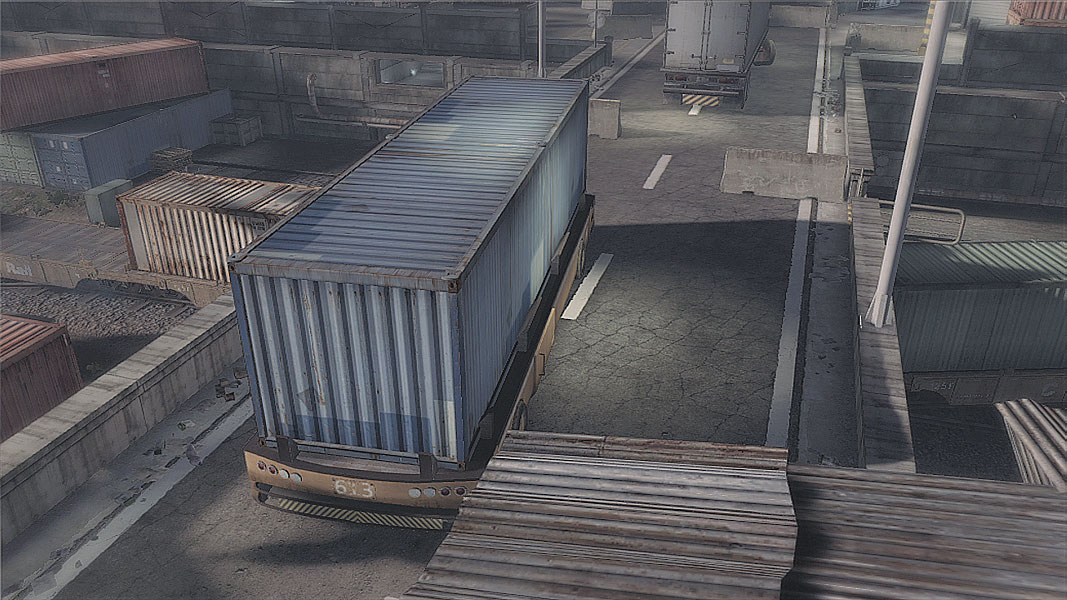
Harbor’s central bridge isn’t a terribly lengthy stretch, and it’s dotted with bits of cover in the middle and at the edges that make possible quick shots down into the Trainyard, but be wary of trying to use the boxcar parked below to make an incursion into the Yard proper. A properly positioned sniper at the far end can easily target and level would-be attackers before they ever reach the ground.
// Conflict
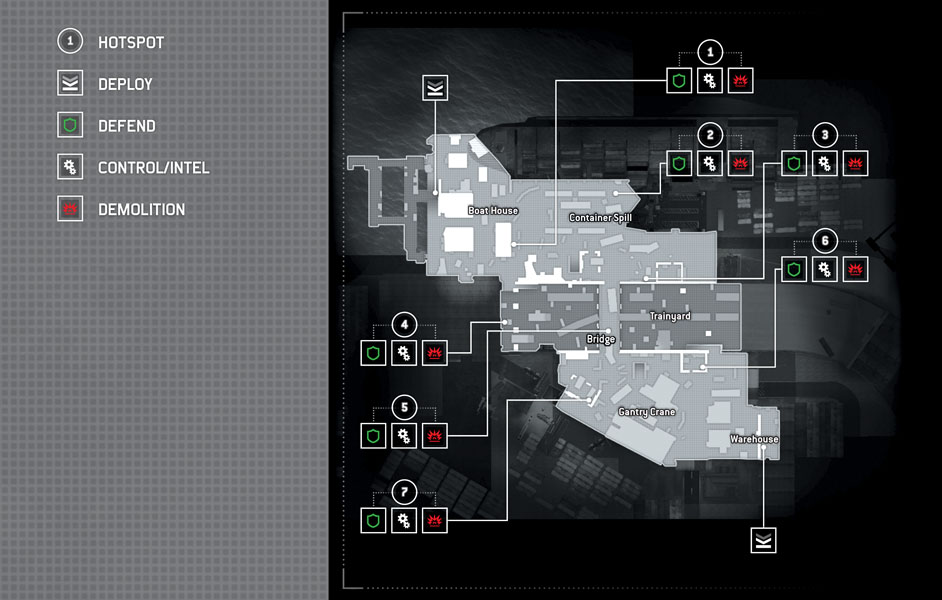
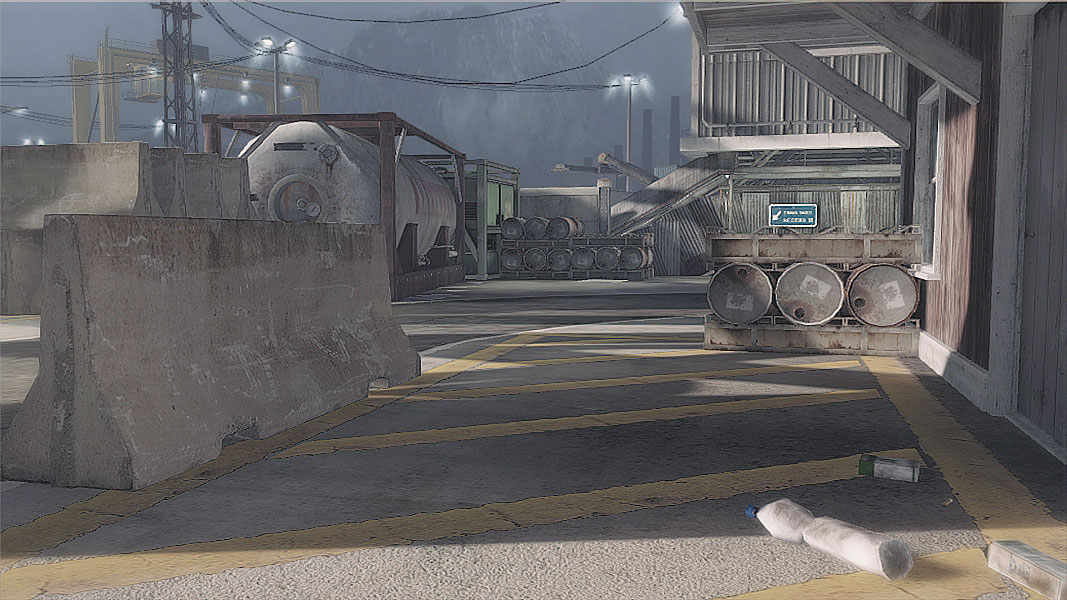
Protected by low concrete walls but vulnerable to assaults coming up from the Trainyard and in the direction of the nearby cranes, this objective offers a great place to dig in to repel invasions. However, while capturing, players must try to avoid the wide-open flanks from being compromised. UAVs operating around the rooftops of the Boat House can do a great job of highlighting enemies on approach.
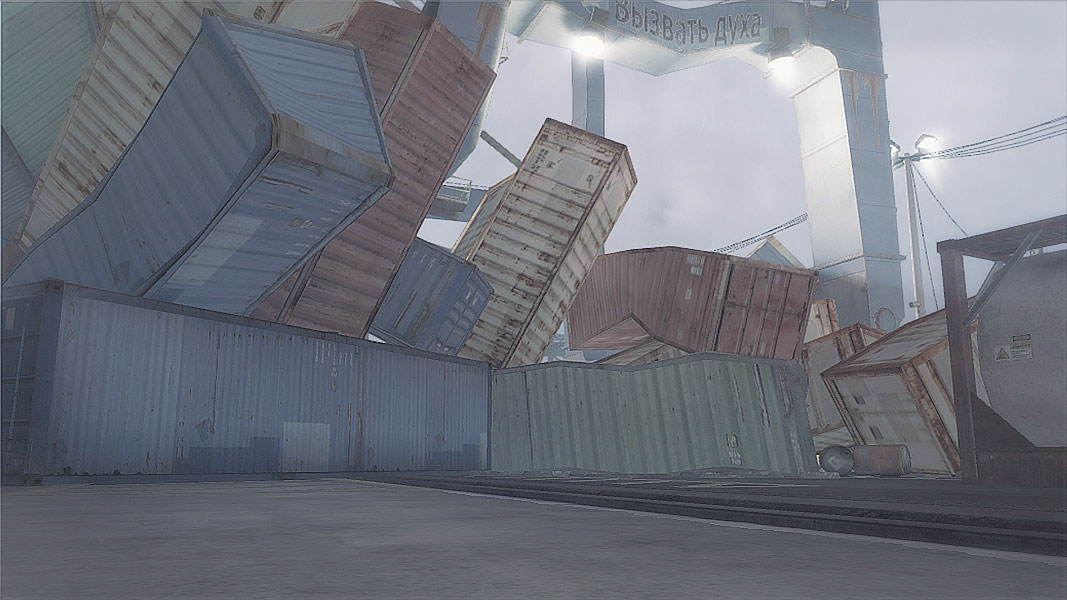
A tumbling mess of containers marks the second objective area, and it’s one primed for corner cover. Keep an eye out for encroaching enemies while taking or defending the objective from the direction of the Bridge and Boat House, keeping in mind that the blind corners are great for ambushes. Cover to cover movement while assaulting the objective can help avoid those ambushes, as can a well-placed Sensor throw.
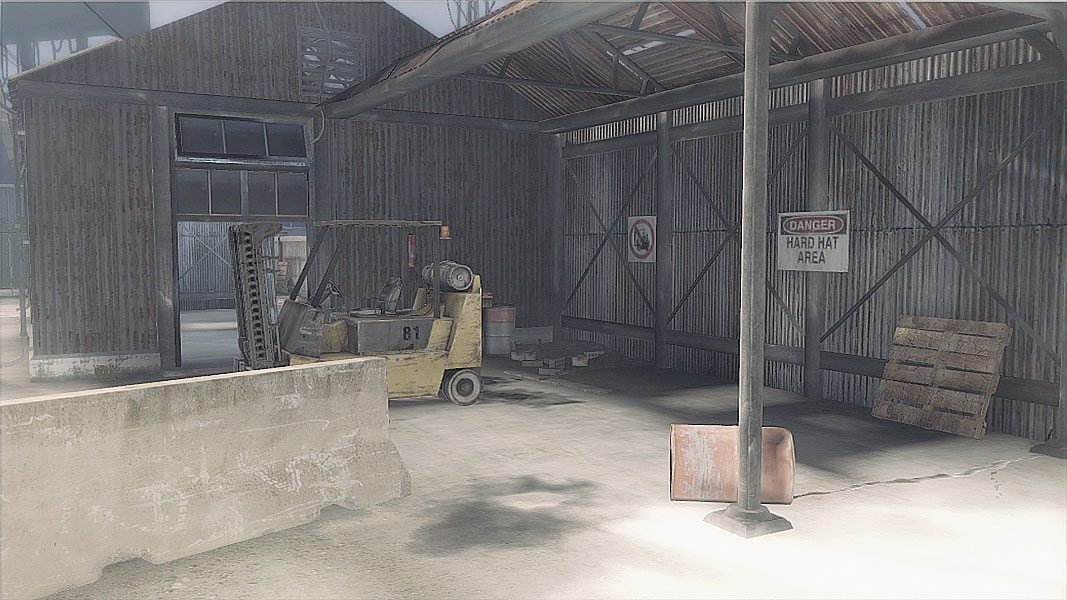
This little alcove of activity near a building is fairly open to long-range attacks, so take up a position with allies to avoid getting ambushed. Confidence helps here, as always, but a well-placed UAV to look out over the more open area can do a great job of protecting your back from would-be intruders.
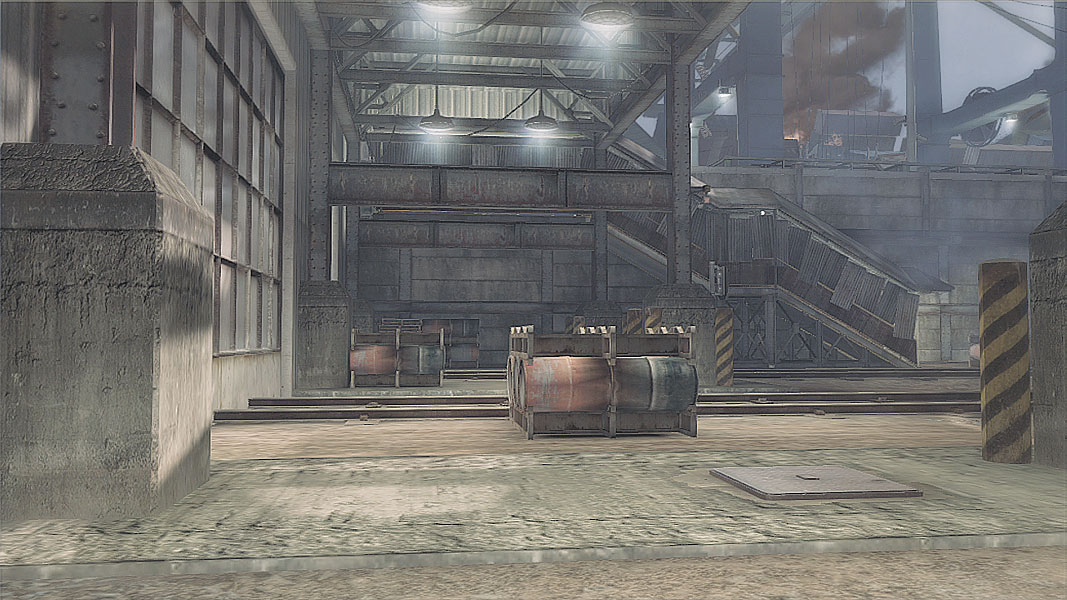
The twin columns on either side of this objective make great places for cover while a squadmate is attempting to capture the objective, but be wary of a small crack near the Ghosts’ entrance down into the area. Barrels keep shots from sneaking through, but a well-thrown grenade will make short work of anyone not paying attention. Popping smoke here helps obscure the actions down below, forcing a ground-level assault even with enemies that can see through the smoke.
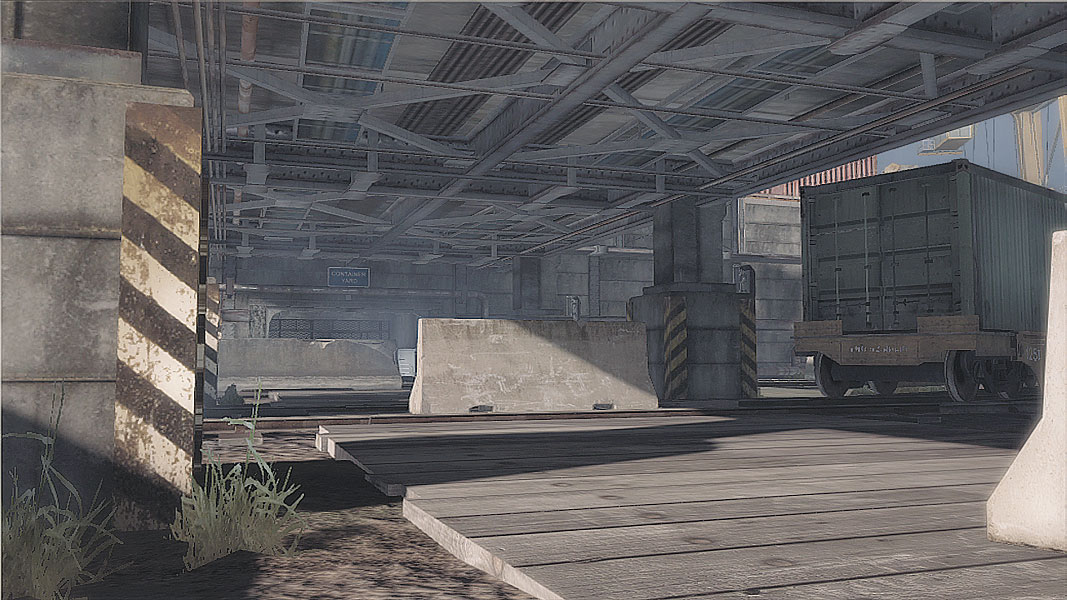
With multiple routes of entry, the bridge capture location is difficult to hold to say the least, but the bridge’s supports can offer limited cover from incoming attacks. Keep an eye out for long-range snipers to avoid getting attacked as you secure the location.
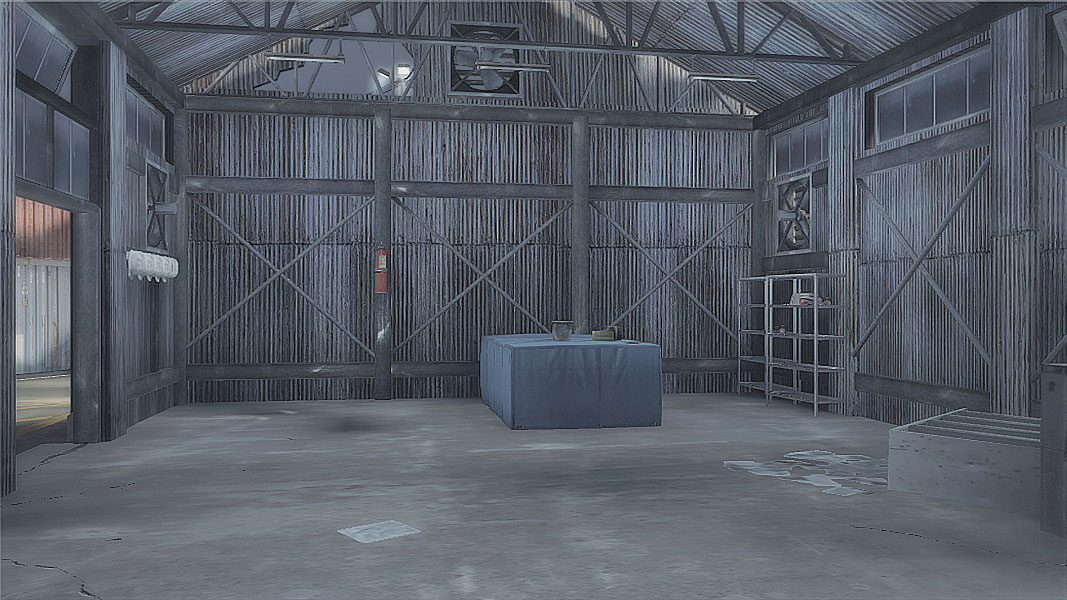
Tucked inside a corner of a strategically placed storage building, this hot spot is great for grabbing cover along the walls, but is just a grenade throw away from being disastrous. Beware of approaches from the nearby staircase leading up from the Trainyard, as well as the Bodark Warehouse spawn.
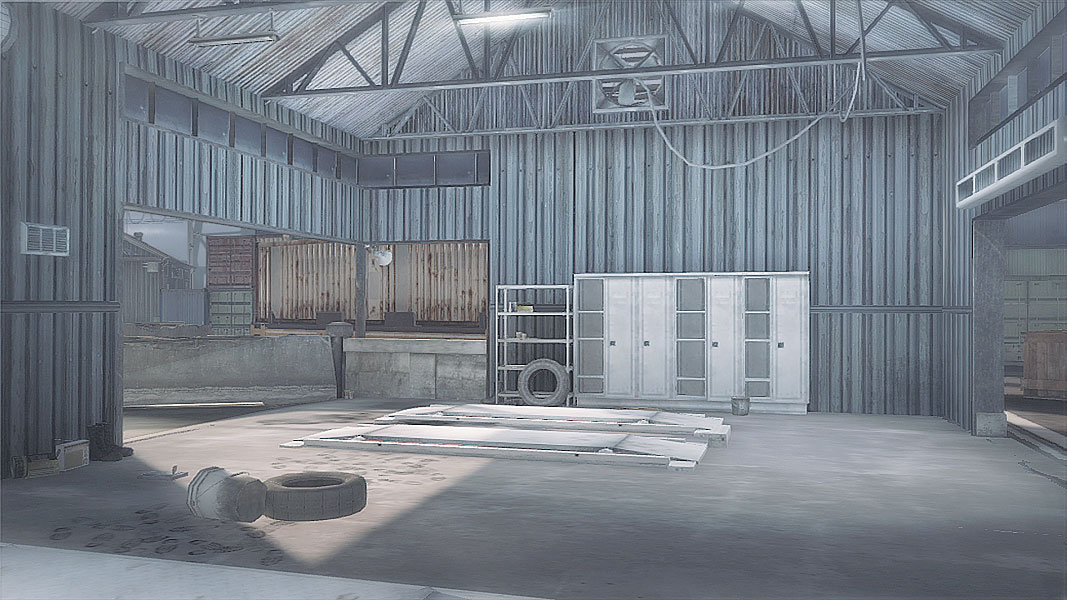
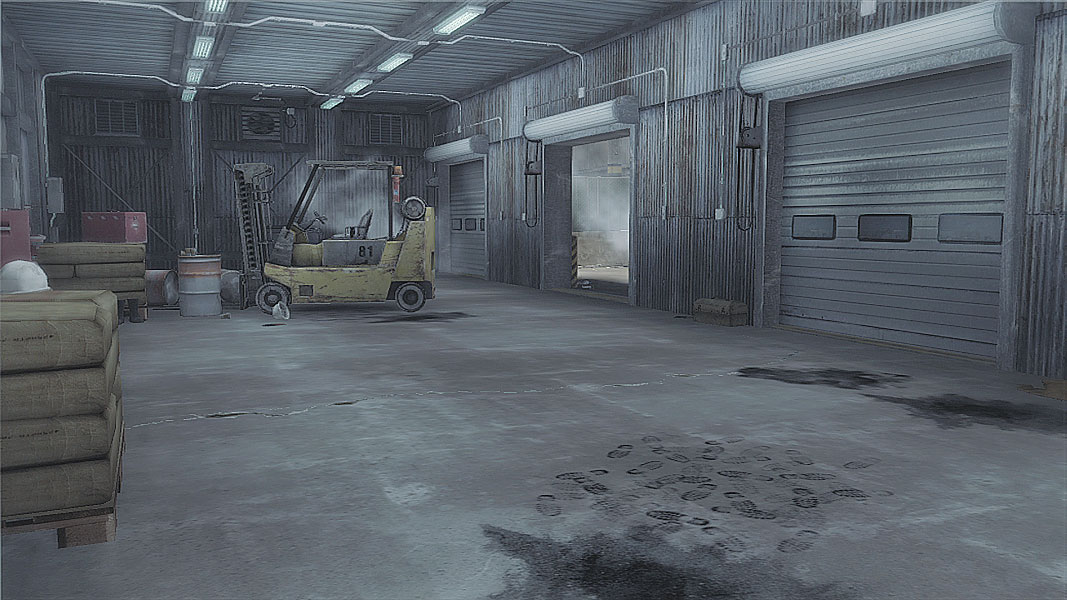
This garage offers multiple routes of entry that make it rather difficult to pin down, but that can also be used to bait hostiles into trying to retake the objective. Fire can be applied from multiple doorways at once. If you’re using the low concrete cover facing out toward the Warehouse, be careful of flanking fire from the direction of the bridge.
// Decoy
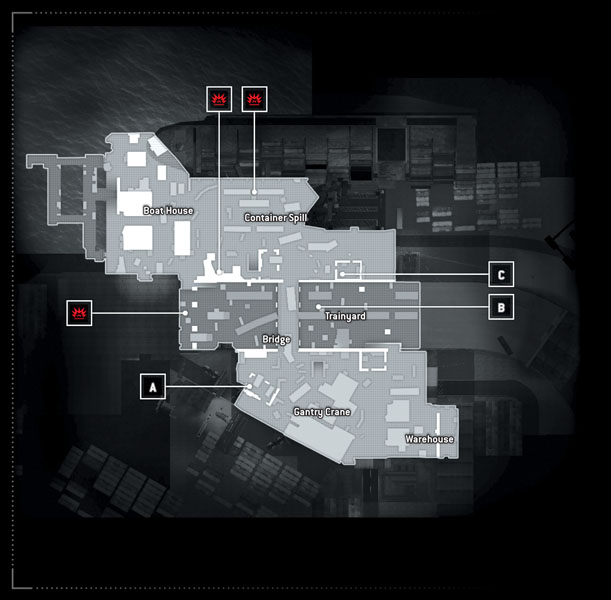
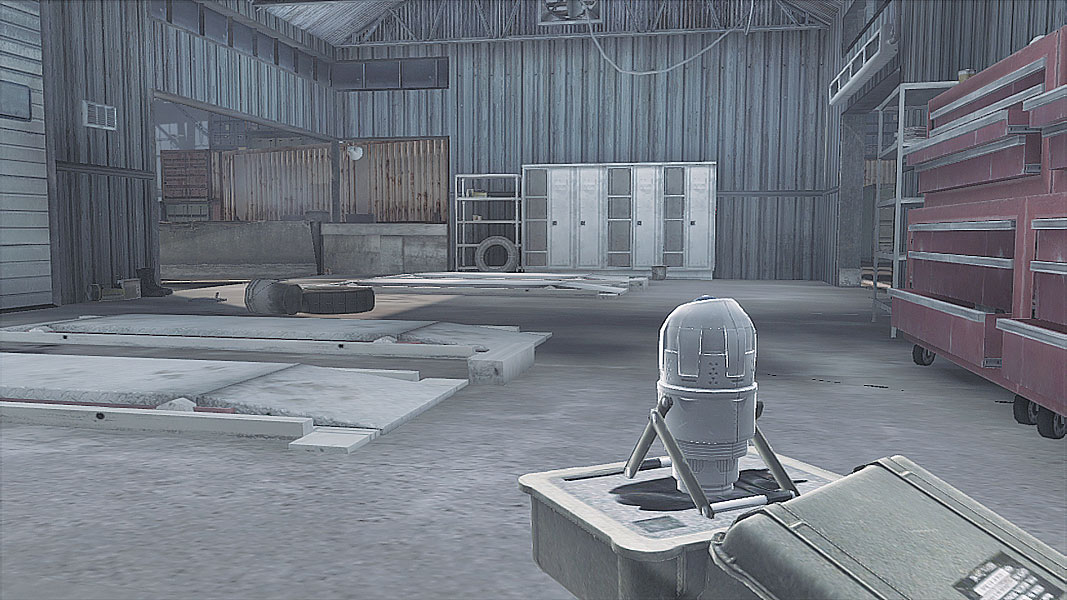
That same garage area seen in Conflict makes for an equally precarious potential capture location in Decoy. The same rules apply, though: Watch for approaches from the bridge and the rear of the building, and protect the squad member that tries to hack into the objective. If defending, try luring enemies into the area with a pre-planted Sensor nearby, then open fire from multiple doorways to confuse and disorient.
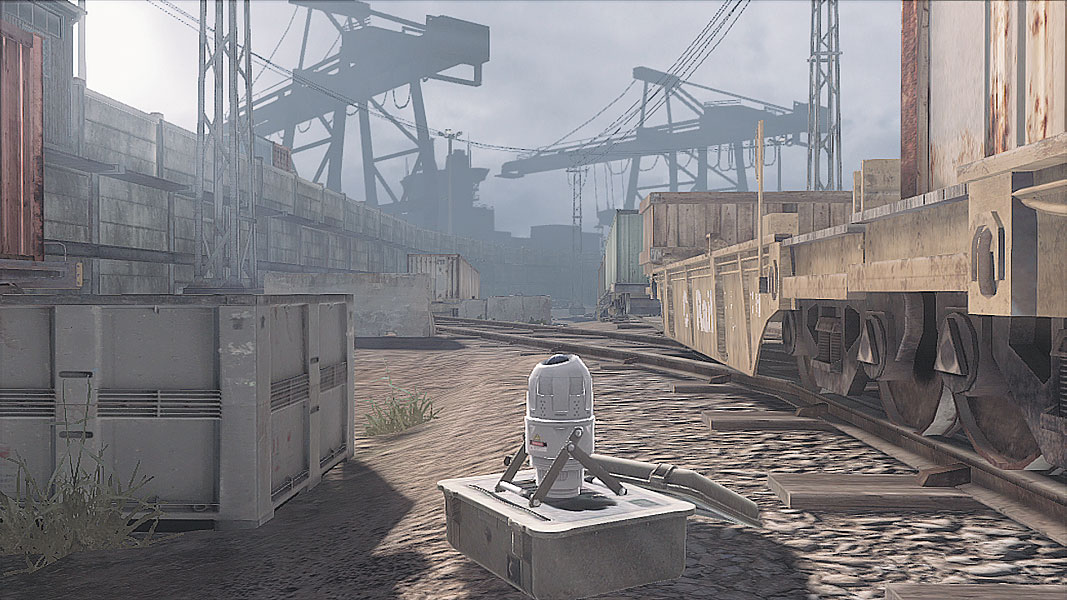
Tucked in between two rail cars, the second objective is more than a little dangerous. Sniping is possible from multiple spots along the Trainyard itself, but that also means support can be trained on either side of the expanse to limit the surprises that come in while capturing. Defenders can stealthily grab cover under the bridge or the low bits of concrete to mount a surprise attack.
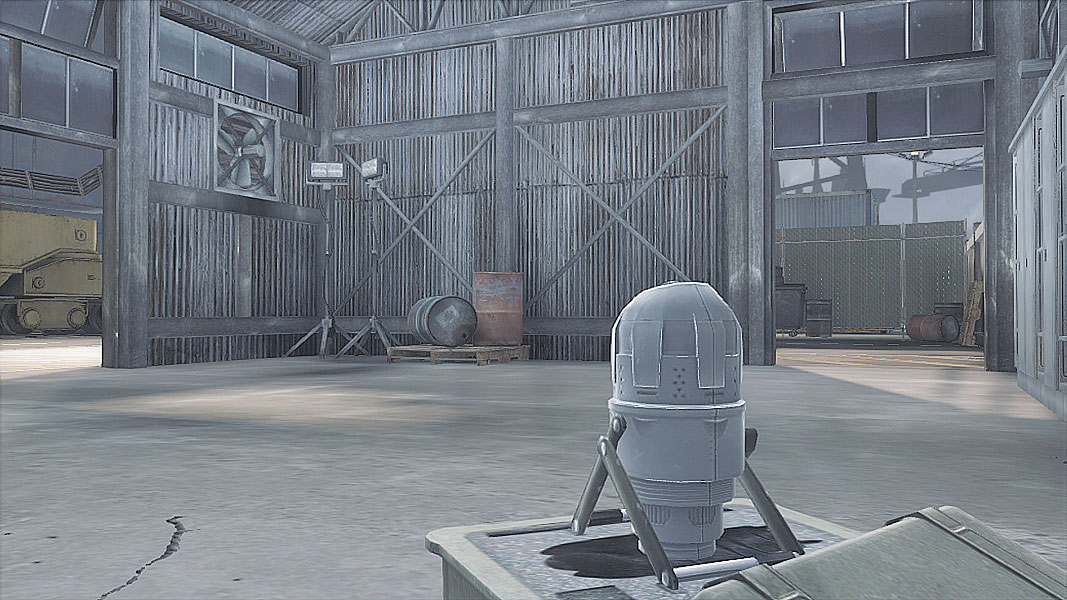
The small wooden building that serves as the third possible capture location affords three routes of entry, but be forewarned if you’re trying to grab cover near the doorjamb of the rightmost doorway (which, incidentally, doesn’t show up on the map): The length of wood on the right side of the outside part of the opening restricts the amount of cover-based aiming you can have. It only allows firing toward the doorway on the other side of the building and the objective itself.
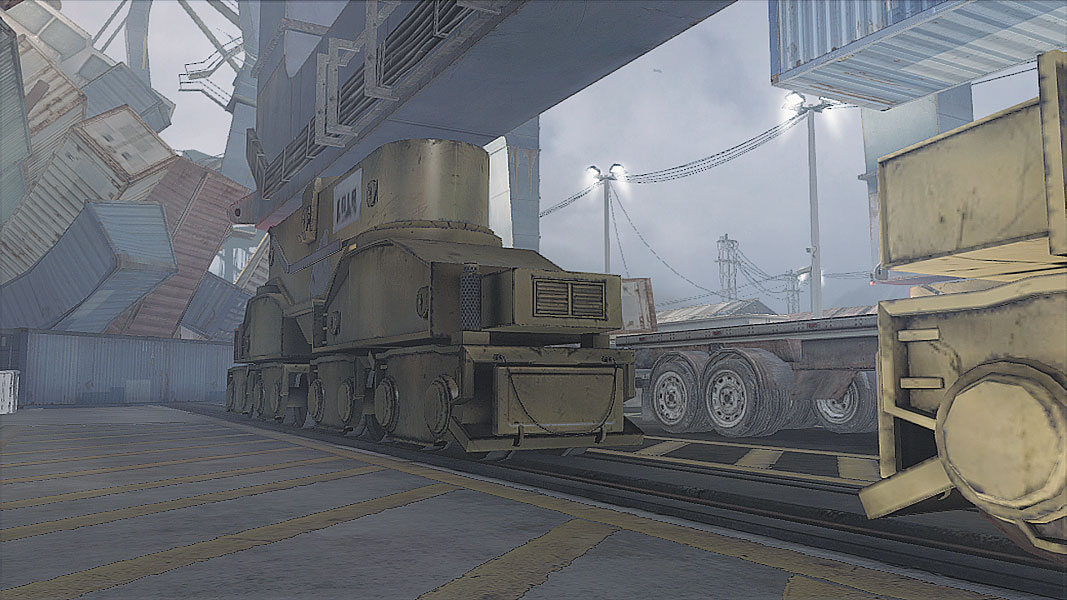
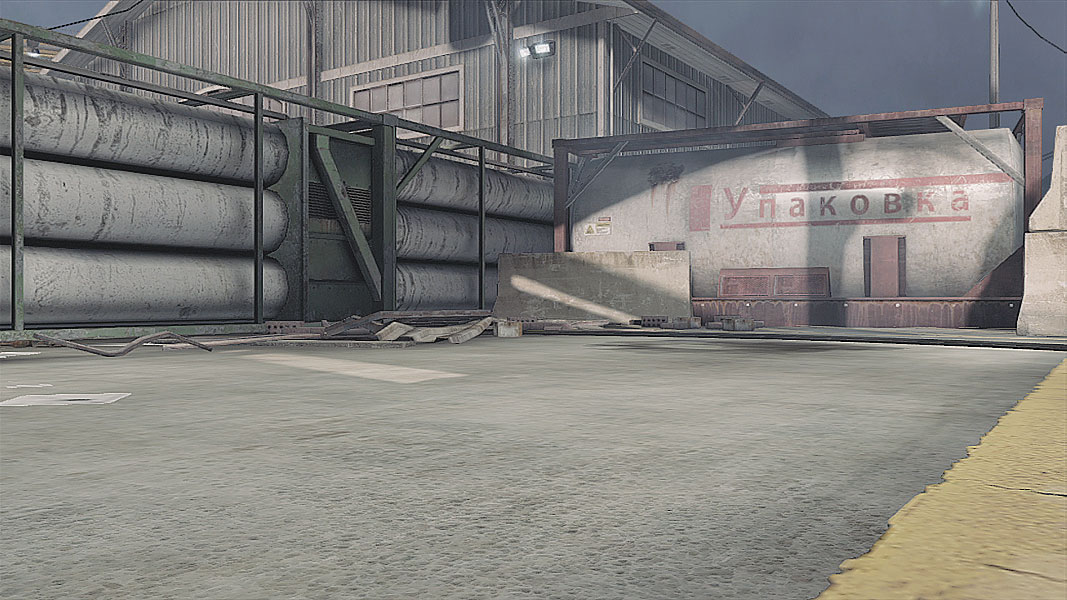
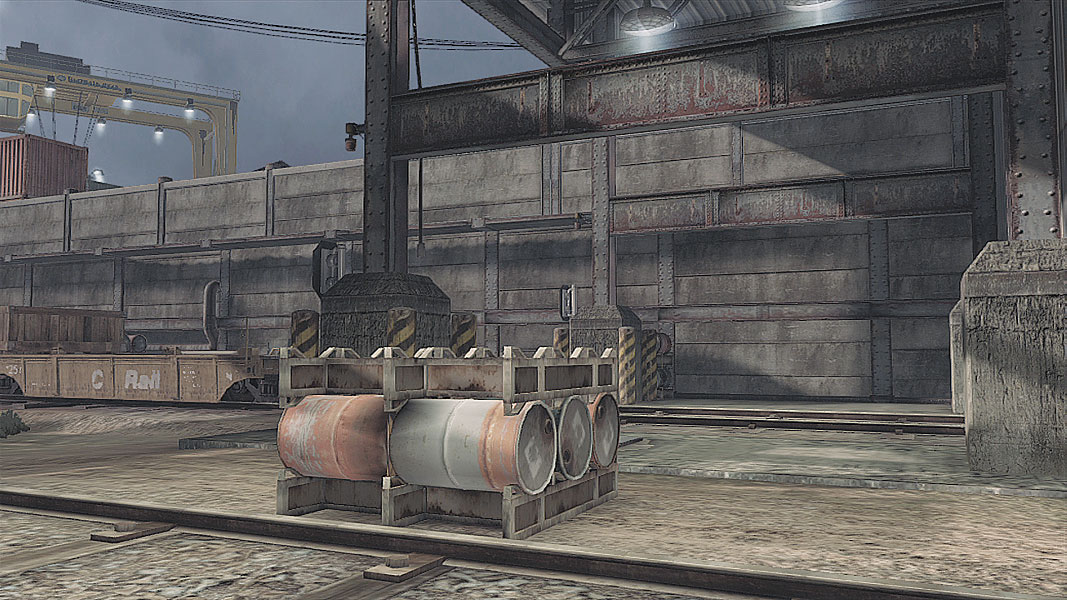
The rubble surrounding the Container Spill makes for plenty of detritus to skirt while planting the bomb between the legs of one of the giant cranes. Position defenders along the legs, but stack up near the edges where it’s possible to slip around the legs to attack the bomb planter.
Potential spot number two is actually fairly well protected on three sides, but that just funnels firepower down in the direction of the one open site facing out toward a mess of containers. Move quickly, using intel-gathering equipment to scout the area and protect it from incoming attackers while the bomb is planted.
The final location is actually down in the Trainyard itself, tucked behind the end of the tracks. Once again, grabbing cover along the nearby pillars is helpful, but be wary of grenades slipped through the crack up above.
// Saboteur
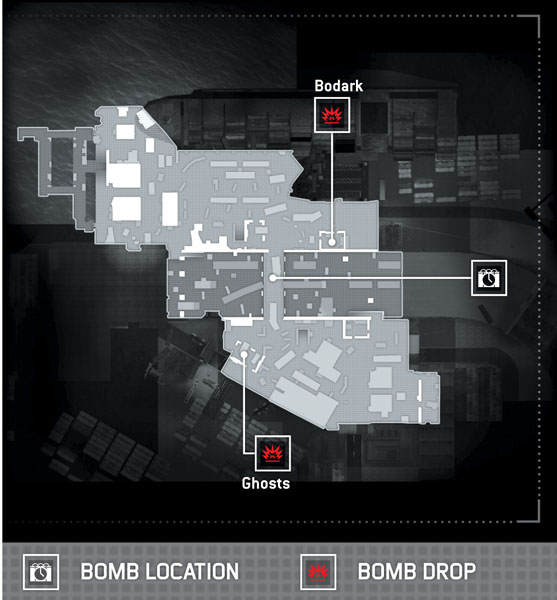
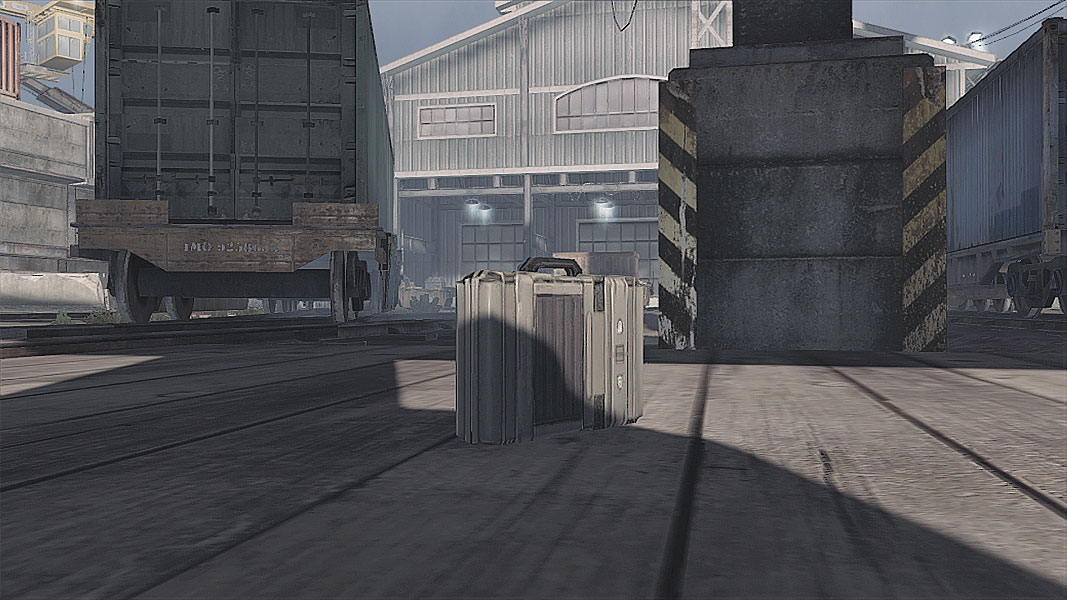
The explosive prize for this round is neatly sandwiched between two concrete bits of cover. These are directly in front of two tunnels leading down and right under a bridge that offer quick jumps down to ground level. There’s an awful lot of ways to grab this bomb, and even more ways to attempt to take down the bomb carrier. The columns of the bridge can help to protect against light fire, but the safest route out is back up into the tunnels leading up to the bomb planting locations.
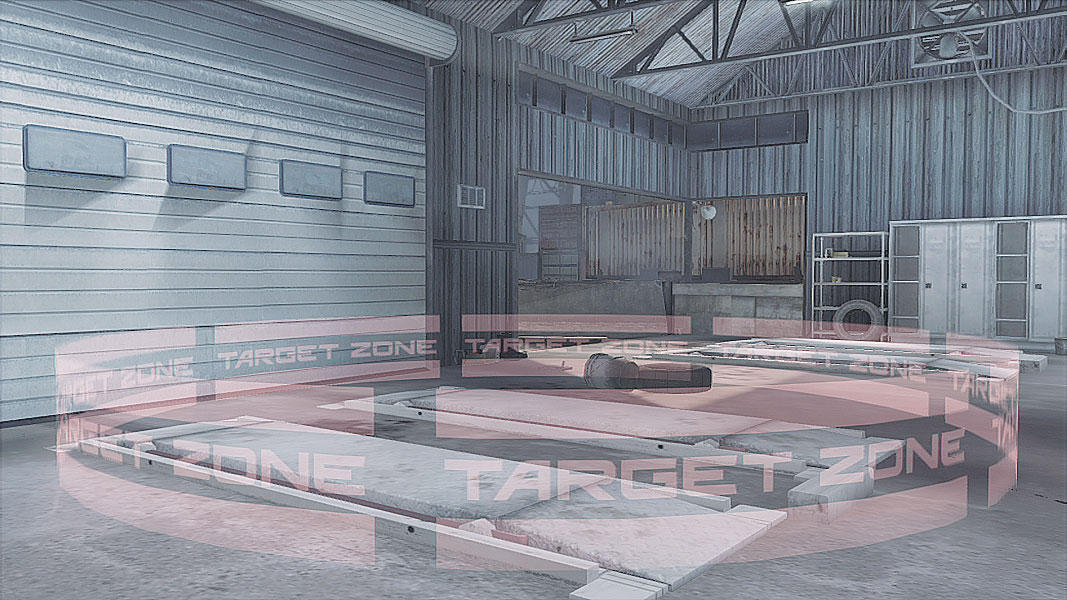
A Ghost bomb carrier has a tough battle to get near the empty garage that serves as the plant location. Heading up through the tunnels is a direct route, but the stairs make for a blind exit, so send a UAV up to scout out the area before hand if possible, and keep an eye out for hostiles taking cover behind the lip that looks out over the staircase itself.
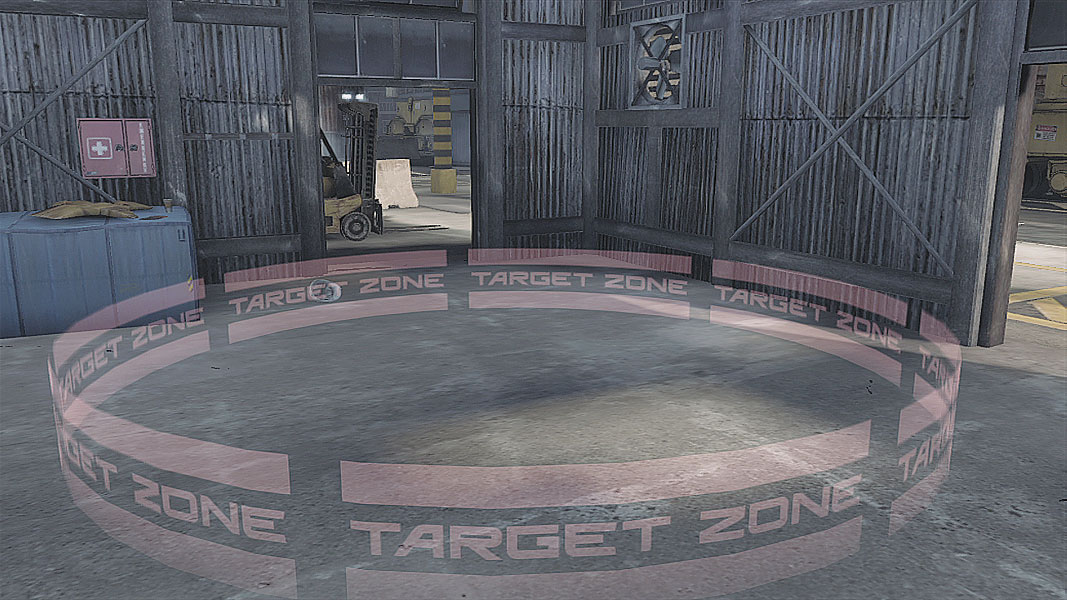
Bodark carriers face the exact same dilemma: Head through the tunnels or brave the Trainyard in an attempt to take one of the side routes up. The latter is a long slog with high visibility, and the narrow passages up and out of the Yard are a natural bottleneck. Intel-gathering attempts are a must, but so, too, is quick movement to get out of sight. Remember, as soon as an enemy spots the bomb carrier, they’re marked as an objective for the team, turning the carrier into a walking bull’s-eye.
// Siege
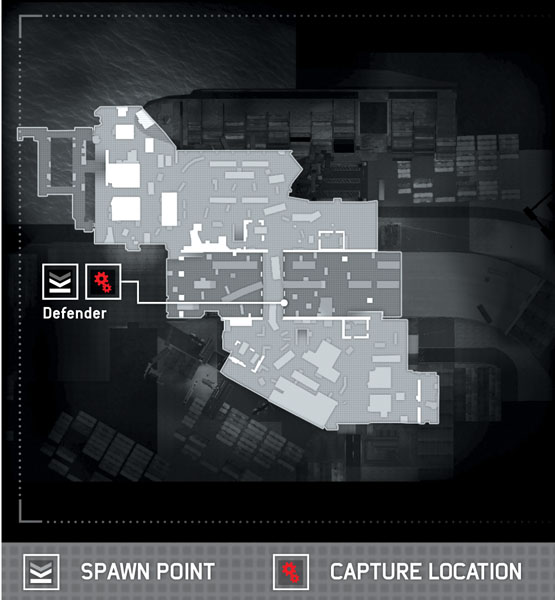
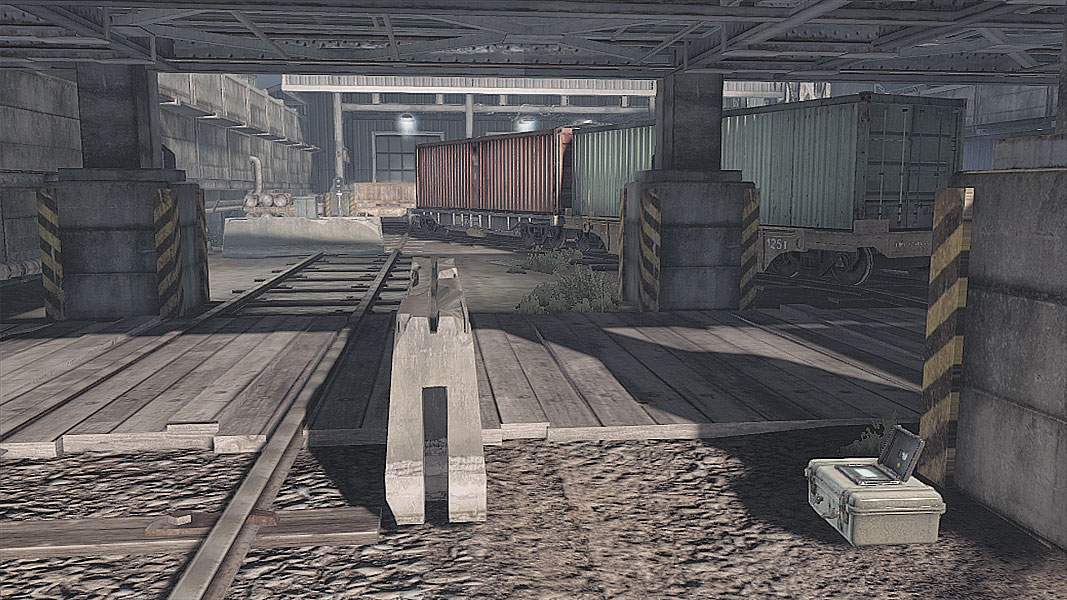
The Bridge once again plays host to a valuable objective. Defenders should make the most of the time they have and set up to cover the different routes of entry into the lower part of the level. Cover the tunnel leading down, keep an eye on the top of the bridge, and cover the narrow walkways in. Stay in cover and try to bait enemies into taking the “undefended” objective, then unload on them and quickly pop back into cover. Sensors near entrances do a great job of tipping off your team to enemy locations, but eyes-on will always be the most important.
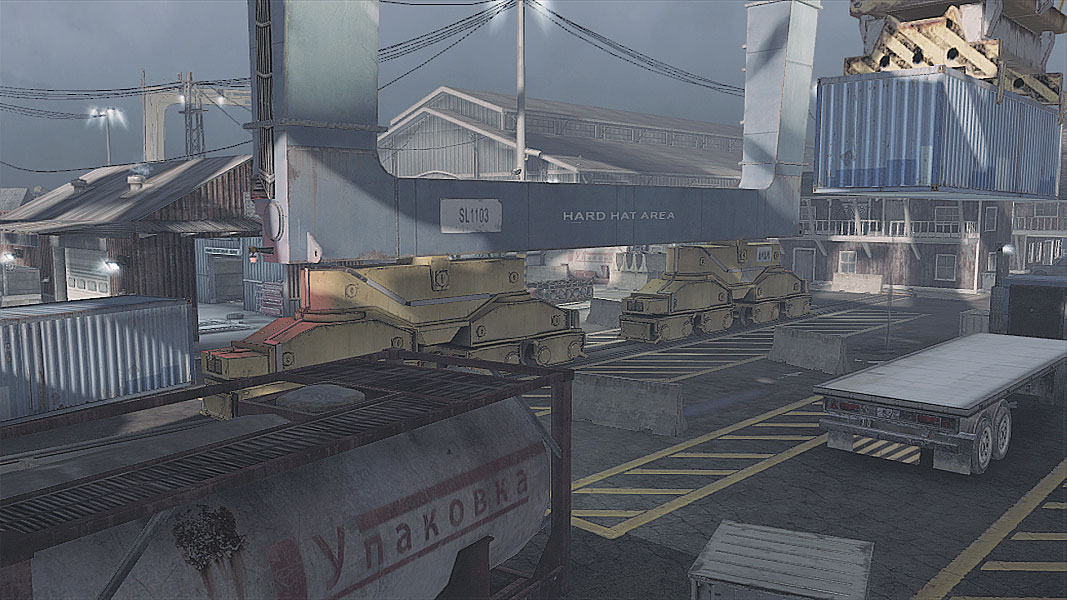
Fake outs here are a great way to confuse and distract your foes, leading them into shifting their forces toward an entrance that is mostly unoccupied. Decoy Grenades are a great way to spook hiding defenders into thinking there’s either a fight happening elsewhere, or that they should move, which opens them up to getting popped while changing cover. UAVs and Sensors, as usual, are also great for getting a good picture of the defenders’ positions.