
Tom Clancy's Ghost Recon Future Soldier Guide Walkthrough Firefly Rain
Leave the Area
Leave the Area
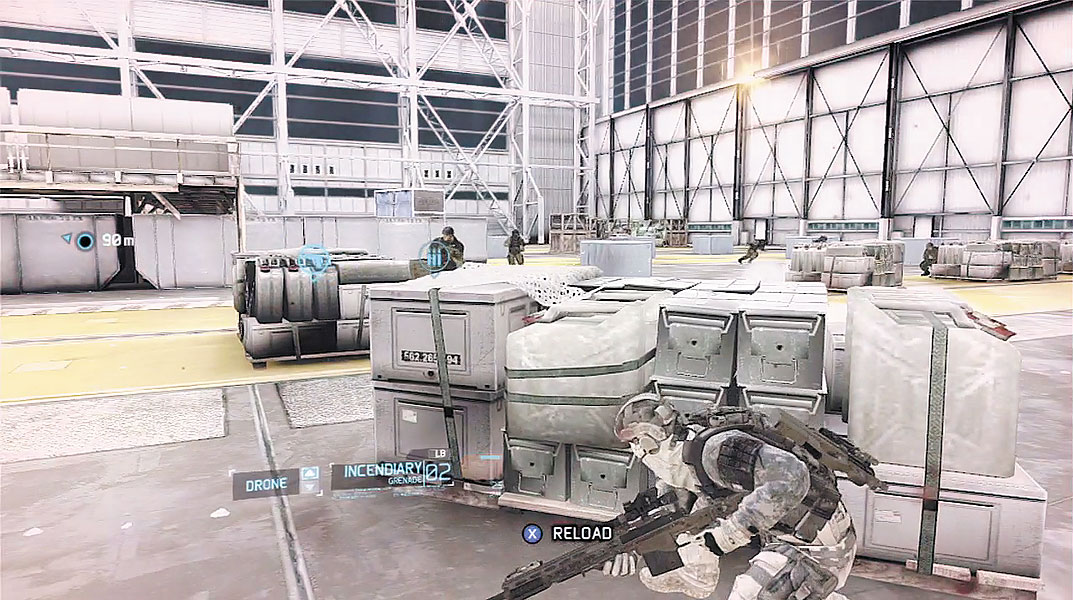
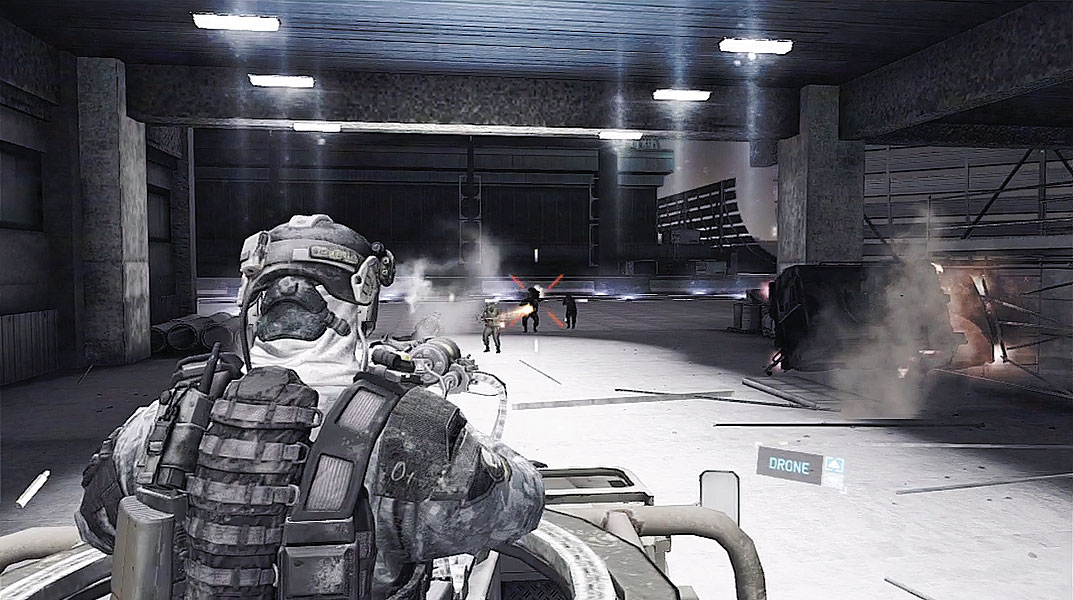
When the word “Clear” appears across the top of the HUD, the hangar is clear … for now. Follow your team down to the hangar floor and immediately take cover behind one of the stacks of crates. Within seconds, enemy reinforcements arrive, attacking from the left side of the hangar. Deploy more Sensors, tossing them in the direction of the attackers. This allows you to spot (and engage) enemies hiding behind crates and other objects. Some of the attackers are armed with shotguns. Be ready to confront these guys at close range, preferably with an SMG. Whatever you do, don’t let these enemies flank you or your teammates. Identify them early and issue a focus-fire order on them.
Weapon Challenge: Efficient Fire
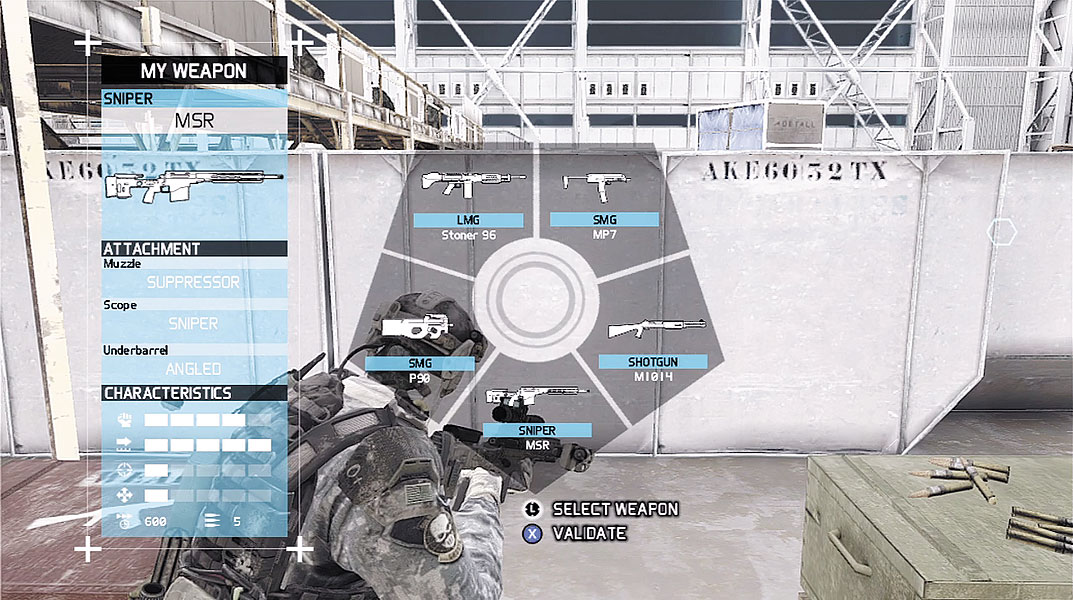
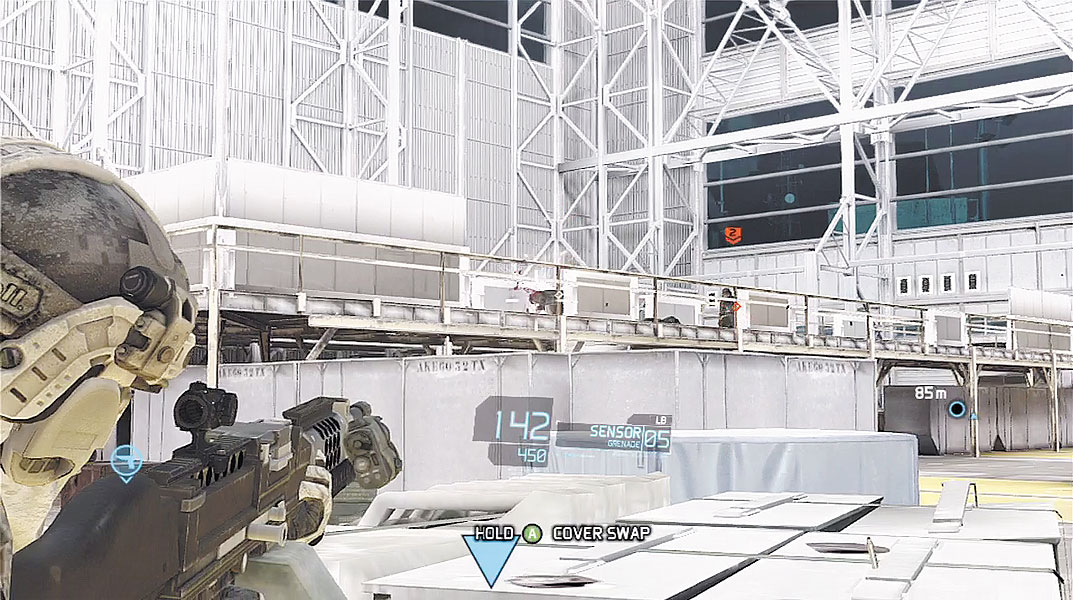
Watch for more hostiles moving along the low catwalk on the left side of the hangar—one of them is armed with an LMG. Stay behind cover and issue focus-fire orders on these hostiles. Depending on your position, you may need to seek a new covered position to prevent these guys from flanking you. Use the cover swap feature to place a solid object between yourself and these shooters. To get a better read on their positions, lob a Sensor toward the catwalk. This allows you to see them hiding behind the vertical metal plates beneath the catwalk’s railing.
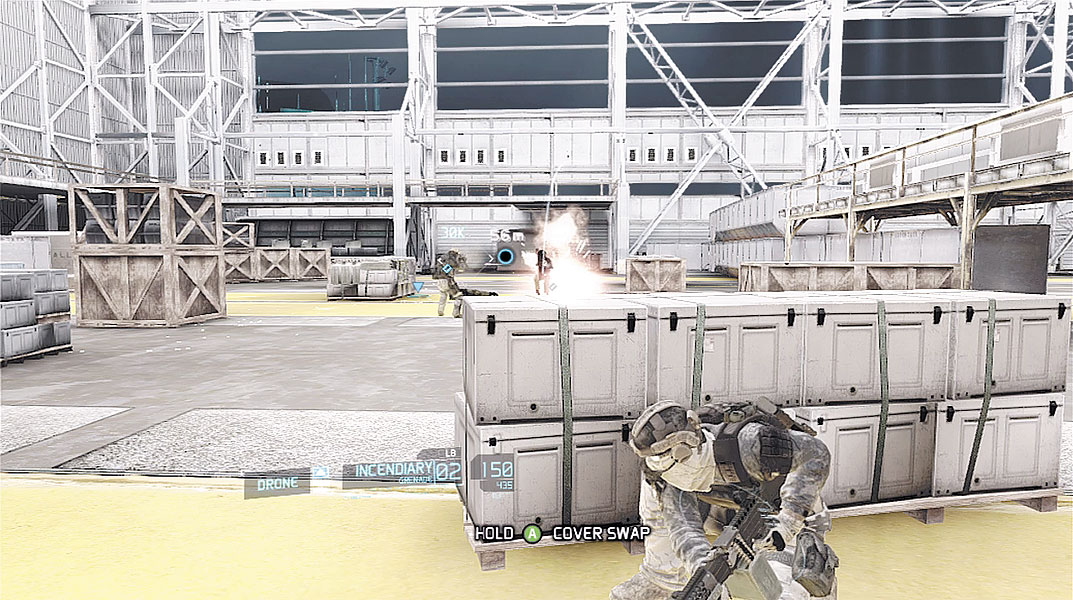
Pass beneath the catwalk but don’t rush toward the hangar’s exit just yet. The path is blocked by three hostiles equipped with ballistic shields and SMGs. Your bullets can’t pass through these shields, so you need to find a better way to attack these hostiles. While behind cover, issue focus-fire orders on these enemies. While your teammates open fire, toss an incendiary grenade at the trio. This ignites a fire at their feet, inflicting massive damage. If one incendiary grenade isn’t enough, toss more in their direction until all three hostiles are down. The hangar is now clear. Overlord informs you that multiple hostiles are closing in on your position—get to the unmanned vehicle nearby and race to the extraction site. Before exiting the hangar, stock up on ammo and grenades from an ammo crate by the doorway. As promised, an unmanned LAV is sitting just outside the hangar. It’s time to go for a ride!
Enemy Profile: Shield Soldier
As the team climbs aboard the LAV, Kozak assumes the gunner position, taking control of a roof-mounted minigun turret. Only a few meters into the journey, your team comes under attack by infantry and a GAZ-2330. Focus your fire on the GAZ-2330, as its machine gun poses the biggest threat to your team. When you’re not firing at enemy vehicles, mow down enemy troops that get in your way. The minigun is capable of long automatic bursts, but lay off the trigger to prevent overheating.
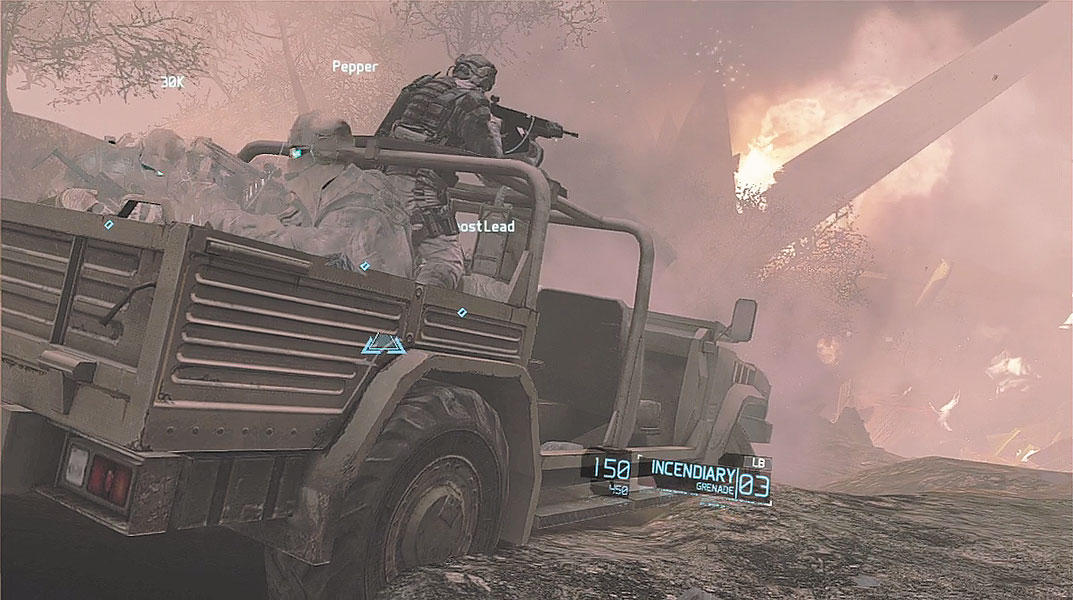
As the LAV crosses a runway, you can see the cargo plane carrying the missile guidance system—it’s preparing to take off. During this sequence you’re attacked by more GAZ-2330. So don’t let the sight of the massive cargo plane taking off distract you from these threats. Shortly after the plane lifts off, the bomb explodes, causing the cargo plane to crash in the distance. Stay focused on the GAZ-2330 swarming around your vehicle. The LAV eventually veers hard to the left in an attempt to escape the pursuers. Following a bumpy ride through a forest, the LAV finally comes to rest in a massive crater, only a few meters away from the cargo plane crash site. You’ll have to reach the extraction point on foot.
… Must Come Down