
Tom Clancy's Ghost Recon Future Soldier Guide Multiplayer Adversarial
Mill
Mill
Situation Report
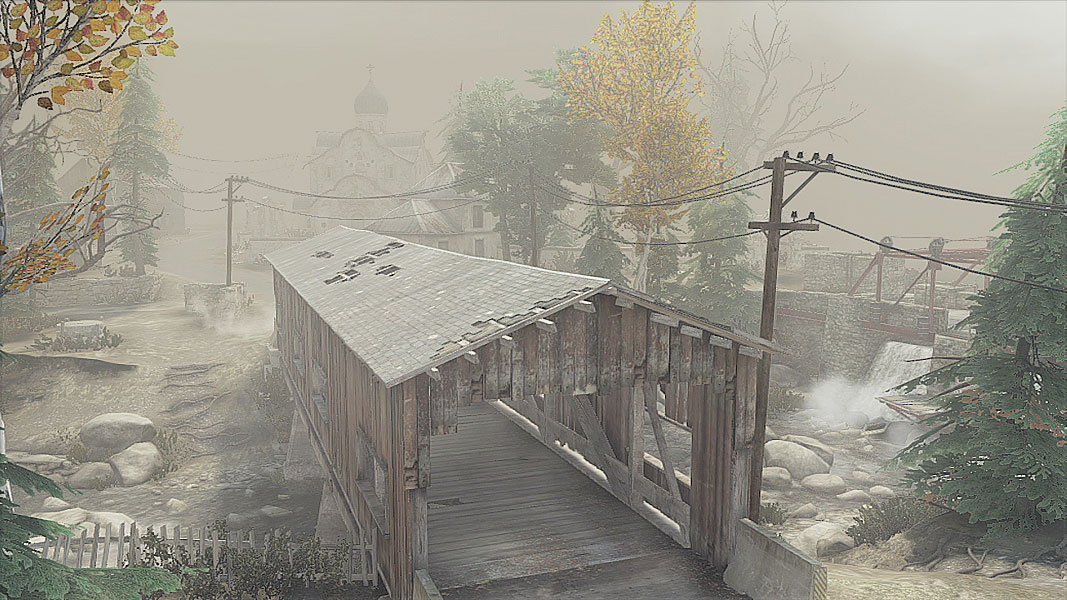
It’s rare that any battlefields end up spilling out into an area so, well, bucolic. The Mill area is an interesting patchwork or rustic, solidly constructed buildings and plenty of heavy woods to mask approaches from the sides. Although there are some rather generous sight lines that would ordinarily be great for snipers, a thick fog has settled over the area, reducing visibility. A small Dam has also limited a river flowing through a creek bed and this allows for covert approaches through the soggy channel.
// Spawn Points (Conflict, Decoy, and Saboteur)
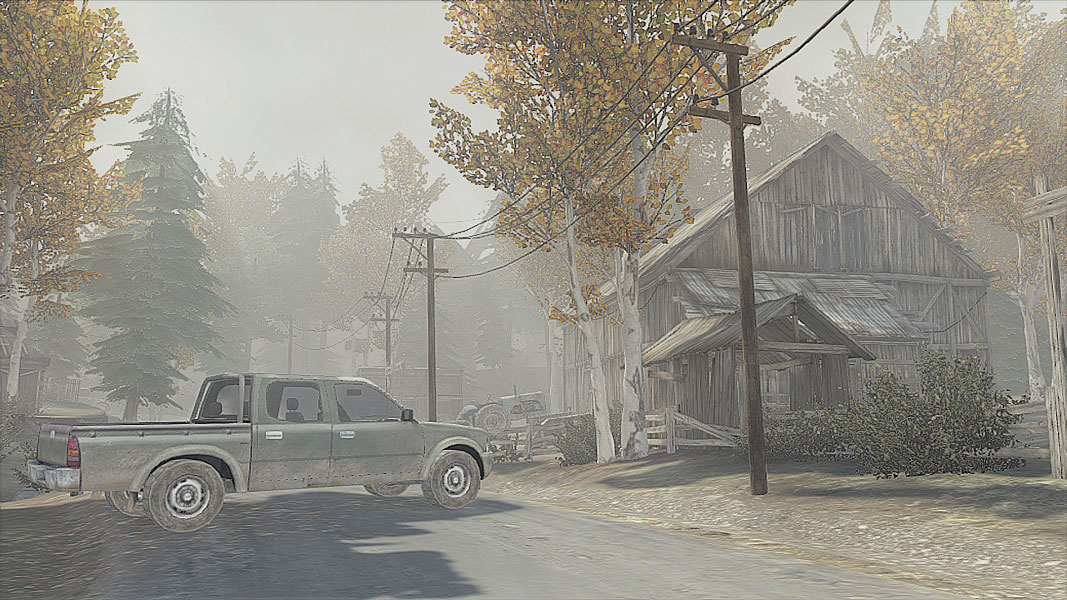
A quiet Farm allows Ghosts entry into the Mill, giving them plenty of room to fan out and grab cover next to the various buildings along the way toward the central Mill House and Dam. Cover is plentiful all throughout the map, and should be used whenever possible not just to avoid incoming fire, but to mask approaches on objectives.
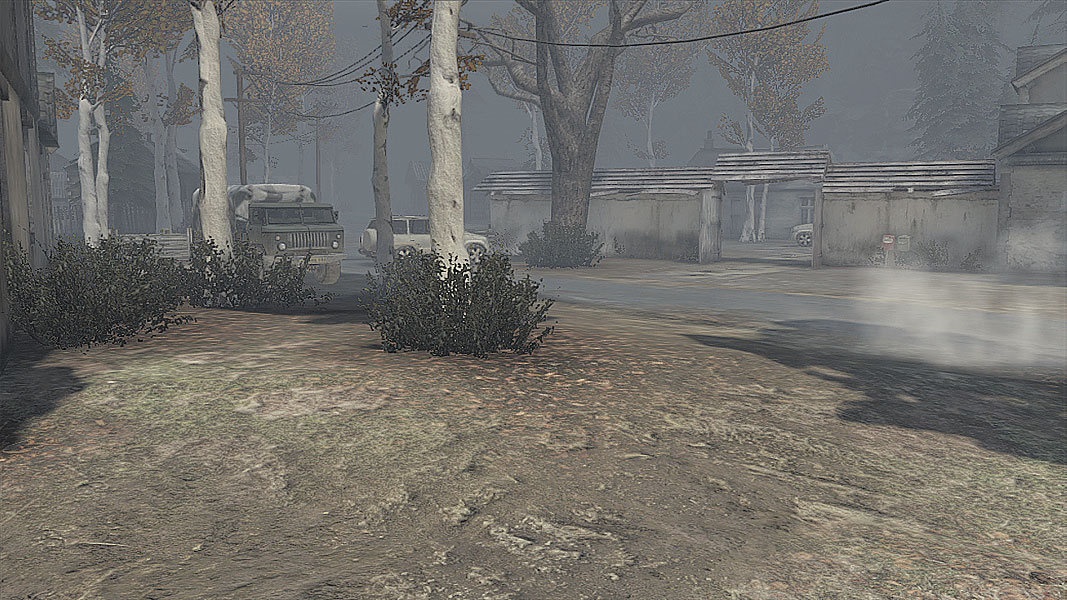
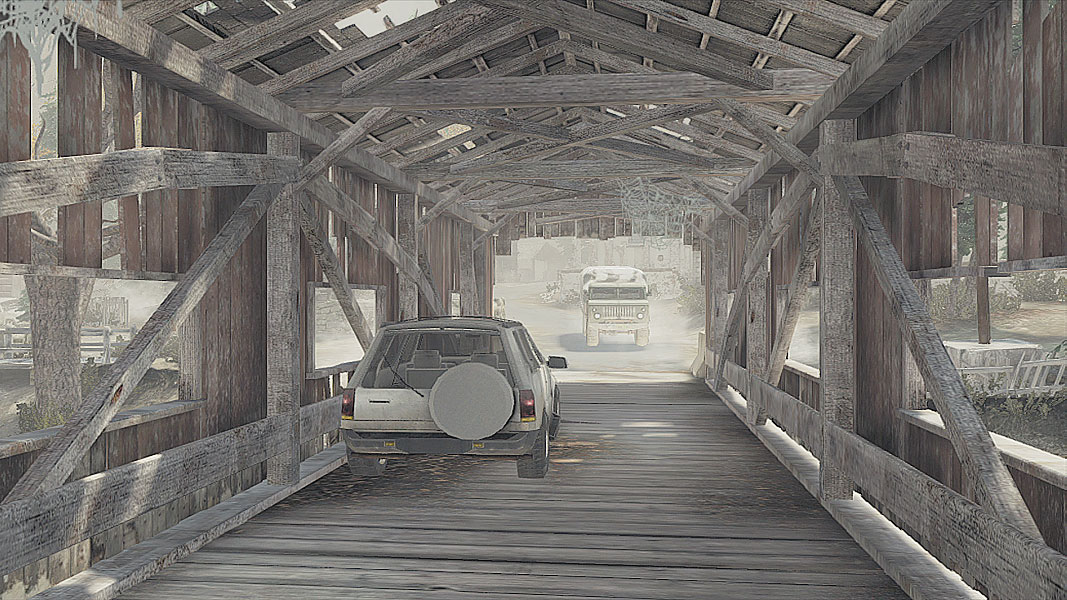
Bodark forces slip in near a large Compound. Though cover isn’t nearly as plentiful on their end of the map, the wide open spaces are heavily wooded and make for great low-key approaches toward the Dock and Mill House beyond. Closer to the center of the map, cover starts to sprout up , so take up positions that provide maximum sight lines toward the covered bridge and creek bed.
// Points of Interest
The Mill House
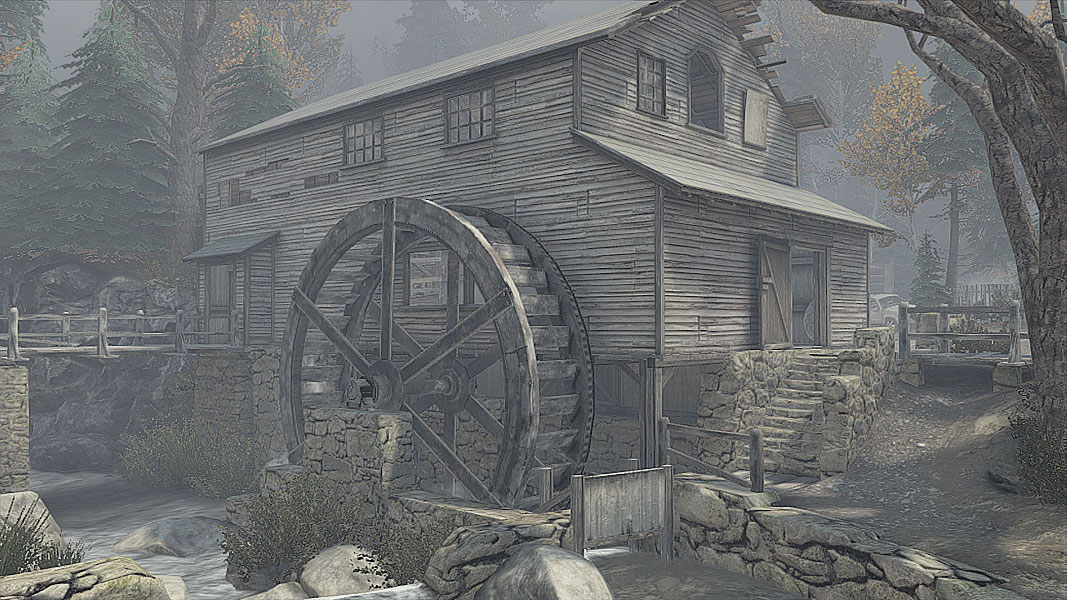
It may seem old, but this Mill House is more than capable of operating even with the low current of the stream that flows beside it. Central to multiple objectives across the various modes, the Mill House also serves as a strategic location for regrouping and taking cover. Because it has just a few ways in or out, holding the Mill House can help control the flow of combat and set it on your team’s terms by coaxing in enemies or directing fire out toward the various paths nearby.
The Bridge
Because the covered bridge offers cover while traversing from one half of the map to the other, it’s often a spot for Sensors and Cameras that serve as an early warning system against enemies approaching from the creek bed and the bridge. The area between the bridge and Dam has trapped many a foolish rookie. While it’s certainly possible to jump down from the Dam into the stream below, the two-stage jump is slow and clunky, giving players that set up under the bridge plenty of time to line up shots and take out enemies as they race into the fire to move up the sloping side that forms the only way out.
Crypt Keepers
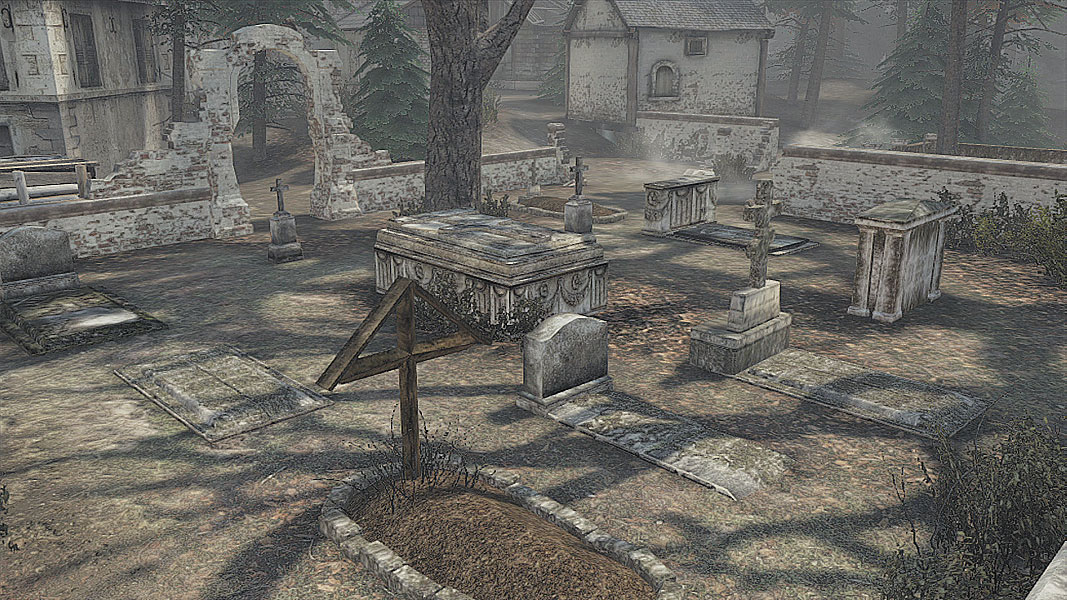
The Cemetery area is a hotbed of objective activity, but it’s also the easiest way to slip past enemies thanks to high walls and plenty of cover if ambushed. Expect more than a few firefights to go down here, and not just while fighting over an objective. As a gateway to the Church and Well areas, the Cemetery can also serve as a counterpoint to the Mill House, restricting movement and controlling the flow of battle from relative safety.
// Conflict
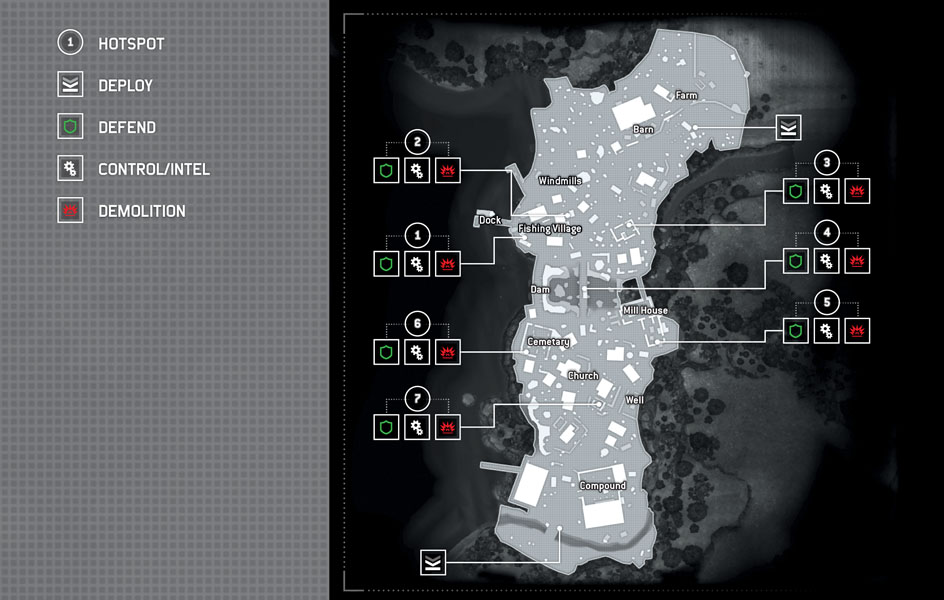
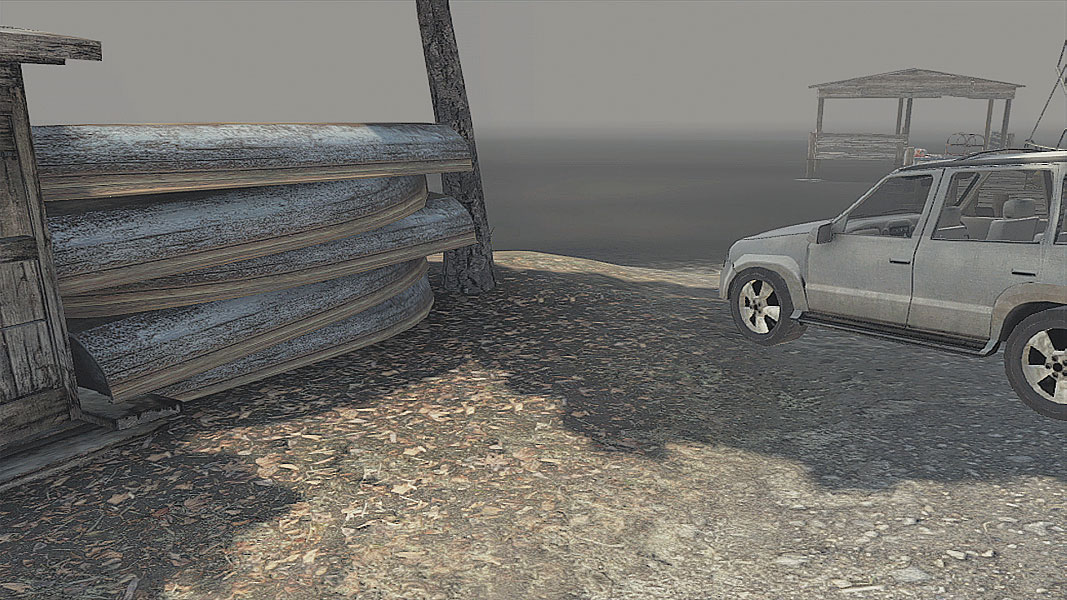
A small V-shaped area between a parked SUV and a stack of boats is a frequent objective hot spot. The location’s open back means there’s very little in the way of cover for defenders, save for a couple of low bits in the building next to the SUV. Beware of attacks coming from the directions of the Dam, the potholed road leading from the bridge, and the Windmills, as plenty of routes funnel down to those directions.
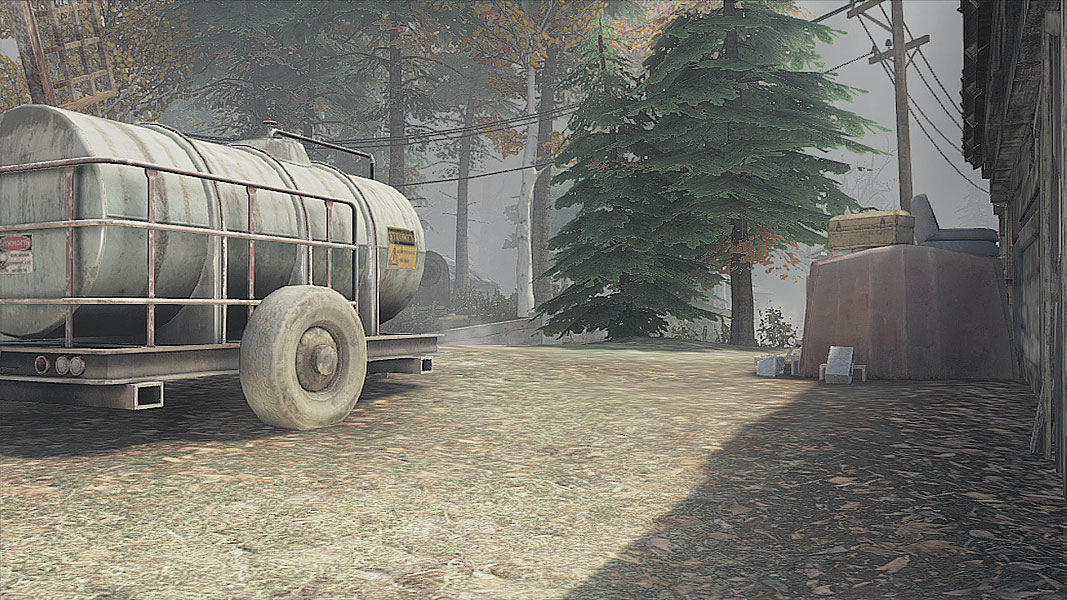
Closer to the nearby Windmills is a lengthy cabin with a fuel truck. Tucked between the abode and its source of fuel is the second objective—one left open to attack from the direction of the nearby covered troop transport. Fire from the main road is also something of a concern, not to mention the crumbling remains of a house on a similarly elevated outcropping on the other side of that main road.
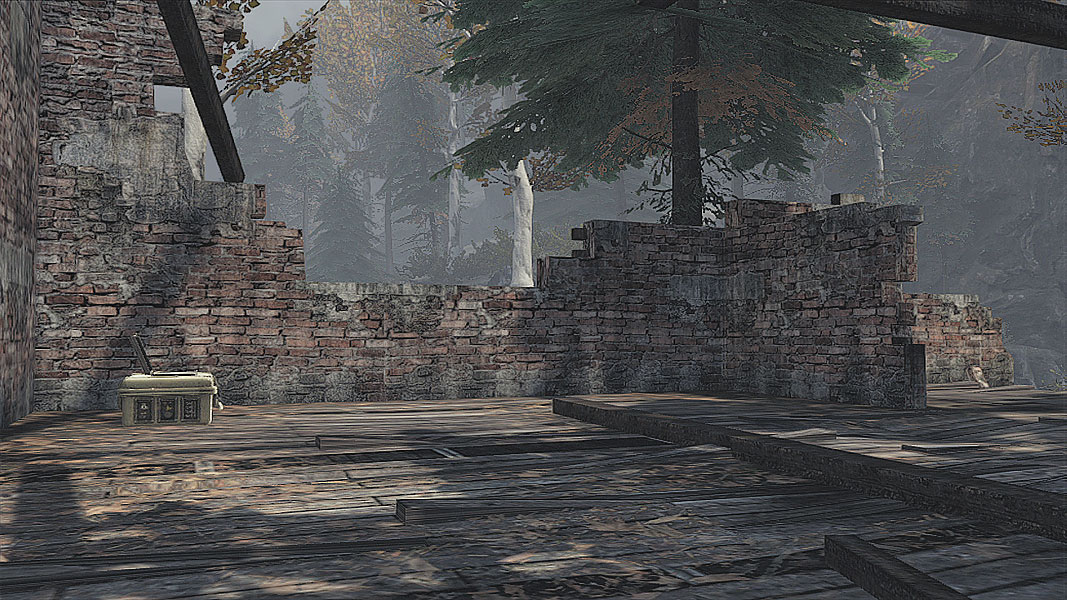
That crumbling building is the source of yet another potential objective. The building’s walls of varying heights mean there’s plenty of cover, but just as many angles where hostiles can fire in from the other side of what used to be the building’s windows. Keep an eye out for attacks from the main road, the elevated forest area, and the direction of the Mill House’s small bridge.
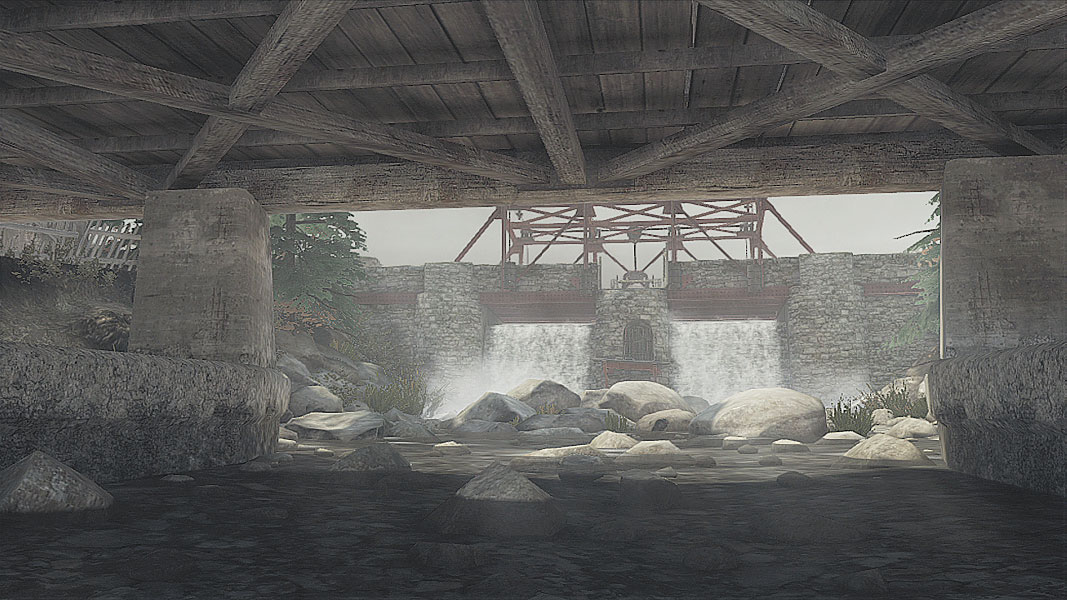
Speaking of bridges, the main covered one plays home to yet another objective, this one between the two legs that hold up the structure in the middle of the creek. There’s little here to hide behind when shots come streaking in from what seems like all directions, including the bank leading up toward the Windmills, the bank leading toward the Mill House, a couple of paths that flank the creek, and, of course, the Dam directly overlooking the objective. A full squad is extremely important when trying to occupy this area for any length of time.
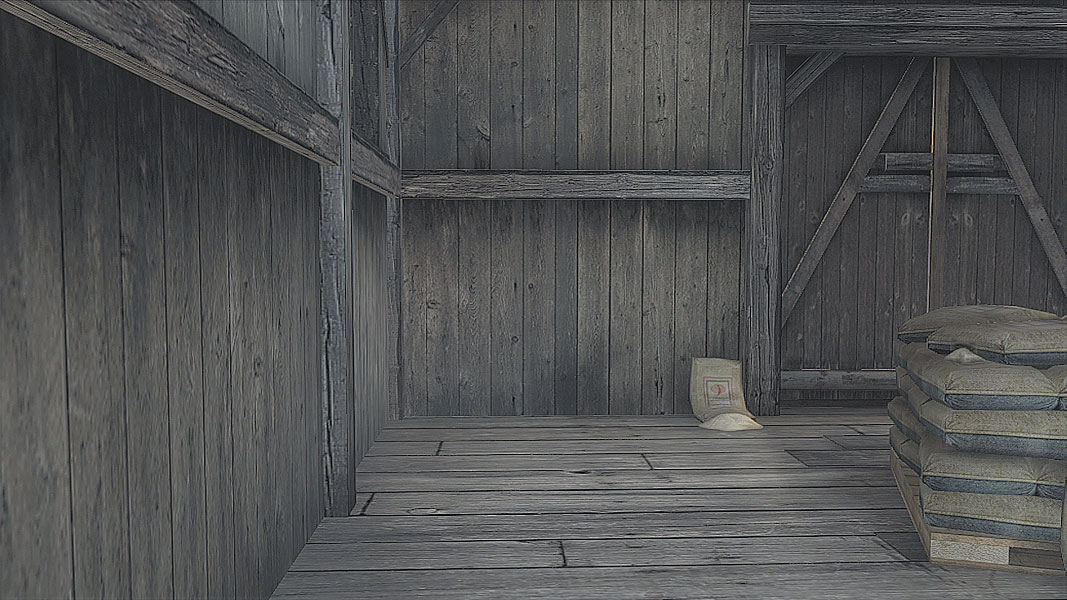
Ah, the Mill House—so important to this map, so fraught with potential angles of attack. The most obvious, of course, are the main entrance off the road and from the direction of the large turning wheel. The sandbags near the objective make for good cover from another, more sneaky, route: a back entrance accessible only by scooting around the side of the building. Cameras and Sensors placed nearby are great at spoiling would-be surprises, but it’s important to capture the objective and then quickly grab cover around the sandbags to avoid crossfire from outside.
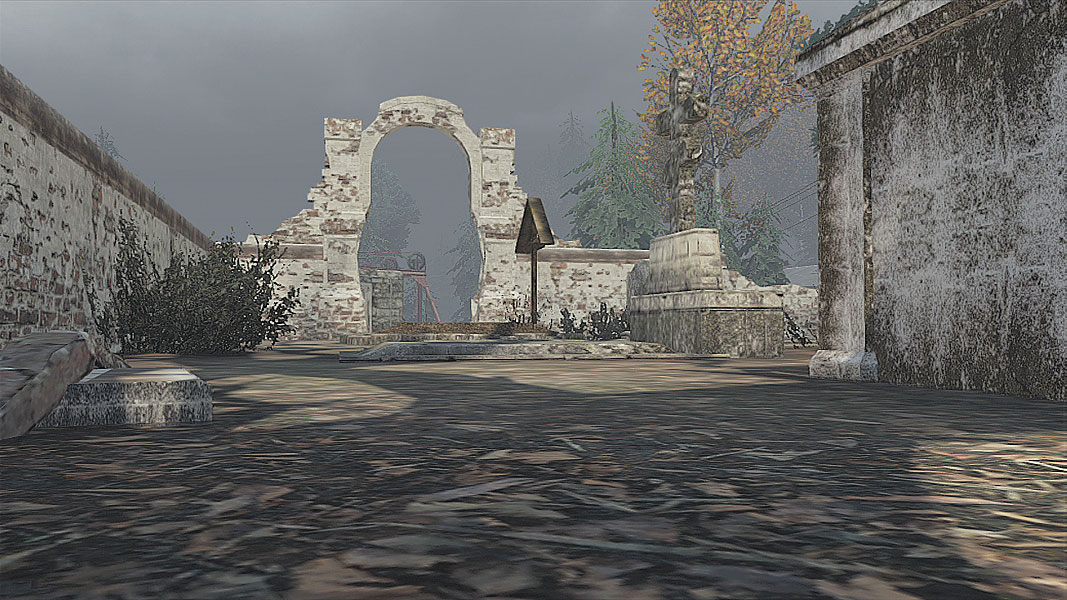
Pay close attention to the location of the objective in the Cemetery. There are more spots like it in other modes, but the method for securing the location should be more or less the same: slip in, stay low, and use the headstones for cover. Once the objective is captured, try hopping over the nearby low wall and waiting for enemies to approach, while keeping in mind the Dam as a main route. With luck, you can let enemies get close and begin trying to take the objective for their own, then fire from the cover of the low wall at near point-blank range.
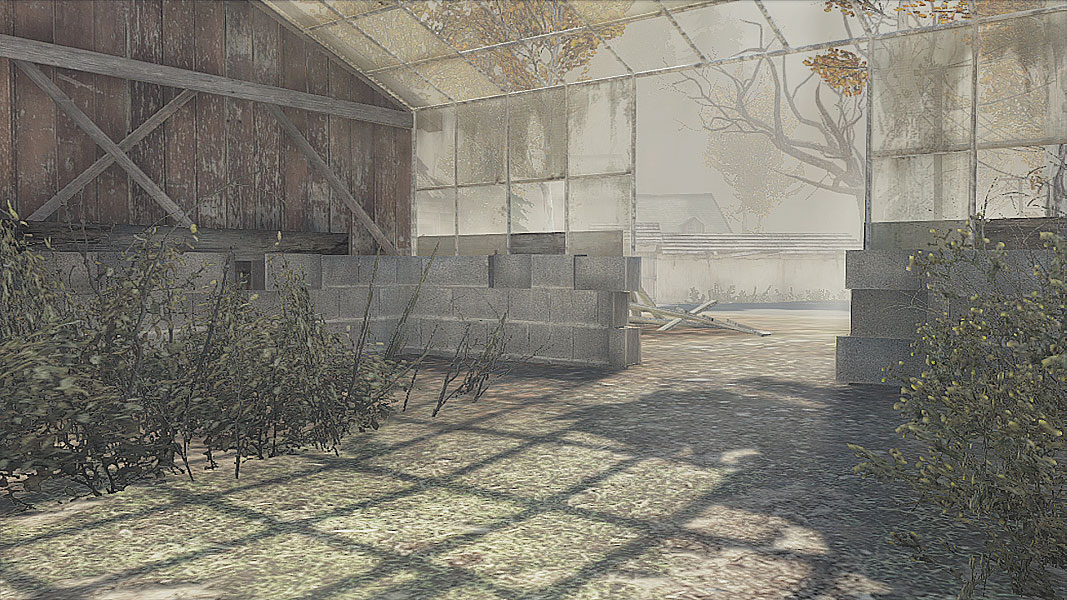
A greenhouse near this village’s Well is a great place to grab low cover to let enemies pass before ambushing them, but when an objective waits inside, the thin wood and even thinner glass that makes up the walls of the structure offer a pittance in the way of actual protection. The lower concrete parts of the greenhouse are a little better at stopping incoming fire, but as a general rule, it’s better to try to find more solid cover if possible.
// Decoy
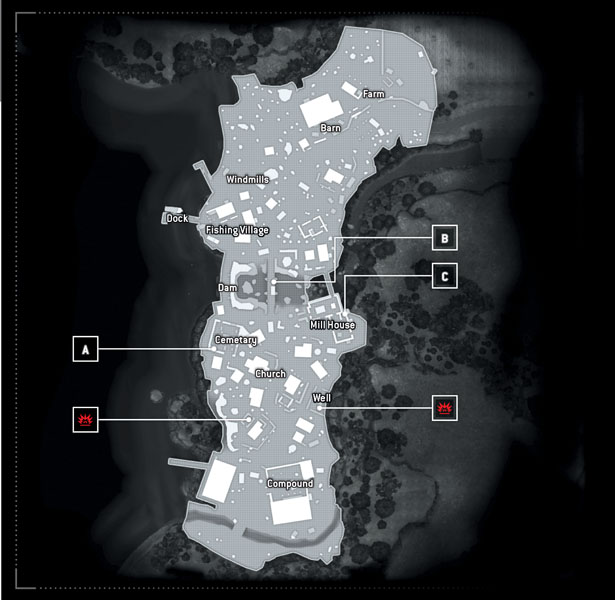
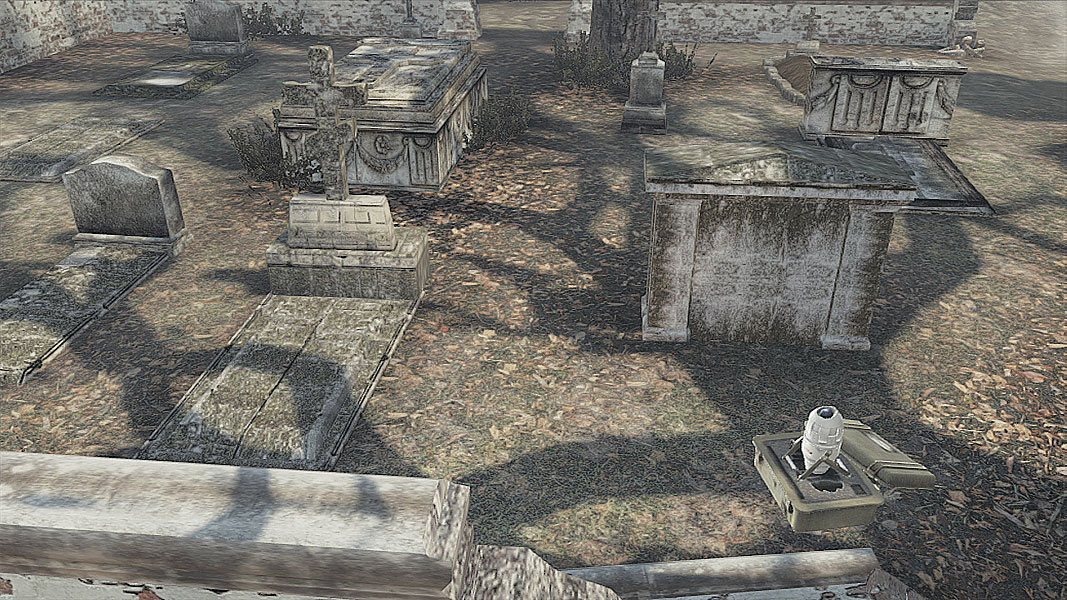
The Cemetery once again plays host to a major objective and source of conflict, this time as one of the potential locations for information leading to the bomb drop location. Use the same techniques you did during Conflict scuffles here to defend the position, and make sure to sweep the perimeter before trying to capture if you’re attacking.
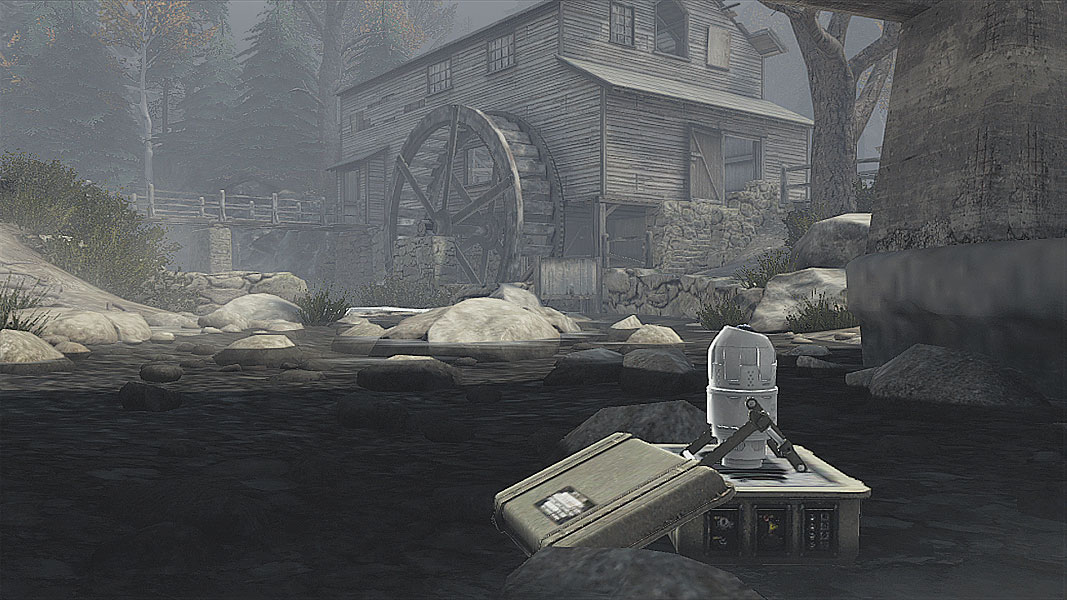
Time to head under the bridge again, but just as before in Conflict, there are multiple ways to defend the capture point. There’s not a whole lot defenders can do against a combined attacking force, but placing some defenders on reserve nearby to float between the Cemetery and bridge is a great way to respond quickly to incoming threats. Keep an eye out for sharpshooters near the riverbank, and grab what little cover the Bridge supports have if things get too chaotic.
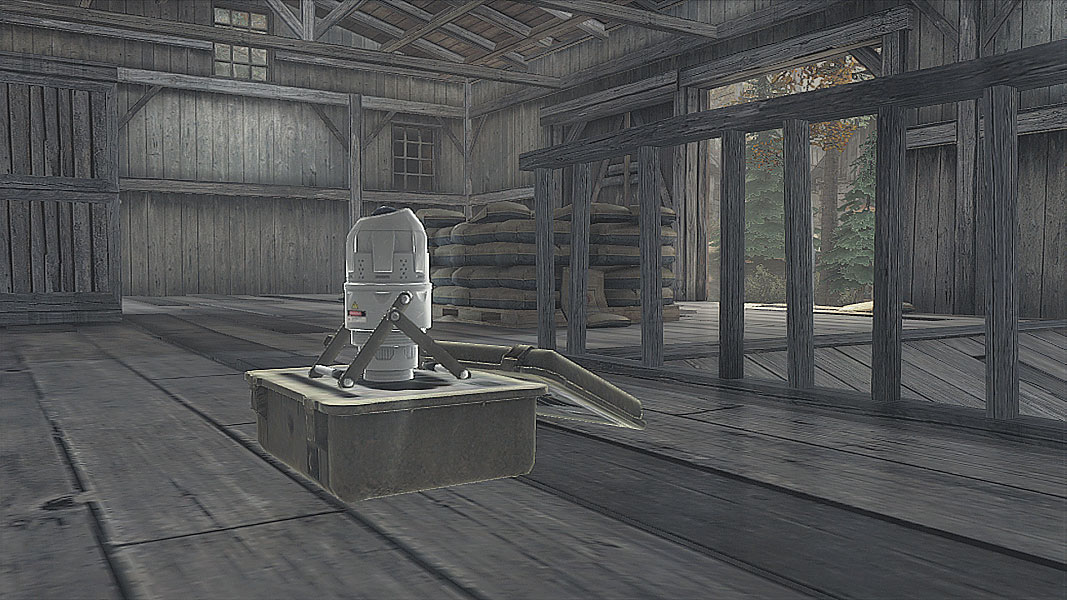
The Mill House’s objective is actually rather deviously placed. Sitting behind a railing in the Mill House’s second room, the position of this objective is vulnerable to firing angles from the open area just outside, and can mean death to a defender if caught unaware. The open area outside also forces gunmen to step out of cover to take the shot—a perfect opportunity for defenders waiting near the large doors to pop out and finish the attacker off. Sneaking in the back way does allow for cover to fire toward the objective in a pinch, but it’s better to use the back way in to take out any defenders looking out toward the road.
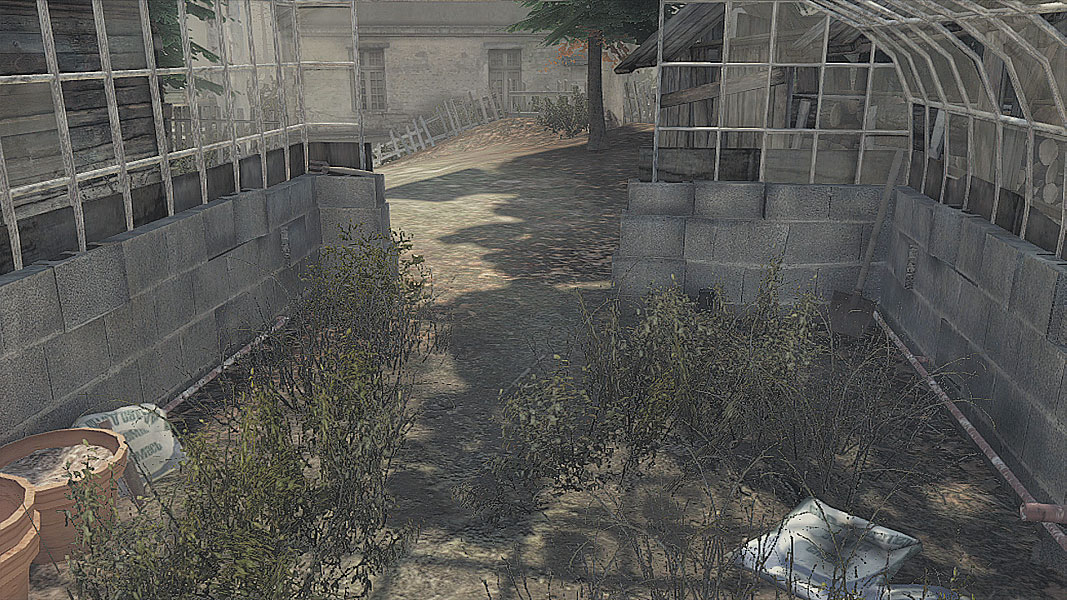
Another perilous greenhouse beckons with the promise of a fresh bomb location (well one of them, anyway). But, as should be obvious by now, it’s an extremely hard kind of building to lock down thanks to its flimsy walls and copious windows announcing your presence. Use this to your advantage on defense and douse the building in a hail of gunfire whenever the bomb planter tries to drop his explosive playload. Attackers must weed out any threats before attempting to add a little more heat to the greenhouse.
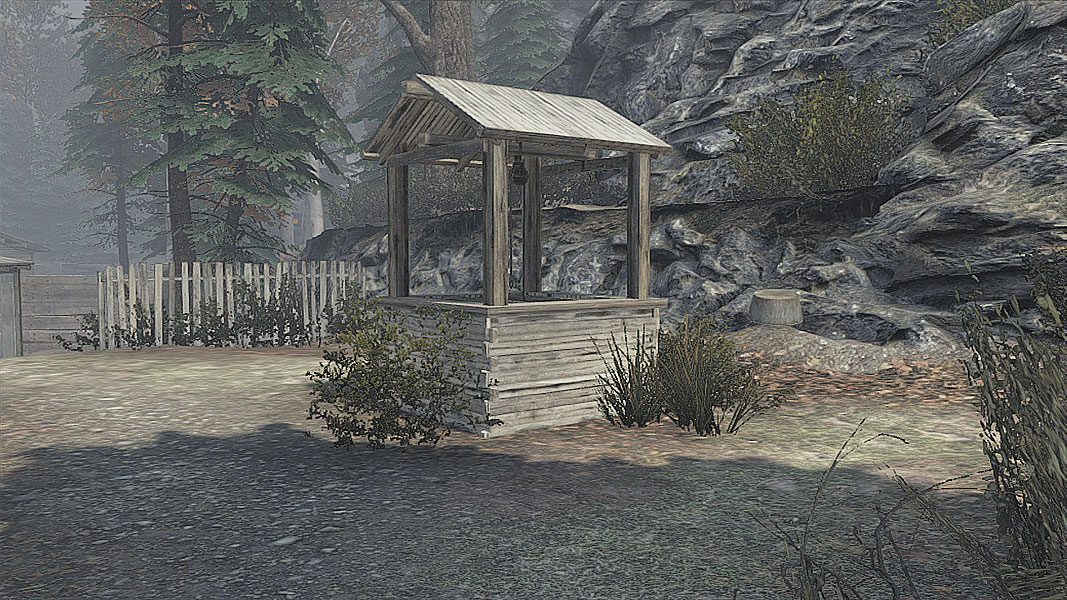
The Well offers up a second location for a bomb, and there’s almost nothing to speak of for cover if you’re defending. Baiting an attacker into trying to place the bomb, then lobbing explosives might just work, but it’s a risky gamble. Dropping a Camera nearby is a better idea because it allows you to set up a coordinated attack to repel the attackers.
// Saboteur
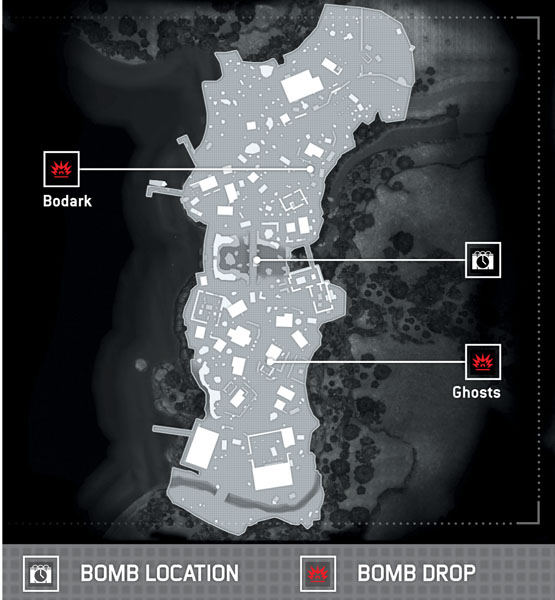
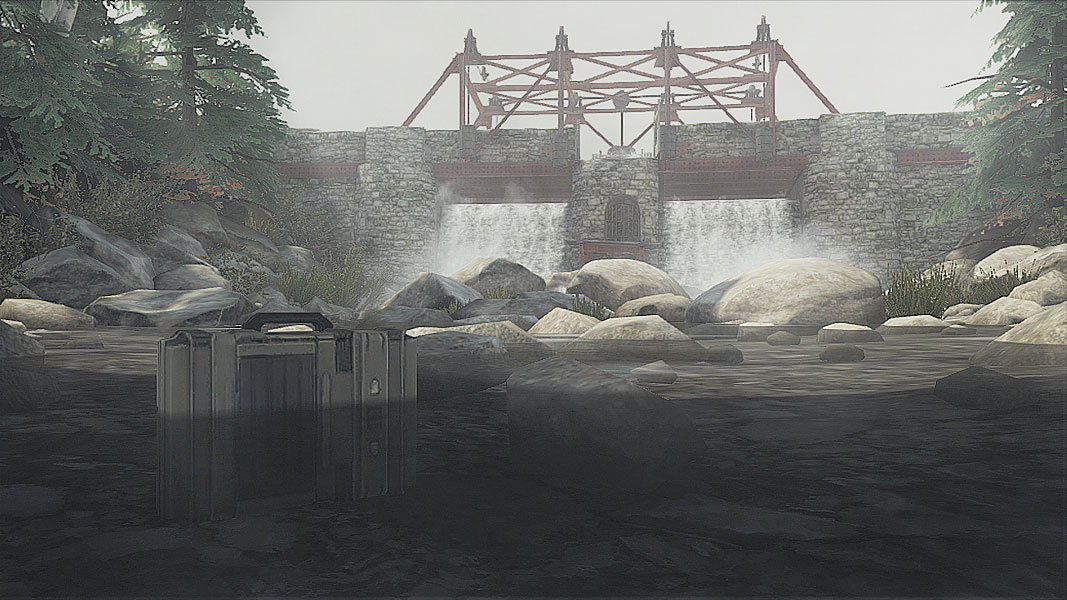
Given the role that the bridge has played in all the various modes up until now, it should come as no surprise that the central location is right where the bomb waits for both sides. With wide-open flanks, it’s going to be a bloodbath trying to sneak in and capture the bomb. Smart players will throw out Sensors or place a Camera above to keep track of the action as the firefights push the momentum back and forth. Just getting to the bomb isn’t good enough; your team will need a plan to carry it to its intended destination, so communicate as much as possible before rushing in.
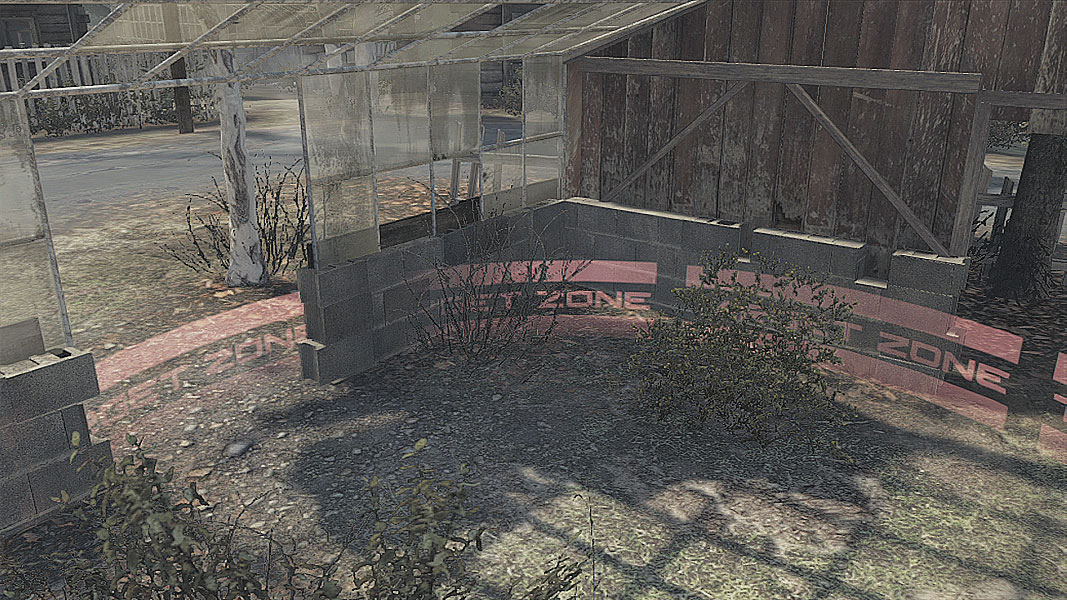
Ghosts are given the unenviable task of carrying the bomb all the way to the greenhouse that served as the grave for so many combatants before. Use the Cemetery and Church as cover while moving, taking the time to thoroughly clear out an area before moving on but keeping a steady pace to avoid respawning enemies from rejoining the battles.
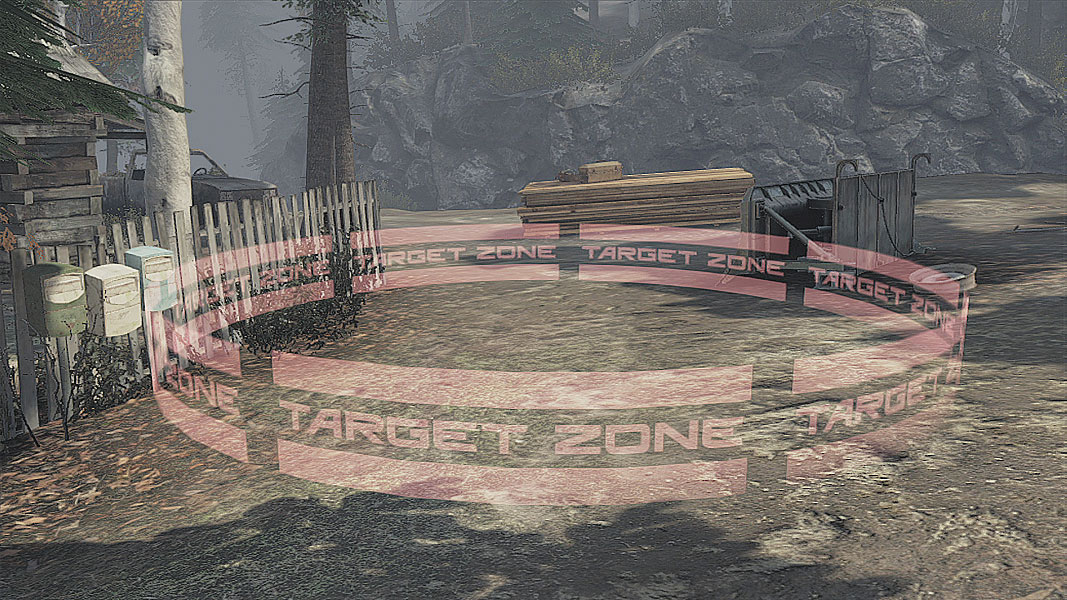
Bodarks must somehow make their way over to a section of lumber and rusting construction equipment to place the bomb. Avoid the main road, as there are far too many locations on either side from which to rain down damage. Instead, try to skirt the outer edges of the map, then sweep in, sticking to cover at all costs.
// Siege
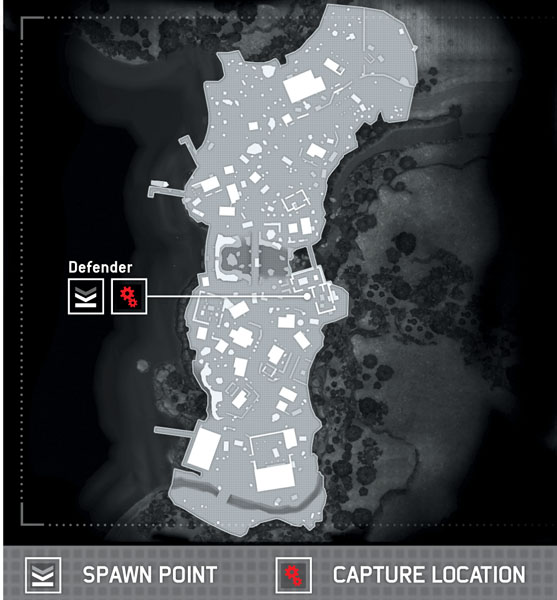
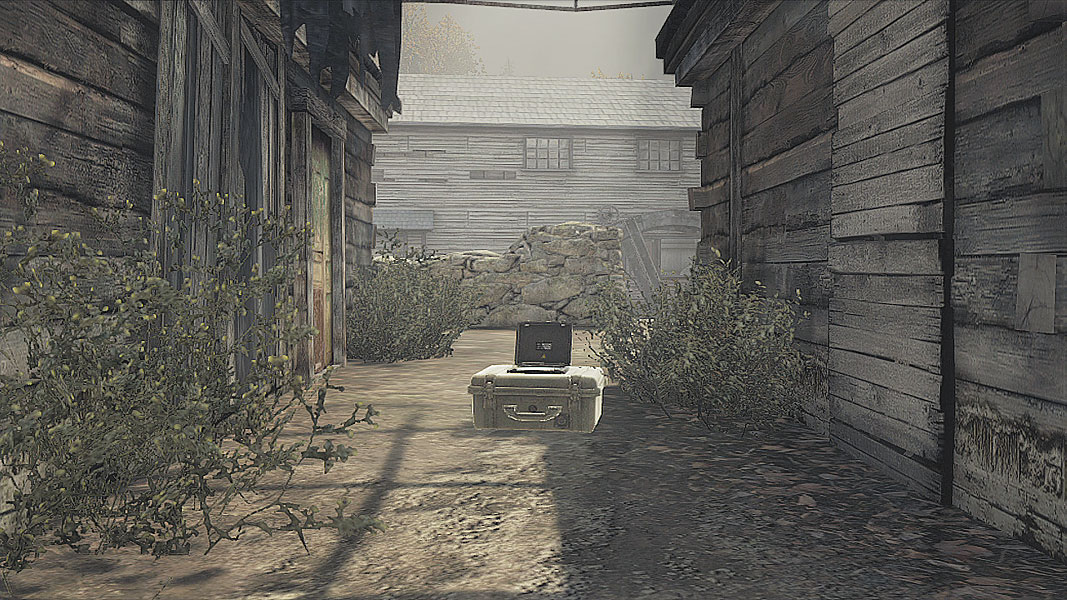
The Defenders’ spawn location and the capture point is sandwiched between two buildings facing toward the Mill House. Cramped and narrow, with plenty of opportunities to repel invaders, the capture location is rife with opportunities for sniping from the Mill House itself, as well as protective cover from smoke. Be wary of attackers swooping in from the Dam side of the map or trying to get the drop from behind. A well-placed grenade can end a capture attempt in one fell swoop if the timing is right.
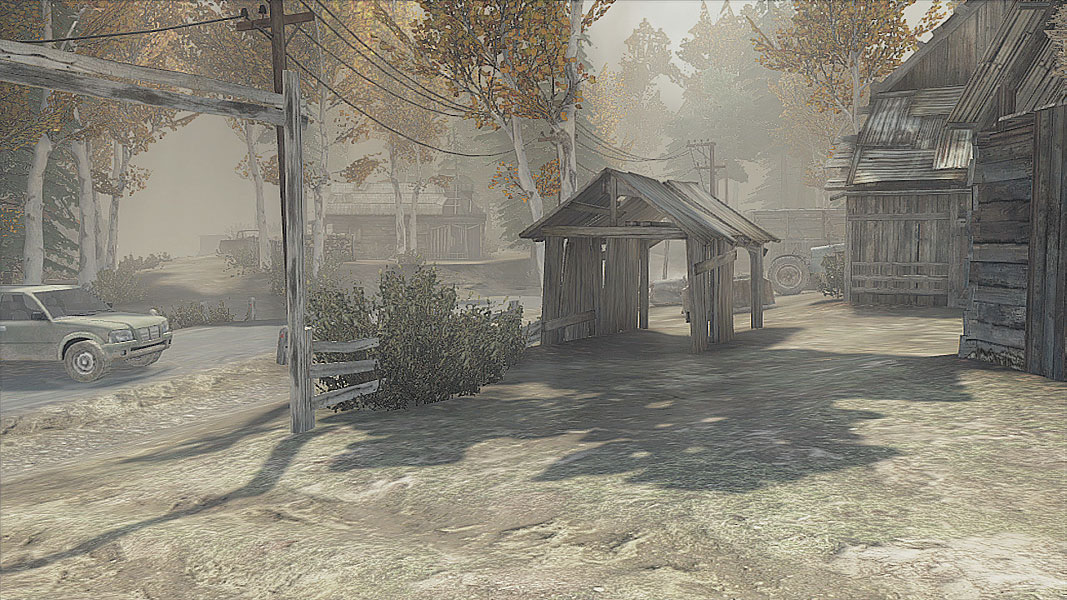
The name of the game for attackers is survival. The more of you there are to coordinate attacks on the Mill House, the better your chances of surviving long enough to finally capture that central location. Under no circumstances should a rush attempt be made to get in. With so many places to grab cover and fire into the objective location from the Mill House, defenders have the upper hand here. UAVs of your own can help with any defenders that might be taking up residence outside the Mill House itself. But a wide, sweeping arc that lets snipers whittle the defenders’ numbers are your best bet until you can make a concerted push toward one of the entrances, preferably one that has nearby cover from which to fire.