
Tom Clancy's Ghost Recon Future Soldier Guide Multiplayer Adversarial
Overpass
Overpass
Situation Report
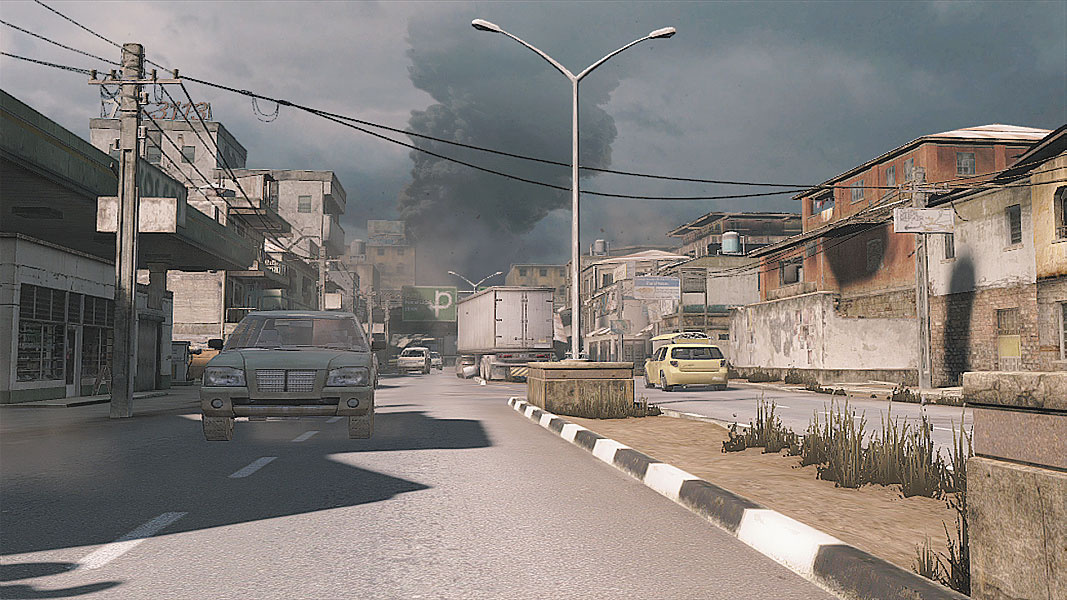
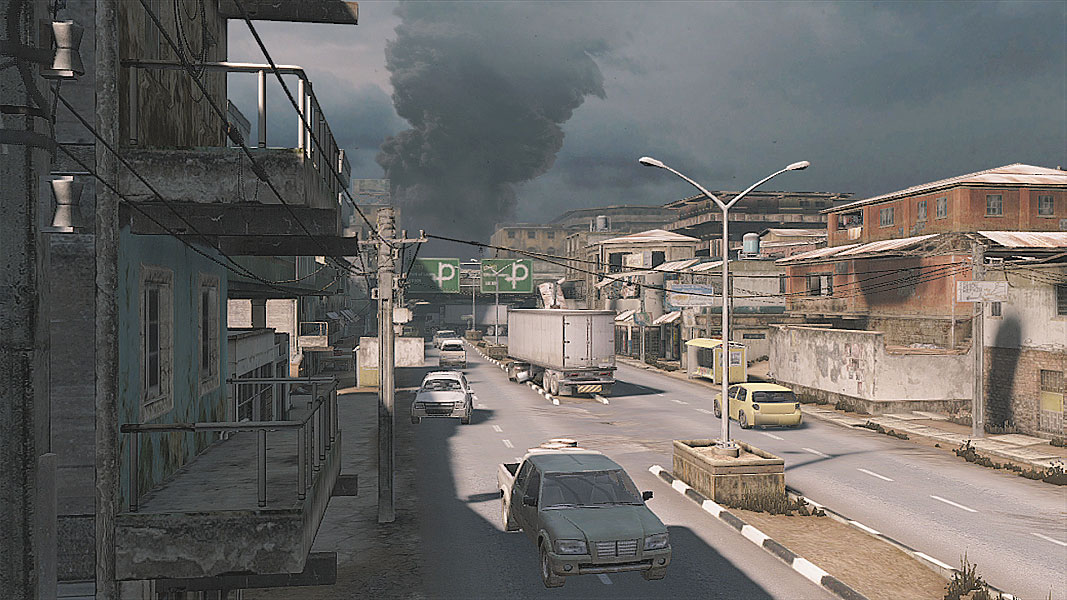
Mother Nature has a way of turning something seemingly solid into rubble in seconds. Such was the case with this busy town along a major road, complete with overpass allowing for plenty of through traffic. Unfortunately, an earthquake brought that overpass down with impunity, cutting off travel and leaving the town without major access. Residents and commuters alike abandoned their cars where they stood, leaving strategic places of cover ready-made for pushing up into the various buildings skirting the road. Intel is especially valuable in Overpass because the area is small and filled with tight channels of activity, which allows the tracking of enemies through walls and across the small map. Snipers for either team have high points that look out over the entire expanse of the street.
// Spawn Points (Conflict, Decoy, and Saboteur)
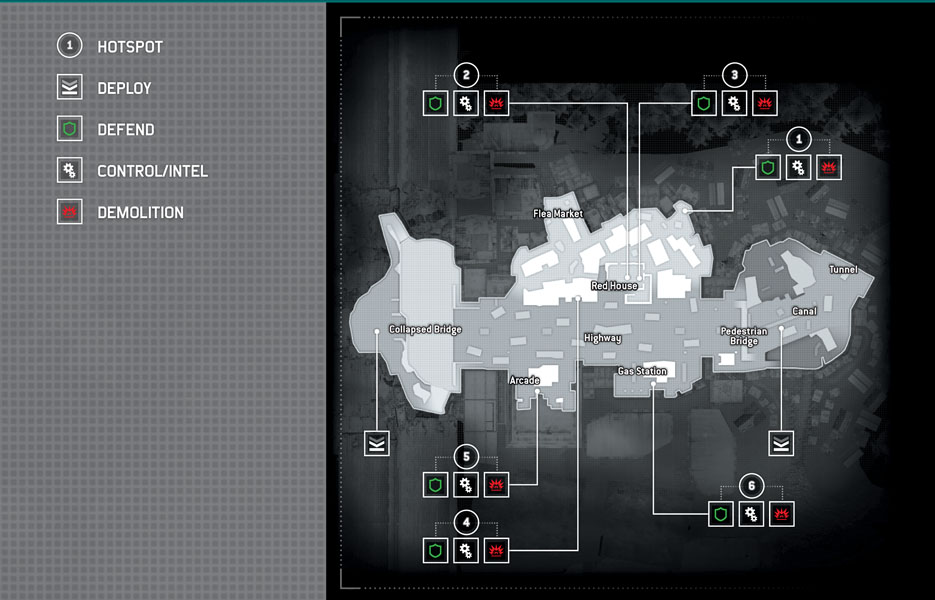
Ghosts funnel into the area from a dry creek bed that offers plenty of protection from prying eyes. Shortly after leaving the creek bed, players find a pair of staircases leading up to a well-protected Pedestrian Bridge that serves as a sniping vantage point pointed toward the Bodark spawn point. Make note of the three main areas off the road: the Gas Station, Arcade and residential area, as all three are littered with capture locations that will be used in the battles to come.
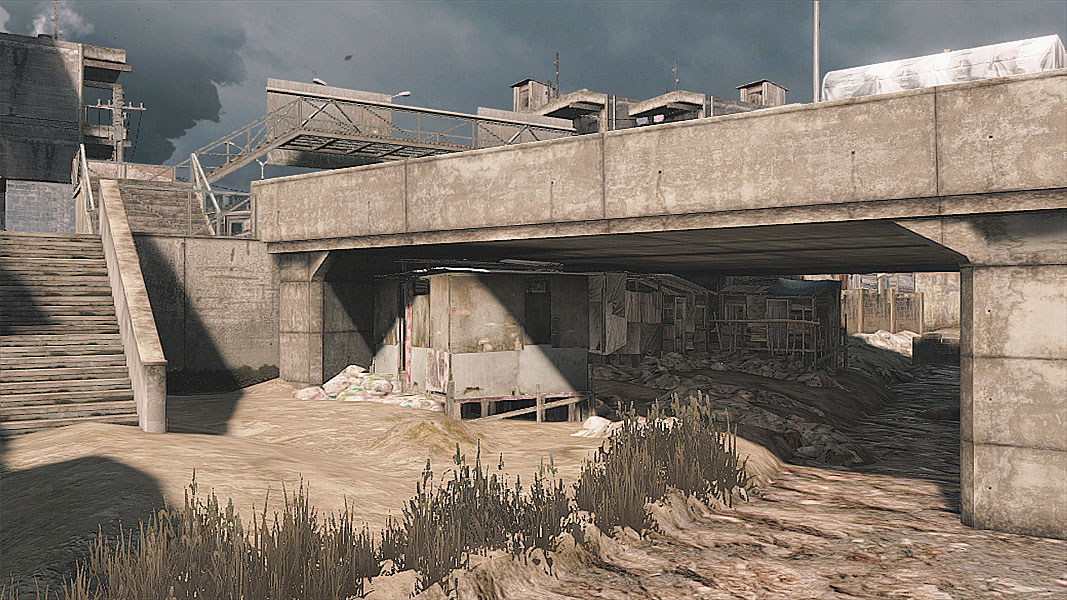
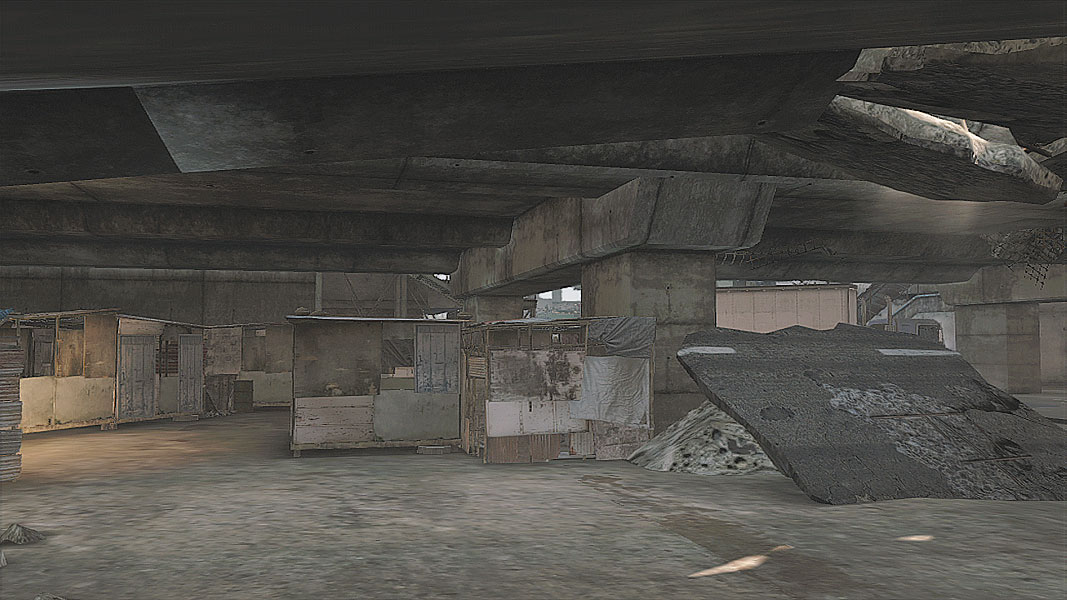
What’s left of the freeway Overpass marks the starting location for the Bodark forces. Because it offers a clearer line of sight out toward the road, the Bodarks can engage hostiles a bit more quickly than Ghosts right out of the gate, and their snipers have the freeway from which to take potshots at enemies trying to use the road to move up. The Arcade is a hotbed of activity, as is the route toward the Flea Market and the area that the Red House overlooks. Use the cars for cover if moving up, but be wary of enemy forces using the residential area to make sneak attacks.
// Points of Interest
Campers’ Delight
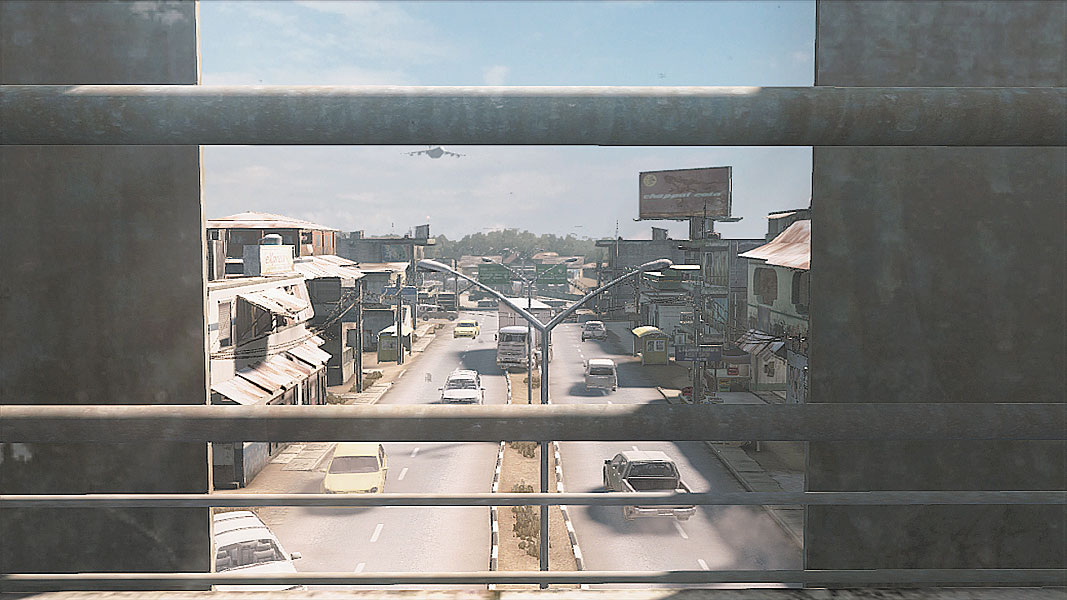
High, cover-rich areas that bookend the street mean snipers will have plenty of room to practice without too much risk of retaliation (at least from anything other than counter-sniping). Their positions of overwatch can help light up enemies trying to make a move through the streets. And although the various cars and trucks that litter the roadway make for more than enough cover from sniper fire, only careful movement between bits of cover will save them from crack shots.
Red House
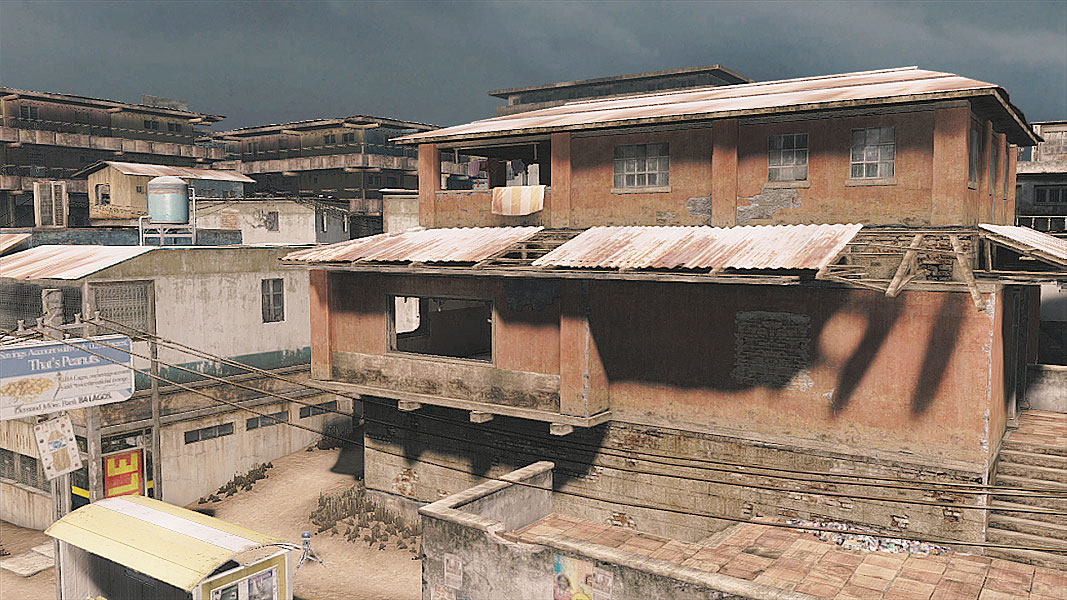
The Red House has such an innocuous name, but it’s home to three different areas rife with capture points. The two-tiered nature of the building and the fact that its windows overlook the street and parts of the alleyways mean it is a great place to dig in, and the right angles of the interior provide great corner cover spots from which to return fire. Learn quickly which of the two interior objectives is above and below so that you know which route to take to reach it. The upper objective will be on the right side of the building, while the lower one is in the middle. Many a rookie will head upstairs in an attempt to cut off an objective capture that’s actually taking place down below and lose valuable seconds in the process.
Flea Market
The labyrinthine back alleyways that lead off the main road provide ample cover from which to repel advancing enemies. Whenever proceeding through this area, particularly when there’s a nearby objective, keep an eye out for enemies that would try to ambush you. Use cover to cover movements to minimize exposure, and don’t even think of charging right up the middle of the main road leading to and from the Bodark spawn point. It’s far too open and enemies have plenty of time to set up their shots on you.
// Conflict
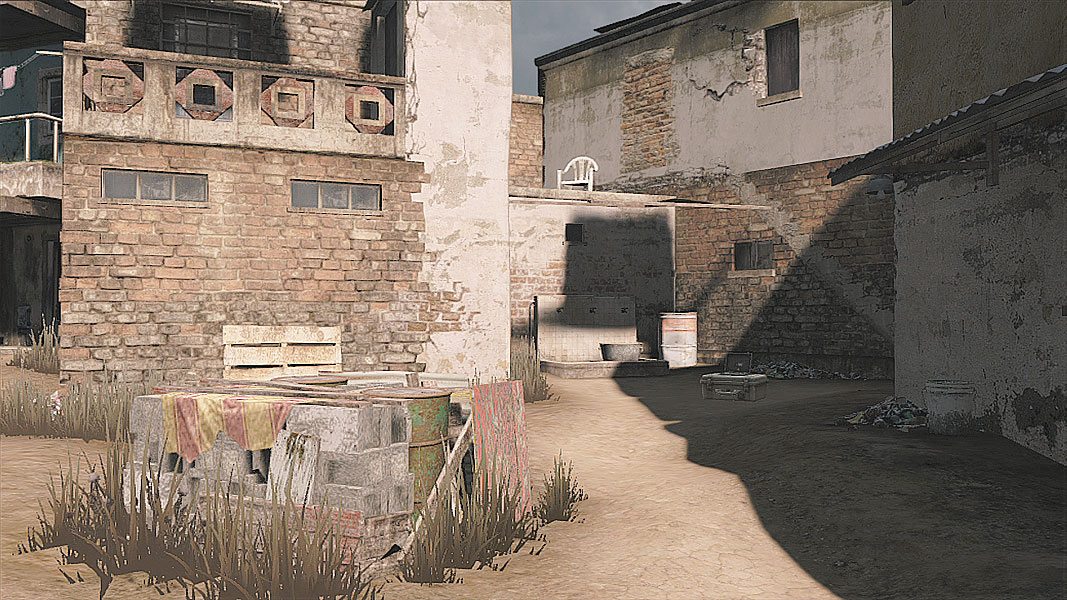
Many an Intel Sensor or Sweep will be fought over here, so spread out your team when defending around the low bits of cover. There are no less than four routes to attack from when trying to take the position, so coordinate with your squad members to either attack en masse or break up the assault along multiple channels. Likewise, spreading your defense here can help identify threats, but moving to quickly repel them is just as important.
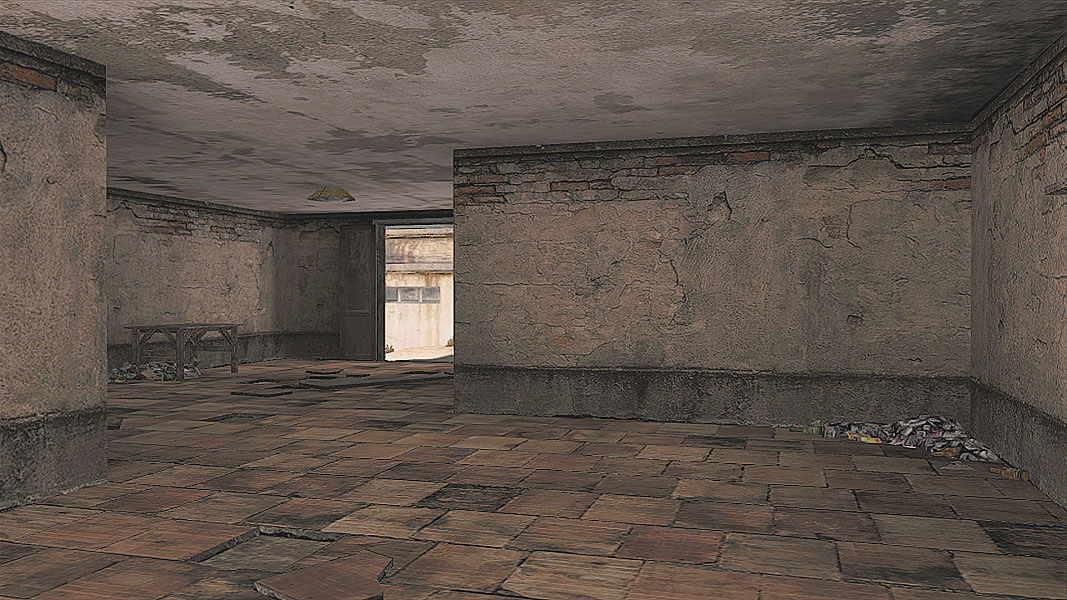
The Red House’s lower floor can be incredibly dangerous, thanks to wide openings at either end of its hallway. Capturing here should be done with teammates watching both sides, as either one has an equal chance of being the source of some kind of offensive effort. Grab corner cover to avoid standing in the open, and keep a watchful eye out for grenades from either side.
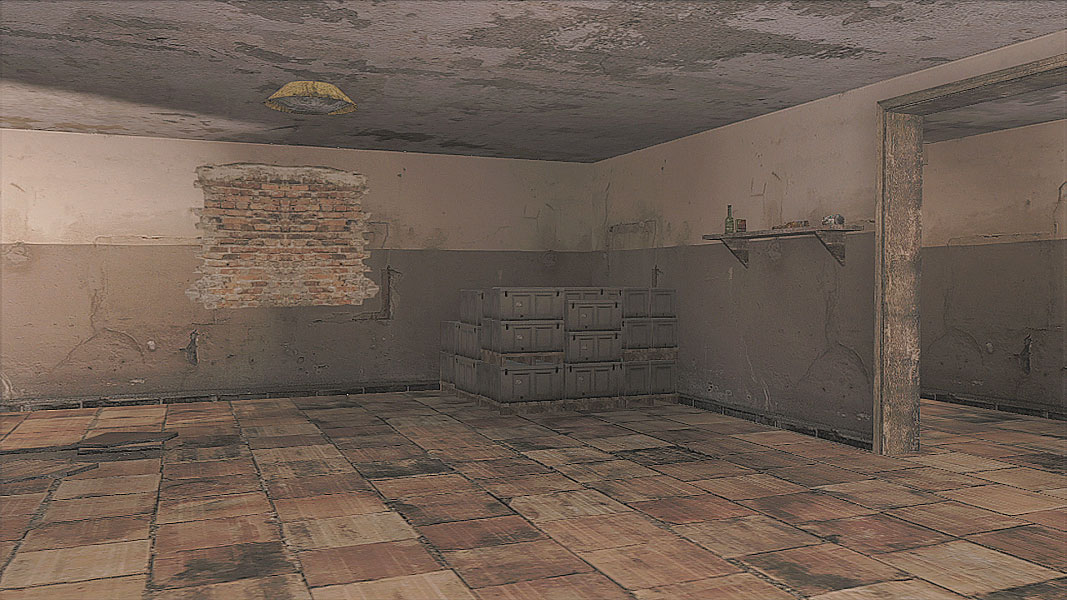
Although most players that are starting out will use the entrances near the staircase or the adjacent room to infiltrate the upper floor of the Red House, experienced players will know that the window looking out into the alleyway can actually be jumped through once a player takes cover underneath it. Use this to surprise enemies covering the doorways on either side, but only if they aren’t looking in the direction of the window, as the climbing animation takes a while to finish, which leaves you vulnerable.
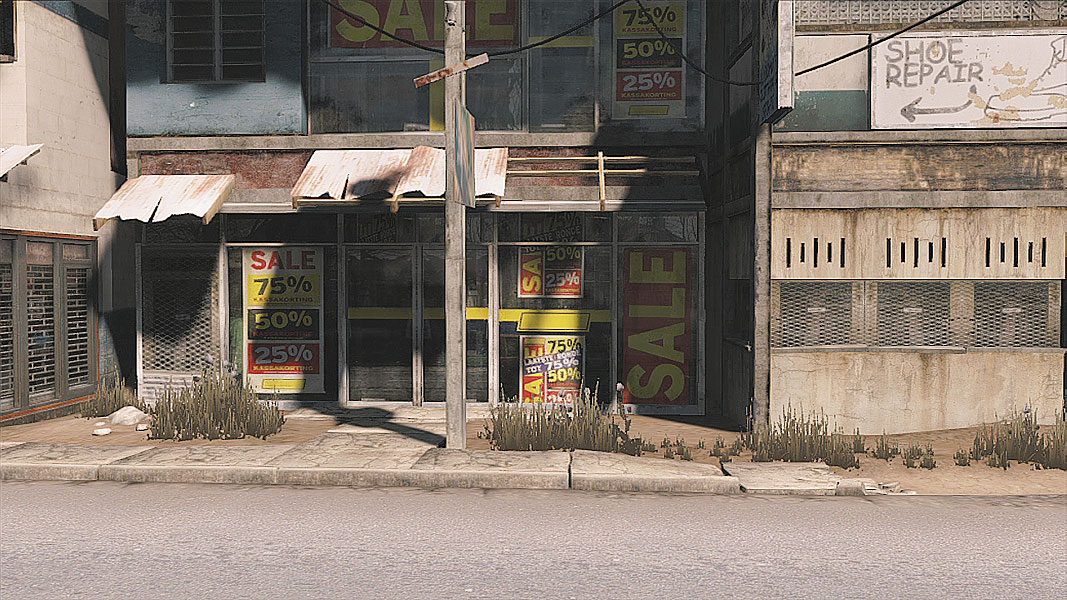
This little alcove near the closed shops just off the street is dangerous indeed, mostly because of all the easy cover the cars and trucks nearby provide for your enemies. Only attempt to capture this objective with squadmates, using the Confidence system to cut down on the amount of time it will take to grab it, then use the easy cover as a means of repelling any enemies that might try to retake the objective.
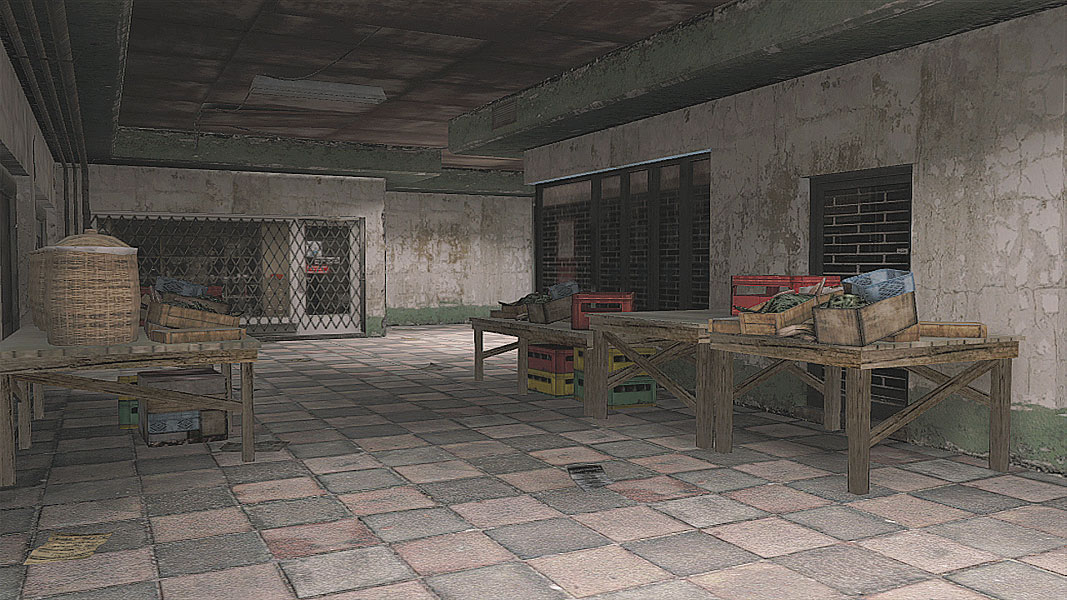
It’s never easy to capture an objective near an enemy’s spawn point, but the Arcade is especially perilous to Ghost teams trying to sneak in just seconds from the Bodark spawn. Expect grenades to be not just commonplace, but nearly constant. Trying to engage enemies from the right entrance is probably your best bet, but there’s no denying that this objective is going to be hard-fought. Use Confidence to reduce capture time as much as possible, but scramble as soon as the grenades come bouncing in. If one ally can survive an attack wave, spawning on him can help turn the tide, but it must be properly timed with as many squadmates as possible.
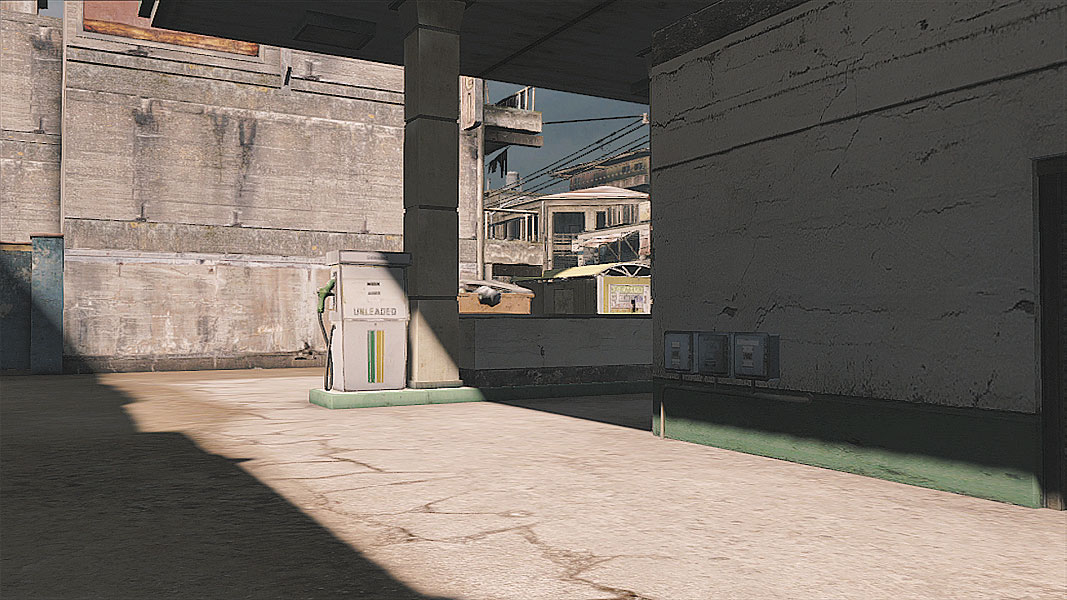
Nestled behind the Gas Station proper, the final objective for this map offers little in the way of cover from the direction of the gas pumps, and only a tiny bit more from the direction of the Ghost spawn area. UAVs above the Gas Station can catch enemies trying to sneak in, so deploy them whenever possible to give your team eyes in the sky. Remember that a UAV needn’t be manned to detect enemies, so park the aerial overwatch and switch back to your normal view to engage hostiles as they appear.
// Decoy
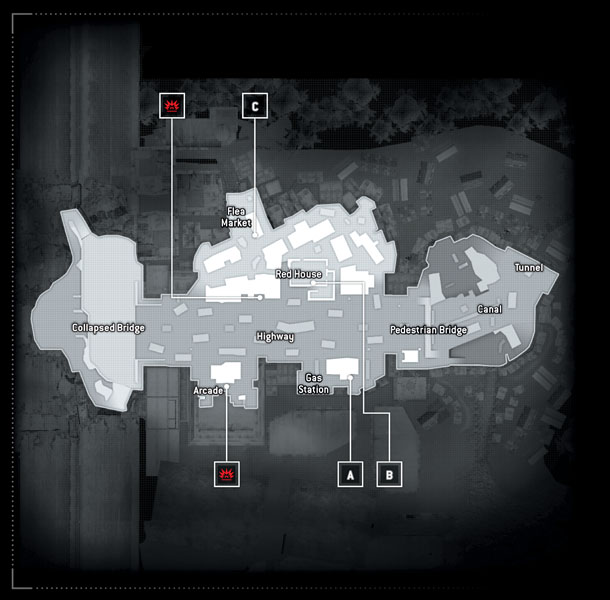
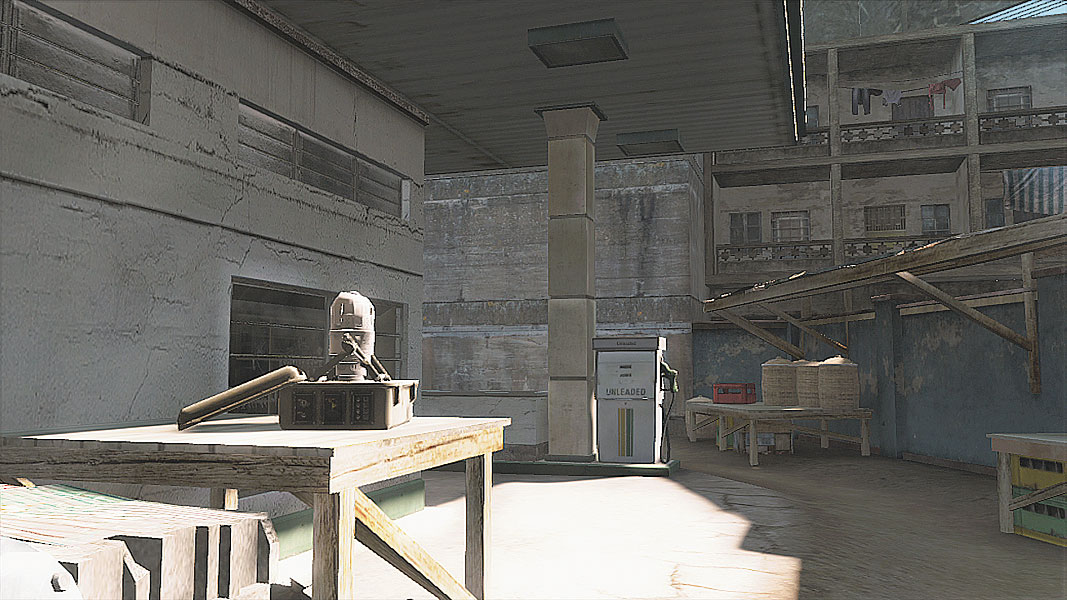
The Gas Station once again serves as a central capture point, and will likely be well-defended. For attackers, using an Engineer with an equipped Field Computer can help to cut into the time it takes to capture the objective. Remember that attackers only need to capture the objective to remove it from the list of possibilities; there’s no recapturing the point, so if you are defending, mark enemies as they appear to allow your whole squad to know where the threats lie so they can engage them quickly.
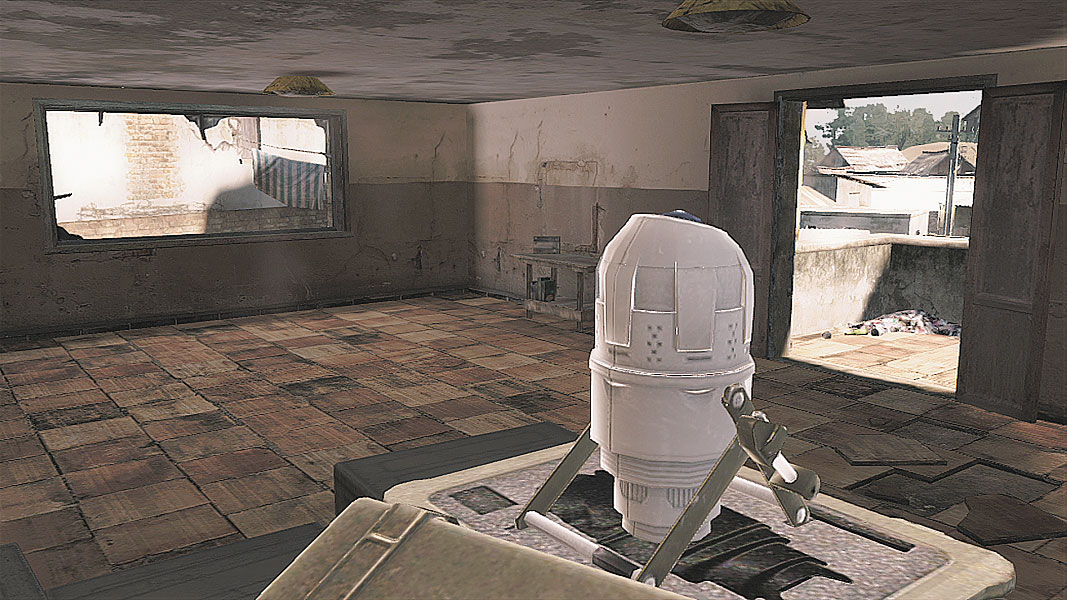
The upper area of the Red House serves as home to the second possible capture point. The window entrance can offer a quick peek into things, but a well-placed Camera near the entrance does a great job on both offense and defense by revealing enemy forces. Cover all entrances for the best chance of taking or holding the position.
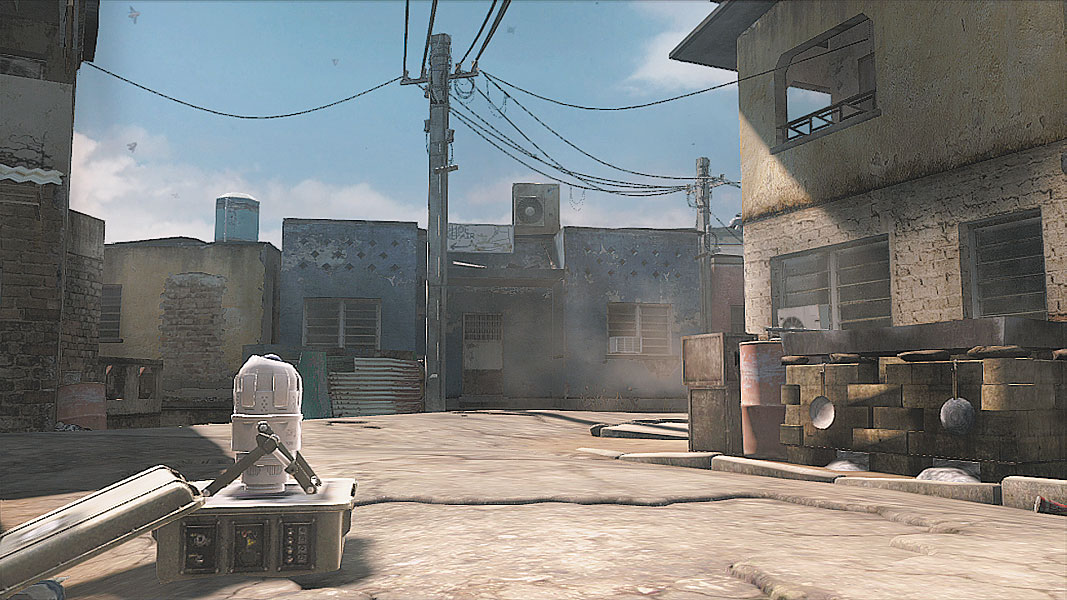
The Flea Market has quite a few areas where cover is plentiful, making it a great place for defenders to dig in and watch the main road leading toward the Market as well as the two alleyways that are potential points of entry. The elevation of the capture point means advancing enemies coming from the direction of the Bodark spawn point will have to move up before they can see anyone, so keep this in mind when defending or attacking.
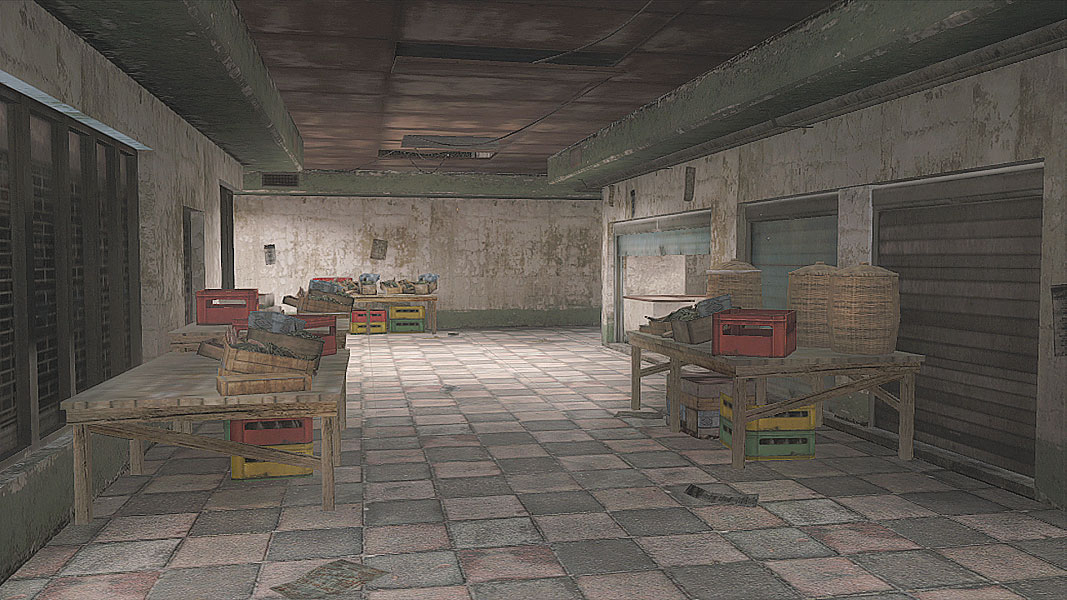
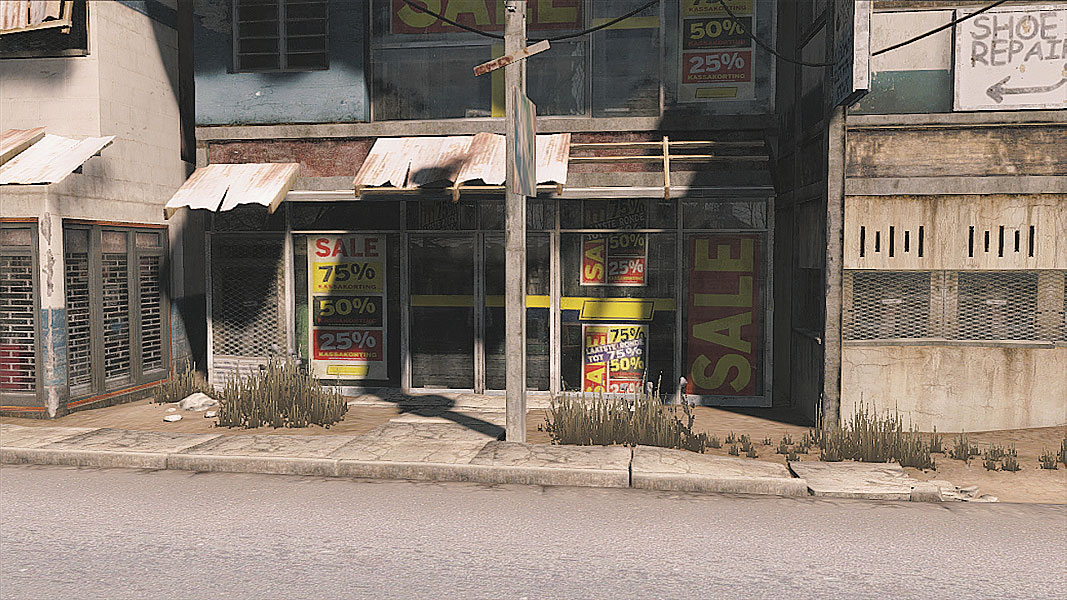
Upon revealing the true bomb plant location, things get considerably dicier. One location, not surprisingly, is the Arcade, making grenade battles common.
The second potential bomb plant location happens to be the same largely unprotected storefronts right off the main road, which means plenty of resistance from the nearby cars. Lobbing Sensors to get a peek through those bits of cover or using a UAV to peer down can help defenders spot incoming threats or attackers weed out the defense.
// Saboteur
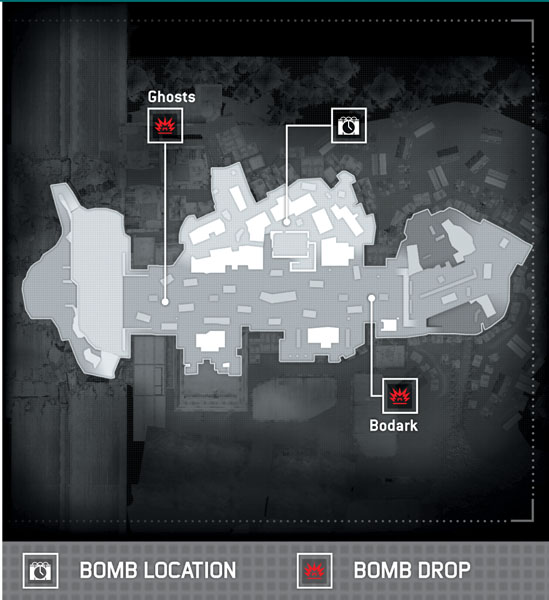
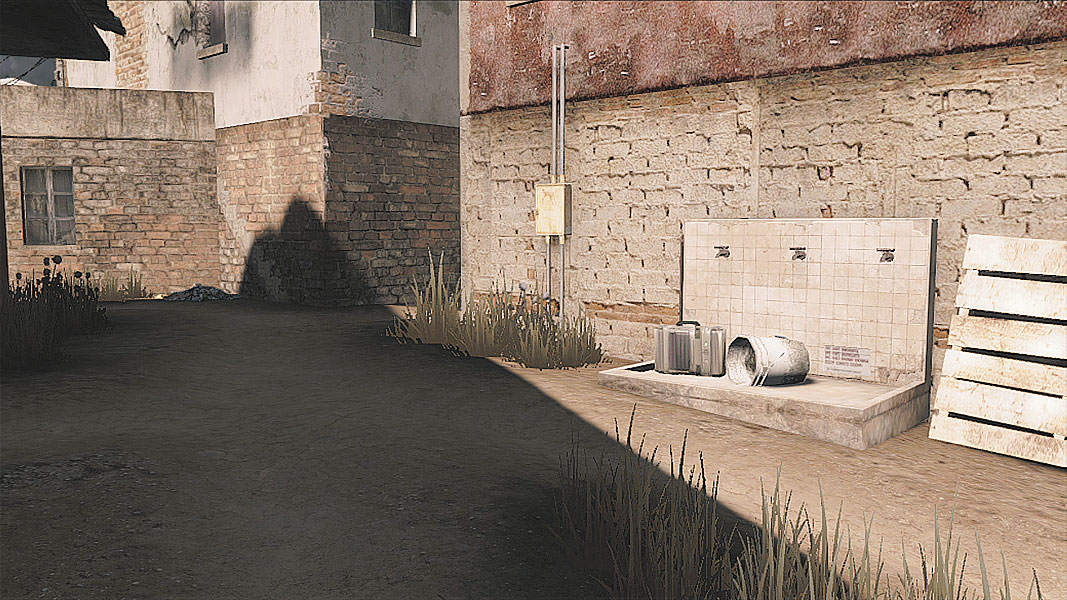
The bomb this time is actually located up and out of the way of the main street, near the Red House. Securing the bomb isn’t terribly difficult, but the multiple routes to it mean that holding onto the bomb is quite a bit worse. UAVs can simply be parked near rooftops out of easy sight lines to spy on the bomb carrier, and having that kind of intel is crucial to stopping bombing attempts. Move in quickly, secure the bomb as a group, and then move toward the objective with speed.
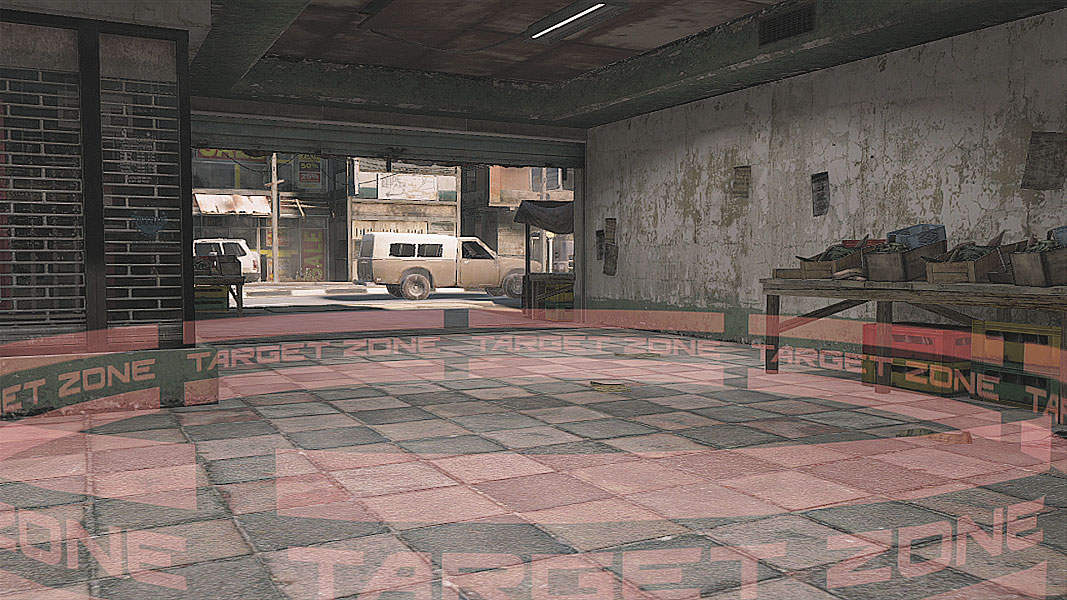
The Ghosts must bring the bomb to the hotly contested Arcade area, so expect plenty of grenade-flavored opposition.” Because of the long sight lines, snipers can be extremely dangerous. Use UAVs and Sensors to paint a picture of the surrounding area before moving into it.
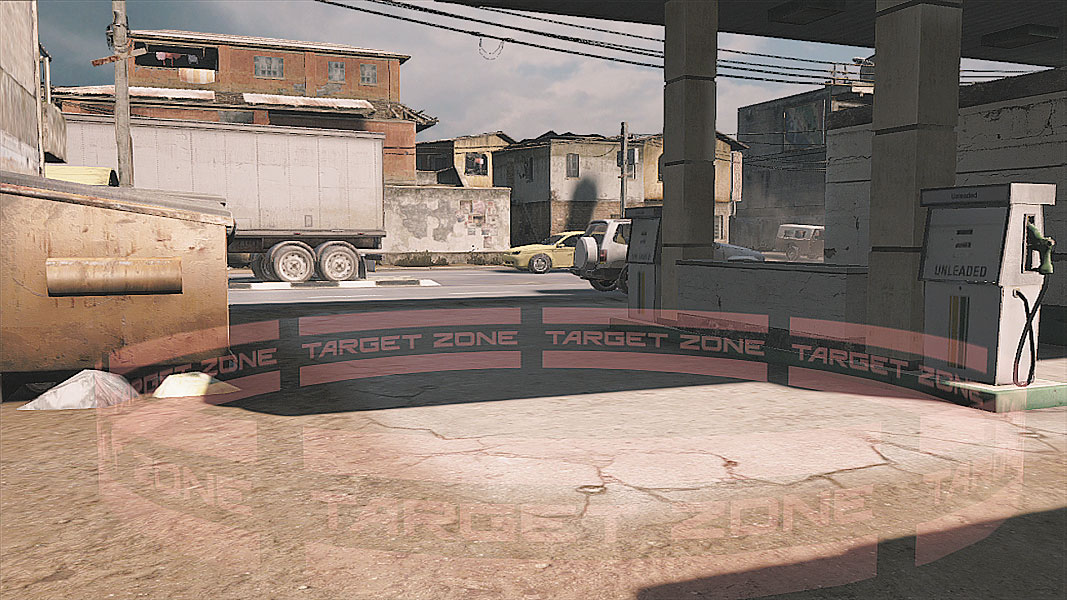
While Ghosts have a fairly well-protected bomb drop, Bodarks must bring the bomb to the gas station, an area that’s vulnerable to long-range fire from the Red House and flanking fire from the other side of the gas station. The same advice holds true here, including getting as much intel-collection equipment out into the area beforehand as possible. But remember that sniper Scouts can cloak to shield themselves from Heat detection. Watch the Pedestrian Walkway carefully.
// Siege
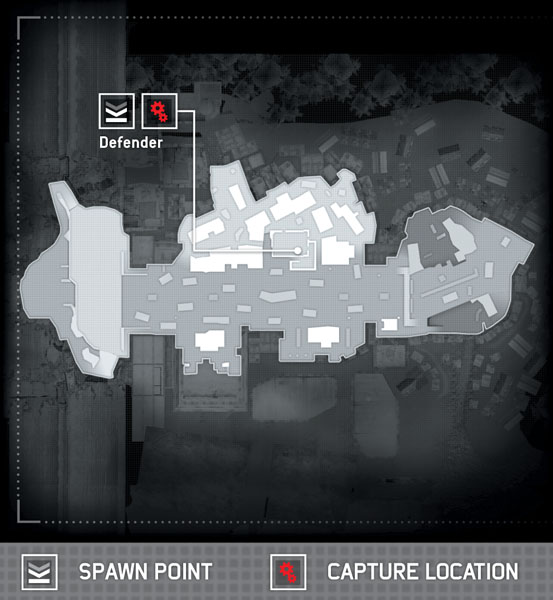
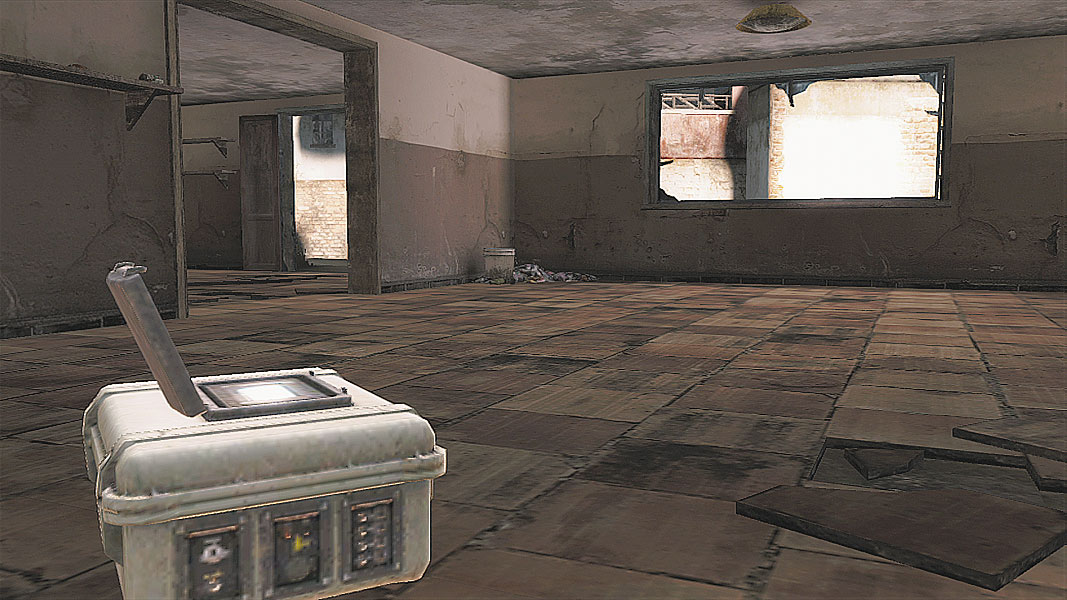
Sensors and UAVs are a must here in the cramped quarters of the Red House. Luckily, the routes of entry aren’t all that numerous, though the approach routes into the house area definitely are. Intel is key here, and defenders should expect plenty of smoke, EMPs, and grenades chucked in from the outside. Keep a few teammates around as floaters to manage incursions. They should move between entrances as needed to repel the invasion but stick to cover. These are valuable lives at risk.
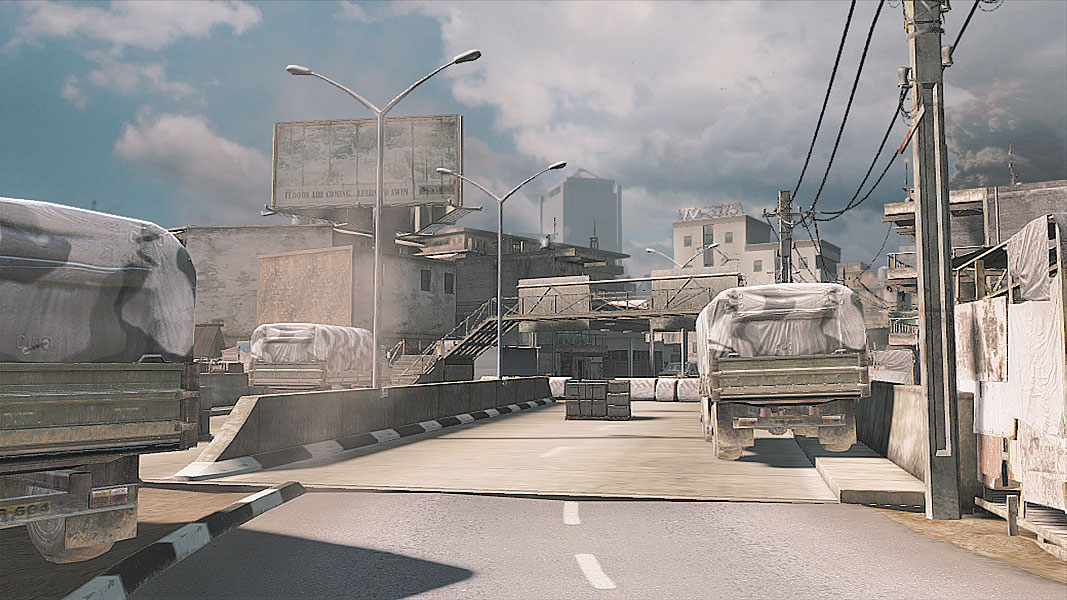
Attackers have the disadvantage of being pretty easy to spot with intel-gathering devices. A concentrated rush, however, or a pincer attack that crashes multiple entry points at the same time could overwhelm unprepared defenders quickly, allowing time to set up and begin capturing. Again, just as in the case of Decoy, using a Field Computer can help speed up the process, but the key here is clearing out the defenders before ever moving in to attempt to capture.