
Tom Clancy's Ghost Recon Future Soldier Guide Walkthrough Nimble Guardian
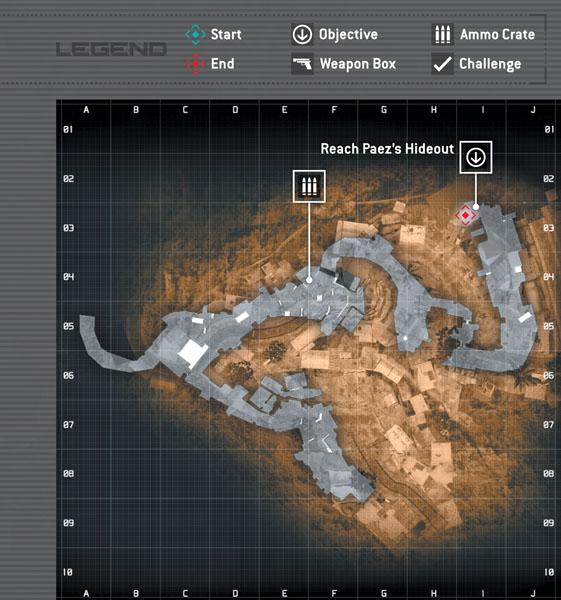
Reach Paez’s Hideout
Reach Paez’s Hideout
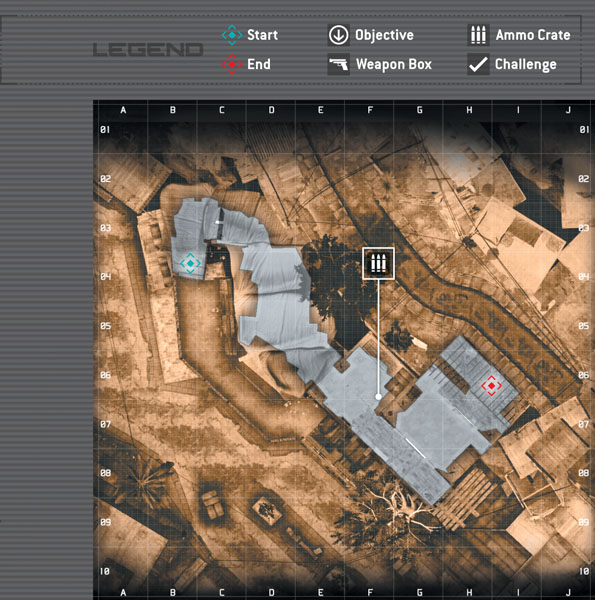
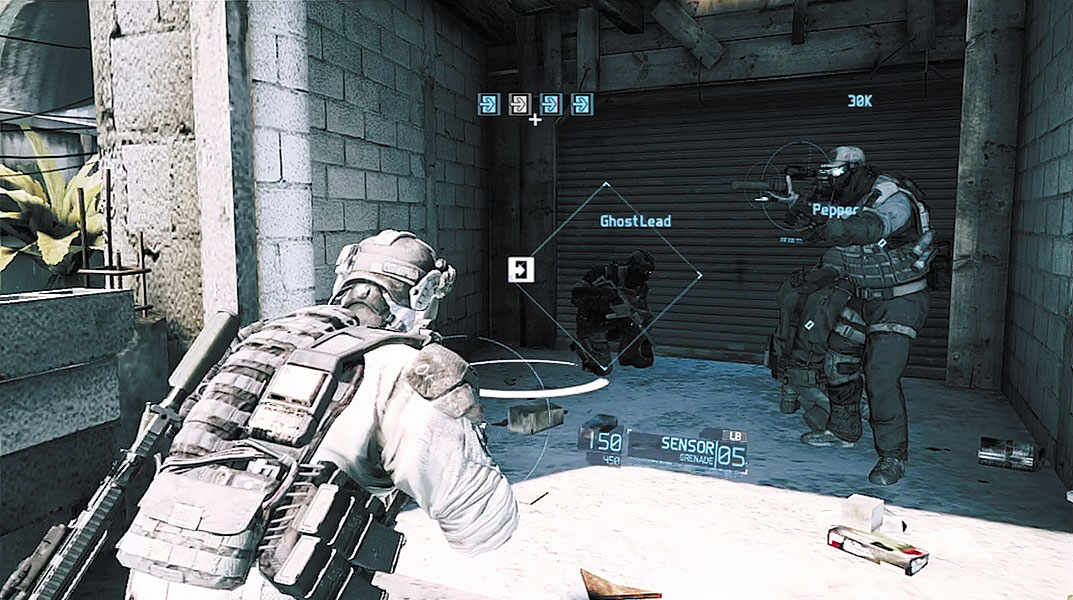
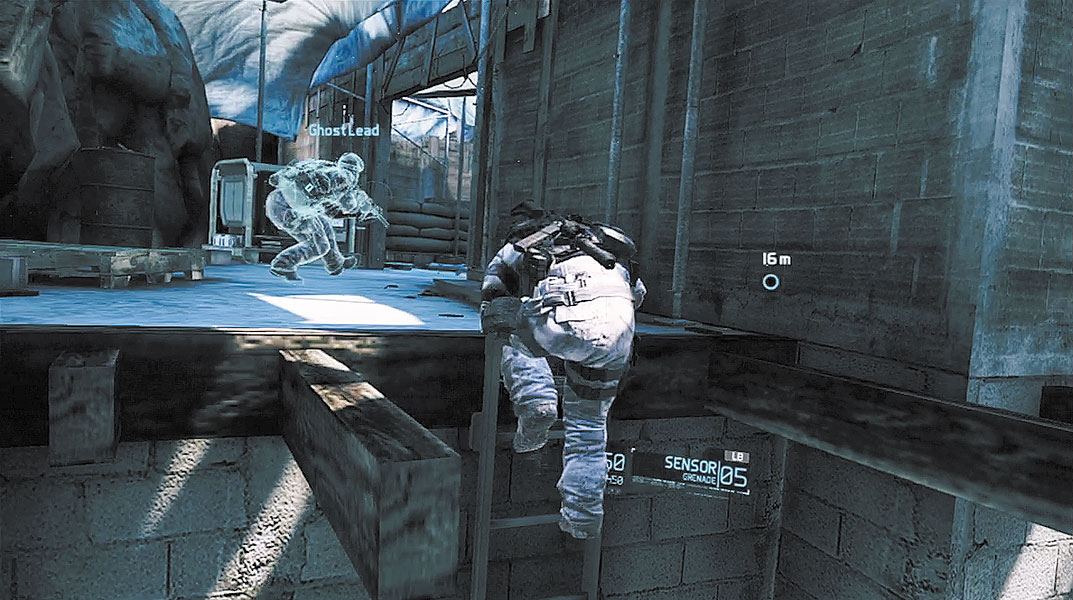
The extraction of Paez was a failure. It is believed he has taken refuge at his hideout. Your team must now reach his hideout and extract him as initially planned. Regroup with your team by the sliding door. This is a point where your four-man team must be together before proceeding. There’s a white circle on the floor in front of the door. Move into this white circle to initiate entry. When playing co-op, all non-AI players must move into this area before proceeding. Beyond the door is a ladder. Hold down the button shown on the HUD to interact with the ladder, then climb to the top.
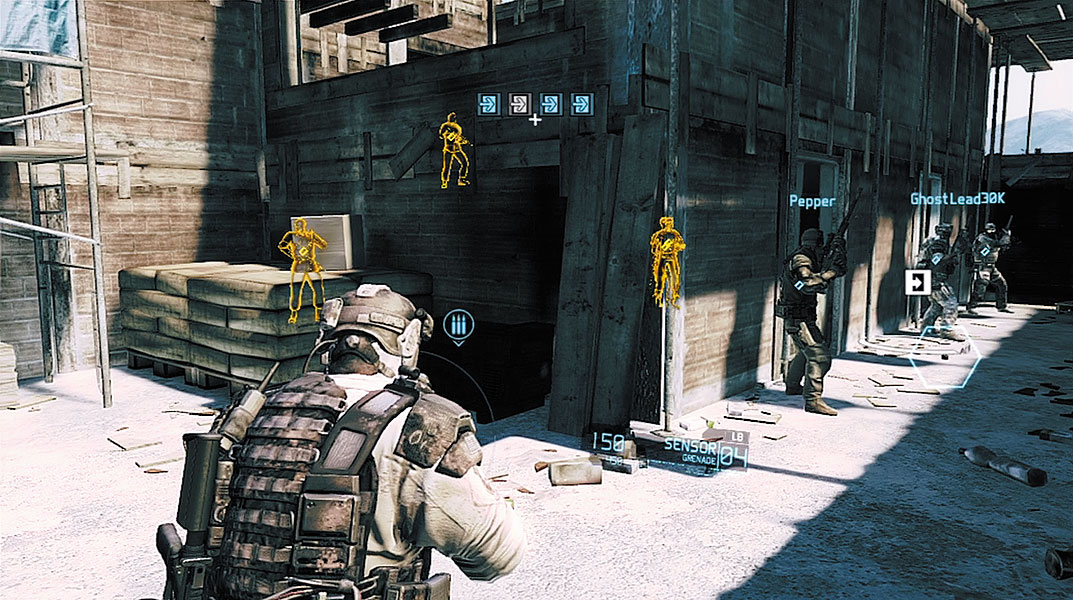
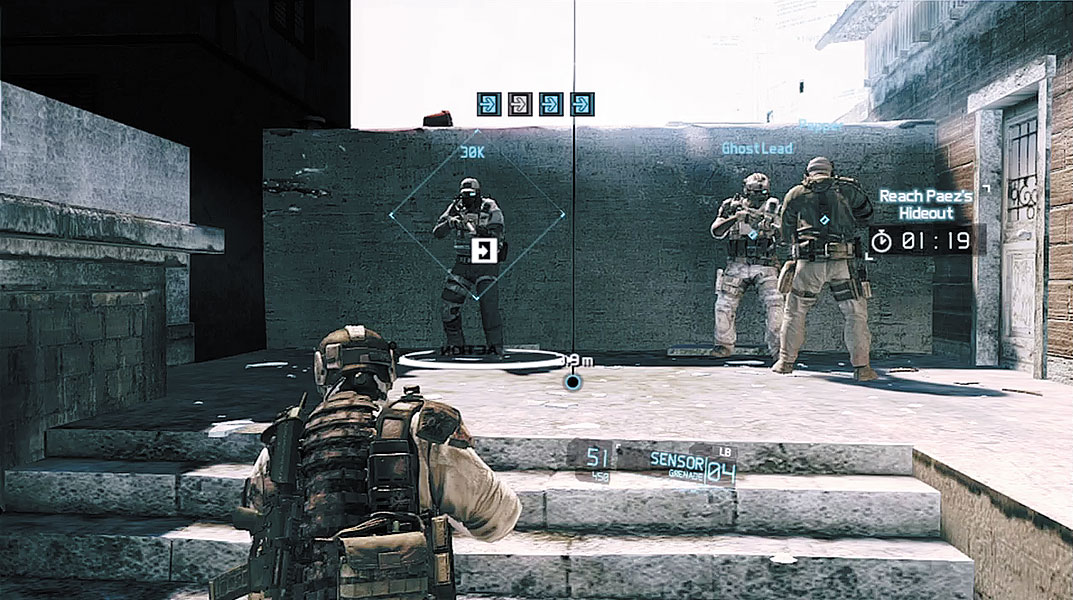
Just ahead is a small structure with two doorways. Before moving toward one of the doors, toss a Sensor near the structure to reveal four enemies hiding inside—you can top off your Sensors at the nearby ammo crate before proceeding with the entry. While your team prepares to make entry, move into the white circle next to one of the doors. Your operative automatically stacks up on the door and prepares for entry. Before giving the breach order, get an idea of what enemies you’ll target as soon as you enter.
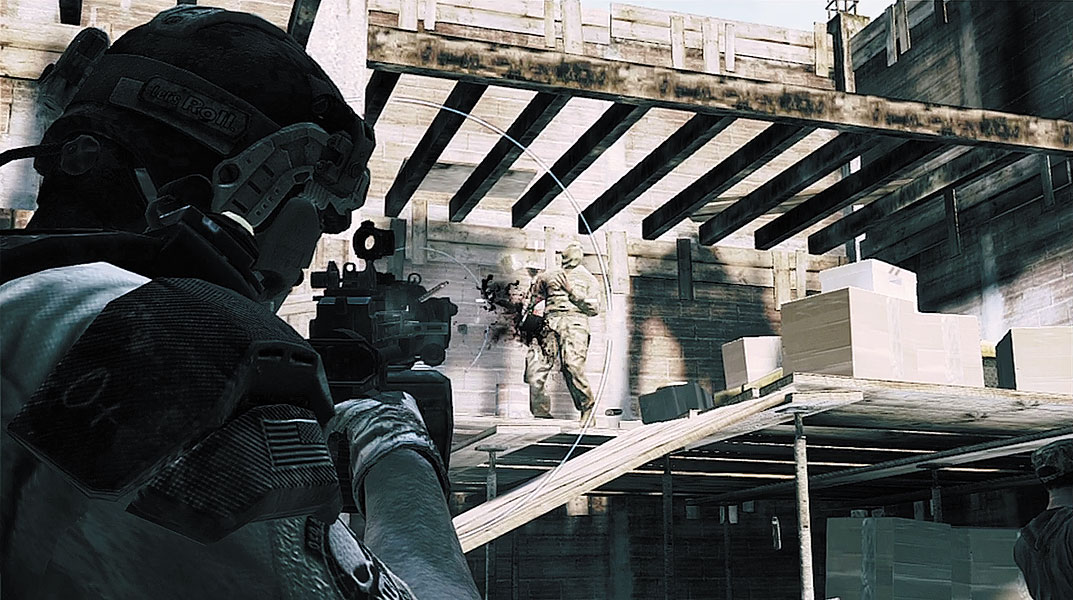
When you’re ready to enter the structure, give the breach order. At this point the action slows, giving you ample time to take aim at the enemies as your team performs a dynamic entry. Sweep your weapon across the room from left to right, gunning down any hostiles that are in your direct line of sight. This gives you the chance to hit any targets missed by your teammates. If all goes well, all enemies will be dead within a second, demonstrating the expertise of the Ghosts. Follow your team upstairs and prepare to pass through another sliding door.
Favela Streets
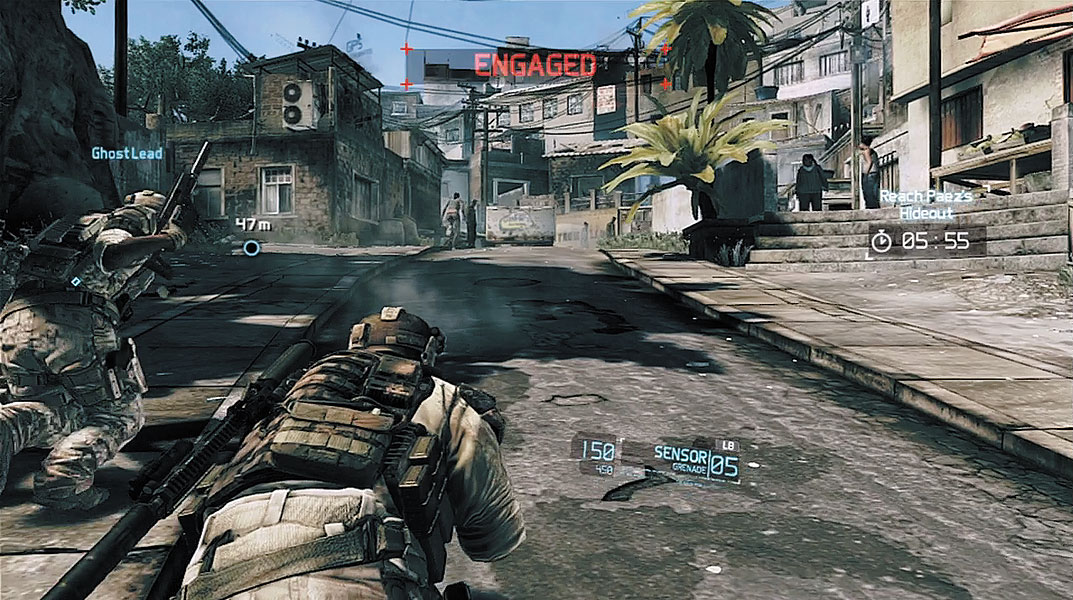
Your team emerges onto a cramped city street. There isn’t much time for sneaking around now. Anyway, the enemy already knows you’re here. This becomes clear when the word “Engaged” flashes across the top of the HUD, indicating that your team has been spotted. Immediately dash into cover wherever you can find it and toss a Sensor toward the muzzle flashes at the end of the street.
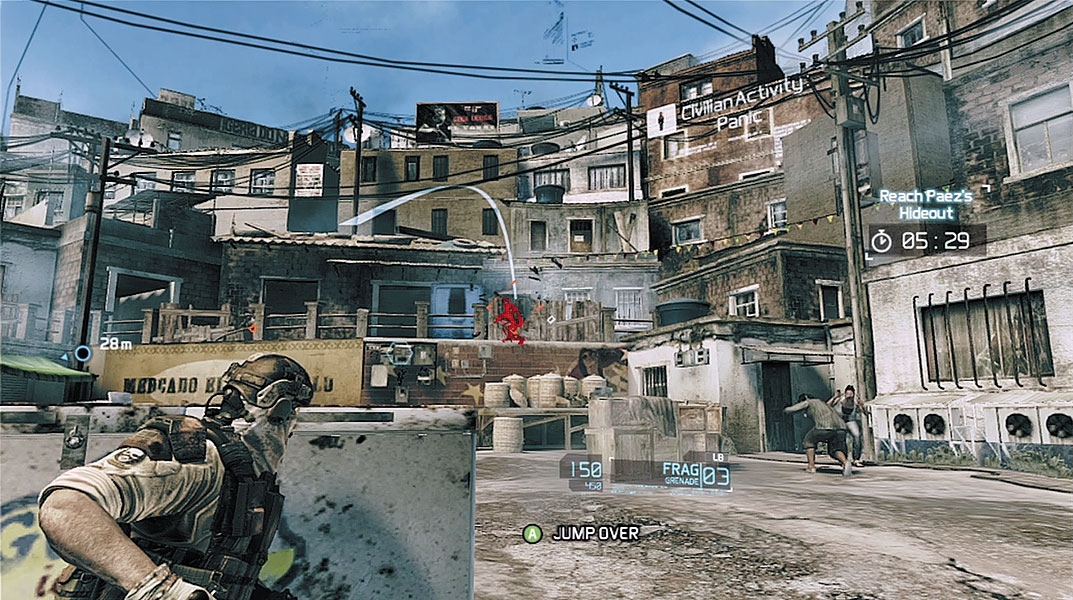
Multiple enemies have taken up positions on the raised walkway at the end of the street. This is a good opportunity to deploy a frag grenade. Follow the on-screen instructions to select a frag grenade, then initiate a throw. Make note of the white arc that appears; it represents the trajectory of your grenade—this works just like throwing a Sensor. Adjust the trajectory so the grenade lands next to at least two enemies. The arc that appears makes it easy to toss grenades with great accuracy. The arc even accounts for bouncing the grenade off surfaces such as walls, showing you where the grenade will ultimately land. Experiment with different grenade tosses to eliminate these enemies. Finish off any survivors by firing through cover. Move out as soon as all the enemy contacts have been eliminated.
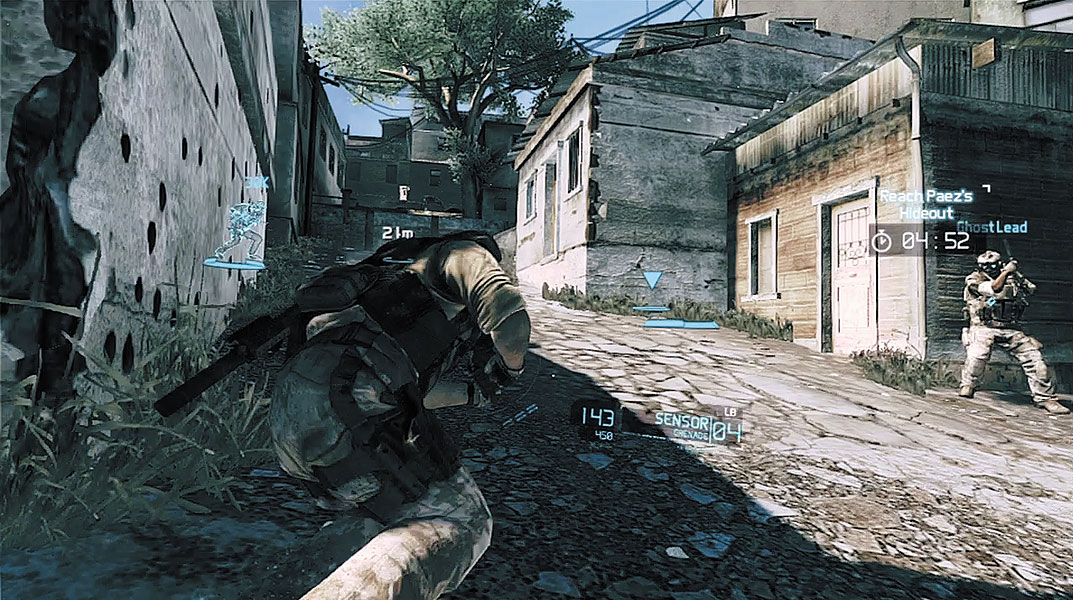
As you advance down the adjoining alley, a pickup truck equipped with a mounted machine gun moves into view ahead and spews automatic fire in your direction. Immediately take cover along the left side of the alley. There’s no way to get a good shot at the gunner from this position so you’ll need to maneuver and flank from a different direction. Start by swapping cover to the right side of the alley. Move the camera view until a blue ring icon appears at the base of the wall on the right side of the alley—this highlights a suitable cover position. Once you’ve located a spot to move to, hold down the button shown on screen to swap cover. Hold down the button until the move is complete. Your operative dashes across the alley and assumes a covered position.
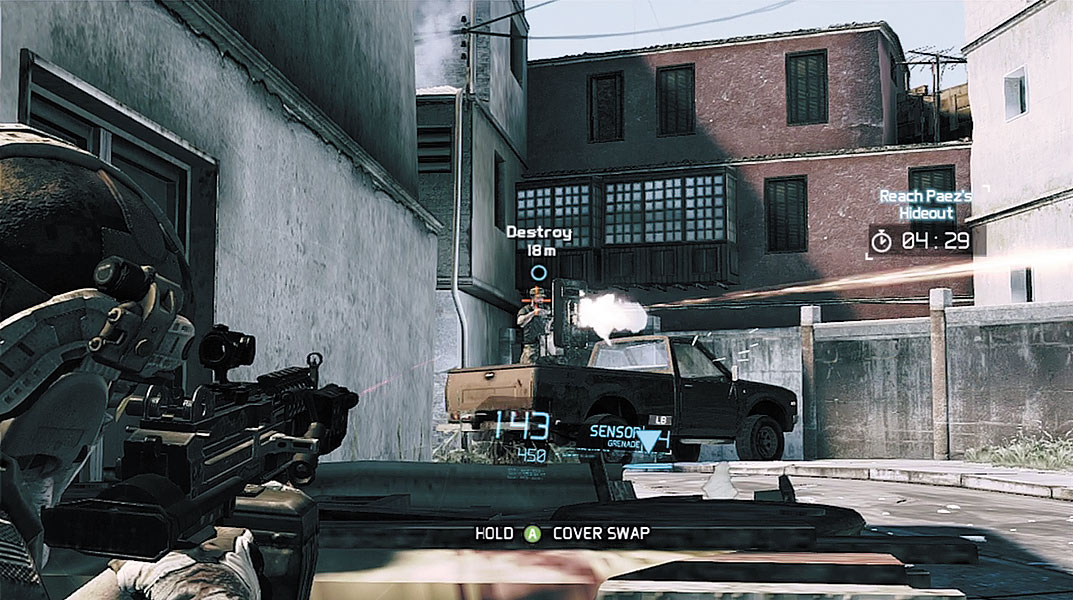
From your new position on the right side of the alley, peek out to the left and spot a new covered position at the base of the wall just beneath the pickup truck. Swap cover to this position to escape the machine gun’s field of fire. Once you reach the wall, turn to the right and climb the nearby steps. Take cover behind the crates on the left side of the path to spot the gunner in the pickup. Peek over the crates and neutralize the gunner with a single shot to the head. As you can see, swapping cover is a quick and effective way to maneuver, even if you’re under heavy fire.
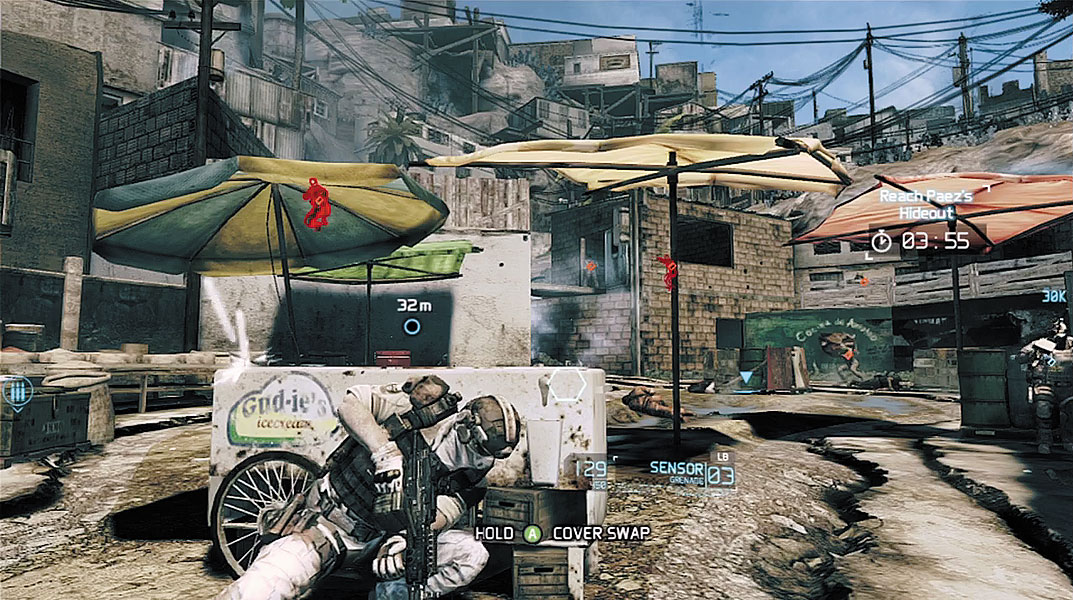
Once the gunner in the pickup truck is down for the count, turn toward the next waypoint marker and advance up the street—but don’t move too far. Take cover behind the car in the street and lob a Sensor ahead to spot multiple enemies waiting to ambush your team. Using the intel from the Sensor, methodically pick off each gunman, one by one. If necessary, push forward using cover swaps until you can engage all the contacts. Grenades are great for taking out the enemies hiding behind windows. Once all the threats are eliminated, visit the ammo crate on the left side of the street to stock up on Sensors and grenades.
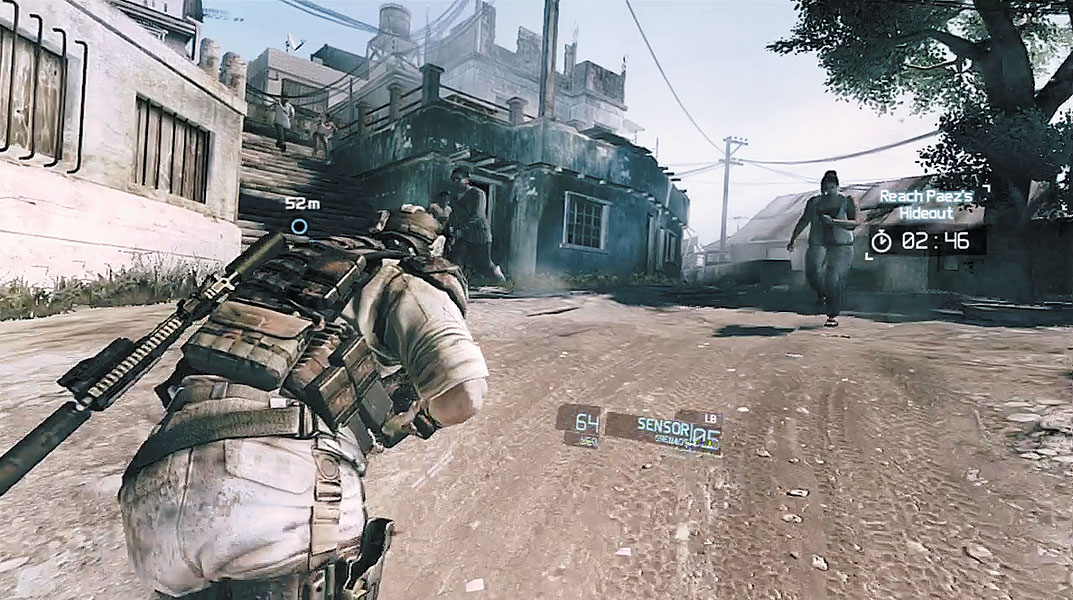
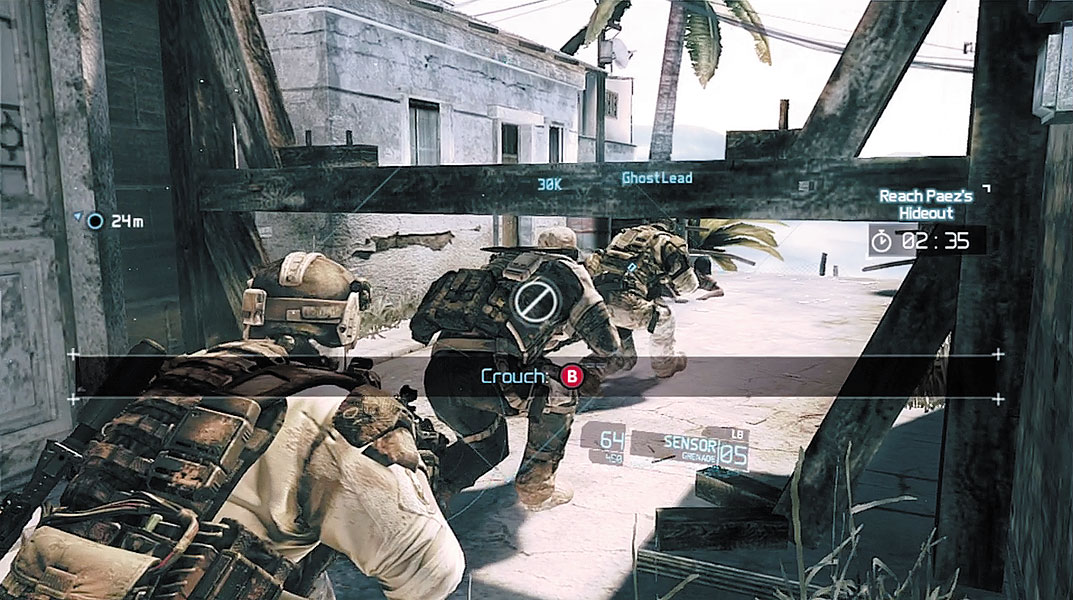
Follow the waypoint markers deeper into the favela as a crowd of civilians comes rushing in your direction. There are no hostiles in this group, so hold your fire and rush up the slope, pressing the button shown on-screen. The rush function causes your operative to sprint. While rushing, you cannot fire and lateral movement is reduced. As a result, rushing is best used when you need to move quickly in a straight line. At the end of the street, turn left and crouch beneath an obstacle in the path by pressing the button shown on-screen. Drop off the nearby ledge and turn left to continue your advance toward Paez’s hideout.
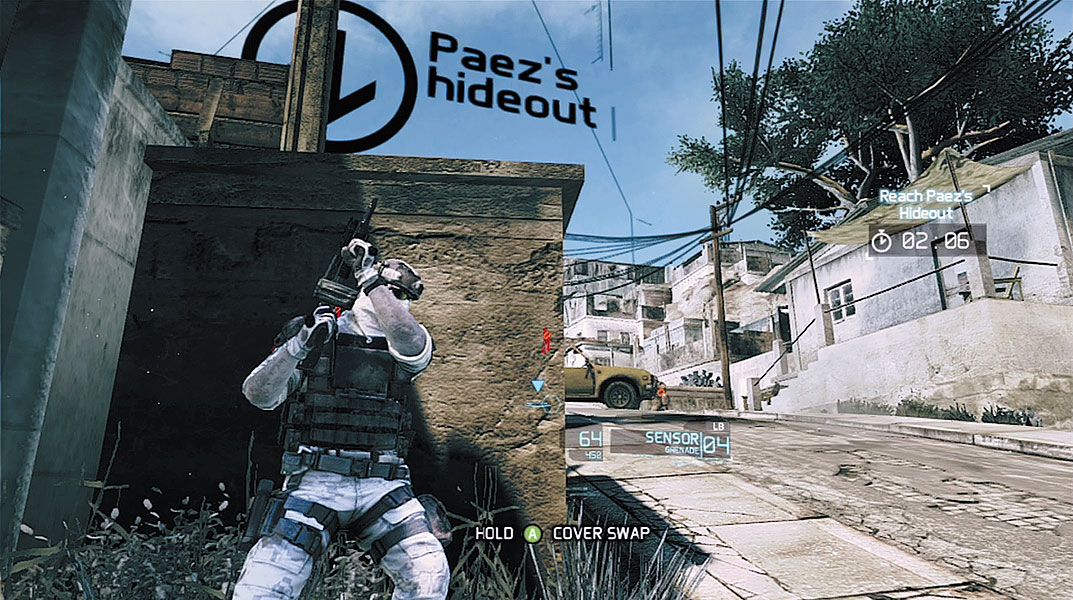
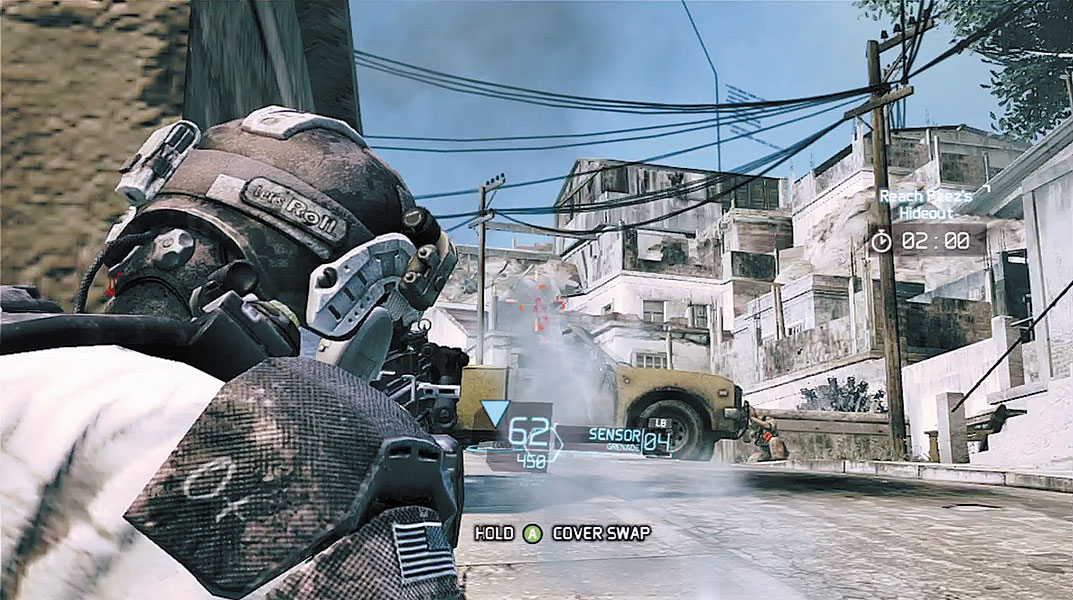
When your reach the next intersection, a cutscene shows two vehicles exploding due to an impact from an rocket-propelled grenade (RPG). When you resume control, your operative is already behind cover on the left side of the street. Peek out of cover long enough to toss a Sensor as far as you can. This reveals the locations of all hostiles, including two enemies carrying RPGs positioned on rooftops on the left and right sides of the street. Incoming RPGs are deadly, so you need to eliminate these threats quickly. Start by picking off the RPG soldier on the right side of the street. Peek out of cover and take aim—at this range, the scope view is helpful for hitting your target.
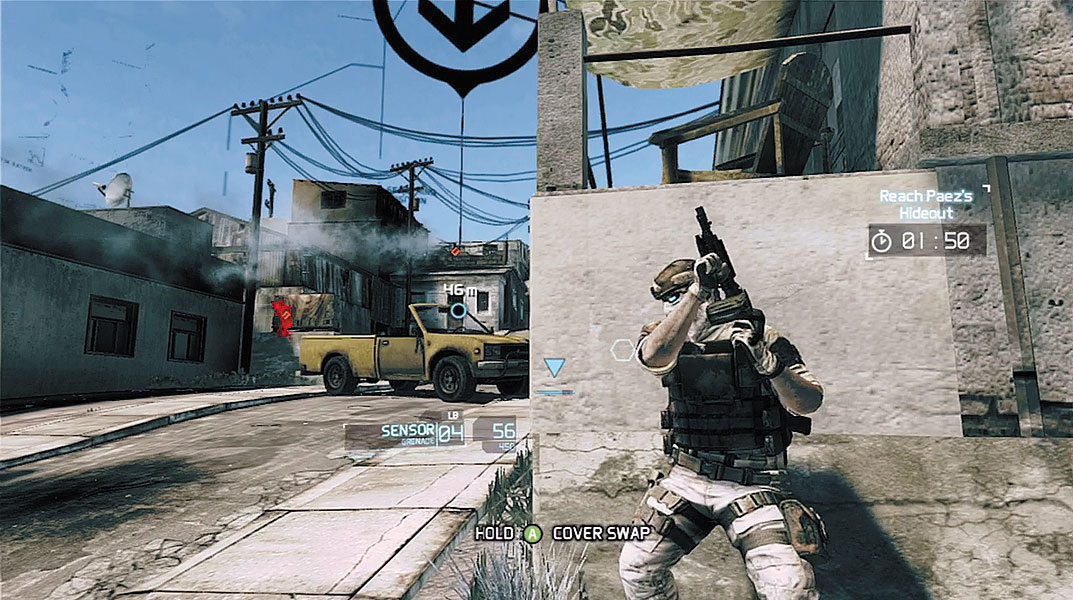
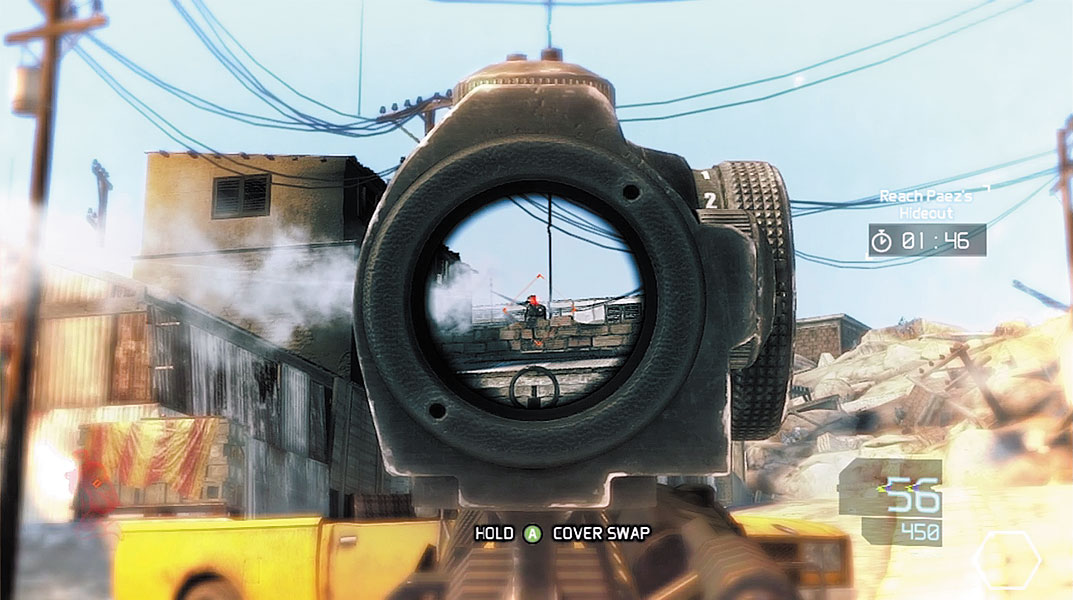
Once the first RPG soldier is down, swap cover to the right side of the street. From here you can spot and engage the second RPG soldier in the distance. Once again, take aim using the scope view to end the incoming barrage of rockets. Mop up the remaining hostiles, then rush toward Paez’s hideout before time runs out. Regroup with your team at the next waypoint and watch as the Ghosts help each other over the wall. If your entire team doesn’t reach this wall within the allotted six minutes, you must restart from the previous checkpoint and try again.
Hideout Entrance
Enemy Profile: RPG Soldier
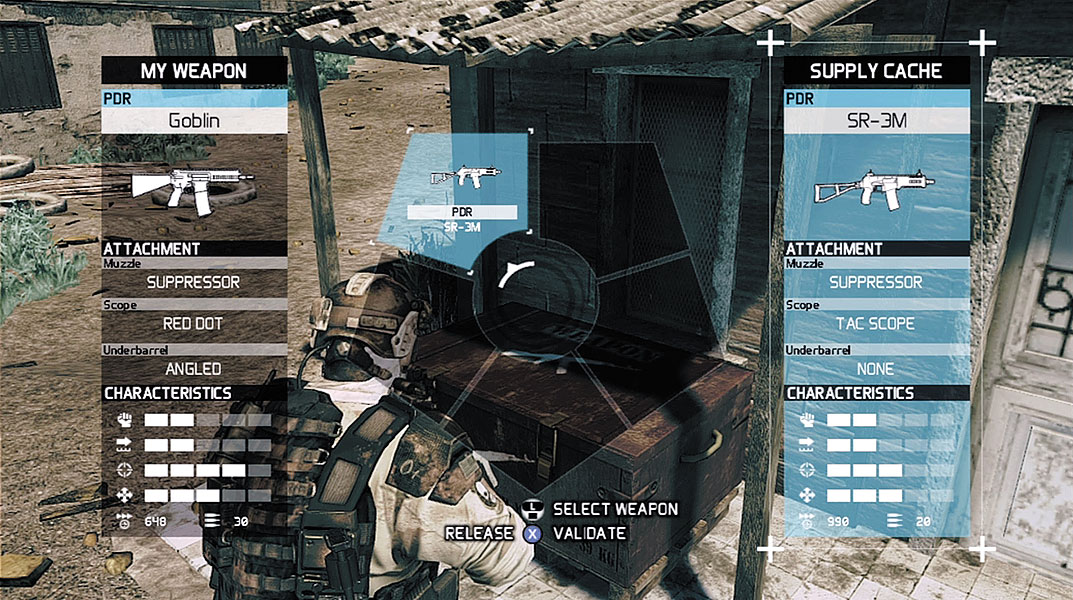
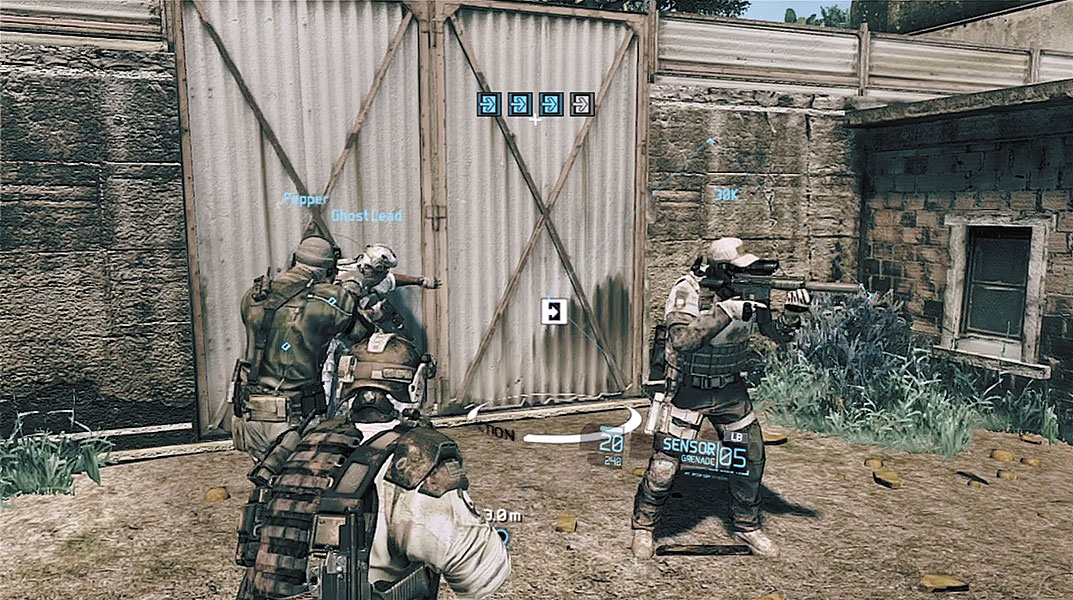
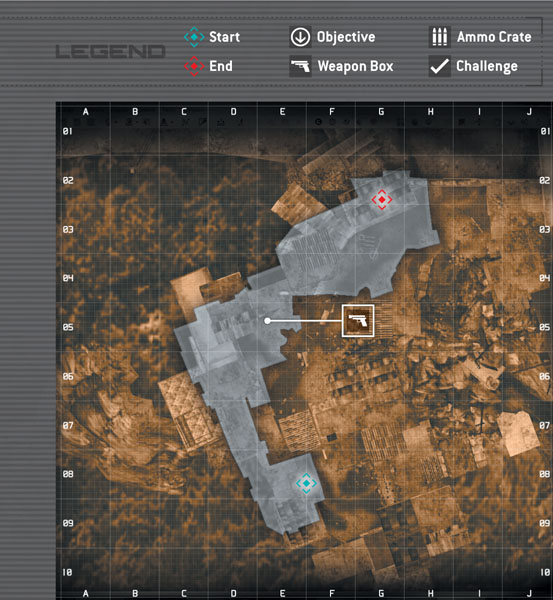
On the other side of the wall, there’s a weapon box, which allows you to select a weapon with a suppressor. Before interacting with the crate, switch to your secondary weapon. When interacting with a weapon box, your currently selected weapon is exchanged for a weapon pulled from the box. So always equip the weapon you want to ditch before interacting with the box. A weapon box can hold up to five different weapons. By selecting the options in the radial menu, you can view each weapon’s stats and attachments. In this instance, you can choose a suppressed SR-3M PDR from the box. If you already have a suppressed weapon, you do not need to take the SR-3M. But make sure you have a suppressed weapon before moving into Paez’s hideout. After checking over your weapons, regroup with your team at the entrance to Paez’s hideout.