
Tom Clancy's Ghost Recon Future Soldier Guide Multiplayer Adversarial
Market
Market
Situation Report
Not long ago, this Market was filled with the din of shopkeepers hawking their wares, customers haggling for a deal, and lively conversation. Now, the only sounds one is likely to hear are sporadic bursts of gunfire, as the once-bustling Market is nothing more than a ghost town in a constant tug-of-war between opposing factions. Littered with alleyways and side routes, the main Market is a clear funnel for activity, but shoot-outs can happen just as easily while navigating the tight spaces surrounding it. The Market itself doesn’t sport terribly long sight lines, thanks to plenty of cover, but the bus station is wide open for snipers, so stick to cover or avoid it altogether.
// Spawn Points (Conflict, Decoy, and Saboteur)
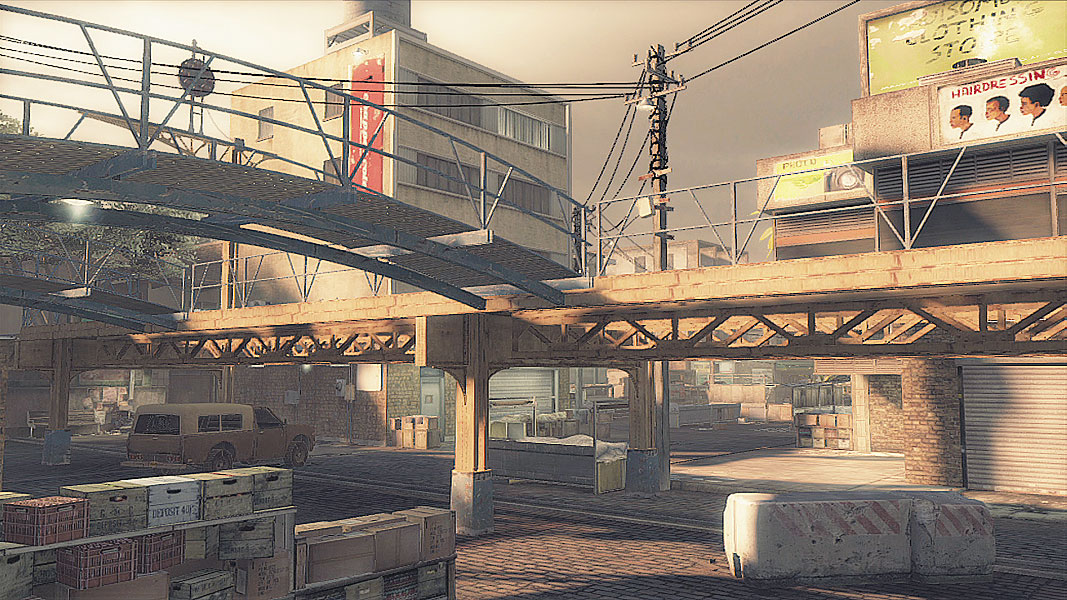
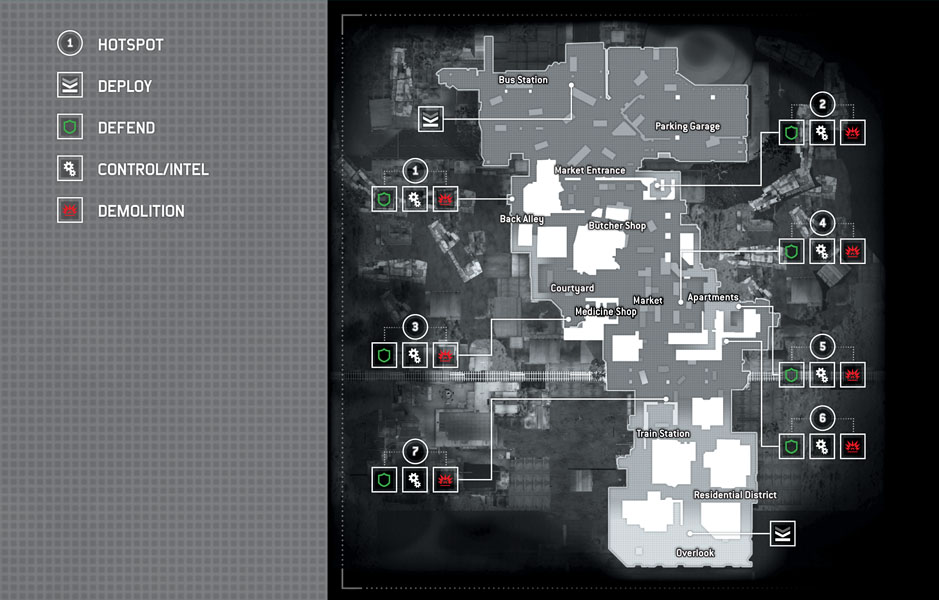
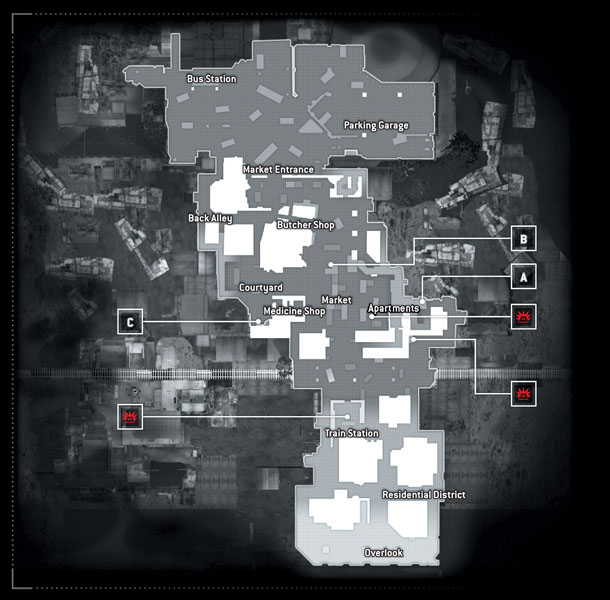
An elevated back alley dubbed Overlook serves as the Ghosts’ area of deployment. Just a quick sprint to the elevated railway system stop, the Ghosts’ spawn point is filled with clean right angles that are perfect for grabbing cover—a good thing considering one of the key Conflict objectives and a bomb planting location in Decoy are both situated in and around that station stop. A trio of entrances down into the main Market offer quick routes into the alleyway system on either side, which make covert approaches into the level simple and with cover along the way.
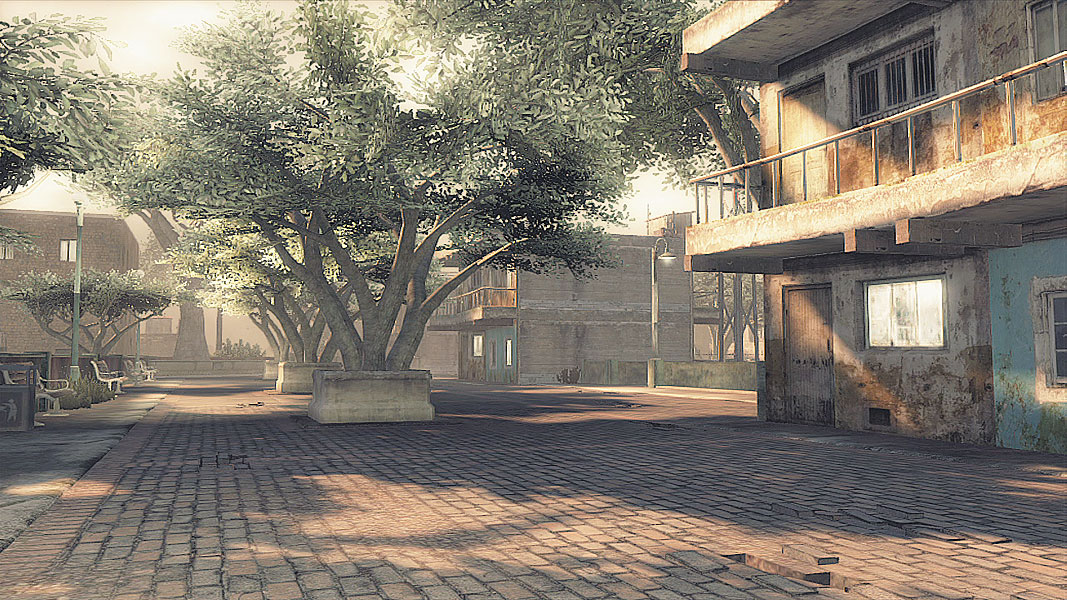
A covered garage serves as the Bodark source of deployment. They’ll have to sprint out and past a vehicle-strewn parking lot before they can get to the Market itself, but they’ve also got better, direct access to some of the back alleyways that skirt the Market, as well as a more protected route up to the second-floor Apartments overlooking the Market.
// Points of Interest
Main Market
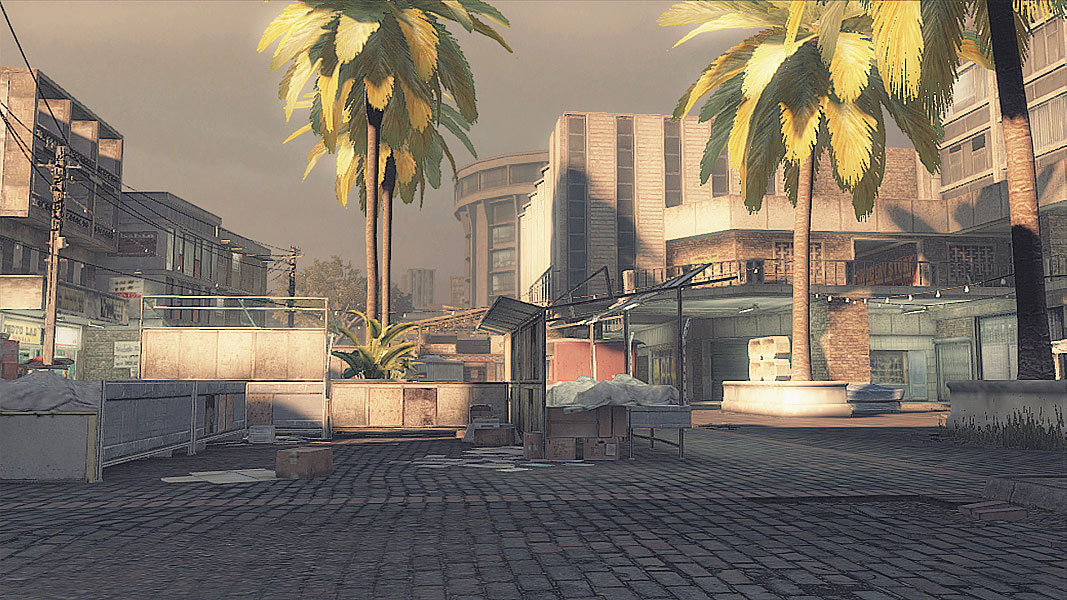
The central Market area is, well, a death trap. There’s simply no other way of putting it. There there is plenty of cover and multiple opportunities for snipers, such as from the upper walkway Apartments overlooking the Market itself and the rooftop camping spots that are accessed by climbing a ladder near the Courtyard and simply jumping down off the upper walkway. Not surprisingly, then, most modes feature some form of an objective here, making it a hotbed of crossfire. The one upside to having so much cover is that lobbed explosives like grenades aren’t quite as effective—as long as there’s enough warning. Don’t even think about attempting to take an objective here alone. Too many sight lines mean you’re just asking for death if you try.
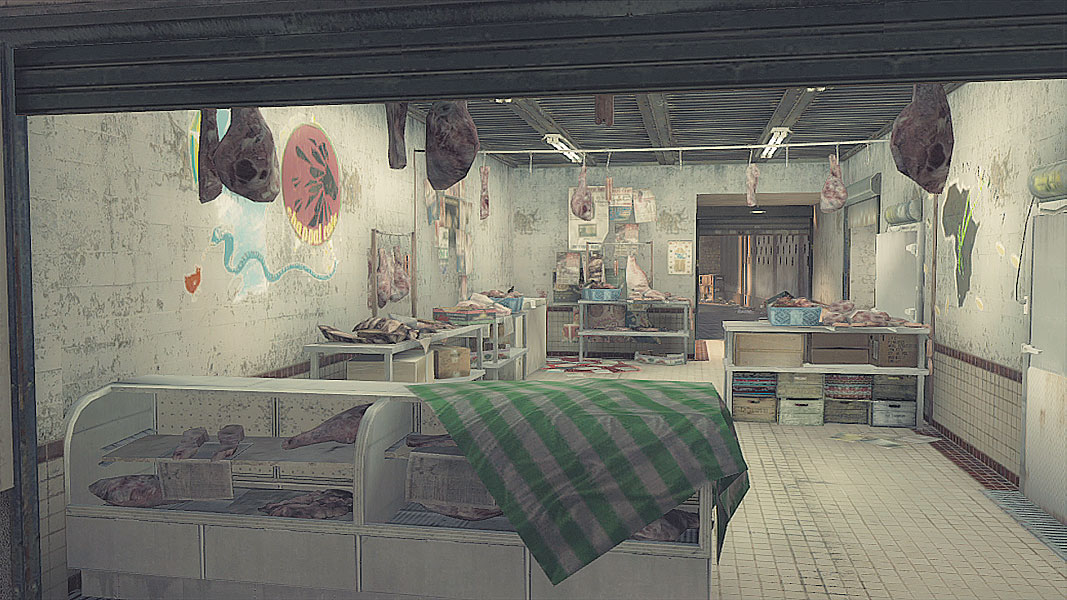
Running through the center of the map is foolhardy, which makes it fortunate that the level is skirted by a series of back alleys and shop fronts with rear exits. Both the Butcher Shop near the Bodark spawn and Medicine Shop closer to the Ghosts’ home feed into a series of channels cutting through the buildings flanking the Market. Use these side routes to work your way through the map and ambush hostiles trying to secure objectives tucked into the corners of these side areas.
Apartments
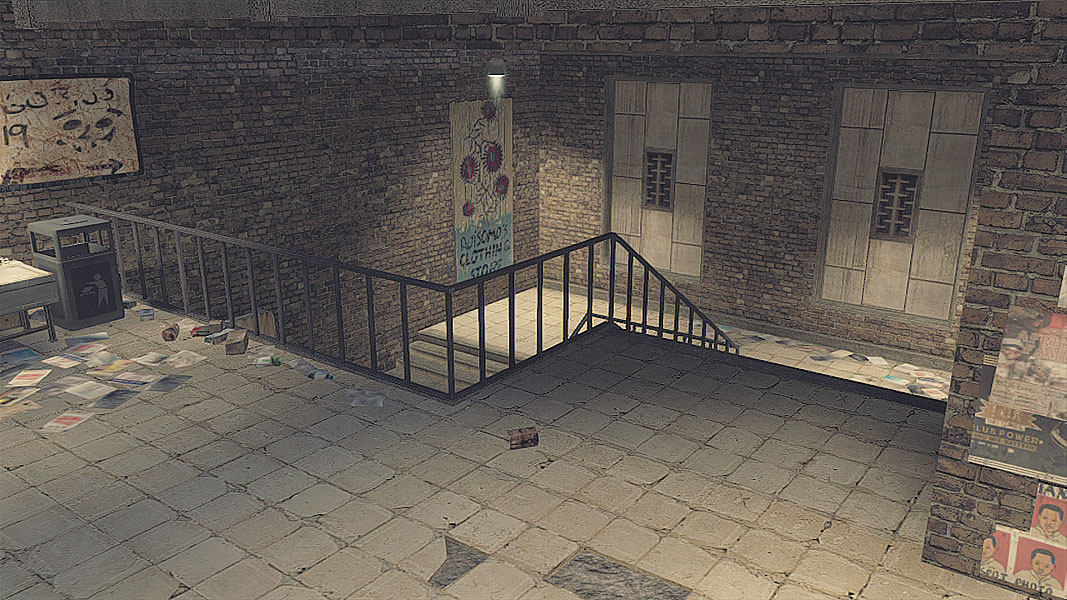
One of the biggest areas of conflict will be the Apartments, both because of their proximity to the main Market area itself, and the strategic upper area that allows for longer sight lines out over the rest of the level. A Conflict objective at the top of the stairs means plenty of fighting in and around the upper walkway, but the stairwell itself shouldn’t be discounted as a place to ambush and be ambushed. The tighter confines of the stairs make for a great place to toss explosives or plant mines in preparation for an assault.
// Conflict
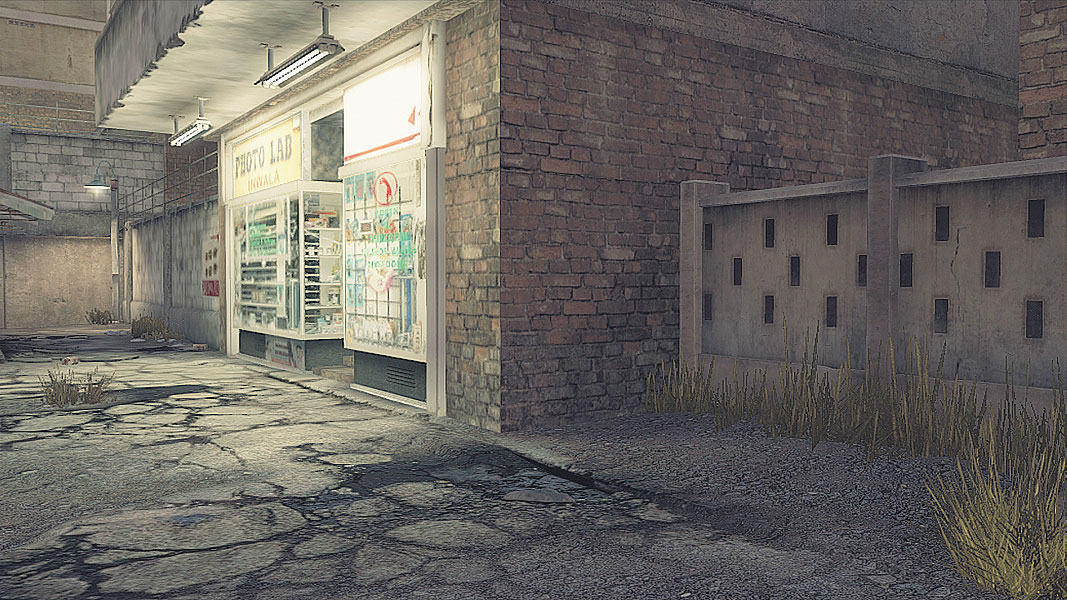
The clean right angles and tight confines of this alleyway make bouncing grenades off the walls a common practice, but the alley also has ample opportunity for easy corner cover and can be held relatively easily with a couple of supporting squadmates. Smoke and flashbangs can be incredibly helpful here to obscure or blind, so if you’re capturing, make the most of the Confidence system to boost capture speed, and if you’re defending, be on constant watch for incoming equipment. UAVs and Cameras can help alert those trying to capture an objective here to incoming enemies, too. So don’t be afraid to make a sweep of the area and throw down some early warning systems before attempting the capture.
With a direct route from the Bodark spawn point to the left and a stairway entrance on the right, this lofty perch can be a prime sniping spot until it actually activates as an objective. A Camera placed near the objective itself does a great job of warning of incoming threats from the Bodark spawn, but be cautious of taking cover with your back to the open Market. A scoped enemy can take you out before you’ll ever get the chance to ambush an incoming threat.
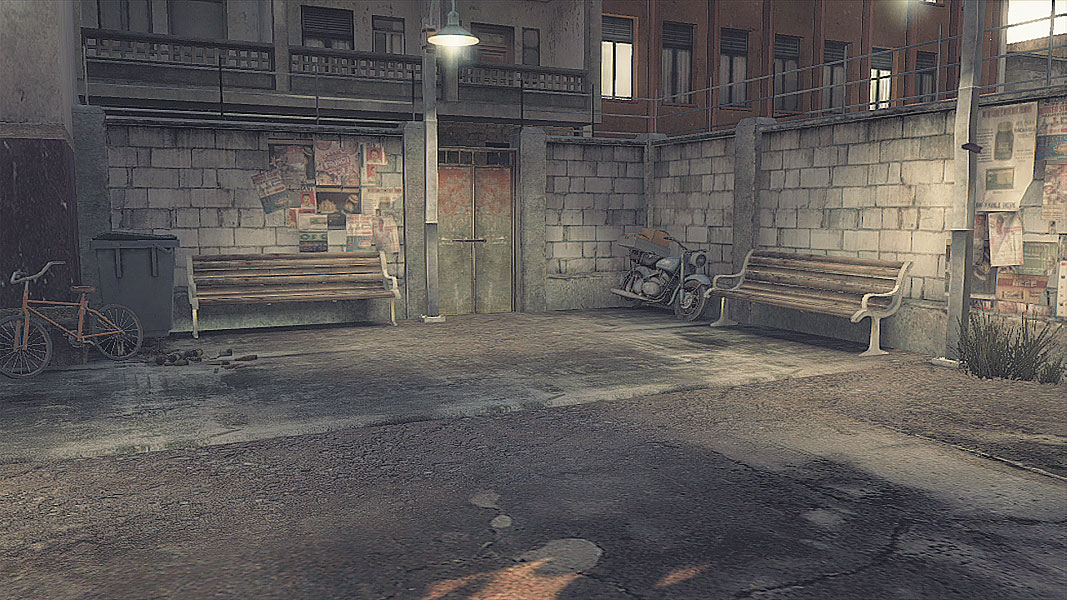
This little nook just outside the Medicine Shop’s rear exit tends to be a heavily accessed area, not just because of the objectives spawning here, but because it’s one of the main routes into the Market. Make sure to cover the alleyway exits, the shop itself and the wider area leading in from the Market. The ladder leading up to a raised platform can be a decent place to provide overwatch for a cloaked Scout, but anyone else will be a fairly easy target from the raised Apartments area, so don’t stay up there too long.
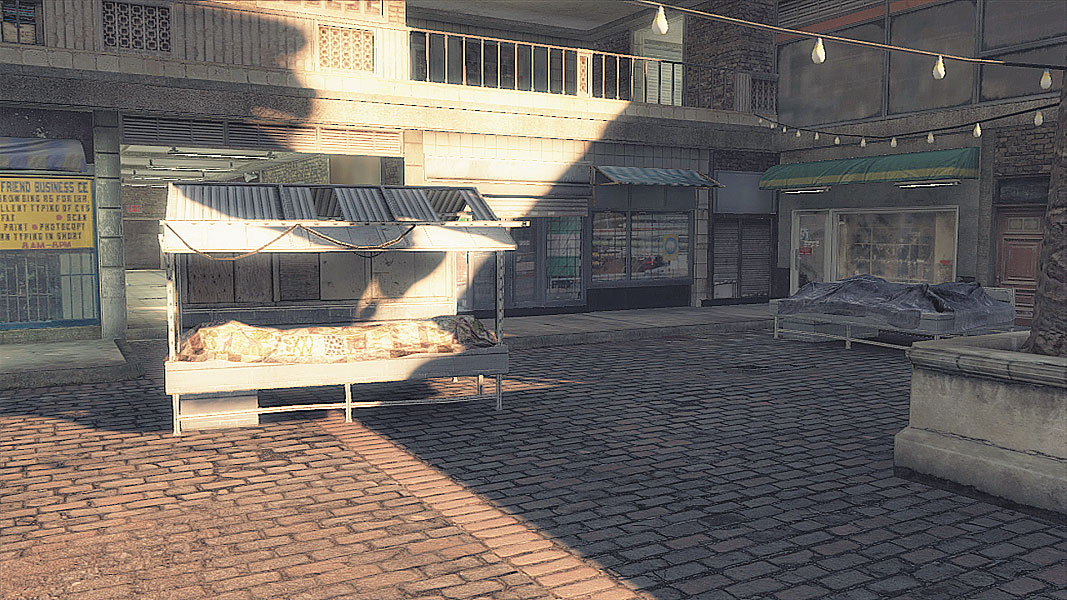
Expect this area to seesaw more or less constantly when trying to capture or defend an objective here. As said before, the number of approaches, elevations, and routes of entry make covering every angle extremely difficult even for a full team. Grab cover where you can. (The fruit stand looking out toward the lower Apartment entrance works and the objective itself is a solid place to hide, but the flanks need to be watched.) Overwhelming firepower or defense is the key to taking and keeping this objective.
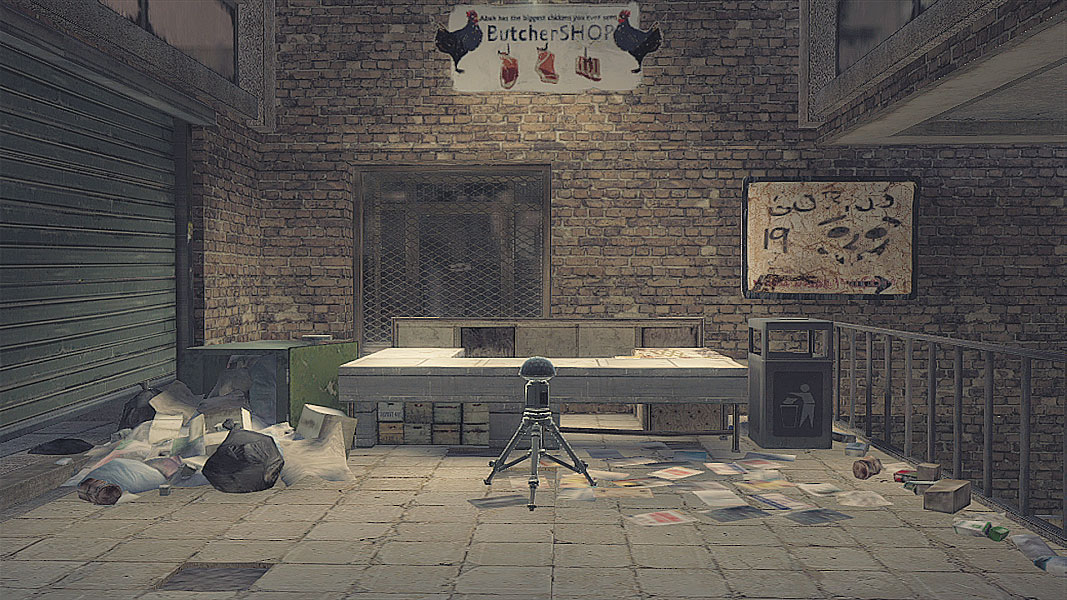
The Apartments are difficult mostly because they have a completely unprotected flank in the direction of the stairwell, but the fact that opposing forces can approach from either of the walkway directions certainly doesn’t help either. Early warning intel-gathering items like UAVs and Cameras are vital to understanding where the enemy is coming from, so keep an eye out. If approaching, a bait-and-switch tactic of teasing an approach near the stairs while attacking from the upper walkway seems to work like a charm.
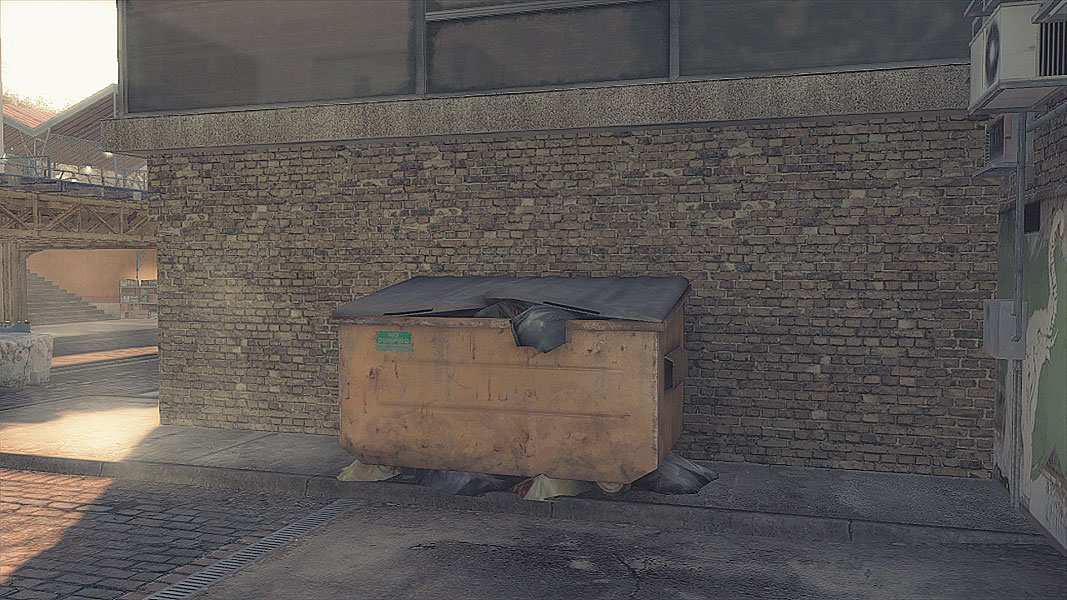
Tucked into the corner of an alleyway, the dumpster near this objective almost makes it seem somewhat protected, but there’s ample room to get sandwiched by an EMP or Flashbang. Thankfully, this is one of the few objectives where attacks can really only come from two cardinal directions, so hit it quickly and with some backup to secure the location.
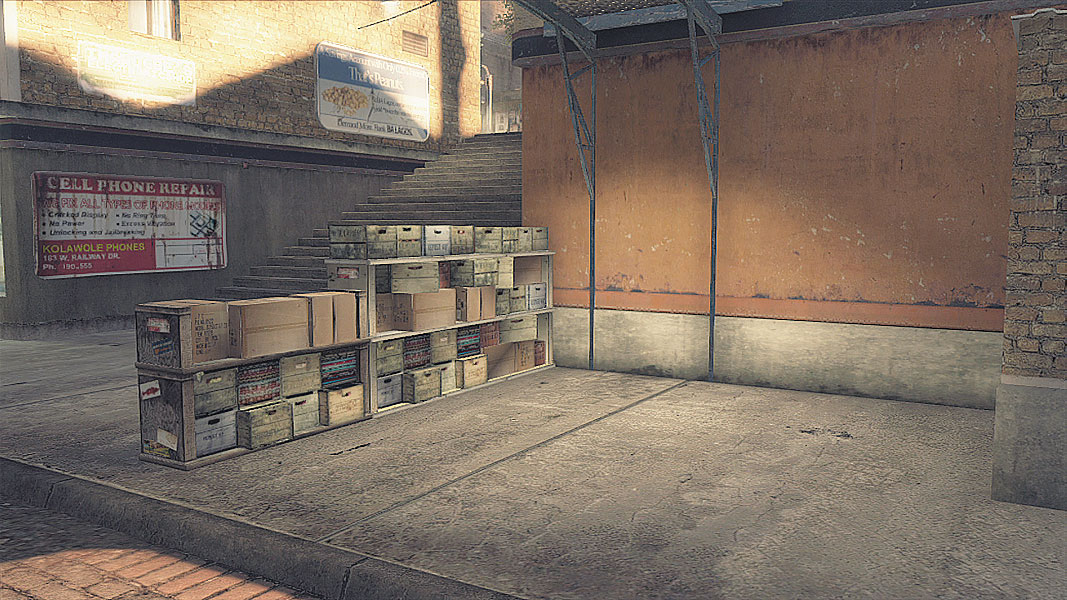
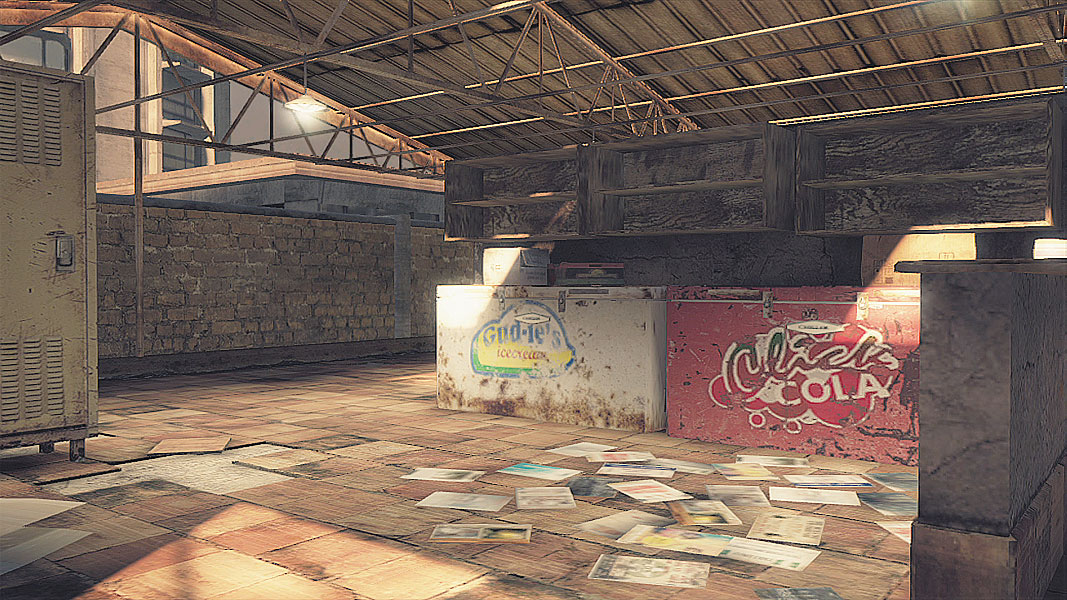
Tucked in next to the stairs leading down from the train platform, this little magazine rack is rather horribly exposed from the direction of the Market. Scouts can try setting up overwatch from the smallish outcropping at the top of a nearby ladder, but the sight lines are ruined by the elevated train tracks. The key here is to try to tuck into the alcove and apply as much fire toward the Market and nearby alleyway as possible. Remember that if you’re on team Bodark, this is the closest objective to the Ghost spawn location, so keep an eye out for hostiles dropping down from the Train Station.
// Decoy
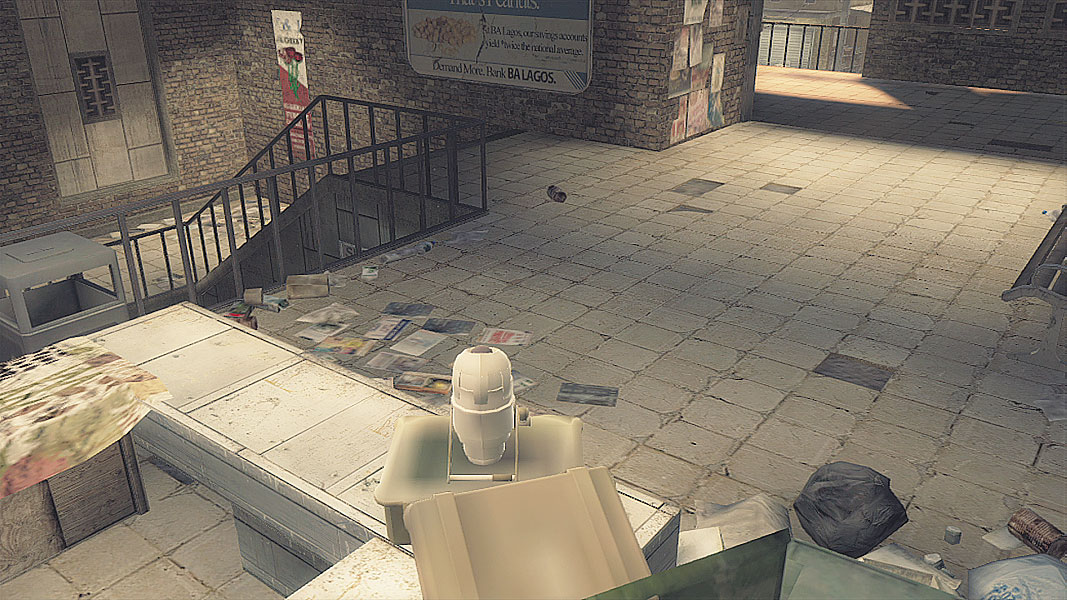
The familiar locale of the Apartments makes for the first of three possible “real” objectives in Decoy. As always, the key is having awareness of which direction the enemy is approaching from. Sensors dropped below can warn of an approach from the stairs, while support trained on either side of the corner cover, looking out toward either route of entry from the walkway, can warn of incoming hostiles.
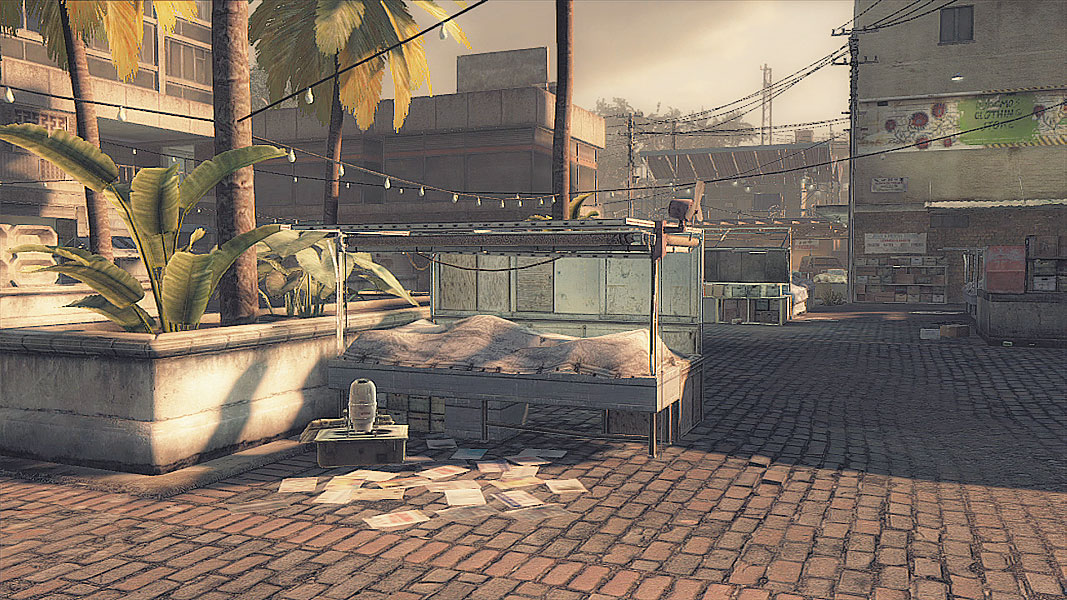
Because it is flanked on either side by the elevated platforms accessible from the Apartments and Courtyard, there’s plenty of danger in trying to capture this location. In fact, a well-placed sniper or even a prone Rifleman with an LMG can make it extremely annoying trying to capture this objective from the Courtyard raised platform. Move cautiously here, and begin capturing only once the area has been swept clear of hostiles
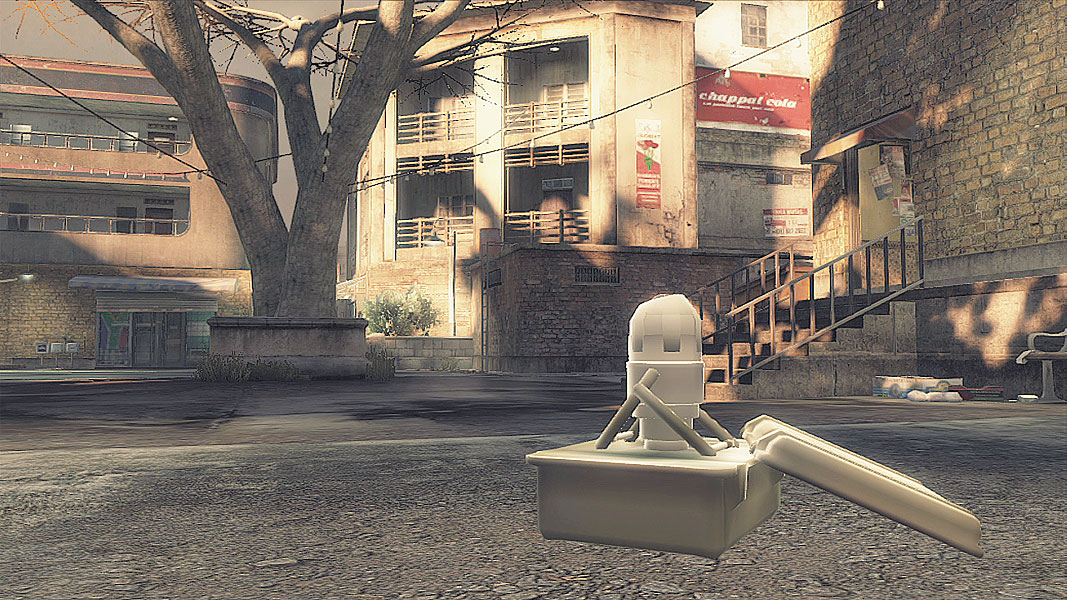
While not subject to the same number of sight lines, the third possible objective is nonetheless a source of considerable danger. The doorway leading out from the Medicine Shop is a bit of a bottleneck, so expect enemies to try to peek out and take potshots while the objective is being taken. Tucking in near the benches to force them further out of the doorway can mean you get the drop on them before they can do the same to you. Keep an eye on the alleyway entrances, too, as they’re a more likely route for enemies than directly from the Market itself.
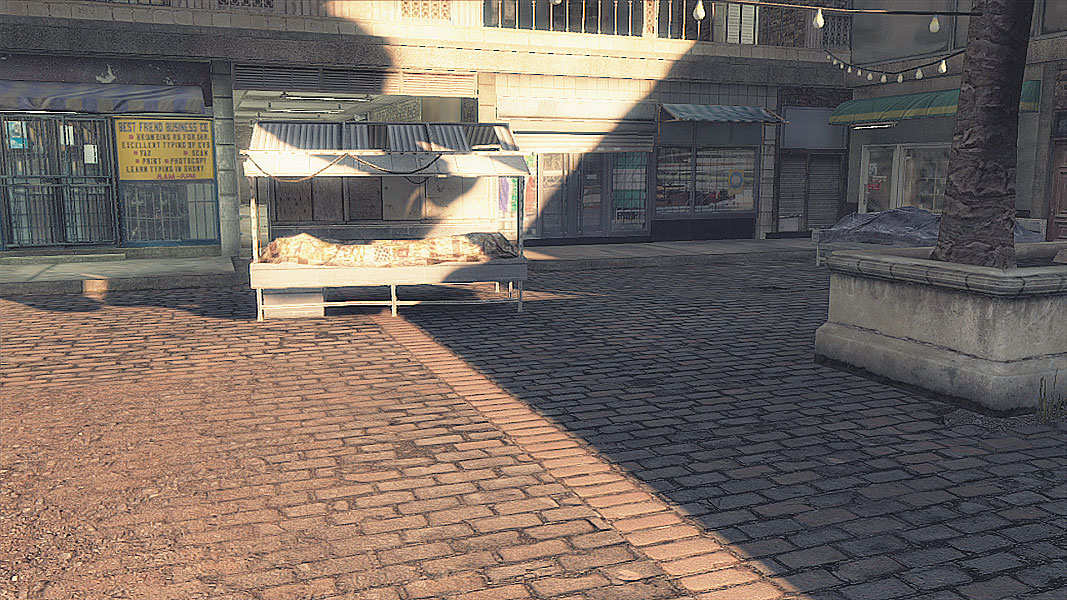
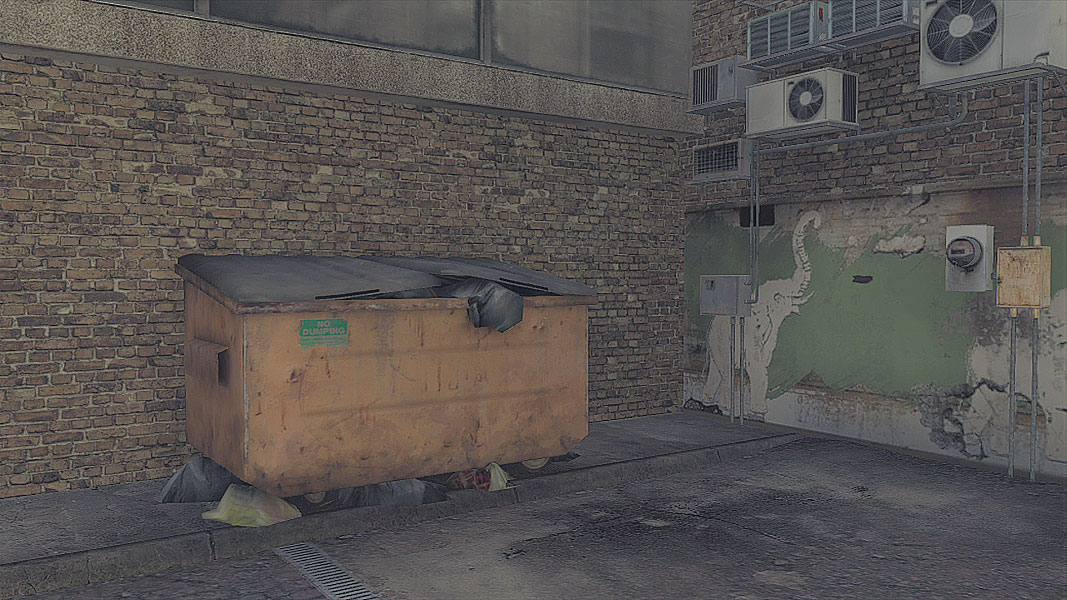
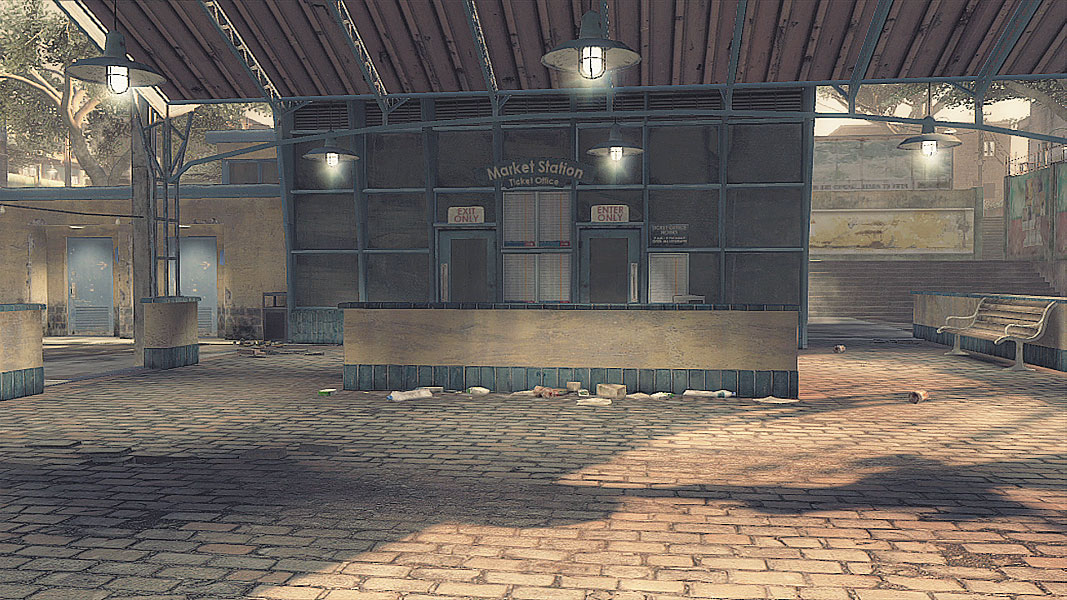
Once the real objective has been captured, a trio of options for bomb planting are possible. The first is in the center of the Market, right near one of the hardest Conflict objectives. Planting here should begin only after most of the area has been swept clear to avoid your teammates being taken out by snipers or onlookers from the Apartments above.
Another familiar locale, tucked in next to a dumpster, serves as the second possible bomb plant location. Just as before, cover the two main routes of entry, and watch for things like EMP or flashbangs while planting.
The third locale is also the hardest by far to capture, thanks to its being smack-dab in the middle of the Train Station, which is connected directly to the defenders’ spawn point. Those defenders can approach from either of the station’s flanks near stairs, or they can slip down those stairs, climb up the ladder leading to the platform just below the plant location, and attack from the covered position there while trying to plant the bomb.. Expect a fairly steady flow of defenders pouring from their spawn point, as it’s not a long trip back to the Train Station.
// Saboteur
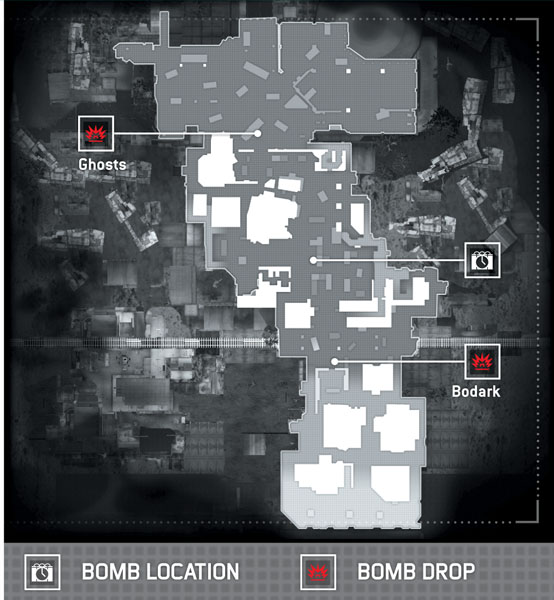
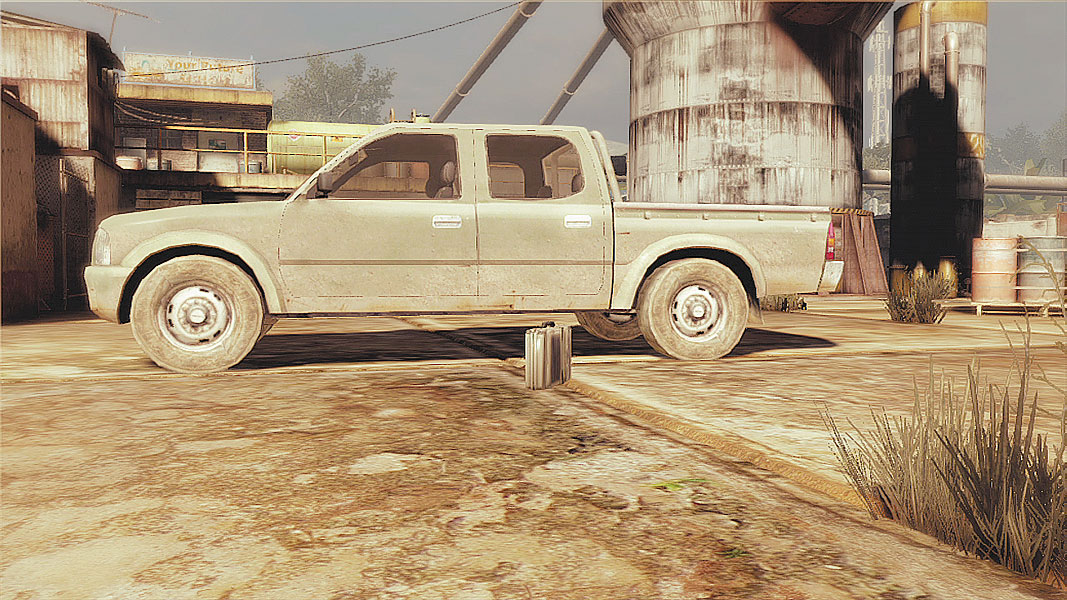
Placed smack-dab in the middle of the Market, the bomb here is vulnerable to a snatch and grab from quite a few angles, although the most likely angle is a dash out from the Courtyard area and back into the more claustrophobic confines of the alleyways. The single largest job of the support team is to protect the identity of the bomb carrier, so keep them out of sight unless making a move toward the plant location. Opting for a secondary weapon like the Stun Pistol can turn a potential ambush while running the bomb in into a chance to data hack the opposing team and see where they’re waiting for you.
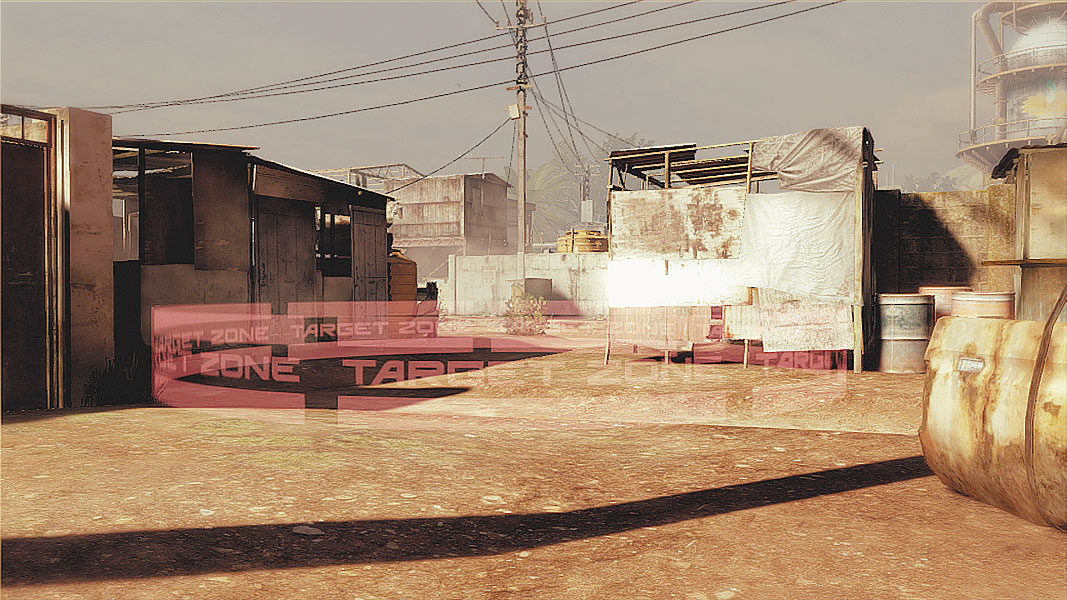
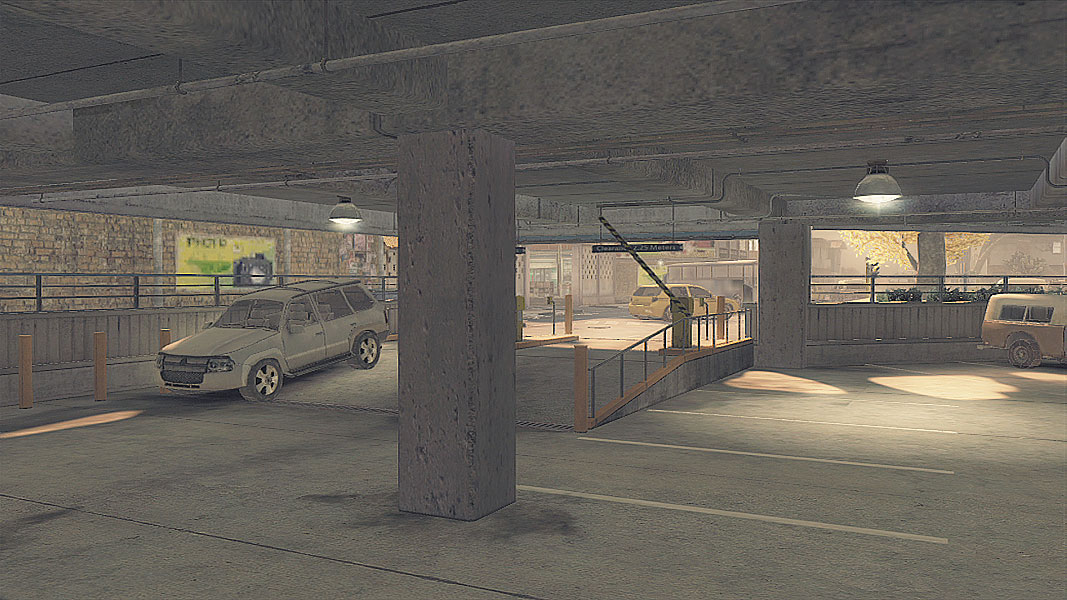
The abandoned parking lot that makes up the bomb plant location for the Ghosts is a sniper’s paradise. Bodark team members can grab cover next to plenty of vehicles. A common ambush point is the long hallway that leads down from the raised walkway overlooking the Market. There’s a smaller entrance to the left of the main one, but it’s a bottleneck and isn’t nearly as protected on the left as the bus near the plant location.
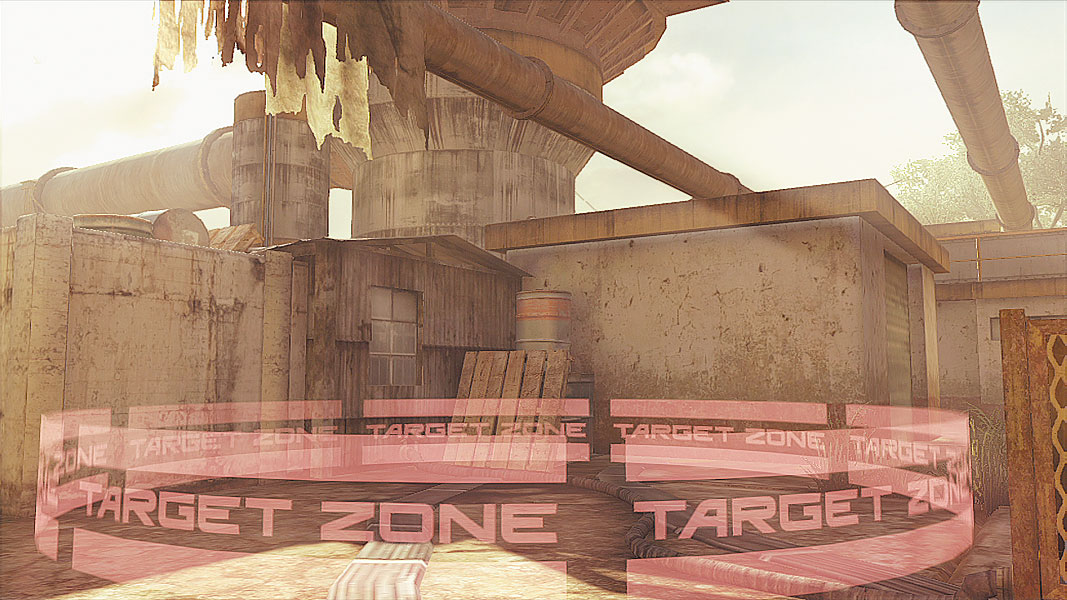
The Bodark bomb plant area is almost as bad, with the whole Market to their backs and three separate staircases leading down to where the bomb must be placed. There’s also the ever-present Train Station, which can make approaches difficult. An approach from the direction of the alleyway leading to the Apartments might allow for proper cover, but no matter what, it’s a long run through plenty of open ground to get to the bomb plant location.
// Siege
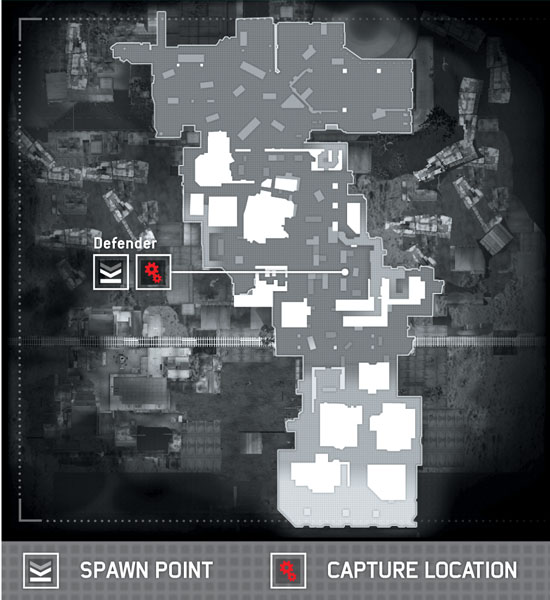
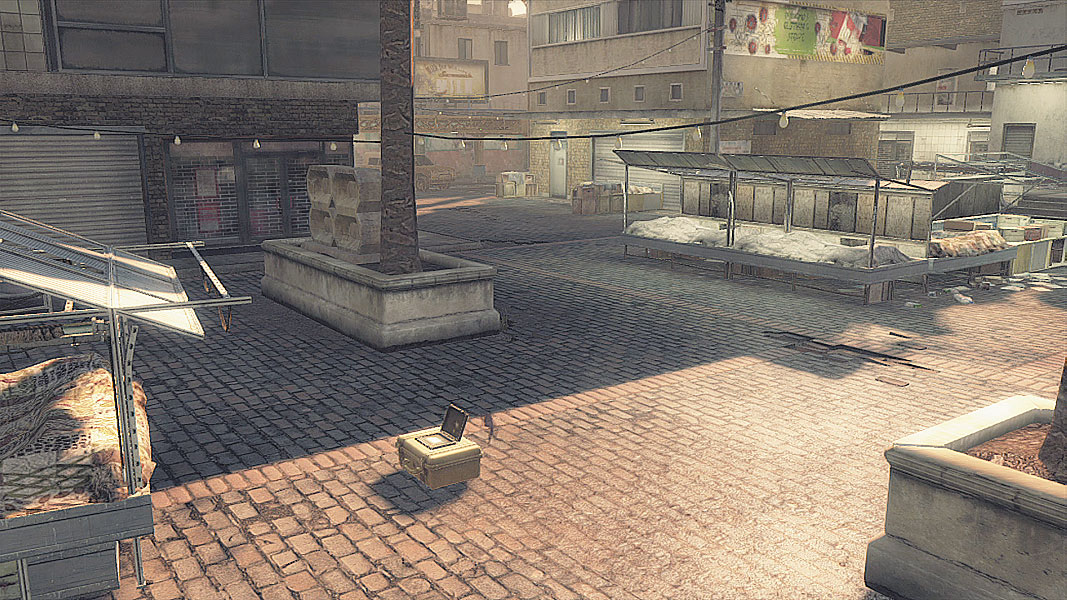
Well of course the Market would serve as the central capture and defend point. Given the ridiculous number of possible approaches, expect Siege matches to be incredibly tense. Defenders should grab high ground where possible and remember that attacks can come from any direction. Smart attackers will approach from odd angles in the hope of picking off defenders that are waiting for threats to approach from the usual forward positions. Try to head them off by covering the alleyways that would allow attackers to sneak around the Market itself. That means locking down the Apartments area as much as possible to deny access to the upper walkway and watching the side alley near the Medicine Shop.
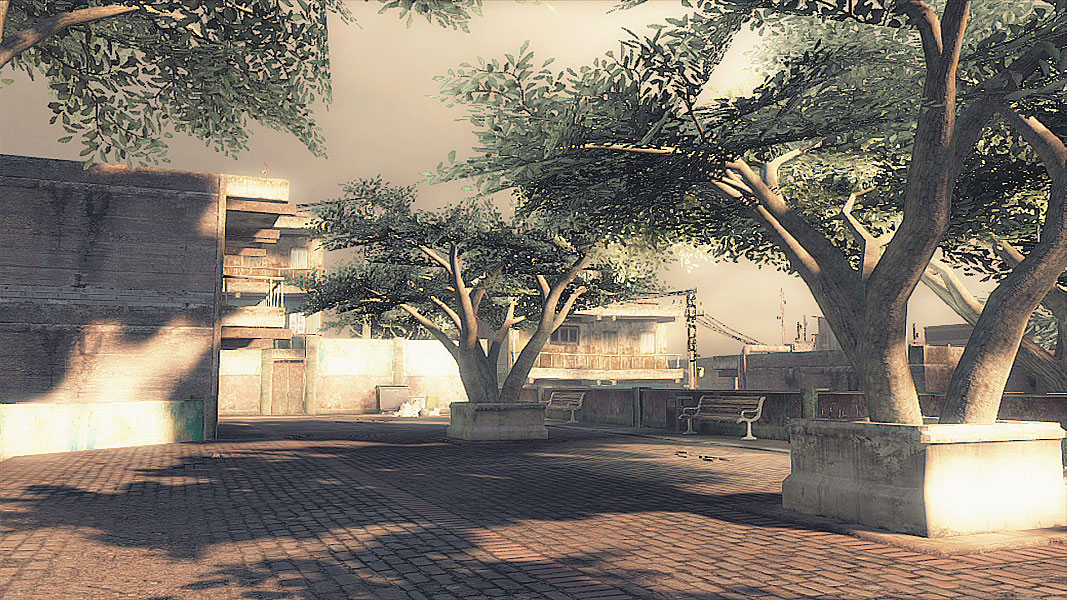
For the same reason defenders are trying to hard to keep the side areas locked down, attackers should try to distract and slip through into those areas. Use guerrilla tactics to bait defenders into focusing fire on an alleyway before making a smaller push up through the Apartments (or, if you prefer, swap the “true” objective). Defenders have nothing but time, so chances are unless they’re rookies, they aren’t going to feel the need to pursue if they’ve locked down all the routes of entry from the Train Station. Be patient here, since that one life is all you get in this round.