
Tom Clancy's Ghost Recon Future Soldier Guide Walkthrough Gallant Thief
Place Four Targeting Beacons for Air Strike
Place Four Targeting Beacons for Air Strike
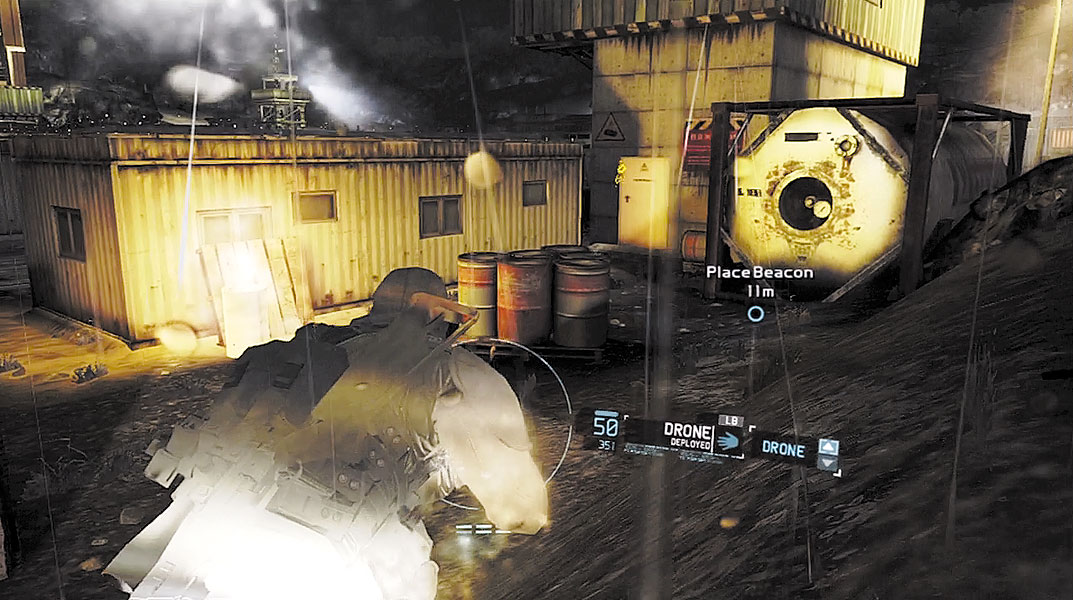
Exit the security room and follow the waypoint marker to return outside. The prison’s alarm system has been isolated, so it’s no longer necessary to remain silent. However, it’s still in your best interest to avoid detection. Before you can enter the cell block where President Volodin is being held, you must first deploy four targeting beacons around the prison grounds at predetermined locations marked on your HUD as waypoints. The first location is only a few meters away from the security room’s exit. Before moving out, drop to a crouch to activate your Optical Camo. There are plenty of enemy troops patrolling the prison grounds, but your Optical Camo will help you avoid being detected—just keep your distance from enemies. There are no enemies near the first beacon location. Move toward the waypoint marker until you see a white ring icon at the base of a large white fuel cell—step into the white ring to place the first beacon. One down, three to go.
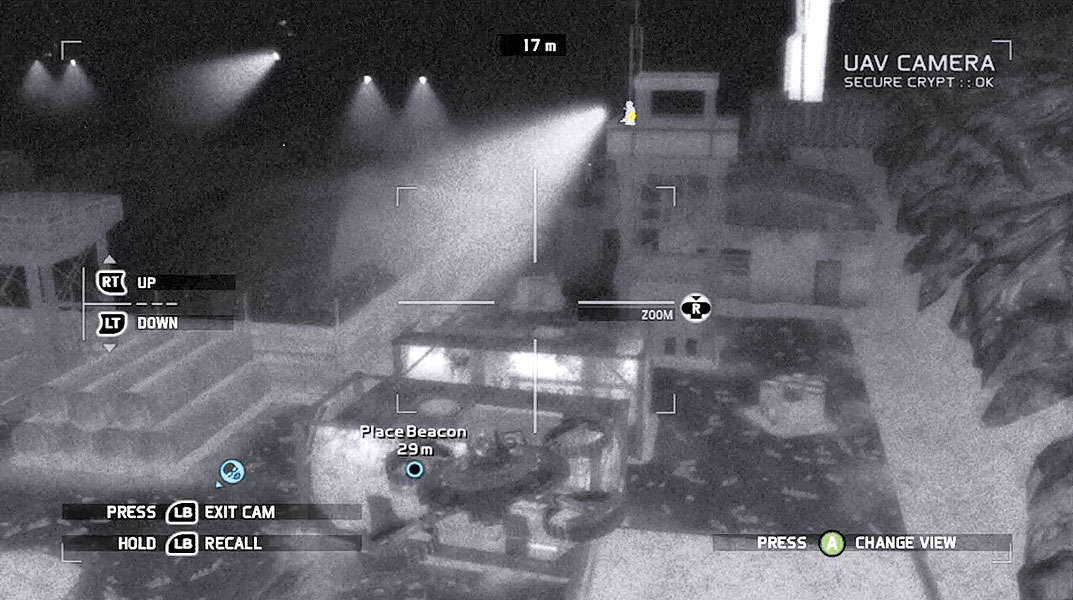
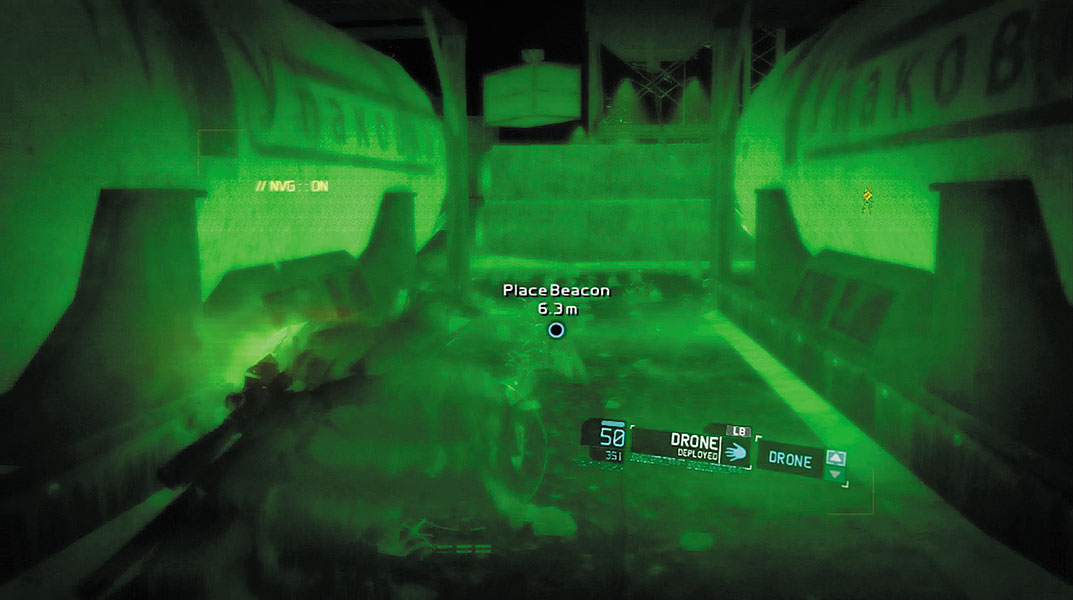
Before moving toward the second beacon location, deploy the UAV to scout ahead. This will help you keep tabs on enemy patrols during the advance. Exit the UAV view and begin moving toward the next waypoint. Instead of taking the most direct route, circle around the large garage-like building so you can avoid moving directly toward the guard tower near the beacon location. This allows you to approach the location from the side, where you’re less likely to be spotted by the rifleman in the guard tower or any patrols nearby. The second beacon must be placed between two large white fuel cells.
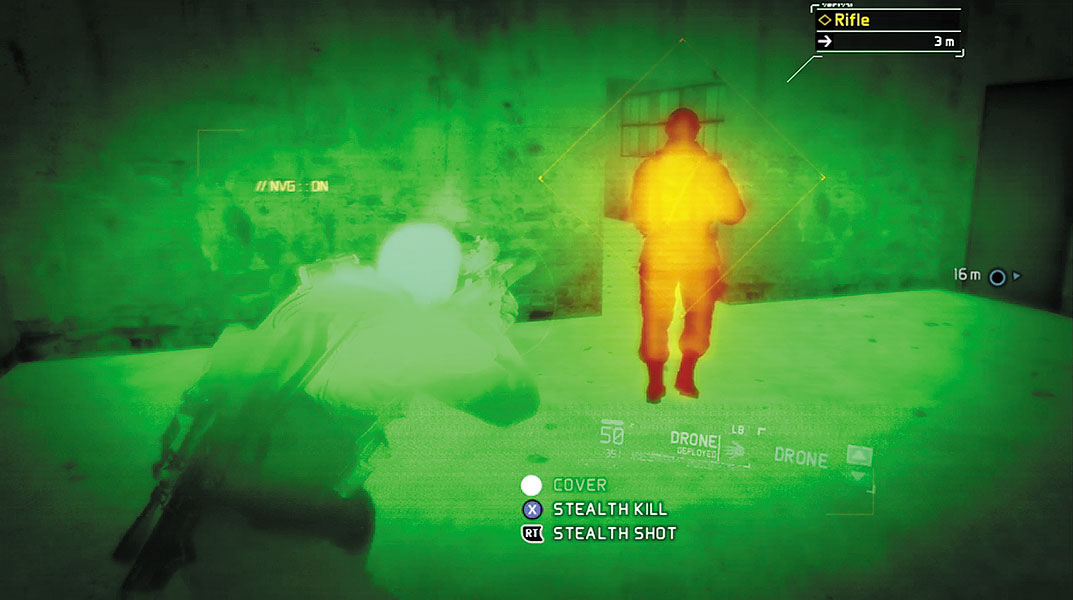
On the way to the third beacon location, you pass a building on the left occupied by two riflemen. One of these enemies patrols while the other remains stationary, staring out a window. Before planting the third beacon, take out the rifleman who patrols nearby. But you must kill him outside the line of sight of his stationary comrade. Wait for him to exit the building and begin walking toward the third beacon location. When he turns back to the building, sneak up behind him and take him out with a stealth kill once he’s inside. For good measure, sneak up behind his buddy, staring out the window, and take him out quietly, too. Both of these enemies can be shot with your SMG to help you complete the Up the Ante weapon challenge.
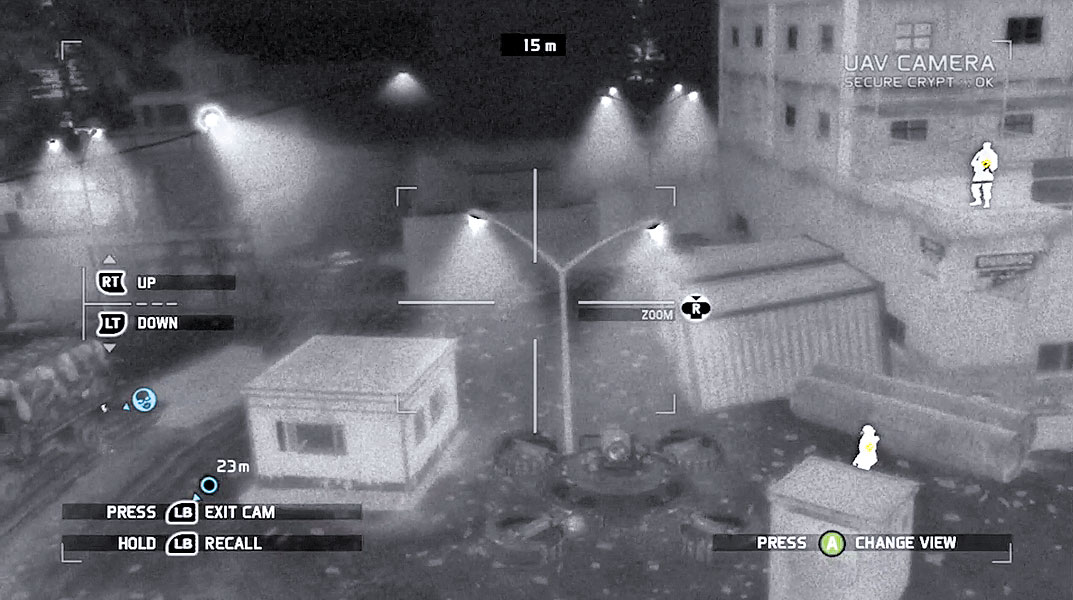
Now move back toward the third beacon location, not far from an enemy checkpoint. Before planting the beacon, consider eliminating the nearby enemies. Toss one Sensor toward the checkpoint booth on the right side of the road and another Sensor toward the vehicle shelter on the left side. Get your drone into the air, too, to provide a view from above. There are a total of six enemy troops loitering around the checkpoint. Without the support of teammates, you’ll need to take these enemies out on your own. Start by picking off the rifleman on the rooftop not far from the checkpoint booth. Before firing, make sure you’re a safe distance away from any of the patrolling troops. Even when using a suppressed weapon, the report may draw the attention of enemies. This is a good opportunity to use a suppressed sniper rifle or assault rifle—your SMG simply doesn’t have the range.
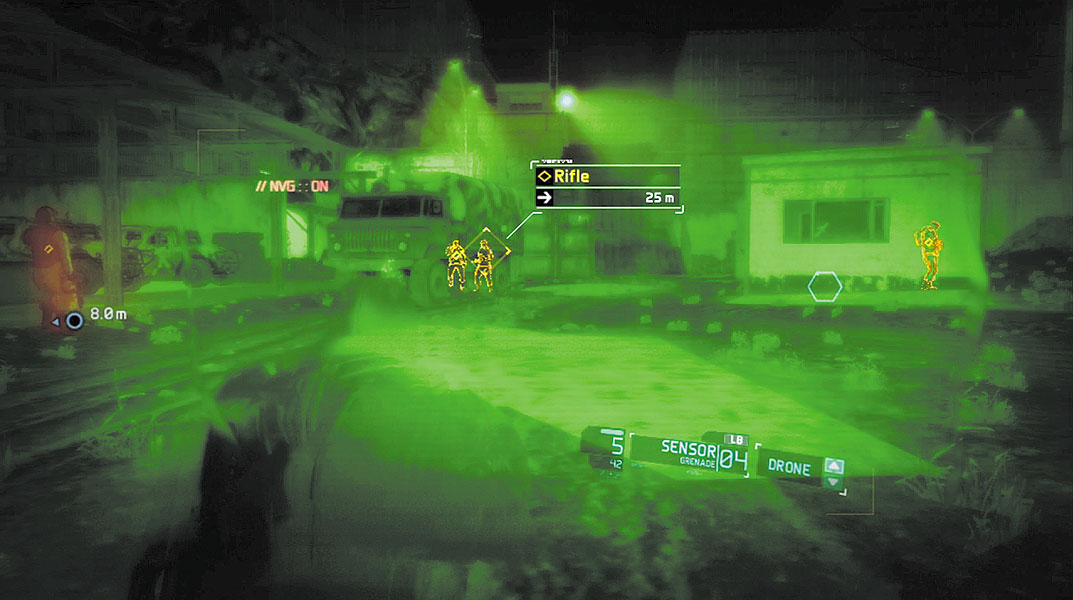
With the rooftop rifleman down, approach the checkpoint and begin stalking more enemies. Start by taking out the rifleman inside the checkpoint booth—the Sensor you deployed earlier should highlight his position. But before killing the enemy in the checkpoint booth, monitor the patrol of the nearby sniper. When the sniper is far away, sneak into the checkpoint booth and neutralize the rifleman. You can now stalk the patrolling sniper—just be sure to take him out a safe distance away from the checkpoint, where his body won’t be noticed by the two riflemen standing in front of the truck in the middle of the road. Finally, go after the rifleman patrolling the vehicle shelter on the opposite side of the road. Wait until he’s within the vehicle shelter, then take him down so that his body falls behind one of the parked GAZ-2330s. The two remaining riflemen standing in front of the truck can be eliminated with one bullet, to complete the Quigley Tactical challenge.
Tactical Challenge: Quigley
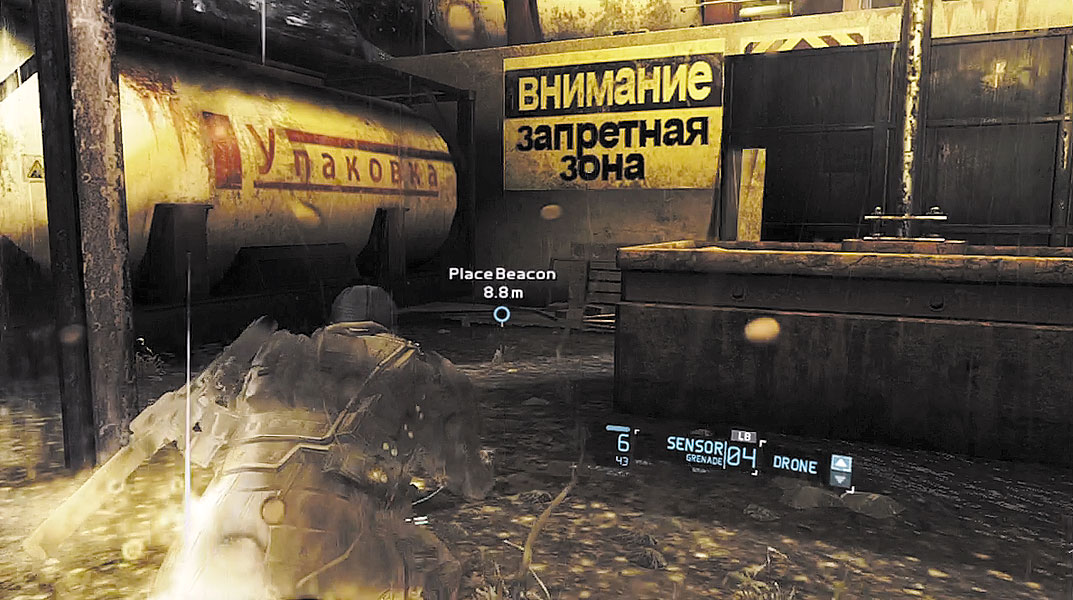
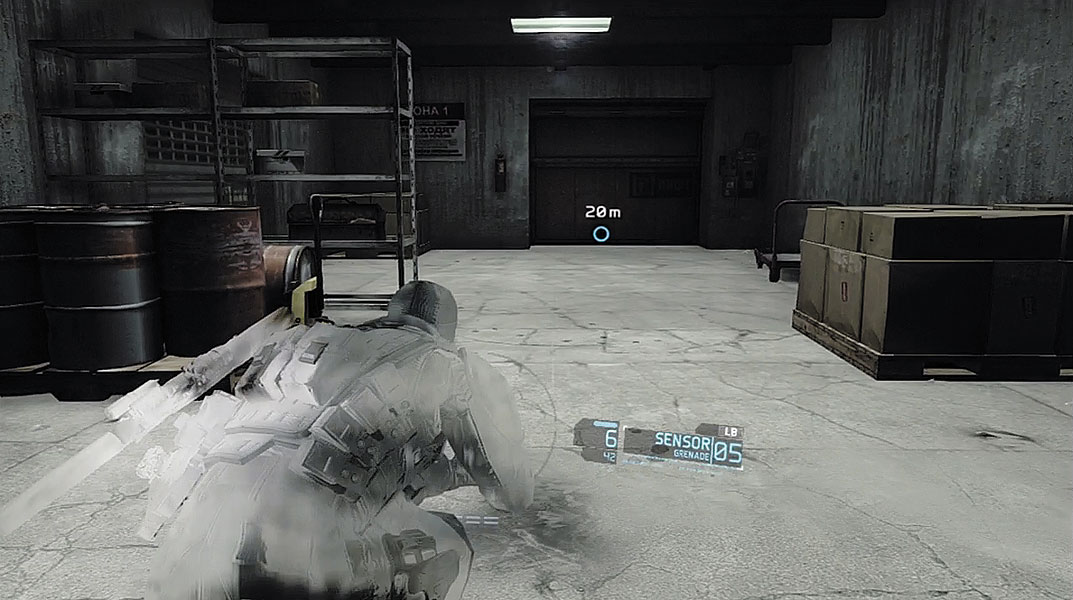
With the checkpoint clear of hostiles, get on with placing the third and fourth beacons on large white fuel cells near the vehicle shelter. After you place the fourth beacon, Overlord reports that they’ve decrypted the prison data and can now open the door leading to the subterranean maximum security area. Before leaving the area, resupply from the ammo crate next to the checkpoint booth and recall your UAV. Upon reaching the next waypoint, wait for Overlord to hack the door, then step inside the adjoining corridor. Proceed to the next waypoint to board a lift that provides access to the underground cell block where President Volodin is being held. During the ride down, Overlord reports that they have no visibility on the facility’s lower levels. You’ll have to infiltrate the cell block and find the President on your own.